When you click on links to various merchants on this site and make a purchase, this can result in this site earning a commission. Affiliate programs and affiliations include, but are not limited to, the eBay Partner Network.
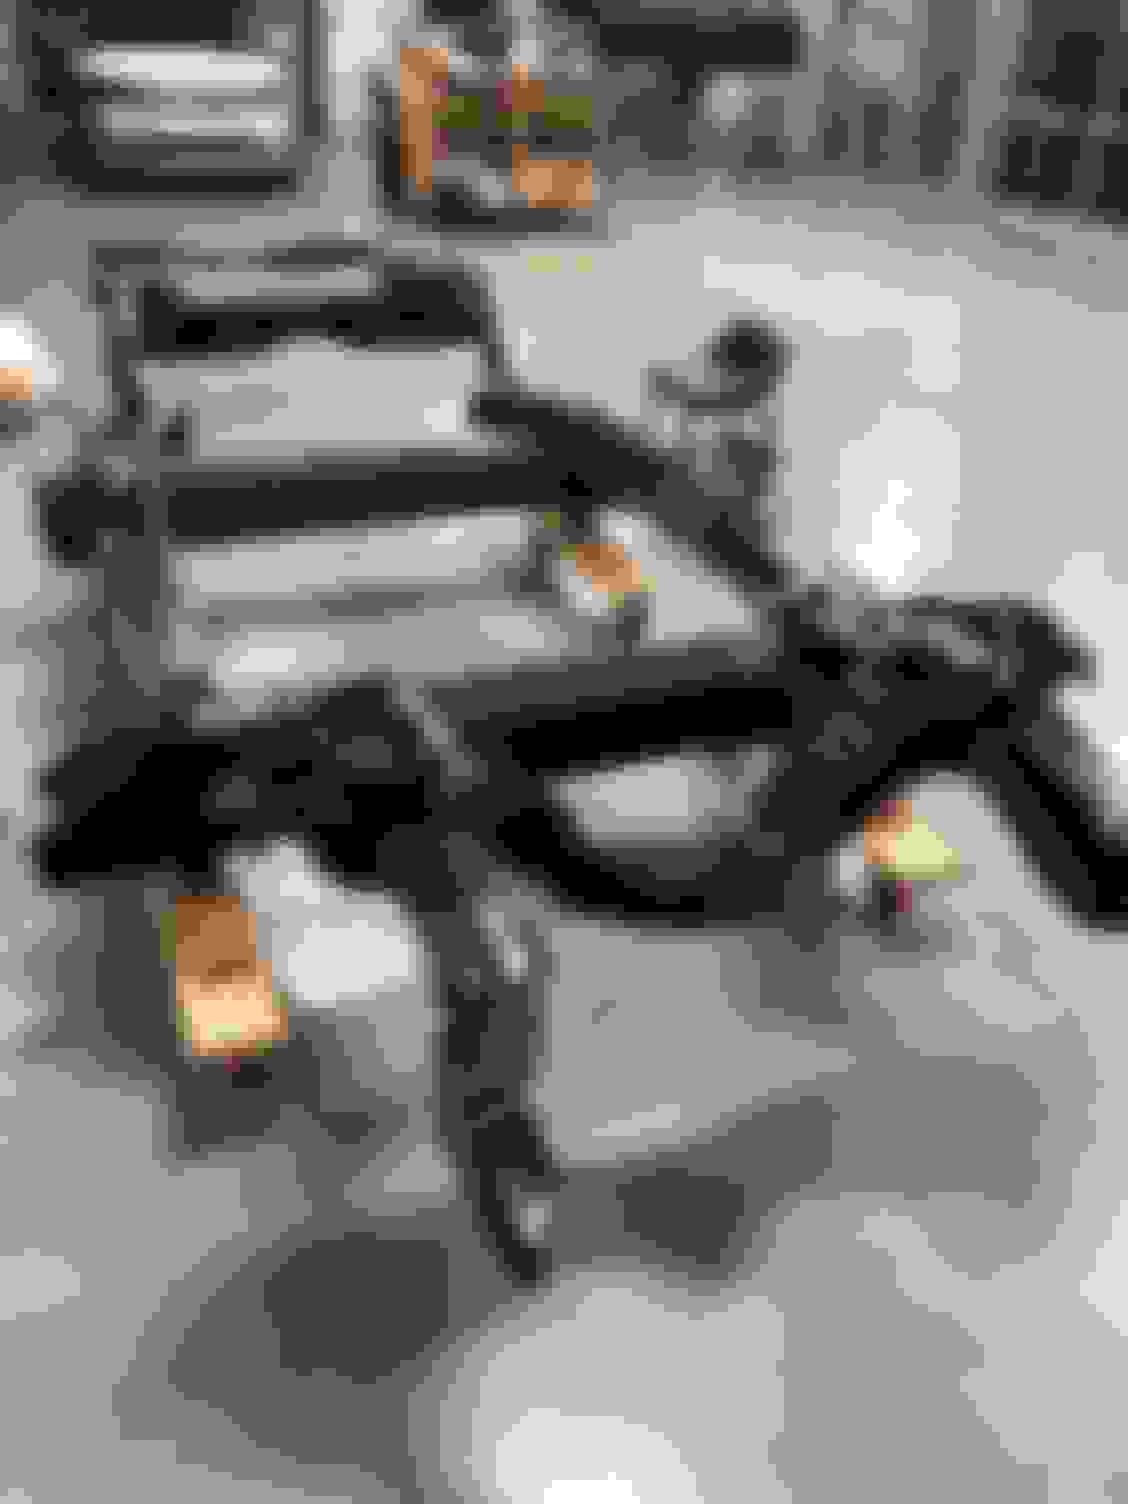
I�m excited to pick my frame up from powder coat tomorrow! All of my new components are ready to go, so I thought I�d make something that was more versatile than jack stands.
I don't mean to be critical but, owning a small manufacturing company (Plastics industry equipment OEM), I would be remiss if I didn't point out a couple things. So, please don't take this the wrong way.
Keep in mind that every thing you place on that frame will increase weight. Some, of which, will be outboard from your supports. All of your weight force initially bears down on your 4 x 4s. While you did provide additional "rail" support you may still experience bowing of your structures. Even though wood has some flexural properties, this can lead to fractures...especially in the harder woods. An ironic double edged sword.
With the castor wheels offset, the weight distribution will shift any time they turn. The wheel mount brackets have the potential to fatigue.
Just my honest opinion, in staying with your design, you might consider adding castors directly below the 4 x 4's. Preferably not offset, if you can match the overall height dimension.
Good luck and enjoy the rebuild. I wish I could still tackle those types of projects.
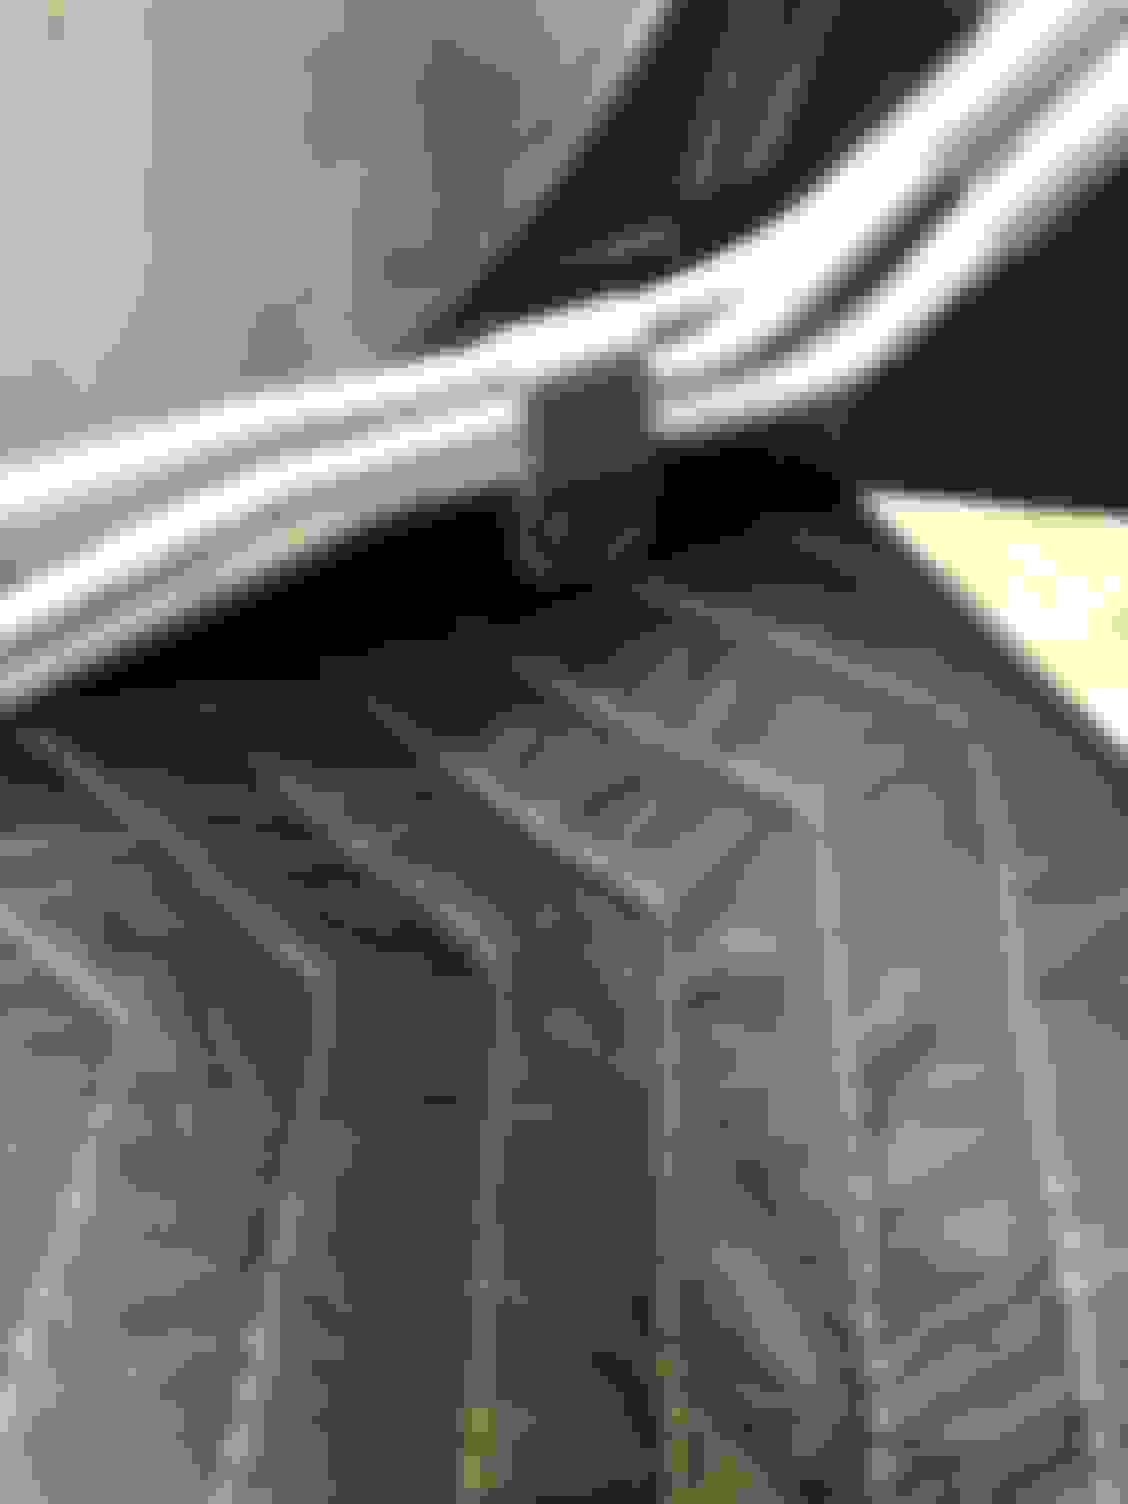
Decent progress in a few hours after work. One thing of note ... the truly correct fuel / emission / fuel return line clips are not reproduced for the Cutlass convertible frame. The available 1/4-5/16-3/8 zinc clip is tapered and requires the lines to be stacked in size order. This is all fine until you have to deal with the very center clip on the strengthened section. That clip has to flipped in the opposing position, which doesn’t work with a tapered clip because now it’s in the wrong orientation for the line stack. Thankfully, mine cleaned up nicely and I’ll changed the other incorrect clips back to the originals. All and all, getting those 3 lines to work in harmony is a bit of a chore.
Here’s a good look at the fuel line clip issue I mentioned. The first two pictures show an original clip compared to the reproduction tapered one. The third picture shows the larger reproduction clip is flawlessly accurate, but would never work on the section of the frame. The moral of the story is to save your original parts ... sometimes they cleanup beautifully!
The frame project is just about to wrap up! Today was a long day, but my 17 year old son helped the entire time ... doesn’t get better than that!
-Global West upper & lower control arms
-Global West steering arms
-QA1 upper & lower trailing arms w/ braces
-Hotchkis springs w/ 1” drop
-Moog steering components
-All new brake / fuel lines and parking brake components
-All new accurate fasteners with the exception of the steering arms because they didn’t arrive in time. I’ll swap them out when I setup the brakes
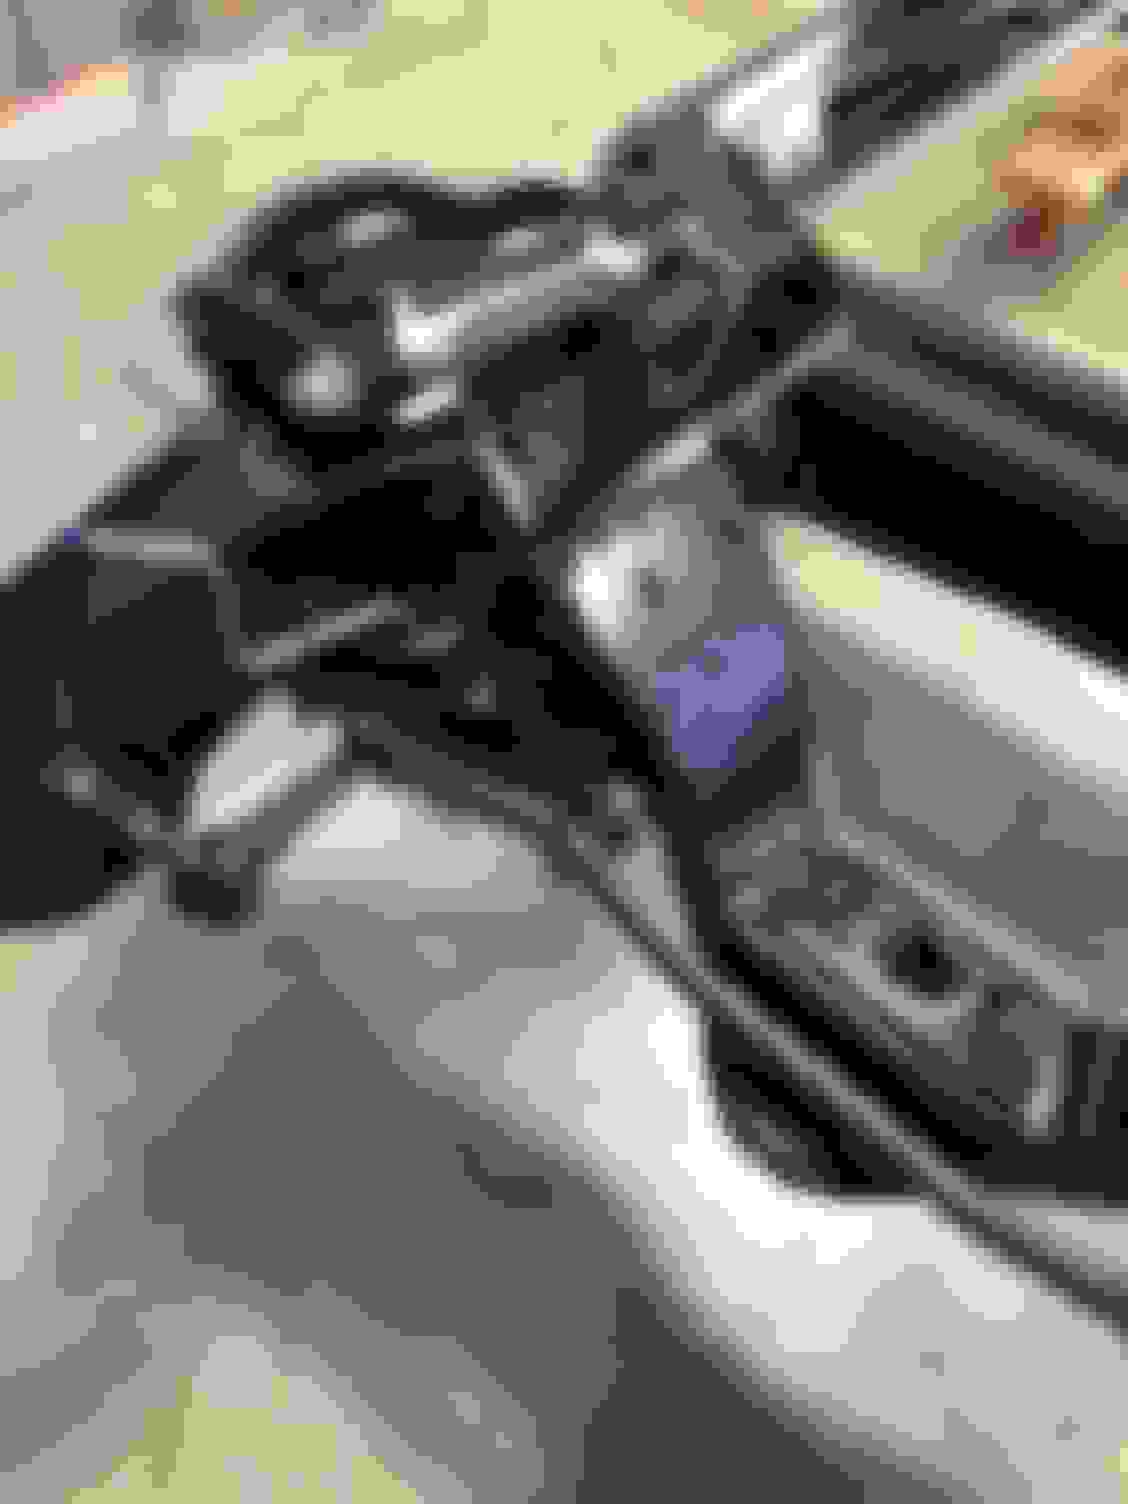
Bilstein shocks won’t mount in the GW lower control arm because both sides of the bottom mounting tab have a precise hole. Typically, one side is slotted. So, Plan B ...
ILT caliper brackets were milled wrong and won’t properly seat on the steering knuckle. I’ll either have to grind on them and replate or source some others.
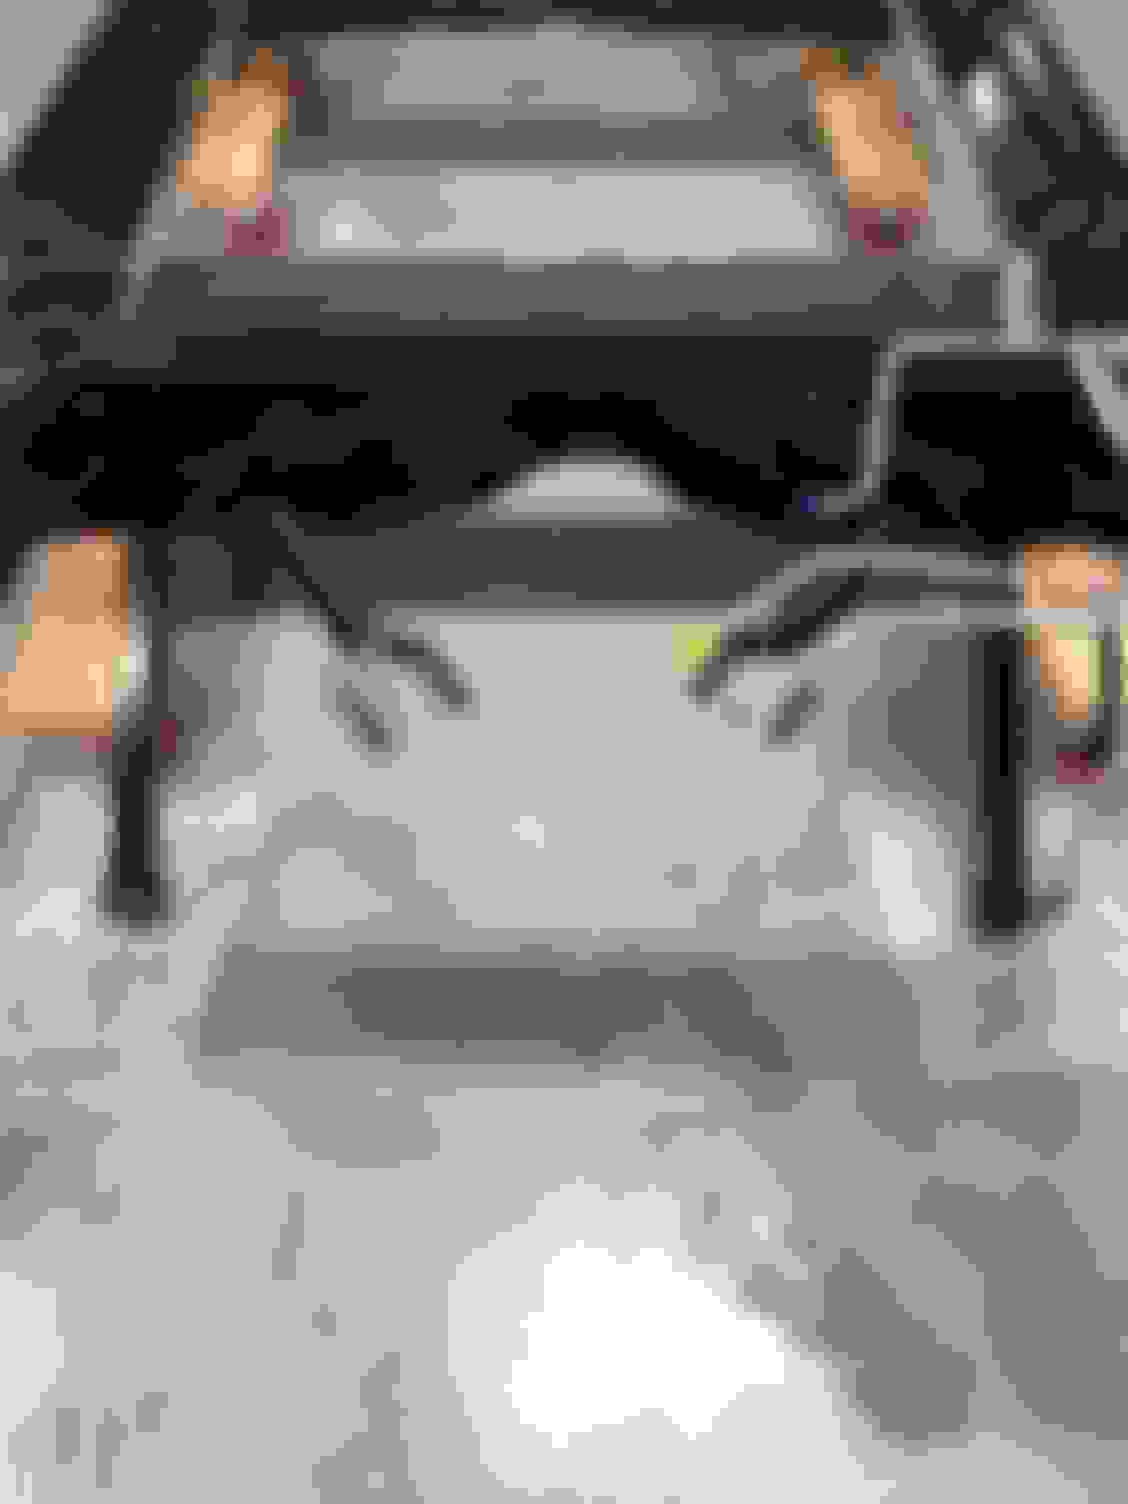
The body went smoothly back on the frame! It's been on and off several times now, so it's become much less dramatic. Originally, the car was put on a rotisserie, so a considerable amount of bracing was needed to prevent any flex. I still have to do the differential � just couldn't get it done in the tight window of time. Now that I have painter's lift free, I'll do the differential in the next couple of weeks. In addition to the cosmetic restoration, it'll get new axles, 3.42 gears and a posi-traction unit.
I had a question about one of the body mounts that seems to be unique to Oldsmobile and possibly the convertible. The #3 mount, which is technically #2 on an Olds, has a deep indent. I've noticed that many reproduction kits don't have a mount with this deep indent design � not even the really nice kit I got from TR. Thanks to a very knowledgeable member for suggesting that in his experience, this mount is needed on the Olds because the welded nut is on the bottom of the body in this first body mount position (first body mount after the cowl mount, labeled as #2 in the assembly manual) and the deep indent is needed to let the welded nut recess properly. I've been concerned about not having a mount with the proper design in this position. His suggestion prompted me to find a picture of my car on the rotisserie and sure enough, it needs the unique mount in that spot.
My painter did a beautiful job on the deck lid, but said the stripe template was complete garbage. In the end, he laid them out himself and I couldn't have asked for anything better!
I catch more grief about the red wheels! The guys at the shop say that when people look at the car, it's a constant "he isn't going to leave those red wheels is he?" Those are the original 14" SSII wheels and are for the time being, my body shop "rollers". It has 15" SSIs in waiting.


 The guys at the shop say that when people look at the car, it's a constant "he isn't going to leave those red wheels is he?" Those are the original 14" SSII wheels and are for the time being, my body shop "rollers". It has 15" SSIs in waiting.


