When you click on links to various merchants on this site and make a purchase, this can result in this site earning a commission. Affiliate programs and affiliations include, but are not limited to, the eBay Partner Network.
I had to removed a dash from a 67 Olds yesterday. This car was an F85 but the procedure is the same on Cutlass, 442 and Vista cruiser. This is a low option car with only heater no AC. Needless to say the more options the more stuff there is to work around.
I'm not sure how to post a link to here maybe one of the moderators can do that. If you go to my facebook page "Olds Parts and More" you can see it. Hope it helps those pulling a dash. I am not the best mechanic but have pulled a few of these so hopefully my experience doing these will help someone.
Great write up... I copied all of your pictures from Facebook to here, as some people do not use it:
I pulled a dash on a 67 Olds today. I took many pictures and tried to do so as to help others that have had a hard time getting these out. This is not really that hard. Except for one nut. The one above the wiper switch. It is a hard one to get to. This one was removed from a car that has 71,000 miles. Yet it is 50 years old. The insulation on the inside of the firewall was in very bad shape and was all over the place so had to deal with that. I am not putting this back together so I removed the glove box door and liner to help with access. You do not need to do this to get the dash out. I also removed the radio you will need to do this. I took the heater control cables off at the heater box. If I am changing out a dash then I take the three screws off that hold the heater controls to the dash instrument panel (IP) I unplug the electrical wires at the heater controls and the lighter. I removed the tumbler from the ignition and left the ignition switch in the car. It is very hard to unplug. This car had some added on speaker wire that was zip tied to the dash wires so had to remove that. The nuts that hold the dash to the metal frame of the dash are 3/8 and I use mostly a flex head 1/4 drive ratchet and a deep socket to get them off. There is two on the right side, one upper and one lower at the end of the IP. There is also a few more along the upper and lower parts of the IP. On the left side there is two, one above the wiper switch, (this is the worst one to get to) and one below the headlight switch. You also need to unscrew the speedometer cable and with great care undo the circular plug in at the printed circuit. This take your time with and often it will break off a pin or two. The more time and care you take the better the odds of reducing this from happening. This is hard for those of us with neck issues and hand issues. So, take your time and do not be in a hurry. After you get it loose and wiggle it way from the firewall there is a screw that is vertical holding the wiring harness to the top of the speedo cluster area. Another way to do this is to removed the entire wiring harness with the fuse box. This is done by removing the screws on the inside at the fuse box and on the outside at the bulkhead connecting for the wiring harnesses.
To start the removal of the dash I removed the front seat and laid shipping blankets on the floor to make it more accessible and move comfortable to work on.
Glove box prior to removing the door and liner.
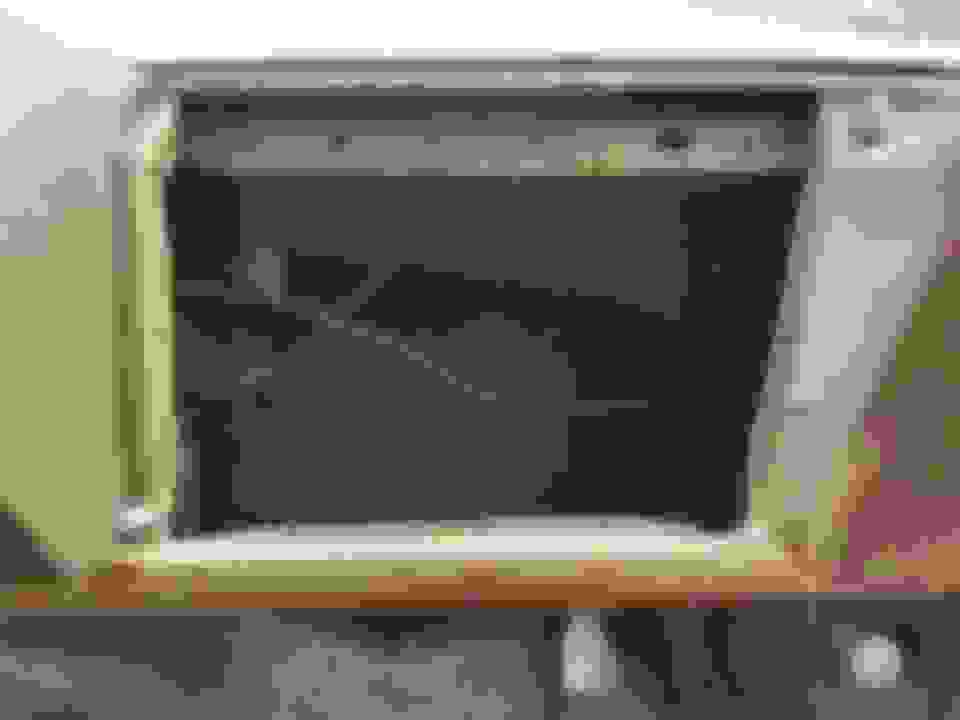
Glove box opening with door and liner removed.
speaker wires zip tied to the factory harness. These are not factory and were removed. You may find many things altered on your car. These are 50 year old cars. If they could only tell us their story.
Radio plug in, unplug this and the antenna wire prior to removing the radio.
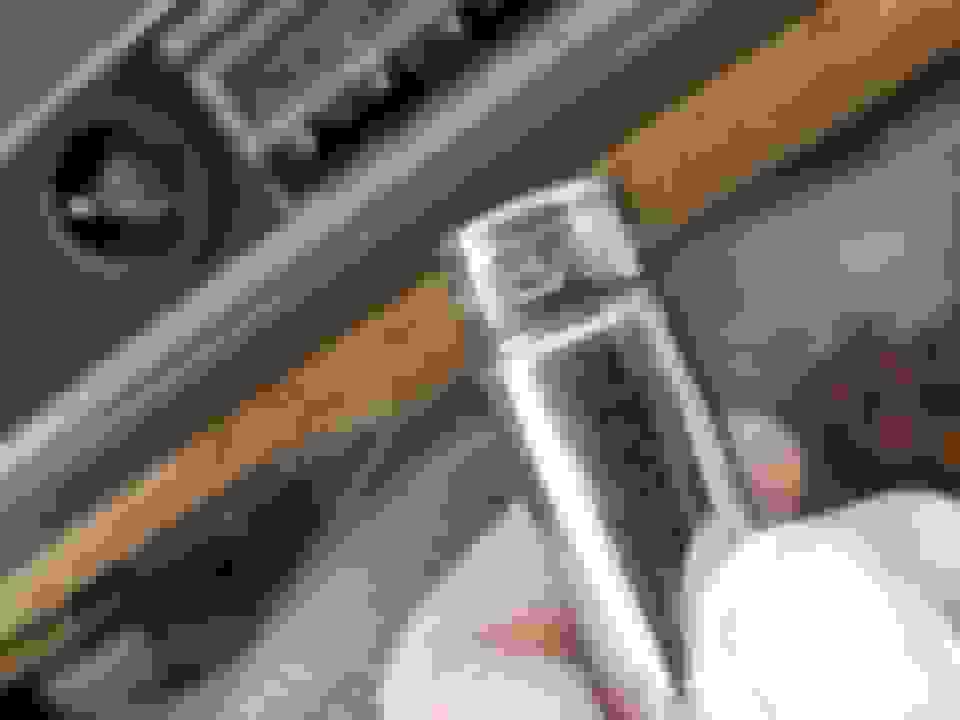
5/8 socket to removed the nuts on the radio **** shafts.
Radio loose
Most of the screws on the dash are either 3/8 or 1/4 inch sockets. I used a flex head ratchet and a variety of extensions.
ash tray mounting bracket, this does not need to be removed but helps with more clearance and access. again I am not putting this car back together so helps to removed all I can for access.<br/>
Here you can see the 3/8 nut lower center in the picture. This is what he mounting nuts look like. I believe there is 7 of them
looking towards the heater controls from the glove box area you can see another mounting nut in the lower right area
removing the heater control cables at the heater box. a 1//4 inch screw and a slide on locking washer need be removed. I find just take pliers and squeeze the washer. This makes it come right off and in if reinstalling you will need no washers.
and example of a not factory speaker that needed to be removed. These are 50 plus year old cars and will have things at times owners have added
This is the area by the ebrake light.
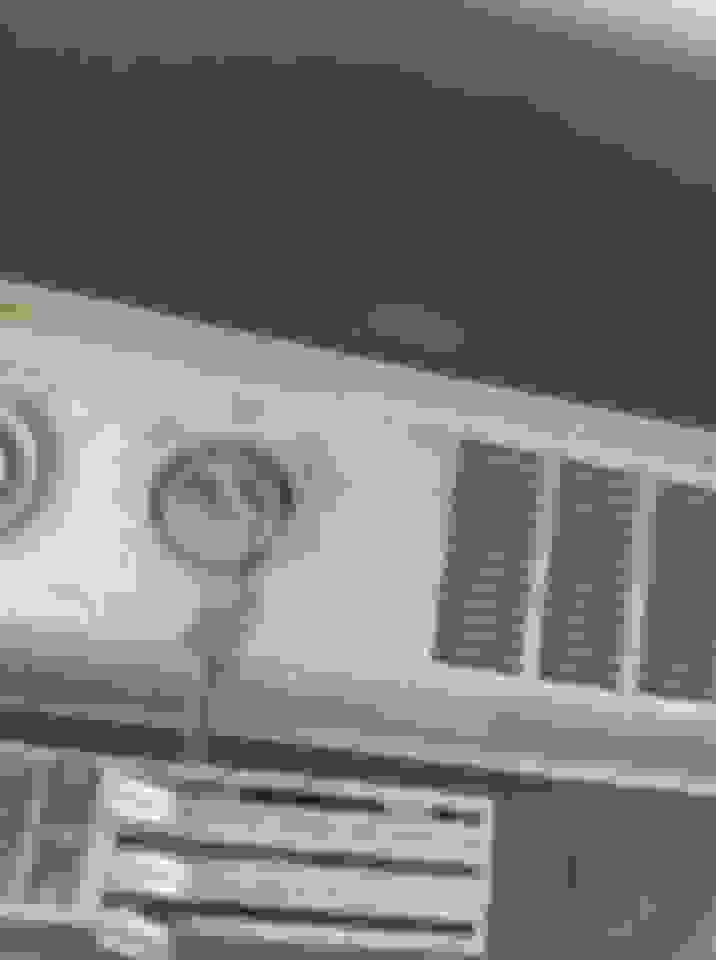
headlight switch
Here you can see the mounting nut below the headlight switch
You can see how the insulation is in poor condition and gets in the way, You can also see the not factory speaker wire and the round circuit board plug in on the back of the dash
back of the heater controls
This is the screw you can access after you get the dash loose from the firewall.<br/><br/><br/>
removing the screw holding the wiring harness<br/>
Here you can see the speedometer cable and past it the round circuit board plug in
straighten out a large paper clip to insert into the ignition tumbler to remove it
with the key in the tumbler insert the paper clip into this same hole then turn the switch to just past accessory, then pull the tumbler out.
Once this is done the ring can be removed holding the ignitions switch assembly to the dash
Here with the dash assembly out you can see the lower mounting stud to the right just below the headlight switch and to the left the mounting screw for the dash IP to the dash pad
The mounting stud between the speedometer and the heater controls.
the mounting stud below the center area of the dash
The mounting stud on the upper section above the radio
Mounting stud above the lighter area
mounting stud above the wiper switch. This is the hardest one to get to when in the car
grounding strap not correctly connected at the heater controls
yep been there done that. The small mounting dash fasteners were a challenge indeed. When I reinstalled the finished product-dash, I used star-nuts with external tooth lock-washers. I did not want to take a chance of one of them coming loose and get a "dash rattle or squeak". I installed all of the other new wiring needed for all the new accessories, used "ties" to make the job clean and accessible in case of service needed. For a novice I think it turned out pretty good. Is your old fuse panel any good?
The Cutlass looks very similar to my 67 Delmont. Was having fits, trying to get ignition tumbler out last fall. Now that weather is starting to warm up, will give it another shot.
Will be following the pictures as I need to get the dash pad off to get it re-done, due to all the splits and cracks in it. This will help in getting what instrument panel lights are not working back in operation, also.
Great write up Larry.
My under dash insulation was so bad, i didnt want to breath it as it flew through the air.
I got my shop vac and vacuumed most of it out before i got started.
Yes Steve that is a great idea as well. Many I have done need that to happen first as well.
I am now offering restoration of these dash instrument panels for 66-67 Olds cars. This is premium show quality restoration of your dash panel or exchange or outright purchase of a restored dash panel.
I can provide many pictures of these I have completed. These are vacuumed on aluminum as done originally and complete repainting of the argent/silver and black as original. I offer a 7-8 week turn around to get these done unless I have one in stock that is not already sold then can be done right away.
Contact me direct
Larry Moyer
Olds Parts and More
Redmond, Oregon lemoldsnut@aol.com
541-815-4363
Had someone ask me about this in the past few days so thought I would comment so it goes back to the top
I am restoring these panels to show quality now.
as of this post have a 67 done that could use a new home.
sell them exchange with a good core or outright.
Larry lemoldsnut@aol.com
you can see this at the top of my "Olds Parts and More" Facebook page as well
Just a promotion for Ron Roth dash restoration; I have a dash he did for my '67 442, and one of his dashes in another '67 I bought. BOTH are VERY NICE.!! You'll be happy with Ron's work as his passion for these cars shows in the finished product.
Here you can see the speedometer cable and past it the round circuit board plug
Question, how do you remove the wipers and lights wiring and do you have to remove the cable to the left of the speedometer cable? And if so how? Do you pull it out or do you have to turn it a certain way?
It sounds like you are confused. The speedocable has to be unscrewed. There is a retaining nut clearly seen in this picture you commented on. The electrical connections at the wiper switch and the headlights both just up plug. The only electrical connection that is a little tricky to get unplugged is the ignition switch. It has 3 retaining clips to hold it in. This is why I recommend taking the tumbler out and retaining ring off the front of the dash to removed it from the dash instrument panel. This makes it very easy to access it once the dash is removed.
The easiest way to remove (or install) one of these instrument panels is to disconnect the heater cables at the heat box, remove the radio, unscrew the fuse box, disconnect the peripherals like the courtesy lamps and steering column, and pull the whole I/P as a unit with the wiring harness and all the switches intact.
Everything else is much easier to work on when it's on the bench.
Wear a dust mask! And keep a fan going. That cowl insulation will give you a nasty sinus infection.
That is actually pretty close to the opposite of how they were installed. The only thing I would change is make sure the speedo cable is disconnected, and the dimmer switch and brakelight switch and grounds are disconnected.
It sounds like you are confused. The speedocable has to be unscrewed. There is a retaining nut clearly seen in this picture you commented on. The electrical connections at the wiper switch and the headlights both just up plug. The only electrical connection that is a little tricky to get unplugged is the ignition switch. It has 3 retaining clips to hold it in. This is why I recommend taking the tumbler out and retaining ring off the front of the dash to removed it from the dash instrument panel. This makes it very easy to access it once the dash is removed.
Hope this helps.
Larry
Okay, thanks for the help on answering my question. I�m just a little confused as I�ve never done something like this before.
Okay, thanks for the help on answering my question. I’m just a little confused as I’ve never done something like this before.
Read this sticky and look at pictures, maybe print out and get under your dash so you can use the pics as a reference..I used this sticky to remove my dash, do yourself a huge favor and make sure you remove front seats..much more room to work with. Once you get under dash with a good light and use the references to identify all the parts you will see its really not that difficult..as stated, wear a mask and goggles to keep insulation dust out of your eyes and nose..if you have a good wet vac, vacuum up real good-before you start and also up under the dash vacuum good.. you can PM me and I will give u my phone number if you need to talk with me..Larry who wrote the sticky did a great job of showing how to remove this..
Read this sticky and look at pictures, maybe print out and get under your dash so you can use the pics as a reference..I used this sticky to remove my dash, do yourself a huge favor and make sure you remove front seats..much more room to work with. Once you get under dash with a good light and use the references to identify all the parts you will see its really not that difficult..as stated, wear a mask and goggles to keep insulation dust out of your eyes and nose..if you have a good wet vac, vacuum up real good-before you start and also up under the dash vacuum good.. you can PM me and I will give u my phone number if you need to talk with me..Larry who wrote the sticky did a great job of showing how to remove this..
I already pulled the seats out because I am rebuilding them and that is a task of itself.
Enjoyed this thread. Looking at the pictures when the dash was still in the car made my arms itch and nose sneeze, been there, done that, don't want to again...
Realizing how the grounds were made for every electrical item by metal tabs, straps, etc. makes you appreciate after fifty years or more clean connections upon reassembly are really crucial and how intermttents can crop up before resoration with loose connectors.
I had to removed a dash from a 67 Olds yesterday. This car was an F85 but the procedure is the same on Cutlass, 442 and Vista cruiser. This is a low option car with only heater no AC. Needless to say the more options the more stuff there is to work around.
I'm not sure how to post a link to here maybe one of the moderators can do that. If you go to my facebook page "Olds Parts and More" you can see it. Hope it helps those pulling a dash. I am not the best mechanic but have pulled a few of these so hopefully my experience doing these will help someone.
Constructive comments or questions are welcome.
Larry
Thanks for the pictorial.
i cannot find any videos on removal and replacement of the dash pad only anywhere for a 66 Cutlass. This post is very helpful, but if there are others out there who have replaced their (64-67) dash pad and could advise, that would be great.
i cannot find any videos on removal and replacement of the dash pad only anywhere for a 66 Cutlass. This post is very helpful, but if there are others out there who have replaced their (64-67) dash pad and could advise, that would be great.
I pulled my dash board out last July. I have the new dash coming in shortly. I will be making videos on all kinds of things on my 66 olds cutlass, one of which will be everything to do with the dashboard installation, removal, and separating dash pads from dash assemblies. My YouTube is
I pulled my dash board out last July. I have the new dash coming in shortly. I will be making videos on all kinds of things on my 66 olds cutlass, one of which will be everything to do with the dashboard installation, removal, and separating dash pads from dash assemblies. My YouTube is
Reproduction one is based on a 67 they call it a 66-67 but they are not the same the wiper switch recess is different. Yes I would do it again but I would not use the reproduction one it's a Chinese knockoff and like most Chinese reproduction Parts they're a little different. They are quite a bit cheaper about the third of the price of getting a good one restored. Keep in mind also they don't sell the gauge section with it and it's not reproduced as of yet.
I did not make an install video I figured everybody could just go backwards on the pictures it takes a lot of time to do that and I have other things to do. Assembling the entire instrument panel with the dash pad and the wiring harness is the smart way to go before you put it in then it's pretty simple. If you have any other questions email me direct or call me I attach my card to this
I used Larry’s instructions off this site and it went very smooth. I am doing another dash for another y6 I am restoring, I just got it back from Vacu-ornametal.. fantastic job and they did the guage bezel along with it.
I used Larry�s instructions off this site and it went very smooth. I am doing another dash for another y6 I am restoring, I just got it back from Vacu-ornametal.. fantastic job and they did the guage bezel along with it.
Good to know - I'm pouring concrete today and hope to have my 30X50 shop garage erected by mid January, and the dash job is one of the first I plan to do for my '67 once it's inside.
I had to removed a dash from a 67 Olds yesterday. This car was an F85 but the procedure is the same on Cutlass, 442 and Vista cruiser. This is a low option car with only heater no AC. Needless to say the more options the more stuff there is to work around.
I'm not sure how to post a link to here maybe one of the moderators can do that. If you go to my facebook page "Olds Parts and More" you can see it. Hope it helps those pulling a dash. I am not the best mechanic but have pulled a few of these so hopefully my experience doing these will help someone.