When you click on links to various merchants on this site and make a purchase, this can result in this site earning a commission. Affiliate programs and affiliations include, but are not limited to, the eBay Partner Network.
1955/1956 oldsmobile factory air plastic ducts do not withstand Texas heat. Anyone have good ones to use for reproduction? Or my idea is to work with a sheet metal shop to create long term solutions? Metal requires insulation of same type to prevent water condensation issues. Other suggestions to solve old plastic ducts that are disintergating? Thanks. Ron
Ron, I've been looking for 10 years for that A/C manifold. A member here (Lonestarjarhead) gave me a melted one a few years ago. That gave me an idea of what it should look like so I could make a replacement. I used two hose schnozzles from a Craftsman wet/dry vac. Works great and can't be seen.
I have a couple 56 olds i have owned since around 1970. As a teenage back then, i tried to buy a replacement from the Olds dealer. Mine were literally crumbling back then. They were available per the parts guy but the parts guy who i knew very well told me that they were crumbling in the boxes at the warehouse. I never followed up beyond his comments. I made mine out of a 1 guart metal paint thinner container and soldered some ends on it. I like your vac part better than my can. I have a couole of manifolds i got with some parts but your original is far better shape than mine. Thanks for the ideas guys. Ron
Hi guys, I have been looking also for that part, and ... no success yet.
Here is my idea: I'm a designer and I could make a clean diagram of all the sides of the original manifold, but I need pictures and measurements.
At least that will give us a bit more "data" than the drawing from the AC manual.
Once that's done I will be more than happy to share the diagram.
From there, I'm gonna try find someone that has a 3D printer and see if they could print it and for how much.
If that works, we'll have a 3D file to share for print!
But to do so, I'll need many pictures and measurements.
I was going to suggest something similar. I'm an engineer and have access to professional 3D CAD software. If one of you could provide a decent part, I could make a 3D model and print it out of a printable plastic. Would easily be as strong as the originals.
Cost would depend on the size and complexity as it might have to be made in a few pieces and then glued together. Sounds chintzy but would be pretty strong.
Wow that sounds perfect!!
I really do think that the way to go.
Unfortunately, I do not have the pasrt...
Thank you
No problem. I think this would be the best option to make something that looks/functions like the originals. If somebody comes up with an original, let me know. It's not a destructive process so you'd get the original part back once it was modeled.
No problem. I think this would be the best option to make something that looks/functions like the originals. If somebody comes up with an original, let me know. It's not a destructive process so you'd get the original part back once it was modeled.
Anyone with an original manifold?
Pictures? measurements?
I guess I may have the only surviving manifold in existence (see post #2 above) although it's in sad shape. I would be be happy to donate it to research, but before we get carried away:
Do any of you have a working 55 or 56 with C.A.C. =Car Air Conditioning? (If you're looking up parts, that's the real name for what we call factory air). I do, and I would be interested in your comments on what I've found. After I fabricated the manifold shown in post #2, I always got ice cold air out of the left vent but I was disappointed in the air coming out of the right vent. The surviving manifold has a duct reduction from 3 1/2 to 2 1/2 and an opening at the control panel with holes to release air for the center area of the car. I copied all of those details in my fabricated version. During a summer of driving, I eventually closed the center vent and taped the holes in the manifold to influence more air to the right vent. It helped. Next year I'm going to remove the manifold and run a duct directly from the "Y" on the firewall all the way over to the right vent (eliminating the manifold completely) to see how that works.
Franck
My 55 is equipped with an underdash AC unit. This was installed by Oldsmobile shortly after, in the late 50s. I'm planning to retrofit the AC in the dash in the future. I have located several components, still looking for the missing one.
Unfortunately I cannot answer your concern, sorry. Could you have a lost of flow with the fabricated unit?
Anyway, it seems to be a long way from the left side blower all the way to the extreme right vent. Your unit may work fine, it may just have been a prob of engineering from the beginning... my 2 cents.
The manifold seems to be different from 1955 (part # 566720) to 1956 (part # 567719). Your car is a 56 right?
Do you know if it could fit on a 55?
1955/1956 oldsmobile factory air plastic ducts do not withstand Texas heat. Anyone have good ones to use for reproduction? Or my idea is to work with a sheet metal shop to create long term solutions? Metal requires insulation of same type to prevent water condensation issues. Other suggestions to solve old plastic ducts that are disintergating? Thanks. Ron
I have two very narly ducts that i can provide pictures of. I have the firewall piece as well that is so warped that it broke loose from the firewall retaining bolts. I can measure anything and/or will send the parts to you. I agree on air flow problems.
I have replaced the blower motor with a real powerful motor and a slightly larger blower wheel. I used larger wire to remake the harness to handle the increased amps. I had planned on a sheet metal shop for both parts and i was going to enlarge all the outlets in the new parts. The real problem is in the nozzles themselves. They are so small but the bigger motor drives the air much better. 1956 vents are larger and system in general better airflow.
Towards this end, i replaced the ashtrays with vents from a 1964 Chrysler (nice chrome heavy metal). It is hot in dallas. I also renewed my headlined and put some 3/4 inch foil lined fiber glass bats in the "pockets" between the headliner retaining wires. This helps especially in initial car cooling. Also used insulation on the firewall on the both sides to help cooling and noise control. I also put insulation behind the door panels like the new cars do. I added a heat control tunnel around the muffler. I used fiberglass wrap on the exhaust around the exhaust manifold and the pipes to reduce floor heat. Also added insulation under front and rear seats. Used a lot insulation behind rear seat for heat and sound control. I used a 1962 olds radiator fan with clutch and water pump pulley for engine noise control and better idle engine and a/c cooling. Replaced the original a5 compressor (7 cuin displacement) with the a6 compressor 12.5 cuin displacement and smaller pulley) for far better idle a/c cooling. Added a/c pressure line muffler to reduce freon piston pulsing noise. Enhanced the condensor capacity for r134-a short comings using a modified freon circuit 1964 chrysler condensor behind the original oldsmobile condensor. Rebuilt the receiver/dryer using modern desiccant media. Added pressure control switches like in newer a/c systems.
I have two very narly ducts that i can provide pictures of. I have the firewall piece as well that is so warped that it broke loose from the firewall retaining bolts. I can measure anything and/or will send the parts to you. I agree on air flow problems. Ron
That's cool, Ron, Thank you!
I'm sure Acavagnoro is still on okay to help,
Could you get in contact with him?
You could always post pictures of the unit, still be helpful and interesting to see.
Originally Posted by Love1955oldsmobile
I have replaced the blower motor with a real powerful motor and a slightly larger blower wheel. I used larger wire to remake the harness to handle the increased amps. I had planned on a sheet metal shop for both parts and i was going to enlarge all the outlets in the new parts. Ron
What blower did you use? Does it fit well in the firewall unit?
That's cool, Ron, Thank you!
I'm sure Acavagnoro is still on okay to help,
Could you get in contact with him?
You could always post pictures of the unit, still be helpful and interesting to see.
What blower did you use? Does it fit well in the firewall unit?
I went on fee bay and found a 400 watt motor. It was a stub shaft model. I used a 5/16 coupler and extended the shaft. The blower wheel was something i picked up - no idea from what car. The motor is larger diameter and slightly longer. Clearances are fine. You still have to pull the hood hinge to deal with it if there are motor problems. You drill new mounting bolt holes for the larger diameter motor. I also relocated the speed resistor into the air flow much like the newer cars due to higher amp draw. In retrospect I should have used a newer more common resistor.
I dont have pictures - really should have.
I also drilled a hole in the fan switch. Used a grease needle to inject a little grease into the old switch - just a little maybe a couple or 3 matchheads worth of grease (non fibrous). Used a stubby screw to fill the hole.
Air flow is very strong and loud on high. But cooldown is many times better than factory with all the changes made.
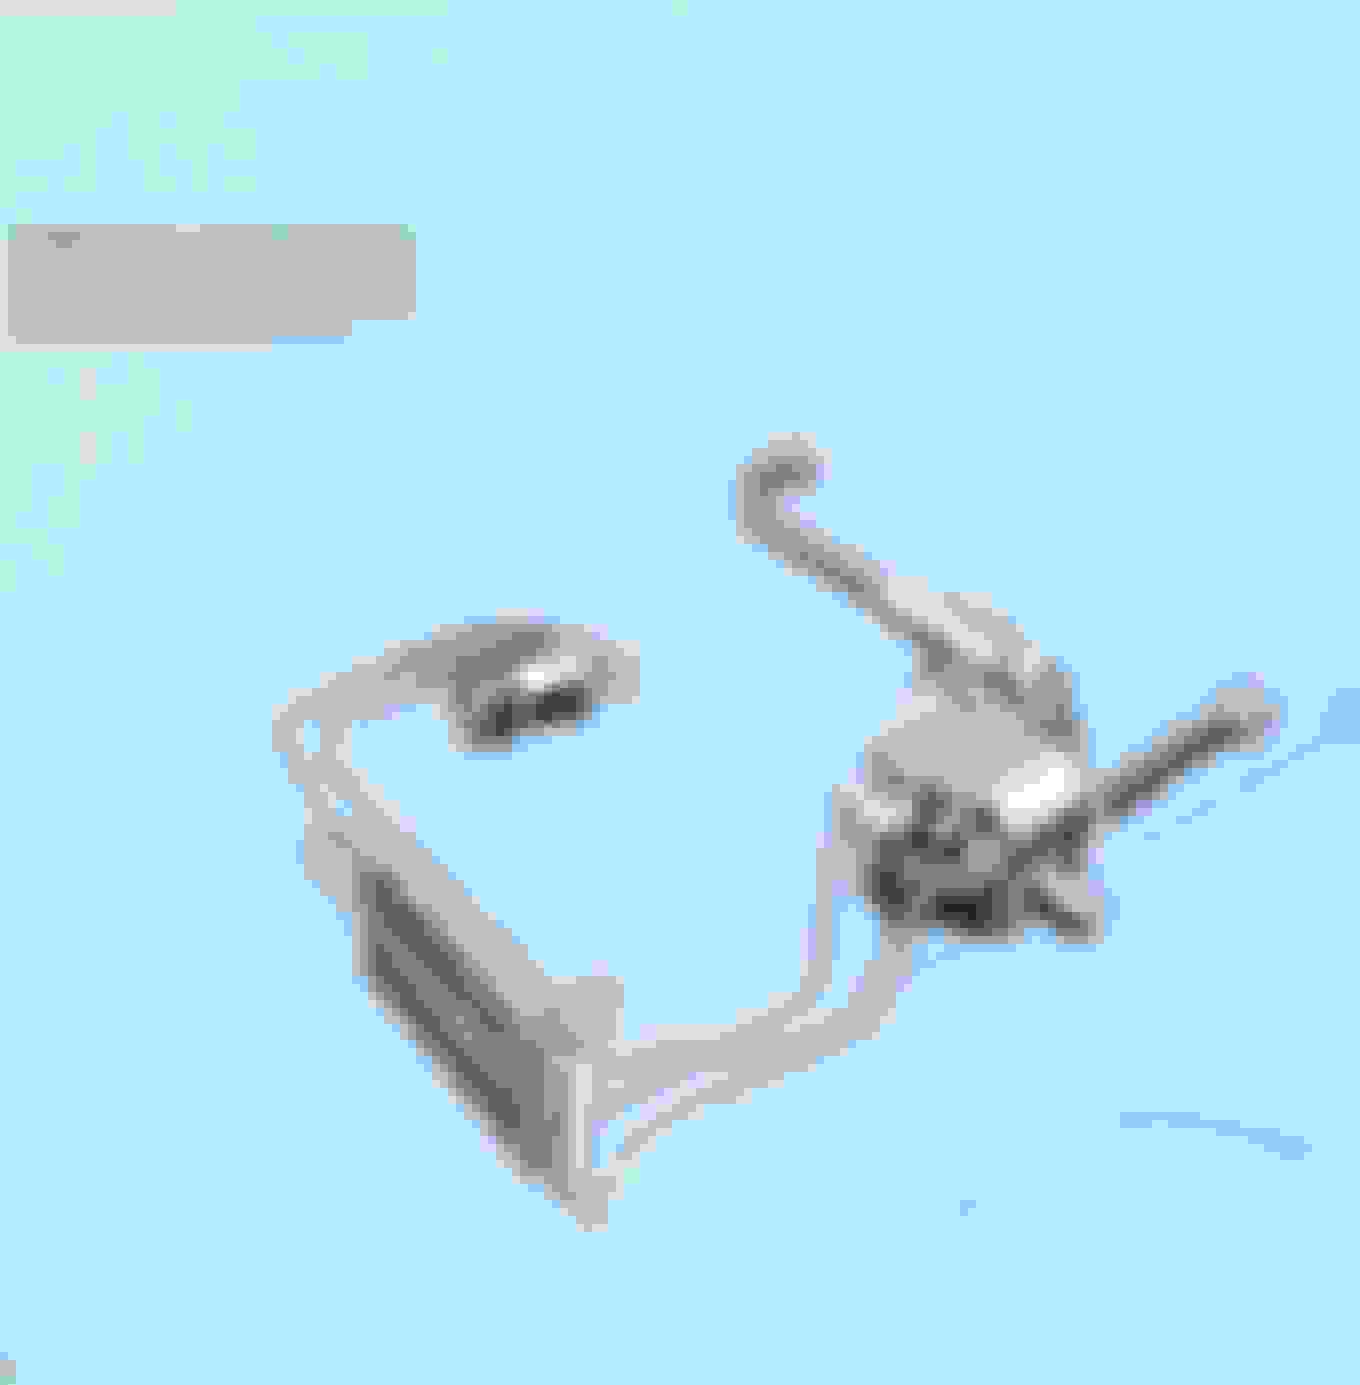
Back in post #10 I noted that there is a "Y" at the firewall that sends air via a 2 1/2" duct to the left side vent and a 3 1/2" duct that takes air to the center manifold. Then there is a 2 1/2 inch duct that goes to the right side vent. A lot of air is lost in that center manifold, so I closed it off.
I finally found a picture of what I was trying to describe:
While I'm thinking about it, notice that the a/c system ^^^^^^ is completely independent of the heater defroster system. See the separate fan blower motor.
My Y has seen better day...
I'll send it to acavagnaro as soon as I remove the evaporator housing to get a tracing and the dimensions of the opening on the firewall.

 November 6th, 2020 | 10:38 PM