
1970 442 gauges


Thread Starter
Registered User
Joined: Jun 2009
Posts: 4,293
From: Palm Bay, FL
1970 442 gauges
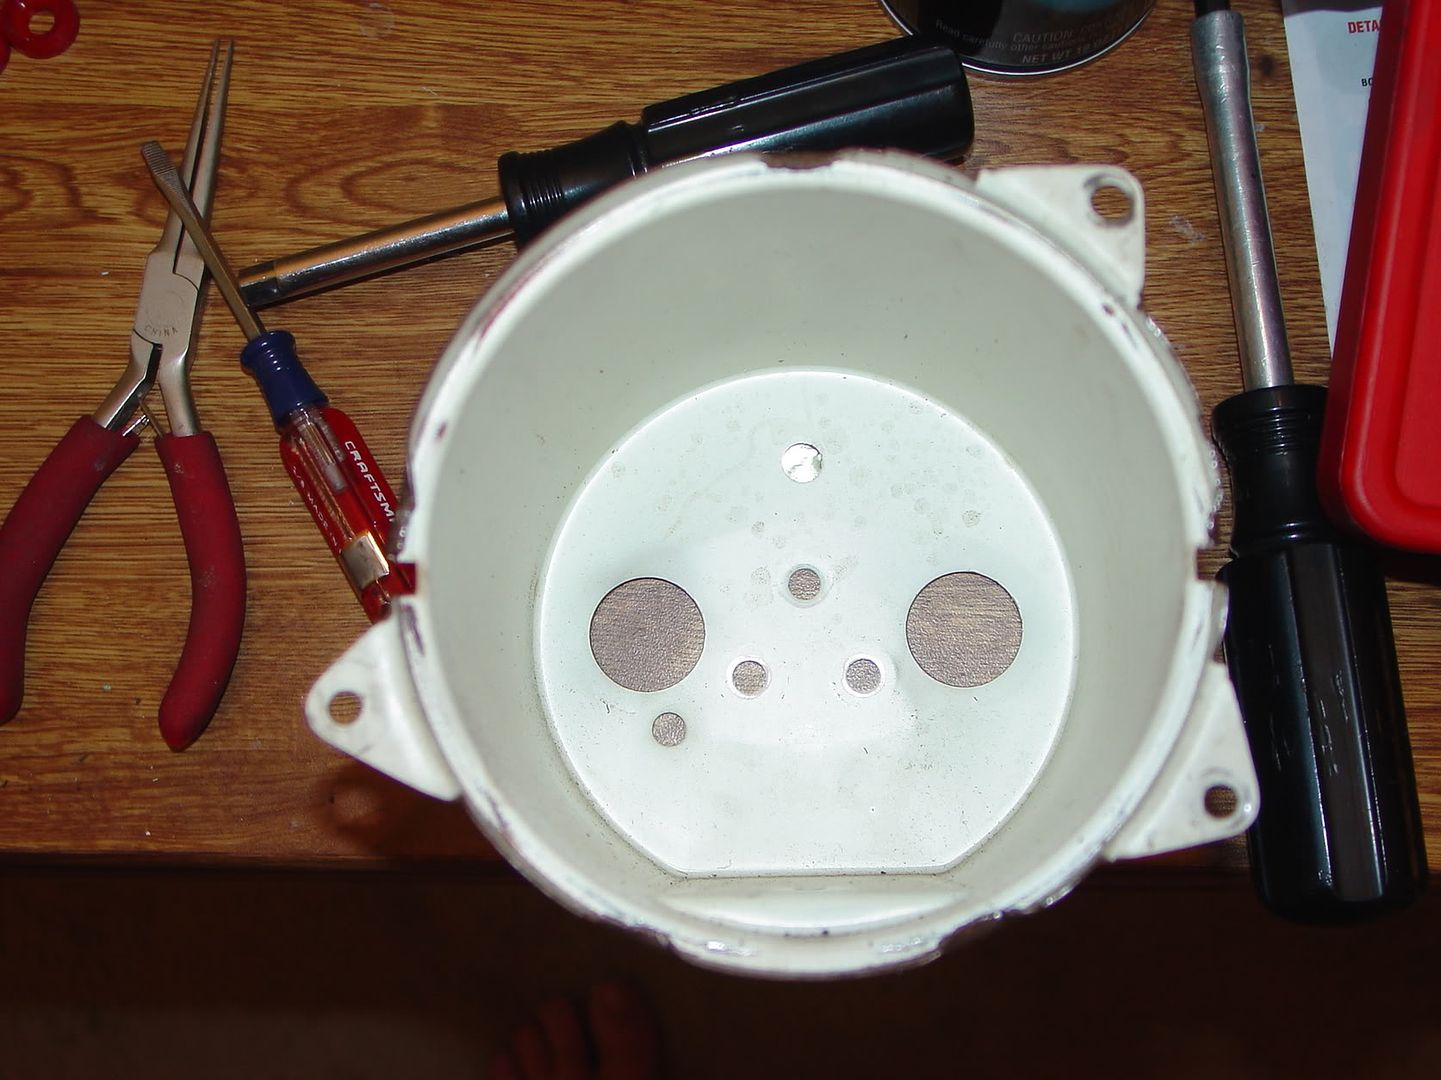
Well with the threads I have seen here and elsewhere I decided to open up my gauges and see just what condition they were in on the inside. All and all they are in pretty good shape. The reflectors are bright blue like they should be and there was no rust to be seen inside the cases. I decided to just clean them up a little and re-assemble them. I need to get a few more 194 bulbs, but all in all it was an easy project.
DSC02086.jpg
DSC02085.jpg
DSC02077.jpg
DSC02078.jpg
DSC02079.jpg
DSC02080.jpg
DSC02081.jpg
DSC02082.jpg
DSC02083.jpg
DSC02084.jpg
DSC02087.jpg
DSC02088.jpg
DSC02089.jpg
DSC02091.jpg
DSC02092.jpg
DSC02093.jpg
DSC02094.jpg
DSC02086.jpg
DSC02085.jpg
DSC02077.jpg
DSC02078.jpg
DSC02079.jpg
DSC02080.jpg
DSC02081.jpg
DSC02082.jpg
DSC02083.jpg
DSC02084.jpg
DSC02087.jpg
DSC02088.jpg
DSC02089.jpg
DSC02091.jpg
DSC02092.jpg
DSC02093.jpg
DSC02094.jpg
Registered User
Joined: Feb 2008
Posts: 11,798
From: Plano, TX
Those are VERY nice looking originals! What was the red 'jewel' from? Hi beam indicator??
If they were too dim to start with, 168 bulbs in the gage illumination sockets will brighten them up a bit. I use 168's in the warning lights and turn arrows to make them easier to see during the day.
If they were too dim to start with, 168 bulbs in the gage illumination sockets will brighten them up a bit. I use 168's in the warning lights and turn arrows to make them easier to see during the day.
same but different
Joined: Jun 2007
Posts: 2,965
From: Central Missouri
Randy thats a nice little rainy day project.....er winter for some of us
Thanks for showing us the details.
Snows clock shoppe.....looks somebody has been in there before. Does the clock still work? Thanks again.
Thanks for showing us the details.
Snows clock shoppe.....looks somebody has been in there before. Does the clock still work? Thanks again.
Thread Starter
Registered User
Joined: Jun 2009
Posts: 4,293
From: Palm Bay, FL
No the clock is busted...again it seems.
I am now having an issue with my temp gauge. It's pegging when I start the car. I have no clue why as I re-assembled it the way I disassembled it. I took my VOM to it and there is continuity EVERYWHERE. I can touch either post on any gauge and get continuity between any other post. It's the damnedest thing I have ever seen. It's really odd because the gas and oil gauges work the way they should, just not the temp.
And yes the red is the high beam indicator. That was something I didn't expect. It just fell out when I got the face out of the housing.

Registered User
Joined: May 2009
Posts: 2,212
From: USA
Told ya it was easy. https://classicoldsmobile.com/forums...storation.html
Rob is the one who started me on it with his clean up.
I would suggest repainting the interior of the gauges gloss white.
I also painted my trim ring reflector gloss white as well because I'm using LED's.
You'll get much better reflection of the light.
Mine looked like total ***.
I said F' the stupid clock conversion because I heard they break repeatedly.
So I forked out for the aftermarket Tach for $200.
Fedex is so far behind it was supposed to be delivered 2 days ago.
Last edited by Aceshigh; Feb 9, 2011 at 02:58 AM.
Registered User
Joined: Feb 2008
Posts: 11,798
From: Plano, TX
Obviously something happened during the reassy.
Time to pull the gauge again and look for a short. Make sure none of the pins on the PCB did not come loose and push back into the metal case when the connector was pushed on.
Mine too. Earlier years were red, then changing to blue later on.
I remember a whole thread being devoted to the red vs blue hi beam light last year!


Registered User
Joined: Feb 2008
Posts: 11,798
From: Plano, TX
Thread Starter
Registered User
Joined: Jun 2009
Posts: 4,293
From: Palm Bay, FL
 I swapped it back to the correct position on lunch today and, voila, all is right with the world again
Registered User
Joined: Feb 2008
Posts: 11,798
From: Plano, TX
")


Registered User
Joined: May 2010
Posts: 542
From: Mich.
Anyone know where you can buy replacement resistors used on the back of the these gauges?. What are the ratings?. I believe the colors define the rating...�The originals are just wound wire on a ceramic or fiber board. Mine maybe fine, but just want to chelk them to see if if oil gauge has a bad or going bad one that maybe causing the fluttering/step issue I am having..thanks
Last edited by Del70; Sep 20, 2012 at 04:08 AM.

Thread
Thread Starter
Forum
Replies
Last Post


