Care and Appearance Washing, waxing, paint care products, etc.

76' Engine Bay Detail

Thread Tools
 
Search this Thread
 
Old August 13th, 2019, 09:15 AM
  #1  
Registered User
Thread Starter
 
DrOldsMN's Avatar
 
Join Date: Oct 2013
Location: South Central Minnesota
Posts: 42
76' Engine Bay Detail

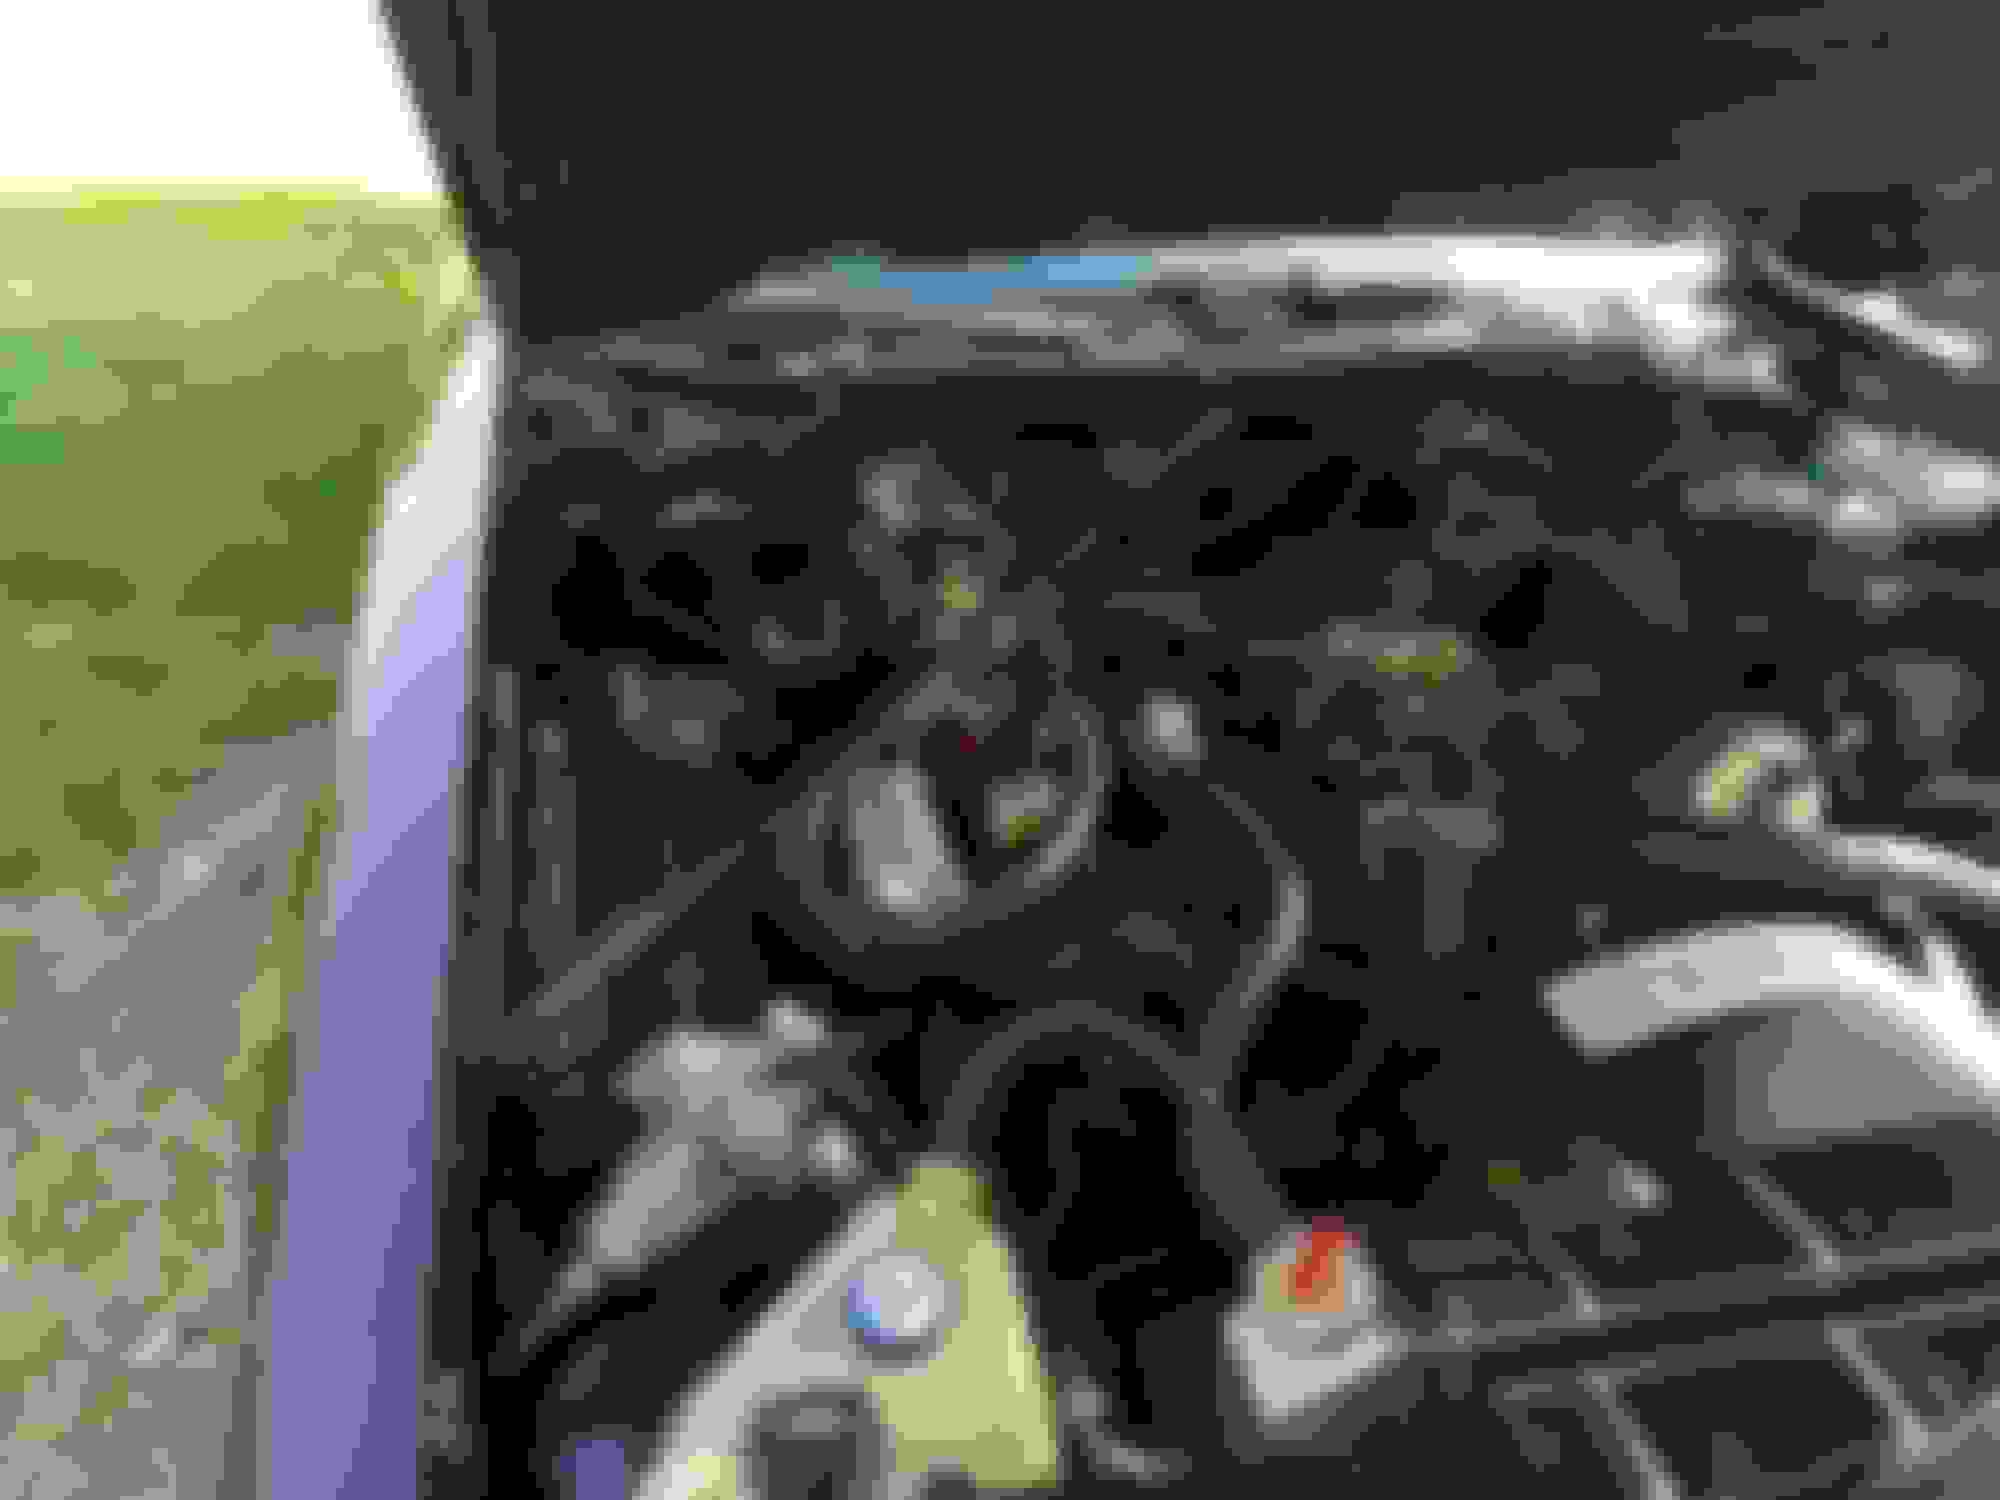
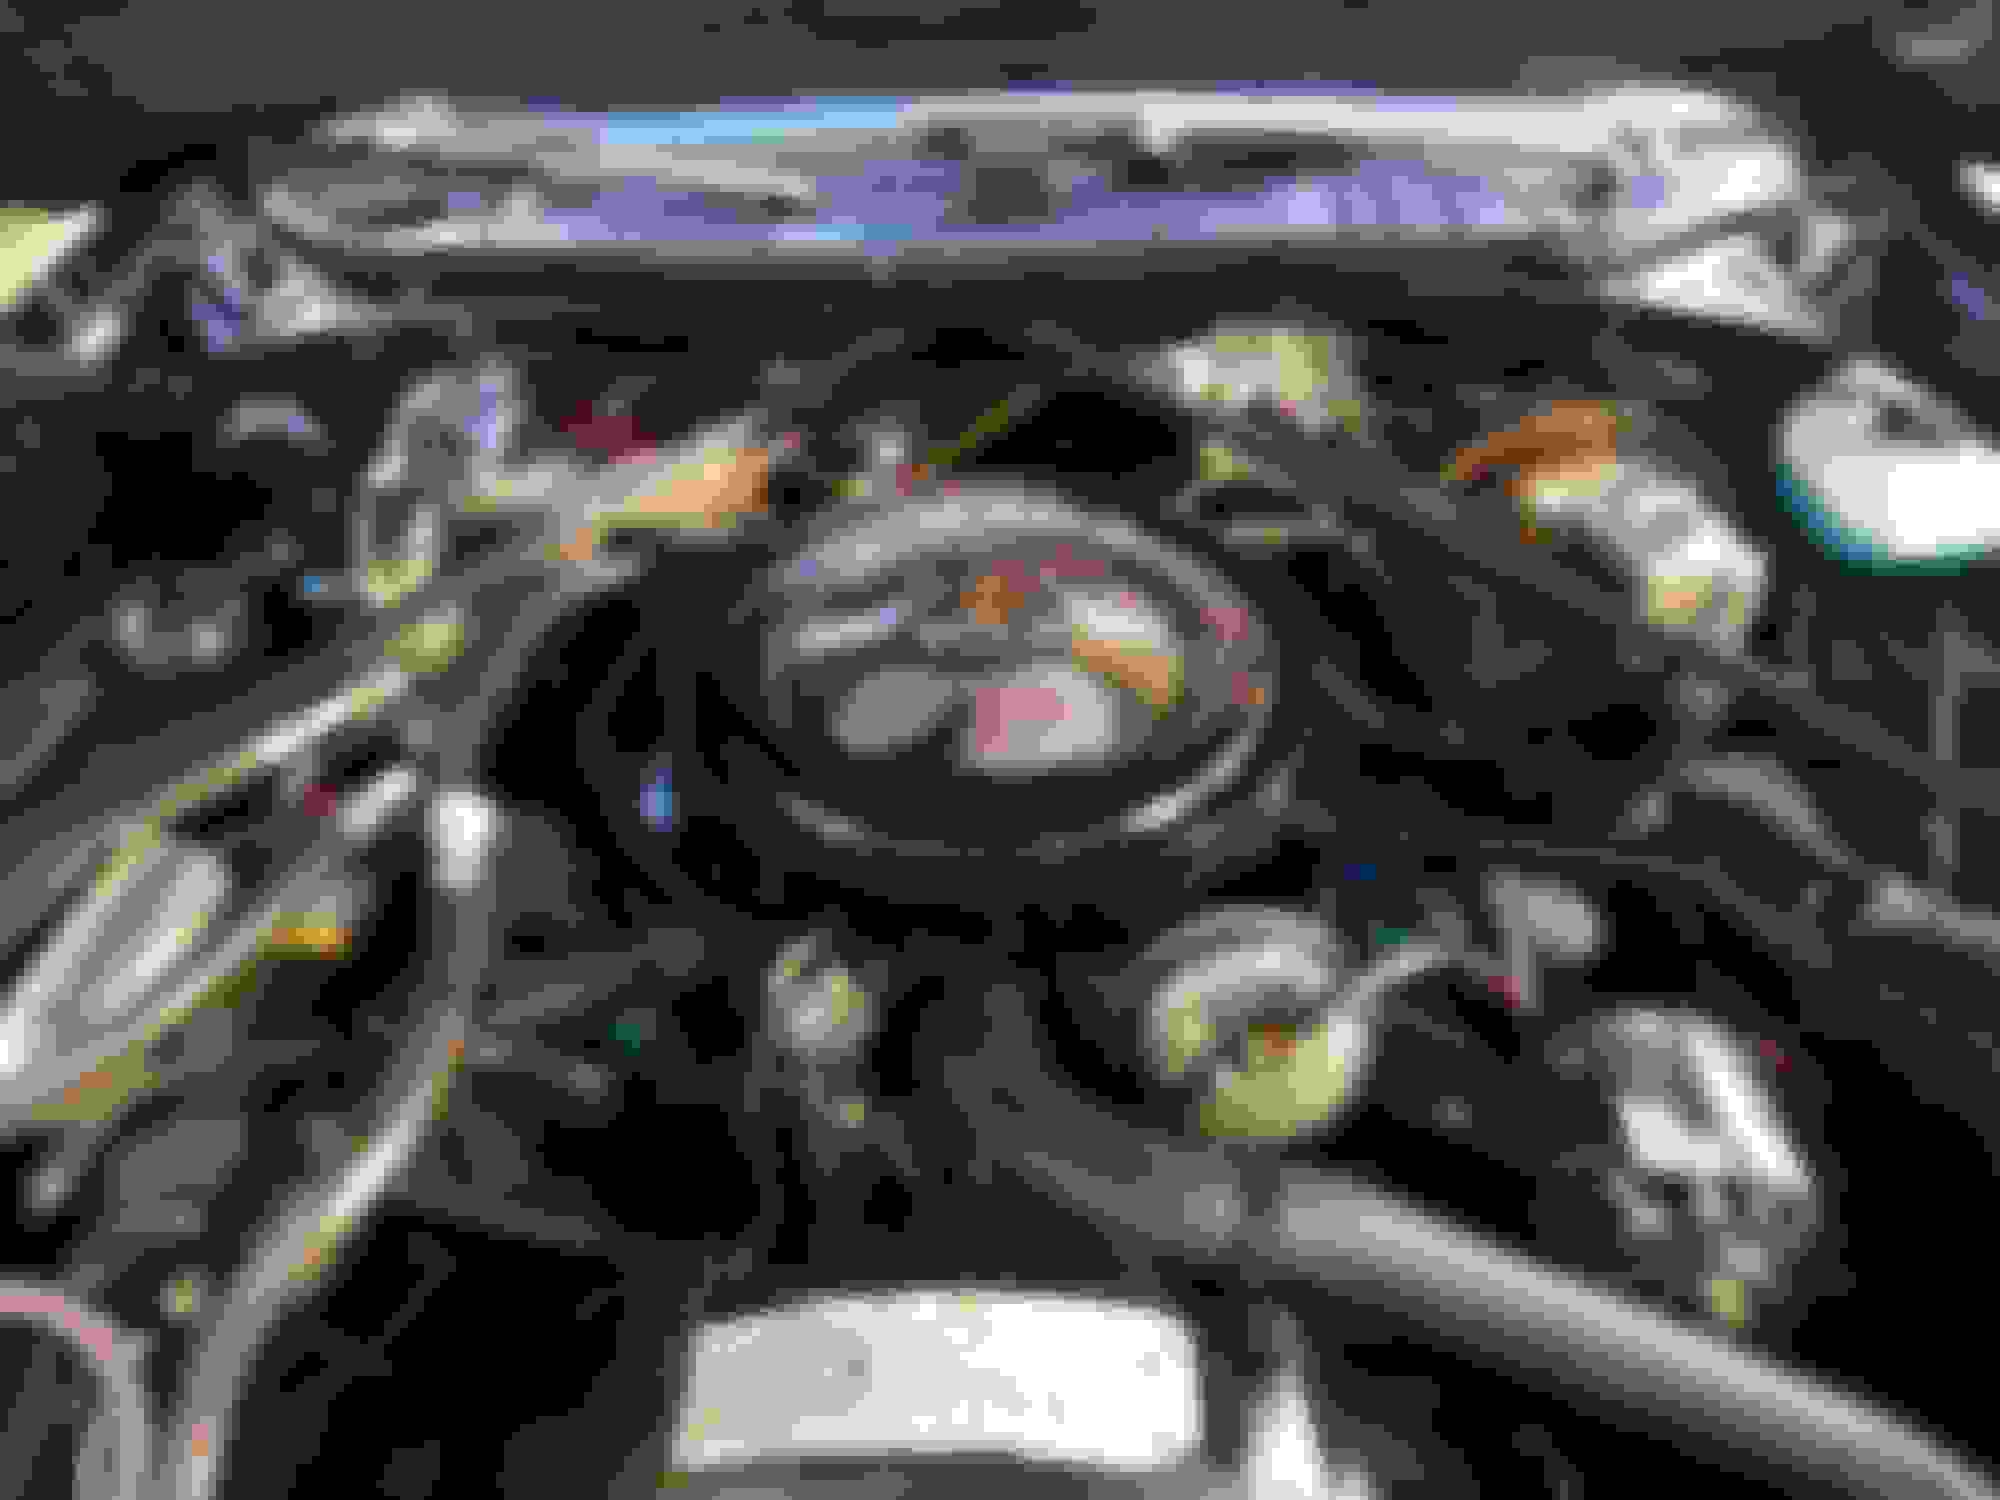
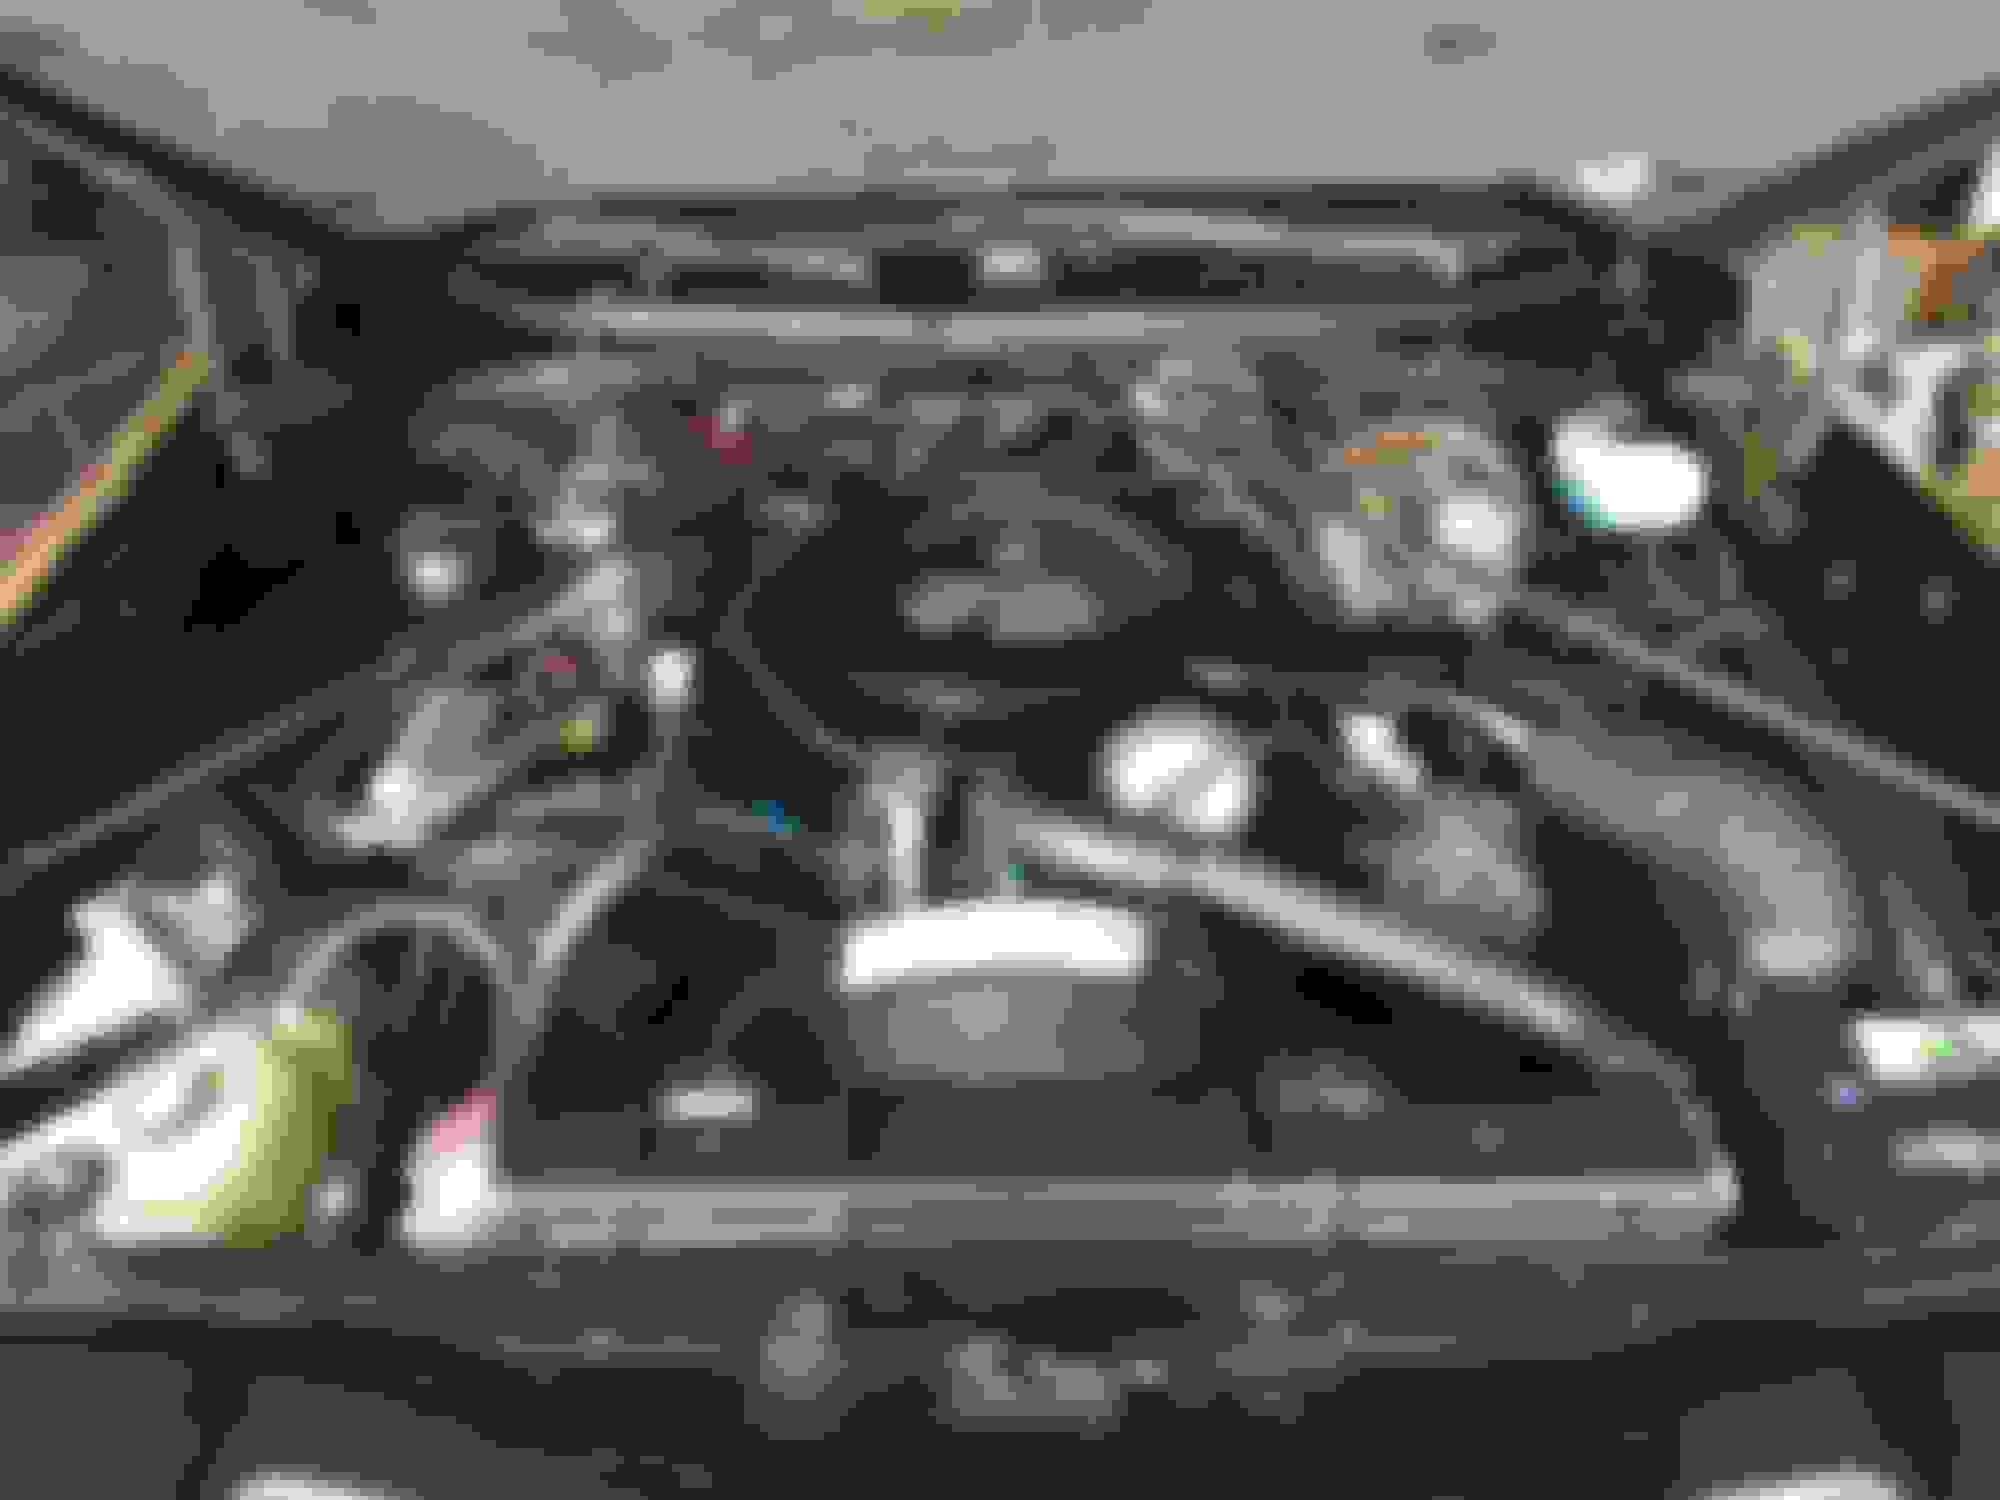
A few before and after pics of my engine bay detailing. Before is what it looked like when I bought it. Hadn't been done since then. Figured it was time. Didn't spend too much time with the tooth brushes.


DrOldsMN is offline  
Old August 13th, 2019, 03:03 PM
  #2  
Administrator
 
oldcutlass's Avatar
 
Join Date: Oct 2009
Location: Poteau, Ok
Posts: 40,798
Nice work
oldcutlass is online now  
Old August 13th, 2019, 04:52 PM
  #3  
Registered User
Thread Starter
 
DrOldsMN's Avatar
 
Join Date: Oct 2013
Location: South Central Minnesota
Posts: 42
Thanks, not too bad for 33k miles and 43 years. Squirrels made it their home when the original owner had it. Evidence of air cleaner damage and a few other spots.
DrOldsMN is offline  
Old August 13th, 2019, 06:29 PM
  #4  
Registered User
 
deadeyejedi's Avatar
 
Join Date: Sep 2012
Location: saratoga springs,n.y
Posts: 1,907
Looks great !There sure are alot of nooks and crannies you had to work around
deadeyejedi is offline  
Old August 15th, 2019, 10:52 AM
  #5  
Registered User
 
tomhartrides's Avatar
 
Join Date: Jun 2011
Location: Nashville Tennessee
Posts: 26
Looks great. Please tell us how you did this. Might save somebody from pulling an engine to detail the bay. THX
tomhartrides is offline  
Old August 17th, 2019, 08:38 AM
  #6  
Registered User
 
troyd's Avatar
 
Join Date: Mar 2014
Posts: 157
Did that without pulling the motor? Looks great!

A good engine bay detail is on my to-do list but I'm dubious about my ability to pull it off.

Cheers,

Troy
troyd is offline  
Old August 17th, 2019, 01:32 PM
  #7  
Registered User
Thread Starter
 
DrOldsMN's Avatar
 
Join Date: Oct 2013
Location: South Central Minnesota
Posts: 42
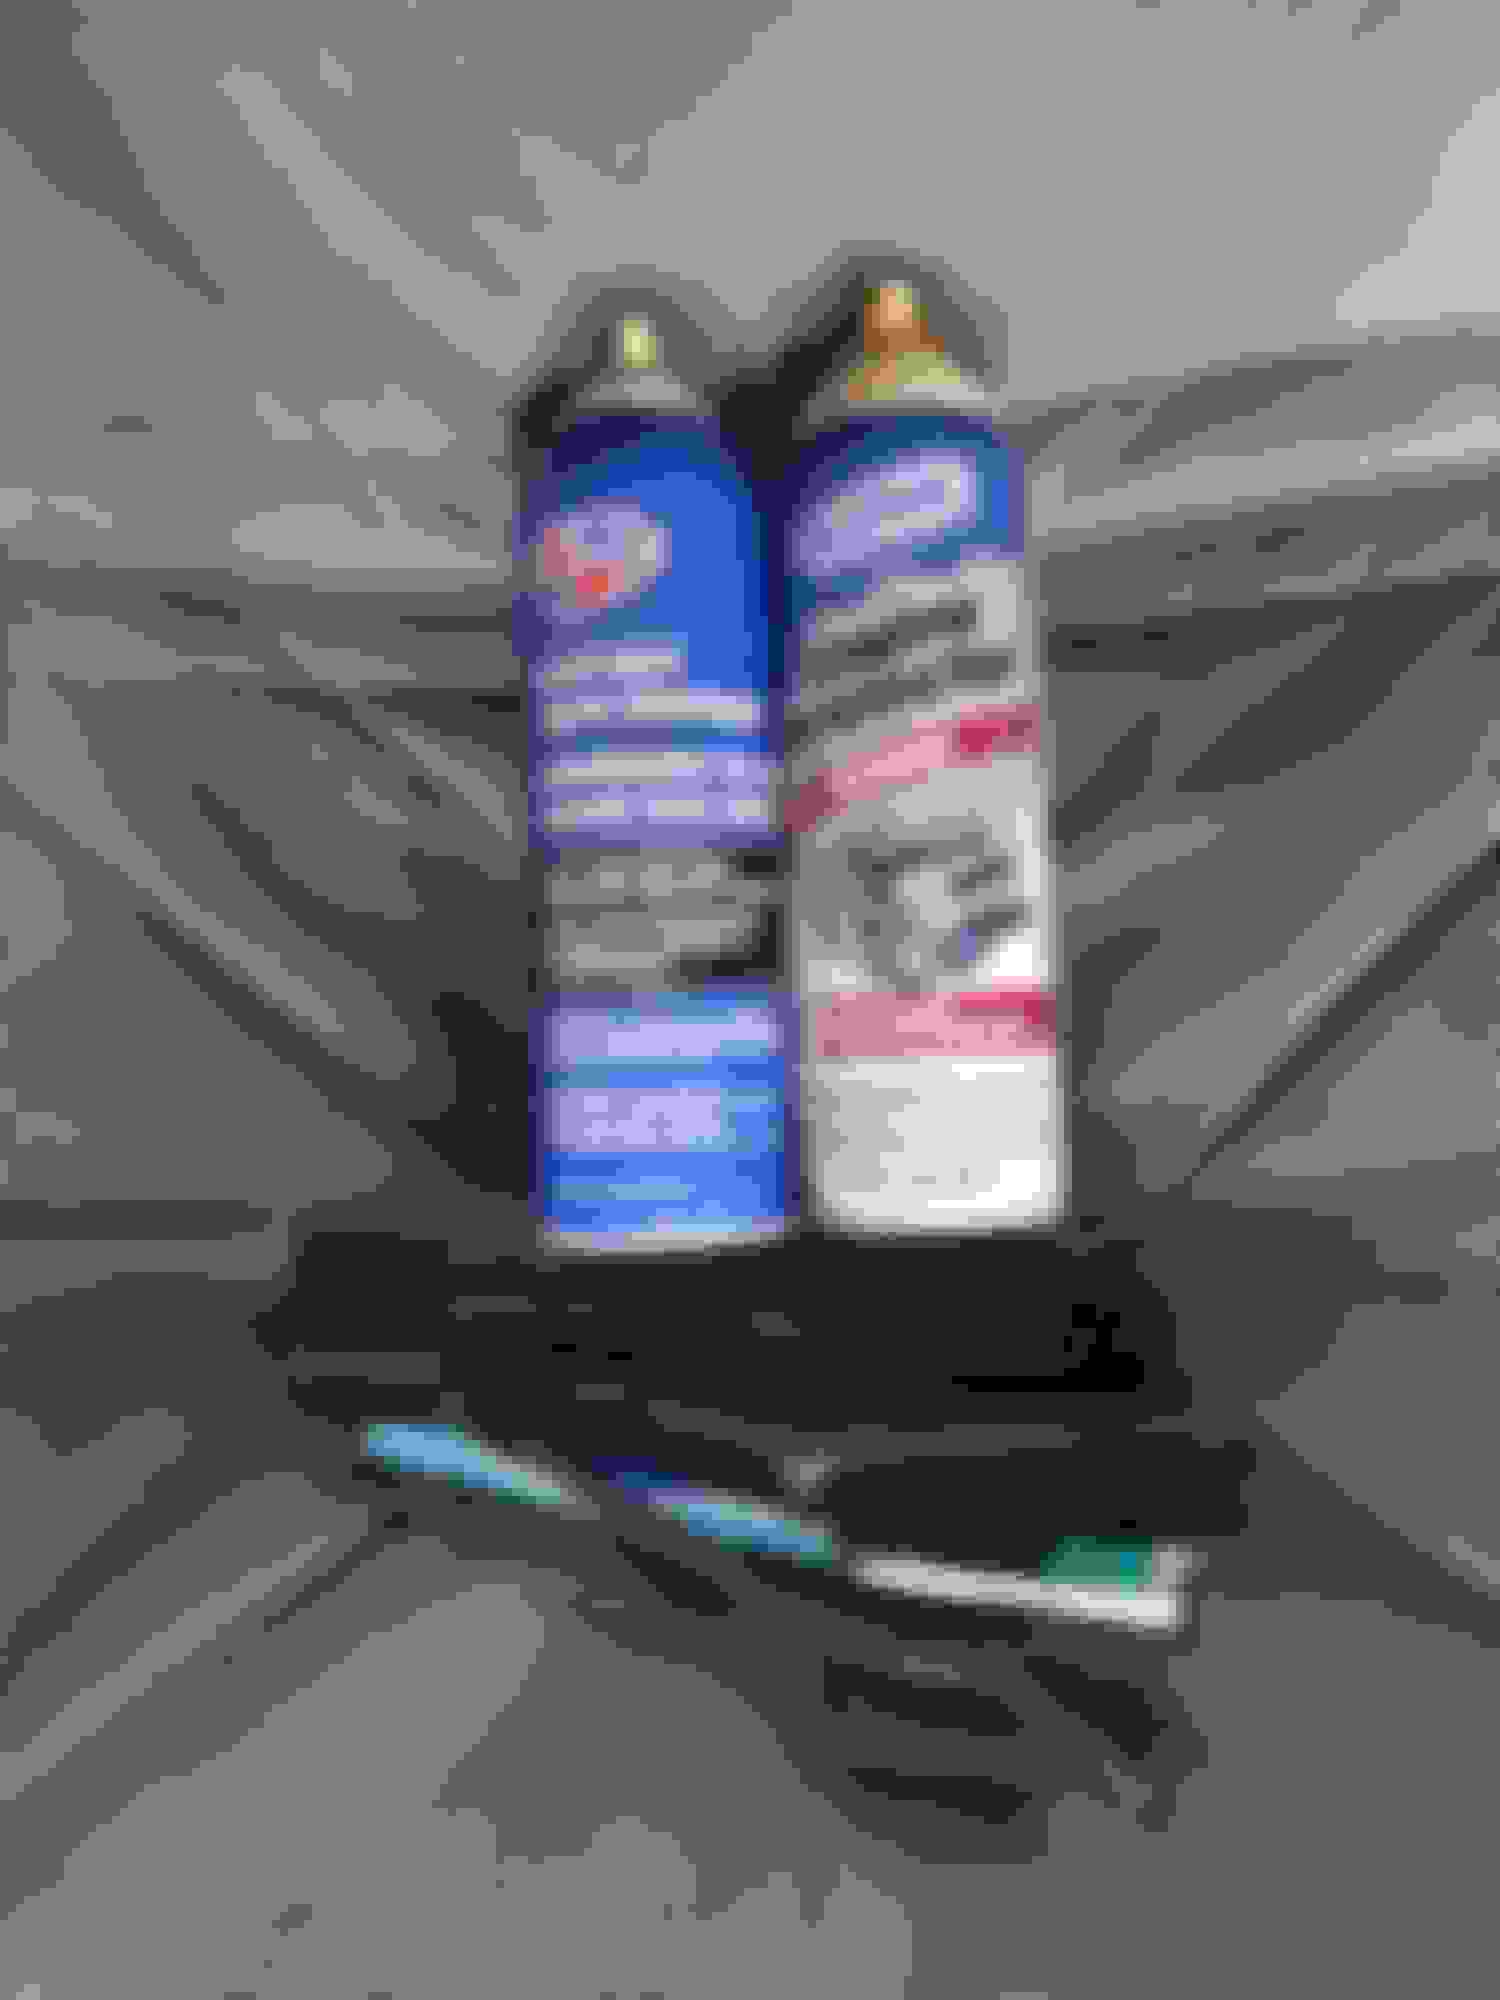
Thanks all. It was pretty easy all things considered, like the heat exhaustion. I used 1-1/2 cans of heavy duty degreaser and a few shots of "shine". Took the air cleaner assembly off, battery out and covered the carb with a cool whip container and a rag. Here's a tip, poke a hole in the middle and secure with the wing nut. Also put a bowl over the distributor. Sprayed it all down from the cowl forward on a cold engine and started scrubbing with nylon brushes. Worked from the top down. After the initial scrubbing I used the garden hose with a spray head to wash it all down. After hit it with compressed air and used rags to soak up the puddles on the intake. The final step was to spray a little Gunk shine all over. A little goes a long way. Used a rag to even it out. It's by no means perfect, but not bad for a few hours of work and a couple sliced knuckles. If I pull the engine to clean it I would end up doing a full engine bay restoration. That is a long way off for me though. Obviously it will only look as good as what you have to start with. I got lucky mine was in pretty good shape to begin with.

DrOldsMN is offline  
Related Topics
Thread
Thread Starter
Forum
Replies
Last Post
72455
General Discussion
22
October 31st, 2023 07:31 PM
Cincinnati Rick
General Discussion
12
July 10th, 2019 05:14 AM
Toms65
Major Builds & Projects
2
June 22nd, 2018 04:44 PM
btbradley12
Major Builds & Projects
9
January 28th, 2016 05:22 PM
oldsguybry
General Discussion
13
September 16th, 2012 08:09 PM


Quick Reply: 76' Engine Bay Detail


All times are GMT -7. The time now is 02:50 PM.