Initial Engine Start but .... Oil Cloudy
#1
Initial Engine Start but .... Oil Cloudy
Finally reached the day to fire up the Olds 455. To recap, itís been punched out 030 over, using Icon pistons, eagle standard stroke crank, eagle rods, Edelbrock Heads, roller cam, HS rockers, Performer Intake and Holley Terminator EFI, Holley Dual Synch distributor, MSD 6AL ignition box to name a few.
Here are the actual specs:
Bore 4.155 + .030 over
Stroke 4.250
Main bearing clearance .0030 End Play .007
Rod bearing clearance .0030
Piston Deck Height .008
Lunati Cam Specs
Advertised Duration (In/Ex): 288/293
Duration @ .050 (In/Ex): 235/241
Gross Valve Lift (In/Ex): .579/.589
LSA/ICL: 112/109
Iíve spent the winter getting everything mocked up with minimal wiring needed to start, run and charge. The engine started on the second crank attempt and settled into a nice idle (~850). We got the obvious smoke off the headers as the paint started burning off. We brought it up to operating temperature. We could tell when the thermostat opened because the temperature fell back down to about 190. The only obvious issue was not getting the rpm signal on the Terminator ECU software. The connection for the MSD box to the Dakota Digital VHX unit worked fine and showed about 850 rpms. Per Holley, we connected the white wire from he MSD to the white wire on the Terminator harness.
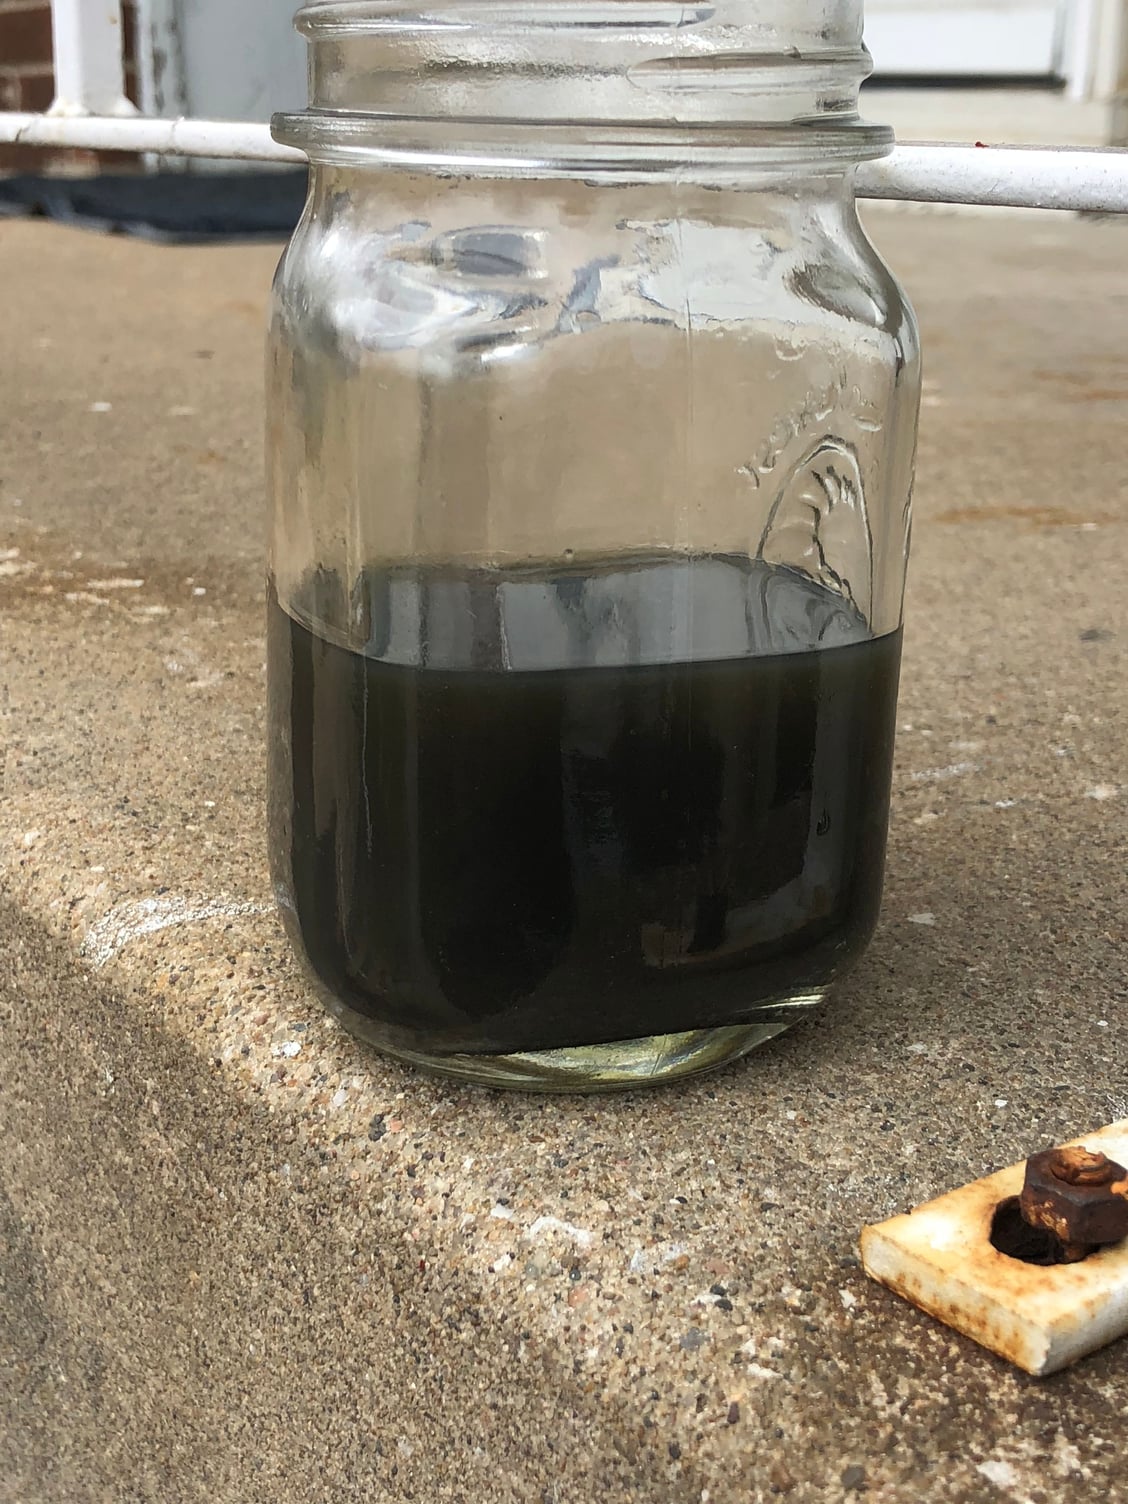
After shutting it down and planning to call Holley support Monday, we drained the radiator (we used distilled water). Immediately noticed a grayish milky color. I chalked it up to the residue from inside the block, etc. Then we drained the oil (Driven HR1 15w50). Thatís when we became more concerned especially after seeing he water from the cooling system. The oil was also grayish and milky colored.
I plan to disassemble the accessories and pull the intake, inspect those gaskets, then pull the heads and inspect them as well.
We planned to pull the engine and put it back on the stand anyway so I can do all the bodywork trying to get either in paint stage or very close by the end of summer.
Any thoughts what I need to look for as I take the top end apart?
Iíve attached a picture of the oil sample in a glass and video clip of the running Engine.

#3
The water was just slightly rust or gray colored but relatively clear. I should have saved a glass of that too. I might be able get some out of the block yet. We did use assembly lube especially on the valve train.
#4
If you still have that mason jar full, wait till later and see if you get any kind of separation in the liquid.
I'd be concerned too, but I'm not sure at what level. I wouldn't want to tear into it with out at least looking at the oil filter and perhaps a pressure test of the cooling system.
A re-torque of fasteners would be on my list too.
I'd be concerned too, but I'm not sure at what level. I wouldn't want to tear into it with out at least looking at the oil filter and perhaps a pressure test of the cooling system.
A re-torque of fasteners would be on my list too.
#5
The jar has been siting for 1 day. Iíll keep it for a while as im in no hurry. I have the filter pulled too in a plastic bag. I plan to cut it open and inspect it as well. The oil pan plug had very little metal flakes.
Thread
Thread Starter
Forum
Replies
Last Post
russell-t
Small Blocks
1
May 14th, 2012 09:01 AM


