When you click on links to various merchants on this site and make a purchase, this can result in this site earning a commission. Affiliate programs and affiliations include, but are not limited to, the eBay Partner Network.
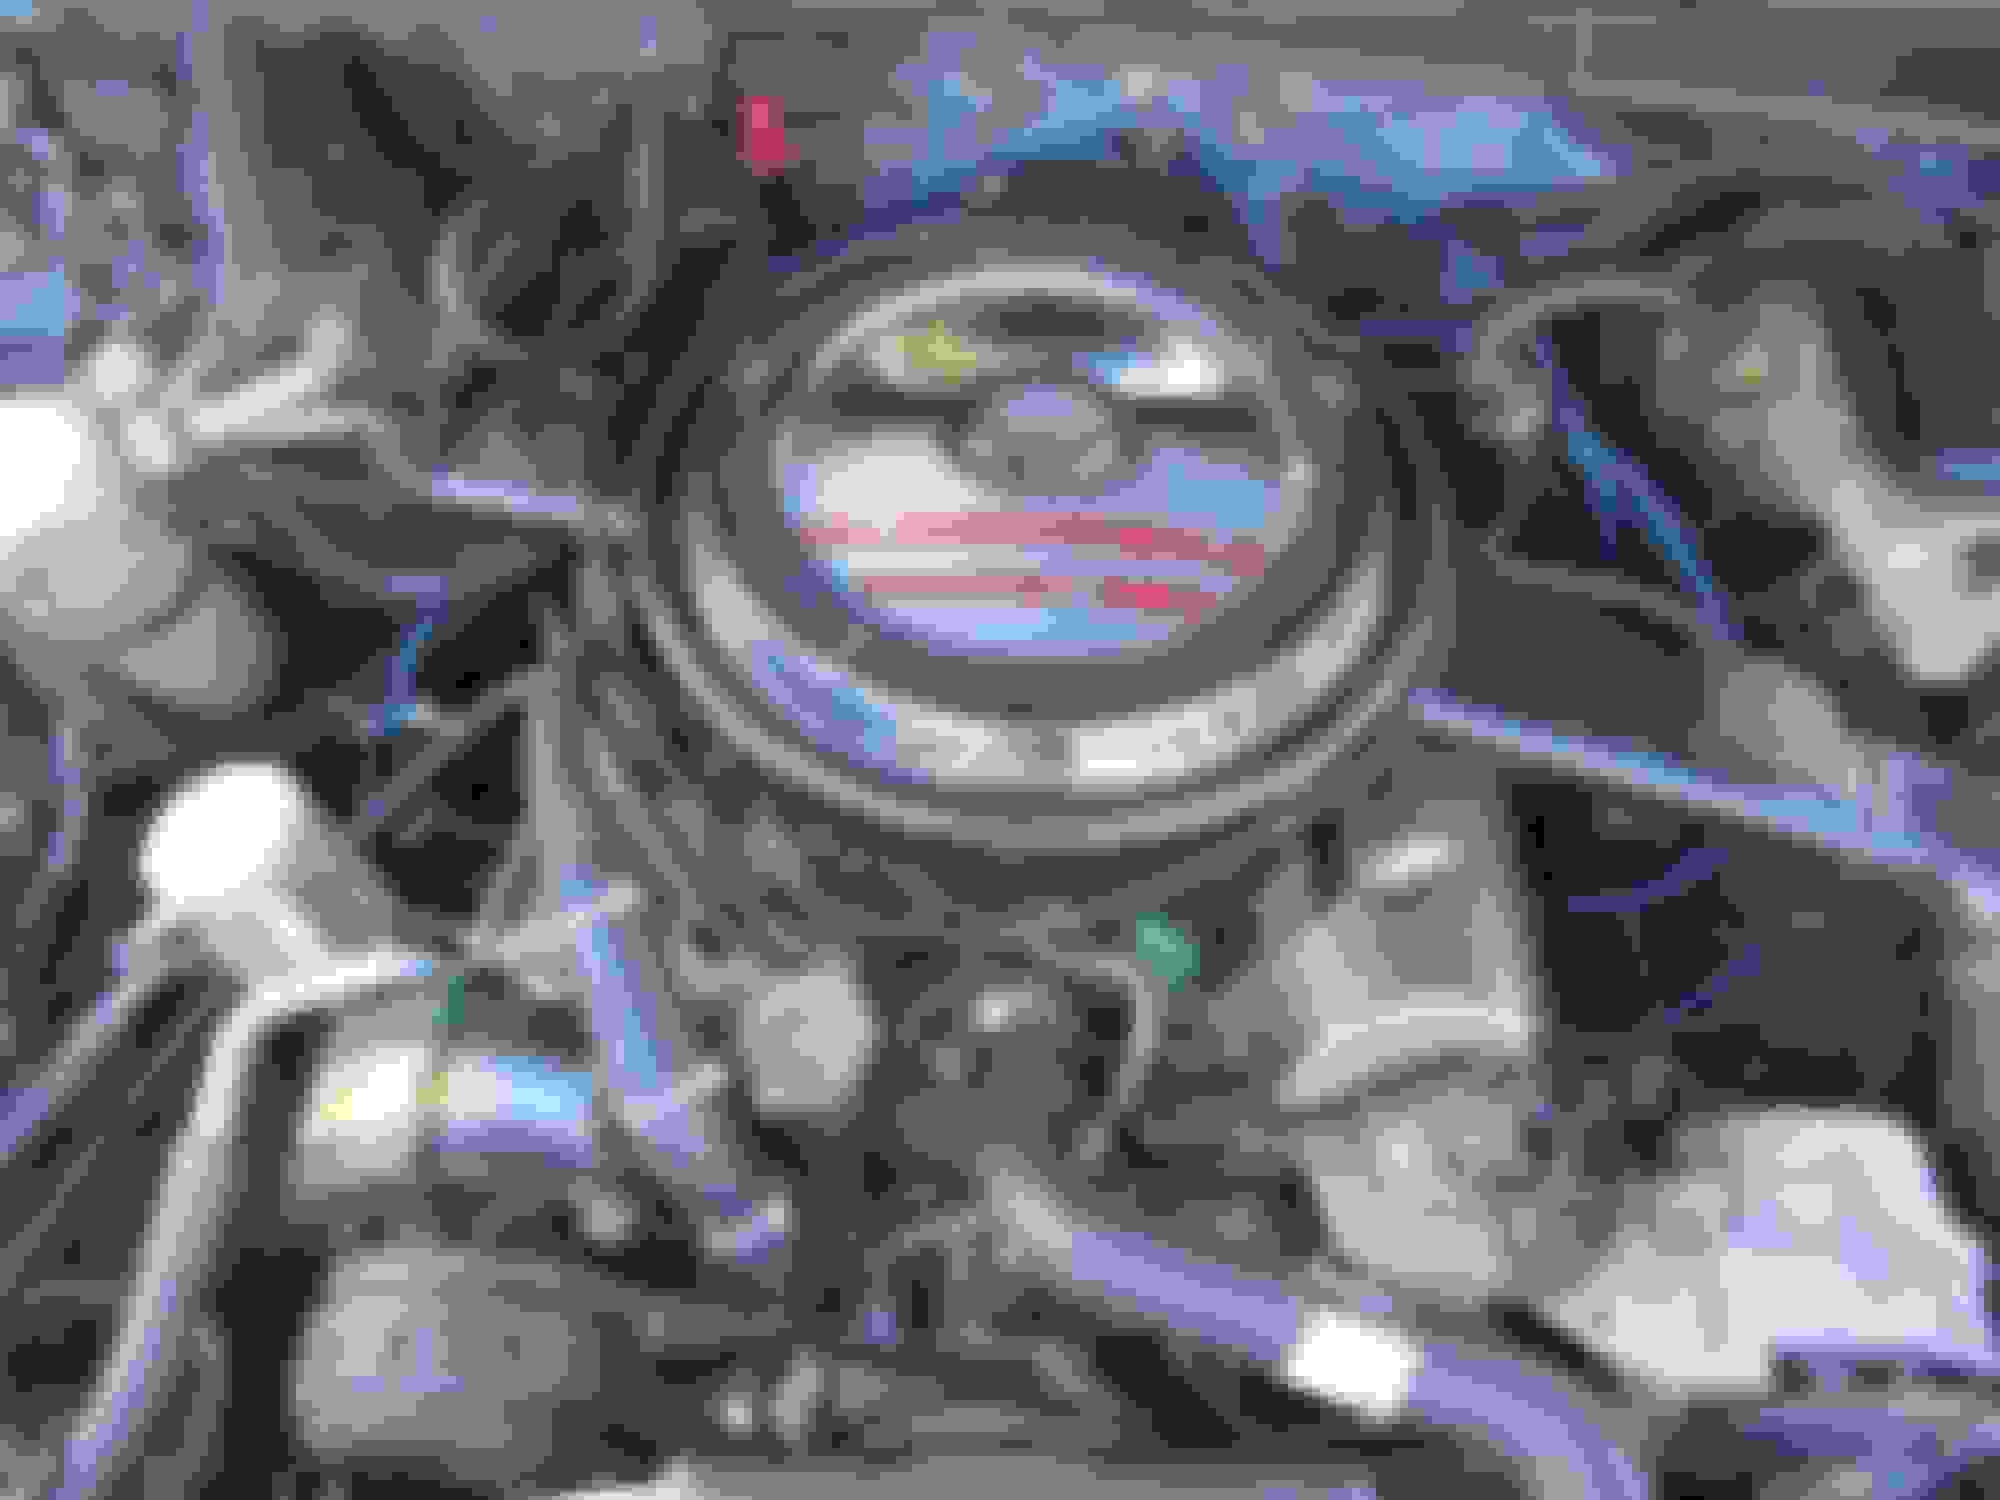
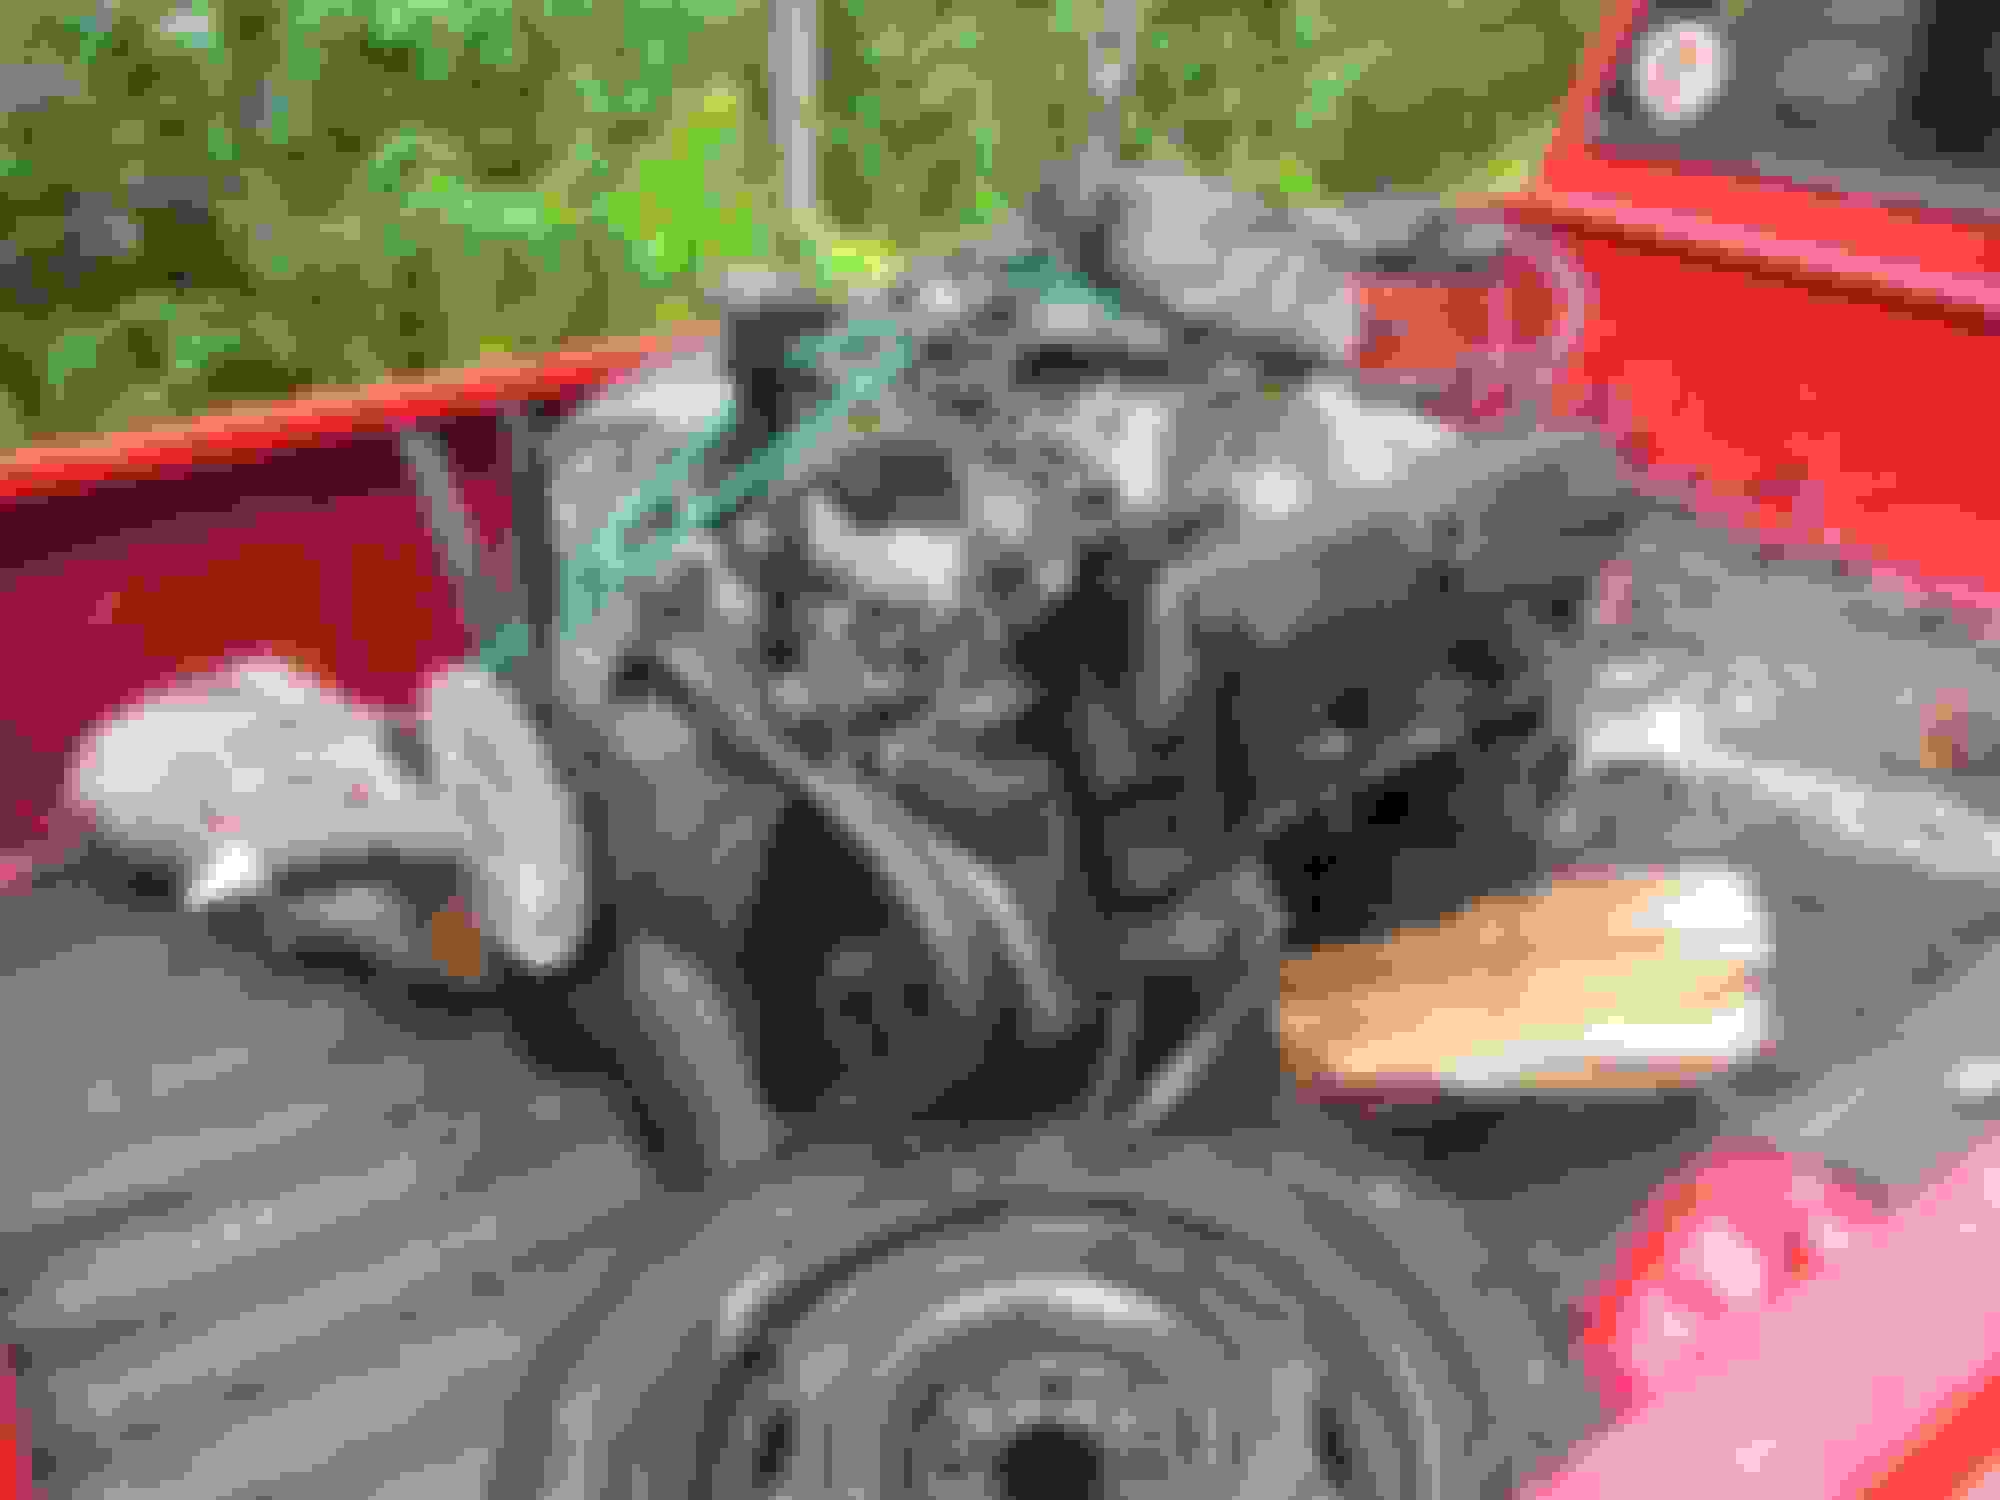
Bought the car back in 1999, and after it served as high school and college transportation, it sat from 2003 to 2013 after a brief stint on the road in 2008 when it spun a bearing. Not having bought my house yet, I was on the verge of selling it; even had a guy willing to drive 450 miles to get it, planning on drop a "much better brand" 350 and TH350 into the car and race it. I had it flat-bedded home from the police impound yard I'd been storing it in (for free! ) and figured, what the hell, maybe I'll give new bearings a go, just a couple of bucks. Dropped the pan, replaced half, spun the engine, and found a missing bearing on #7. Unfortunately, the crank was toast, and I wasn't going to source a new crank and machine work on a 311 engine (the 307 had already been overbored and crank turned before I bought it). Fortunately, though, I'd rekindled my love affair with the Olds after gone the Kraut-route and then started a 5 week turn around to turn this dilapidated piece of crap into something reliable enough drive 150 miles from my dad's house (where I'd done the work) to my apartment. Sourced a running '76 Olds 350 for $400 that received a thorough cleaning, all new gaskets, oil pump, and timing components (after 6k miles, it runs like a new engine!). It was leaking from every available orifice and I could barely see the rockers amidst the sludge, but after some gasoline, a toothbrush, and a drain pan with the oil pan off, it cleaned up nicely. Freed the frozen brakes, swapped over 307 parts to run CCC. Pulled the carpet, and cut out the copious rot, welded in new panels. The floor pan was no longer connected to the trunk pan! New carpet, found the electrical short, tightened the last hose clamp on the upper radiator hose, and drove it the 150 miles North after dinner. Confidence or stupidity? Maybe both.
The next year, pulled the transmission to fix its leaks, found a cracked torque converter neck and lots of shot gaskets. Added an external ATF cooler. Painted and hung a new passenger door, to replace a dented one. I also removed the factory exhaust cross over, cut, and re-routed it into the factory dual exhaust split (after cutting a horrible "hole").
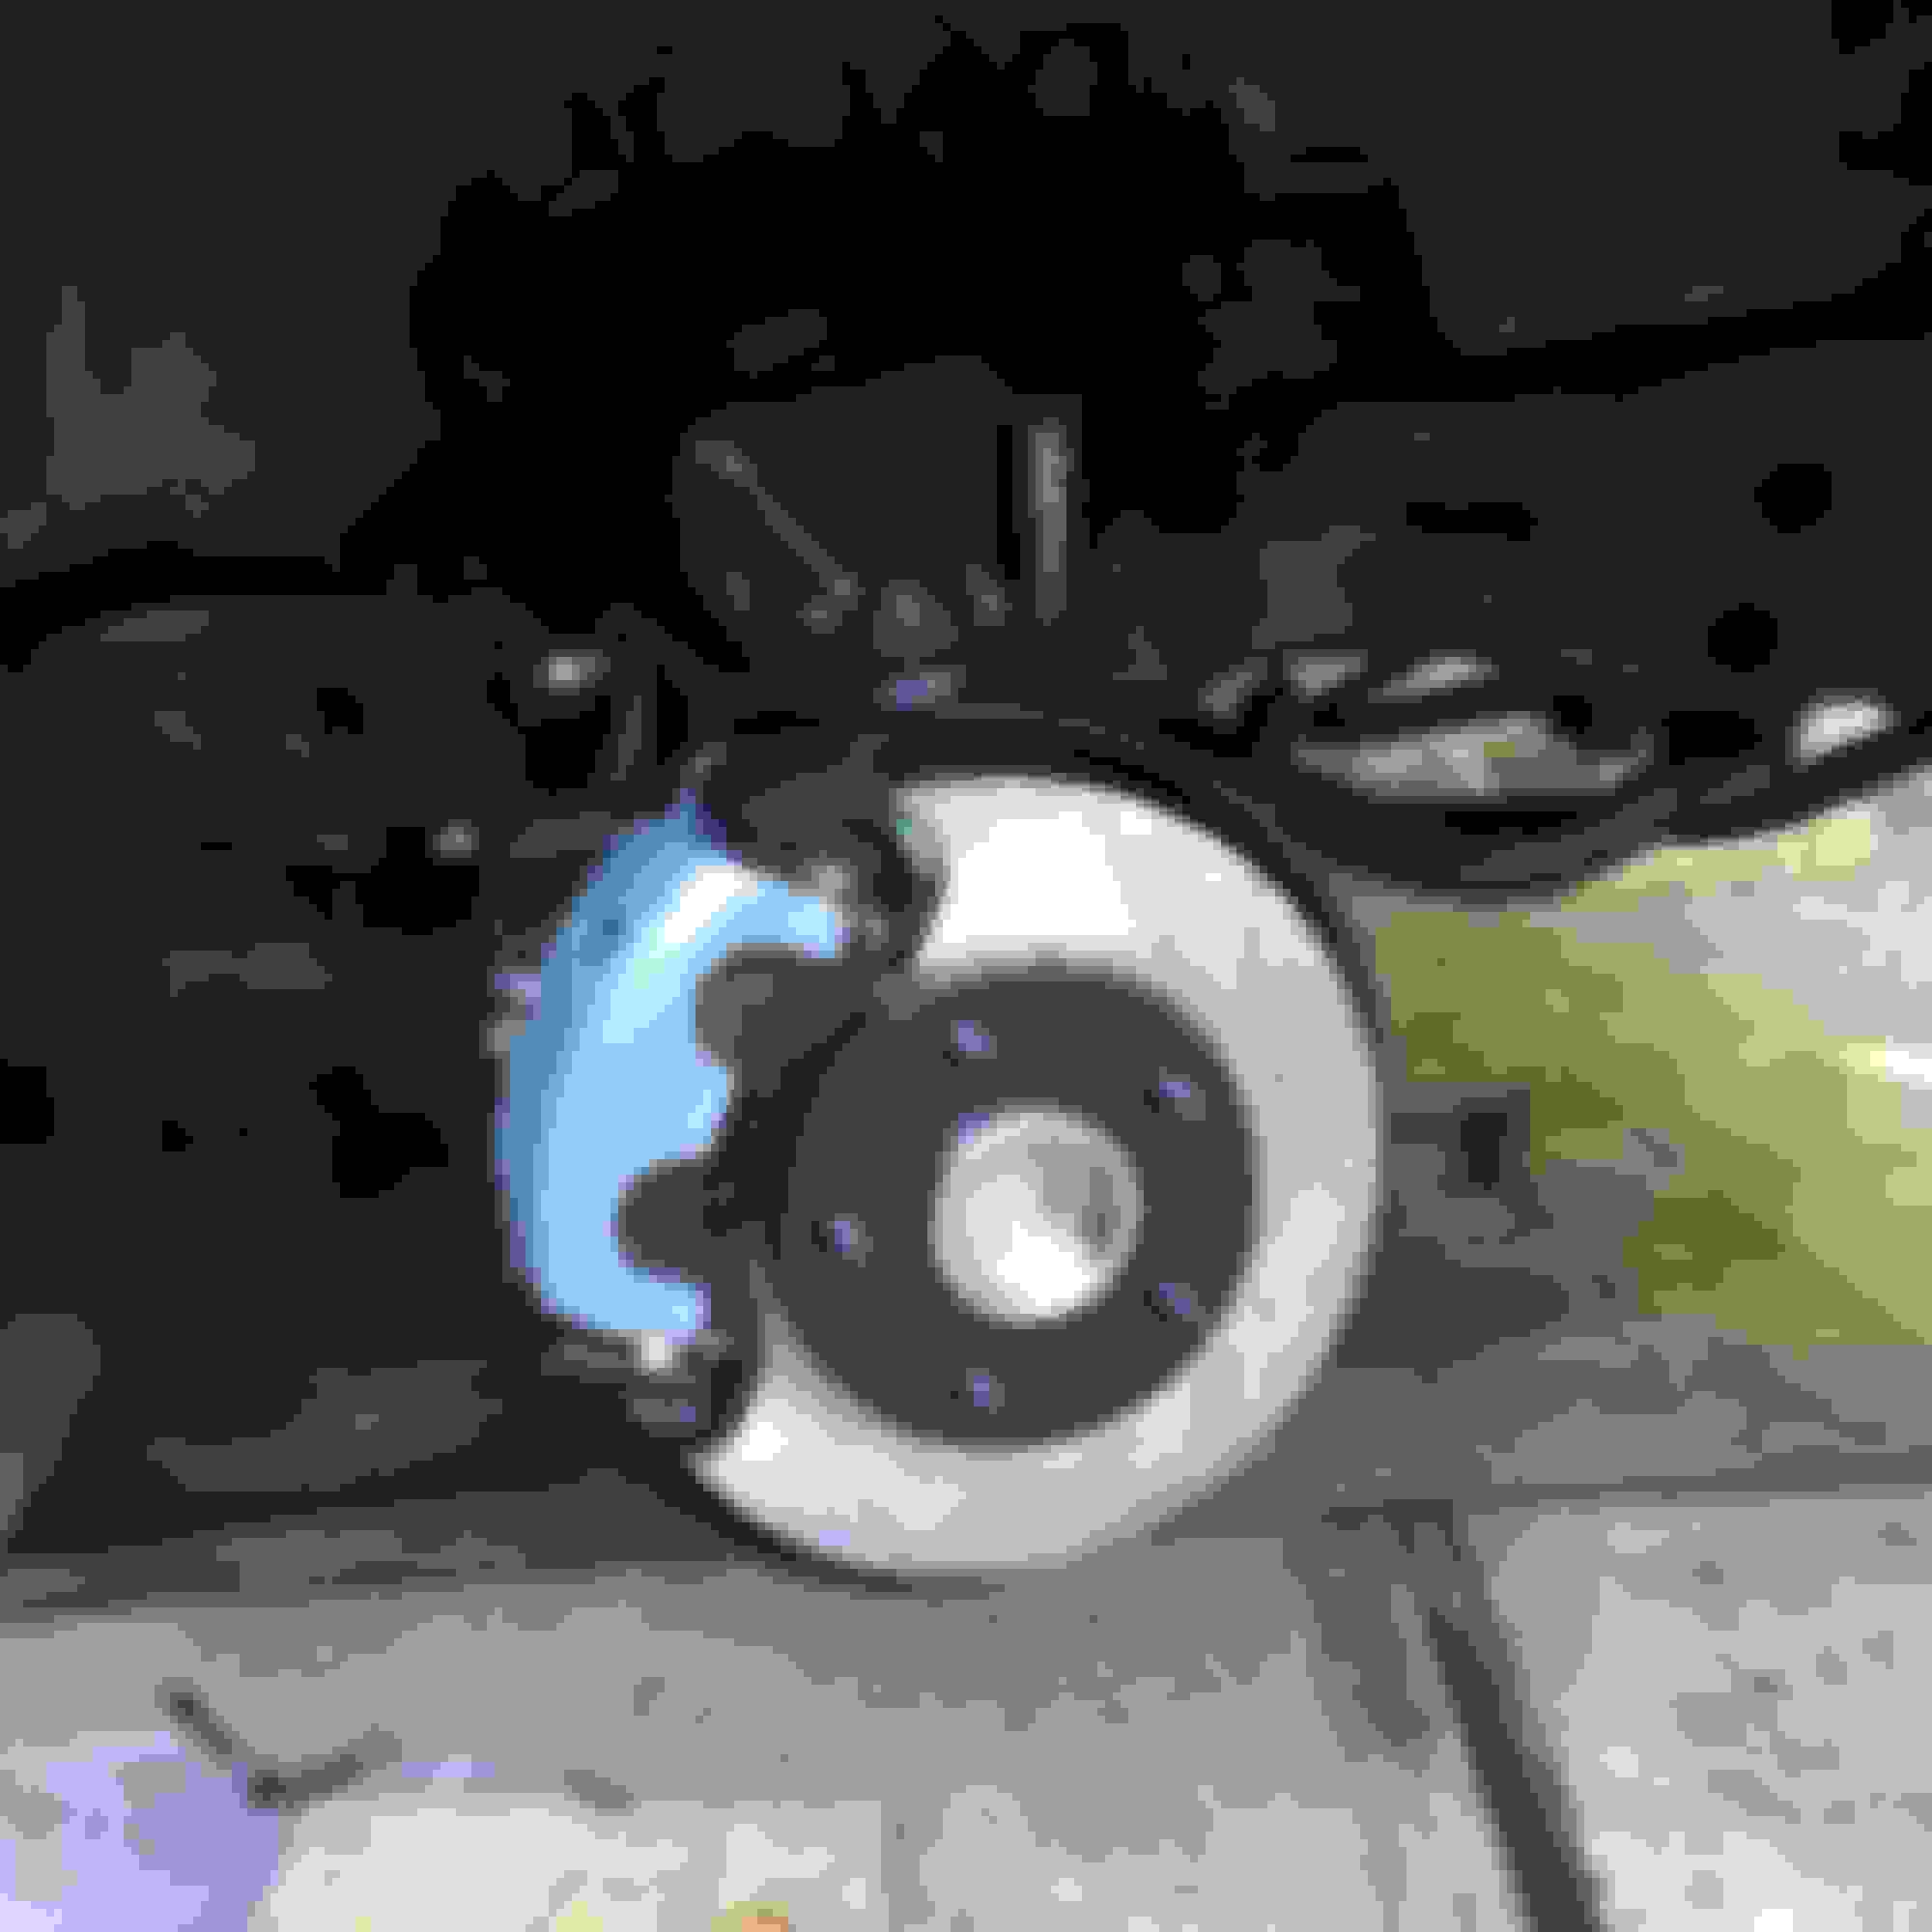
Third year, removed the rear diff and front suspension, cleaned off all rust and repainted the entire underside. The rear received solid tubular control arms with roto-joints from UMI and bushings, along with brake lines. Rear springs came from a Monza and lost a coil but gained F body isolators. The fronts received S10 springs, minus a half coil or so, along with divorced hubs, bigger brakes and 2 piston calipers from a 2002 Blazer SS. Front brake hoses sourced from an '80s Corvette to get the clocking right. All new bushings/links on the sway bar. Being a smog, stock 350 it doesn't have nearly the GO as many of the cars here, but it has plenty of WHOA; driving it around modern cars is effortless and stops just as well as our much newer cars.
Also that year (or maybe it was the next one?) I cut out the body rot on the doors and fenders, welded in new metal, and painted. It's no professional job by any means, but looks better than holes! Since then it's just been driven while other house/vehicle/tractor projects have taken over, but I forced myself to get motivated again to do some jobs on it. It's currently on the lift in my garage with the exhaust gone from the manifolds back; Thornton shorties, true duals, turbo mufflers and a new transmission crossmember are waiting to be installed. I have some cross bracing to install behind the rear seat and will clean up the trunk area and coat with bedliner, after welding in some brackets to permanently mount a tool box. I need to put new material on the back of the back seat (welding "incident"), and install a new headliner. Eventually, it'll get paint, but I like driving it around now not worrying about a scratch or ding (especially after a deer ran into my left rear wheel/fender the last time I took it to work in November).
Last edited by dukedkt442; February 7th, 2020 at 07:25 AM.
Apologize for all the pics, but it's made quite the transformation IMO. I have most of the interior trim pieces, just haven't felt the need to install them yet until after I do the headliner. Thanks for looking!
Good to see your project is moving along quite well... I have built quite a few G-Bodies over the years and fortunately I never had to deal with any major rust issues... Looks like you are putting a lot of effort in making sure things are finished correctly...
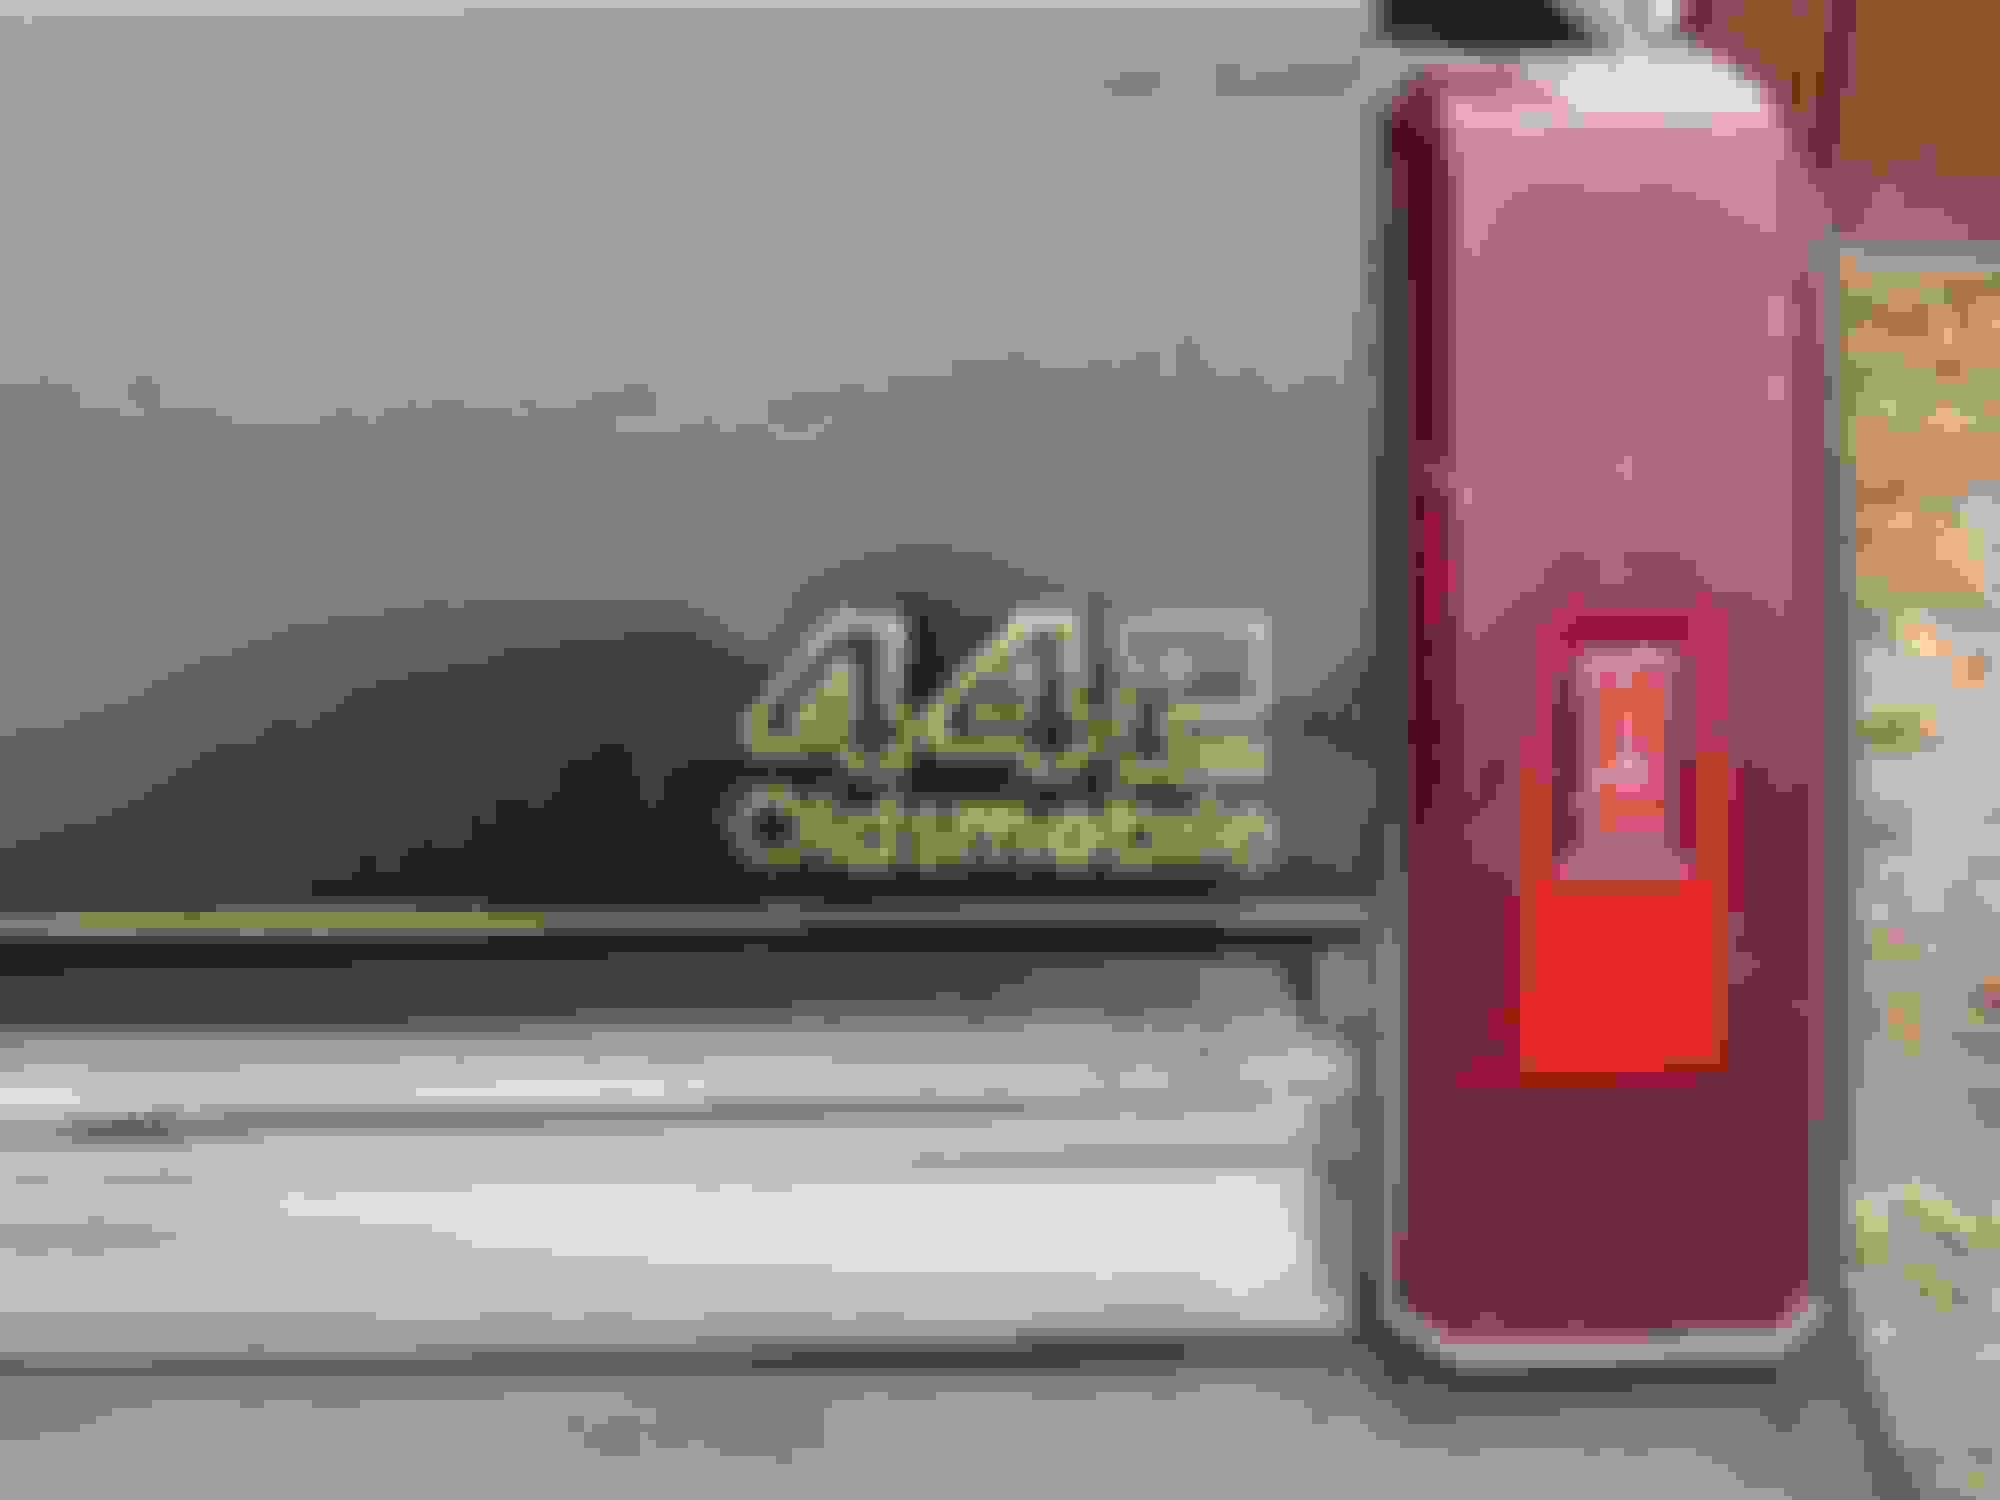
Thanks doods. I'm no professional by any means but do strive to make everything I do to it perform its intended function, if not look "perfect." It's a g-body 442 whose original engine is long-gone, so originality means nothing to me with it. It lives in a nice cozy climate controlled garage now, sees 1000 miles a year or so, starts when I turn the key and gets driven when I can; I'd rather drive an imperfect car than stare at a perfect one, that's just me. Come warmer weather, I may even repaint the hood, roof and trunk (where the paint is pretty much gone). I did cut out the lower right rear corner of the trunk and weld in new metal, and then hand-painted the "442' and "Oldsmobile" lettering as seen in that one picture. Looks better than a missing corner. Also cut out and replaced some of the water channels around the trunk seal, along with the pinch weld that the seal slips onto. It's my fun car.
Nice work! I like the wheels on that car. Just perfect for a 80's car. Old school look but still bigger diameter, Are they 17's?
Yup, they are 17". Thanks. I initially wanted the polished/gold Hurst wheels but were backordered and went with these instead.
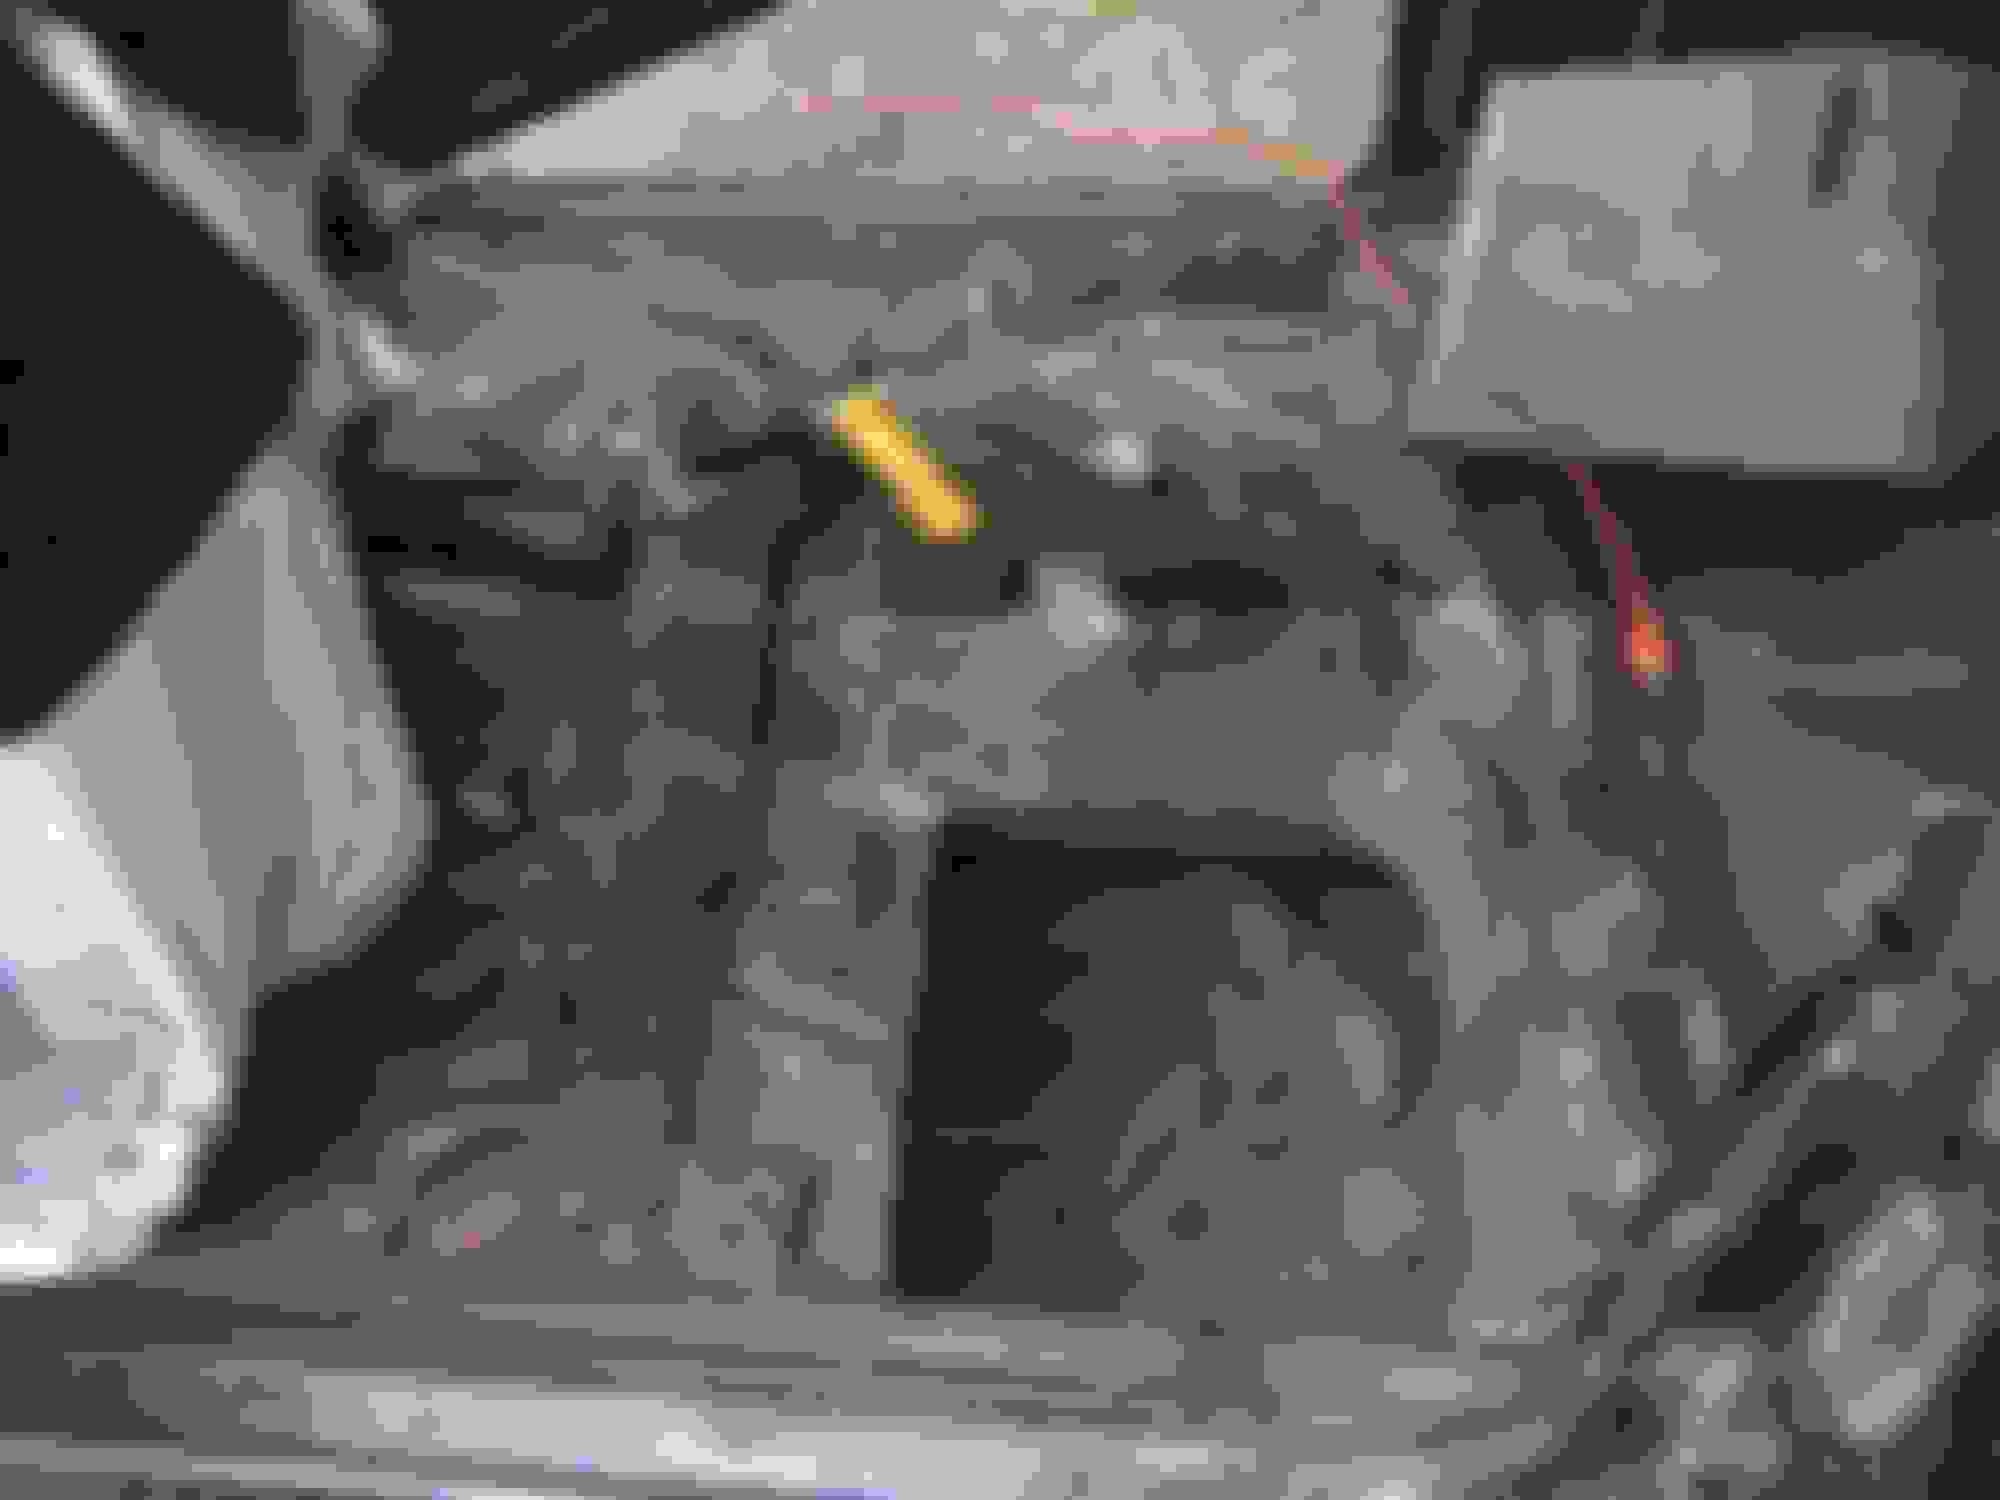
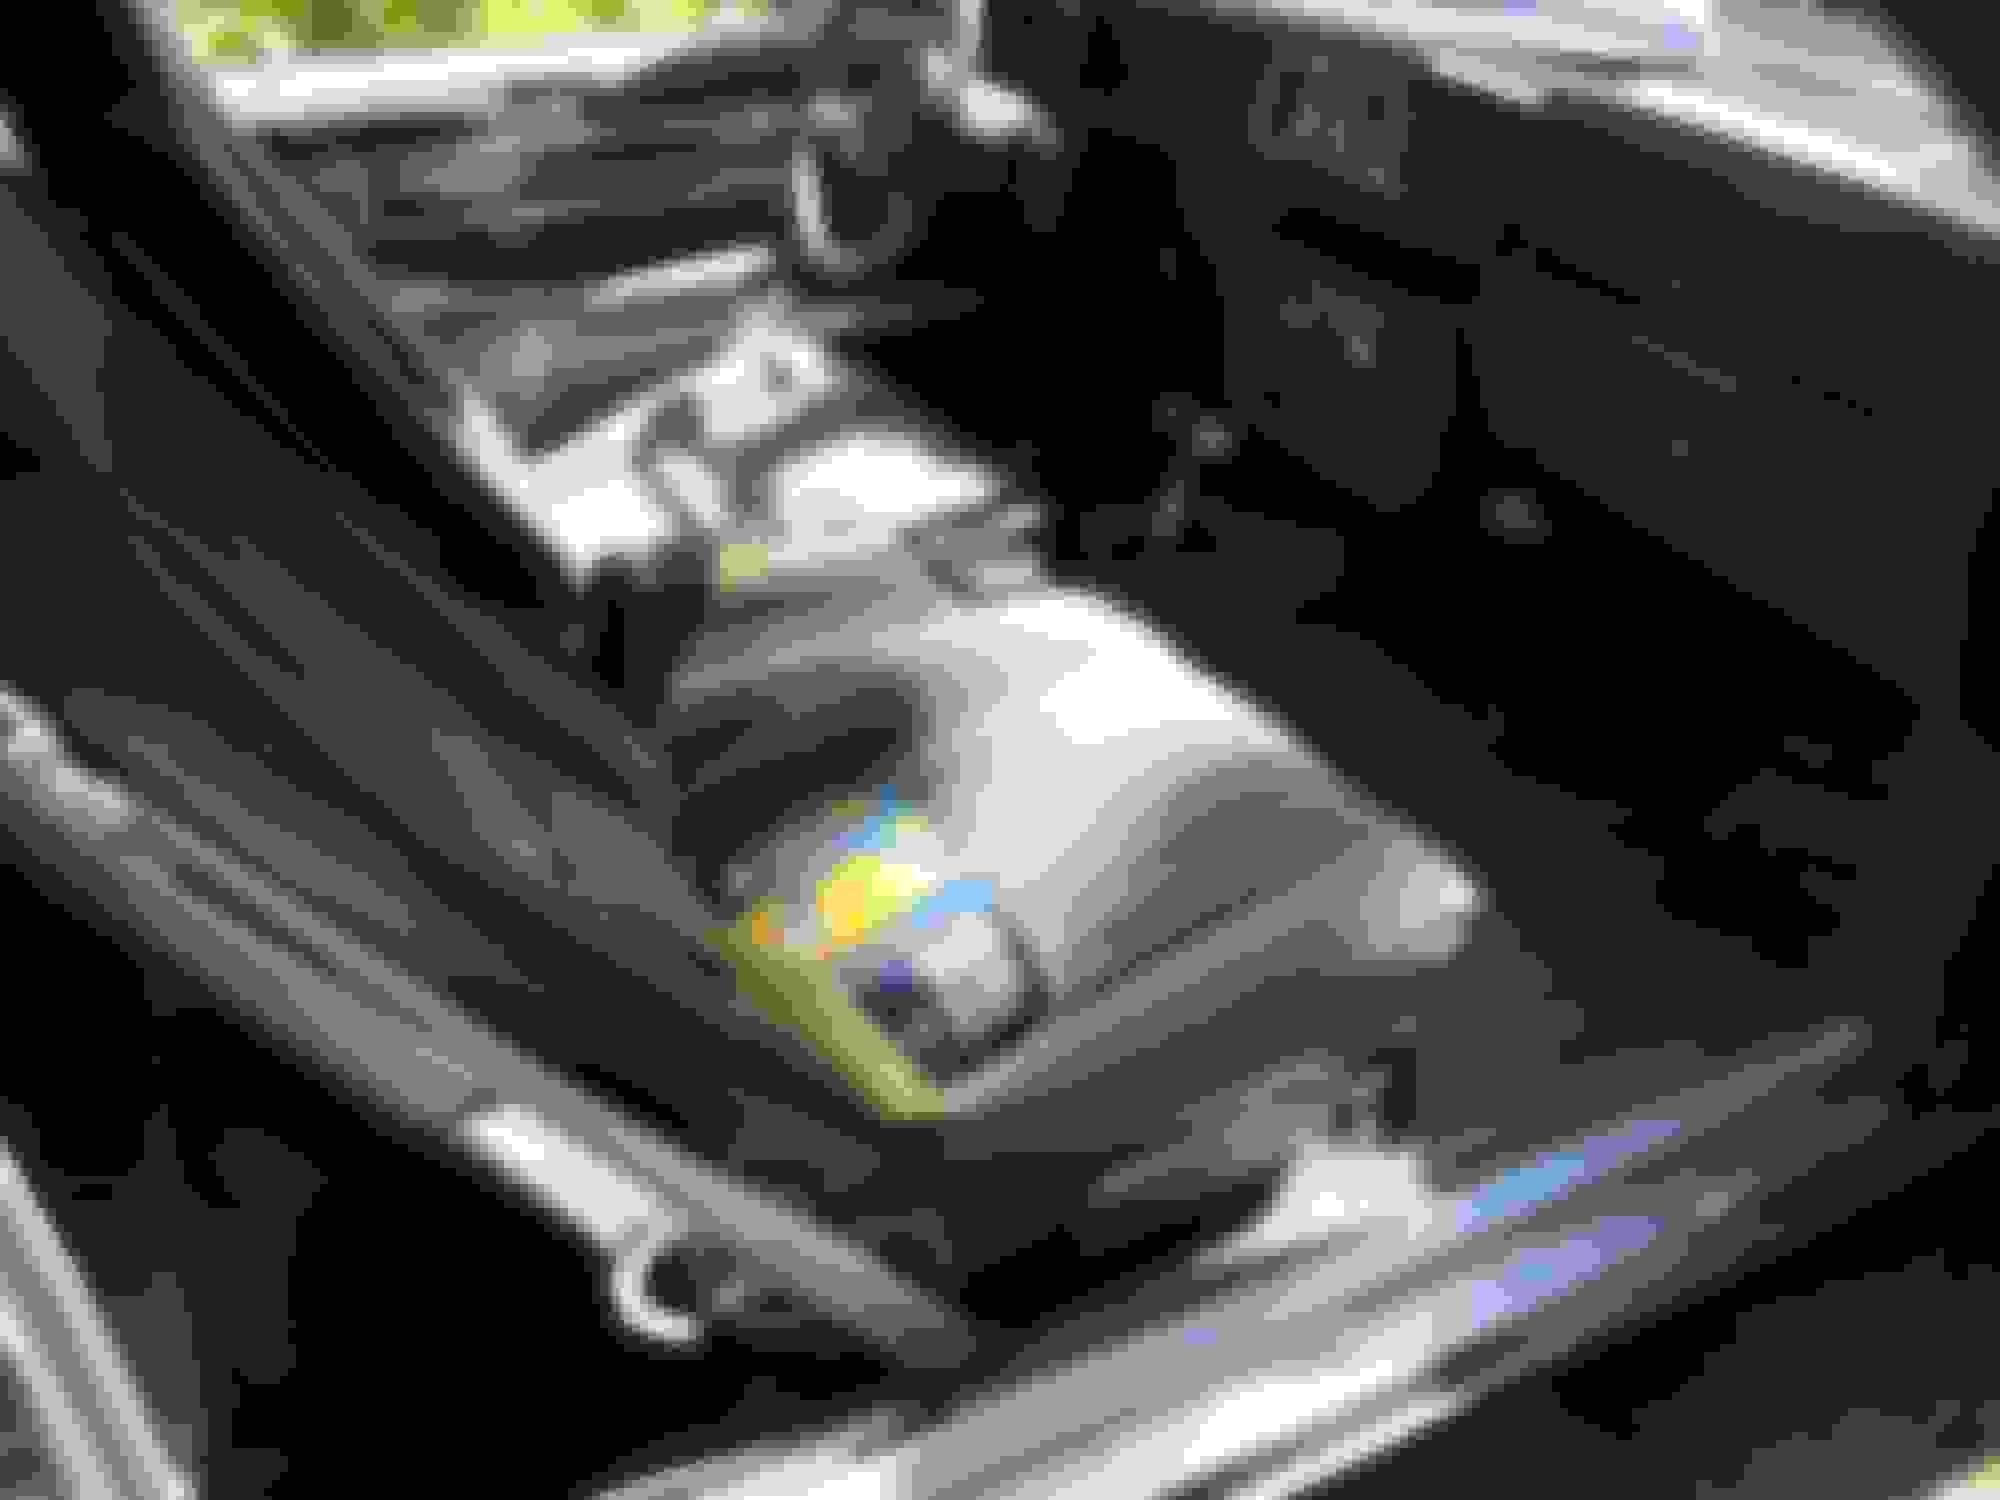
After pulling the exhaust manifolds off the other day, I discovered this at the starter. Glad I finally decided to get to doing the exhaust work, it may have saved my car! Cable was pinched by the starter heat shield, which will require some re-shaping prior to going back on.
Finally finished the exhaust installation. I used the thornton shorties and a 2.5� mandrel bent Jegs system for g bodies. It took me far longer than I care to admit, 10-15 hours.
The drivers side needed the Persuader to clear the control arm, along with a nicking of that control arm with a cut off wheel. I wrestled for 2 hours attempting to start the captured #4 bolt, and every removal/reinstall required inserting at an angle while inserting the dipstick tube between the header tubes. The dipstick is now a little loose, hopefully it doesn�t leak too much. While in there, I made a new positive battery cable to the starter, and redid the connections on all wires and fusible links. The steering shaft (mine is from a Jeep) also needed removal. That was a long afternoon.
I thought pasenger side would be better. I was wrong. I wrestled even longer attempting to start the semi captured #5 bolt, and not until I succeeded and torqued all down did I notice from underneath that the header was tight on the oil filter housing. Off it came, out came the Persuader for clearance there and on the control arm. I also removed and regasketed the oil filter housing, this time with a little RTV, as the last one was leaking in only 7-8k miles since 2013. I used stainless hardware for all but the captured bolts, where the smaller heads of the included bolts were required. Another afternoon there.
On to the pipes. The G body system apparently was not for this g body, as there were bends in all the wrong places. I installed a double hump cross member which required jacking the floorpan for clearance, and then the drivers side pipe went no where near the hump. Just figuring out how to install the hangers took a while as I didnt want to drill the frame. I ended up modifying 2 of the hangers and making a third. I had to cut 9� out of the middle of the drivers intermediate pipe and then weld back together. The system was designed for 3 bolt long tube header flanges, but these headers use 2 bolt ball socket style flanges in the stock locations, so I needed to piece together adapters to go from 2.25� ball flange to 2.5� pipes, with a 90* elbow on the drivers side and 45* on passenger side (unlike the stock 90* manifold dump). I also had to drill and weld in a bung for the O2 sensor on passenger side. Between the fabbing, repeated mock ups, measurements and welding, that was an entire day. I didn�t want to waste clearance and tucked the thing as high up under the car as possible and at the same time had lots of clearance points to mind. My Quick jack lift proved indispensable!
The car is definitely quicker, more in the front of the neck dyno than seat of the pants dyno. Old girl�s got some *** now! Not so much fast, but it definitely pulls harder. I�m not so much attributing that to the headers as much as I am the deletion of the old horribly restrictive factory-ish exhaust system.

 February 6th, 2020, 03:06 PM
 ) and figured, what the hell, maybe I'll give new bearings a go, just a couple of bucks. Dropped the pan, replaced half, spun the engine, and found a missing bearing on #7. Unfortunately, the crank was toast, and I wasn't going to source a new crank and machine work on a 311 engine (the 307 had already been overbored and crank turned before I bought it). Fortunately, though, I'd rekindled my love affair with the Olds after gone the Kraut-route and then started a 5 week turn around to turn this dilapidated piece of crap into something reliable enough drive 150 miles from my dad's house (where I'd done the work) to my apartment. Sourced a running '76 Olds 350 for $400 that received a thorough cleaning, all new gaskets, oil pump, and timing components (after 6k miles, it runs like a new engine!). It was leaking from every available orifice and I could barely see the rockers amidst the sludge, but after some gasoline, a toothbrush, and a drain pan with the oil pan off, it cleaned up nicely. Freed the frozen brakes, swapped over 307 parts to run CCC. Pulled the carpet, and cut out the copious rot, welded in new panels. The floor pan was no longer connected to the trunk pan! New carpet, found the electrical short, tightened the last hose clamp on the upper radiator hose, and drove it the 150 miles North after dinner. Confidence or stupidity? Maybe both.