When you click on links to various merchants on this site and make a purchase, this can result in this site earning a commission. Affiliate programs and affiliations include, but are not limited to, the eBay Partner Network.
Hey everyone, just want to share my winter project, this 1972 cutlass, we're separating the body from the chassis to fix some major frame rust as well as repairing some floor pan rust. also we're ditching the factory 350/350 combo to a built 455/2004r combo we built last winter.
I'll get some more pictures as i go along. thanks for looking
over the last couple days we got the rear bumper and tank dropped, and pulled most of the interior out:
The floor pan was alot worse than I originally anticipated, i new the cross members, and mounts were bad from underneath, however once the carpet was removed it showed some amateur repair jobs and more rust
So i welded in some cross members to help keep things square when I lift the body... with the floor in the shape its in it makes me nervous.
Just used some old angle iron.. nothing to fancy.. (old bed frame LOL)
Had some time off over the holidays to get the frame stripped down and get an idea of the extent of the rust. it was about as bad as i expected.
the biggest surprise was this terrible attempt at fixing the rust on the frame.. looks like sheet metal!!??
also found some rust in a few other spots.
so for the next day im going to soak the frame in oven cleaner then bring it to the car wash to get as much of the crud and rust off as possible before i wire wheel it off.
hoping to have the frame washed off new years day!
your rust could have been worse lol. Looks like a solid starting point to be honest and its headed I the right direction. I only say solid because I had a Wisconsin car in which the roof is about the only original panel left so to speak.
your rust could have been worse lol. Looks like a solid starting point to be honest and its headed I the right direction. I only say solid because I had a Wisconsin car in which the roof is about the only original panel left so to speak.
I live up in Canada, the salt and calcium they use in the winter rusts everything here as well LOL, Its reassuring knowing that people have built them from worst though.
Originally Posted by Frisbee_k9
Welcome.
This is great project you're doing. Please keep posting pictures because I have garage envy.
Guy
Thanks alot! our shop is actually a old hog barn we've been adding tools to over the years.
Lifted the body off the chassis this week, everything went as planned Cleaned the frame up as best I could with grinders and wire wheels. Pulled the diff from a donor car... it�s still a 10 bolt but it�s a 3.55 posi Got a bunch of new parts delivered as well, excited to get them all in Got a 12.7:1 box in too
While I have the frame out and bare I thought I�d spend a little time to stiffen it up.. I want the car to handle whatever I throw in it in the future.
Location: Edmonton, AB. And "I am Can 'eh' jun - eh"
Posts: 24,525
Just saw this thread. Where in Edmonton are you? funny you did exactly what I first thought when I saw the original rotted frame. BTW, that donor is a 1971 CS by the look of the front clip. What factory produced your car? The VIN should tell you. My guess is either Lansing or Fremont. If the VIN starts out 3G87H2M it's Lansing. If it starts 3G87H2Z it's Fremont. I also have a 72 Cutlass S that I just got back on the road this past August. My VIN is 3G87H2M208783. Is that close to yours? I'm just curious.
You probably already have looked at the changes you'll need to make for the installation of the 455/200R4? Those 3.55 gears should give you pretty good launch. I changed my differential from an SA (2.73:1 open) to a 3.42 posi as part of my build. Still have some minor tweaking to do but I retained my 350/350 combo with the only upgrades being from 2bbl to 4bbl and installation of HEI.
BTW check your cowl tag. I'm really curious to know if your PNT code is 19 19. That would have been a special order for 1972
What about the trans crossmember? Will it still fit w the braceing?
no, I'm planning on building one once i drop the engine/trans into the car. that's also why there is no cross bars in the front yet.
Originally Posted by Allan R
Just saw this thread. Where in Edmonton are you? funny you did exactly what I first thought when I saw the original rotted frame. BTW, that donor is a 1971 CS by the look of the front clip. What factory produced your car? The VIN should tell you. My guess is either Lansing or Fremont. If the VIN starts out 3G87H2M it's Lansing. If it starts 3G87H2Z it's Fremont. I also have a 72 Cutlass S that I just got back on the road this past August. My VIN is 3G87H2M208783. Is that close to yours? I'm just curious.
You probably already have looked at the changes you'll need to make for the installation of the 455/200R4? Those 3.55 gears should give you pretty good launch. I changed my differential from an SA (2.73:1 open) to a 3.42 posi as part of my build. Still have some minor tweaking to do but I retained my 350/350 combo with the only upgrades being from 2bbl to 4bbl and installation of HEI.
BTW check your cowl tag. I'm really curious to know if your PNT code is 19 19. That would have been a special order for 1972
I'm actually about a half hour east of Edmonton by Chapman. next time im at the shop ill snap some pictures of the vin for you. as for the swap i actually had 455/2004r combo swapped in a 68' delta 88 for a couple years. i built the motor in 2015, probably has less that 5000km on it
Location: Edmonton, AB. And "I am Can 'eh' jun - eh"
Posts: 24,525
Originally Posted by tyler1972
no, I'm planning on building one once i drop the engine/trans into the car. that's also why there is no cross bars in the front yet.
I'm actually about a half hour east of Edmonton by Chapman. next time im at the shop ill snap some pictures of the vin for you. as for the swap i actually had 455/2004r combo swapped in a 68' delta 88 for a couple years. i built the motor in 2015, probably has less that 5000km on it
Did you mean Chipman?
Re: cross member. There are already holes in the frame to move the existing cross member to the right position. Use the further back set, same as for the TH400. You'll be able to keep the same driveshaft as the TH350 for the 200R4
Did you mean Chipman?
Re: cross member. There are already holes in the frame to move the existing cross member to the right position. Use the further back set, same as for the TH400. You'll be able to keep the same driveshaft as the TH350 for the 200R4
yes sir, chipman, where are you located? and for the trans mount the factory holes wont work for me now that the frame is boxed and has the supports
Location: Edmonton, AB. And "I am Can 'eh' jun - eh"
Posts: 24,525
Right you are, forgot about the boxing in there. You'll figure it out because the holes are still in the bottom of the frame to show positions, so likely just a modification with brackets on the inside of the new framerail? With that boxed in frame you'll also have to reposition the brake and fuel lines a bit. Are you making your own custom lines?
Went back and looked at the first pictures you posted. There's no build sheet on top of the tank so likely your car is a Lansing car like mine. Fremont, Arlington and Framingham stuck them up there for whatever reason.
With all the mods you're doing to the frame, (and guessing brakes too) I gotta ask what are your plans for the finished product? Pro touring?
I'm in Edmonton Castlebrook very north end of the city - hop and skip from exit 39 on the Henday.
Just a short note to say hello and welcome to the group , you have a nice car there . my car is a 1965 Cutlass a work in progress . I looking at doing the front suspension and ball joints soon .. they all seem to need something . work in progress
Right you are, forgot about the boxing in there. You'll figure it out because the holes are still in the bottom of the frame to show positions, so likely just a modification with brackets on the inside of the new framerail? With that boxed in frame you'll also have to reposition the brake and fuel lines a bit. Are you making your own custom lines?
Went back and looked at the first pictures you posted. There's no build sheet on top of the tank so likely your car is a Lansing car like mine. Fremont, Arlington and Framingham stuck them up there for whatever reason.
With all the mods you're doing to the frame, (and guessing brakes too) I gotta ask what are your plans for the finished product? Pro touring?
I'm in Edmonton Castlebrook very north end of the city - hop and skip from exit 39 on the Henday.
unfortunately I looked all over for build sheet on both cars but couldn�t find them.. they�ve both been gone through so many times by so many different hands... lost to time I guess.
and honestly I just want a solid do anything car... just simple solid car I can drive anywhere and do anything.. only reason I boxed the frame and stiffened was because I already had it out and dropped.. now or never right?
and I know the area well my in laws live there!
Originally Posted by 409sleepr
Just a short note to say hello and welcome to the group , you have a nice car there . my car is a 1965 Cutlass a work in progress . I looking at doing the front suspension and ball joints soon .. they all seem to need something . work in progress
Thanks! That�s a beautiful car, looks super clean, what engine does that have the 330?
got the frame primed and painted, and started assembling the front end.. new lower control arm bushings, new tubular uppers, and new heavy duty springs (with a coil cut).
finished getting the rest of the parts in the front end, new proforged tie rod sleeves and the polyurethane sway bar links and bushings.
also, built frame supports for the rear.. everywhere I looked they were 150-200 buck.. built these from some thick wall 3/4� pipe I had on the metal rack.. saved a few bucks.
and yes, it is the original front sway bar. Unfortunately, it�s just not in the budget this year to upgrade it. The interior of the car still needs attention and I haven�t started on the body.. It something I can easily swap in the future so I�m trying to save a few bucks where I can.
So I was told I had a BOP 8.2 posi 3.55.. turned out to be a 2.73. But the parts car had a corporate 8.5 so with some junk parts I had in the back and a intake kit from a local shop I have a gov lock 3.42... not sure how the gov lock is goi f to work on the street.. but I have to try it
Ended up cutting the whole trunk pan and cross braces out of the donor car and welding them into ours.. thankful to have this car..
Welded the front mounts and cross mounts into our car. I have new floor pans to install next Started fabbing the other trunk into ours.. got it all roughly welded in.. just have to finish the welding. Got all the bmr control arms and lowering coils in the rear, and energy suspension poly body mount kit.. all quality products highly recommend.
Also lowered the car and bolted it to the chassis.. after all the floor and frame modifications it was time for a test for before I continue..
luckily other than the stiffening bars just kissing the rear floor pan, everything lined up 100%.. I�ll weld in the new floor pans next then pull the body back off to seal/paint the underside, as well as touch up the paint on the frame..
next up I have a few minor tweaks to the powertrain.
Cut out most of the old floor pan Got a new one in the one side Unfortunately ran out of welding materials to finish the other side, hope to get the other half done this week.. Going through the old 455.. it was from a 68.. big valve �c� heads, 30 over rebuild in 2014 (been in storage since 2016) the deck to piston is .030.. and the pistons are 13cc dish.. with the .040� head gasket and 80cc �c�heads I believe my compression will be 9.5:1.. considering sending the heads to a friend of mine to get them milled to bring that comp closer to the mid 10s
Got the heads back from milling .050 off.. New head gaskets.. between everything should have a compression of 10.3:1 Got my frame braces in As well as the rear sway bar Finished getting the engine together Bolted up just as it should.. And mounted the trans.. next up I have to build up a new cross member..
Little reworking of the original trans mount turned out well, very happy with how this turned out. Also got the headers in. Just have a couple more small things to finish up on the chassis then we�ll be dropping the body on
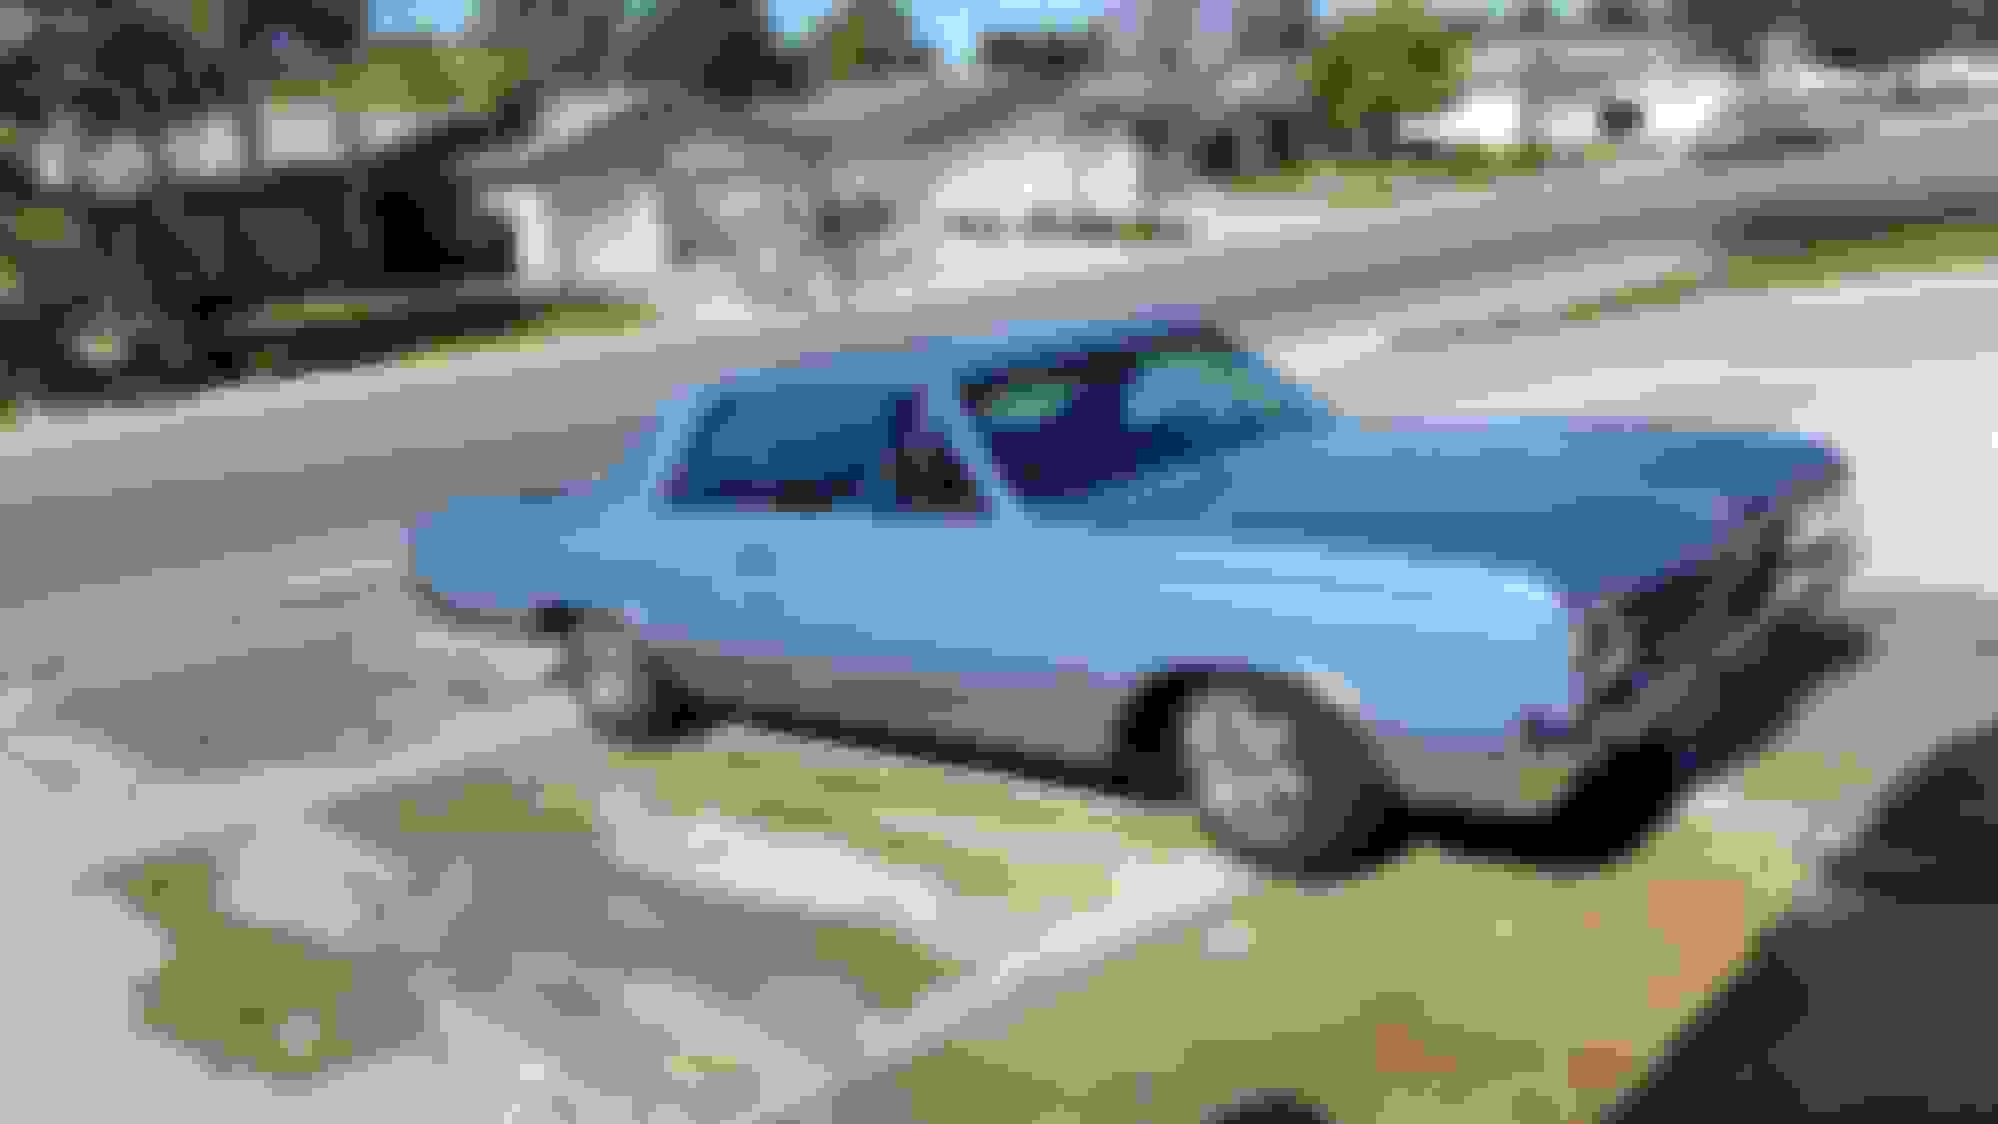
got the car lowered back onto the chassis today, hopefully for a very very long time now. Still have a long way to go but I�m starting to feel like we�re making progress.
little more progress this Sunday. The right rear quarter was pretty rough.. the left rear has been replaced.. I can definitely work with it. Right now I couldn�t find any stock on the right quarter! After about a week of searching I found one in Saskatoon
 December 2nd, 2018, 08:05 PM