When you click on links to various merchants on this site and make a purchase, this can result in this site earning a commission. Affiliate programs and affiliations include, but are not limited to, the eBay Partner Network.
Location: Hamilton, Ontario Canada and Port Charlotte FloridaFlorida
Posts: 14
Glad to see some updates! It is difficult to get back to a project when you let it slide for a while. Absolutely love what you are doing and your skills are amazing: it all take patience and 'a good eye' to see what changes will look killer!
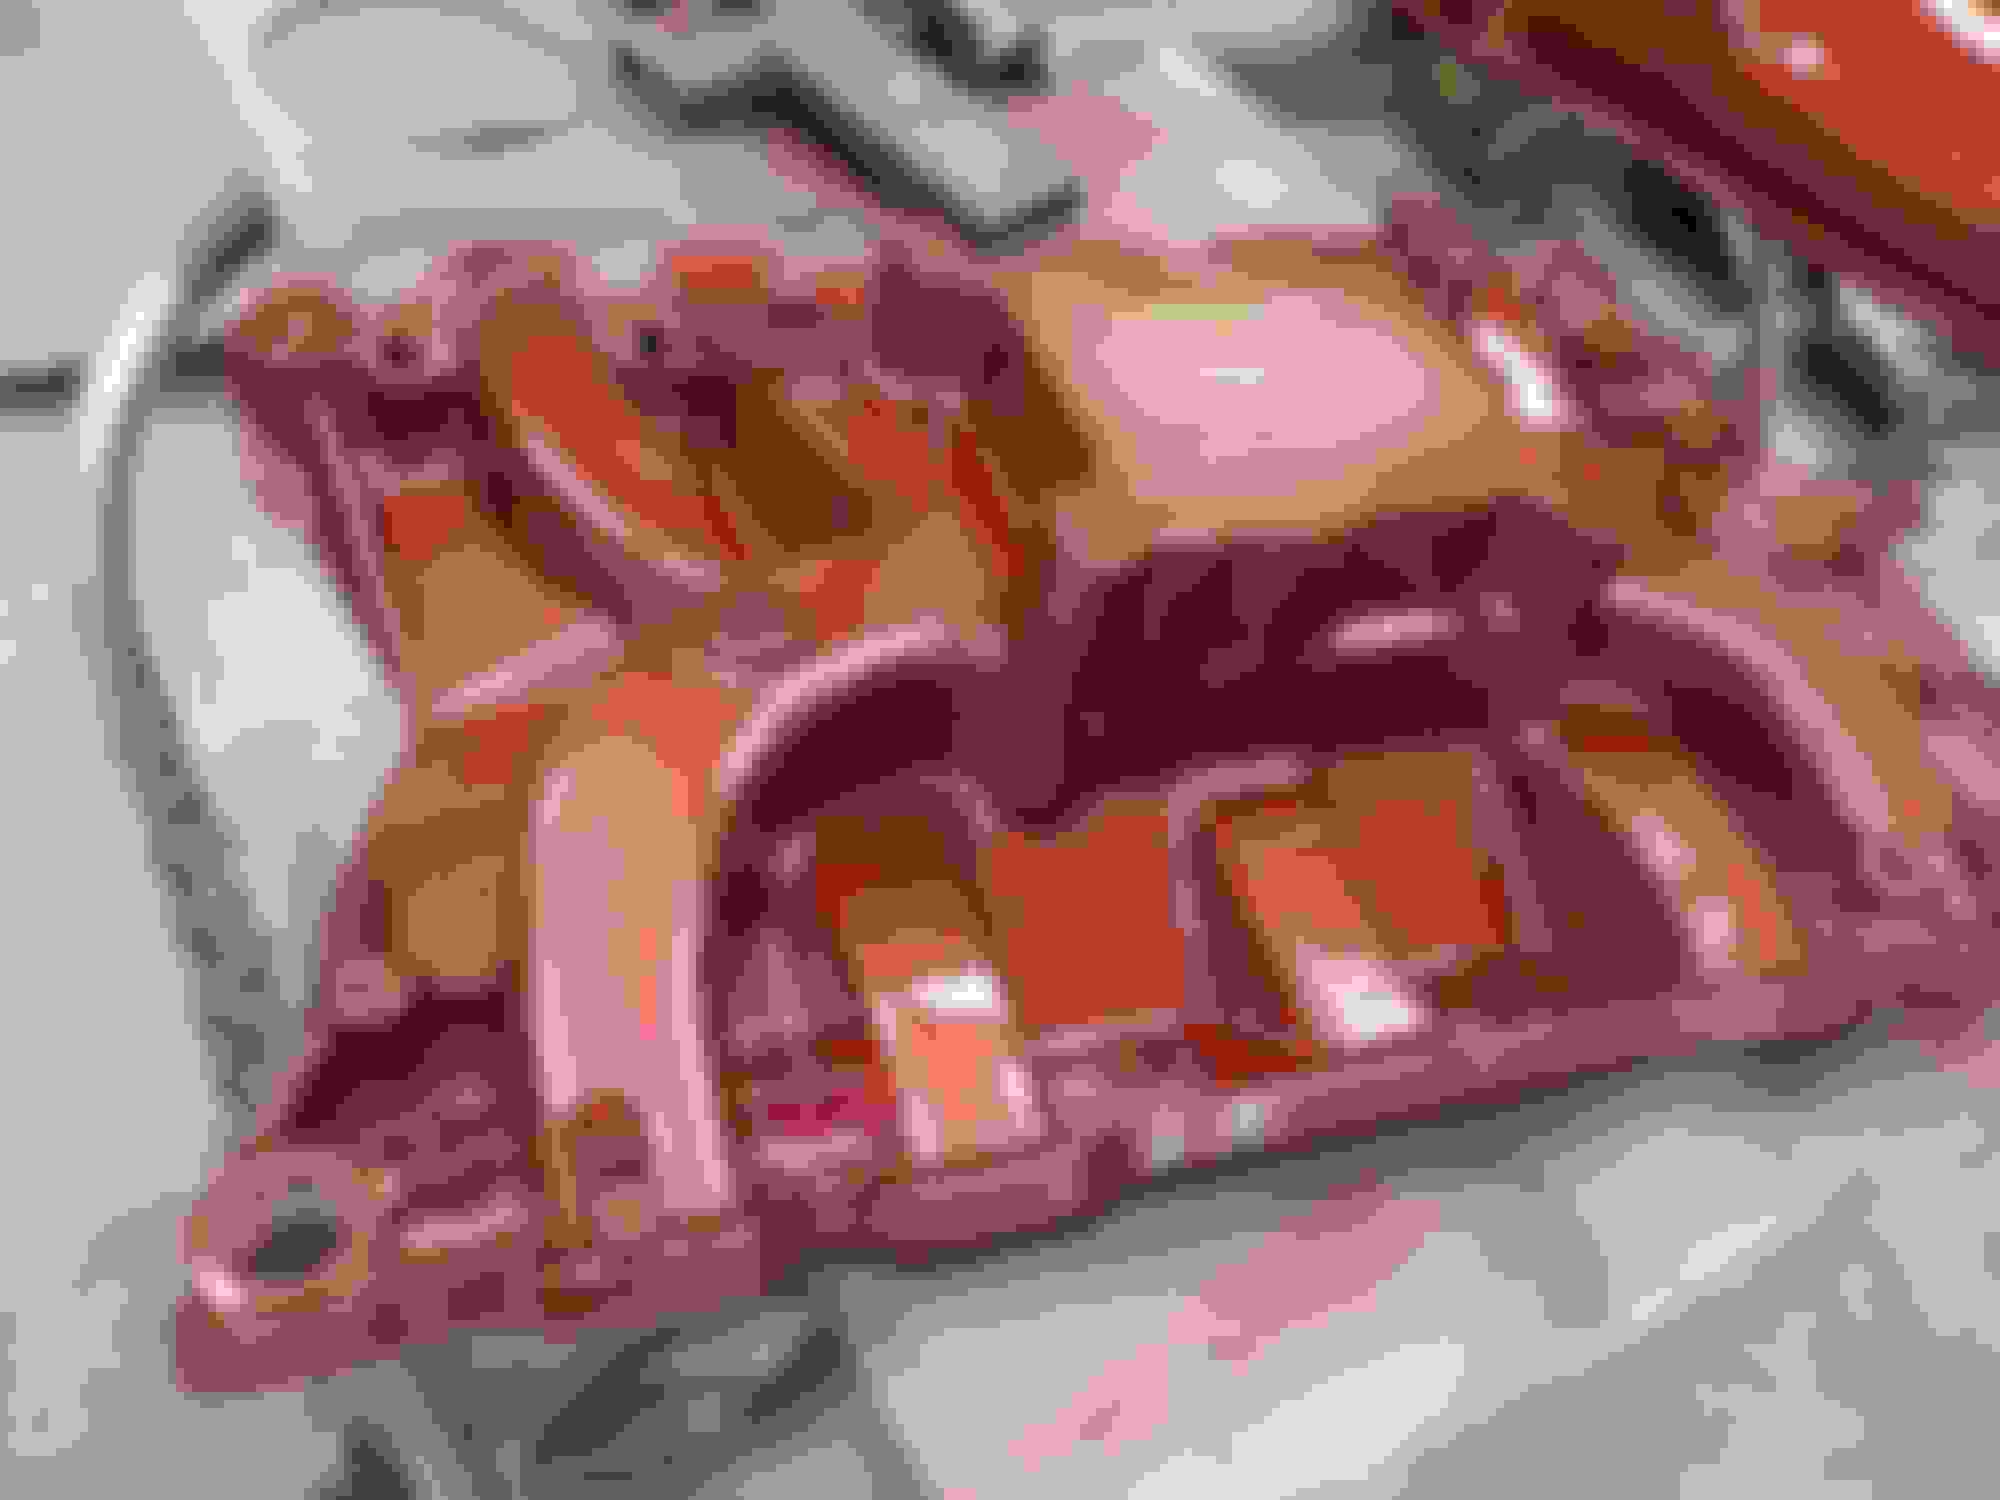
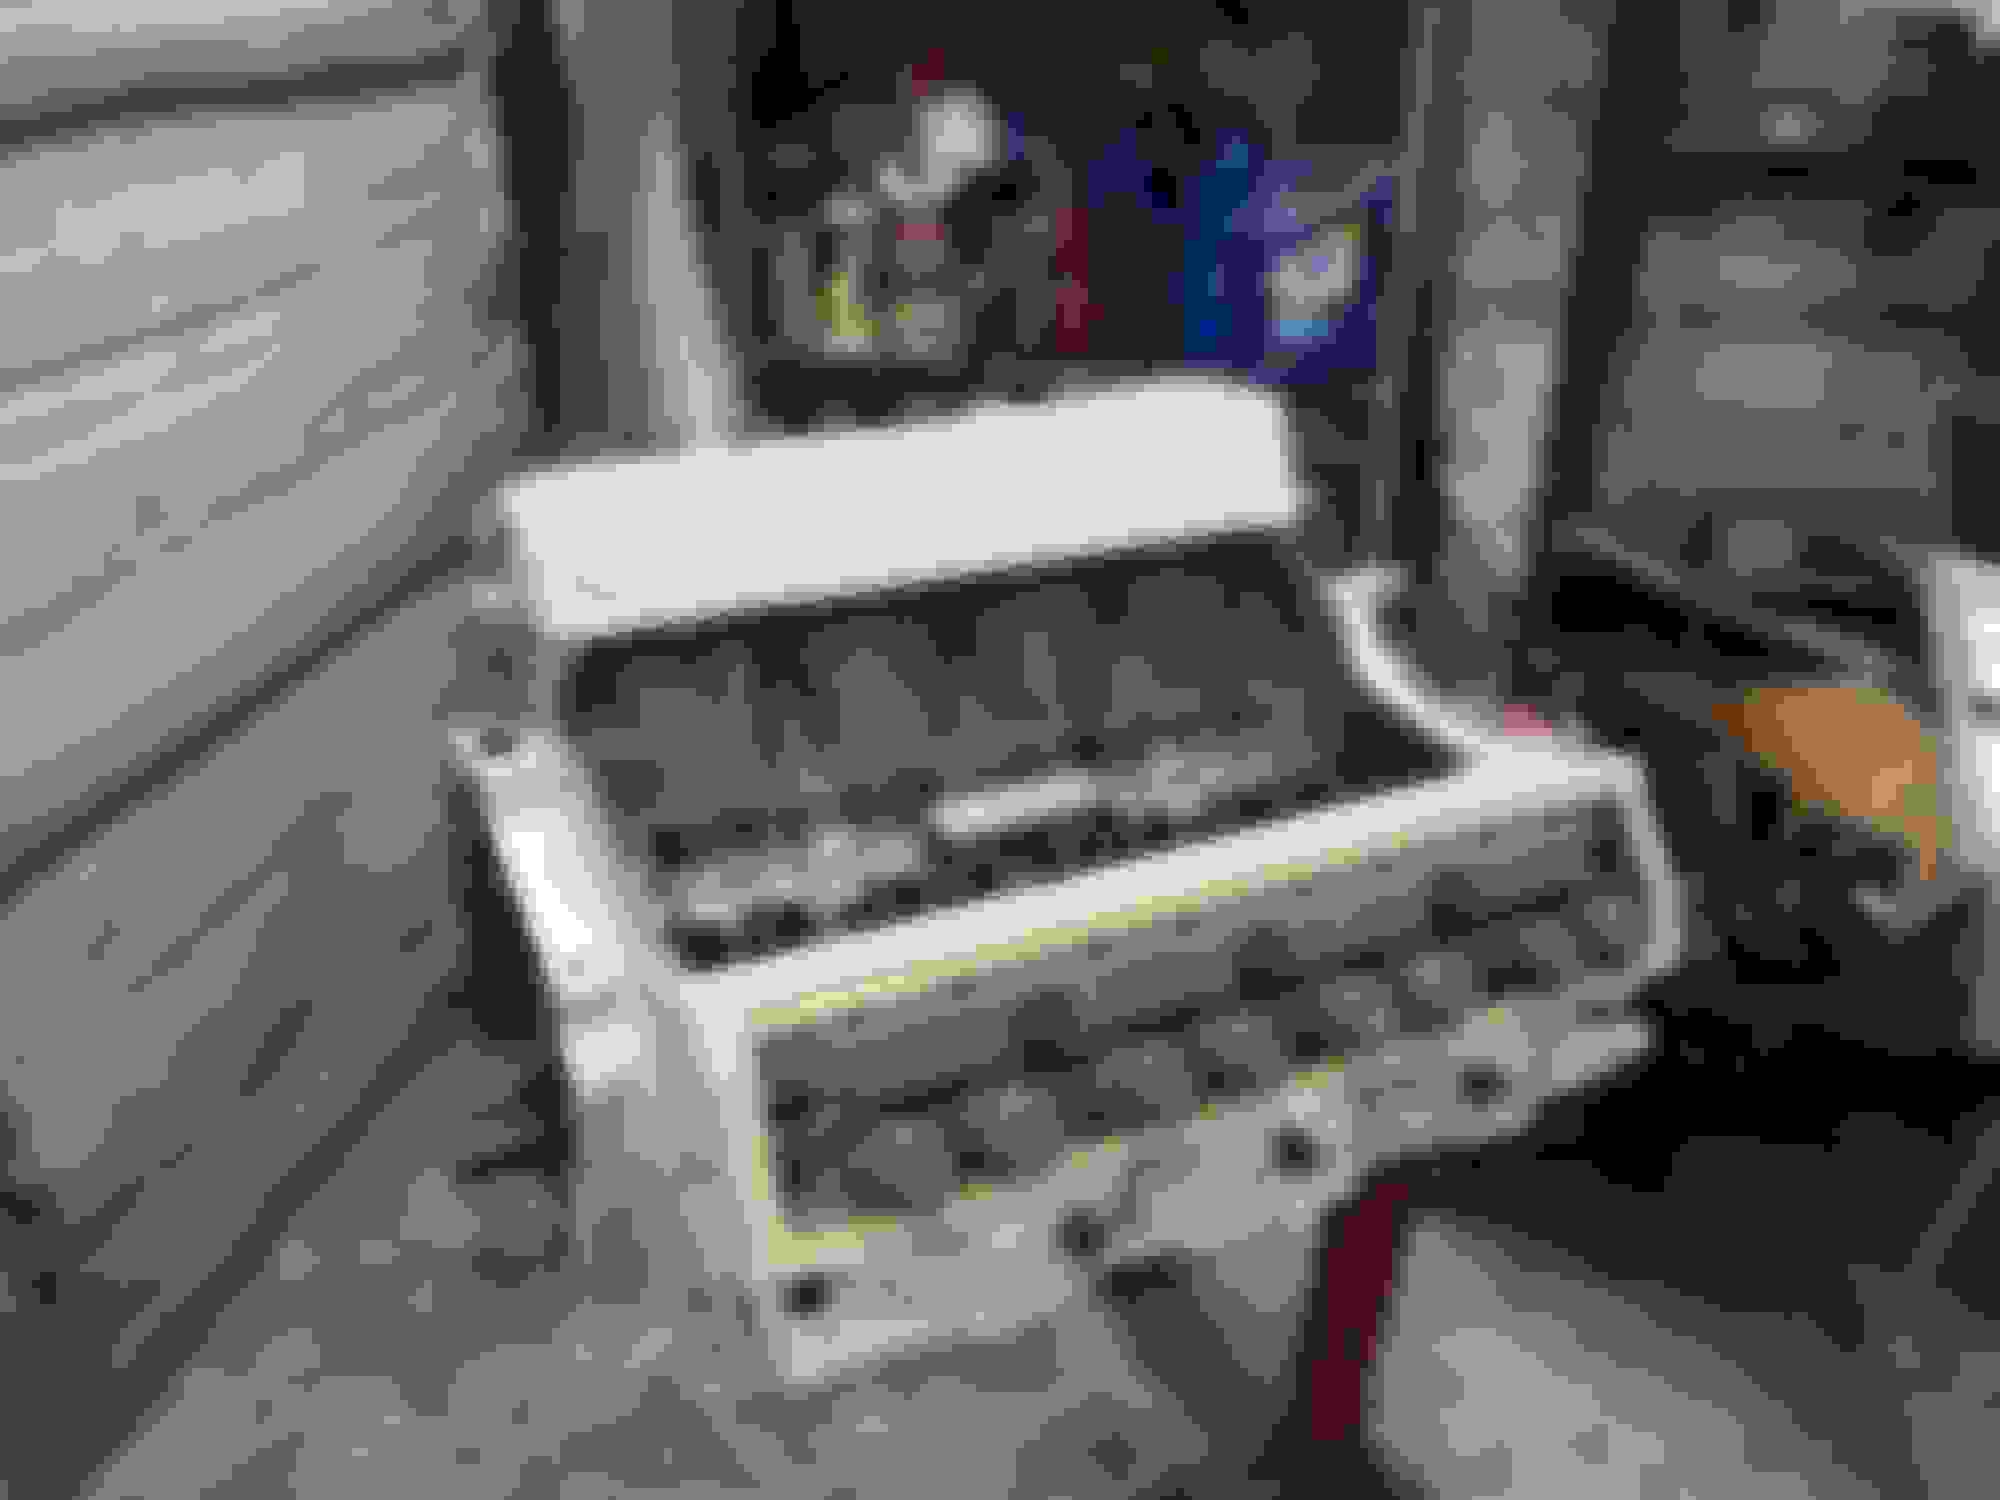
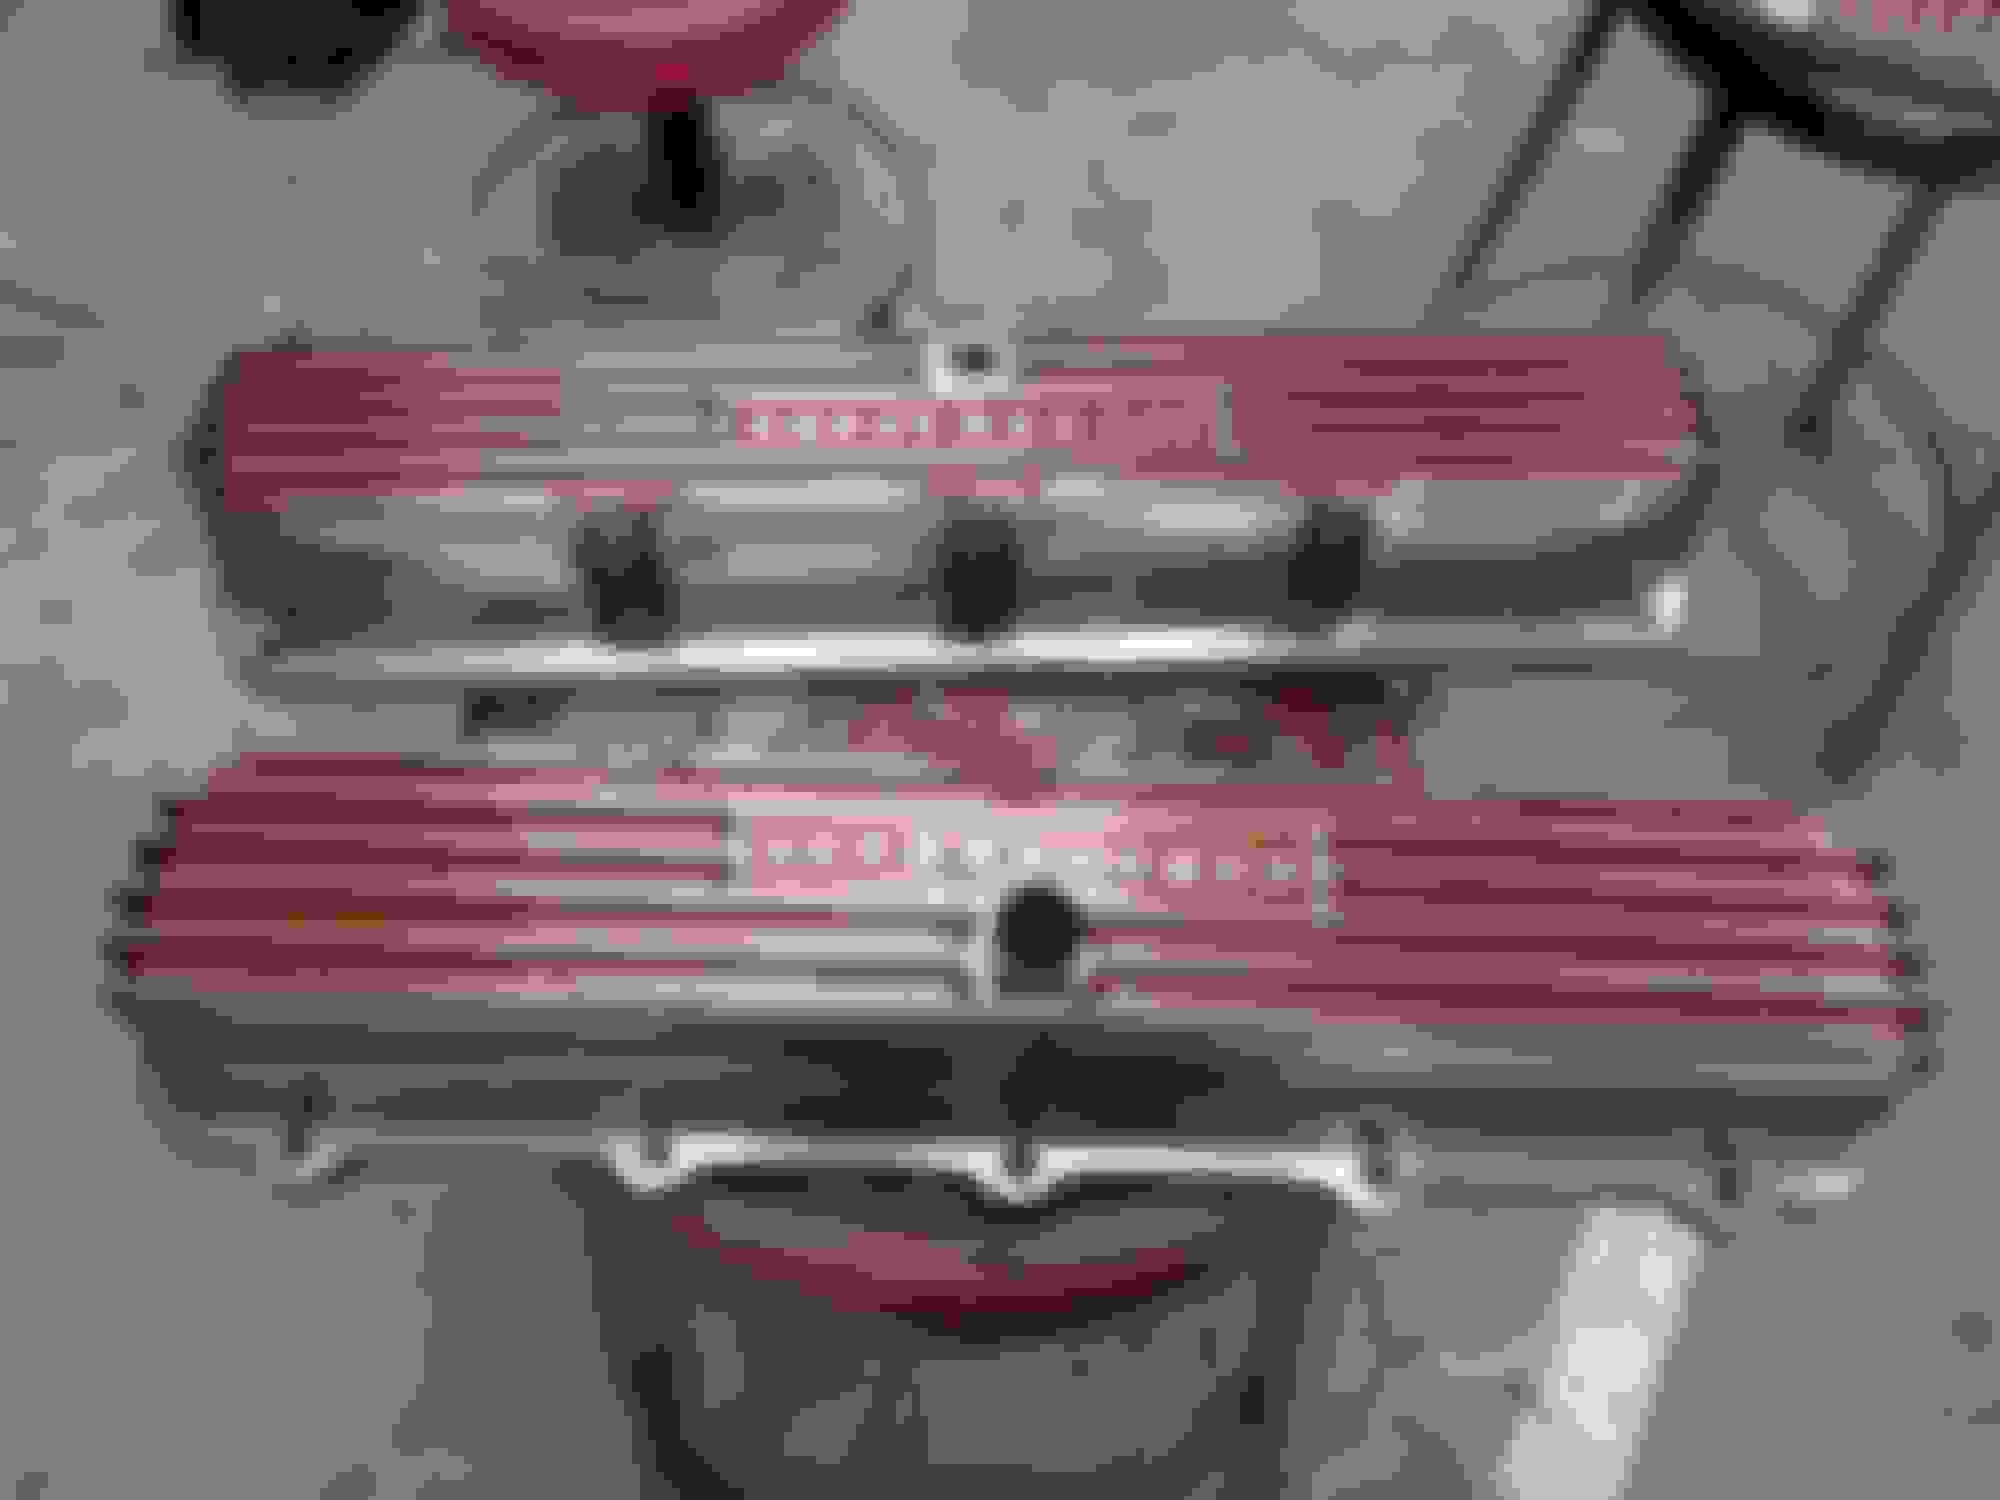
All parts for the engine are in. I let the epoxy primer set on the engine for a week, and scuffed it up for paint Had to deburr and smooth the heads a bit, as well (What a job!) I wanted a color to compliment the copper and beige pearl I plan on paining the body. A bit darker, to show off the aluminum and chrome. So, I mixed up some of the copper, with HOK Gamma Gold metallic, and some red and root beer candy. Finally got the bronze-y color I wanted. Getting ready to drop the engine in the chassis.
I just read this entire thread from top to bottom. It's a pretty amazing project and coming together brilliantly, to say the least. You sir, are a true artisan!
Lots of progress, not a lot of pics! I got the front bumper back from Tri-City Plating, as well as the rear bumper over rider (from Super Chrome in NJ). The rear, that I dropped off at Fall Carlisle, is on it's way back home, too!
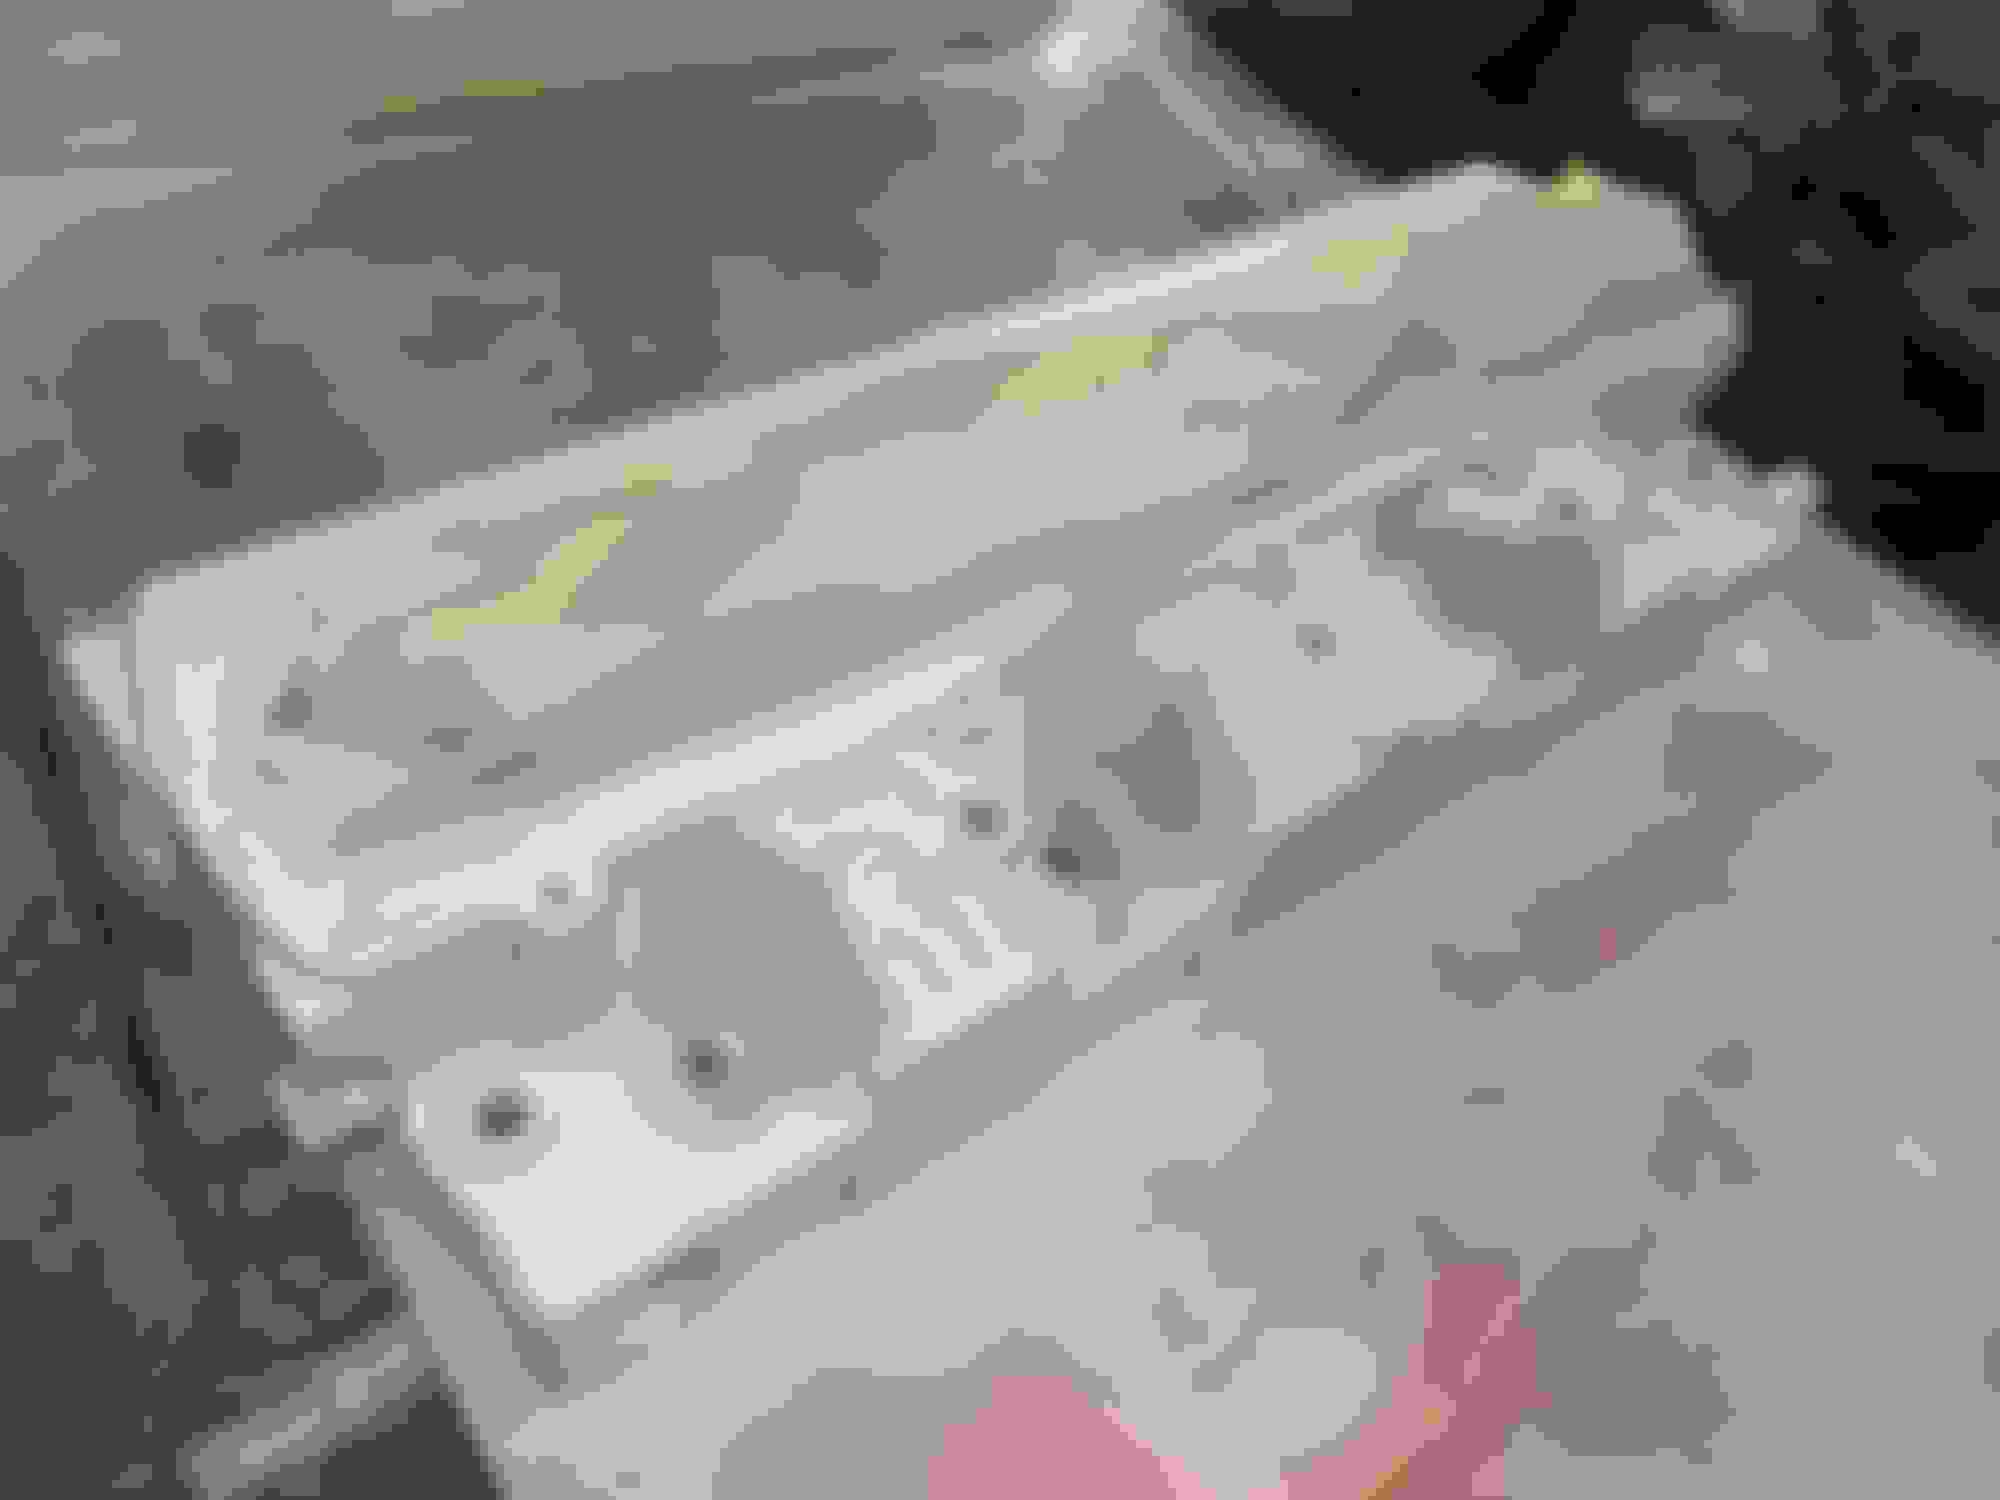
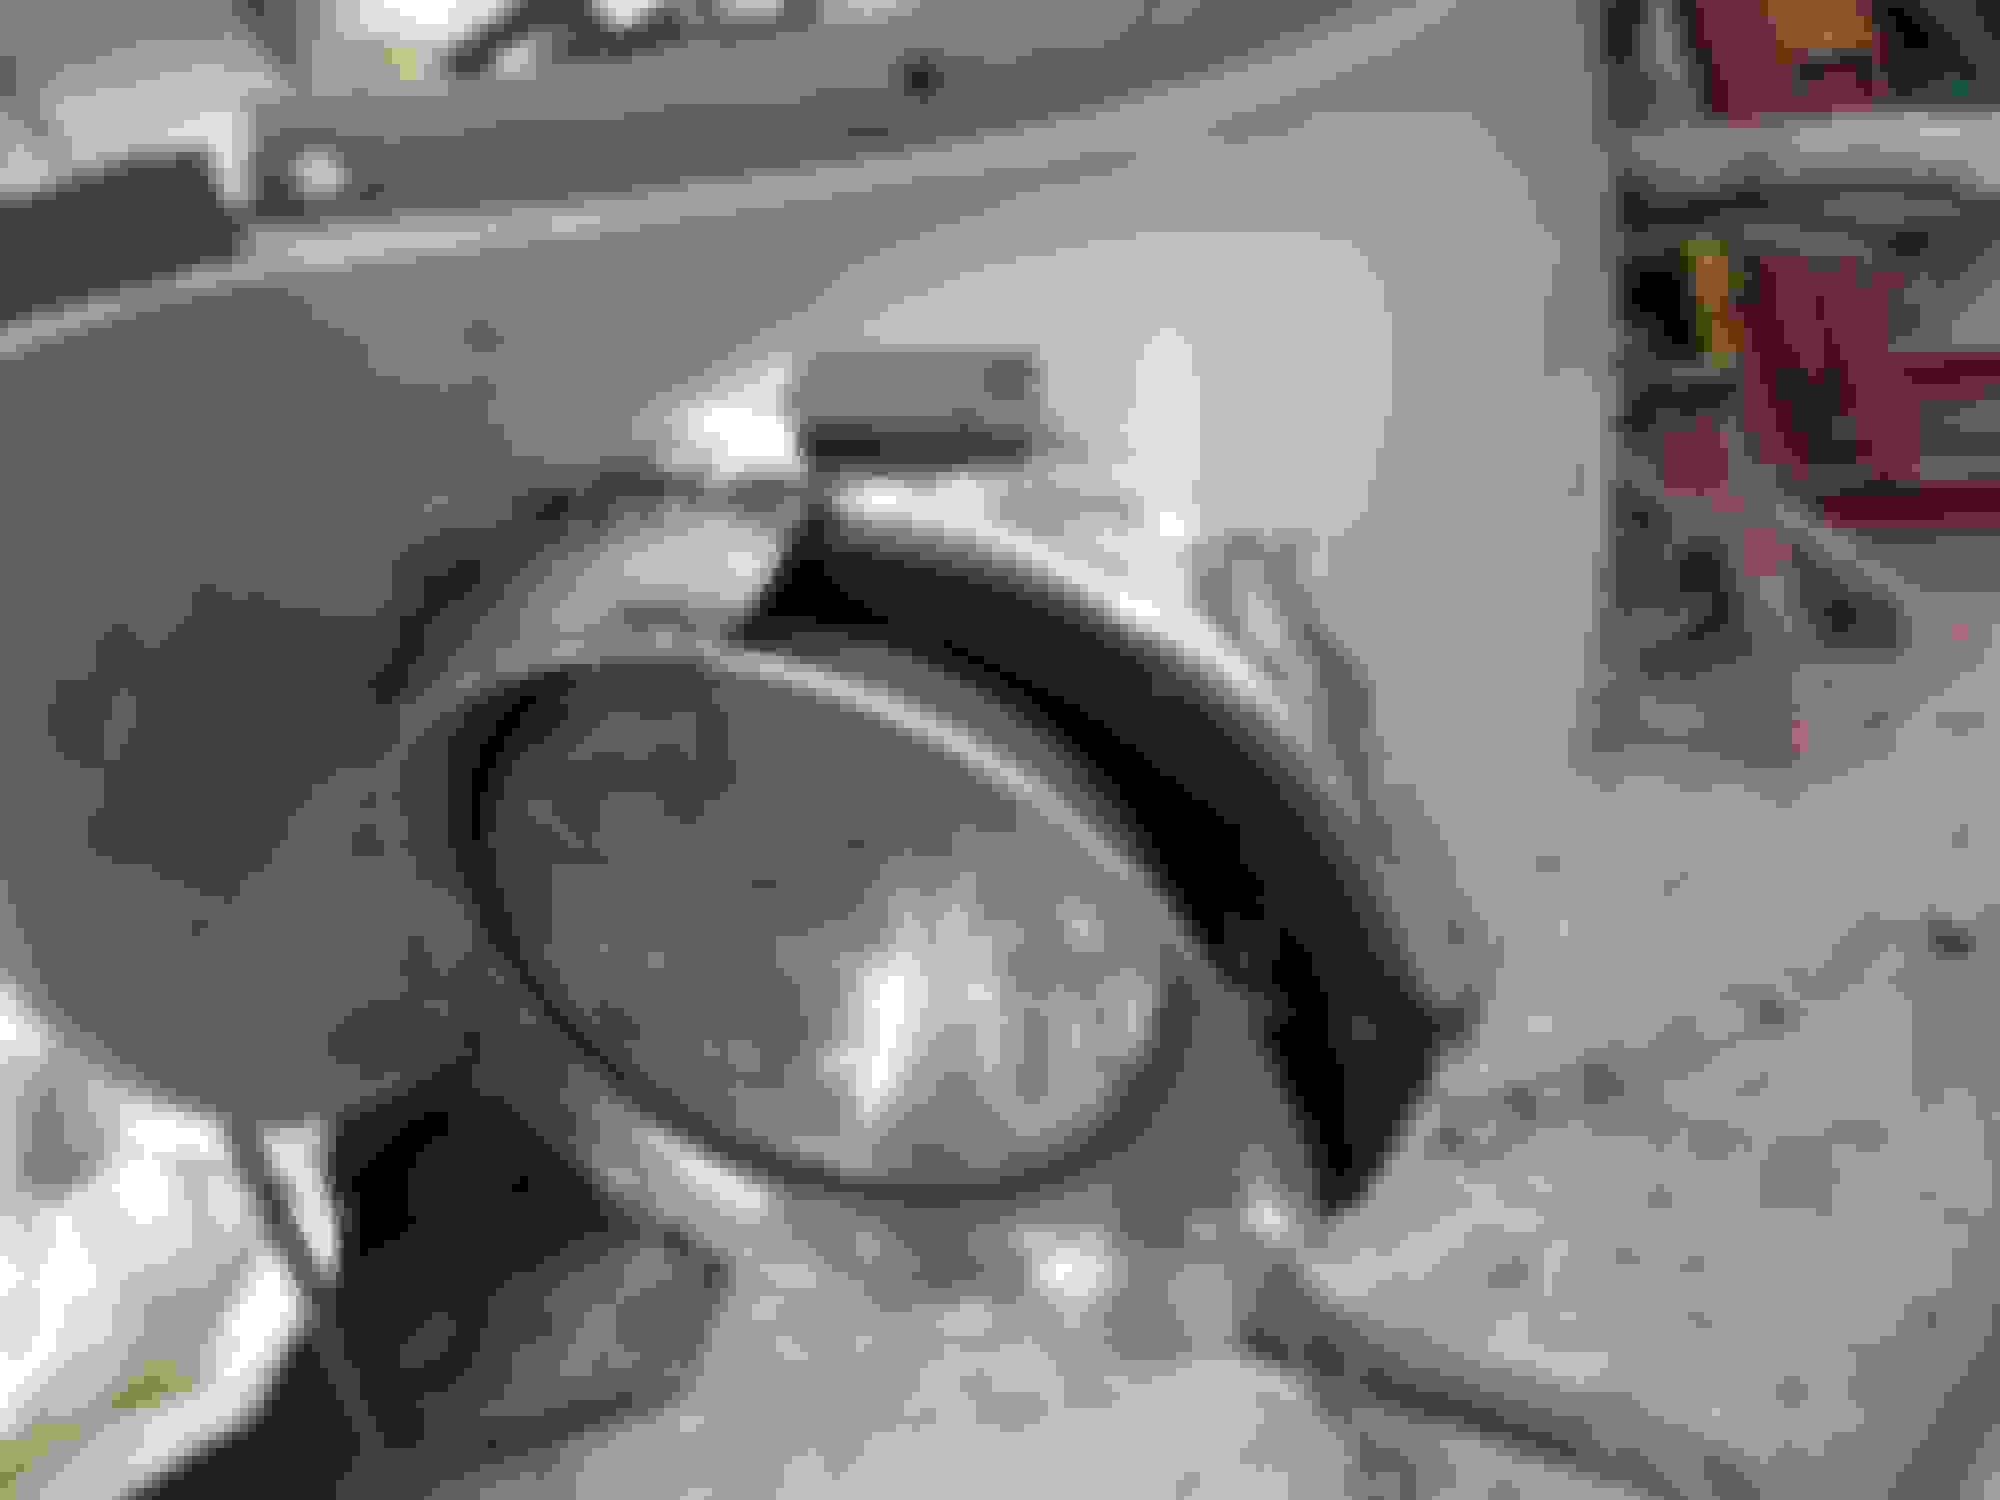
I finished modifying the wheel wells, as fixed some rot, and got them painted, and started undercoating them. But the product I used checked, and began peeling off. So, I'm switching to Upol Bedliner. I modified the radiator support, to fit the narrowed Impala front frame, and to fit a modern crossflow radiator, a 4 core aluminum one for a 455 Vista Cruiser. I also decided to Semi-French the headlight bezels. I cut away the outer ring, fabbed it out of sheet metal, and welded that to the fender, Now, just have to send the inner pot metal bezel to the platers.
As soon as I dry fit all the brackets and pulleys, and either powder coat them, or get them plated, I can assemble the front end, and get it fired up!
Just a great build / thread. I am so impressed by you and many other metal workers. This car is coming along well. Going to just kill it when it's done. Will you need to get a new project going to occupy your time? Ha ha.
no1oldsfan, hahaha! Besides the Olds-Mad, I've got a custom chopped 54 Plymouth, with all Vette suspension, in the works, a mild custom 51 Ford, 50 Ford pickup, and a 57 Olds coming in next week!
Do you use any body filler? Some guys claim to just hammer and dolly until smooth enough for a little primer build up. If you do use filler, do you use plastic, or lead?
Daiv8or, I use filler. Not embarrassed at all to admit it. I can do metal finishing, without fillers on some things, but the time it takes to do this, adds so many hours to a build, considering the rust, rot, and customizing I do on the old cars. I use quality plastic filler almost all of the time, but I do use lead in high stress areas, or where chipping easily happens. My chopped 55 Olds has been done for over 38 years, and the filler work is not cracked, and most of that car was done with brazing, so has more filler than I would ever use now!
Unless the part is being chromed, or the customer request it (AND pays for it), I just work the area, so it takes less than 1/8 inch of filler, or if it's an easy spot to do, hammer it to almost perfect. Usually, the last 5% to get to perfection, takes 90% of the entire job's time!
Cool. That has been my strategy as well. I find plastic filler works pretty well and my leading skills aren't so great, so I've only used it a couple of times on A pillars. I was following another restoration where they chose to use lead for everything like they did back in the day, but to me that just adds more hours to an already long process. Plastic is quick and effective, the key is to use a quality filler, not Bondo.
Location: Hamilton, Ontario Canada and Port Charlotte FloridaFlorida
Posts: 14
Just love watching the progress on this build, your skills and patience are amazing. I am an avid car nut: my hubby and I work on cars together now we are retired - however he is the mechanical brain and I do what I can. I tend to deal with the fine details; interior, trim, restoration of parts etc - the things that take patience and artistic skills - but can hold my own with a wrench when needed. I wish I had got into cars in this depth when I was younger however I was busy being a mom, a business owner, active member of the Chamber of Commerce and involved with charitable fundraising - so cars were a 'weekend thing' for the most part. Anyway, I am here now and soaking in what I can. I noted you mentioned a 57 Olds: I will be watching for that as I owned a Super 88 Fiesta Wagon for a number of years and it is 'one of the ones that got away' that I still have a passion for. Cest La vie!
Just another distraction (Hahaha) to keep my from working on MY car! But I did get my power steering pump rebuilt, the brackets for it and the alternator figured out (and sent to the plater, and I powdered a couple pieces.. Also went through the carburetor, bent up fuel lines, and trans cooling lines, assembled the plug wires.
Love your build and watching the progress! That bronze color for your engine is amazing as well. Can't wait to see the final product!
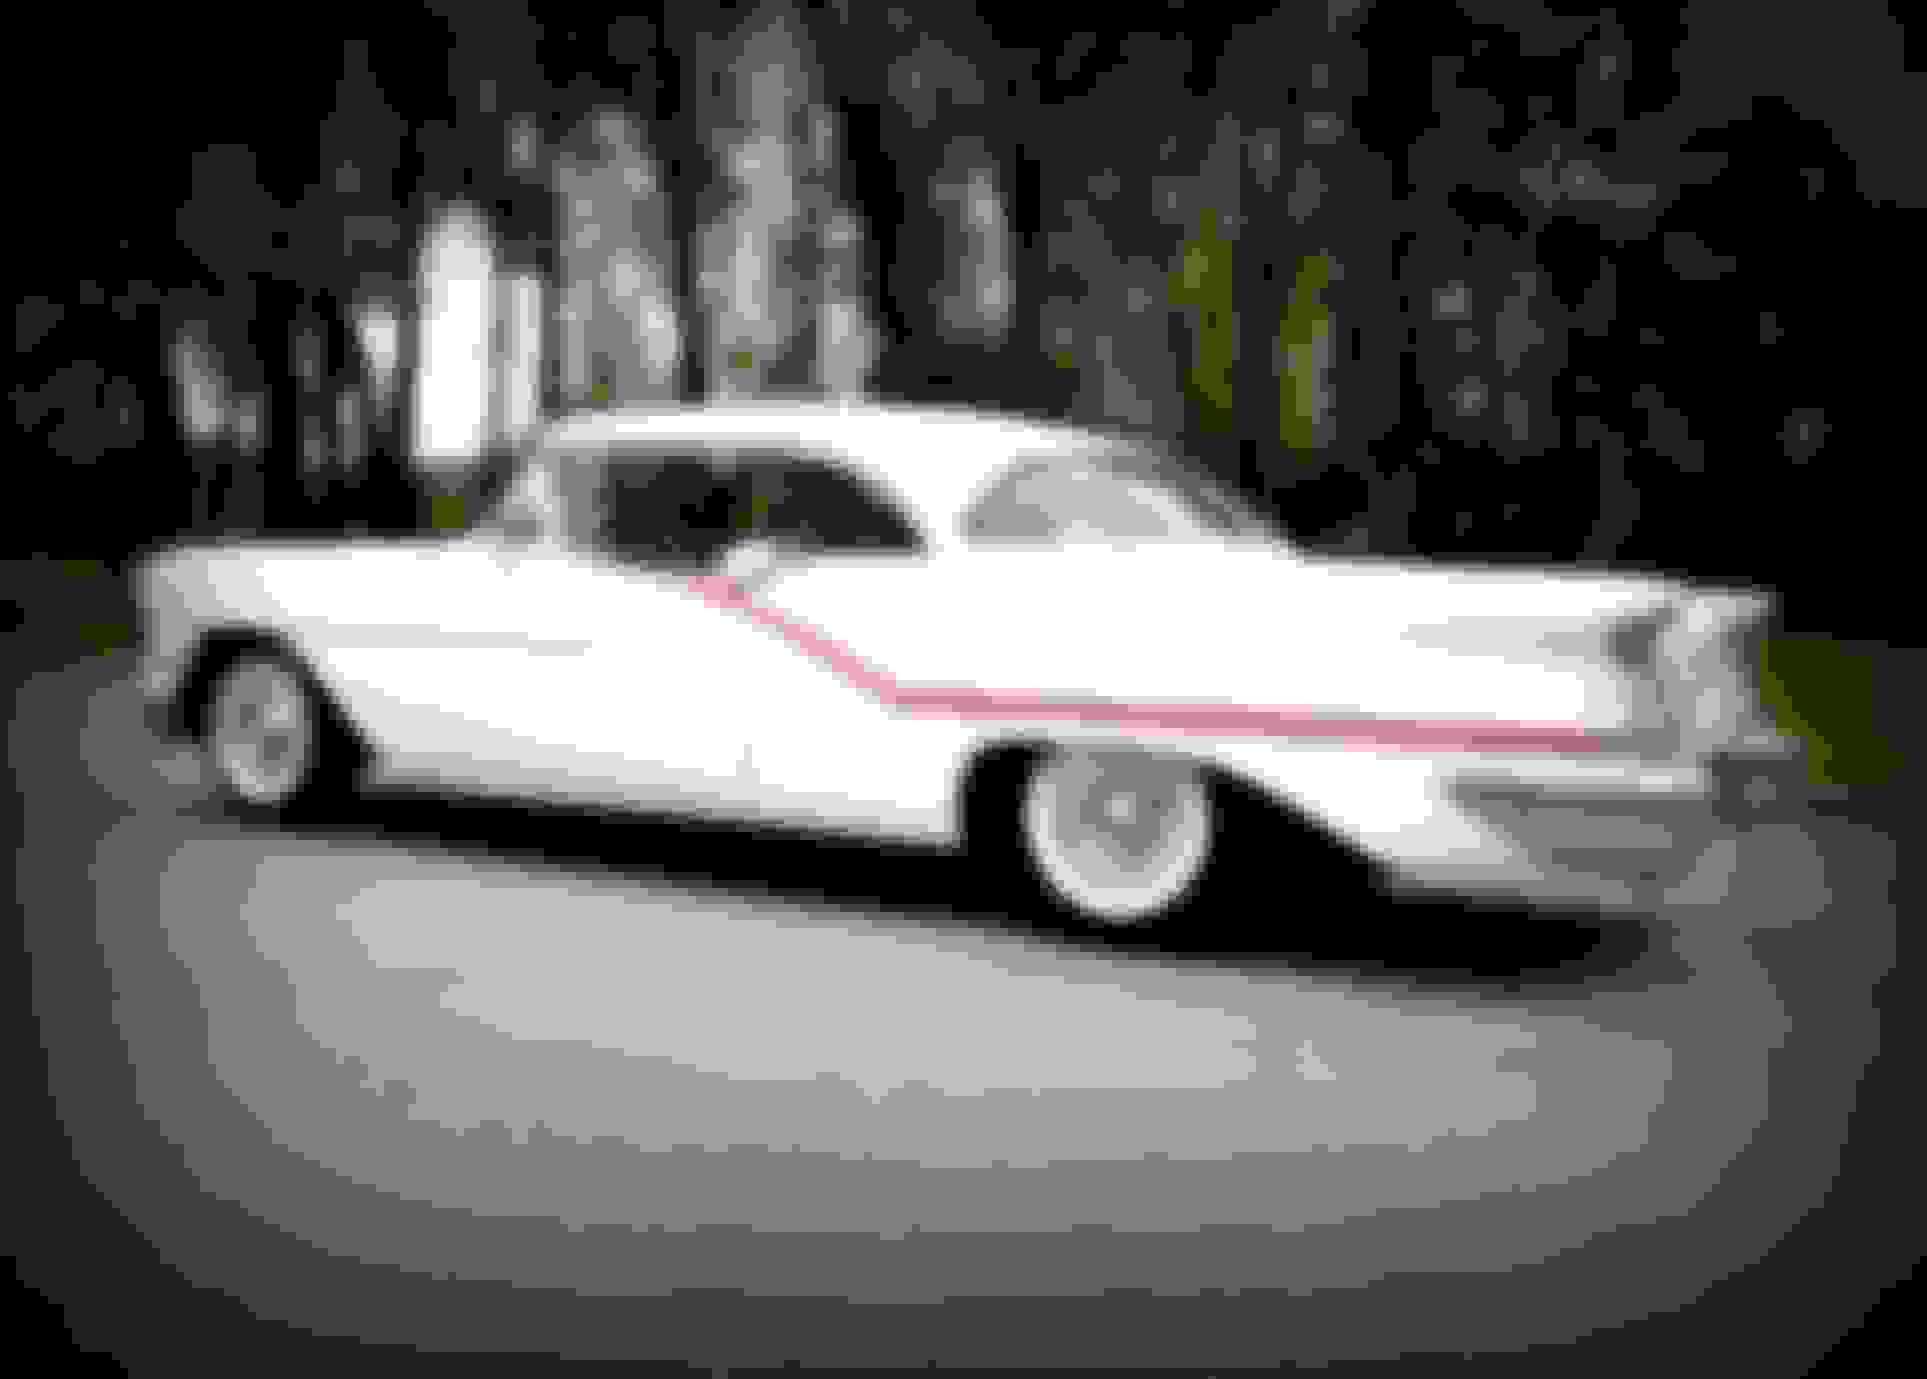
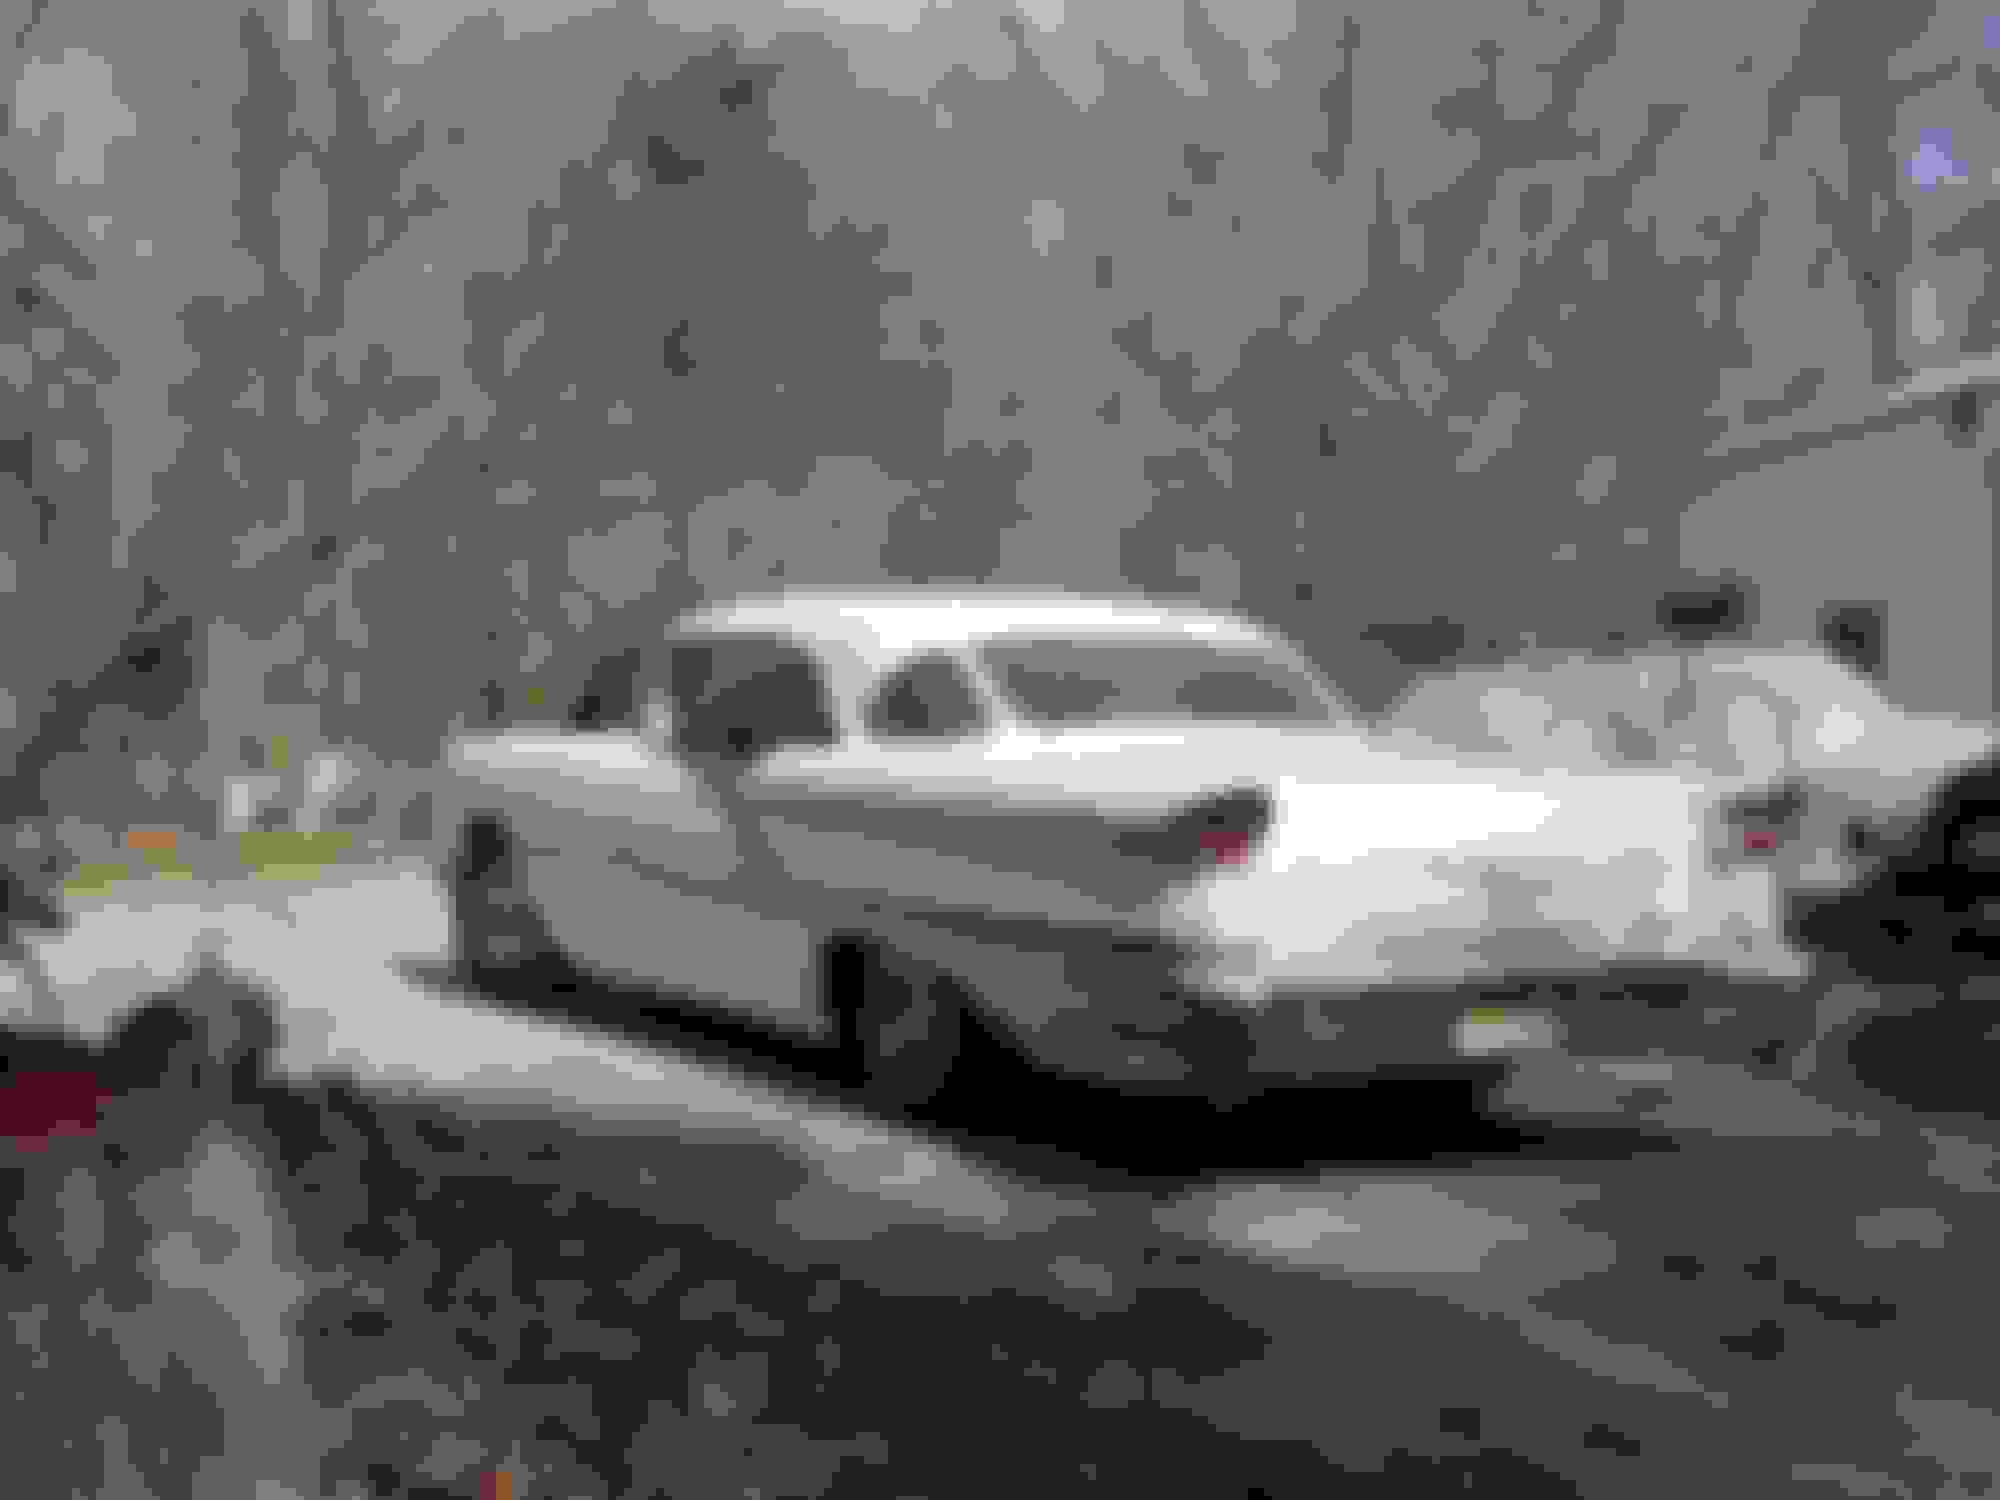
As for the 57 "distraction" I recognize that car! It has come to several of our Delaware Valley Olds Club shows in the past (one year pic below when it rained). What's the plans for it if you can disclose?
Anderson, I still have the 55, hoping to get in in the shop for a complete redo, soon!
tva442, no secret. He's had a lot of rechroming done, since then (front and rear bumper and dash) it's getting stripped to bare, surface rust treated, rot cut out and fixed. Maybe lose the front Olds emblem on the hood, tunneled antenna, that's probably it. So far, I think he's leaning toward all Pearl White paint. But we'll see, white is kind of boring!
Look forward to seeing the finished product on his 57 at one of our future shows. And hope to see yours once it is done at our Delaware Valley Olds Club or Garden State Rocket shows!
As for white, it can look sharp. This other 57 has come to our shows, though stock, looks pretty sharp in white, especially with the red accent.
Long overdue update. Not tons of work getting done on the Olds-Mad, but it's getting closer to being fired up for the first time.
All engine stuff completed. The only thing left is to find a place to put the aftermarket fuse box. A friend found it for me, and it's a "Haywire" kit. Not easy to place, as it's pretty long. With the wiring connector, it's about 15 inches! I guess, since it has a bolt on connector, it was made to go on the firewall, with the connector in the engine compartment, and box, inside. But as we know, on Olds, that's not a viable option. And really not a lot of real estate under the dash for something that big.
Got the radiator mounted, and due to the subframe swap, it had to sit a bit high. So, I built a shroud for the fan, as the fan extended a couple inches below the radiator.
Picked up a new steering wheel from Fusick, got the dash straightened, minor dings and dents, painted and upper part buffed. Steering column got it's shifter removed, and then adapted for a bearing and steering joint.
Other projects in the shop got most of my attention the past few months, a mild Kustom 51 Ford, and the 57 Olds turned out to have even MORE rust issues, but all body work, except the removal of the hood emblem, is finished. Getting ready to assemble the sheet metal.
Oh, and another thing that slowed down the project was the windshield. The car came in boxes, and the front glass was broken in the garage I got the car from. I picked up a new windshield from Auto City, at Carlisle, last fall. Got it home safely, measured it up, and cut it. Broke in 2 places! I've only broken 2 curved windshields on my chops in the past 40 years or so!. Might be that this new glass is thinner than the original. Could be that I was trying too hard.. I had made sheet metal braces to glue below the cut lines, inside and out. I tried to do a 54 a few years back (again, new glass, thinner) and it broke when I picked it up, not during the cutting, or sanding of the edge. So I thought I would reinforce the glass the length of it, until it was installed. Now I believe it might have stressed the glass into cracking. The glued brace had broken loose and shifted during cutting. I won't do that again, but now need to find a good windshield to use!
Been a long time, but here's a New Year's update. Got the engine ready to fire up, after sorting out all the bracket, pulley, fan/shroud issues. Still have NOT found a good used windshield, might have to drive to VA to get one, but it's around 390 miles, one way!. Still looking for a closer one.
Finished up the 51 Ford mild custom, and got the 57 Olds finished in bodywork, and painted the stripe and back half, before succumbing to a sinus infection. Which along with the Holidays, kept me out of the shop for a couple weeks. Olds is in Cadillac Diamond White Pearl, with extra gold pearl added. Real Candy Apple red stripe.
Hoping to get much more done in 2023. Even got the upholstery guy lined up, and bought the materials for the job.
Well, I finally found a used windshield for the Olds, paid WAY too much for it, from a yard in Philly. Got a star crack in it, too. But I can use it, if the crack doesn't get worse when I cut and install it. I will get it filled before I do anything. The engine is up and running, no issues with break-in. AND it sounds GREAT! That custom exhaust sounds as good as I hoped. Now on to finishing the brake system, and cutting the windshield.
Oh, and the 57 Olds is done, as far as my work is concerned. Owner is going to finish up adjusting bumpers, installing trim (when he finds the right clips), and he let me build a tube grill for it, last minute. The White Pearl came out nice, esp. with the addition of the extra gold pearl! Though pictures do it no justice!
No kidding huh? These talented metal artist's blow me away. Awesome awesome work.
yes indeed and they do it matter of factly, I would be cracking walnuts with the pucker if I was to cut a piece in the middle of a quarter and just whip up a patch lol
yes indeed and they do it matter of factly, i would be cracking walnuts with the pucker if i was to cut a piece in the middle of a quarter and just whip up a patch lol
Been accomplishing little things on the wagon since last reporting. The biggest hurdle, was the windshield. The old one I got from Philly, I finally was able to cut. Had a hard time finding dry sand to blast it, finally had to go to Tractor SUpply and buy bags of Black Beauty. A bit expensive when you can't recycle it (blasting outside). But it's done, and only needs some fine tuning to fit the opening. Had a small project i completed, as well, a coolant overflow tank. I didn't want a modern billet looking one, and they usually don't have enough capacity. And the cheesy plastic ones from the auto store...NO!
So I fabbed one up out of aluminum. Even pressed in an "Olds Rocket". Painted it the second body color, to contrast with the body color in the engine compartment.
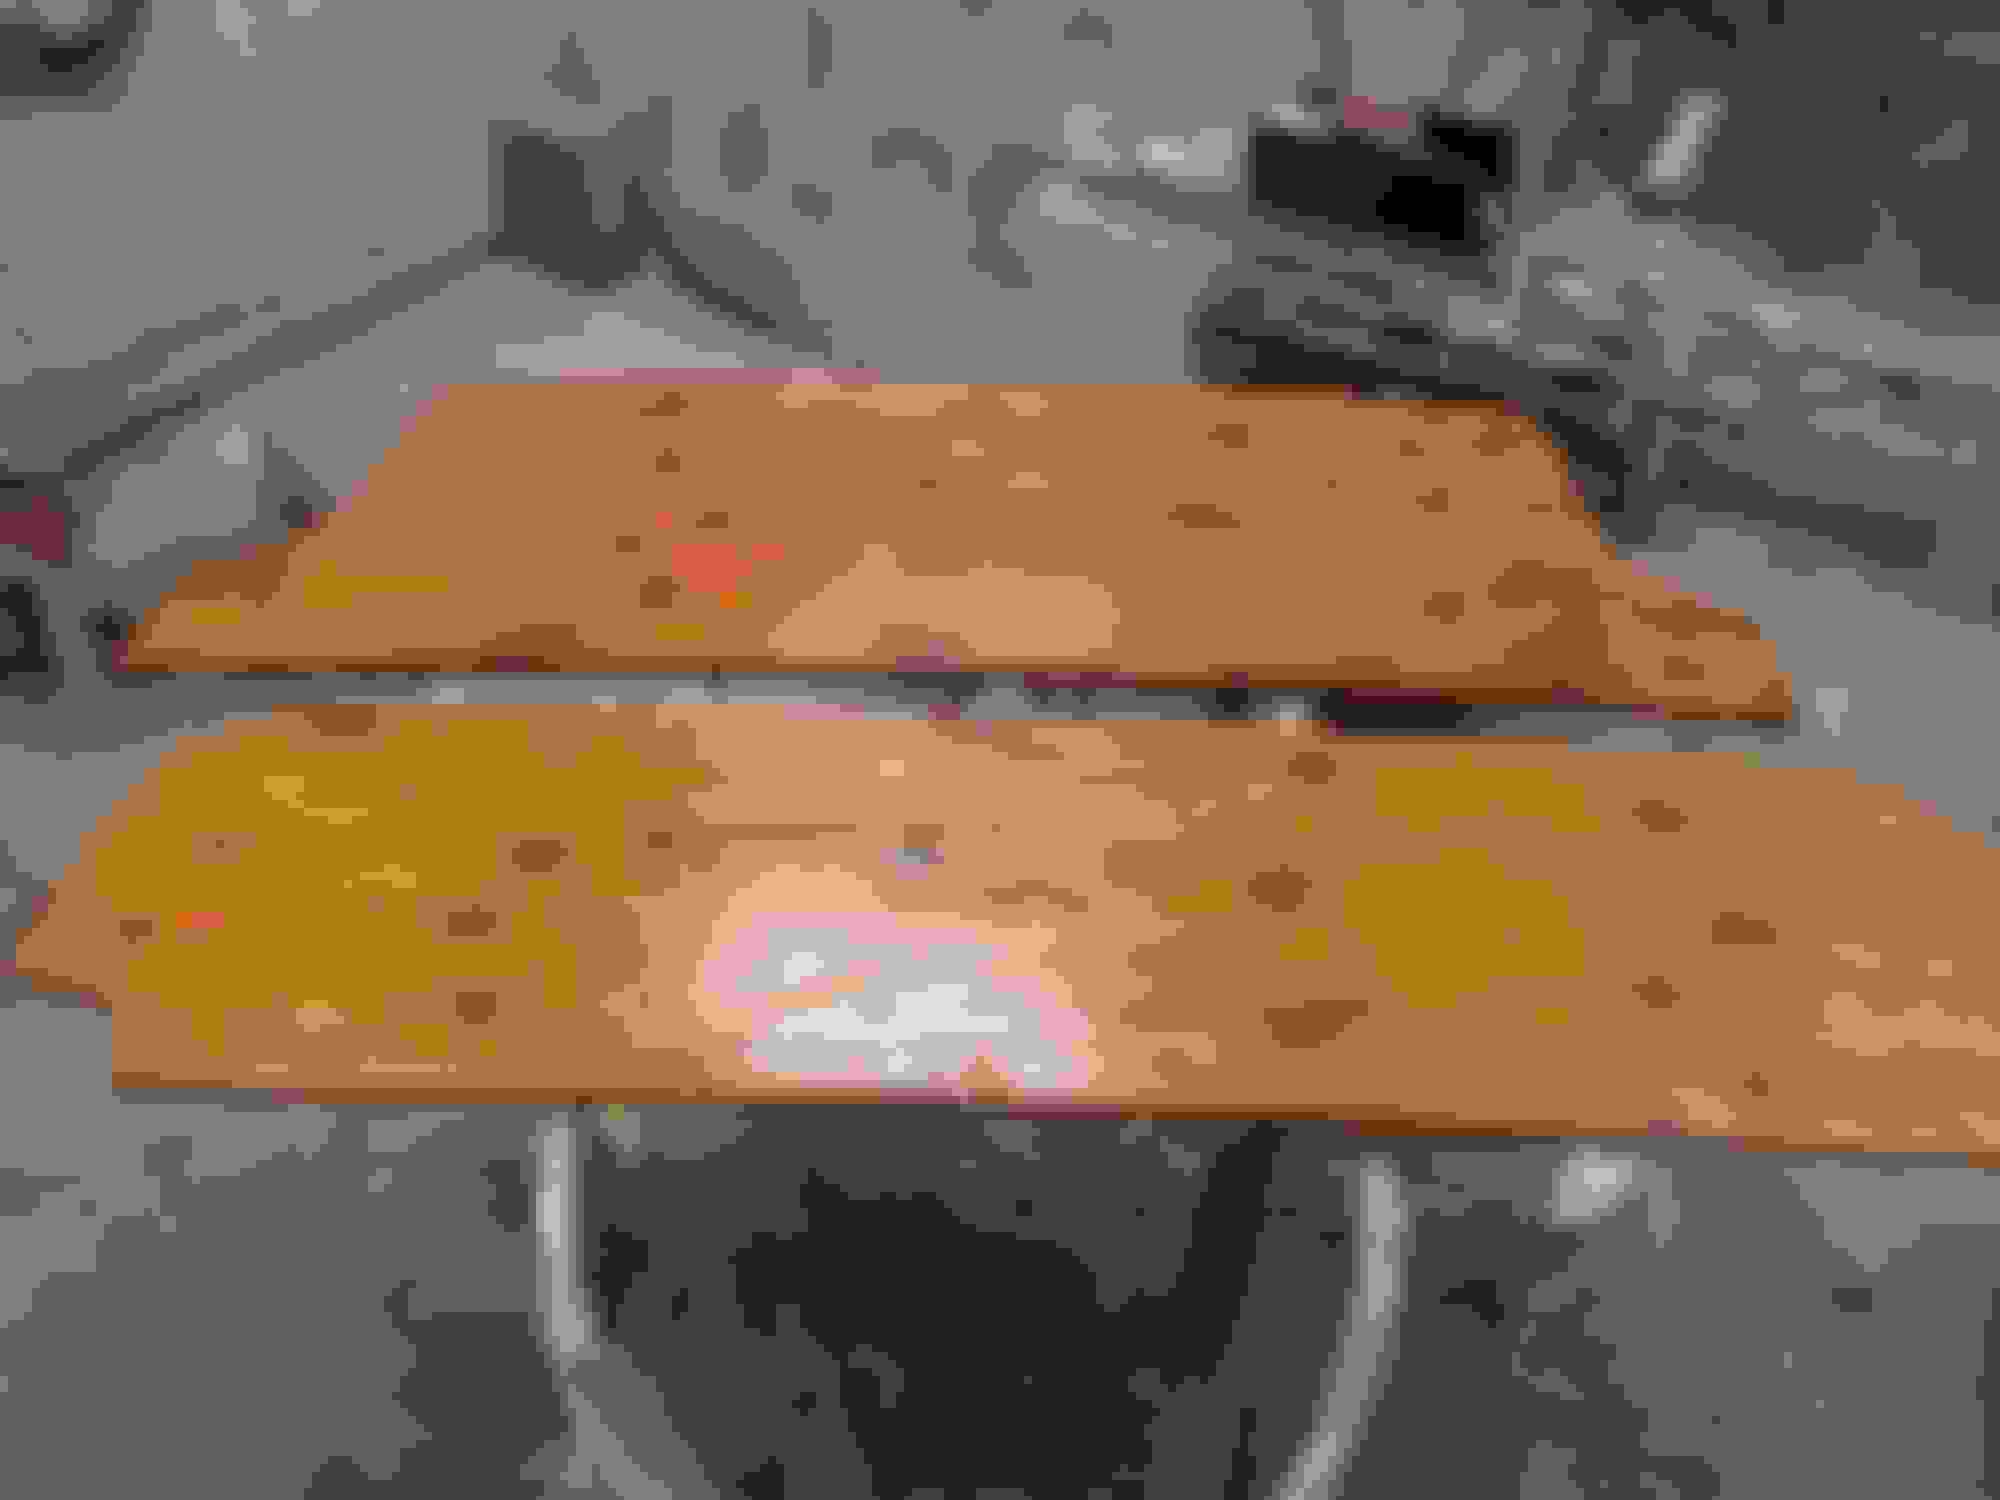
Next big hurdle, before it gets easier, is the back seat. The Nomad seat is a tricky bit of engineering. The lower part flips forward, and a bar flip around, to hold it up from the floor. The upper then hinges down to complete the cargo area floor. Now, since the Olds has a higher kick up over the rear end, the cargo floor has to be around 4 inches higher than on the Chevy/Pontiac. So I have to figure out how to get the hinges to raise the seat up 4 inches when they flip over to be the cargo floor. Other than that, I had to completely rebuild the seats with new plywood, and refurbish all the hardware.
 October 8th, 2021, 06:32 AM