When you click on links to various merchants on this site and make a purchase, this can result in this site earning a commission. Affiliate programs and affiliations include, but are not limited to, the eBay Partner Network.
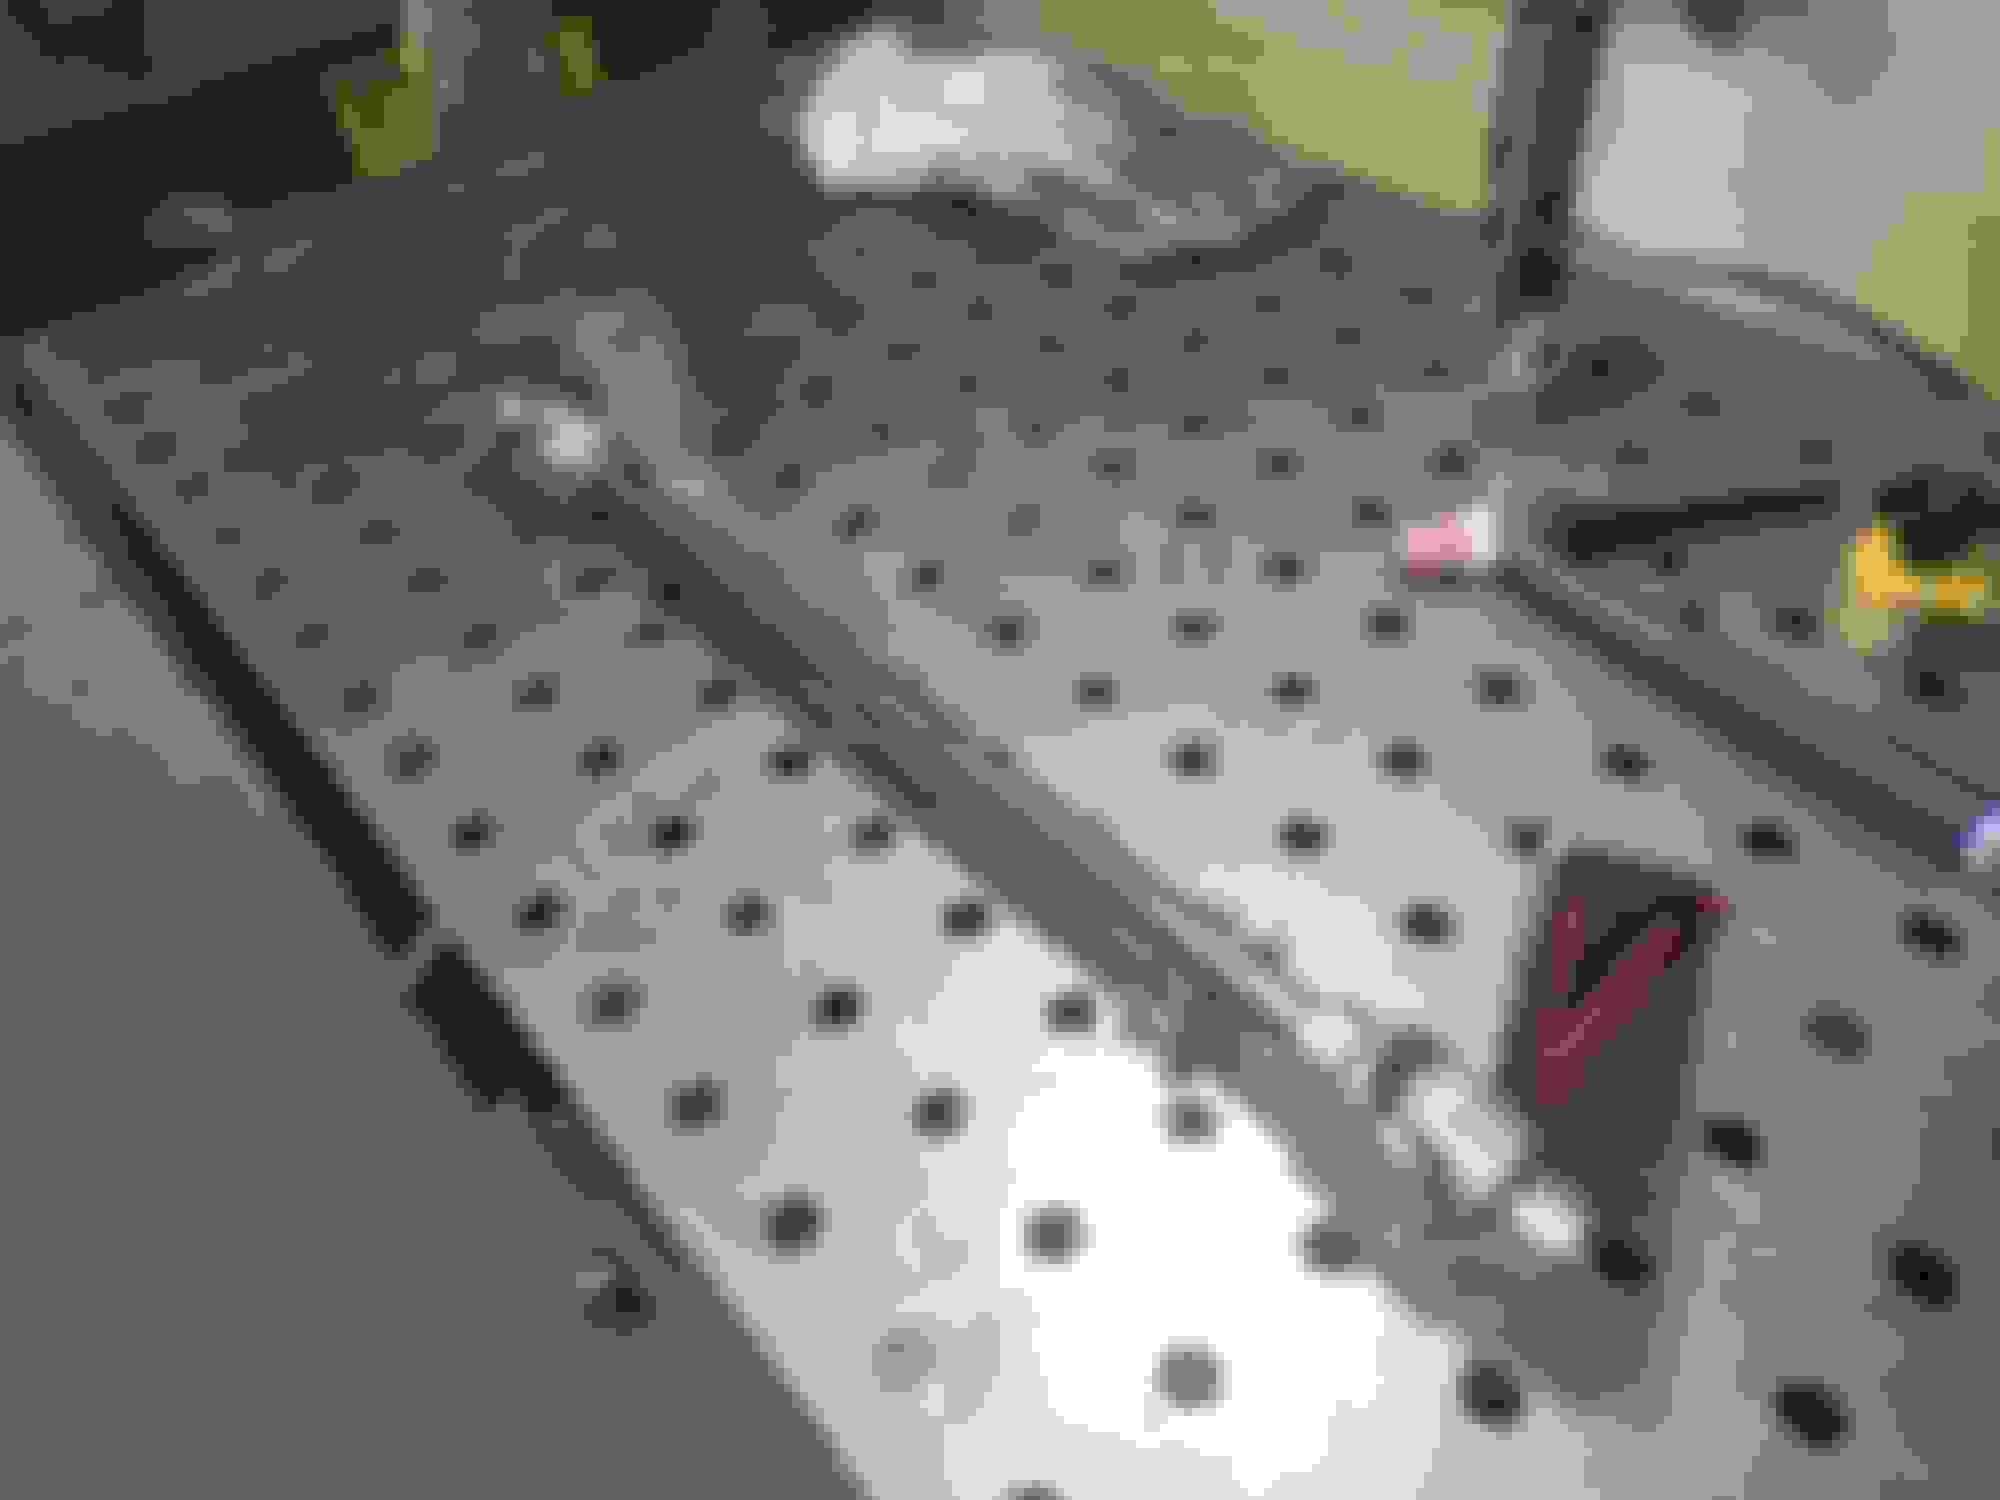
The upper coilover mounts are burned in along with a couple changes in the front end. I need to get some 1/2" rod ends to make a couple dummy shocks, then I'll give it an initial alignment and get a new weight to see how much that changed. In a couple weeks I should have the pieces in hand to start the engine mock up.
You remind of this guy back in the early 80s his name was Arne kinarchild (spelling) A&k speed on Long Island ( Suffolk county) he raced a 70 1/2 Camaro big block , well every seam every casting flash everything was surgically cleaned and prepped his motor looked like billet instead of cast etc etc , crazy mad skills my friend just breath taking,
oh back in the day Arne could wind a big block Chevy to 9k plus lol it�s a unique sound
Thank you Eddie, N/A big blocks spinning 9k sound badass.
Thanks man!
Unless the oil pan says no way, I'm going to try to stay with a manual gearbox. I have serios doubts that i will be able to use the gearbox and centerlink setup due to the fact that I'm going to try to make provisions to remove the oil pan while the engine is in the car. This will likely involve some kind of removable engine crossmember. If I do end up going with a rack, I'll probably source it from TRZ.
Yes, but the 442's heart is questionable and is going under the knife. Back-up plan B is to bomb around Sick Ward in the Suburban. Back-up plan C is the S4, but I will definitely be there whether racing or spectating.
Yes, but the 442's heart is questionable and is going under the knife. Back-up plan B is to bomb around Sick Ward in the Suburban. Back-up plan C is the S4, but I will definitely be there whether racing or spectating.
I hope it's nothing too serious and the 442 can make it. I can see sick ward being a good time....Hang out, drink some beers, see some cool cars and watch everybody blow their **** up.
Are your coil over shock mounts homemade or a kit option somewhere ?
I picked up the mounts from Global west, very nicely built but, their directions are flawed. TRZ also sells a cup that welds in in the same area that is a bit cheaper but, I'm not a big fan of the post top mount.
I'm doing a reverse rotation(forward facing) D1-X Procharger. I think I will take a page out of Trimbles book and do the mock up out of MDF and transfer that to aluminum. While I'm at it, I'll get all the accessory drives completed as well..vacuum pump and alternator. Most of the drive parts should be here by the end of next week but, Still waiting on the trigger wheel that is backordered. Once I have all the pulleys, Tim at Star Machine wants me to send them to him to get everything machined to interlock together and he will send them back with the vacuum pump parts. Should be tons o fun.
I'm doing a reverse rotation(forward facing) D1-X Procharger. I think I will take a page out of Trimbles book and do the mock up out of MDF and transfer that to aluminum. While I'm at it, I'll get all the accessory drives completed as well..vacuum pump and alternator. Most of the drive parts should be here by the end of next week but, Still waiting on the trigger wheel that is backordered. Once I have all the pulleys, Tim at Star Machine wants me to send them to him to get everything machined to interlock together and he will send them back with the vacuum pump parts. Should be tons o fun.
Definitely keep up the details when you get to the design and fab/machine work for all the brackets and pulley systems.
Thanks again for sharing your build.
An Engine parts and build list would be much appreciated as well.
No problem, since there is very little to no info on supercharging an Olds, I will try to be as detailed as possible with the pulley stack and blower drive/brackets. Once I have everything in place and in alignment, I will post all the part numbers and any modifications to the pulleys. I will post all of that in here and make a dedicated thread in the racing section so people won't have to dig through this thread to find it.
One of the larger hurdles will probably be the cooling system packaging, specifically the radiator. Due to the location of the blower, i will have to do a radiator mounted water pump and will plumb the system for reverse cooling.
Oh, sweet! Similar to Paul Tester's original 434 diesel? But with the supercharger to push the capability of the diesel block? Should be badass.
Who is building/machining it?
Oh, sweet! Similar to Paul Tester's original 434 diesel? But with the supercharger to push the capability of the diesel block? Should be badass.
Who is building/machining it?
Really, there are only two shops in the area that I trust for machine/assembly/Dyno....Westside Machine in Boise ID and Fastlane Machine in Orem UT. Both are more than capable but, I think Fastlane is a bit more savvy with the Oldsmobile platform. I thought about sending everything to Trovato but, it just doesn't make sense to ship across the country when these two shops are so convenient.
The heads and intake will probably be sent to Knowltons for porting and injector bungs.
Taking care of loose ends while I wait for the trigger wheel..
Fuel cell straps are bent and installed. I placed oil/fuel resistant rubber mat under the cell and straps to help protect the aluminum from damage. The steering column and shaft are pretty much done..just need to weld the dash bar bracket in and paint. Don't pay any mind to the shaft/u-joint bolts....proper AN fasteners are on the way.
By the way, ATI will install magnetic trigger points in your damper for a minimal fee, if you need the extra room at the front of the crank.
I almost got that addition when I ordered the damper. The only reason I didn't was that I wasn't sure if the blower pulley was going to be directly on the damper, the smaller diameter for the trigger wouldn't have worked with the larger diameter pulley against it. It does work in the above scenario so, it could be an option now, it would require the alternator pulley to be machined though.
I almost got that addition when I ordered the damper. The only reason I didn't was that I wasn't sure if the blower pulley was going to be directly on the damper, the smaller diameter for the trigger wouldn't have worked with the larger diameter pulley against it. It does work in the above scenario so, it could be an option now, it would require the alternator pulley to be machined though.
Ah, I see your point if there wasn�t a gap for the alternator pulley originally.
I was wondering about the crank snout loading and keeping everything as tight as possible to the nose of the crank to keep strain and chance for breakage lower.
What crank are you running/planning on?
I may eventually have ATI install the magnets on our damper at some point, if we have any issues or signal discrepancies/errors with the Holley/MSD dual-sync distributor. I know the signal isn�t as accurate from the distributor as it would be from the crank trigger/damper and a cam signal from the cam gear attached to the camshaft�.but it works at our current power level.
Last edited by Battenrunner; March 20th, 2024 at 12:57 PM.
 January 8th, 2024, 05:46 PM