When you click on links to various merchants on this site and make a purchase, this can result in this site earning a commission. Affiliate programs and affiliations include, but are not limited to, the eBay Partner Network.
Does ANYONE have any experience/suggestions as to how to remove the gladding on the lower door panel on a '92 Custom Cruiser? I know the first criteria is CAREFULLY! Will be pulling the undamaged ones off of Heath's totaled '92 CC in the near future, and want to insure that all attaching hardware comes off intact and reusable. These parts are nonexistent at the dealer/aftermarket level. Any and all suggestions appreciated!
i'm not sure how those are attached but i'm sure its similar as other cars around the time. you might break a clip of two or find that they are already broken but i would think a bodyshop supply company would have something suitable as a replacement. i would say outside of that you would have 3 other options. 1.go to junk yard and find another. 2. source one that is the same off another vehicle. 3. 3m body tape. that stuff is legit.
Unless someone else chimes in, I suggest you take the door panel off before removing the cladding on the doors. This would allow you to see how it's secured. I know the trim on my 71 98 is held on at least 4 different ways. GM did some nonsense things in the past.
It does describe the various clips/etc., but no specific p/n's. I've tried this before with my teacher from school that was such a help on the Silver Bullet. He's in the Autobody business. Last time he had to fabricate new/old attachers
from what is available. Just didn't work. So will be, very carefully, removing the ones on Heath's wrecked '92 with hopefully outstanding results, and reusable pins/etc. Thanks to all for the responses. YouTube showed some removal on a C***y P/u truck. Sort of similar, but did-similar at the same time.
There is no Fisher manual for a 92 Olds Custom Cruiser. There is a GM Factory Service Manual. There are a couple on ebay right now.
You can reach all of the screws with the door on the car. You do not want to remove the door unless it is an absolute necessity.
On the doors there are two screws that hold the bottom metal mounting strip to the bottom of the door. Remove them. Do not remove the push fasteners along the bottom of the cladding, they are hooked to the metal strip. There are two screws that hold the top metal strip, attached to the trim, to the door just above the trim line. Remove them. There are 5 push pins along the top of the top metal strip. These are the parts you need to be careful with. Make sure you pull them straight out. They are brittle with age, and can snap off easily. There is a long pin on the ends of them, but all you need is the first 1/4 inch part that fits in the little grommet in the door. If the grommet pulls out with the pin on the donor, just leave it alone, and make sure the one in the recipient door is removed or not there. You can remove any on the donor panel if you want to, but you may have to carefully cut it off. with a razor blade. Should the bushing pull out of the recipient door, the best solution is to put a NEW one in its place. The bushings will be a little loose if they have pulled out, and you put them back in.
If you break the push pins on the cladding, the only way to replace them is by heating the heat melted "pins" on the back side, and lifting the metal strip until you can replace the push pins. The front of the cladding is held against the door with two sided tape. I have never had success with 1/4 inch two sided tape. If you do not get it to stick, you will catch the fender with the cladding, and it will damage the front edge. This is a stupid design by GM, and there is little you can do to "fix" it. Make sure the areas for the tape are hospital sanitary before applying the tape. If you can make the front "taught" between the top and bottom, it may work without the two sided tape, but if you feel the door "stick" when you try to open it, it is already too late. I have reshaped the front edge with heat, and been somewhat successful in repairing the damage. With the cladding plastic, there is about a 10 deg. difference between solid and liquid.Do not touch the visible side when it is hot, or you will leave your finger print forever etched in the plastic, and it will hurt.
The cladding on the fender is a lot easier. There are two screws in the wheel opening, and I believe one under the bottom. Then you have two of the same pins as the doors, with the little grommets in the fender. If the grommets pull out, same as above. There is no glue that will stick to the grommets to hold them in, although they tend to stay in place when reinserted, if they are on the pins. If they are loose, the only thing you can do is remove them from the pins and put NEW ones in the fender.
The pins in the trim can be replaced with the ones that hold the bottom trim on the Caprice. You must modify the head on them a little, to fit in the space for the original ones. I think I have seen them at the local parts store. I will try to post a picture later.
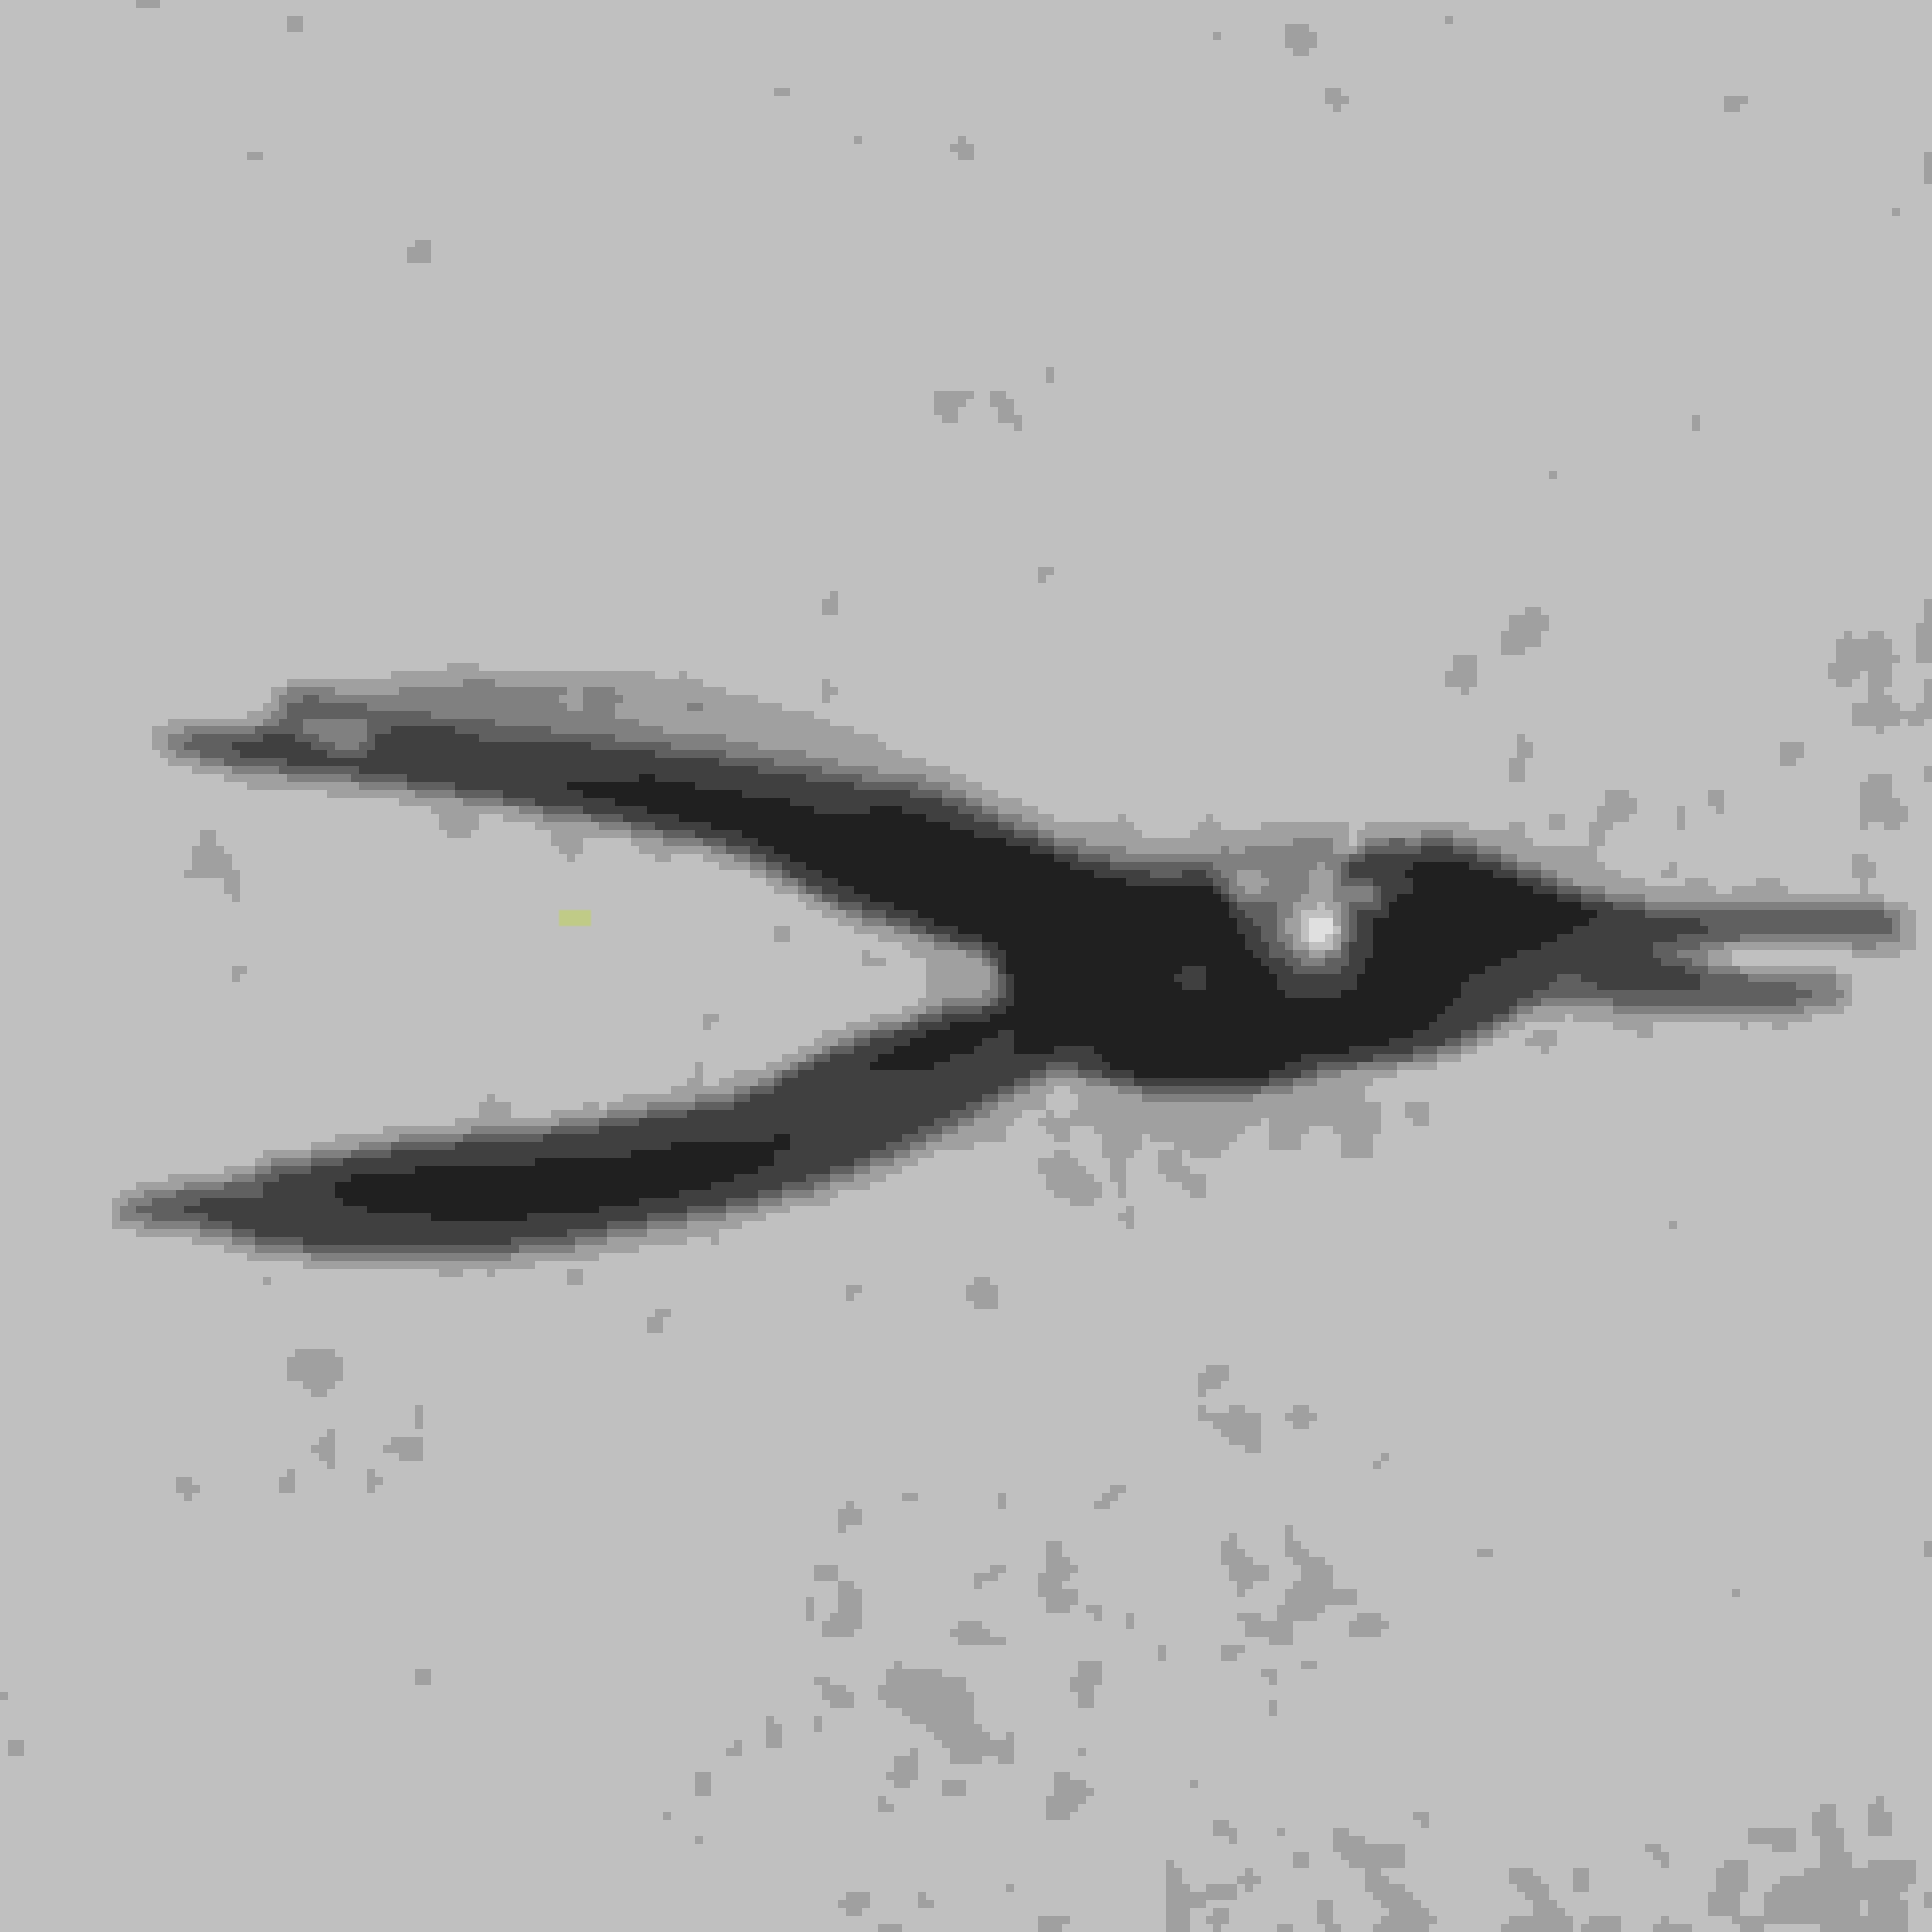
Aron, the likelihood that some fasteners will break is fairly high considering the age of the car, and the components are plastic. Hopefully we can salvage as many as possible as well as the fasteners from the damaged rear quarter cladding that can be re-sourced elsewhere. Yesterday I did a little r&d on it and found that my pair of hose tool removal pliers from the Snap On guy works very well to lift the cladding from the body. I purchased these for the purpose of removing window regulator arms from the nylon window guides on the same car years ago. Let me know when your ready.
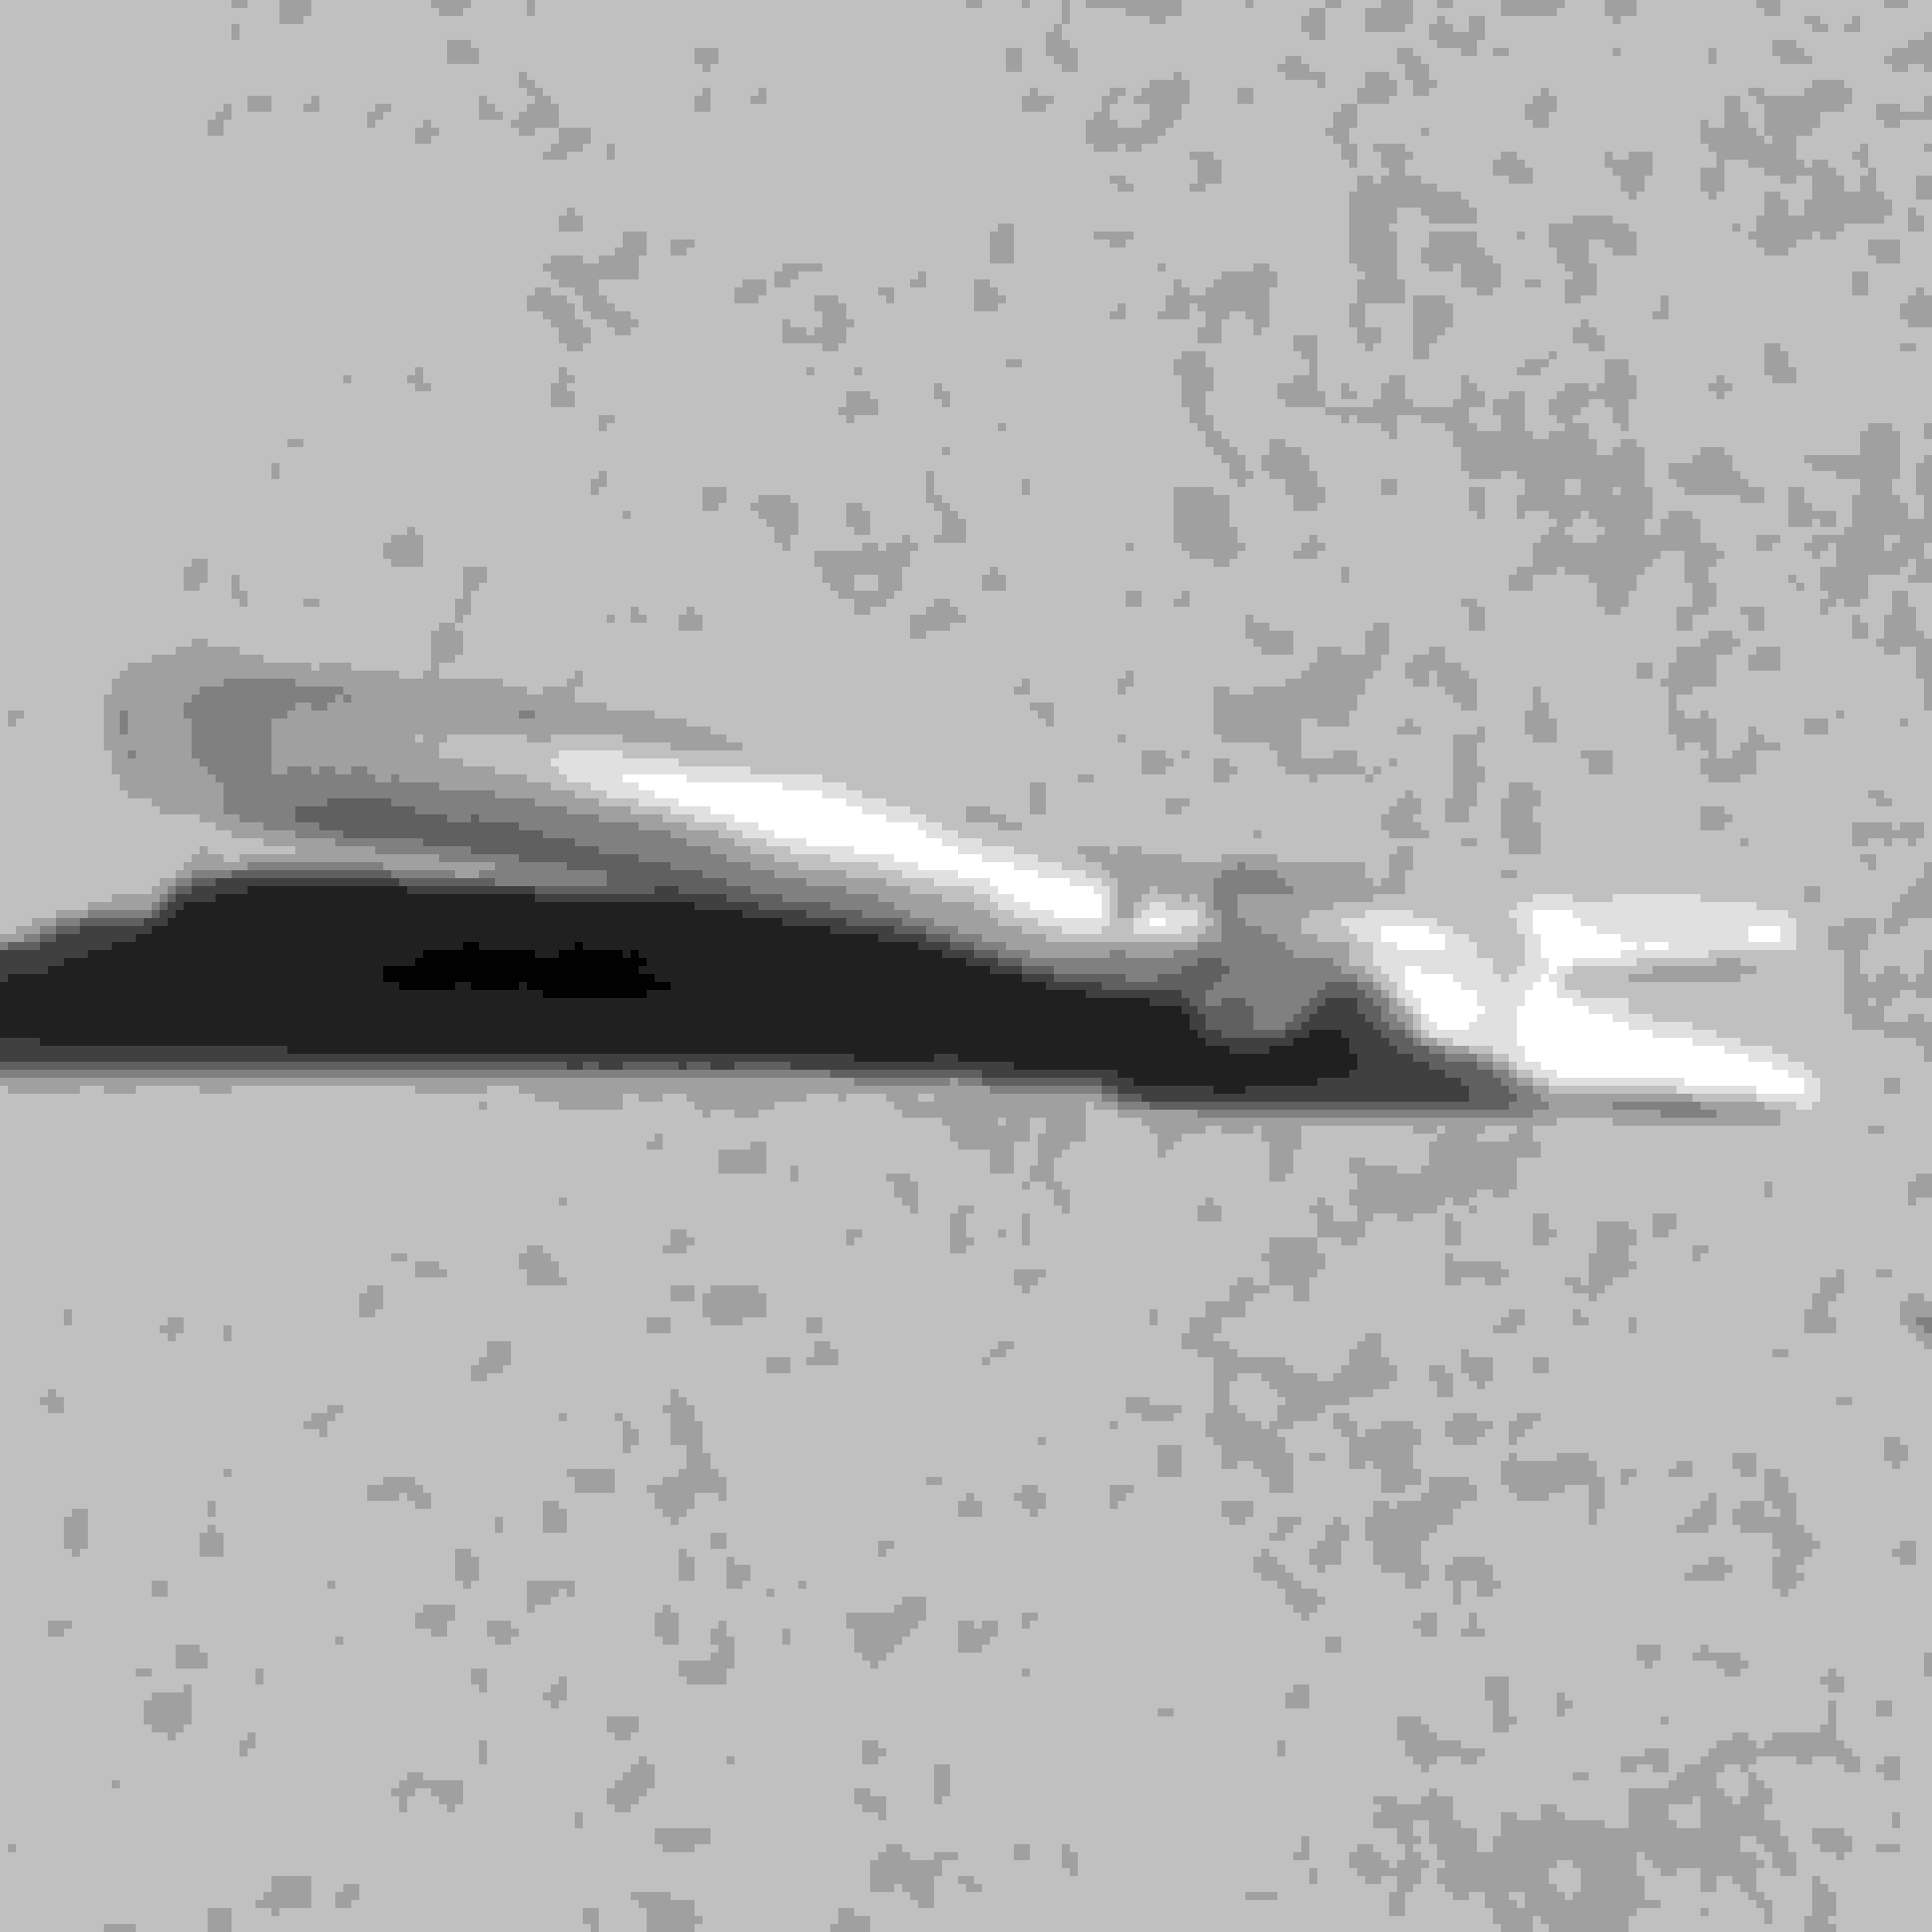
The small pins in the first picture can still be used. There is usually a long thinner end on them, but it is just for guiding them into the door bushing.
If the door is damaged, you should try to save the bushings. Slip a short 1/4 inch metal tube over them, and push them out with a 1/4 inch rod. The tube will compress them a little, and then they will pop out of the door unharmed. They usually fly a good distance, so someone to catch them is nice. They seem to disappear when they hit the ground.
I have a fastener removal tool that is similar to the design of the one you have, but has offset handles to get your hand away from the sheetmetal.
Do not remove the fasteners holding the cladding to the bottom. When you remove the metal rail from the door, the cladding will come with it. The fasteners are no longer available. You can make them by cutting the end off of another fastener, but I do not know the part number for it.
Last edited by Fred Kiehl; January 29th, 2017 at 01:02 PM.
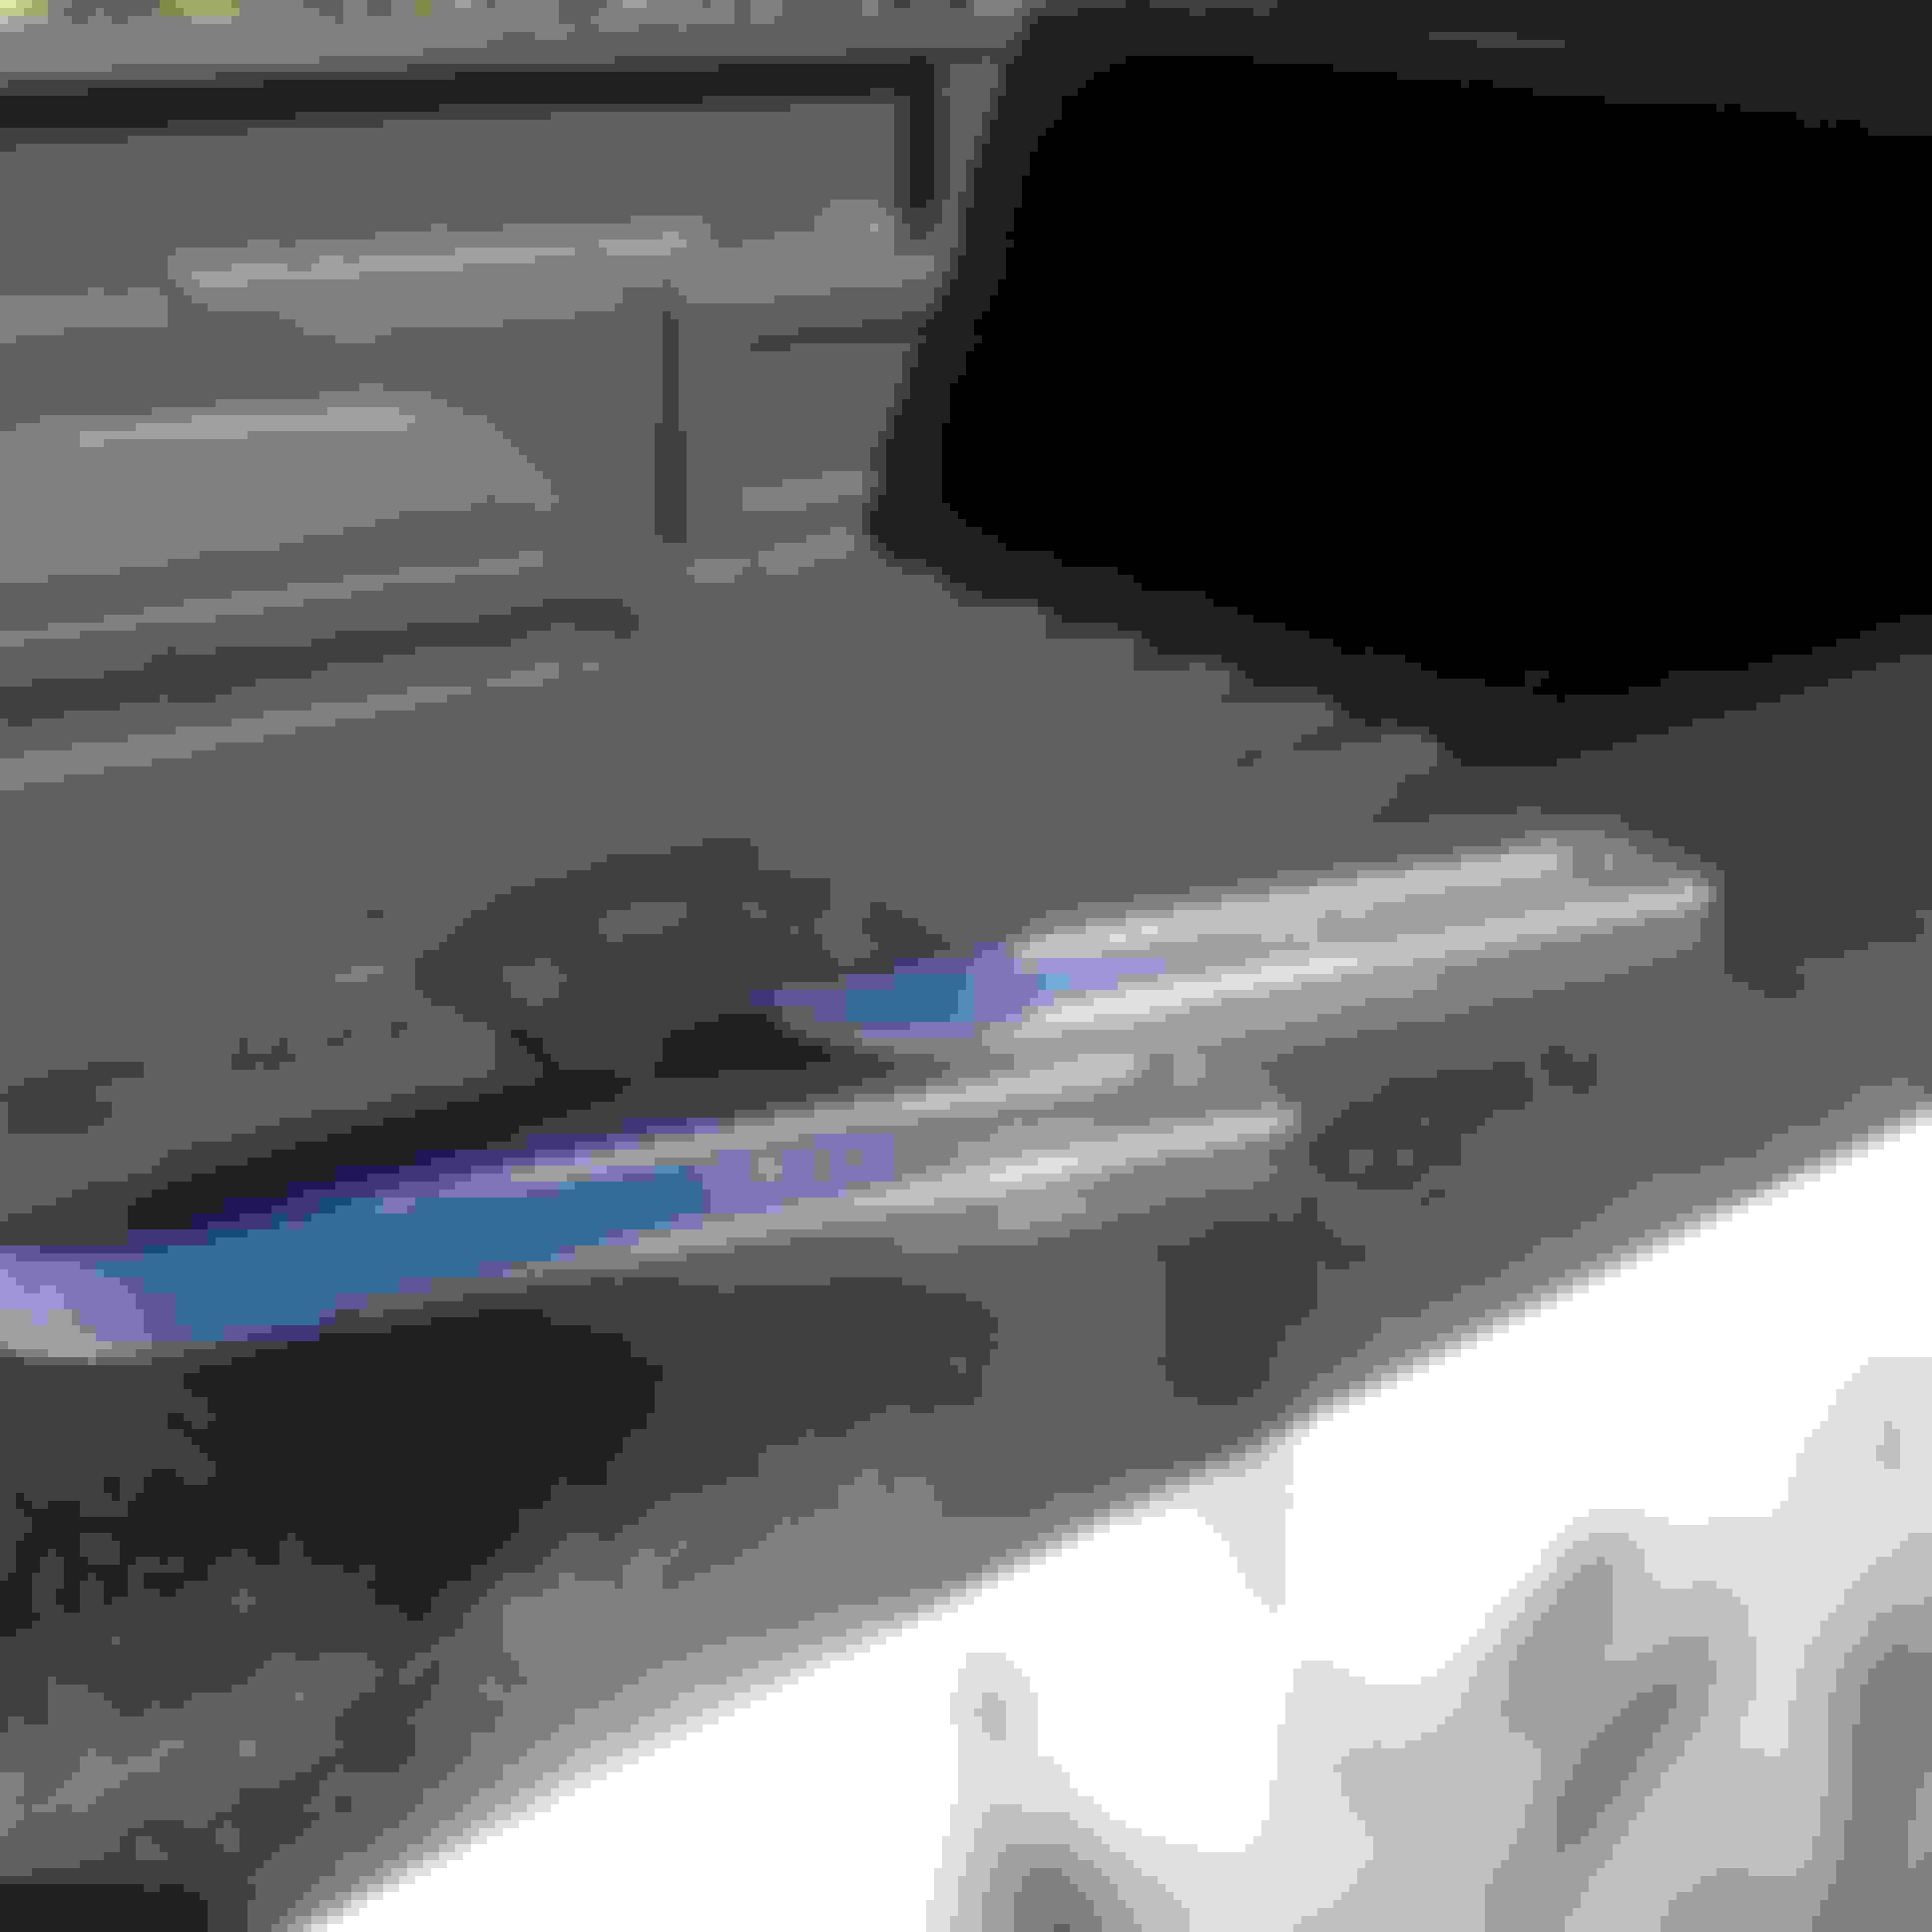
I went ahead and removed all of the side cladding today. As suspected the nylon studs had about a 50% survival rate. As previously mentioned the damaged rear pieces have several studs for a sacrifice. I also used my skin wedges to help gently separate the cladding from the body. These are used in aviation to lift and separate aluminum/stainless aircraft skin to facilitate maintenance. I think these came from "The Yard Store" in Witchita Kansas. A very handy set of tools for multiple applications. I had also found several areas that had what appears to be 3M trim adhesive double backed tape to further assist in attachment. I think this would probably also work fine so long as the surfaces were very, very clean. This was the first items removed from the car following the accident. Kind of sad for me, but must move forward and remove the remains before they start to stink.
This is the fastener that can be modified to fit the OCC cladding. It is used on the bottom door trim of the Caprice, and RM. The second pic is the grommet that is inserted in the door, that the pin goes into.
I checked Autozone, but they did not have the fastener.
Last edited by Fred Kiehl; January 29th, 2017 at 01:08 PM.
Fred/Heath: Just got off the phone with the Chevrolet dealer in Michigan that had 18 of the P/N 467653 for sale. Purchased, just in case. These are the small white plastic receptacles that go in the holes in the door(s) to accept the pins. Pretty sure the pins that go into them are "unobtainium", but have folks checking for them at the Advance AP store where I work, part time. Would be great if I have that P/N, also. It's all coming together, I hope. Thanks to all for your efforts.
Aron
The fasteners pictured are not necessarily the ones that are on the car. The first E goes to the correct place, but they have a push pin lock, and all of the similar ones are too long, and must be cut to miss the door panel. The second E should be where the Fs are, although it is not the correct shape. F fastener does not appear anywhere on the OCC, unless it is to hold the bottom of the front fender. B and C seem correct, but are just screws. If you take the ones on your car off, keep track of them. The book does not list the screws needed for the bottom of the rear quarter cladding. Save yours, or get ones that are like those that hold on the center airdam or top of the gate interior. It also does not list the bushings that go in the door for the second E to be pushed into.
Last edited by Fred Kiehl; February 3rd, 2017 at 03:58 PM.
Most likely the information I provided relative to the fasteners and part numbers may be the closest to be found... The information posted was taken directly from a GM computer part system with CD information dated for 2006 (no paper catalogs available to my knowledge)...
It's possible a GM dealer may still be able to pull up the correct part numbers if they are in the current GM system, BUT, I find it unlikely since a lot of those parts have been sent to VPI for further disposition which include retail sale to the general public and/or a recall type sale from a GM dealer who deals with VPI, and in some cases the parts are simply scrapped if there is no demand in a specified period of time...
 January 23rd, 2017, 09:35 PM