When you click on links to various merchants on this site and make a purchase, this can result in this site earning a commission. Affiliate programs and affiliations include, but are not limited to, the eBay Partner Network.
A few photos from my nearly completed TH400 build for my 67 Delta.
I scored one of the Kent Moore holding fixtures at Carlisle a few years ago and welded some brackets to an engine stand for mounting. I have to say, this spoils you. This is the only way to build a trans.
Full disclosure: this is actually not the original case. The original case had some issues, and since the wheel-driven speedo cable used on the 65-70 full size cars is unobtanium, I wanted the option to use a trans-driven speedo should I ever need to. For now I just have a plug in the speedo hole.
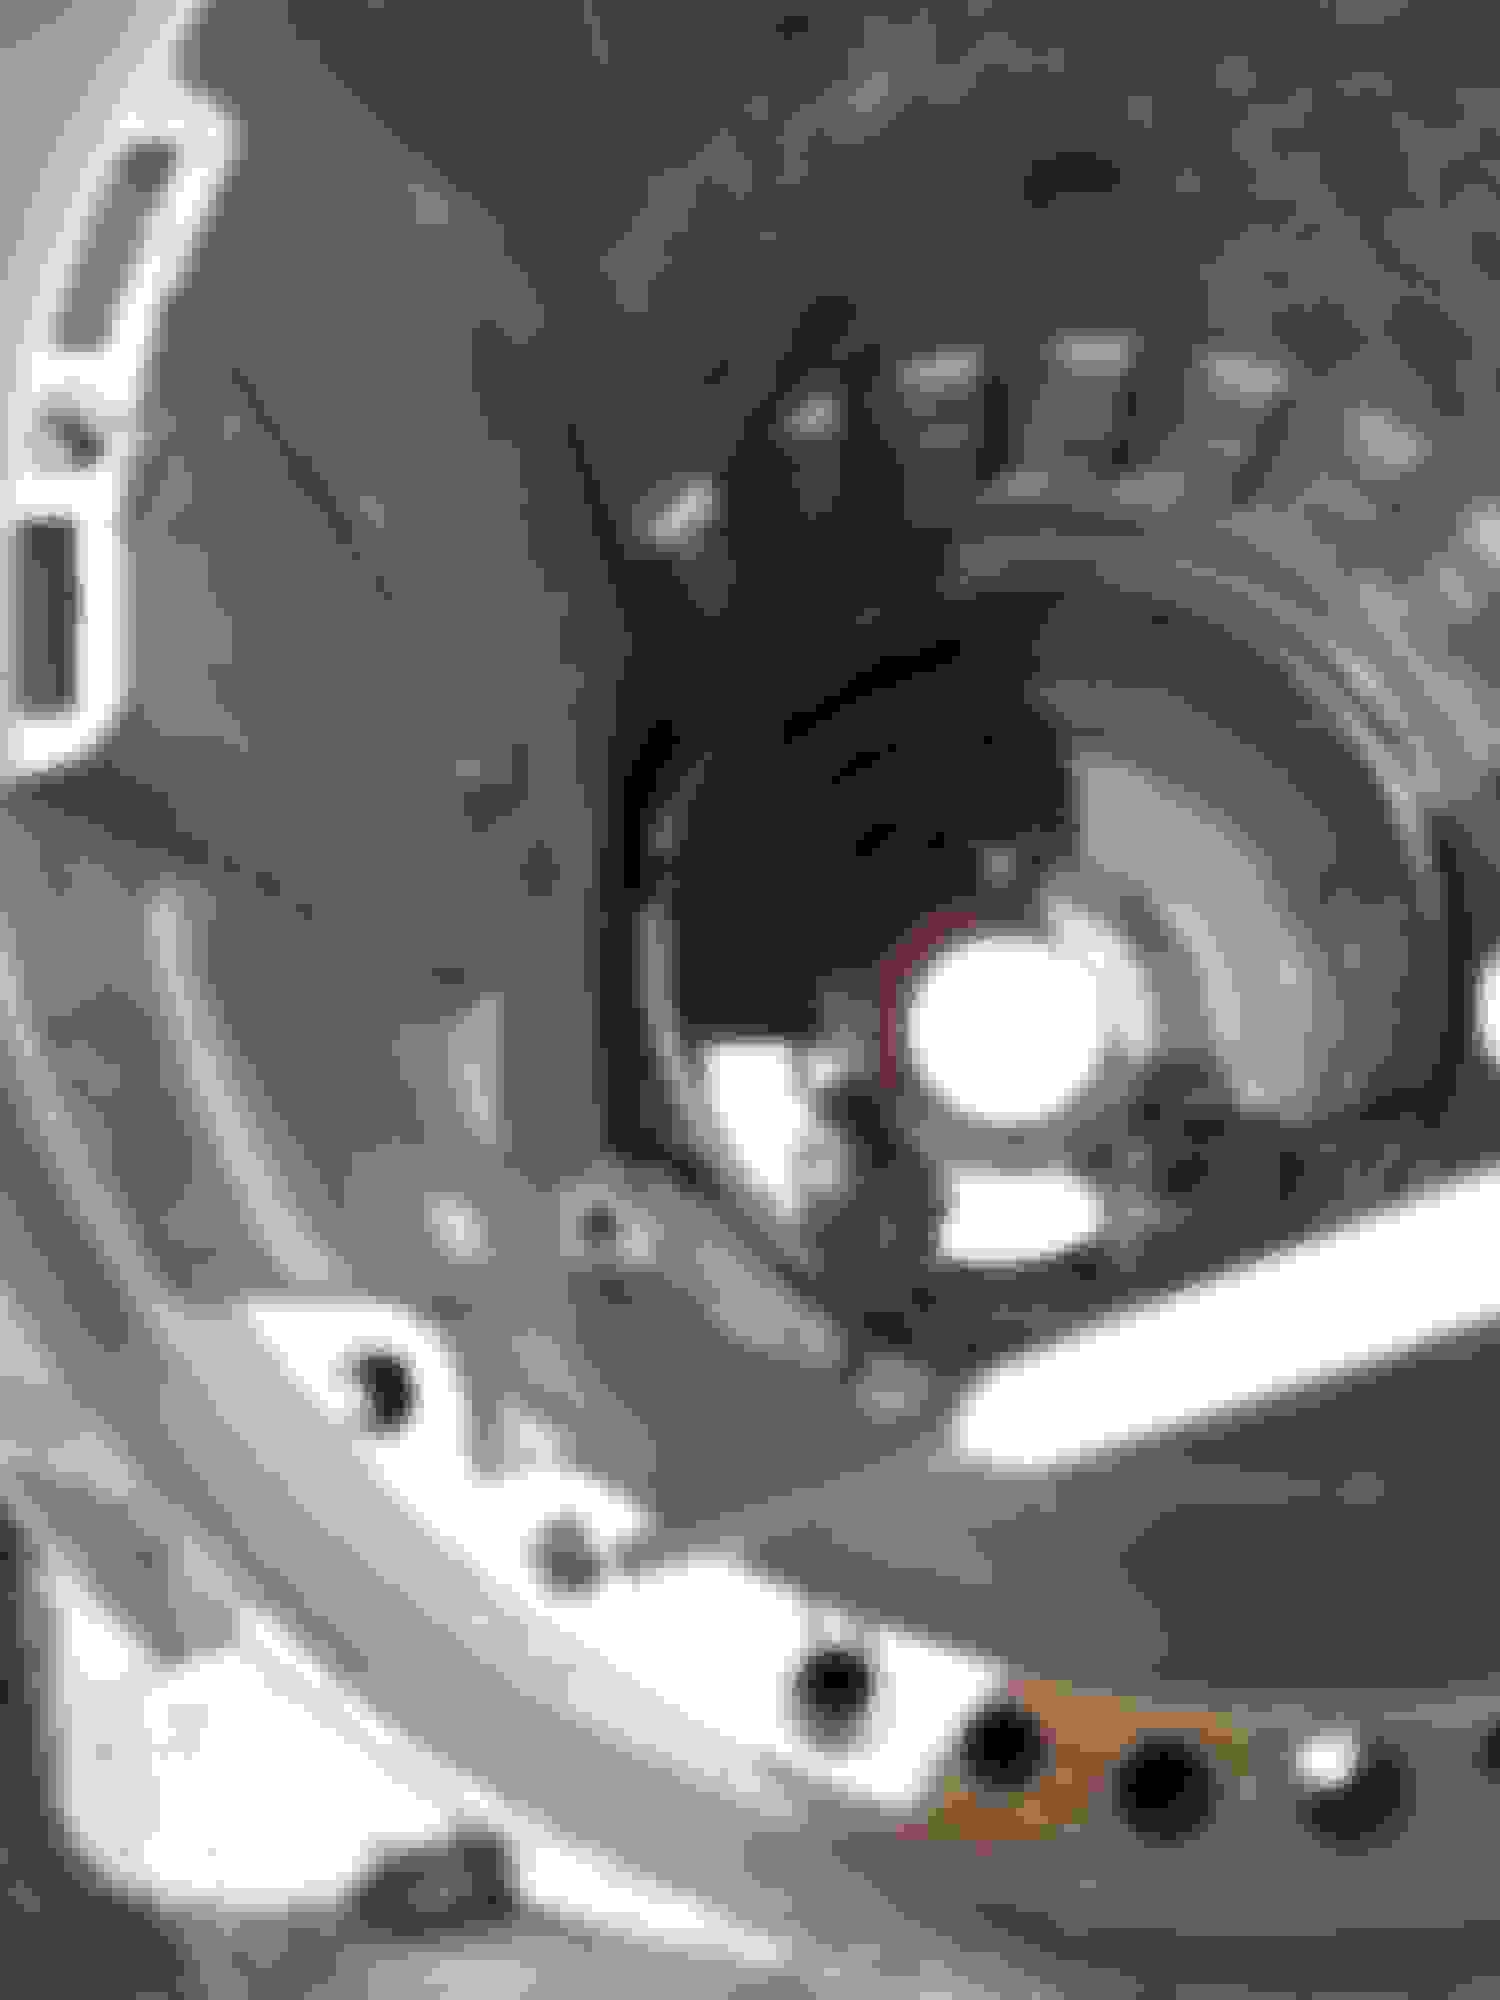
The switch pitch system has five parts that are different from those of lesser TH400s. Naturally, the front pump and converter are unique to the SP units. I rebuilt the pump and got a rebuilt stock converter from Fatsco. The electric feedthrough on the side of the case is also different since it has two terminals. My original was brittle and broke when I removed it. Fortunately, replacements are readily available. The last two differences are subtle. First is the input shaft. There is a seal ring at the base of the input shaft, just forward of the forward drum, that creates the stator oil passageway. Normal TH400 input shafts don't have this and won't work. Finally, there is a 1/4" restrictor plug with an 0.040" orifice in the converter feed port of the case. Non-SP cases do not have this. Since I was converting this case, I had to add the plug. I sourced AC Delco P/N 8611710, but had to drill an 0.040" hole in it before installing it in the case. Note the hole in the plug.
I used a B&M TransKit, which has all the clutches, steels, gaskets, o-rings, seal rings, etc, in addition to a shift kit. The instructions are comprehensive and easy to follow, but there were a couple of issues that I'll note shortly. I won't rehash the instructions here, as you can also read them on line.
After cleaning I prepped the case by chasing all tapped holes, dressing the valve body surface with a file, and polishing the accumulator bores with cross buffs.
The newer case had a plastic vent line, which had deteriorated. New ones are readily available.
B&M apparently uses pre-packaged seal rings and o-ring kits from commercial trans part warehouses (their brand names were on the packages). Unfortunately, their QA leaves something to be desired. In the case of the seal rings, there are supposed to be six of one size and one of a different size. My package had five and two. Had to get one of those. Also the square O-ring for one of the accumulator pistons didn't have the same cross section as the original. I got another one of those, too, that matches the original. And naturally, despite what the kit instructions say, none of these seal ring kits have the unique seal ring for the switch pitch input shaft. I found the one vendor on line that sells them. I think I've placed $5-$10 orders with about every online transmission parts vendor there is. I DID order extras of these parts, as I'll be doing the TH400 for the H/O in the (hopefully) not too distant future.
The B&M kit instructions claim that the kit is supposed to include new scarfed metal seal rings for the accumulator pistons, but apparently these days you can only get the solid teflon ones. Good news is that they fit onto the original pistons with no issues.
I finally got the rotating parts fully installed and the pump bolted up. I used Sonnex shim washers and selective thrust washers to set end play.
Half a century of hot oil has apparently taken a toll on the insulation on the solenoid wires. The switch pitch solenoid valve is unobtanium. You can see the black shrink tubing I put on the tan wire at the upper LH corner of the valve body in the second photo. The kickdown solenoid wire is badly cracked right where it comes out of the housing. I guess MIGHTASWELL replace that one now...
The one remaining problem is that the spring for the 1-2 accumulator piston is broken. I should have checked that when I tore it down last year, but naturally I did not. New one should be here today - naturally I'll be on my way to SFO for the rest of this week.
My dad and I rebuilt one many years ago. We made a mistake and left a snap ring out. Had to pull it apart again but was good after that. That was the first and last time I ever rebuilt one. My transmission guy only charges me $650 for a TH400 rebuild with converter so it is not worth my time any more.
My dad and I rebuilt one many years ago. We made a mistake and left a snap ring out. Had to pull it apart again but was good after that. That was the first and last time I ever rebuilt one. My transmission guy only charges me $650 for a TH400 rebuild with converter so it is not worth my time any more.
I doubt there are many "transmission guys" left who even know what a switch pitch trans is, much less know these critical differences. In any case, whether one enjoys building his or her car, or only has a credit card in the tool box, you should be an informed consumer. Knowing what to ask about increases the chances that the transmission guy isn't going to screw up.
FYI, it only took a couple of these screwups for me to decide to do every single thing on my cars myself.
Great post. Very informative. Transmission rebuilds have always "frightened and confused" me. I have a 65 switch pitch TH400 to rebuild and recently found an old school transmission shop near where I live. The guy that owns it has agreed to tutor me through the build. He's a lot like Joe P in that there is not a question you can ask that he doesn't know the answer to...or find it in his vast library of old books and manuals. Never too old to learn....I hope...cause I'm really OLD!!
Older automatics like the TH400 are actually very easy to rebuild so long as you pay attention to details. The trans comes apart into a handful of "modules" - three clutch packs, two planetary gear packs, and the front pump - that you then work on individually. The TH400 and TH350 don't need any special tools like the newer ones do. The holding fixture makes it easy to work on, but it is not mandatory. I did my first one long before I got the fixture.
I should have mentioned in the original post that I also changed out all the bushings. They were not really in bad shape, but I also have the Kent Moore bushing service kit for the TH400 and needed an excuse to use it. Again, this is not really mandatory, but there are a couple of bushings that can be difficult to remove due to location and the kit has two special remover tools that look like large, stubby pipe taps that you screw into the old bushings and extract with a slide hammer. In another subtle difference for the switch pitch trans, the two bushings in the stator support shaft in the pump are not in the same location as they are on fixed stator pumps. The drivers in the Kent Moore kit are designed to set the bushings at the correct depth for the normal pumps, but not for the SP pump. It took me a few minutes and some test fits on the input shaft to realize this. I was able to drive them into the correct positions with a generic bushing driver.
Are you interested in an durability/performance upgrades? Btw, 4l80E accumulator springs interchange with 400 trans. Most heavy duty applications used a yellow spring with the 400/ 4L80E use a orange spring.
Are you interested in an durability/performance upgrades? Btw, 4l80E accumulator springs interchange with 400 trans. Most heavy duty applications used a yellow spring with the 400/ 4L80E use a orange spring.
Thanks. This is a D88 cruiser, not a performance car, so I don't want "bang" shifts. The original spring was a blue one, which seems relatively lightweight. I have another from a parts trans that is considerably heavier, but I didn't want to use it for fear of too harsh a shift.
I doubt there are many "transmission guys" left who even know what a switch pitch trans is, much less know these critical differences. In any case, whether one enjoys building his or her car, or only has a credit card in the tool box, you should be an informed consumer. Knowing what to ask about increases the chances that the transmission guy isn't going to screw up.
FYI, it only took a couple of these screwups for me to decide to do every single thing on my cars myself.
i hear ya there.nobody touches my cars.need tires!i will remove the wheels and take em in to have em mounted and balanced.in my dads shop we turned more rotors then i care to think about because of the local goodyear store.evidently they didn't know what a torque wrench was.
Just in case there are any Olds people in Montana besides me, three years ago Brown's Transmission in Billings rebuilt my switchpitch, and while I have not yet driven it, they did order the correct torque converter and replaced the two blade solenoid correctly. Someone had some kind of a clue, at least.
Cool thread with some good photo's ! I'm sure this will help others since transmission shops have no interest in rebuilding the older stuff.
Put-r-ther !
Eric
I'm starting to gather parts for a rebuild of the VP 400 in my 65 Delta. If I recall, the trans as set up from Oldsmobile is not supposed to downshift 3-2 at higher speeds (apparently that's what the VP is for) and the valve body has this feature disabled. I've heard that some people swap valve bodies with the later 71 and up big cars as an upgrade. I would be looking to do something like this to give a bit of a performance boost (such as a 3-2 downshift) and to be able to run the later, more common tranny filters. Does anyone have any info on this?
The car is a 4 door mostly used for cruising around but I like a more performance-oriented transmission feel than what it came with.
If I recall, the trans as set up from Oldsmobile is not supposed to downshift 3-2 at higher speeds (apparently that's what the VP is for) and the valve body has this feature disabled.
That is incorrect. According to the TH400 section in the 1965 Chassis Service Manual, the detent function will cause a 3-2 downshift at speeds up to 70 MPH. Downshifting at speeds higher than that would over-rev the engine pretty quickly. These cars came with tires that were about 28" in diameter. With a 3.08 axle, downshifting into second at 70 MPH jumps the engine to 3800 RPM, not accounting for converter slippage (so likely closer to 4000 RPM). Once it downshifts, the governor will determine when it upshifts after that. And if you really want to over-rev your engine, you can always manually drop the shifter into second at 70 MPH or higher and see what it does.
If the copy and paste would work on this forum I have an interesting article that�s discusses the switch pitch valve body, and the differences between it and the standard valve body. It also answers the common �why won�t my 400 make a 3-1 downshift over 20mph�.
I found this a few years ago on a Buick forum. Last time I looked it was still there.
I am not an expert here hence why I'm asking questions. I really do not know much beyond the absolute basics of transmissions.
The valve body in my car didn't come with a spring in what I think is the 3-2 downshift passage (not sure what its actually called) there was a valve but no spring. It was this way from the factory. I looked it up and the plug in the valve body was pinned in a certain way that indicated this change during assembly (plug was backwards I think and there may have been a paint mark). I don't remember where I saw this information as it was a few years ago and it could have been BS. The change was allegedly for big cars with Variable Pitch set ups so that they would not drop down a gear at highway speeds -for luxury its an Oldsmobile after all. Again, not sure of this information was legit or not.
I am asking if anyone has swaped an older 65-67 valve body with a 71 and later one.
I have heard that doing so can be a bit of a performance boost (allegedly higher speed 3-2 downshifts coupled with VP function).
I have no experience with this and would like to know if anyone does.
I'm not looking to blow up my car so I'll pass on the manual downshift at 70 but I do want the car to go like hell when needed.
My drivetrain is currently working but it slated to be rebuilt from engine to differential within in the next 12 months. There will be some performance upgrades but I am look for an engine with a 5500 max rpm...so 4000 rpm at 70 is exactly what I want when it downshifts at WOT.
 June 18th, 2018, 11:16 AM