When you click on links to various merchants on this site and make a purchase, this can result in this site earning a commission. Affiliate programs and affiliations include, but are not limited to, the eBay Partner Network.
While recovering from the pain inflicted on me by the passenger door striker bolt, I decided to try and tackle something I thought might be easier. Replace the passenger side mirror.
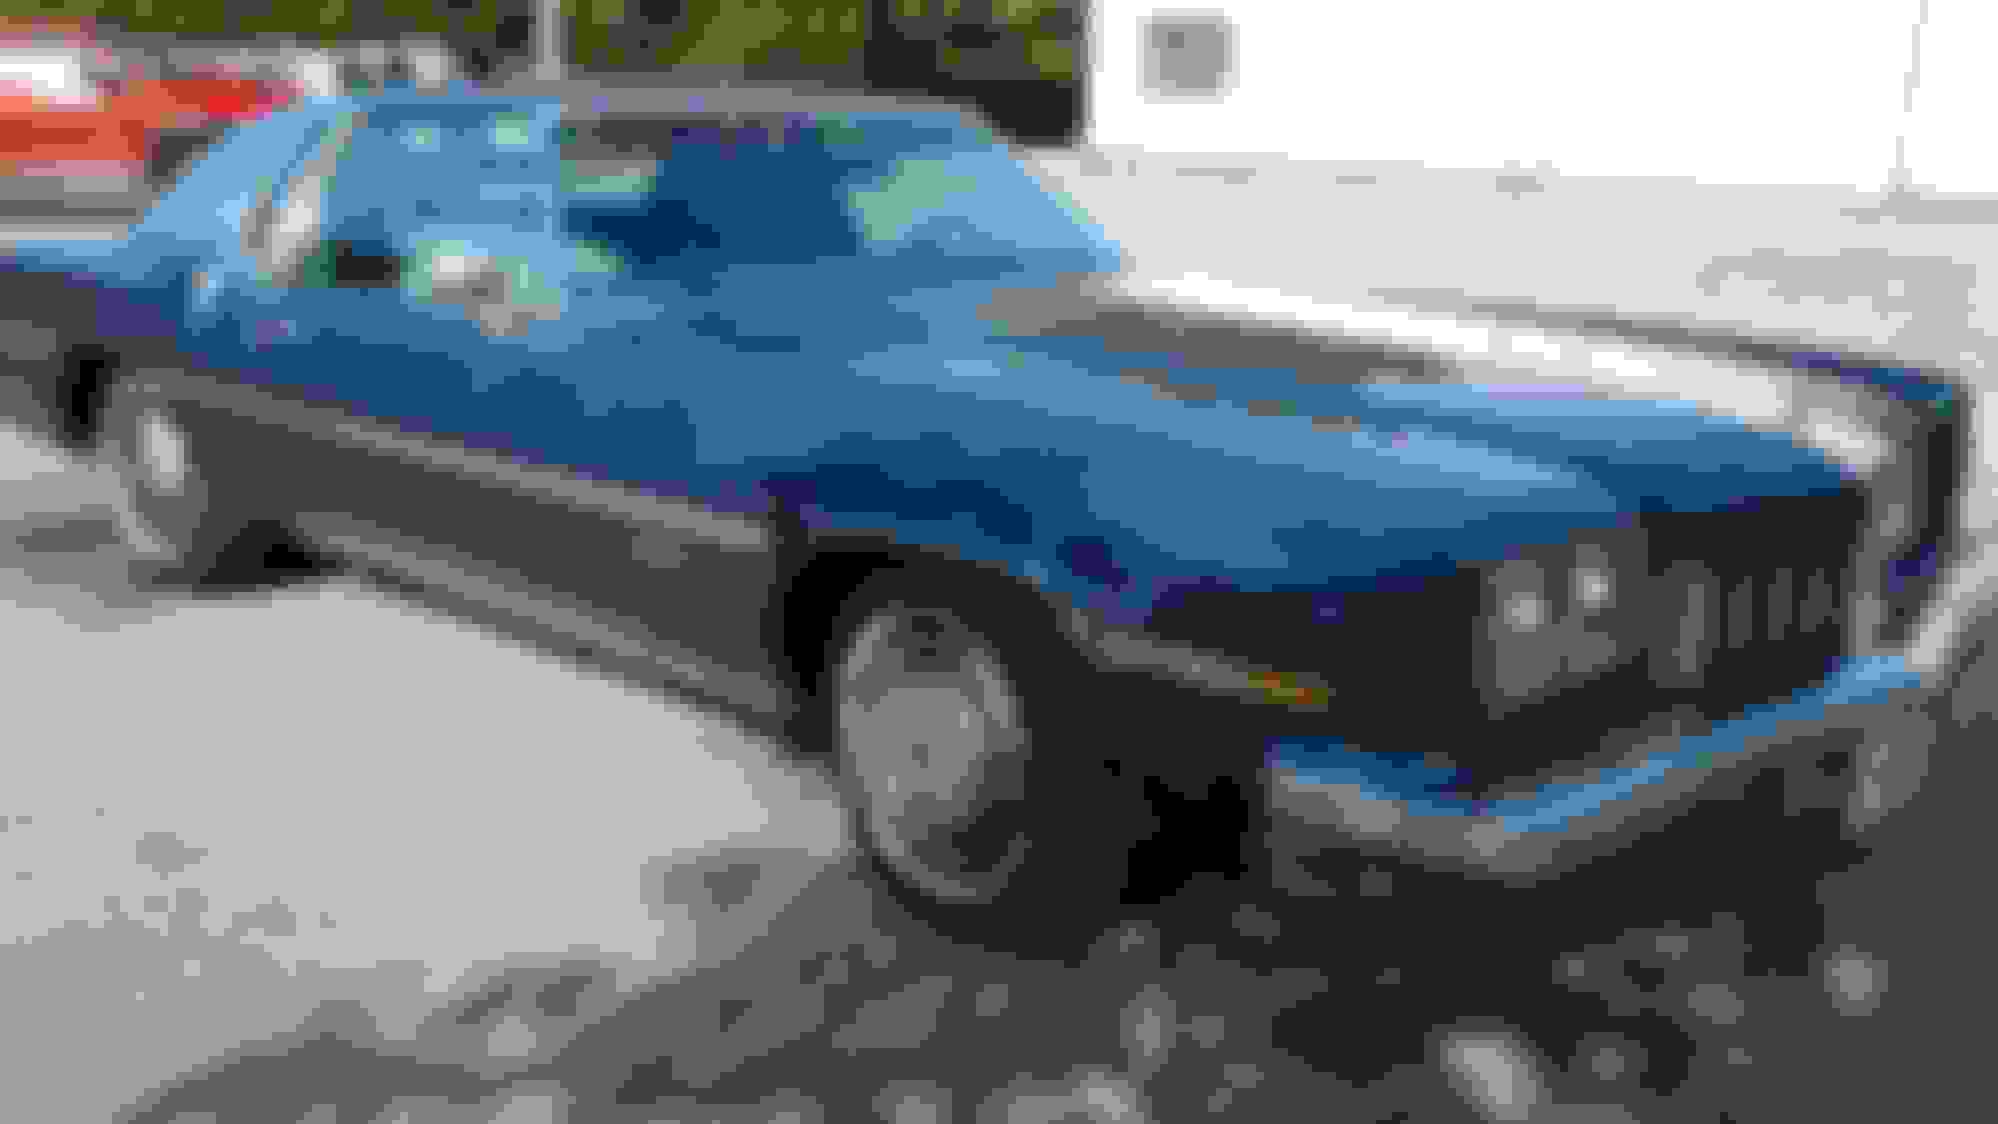
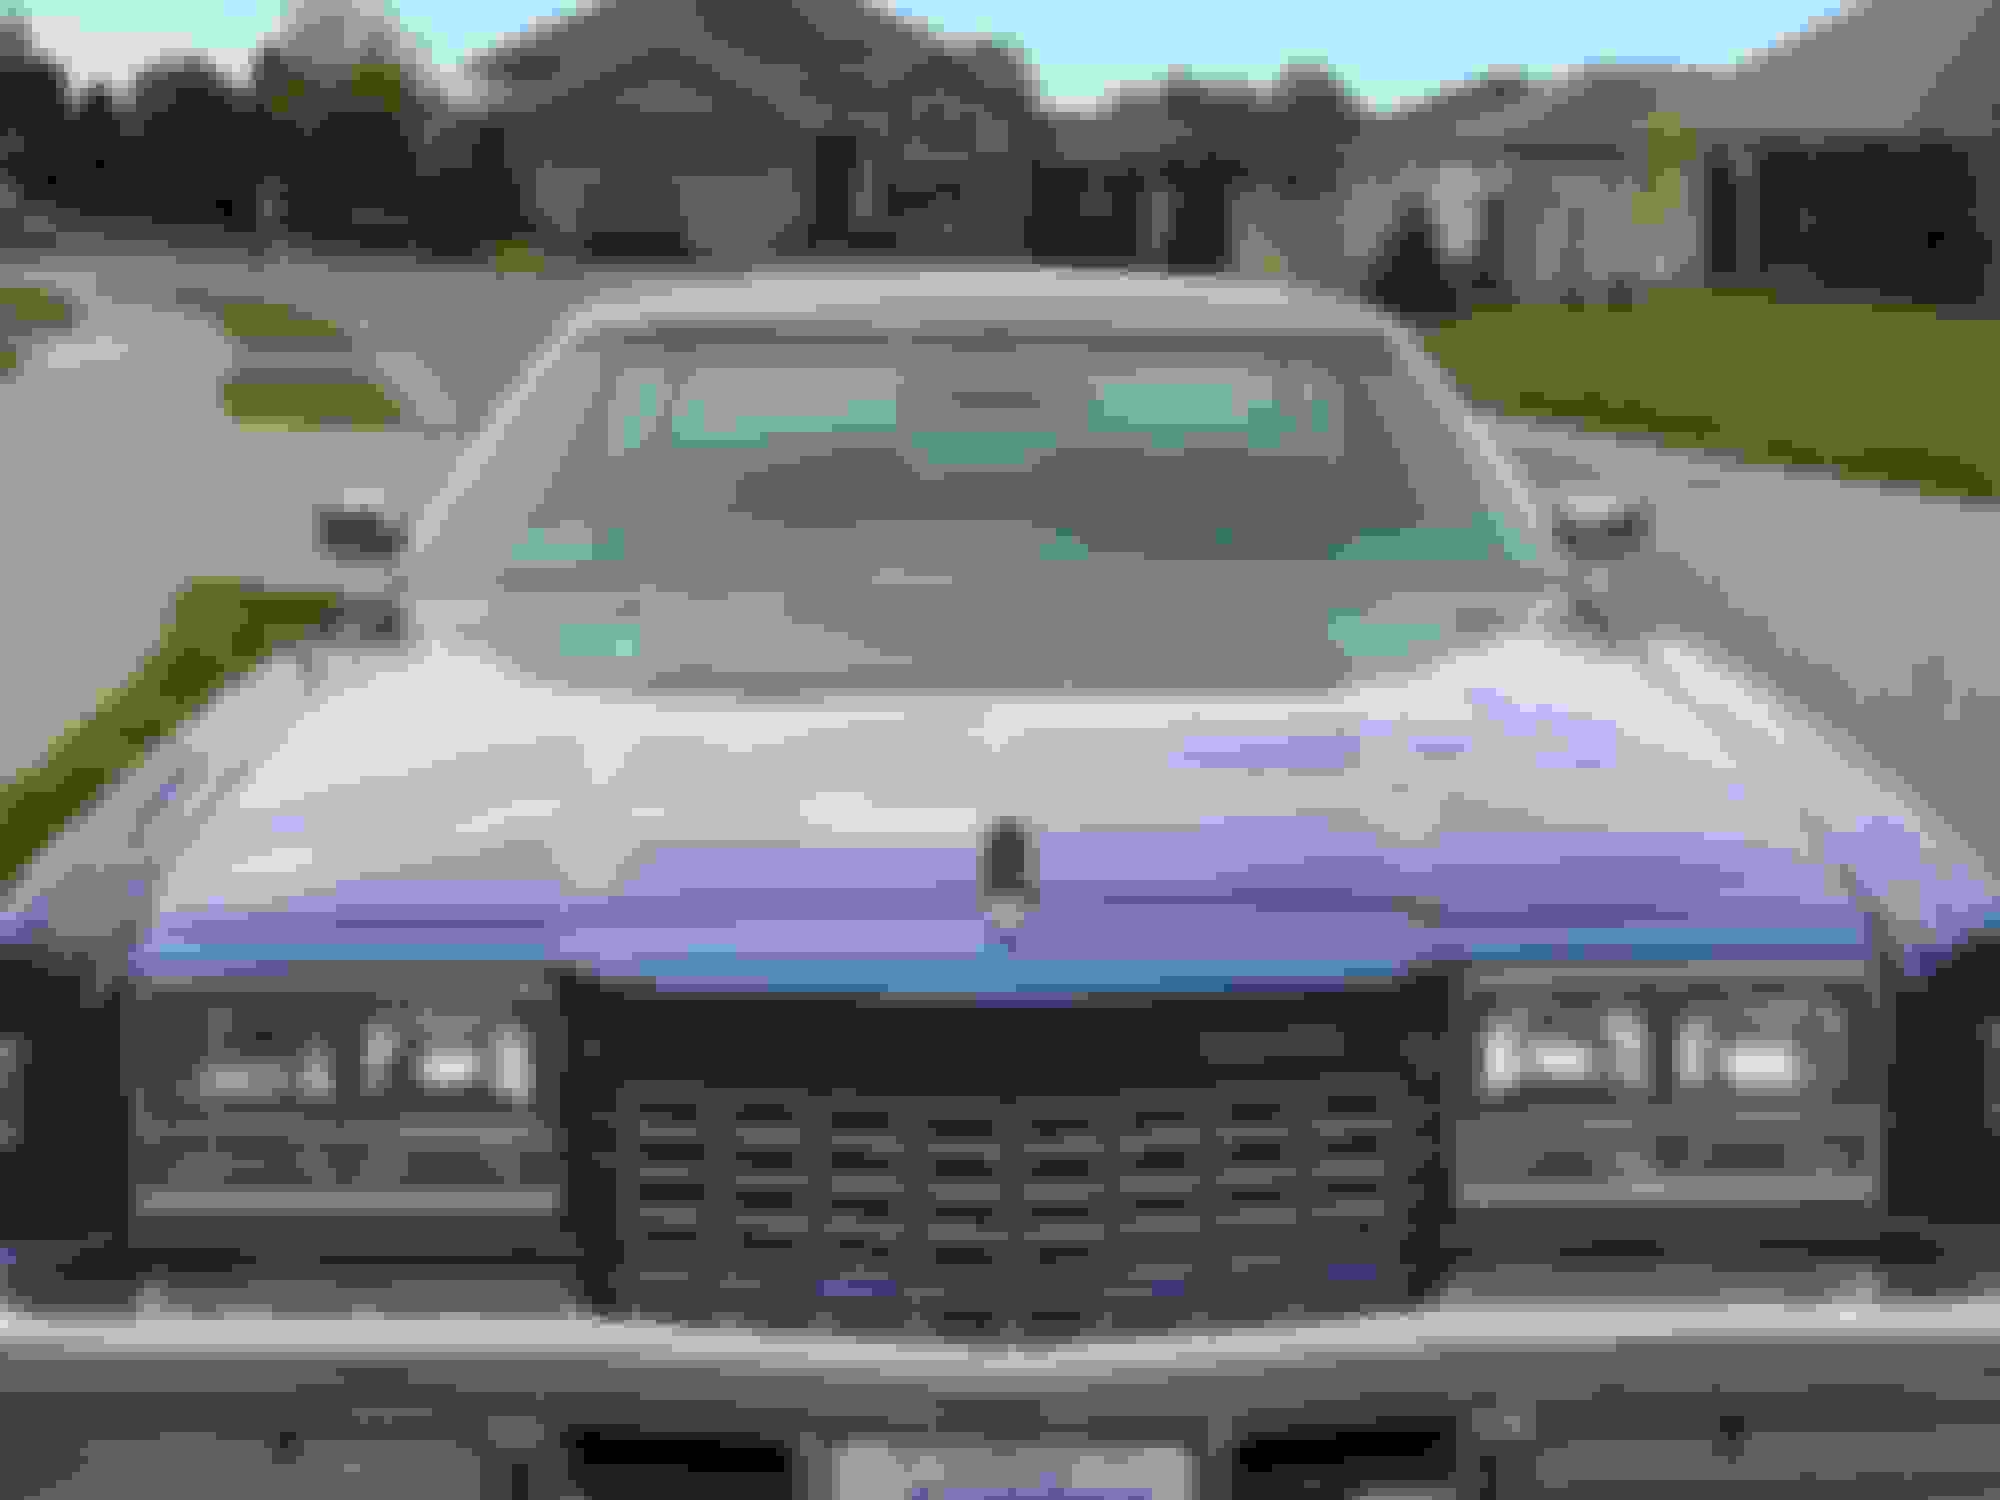
Just some background on why I am doing this. One day a number of years ago my Dad decided to install a remote control passenger side mirror as you can see from the photo below. It had always bothered him that he did not order this option back in the day when he purchased the car.
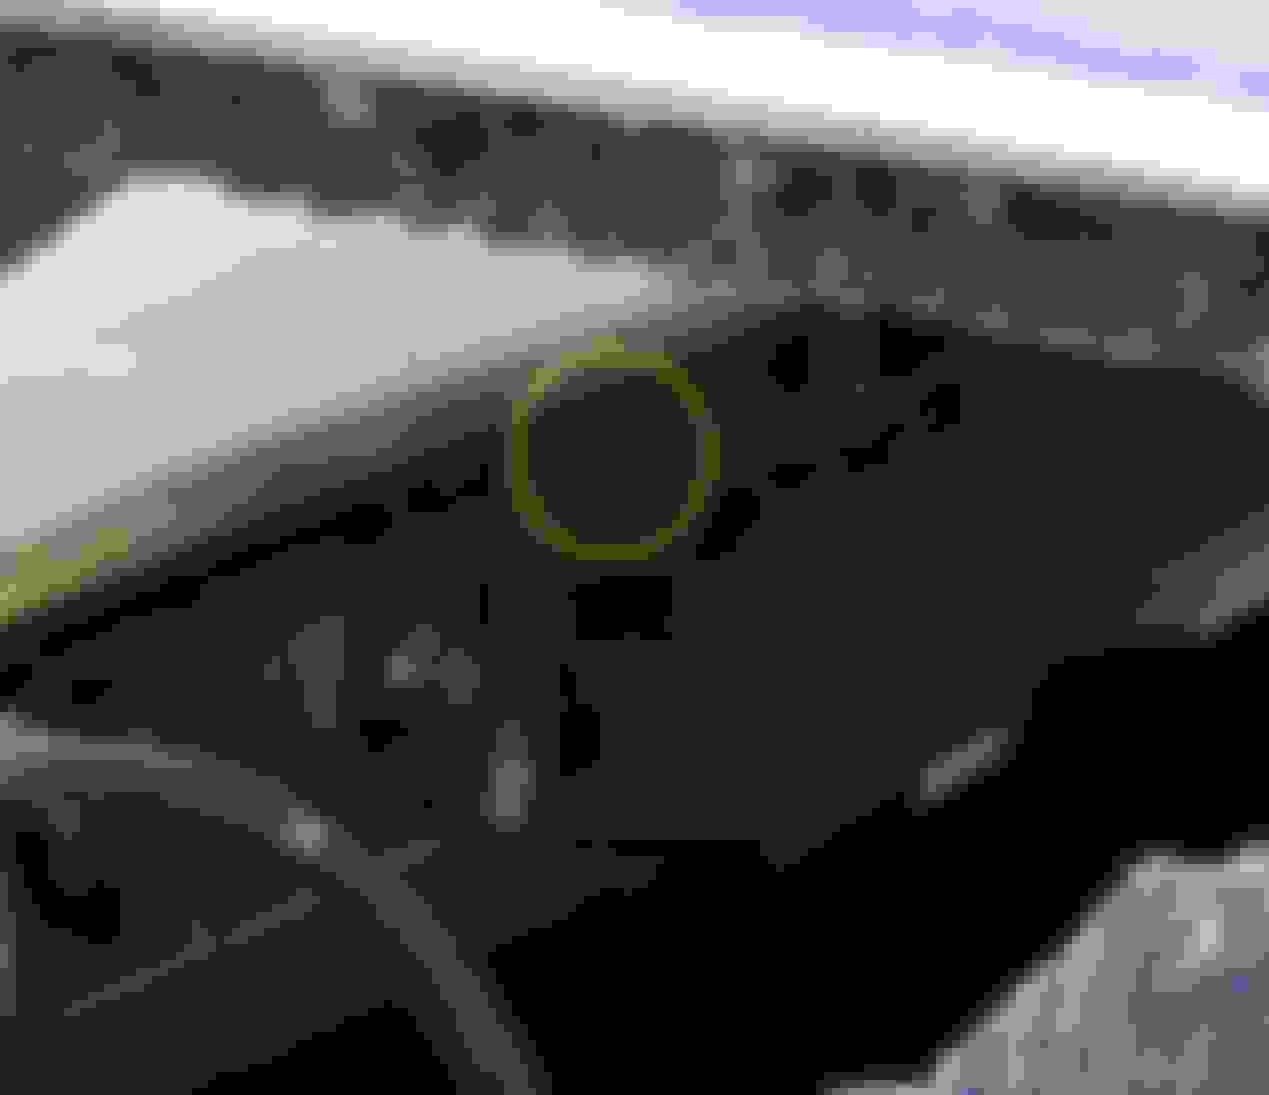
Unfortunately he did not plan on or order the proper dash panel piece to mount the remote control lever. From photos I have seen on the internet this control lever mounts in the dash just to the left of the clock.
So with out this dash piece he tried to mount the control lever in the door pull on the passenger door, but it would never stay anchored and just constantly popped up and flapped in the breeze. And of course the mirror is useless without this control being anchored as the mirror glass does not stay put. Here is a photo of the inside passenger door showing the control lever.
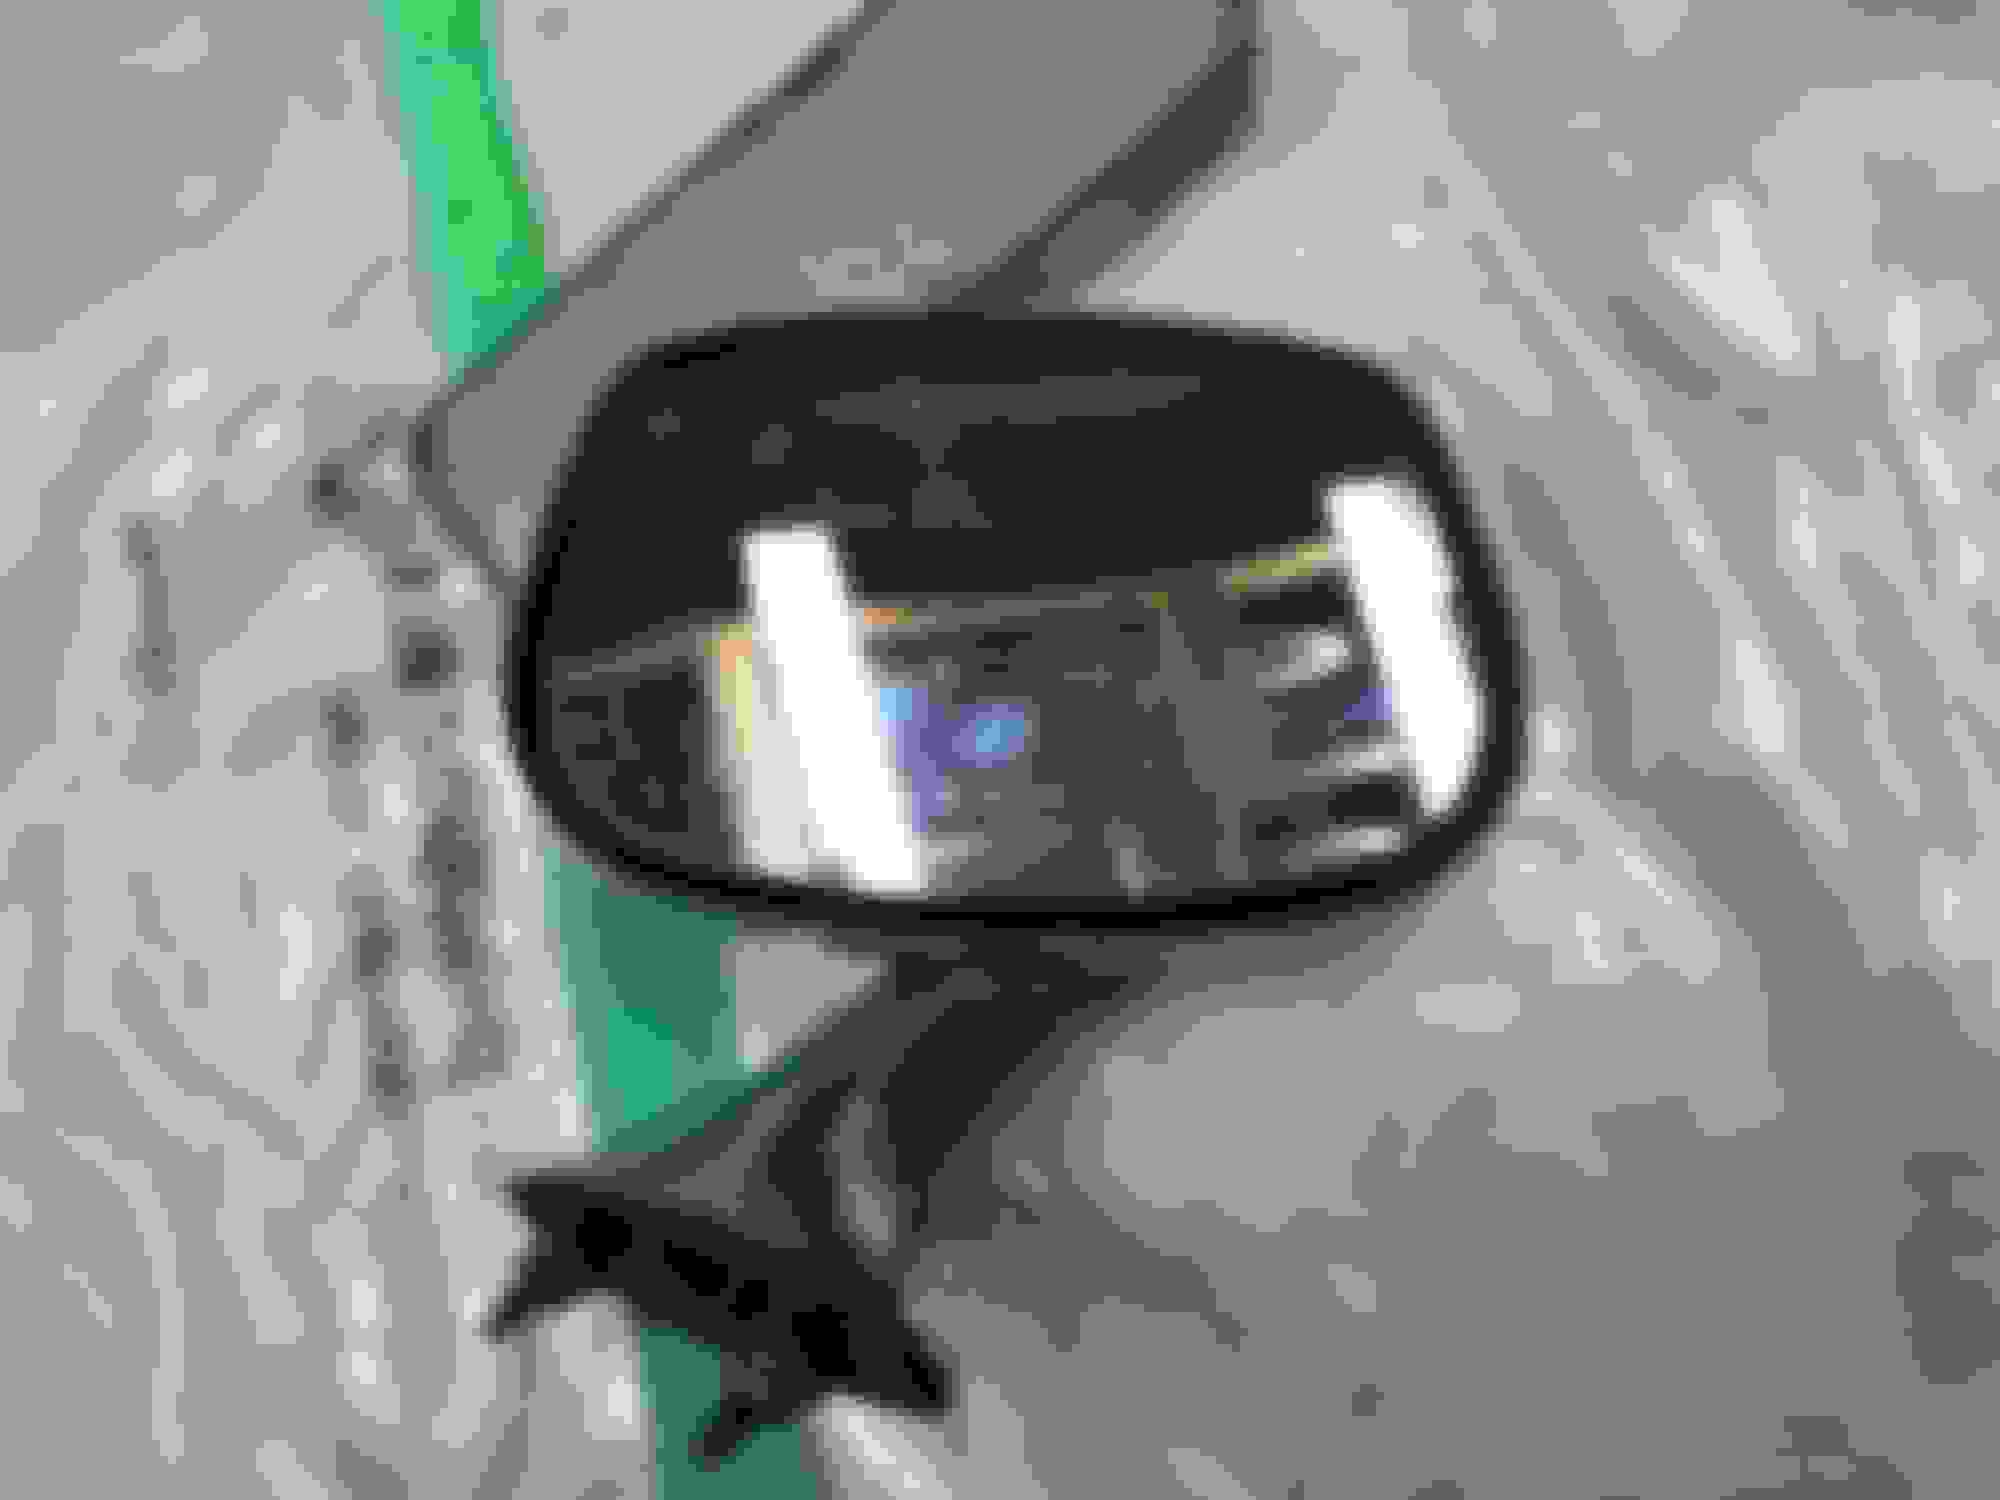
So the search began to find a proper looking replacement manual mirror. I finally found a new repro unit. Interestingly enough it is specified for a 82 Chevrolet Caprice and 1985 Olds 88. So I bought it, got it in and it is a perfect match to what is on the car. So nice that GM recycles parts thru the years and various divisions.
I figured no big deal, just pop off the top inner door panel, lower the window, undo the nuts and pull the old unit and cable out and pop in the new mirror. Well easier said that done. Removing the panel was easy but getting at the attaching nuts, specifically the front one is almost impossible. You need a long reach socket but these is no room for the ratchet head and gripping it with vise grips is not fun or easy. The last thing i wanted to do was drop the socket inside the door and have to remove the lower panel to get it back. Sigh!!
At that point I had enough for the day of this car beating me. Packed it in for another day to regroup and figure out another plan of attack.
Please forgive me. I just needed to vent. It was one of those days.
Yes, sometimes it goes so much better with a fresh start. After a good nights sleep. Or maybe next weekend... after you've thought about it for a while!
You mentioned no room for a ratchet. How about a 1/4" drive swivel socket on the end of a long extension? Might there be room for that? Maybe put silicon sealant to temporarily glue the socket to the extension?
Interesting idea John. Will give that a try and see how it goes. Was also wondering if there is any merit in removing the lower panel and trying to get to the nuts from the bottom access holes with the window up.
There has to be a way. My Dad got it in. But he is 98 years old now and asking him how he installed it, does not help as he can't remember what he did.
Well what I thought would be a fairly easy and straightforward job to remove the old and replace a new passenger side mirror turned to be anything but that. It turned into a 4 hour ordeal. Never figured it would be that long and painful. Needed a long reach socket to get at the nuts but no room for a ratchet or even swivel joint to loosen or tighten. And the nuts themselves are in pockets so you can't get any sort of wrench on them.
In the end had to resort to fitting the socket on the nut, then using a screwdriver to hold it in place while I grabbed the socket with vise grips. Needless to say you get a very short throw this way and it took what seemed like forever to get the old nuts off. Then the fun really started. Trying to get the nuts started on the new mirror was a fun time. Had to hot glue the nuts to the socket because they kept dropping inside the door. Trying to get my hand with the socket/nut inside the tiny opening to get the nuts started was a royal pain and I ended up dropping that inside the door 4 or 5 times. Once I got the nut started then the fun of trying to break the hot glue off to reclaim the socket was the next bit of fun.
In the end I had no choice but to remove the lower door panel as well as I needed it off to reach inside for all the nuts and sockets I kept dropping. So while I had it off I gave the door backer cards a good look over. The snap fasteners are in poor shape and the backer is torn where a number of these insert so consequently not a good grip when re-attaching the door panel. The panels have obviously had a hard life. Not wanting to go to the cost or trouble of locating new panels I made an executive decision. I am going to remove the plastic snap fasteners from both door panels and use trim screws. A cheap and easy fix to get well secured door panels.
One other point of interest. The new repro mirror I found that looked like a perfect match to what was on the car. Not quite so perfect. While it looks exactly like my old mirror, it is canted at a slightly different angle, so it does not sit the same. So if anyone is considering this mirror - don't! I am now thinking about how I can gut the manual mechanism from the new mirror and mount it in the body of my old mirror so they both sit at the correct angle and as bonus the chrome will have the same aged patina. Has anyone ever done a mirror conversion like that?
Byron, the mirror your father installed is a correct mirror for the car, right? It has remote control cable long enough to reach the center of the dash? It seems to me you might want to just find a '77 or '78 being parted out that has this option and get the parts you're missing off of it. All you really need is the center-of-dash escutcheon, but I'm also thinking that the flexible rubber conduit that connects the passenger door to the body and through which the power window wiring runs might be larger in diameter on a car with a passenger mirror because the remote control cable has to pass through it as well. Anyway, if you could find a parts car, you could potentially get all the parts you need. The downside is that you'd have to go the remove/install process all over again.
Jaunty, I have been searching for that elusive dash escutcheon ever since I got the car from my Dad about 3 years ago. Really impossible to find in either the fixed or remote option. It was a very rare option for whatever reason, probably cost. So I have given up on the hunt and opted to go with a fixed mirror but the reproduction I ordered does not sit right. It leans into the window and sits at an angle. So now the master plan is to salvage the body of the old unit and gut the interior of the new unit for the manual mirror mount and then see if I can marry the 2 together. I will try and post a photo in the next day or so to show how the new mirror does not sit properly,
Jaunty, I have been searching for that elusive dash escutcheon ever since I got the car from my Dad about 3 years ago. Really impossible to find in either the fixed or remote option. It was a very rare option for whatever reason, probably cost.
Interesting. I would have thought it would have been common. It was not expensive. On the '77 Toronado, which had a base price of over $8,000, the passenger side remote mirror option was $30. That was the same cost as pulse windshield wipera and less than the cost for a passenger side visor vanity mirror ($42). No manual mirror, passenger or driver side, was offered on the Toronado. Standard equipment was a remote-control driver mirror and no passenger mirror at all. The only two options available were a driver's mirror with a thermometer ($25) and a remote-control passenger mirror.
These options were the same on the 98. For the Delta 88 and Custom Cruiser, manual mirrors were available (and were standard equipment). If you're still looking for a manual right-side mirror, you might try to get one off of a '77 or '78 Delta 88 or CC. I'm guessing that a remote-mirror escutcheon for the center of the dash could come from any '74 through '76 full-size Olds and any '74 through '78 Toronado as all of those cars had the same dashboard. A remote-control passenger side mirror was offered on every full-sized Olds beginning in 1974.
Last edited by jaunty75; May 21st, 2020 at 04:42 PM.
Jaunty, those models were the units I was focused on during my search with no success. The repro mirror I got was for a 98 but there must have been something about the curvature of the door and the glass that was different because this new unit definitely does not sit right. As for Toronado's that was my first search but I could not find any that had the passenger mirror and only found a few pictures on the internet that shows what and where the escutcheon is located.
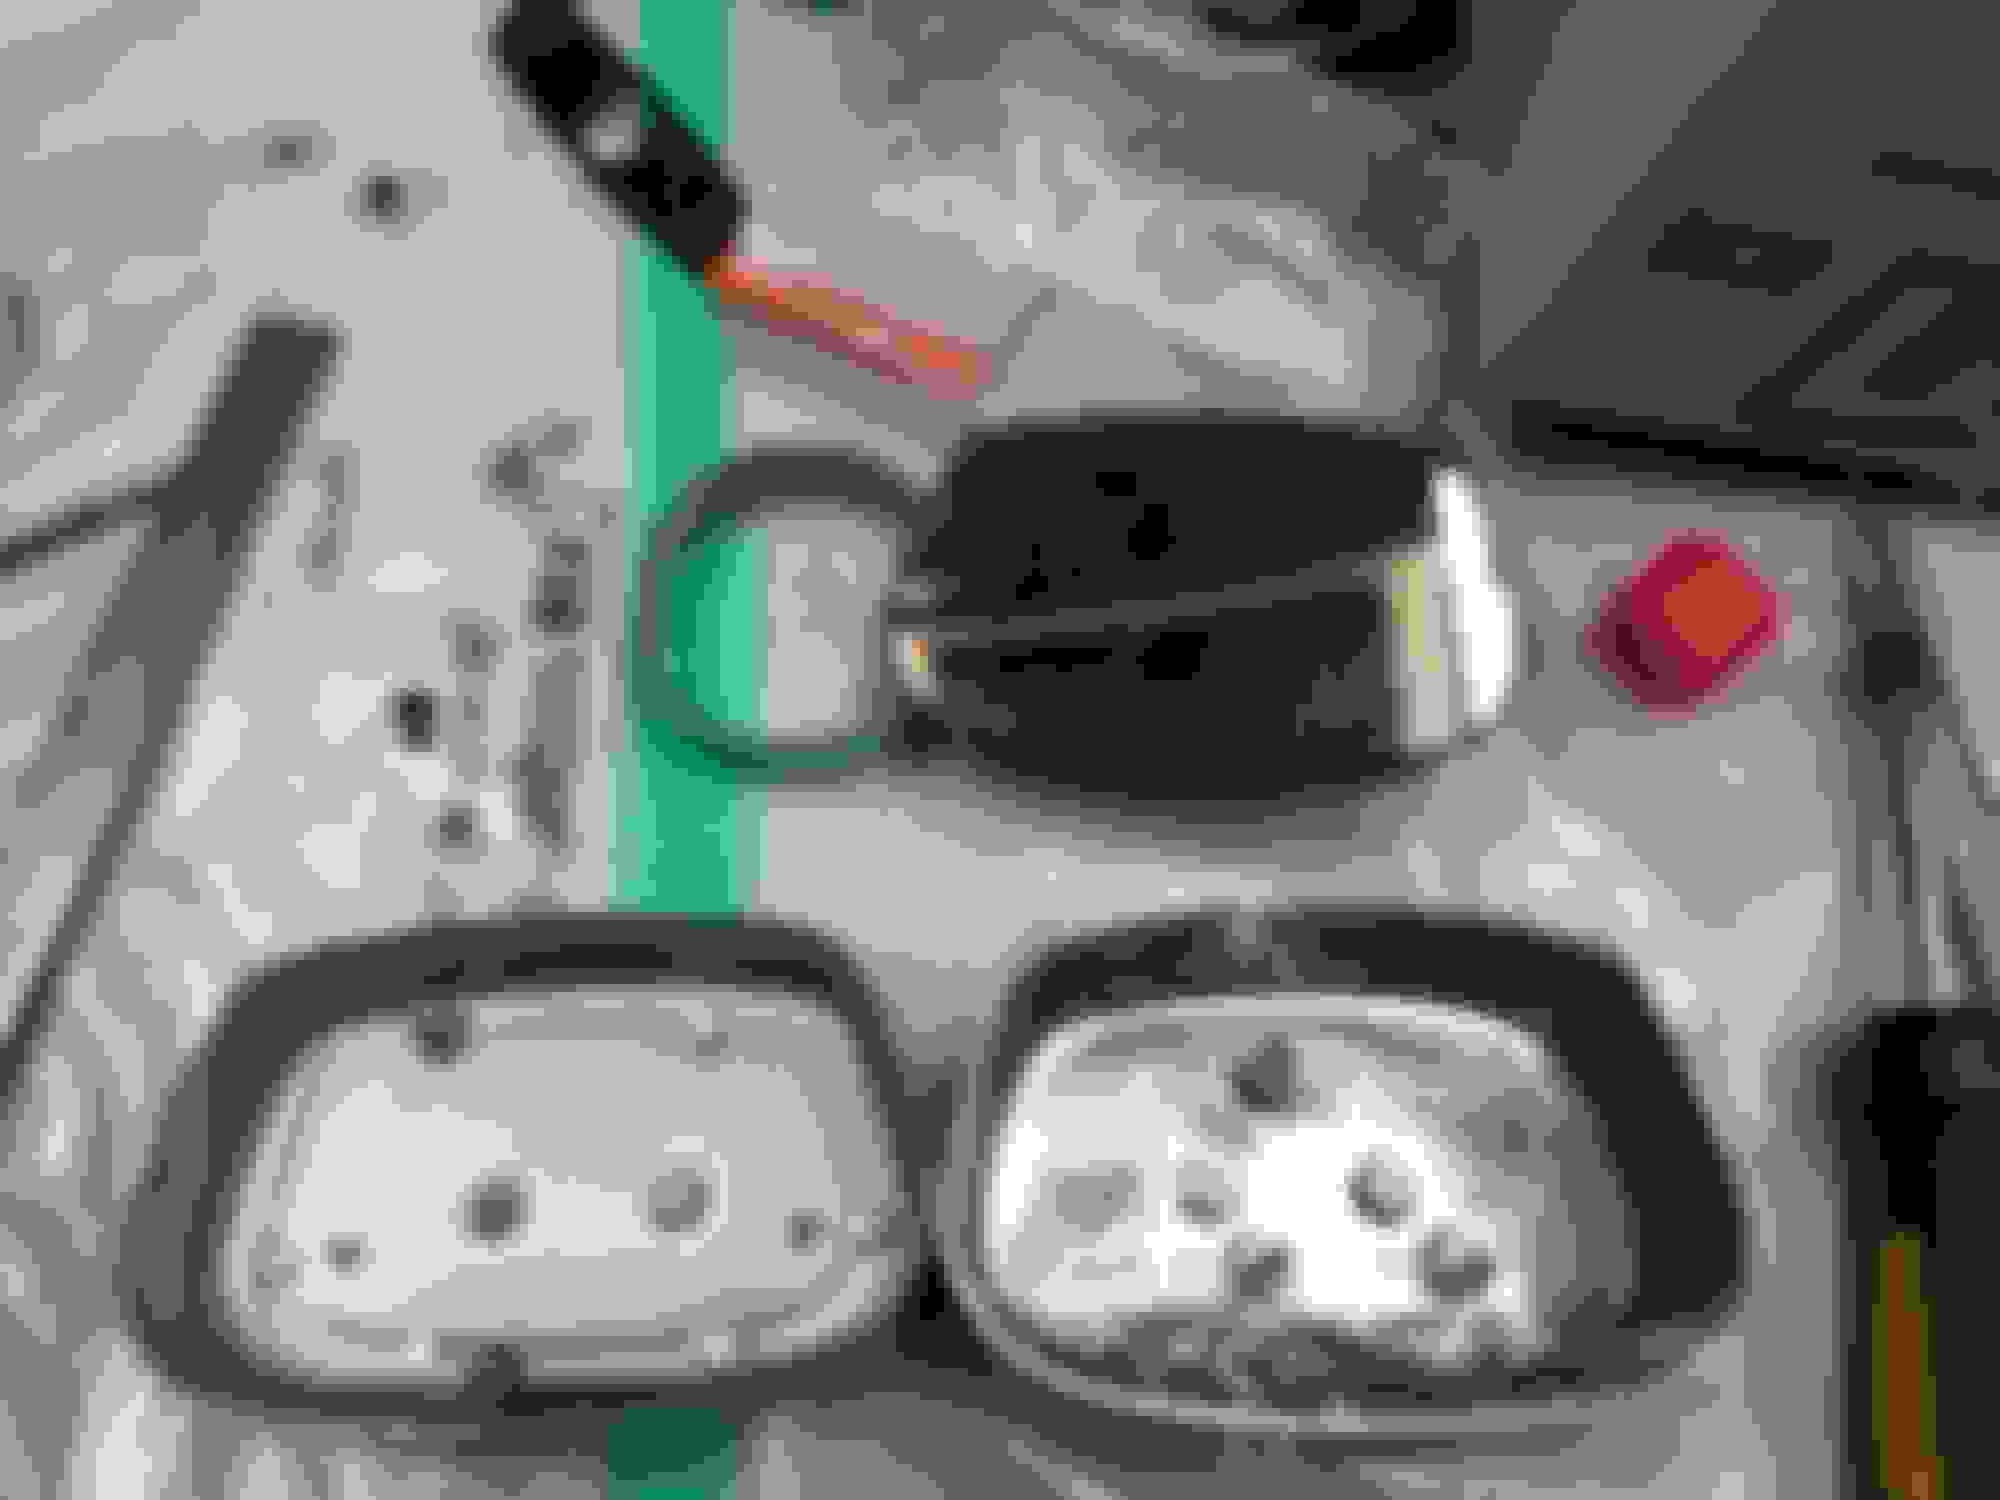
Here is another interesting photo. While I had the panels off to replace the mirror, I started to look at the window and lock switches to see if I could see why the power lock is not working. The window works fine and they are both part of the same harness per the manual or at least my understanding of it, saw these 2 blue buttons marked twist off. So now I am trying to figure out what they do. Do they simple separate the wires from the switch or do they contain a fuse. There are 2 screw for each switch assembly which I suspect just hold the switch to the mounting plate. The manual is not very clear on this.
Now that one from eBay I have not seen before. But at Cdn$ 260 plus Cdn$ 80 for shipping and custom fees is a little rich for my taste. My reproduction unit only cost about Cdn$ 90 all in. I am hoping I can salvage the guts to use in my old mirror body.
I thought about the cost of that mirror. Not cheap.
About your door lock and power window switch panels, I actually replaced those panels not long ago on my car because I found a pair in very nice condition on ebay. Those blue things are not fuses or anything complicated. As far as I can tell, they';re just insulators to prevent a wire or metal from falling across the pins and shorting them. Just do what it says on them and twist them off. Then pry off the wiring connectors, unscrew the two screws holding each switch in place, and the switch can be removed.
You can remove the power lock switch and test it. It's got three pins. The center pin connects to one or the other of the two side pins depending on which way the switch is pushed. Connect one lead from an ohmmeter to the center pin and the other lead to one of the side pins. Then push the switch one way or the other. In one of the directions, you should see a momentary closed circuit. The switch has some kind of a limiter in it to prevent the switch from staying closed if you hold the switch in one or the other direction for any length of time. This prevents the power lock motors from continuing to get power even though the lock has already been thrown. In any event, assuming that you get a closed circuit with the switch thrown in one direction, move the lead connected to one of the outer pins to the other outer pin and push the switch in the other direction. You should get a closed circuit again. If you observe this behavior, the switch is working fine. You can actually do these tests without removing the switch from the panel. You just have to remove the wiring connector.
I forget. On your car, do the door locks not work at all? Or do they just not work from one door but work ok from the other door? If the latter, suspecting the switch on that door as the problem is probably correct. But if the locks don't work from either switch, I'm guessing the problem is not the switches unless both happened to fail at the same time, which seems unlikely. I do have an extra door lock switch, and I'd be glad to send it to you if you need it. It and an extra power window switch were still attached to the panels when they were sent to me by the ebay seller.
If you leave the wiring connector connected, you should see 12 volts at the center pin. I would check that first. Make sure the switch is getting power. If it's not, then you're checking the power supply line, fuse, etc. If it is, then you're probably looking at problems with the door lock actuators themselves. But, again, have both lock actuators fail at the same time seems unlikely. I believe the door lock power is on the same circuit as the courtesy lamps, so that's the fuse to check. If the fuse is and both door locks don't work, there is a step-by-step troubleshooting process on page 10-053 of the 1977 Fisher Body manual
Last edited by jaunty75; May 21st, 2020 at 07:39 PM.
Jaunty, thank you for the advice. Neither of my door locks work and neither do the door courtesy lamps work in either door. I will check fuses and try the tests you suggested. I incorrectly assumed that as the locks were part of the window harness they were tied into that power source. Because the windows work I could not understand why the locks wouldn't. Will let you know how I make out. Thanks again for your help.
Here's the troubleshooting page from the manual. Note what it says right at the top. There's a procedure on the next page if the courtesy lamp fuse is not blown.
Byron, you might get hold of this guy and see if he'll sell you the escutcheon. It looks to me like this car has a passenger side remote mirror. '78 Toro being parted out.
Jaunty, thanks for the lead. I sent him an email thru craiglist. It would not give me a phone number. By the way he identifies the car as a 78 Toronado but it sure looks like a 77 Toronado grill to me.
I have been searching for that elusive dash escutcheon ever since I got the car from my Dad about 3 years ago. Really impossible to find in either the fixed or remote option and none of the potential leads that I followed panned out. So I have given up on the hunt and opted to go with a fixed mirror but the reproduction I ordered does not sit right. It leans into the window and sits at an angle. So now the master plan is to salvage the body of the old unit and gut the interior of the new unit for the manual mirror mount and then see if I can marry the 2 together.
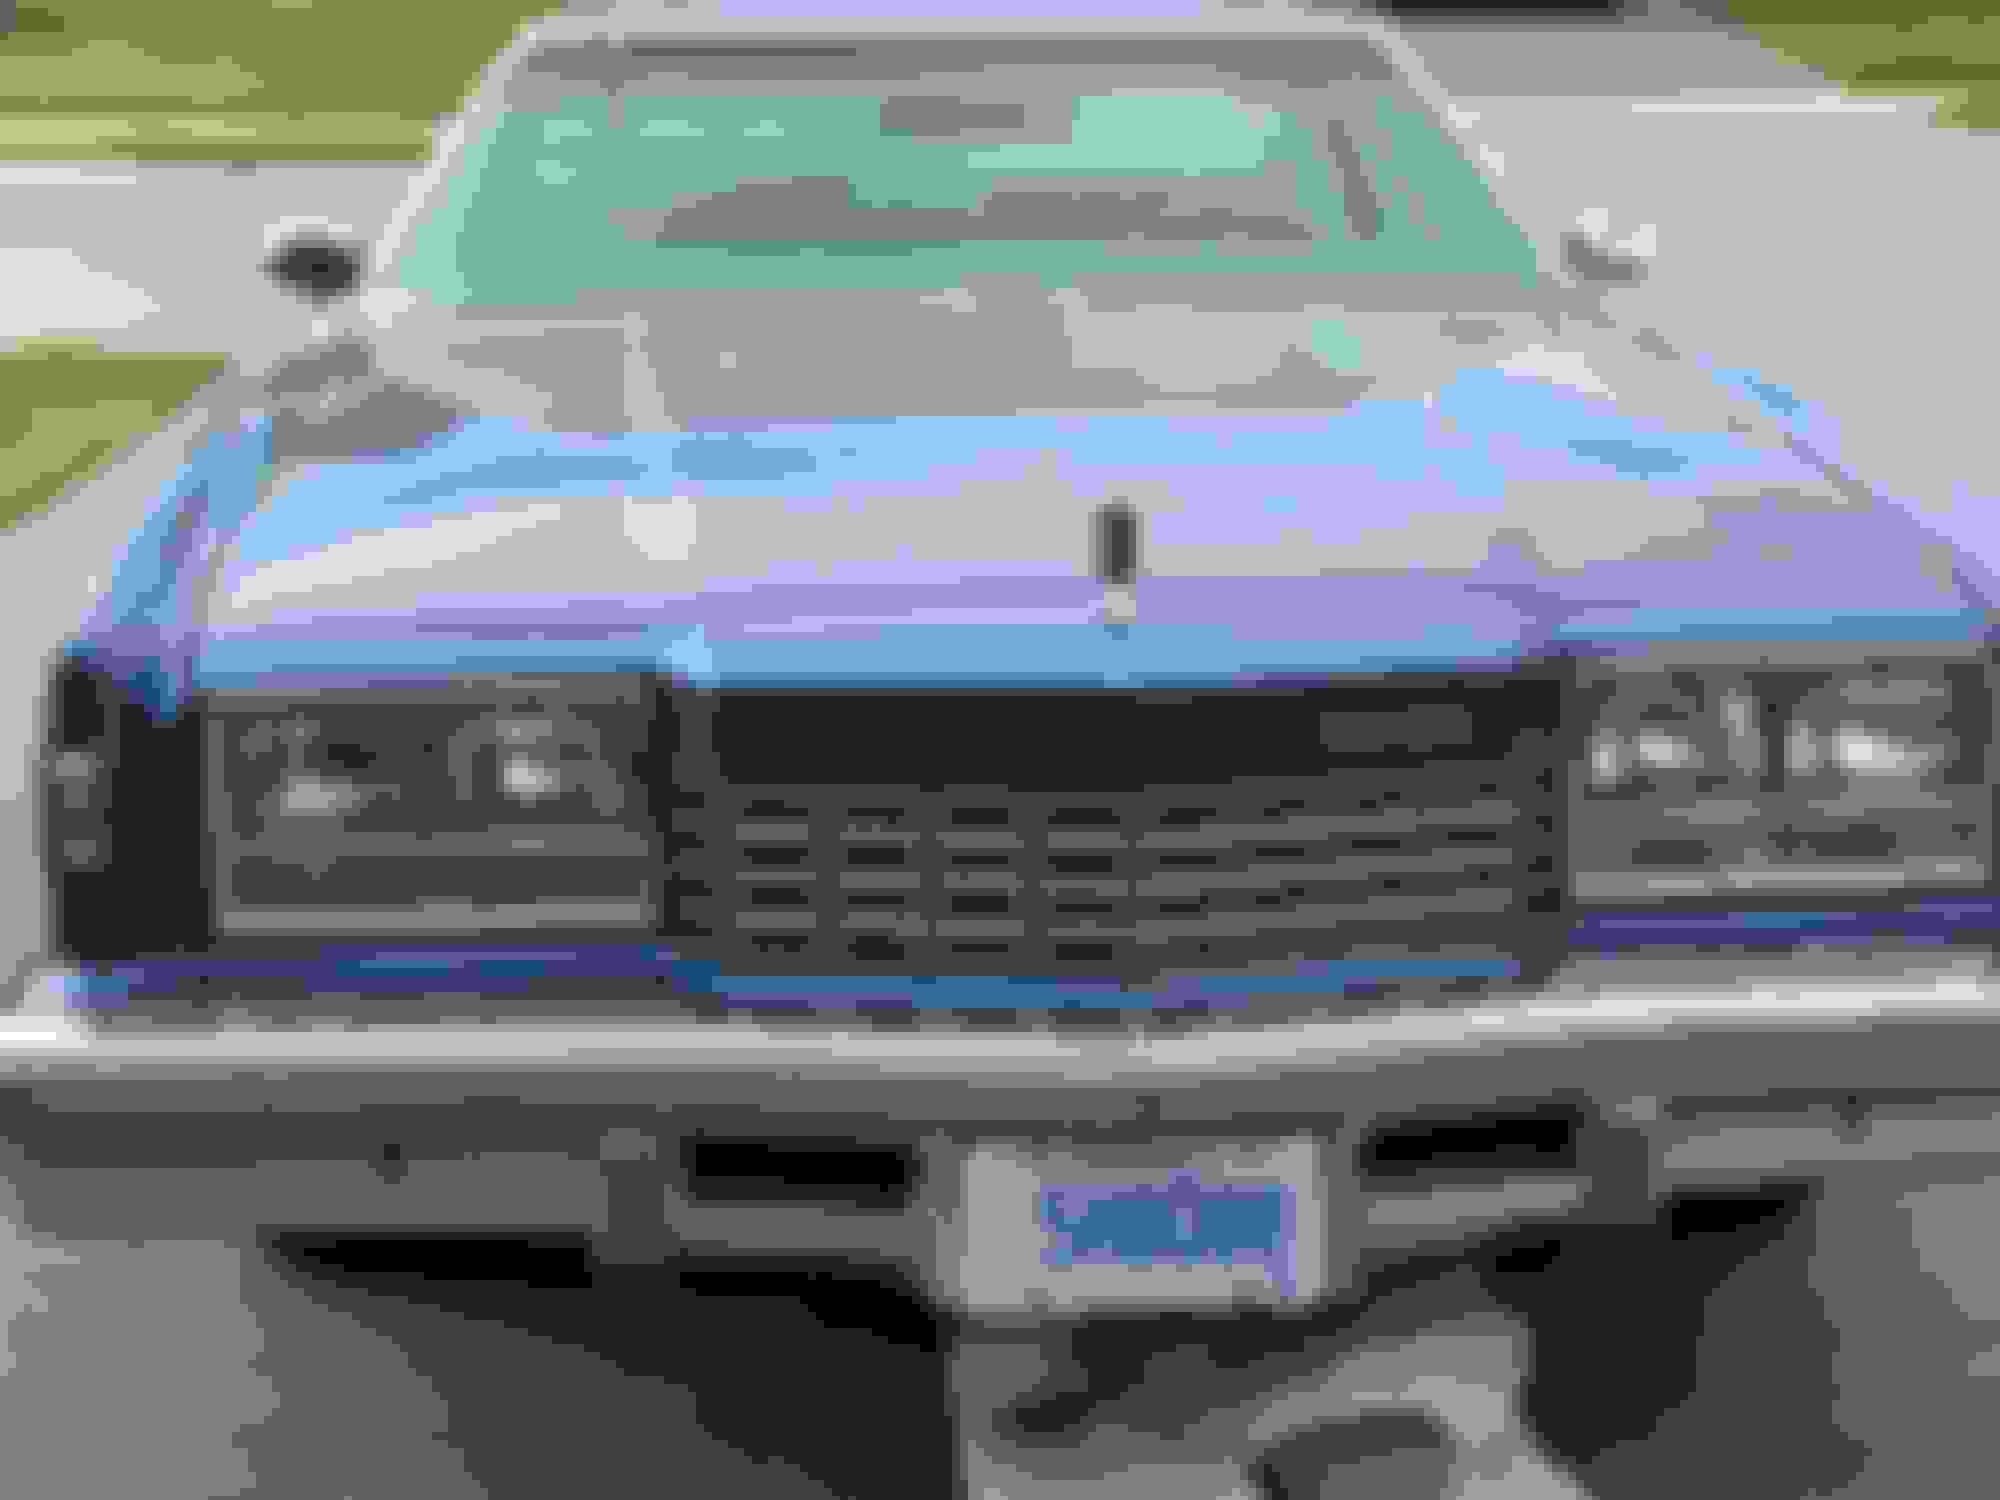
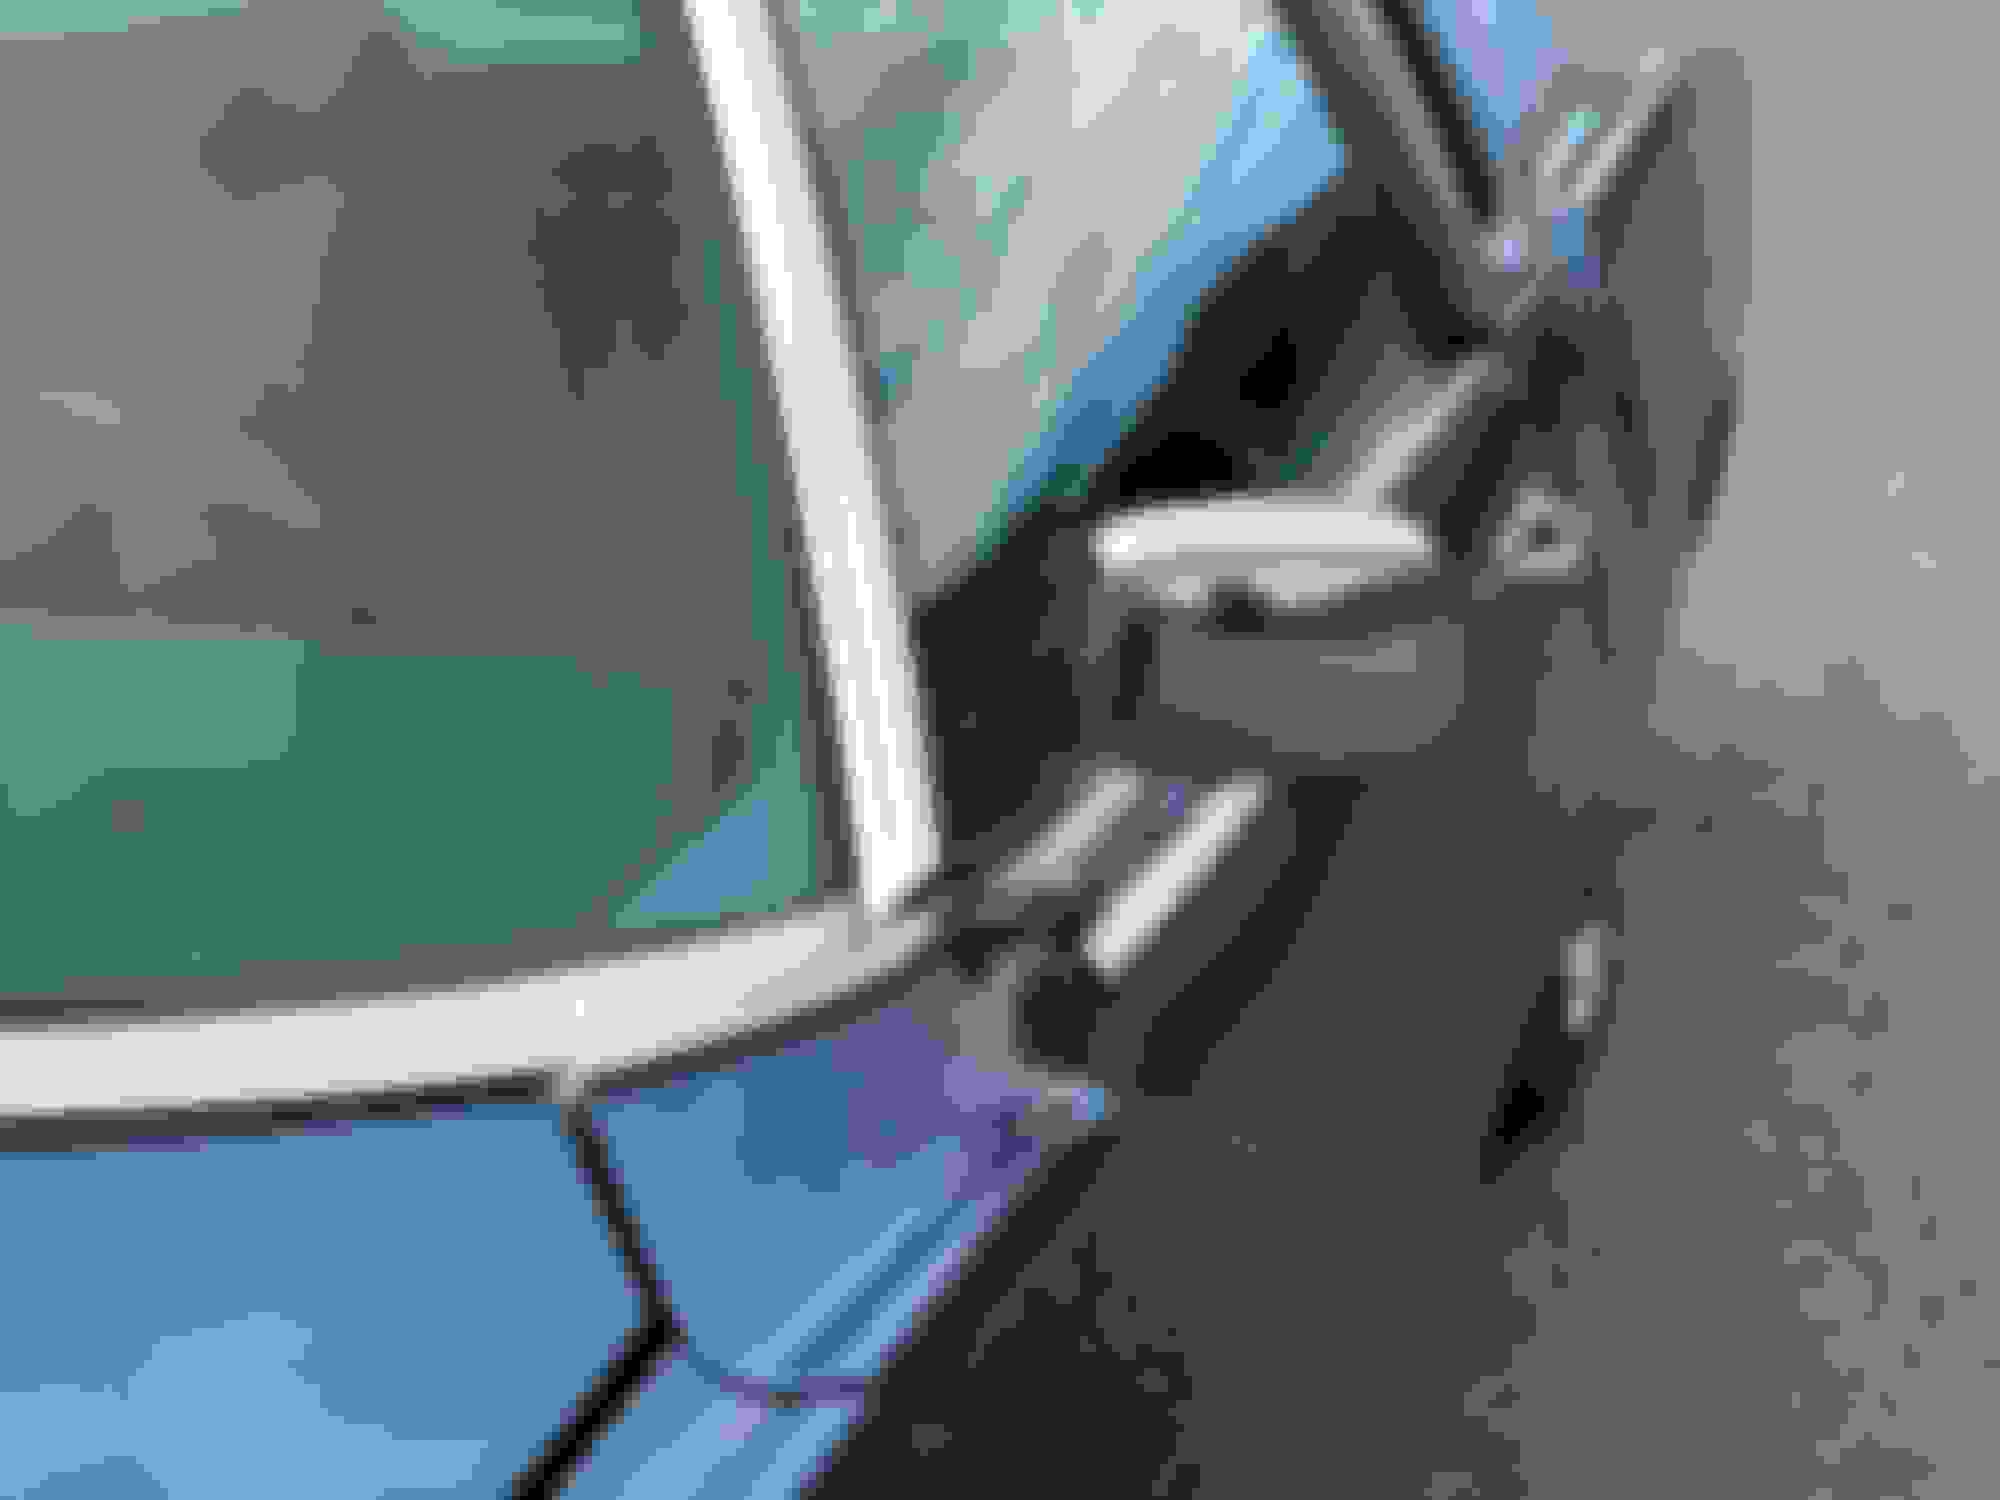
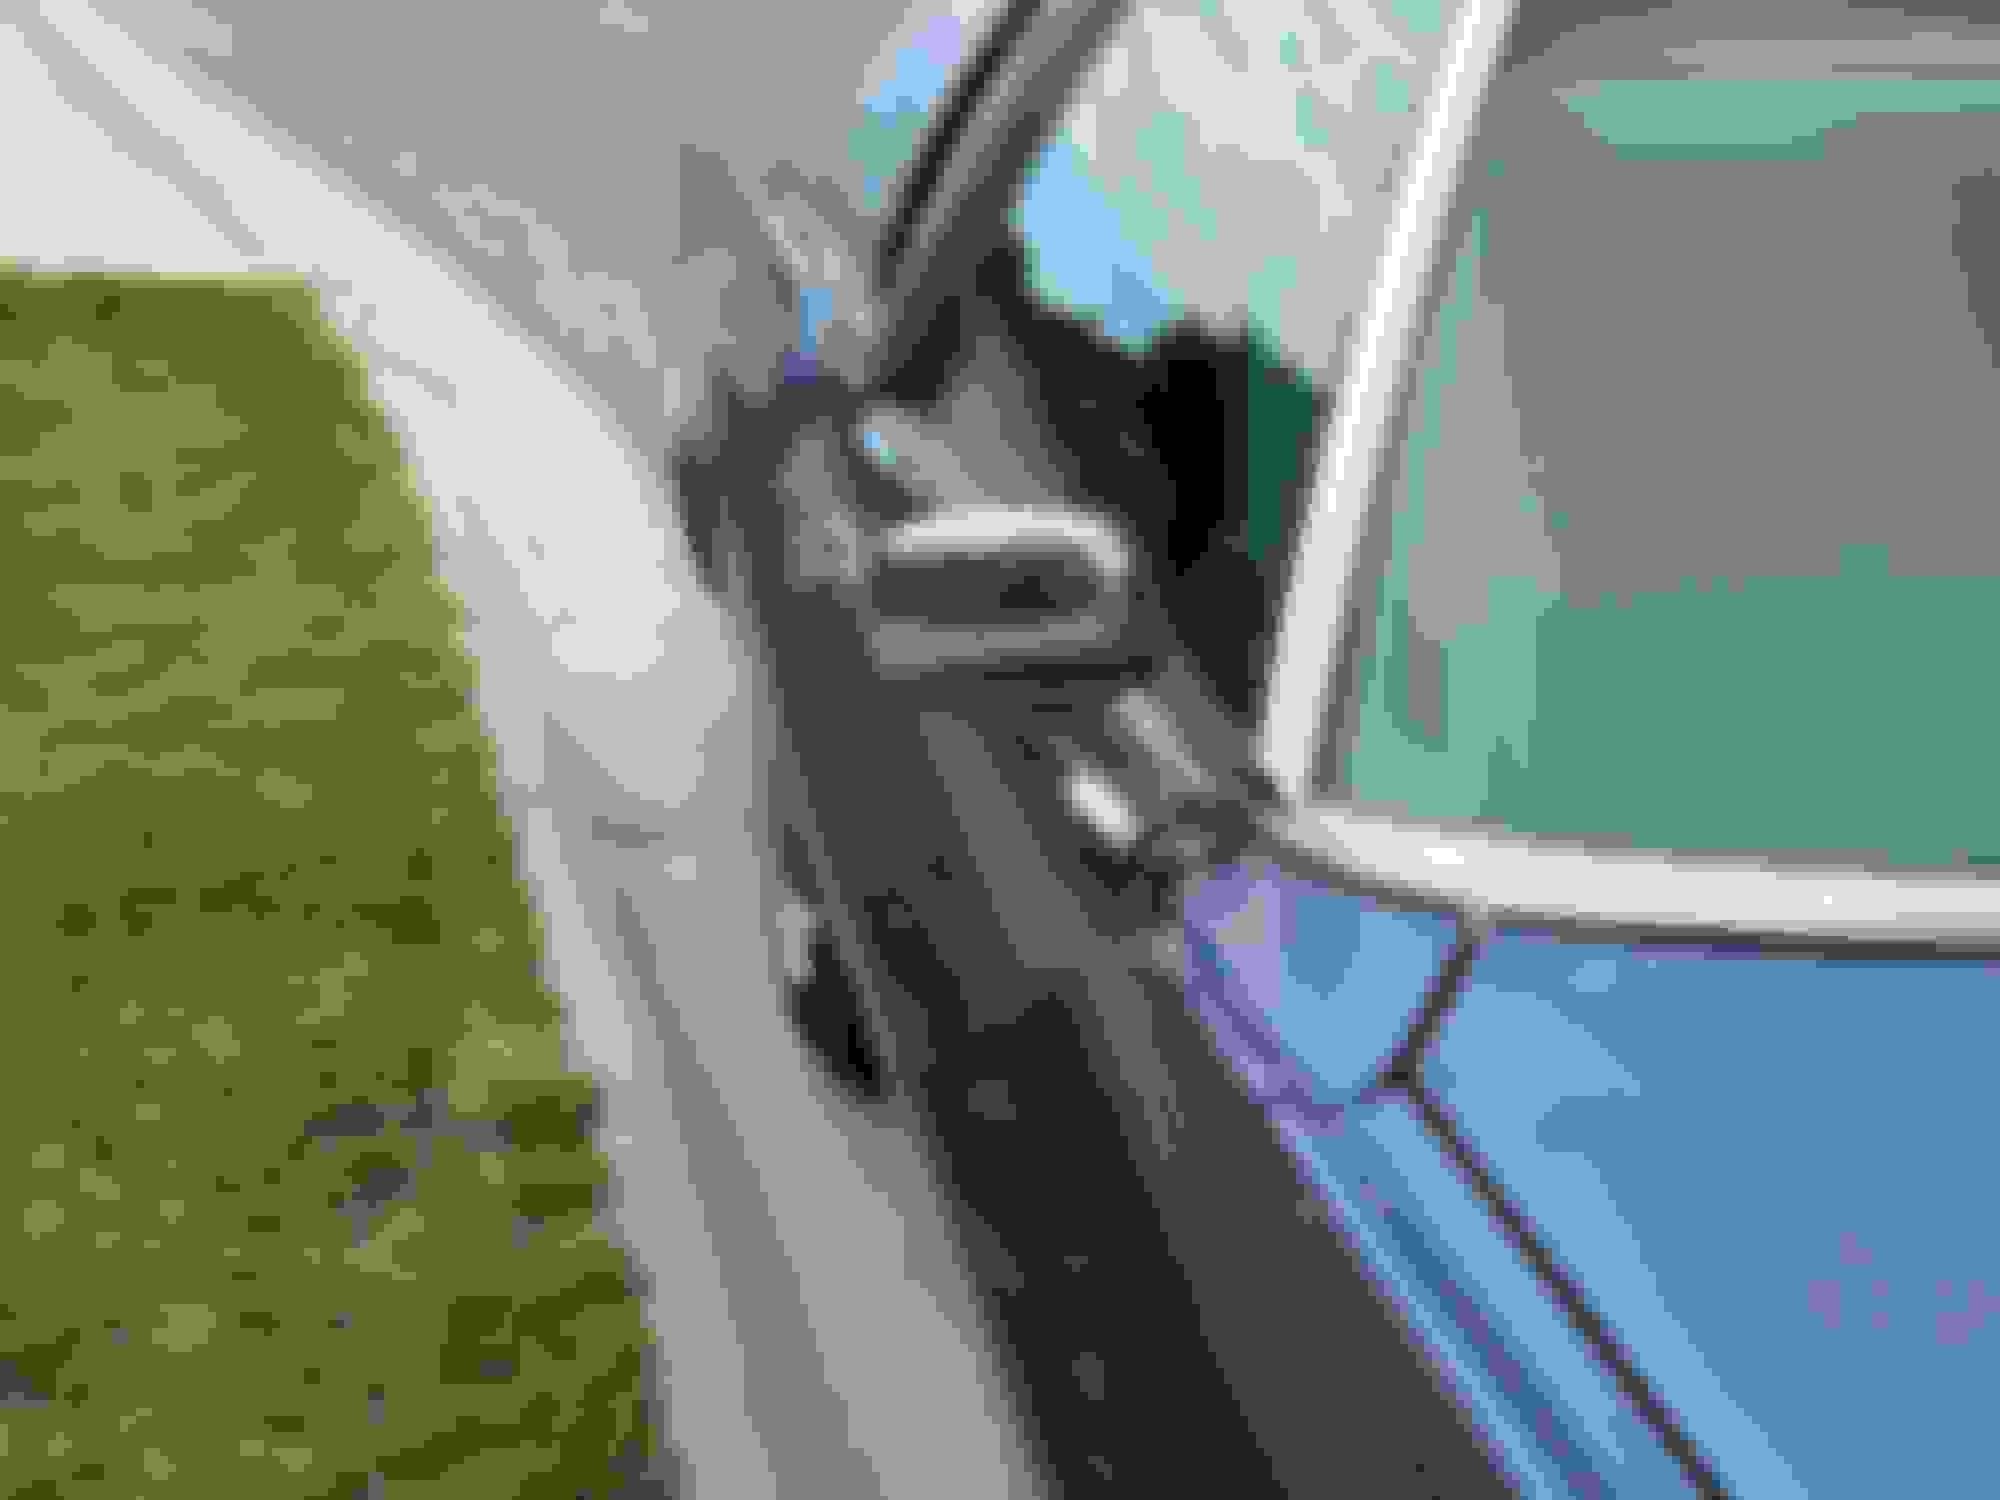
Following are photo's of the mirror from the front and the driver and passenger side. Yo can hopefully see that the passenger mirror does not sit at the correct angle and its hard to make out but it actually touches the passenger window.
So with the rain today it was a good day to spend in the shop gutting the new mirror and taking the manual mechanism out of the new unit and adapting it to fit the body of the old existing passenger mirror. I considered swapping the heads of the mirrors but the new unit needed a lot of drilling and filing to get it to align properly so ended up making a base to adapt the internals to fit the existing mirror head. The photo shows a ply base which will probably be used as a template for and acrylic or aluminum base which will then be glued in with JB Weld. I think the finished product lines up pretty well and using the existing mirror and base ensures it sits at the correct angle and that the chrome has the same patina as the rest of the chrome on the car.
So now I just need a decent day to install the unit.
I was tempted to tighten the driver side mirror on my '83 Toronado but after reading what you went through, I'll push it down to the bottom of the list.
Both my '72 98 and '72 Toronado have no passenger mirror, I'll leave them that way. My '83 has a remote passenger mirror and it's very handy.
I wished I lived near you, I'd give you a hand. Sometimes it's nice having a competent helper.
Since I retired, when I've had enough of a project, I drop it for awhile until I'm ready to tackle it again. When I was a fleet mechanic, I didn't have that option and sometimes it could wear me out, I was a lot younger then as well. Good luck!
You can hopefully see that the passenger mirror does not sit at the correct angle and its hard to make out but it actually touches the passenger window.
I have seen mirrors with gaskets that compensate for the different angles of door panels and I think your problem could have been solved by finding the correct gasket. These GM gaskets are thicker on one side from the other. This could have saved you a lot of trouble, but then you would not have had all that fun.
I have seen mirrors with gaskets that compensate for the different angles of door panels and I think your problem could have been solved by finding the correct gasket. These GM gaskets are thicker on one side from the other.
Two comments:
1. Where do you get these gaskets?
2. I don't think this would solve his problem, anyway, at least from an appearance standpoint. The problem is not the angle of the pedestal as it attaches to the door, but the angle of the mirror as it attaches to the pedestal. The latter would not change by putting what are essentially shims on the door mount. The mirror might no longer hit the window, but the angle of the mirror would still be different from the driver's side, so the appearance of the car as you look at it from the front would still be off.
Last edited by jaunty75; May 30th, 2020 at 02:59 PM.
The gasket that came with new mirror did have a very slight angle to it but not enough. I then tried to shim it further with more gasket material but that did not help significantly. Based on my measurements and eyeballing it the new mirror would have needed a 1/4 inch shim to get it to sit right and that was not going to fly. Additionally the legs on the base of the new reproduction mirror were about 1" shorter but the bolt spacing was perfect. I could have lived with the shorter legs had it sat properly because there was new paint under it, but it didn't so it had to corrected. Using the old mirror legs and head and gutting the internals and using the fixed mechanism from the new mirror now gives me a usable outside mirror that no longer flops around and the old mirror body sits right and matches the driver side and retains the original chrome patina.
So I am happy with the compromise.
Jaunty; Well if GM still had them in stock it would be simple, but those mirrors and the sport mirrors had different thickness (taper) gaskets depending on the car and model.
Got the passenger side "modified mirror" installed on the car this morning. Took all of 15 minutes and I didn't drop a nut or a tool inside the door. As requested here are some photos of the old "remote" mirror body with the new mirror "manual" guts installed. Both mirrors now sit at the right angle, are away from the glass and for the first time in a long time I now have a passenger side mirror that is actually usable.

 May 16th, 2020, 07:27 PM