When you click on links to various merchants on this site and make a purchase, this can result in this site earning a commission. Affiliate programs and affiliations include, but are not limited to, the eBay Partner Network.
Hi All
Well finally got my Toronado out of storage and have been busy tweaking various things. Next weeks adventure is to replace the heater core. Fingers crossed that what NAPA actually supplied is the right core.
The real reason for this post is to get some advice and guidance on body side moulding. In a few weeks the Toronado goes in for a paint job now that I have found a shop that does decent work at a reasonable cost. I was thinking of replacing the original body side moulding at the same time as it is rather faded and brittle after some 40 odd years. Now I fairly sure I won't be able to find the original style colored molding with chrome edging. At this point after weeks of searching I cannot even find locally any moulding of any color or finish that is the right size of 1-1/2".
So my question is does anyone know where I can get body side moulding (adhesive type) that is reasonably close in size to the original equipment?
Would appreciate any advice or leads that you can provide.
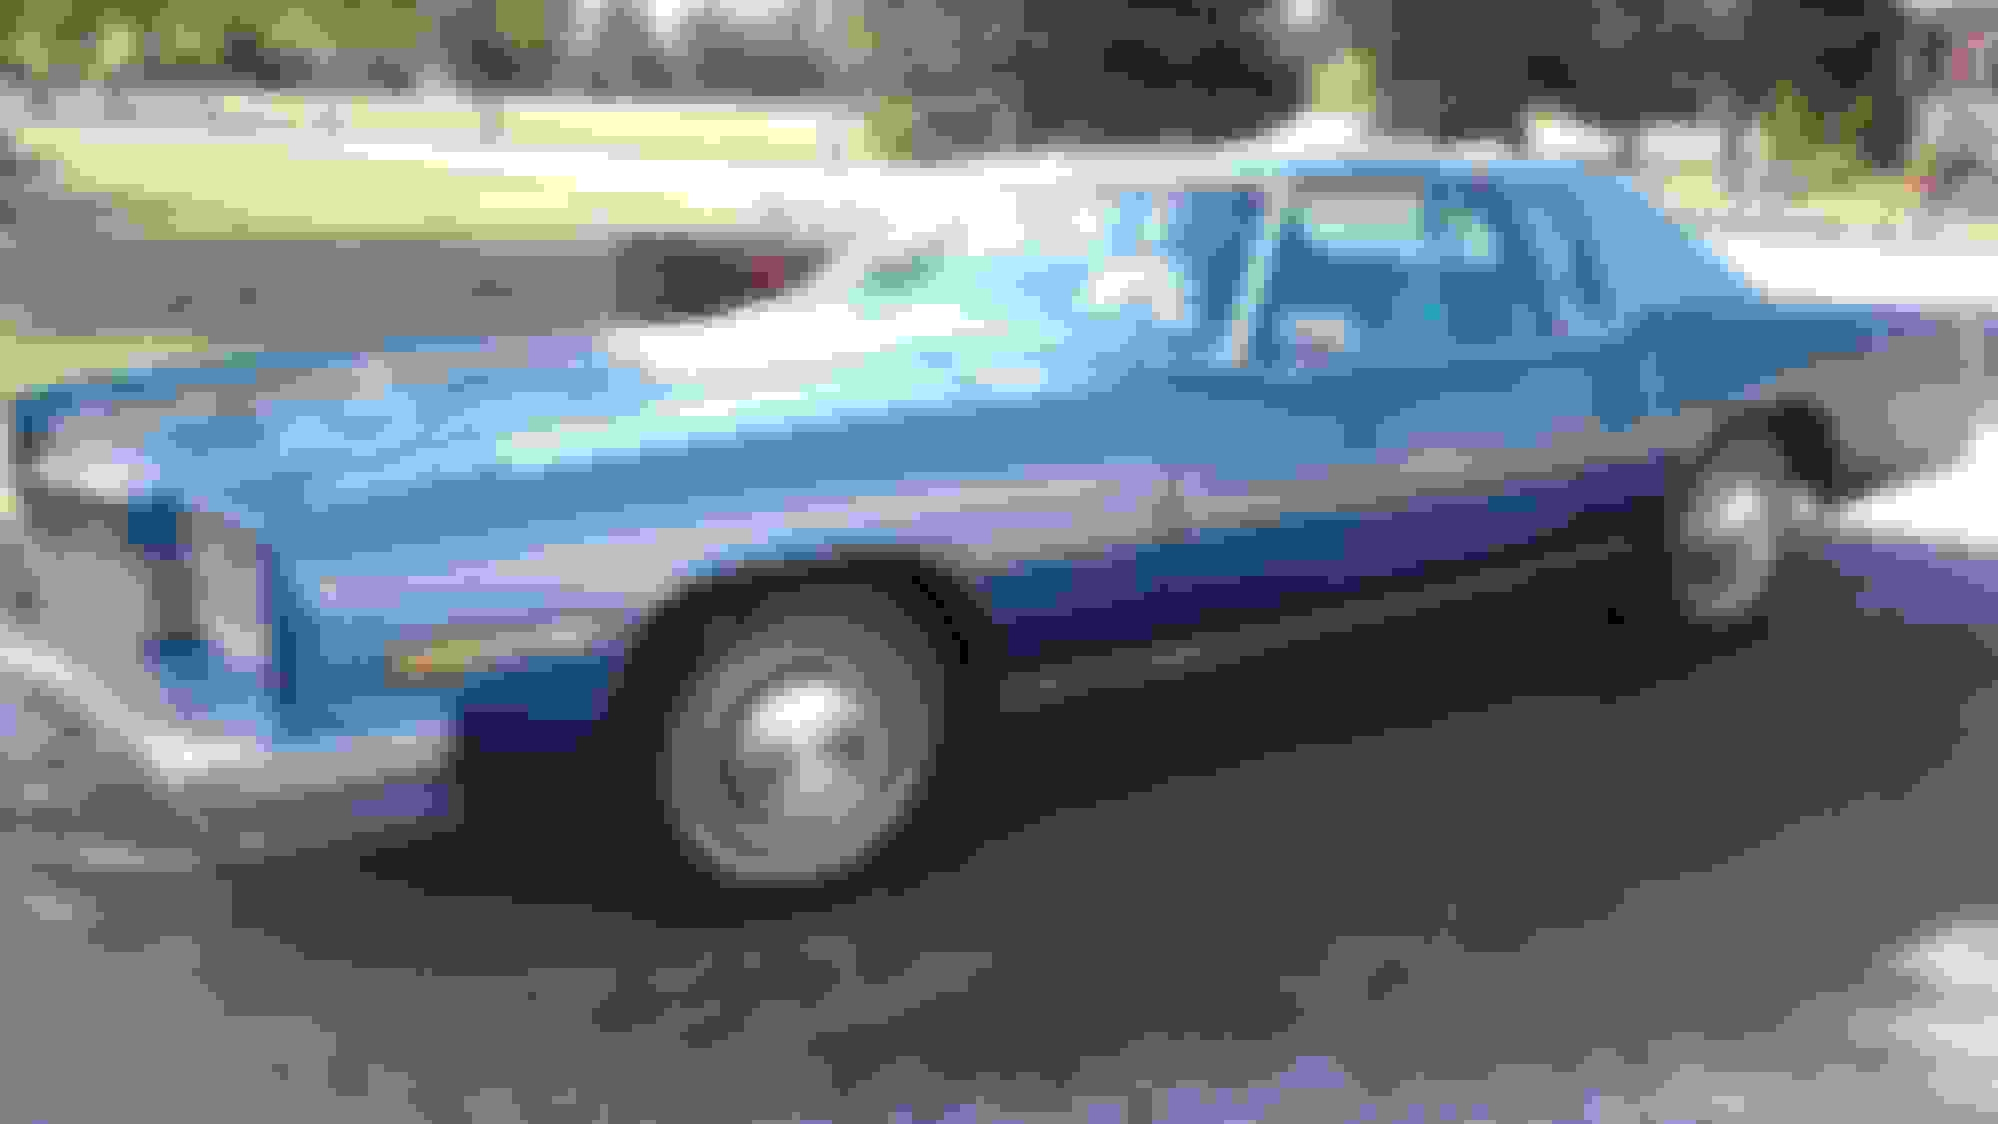
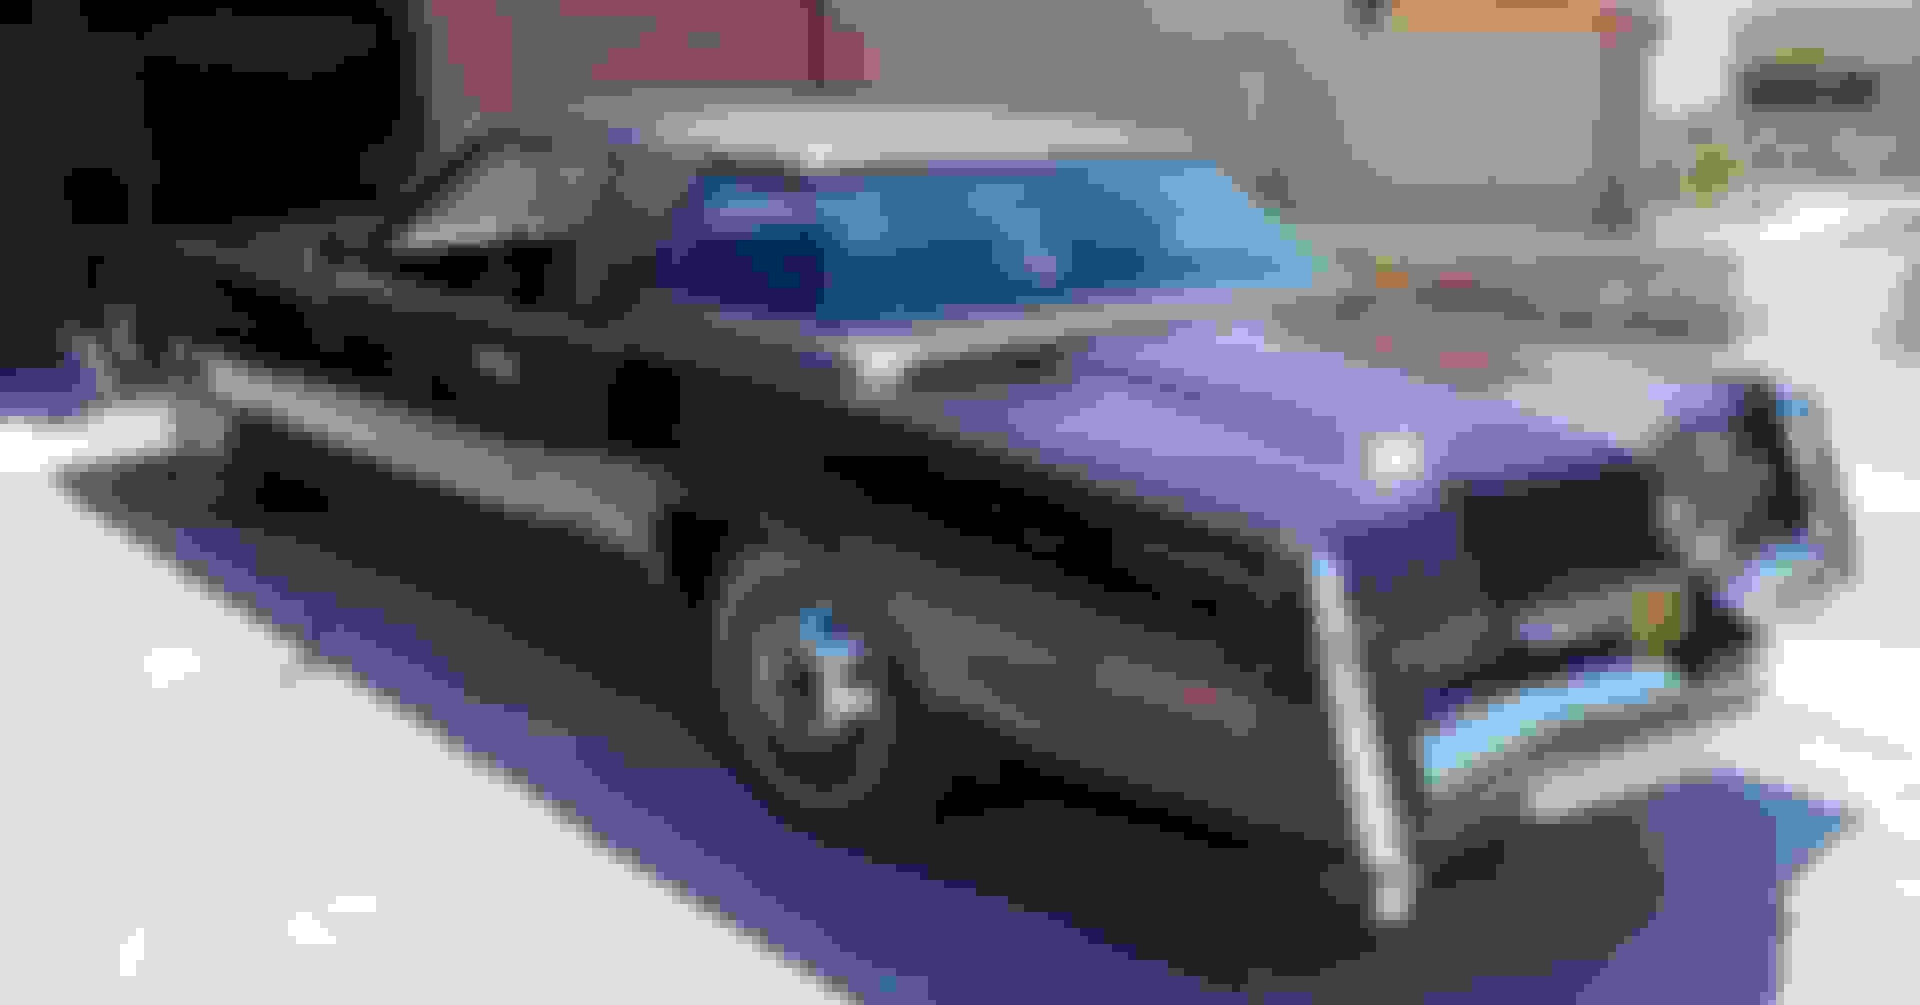
I have to say that, when your photo is enlarged, the molding that's there looks pretty darn good.
Here's a photo of the other side of your car from your earlier post, and the molding there, while not perfect, is not bad, either.
How do you know it's brittle? The molding is not something that is subject to being bent, and if the existing molding can be cleanly removed, how about just cleaning it and reusing it? I doubt anything you find will look as good and as original as the actual original thing. As just one consideration, I doubt you'll find anything with angled ends for each side of the wheel openings.
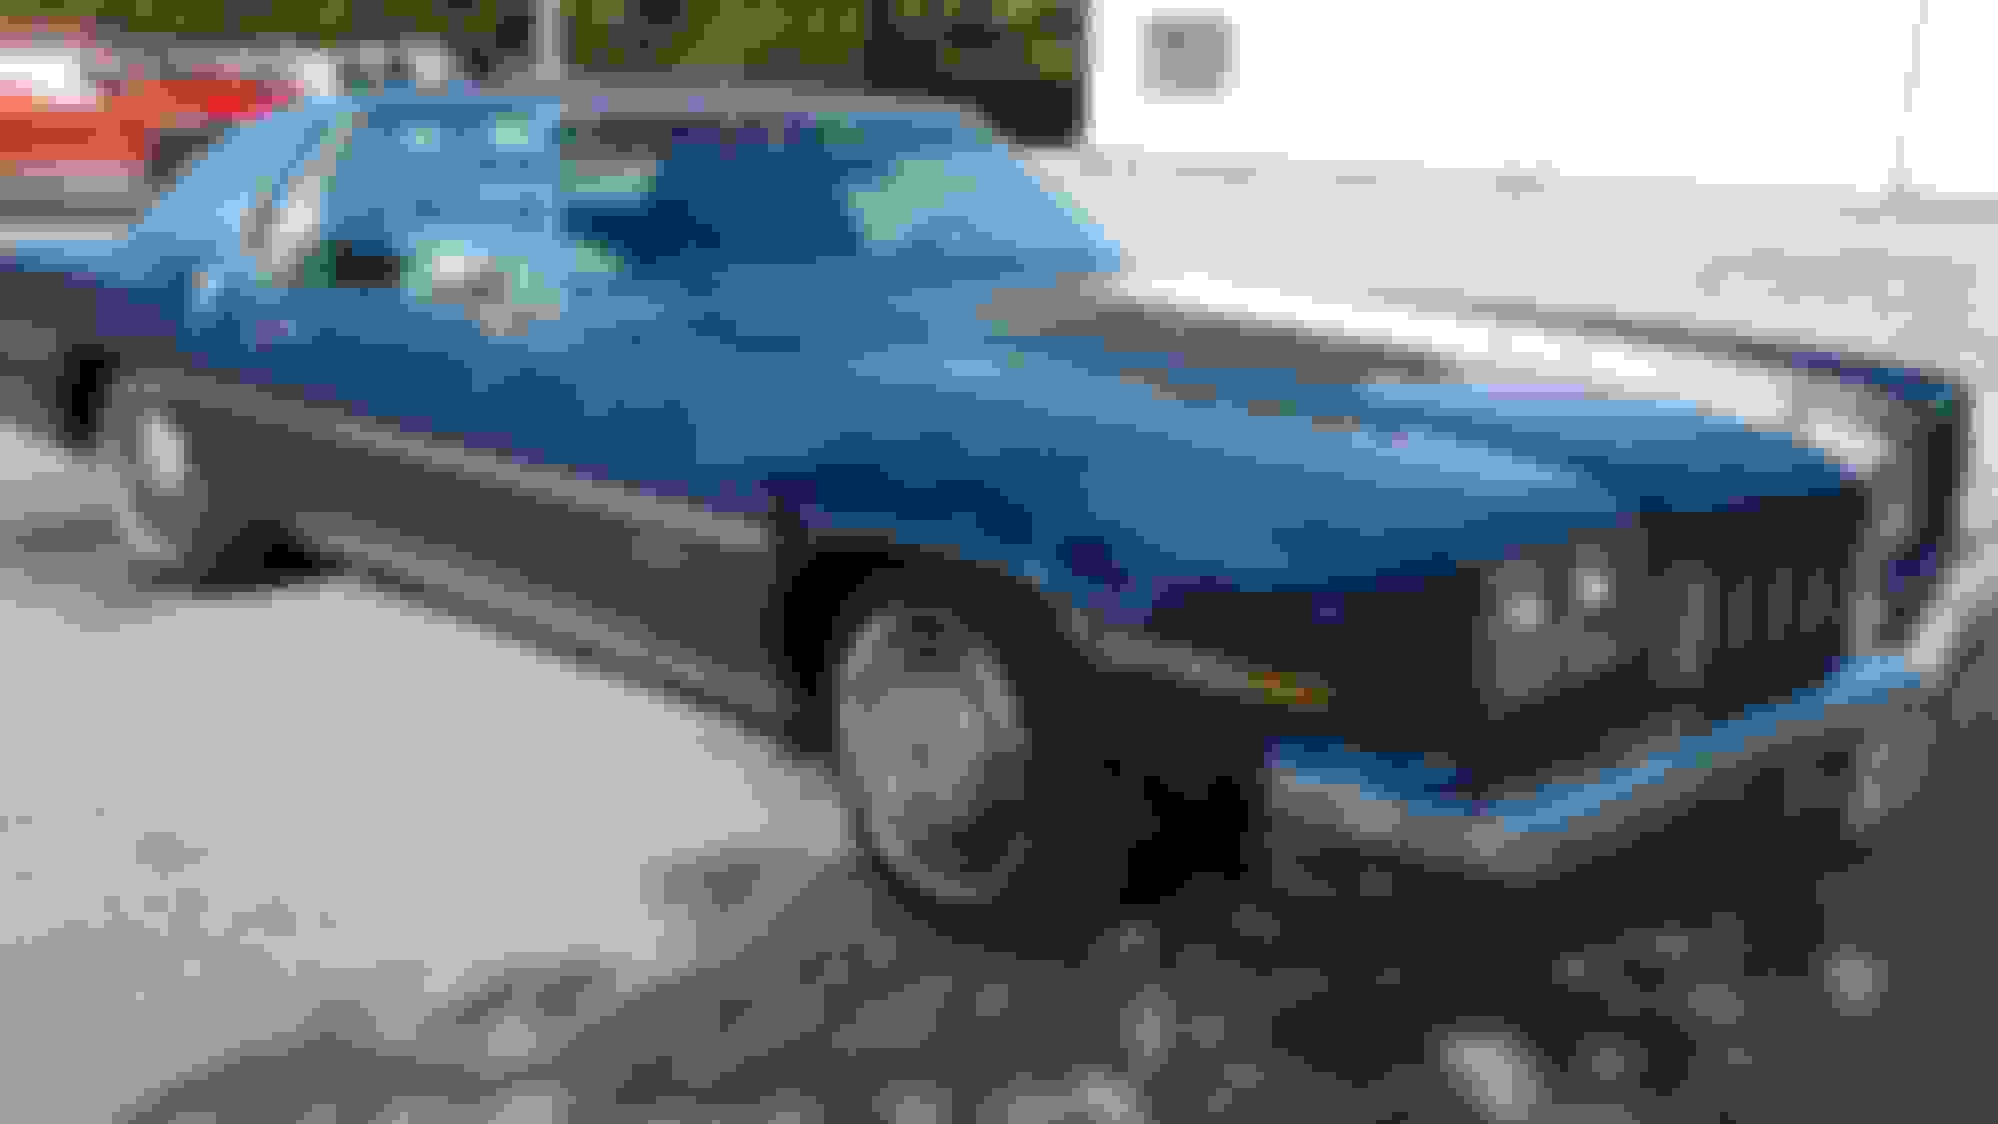
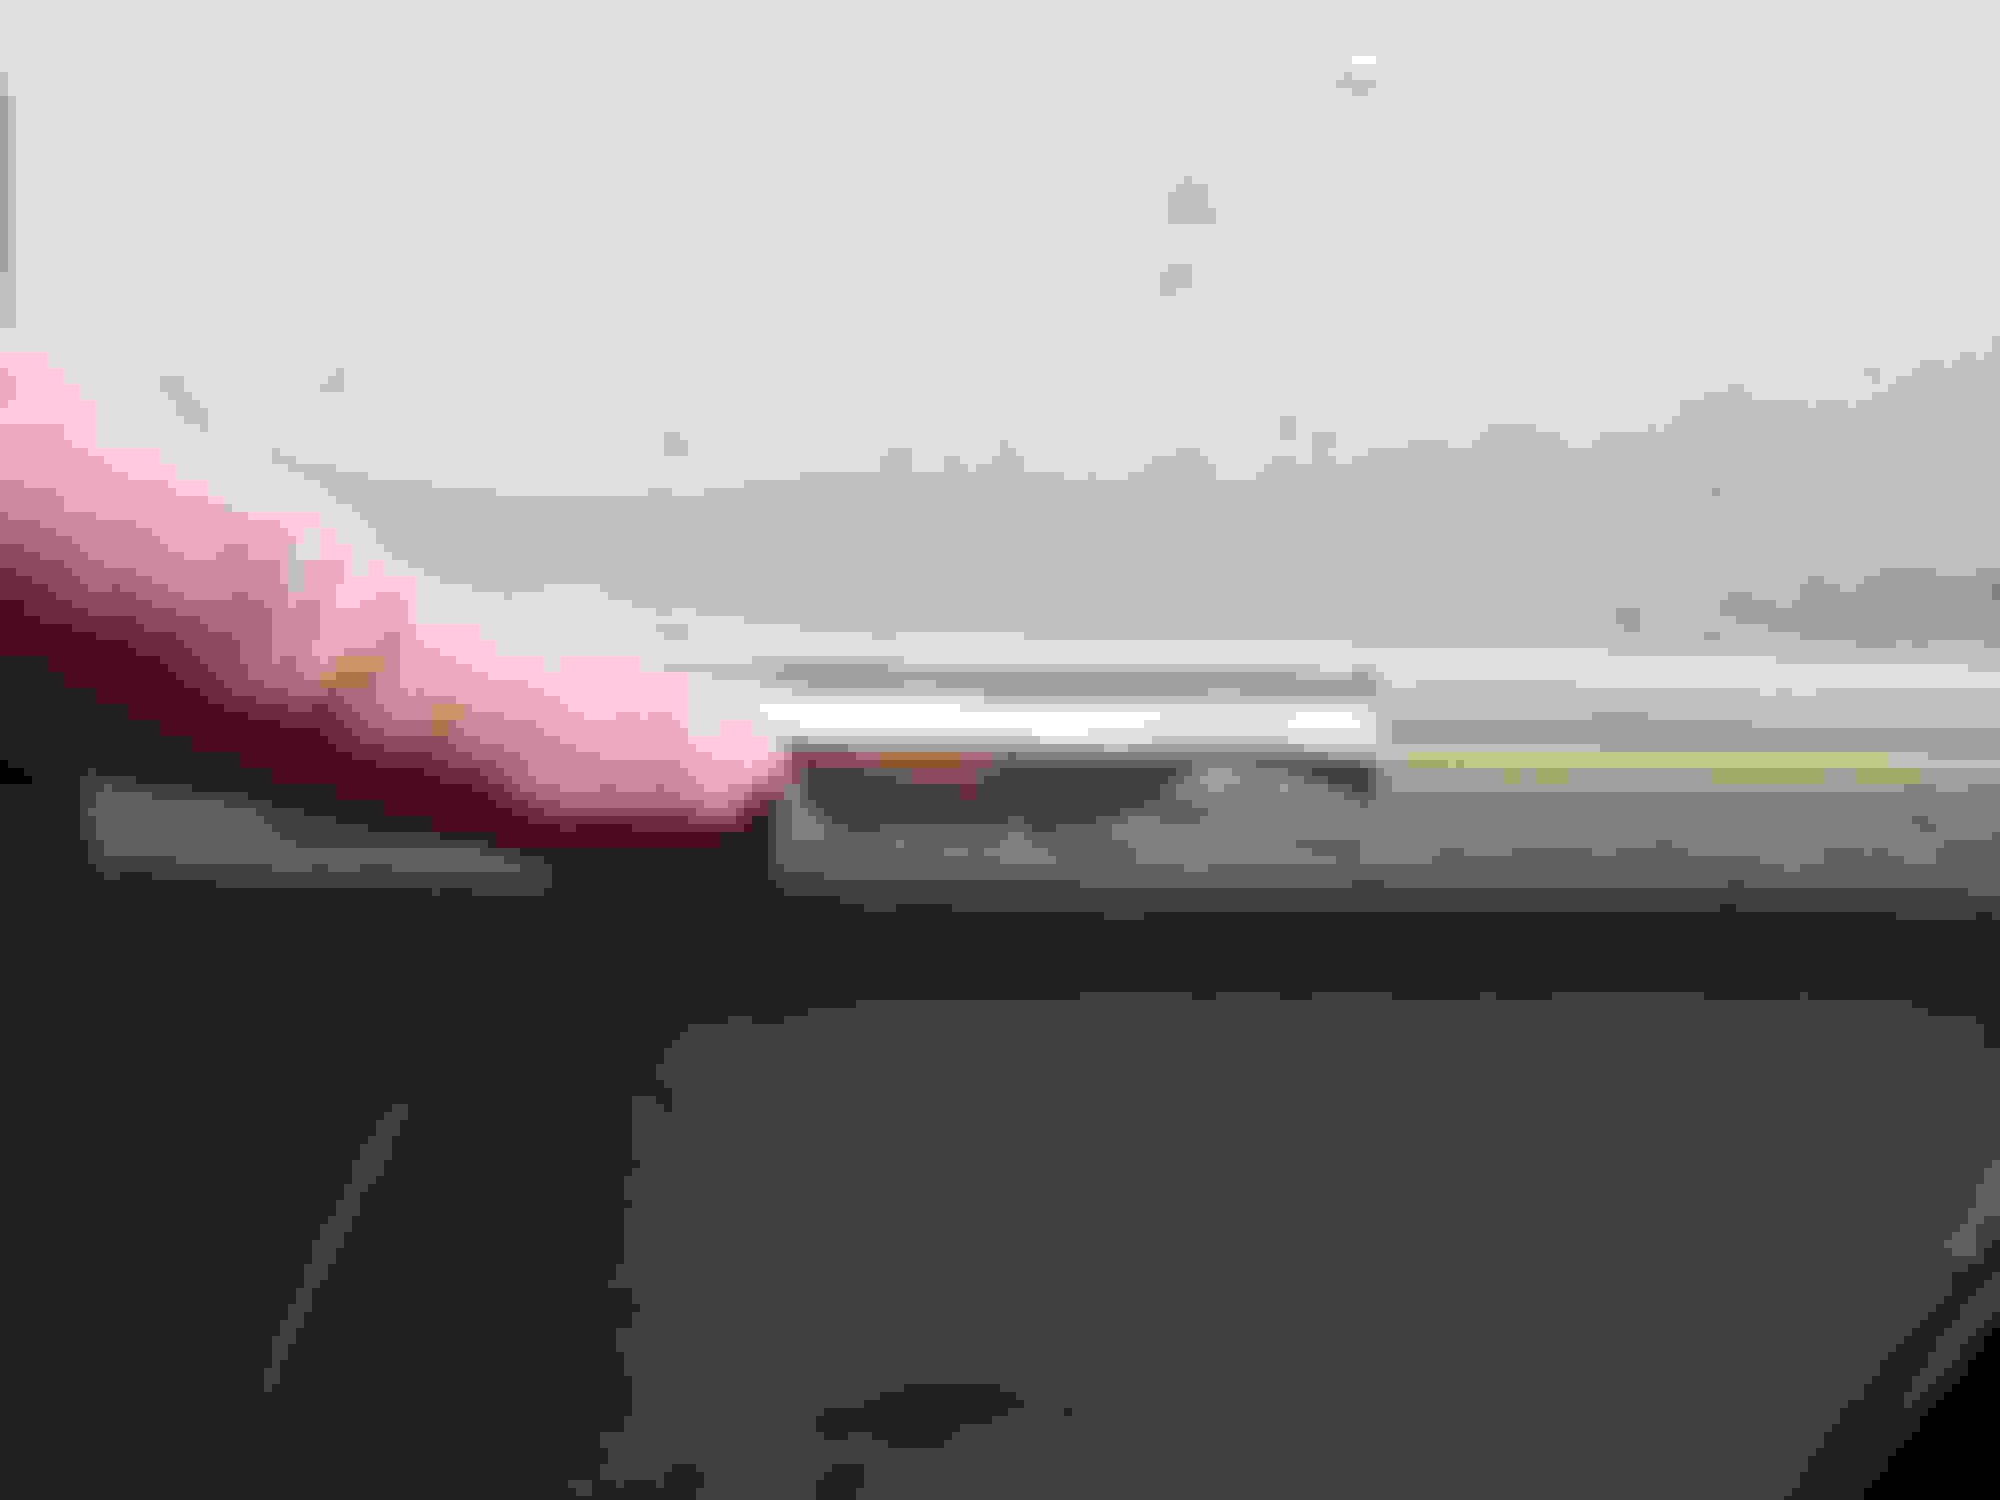
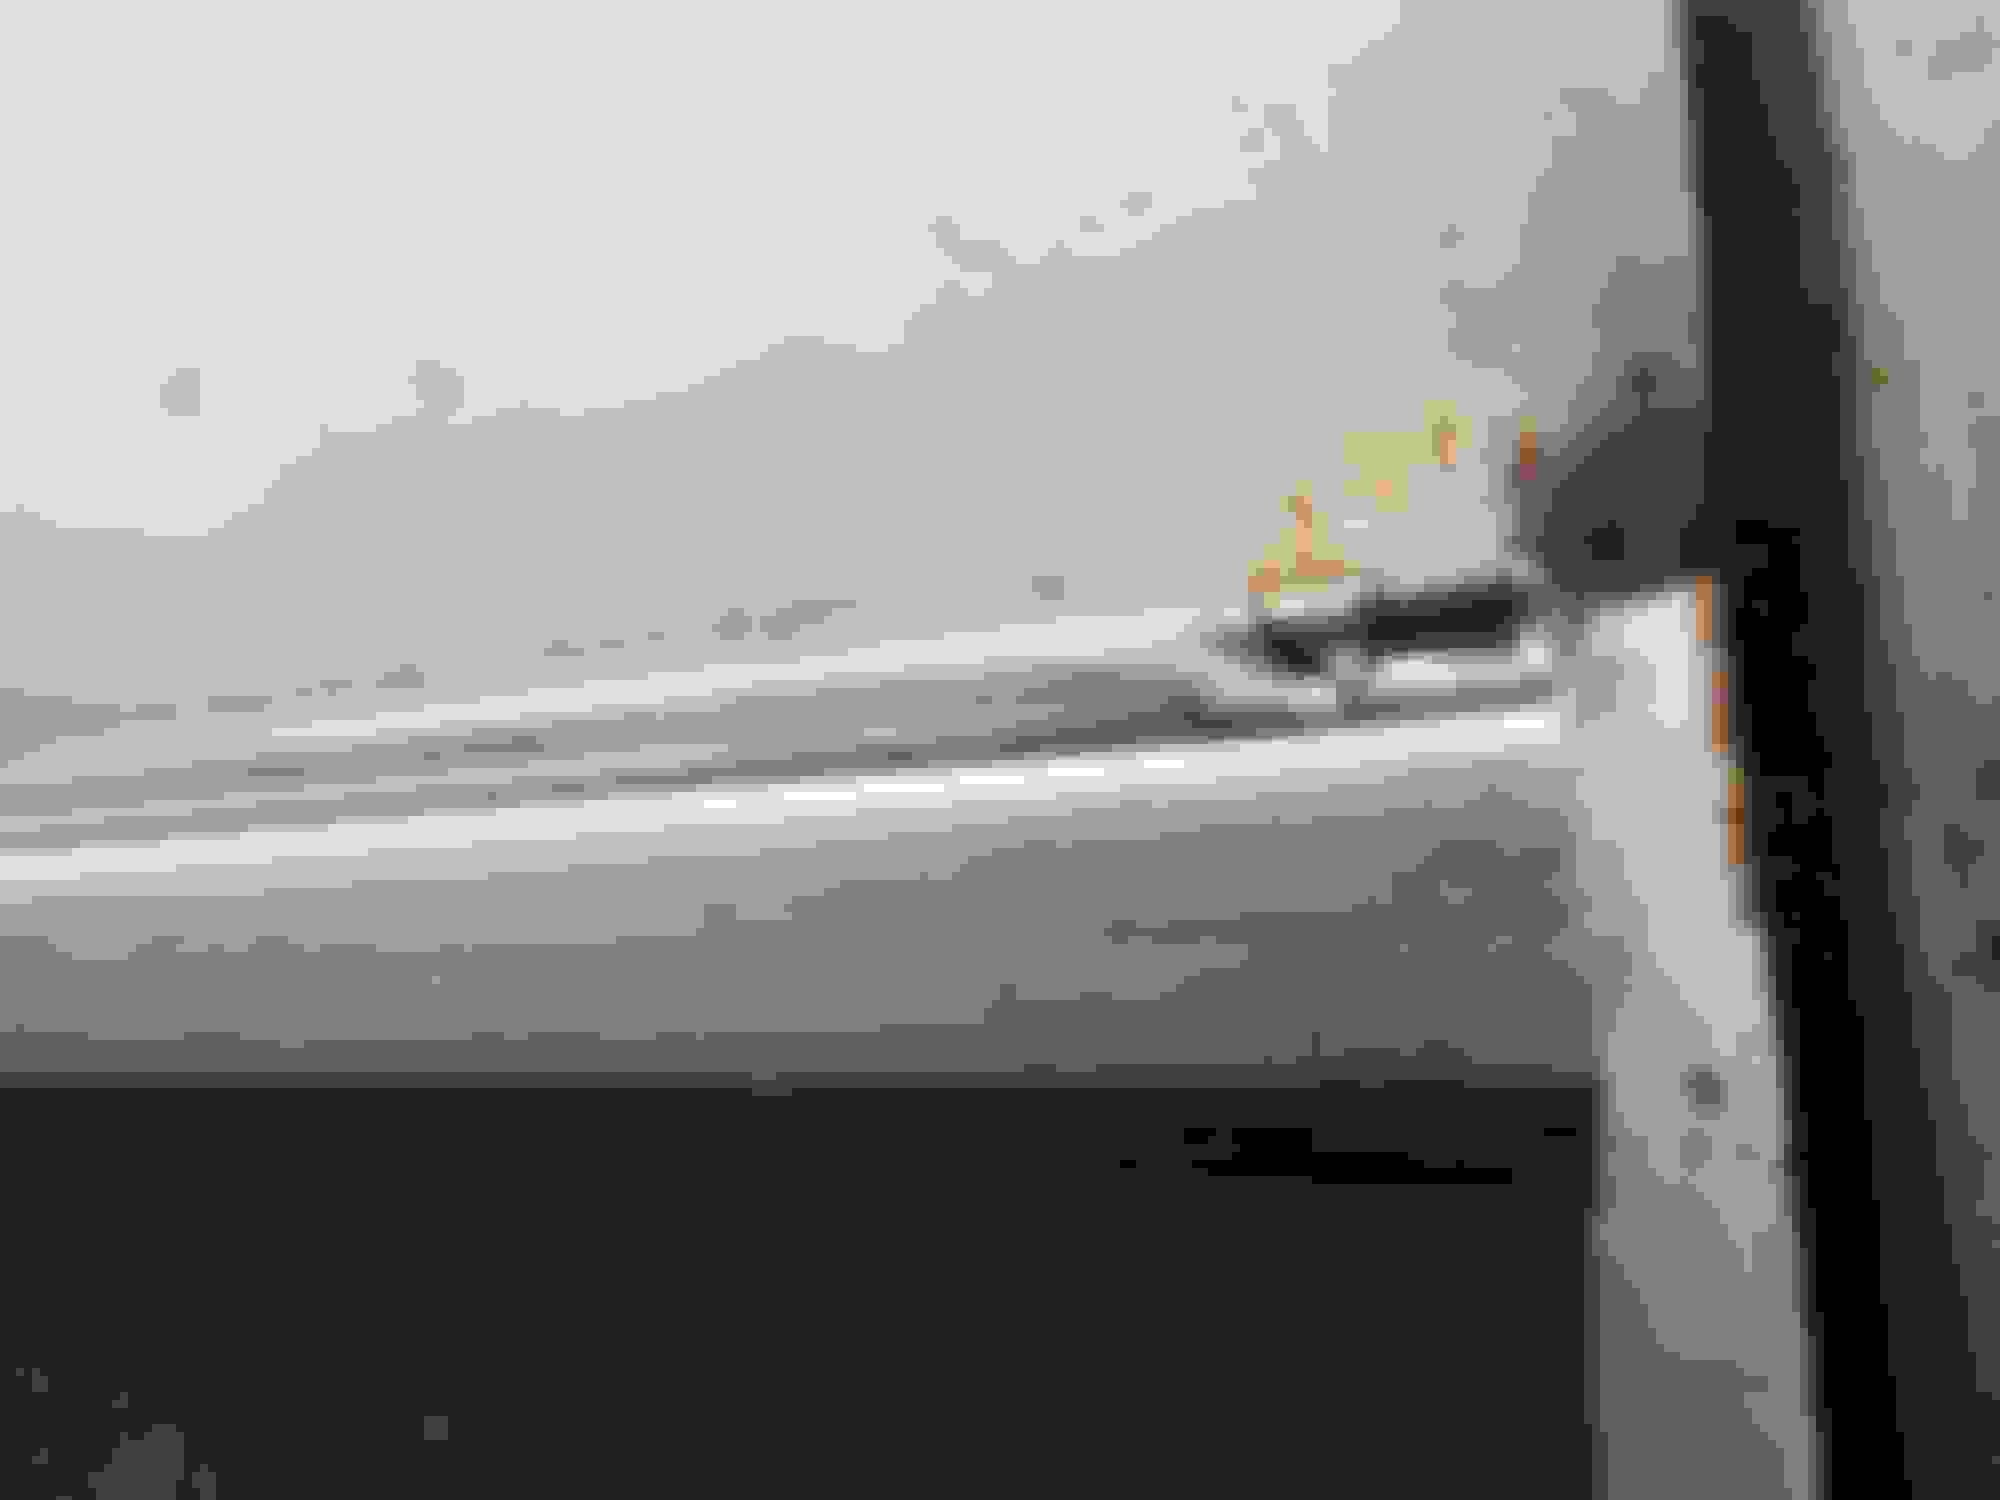
Is your paint shop actually planning to remove the moldings? The fellow who painted my car did not remove the moldings. That's the surest way to make sure they don't break. He just masked them and painted around them. Here's a couple of photos I took during the painting process.
As I've shown before, here's what it looked like on the day it came home from the paint shop.
My advice is don't let the perfect be the enemy of the good. I think there's a lot to be said in favor of re-using, or at least strongly considering re-using, the original moldings.
Another thought is that you could consider repainting the existing moldings. There are paints for vinyl, so after a good cleaning and surface preparation, you could mask off the edges and apply some blue paint. It could look really good, and it would be the original moldings, so you know they'll fit.
If your paint shop is not planning to remove the moldings, they could be repainted first, before the body is painted, so there would be no concerns about putting tape on the paint on the body or getting any overspray on the body.
Hey Jaunty
Thanks for the comments. The pictures I posted do not accurately reflect what I am facing. It is hard to tell but the molding color which originally matched the vinyl top has discolored over the years to the point where the molding inserts have a green hue rather than a pale blue hue. Interestingly enough some of the interior seat vinyl especially the top of the back seat is noticeably greenish vs other parts of the seats that did not get direct sunlight.
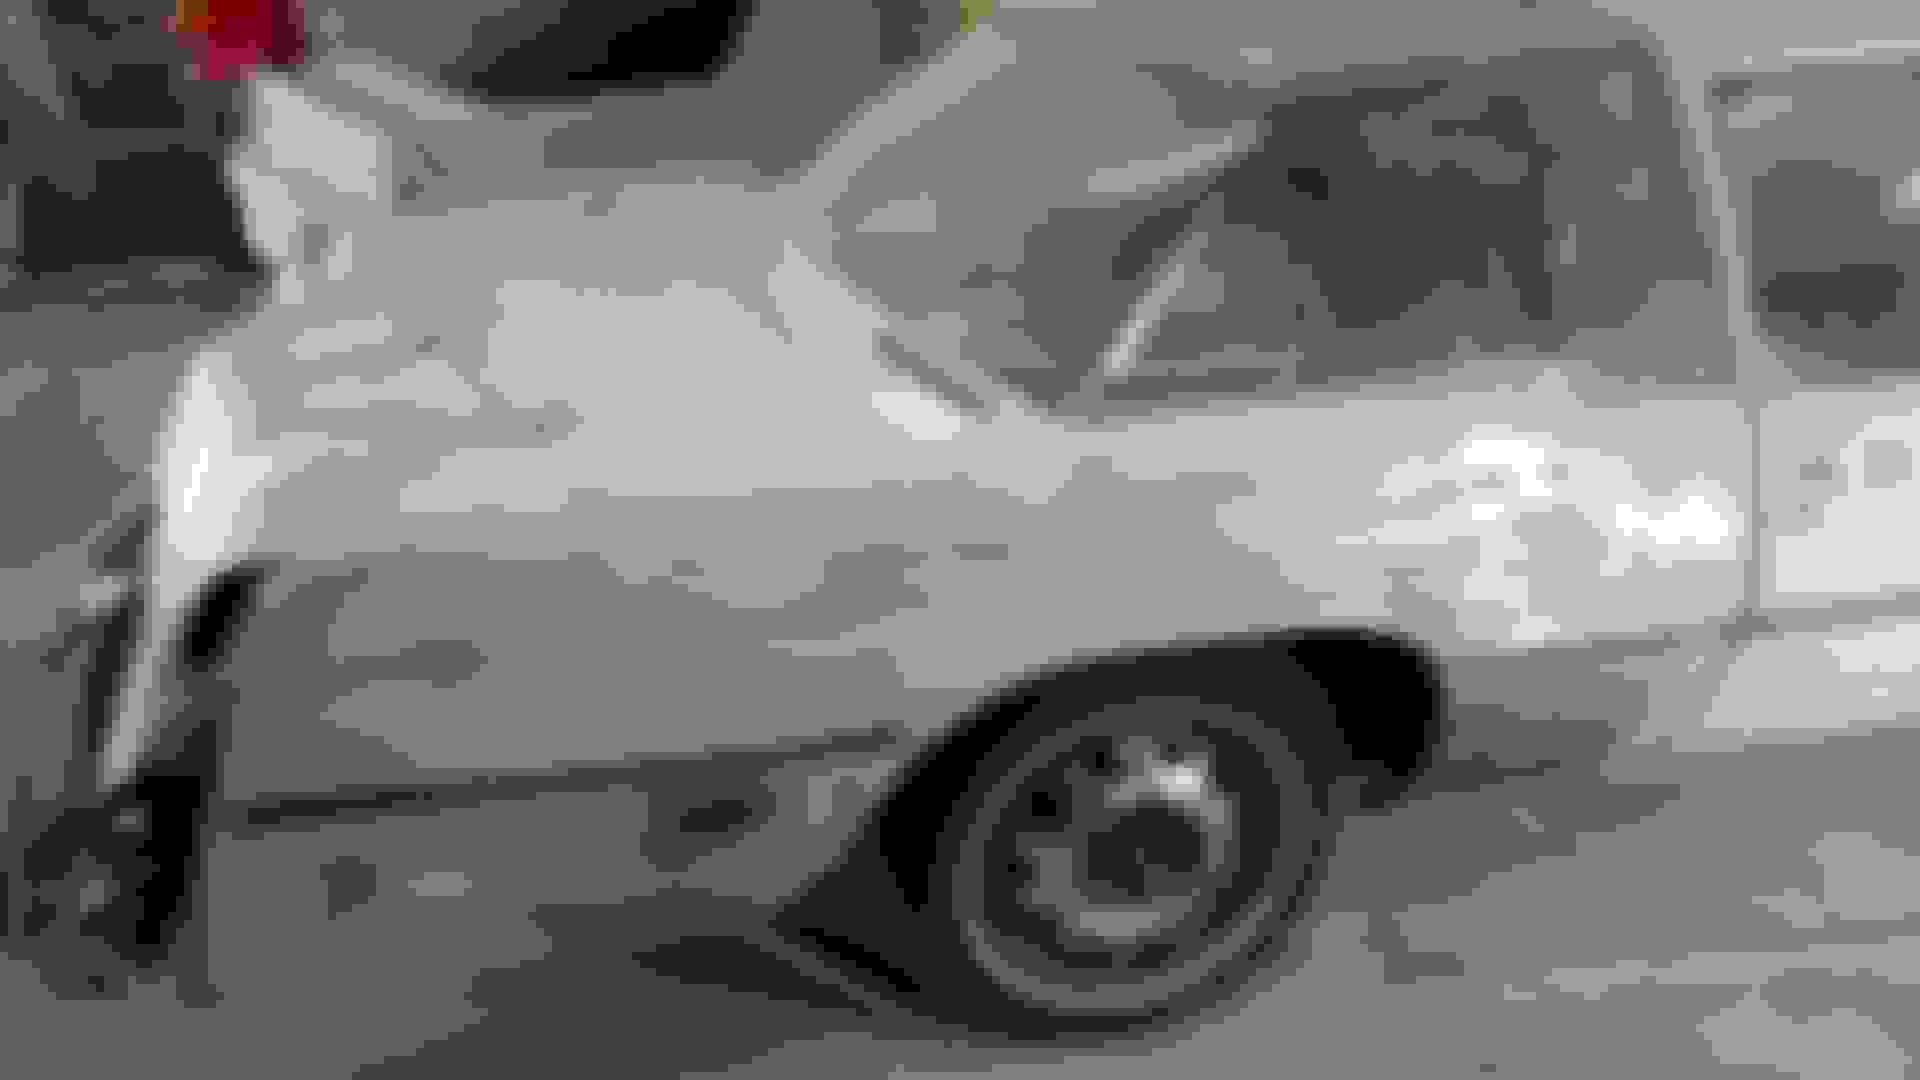
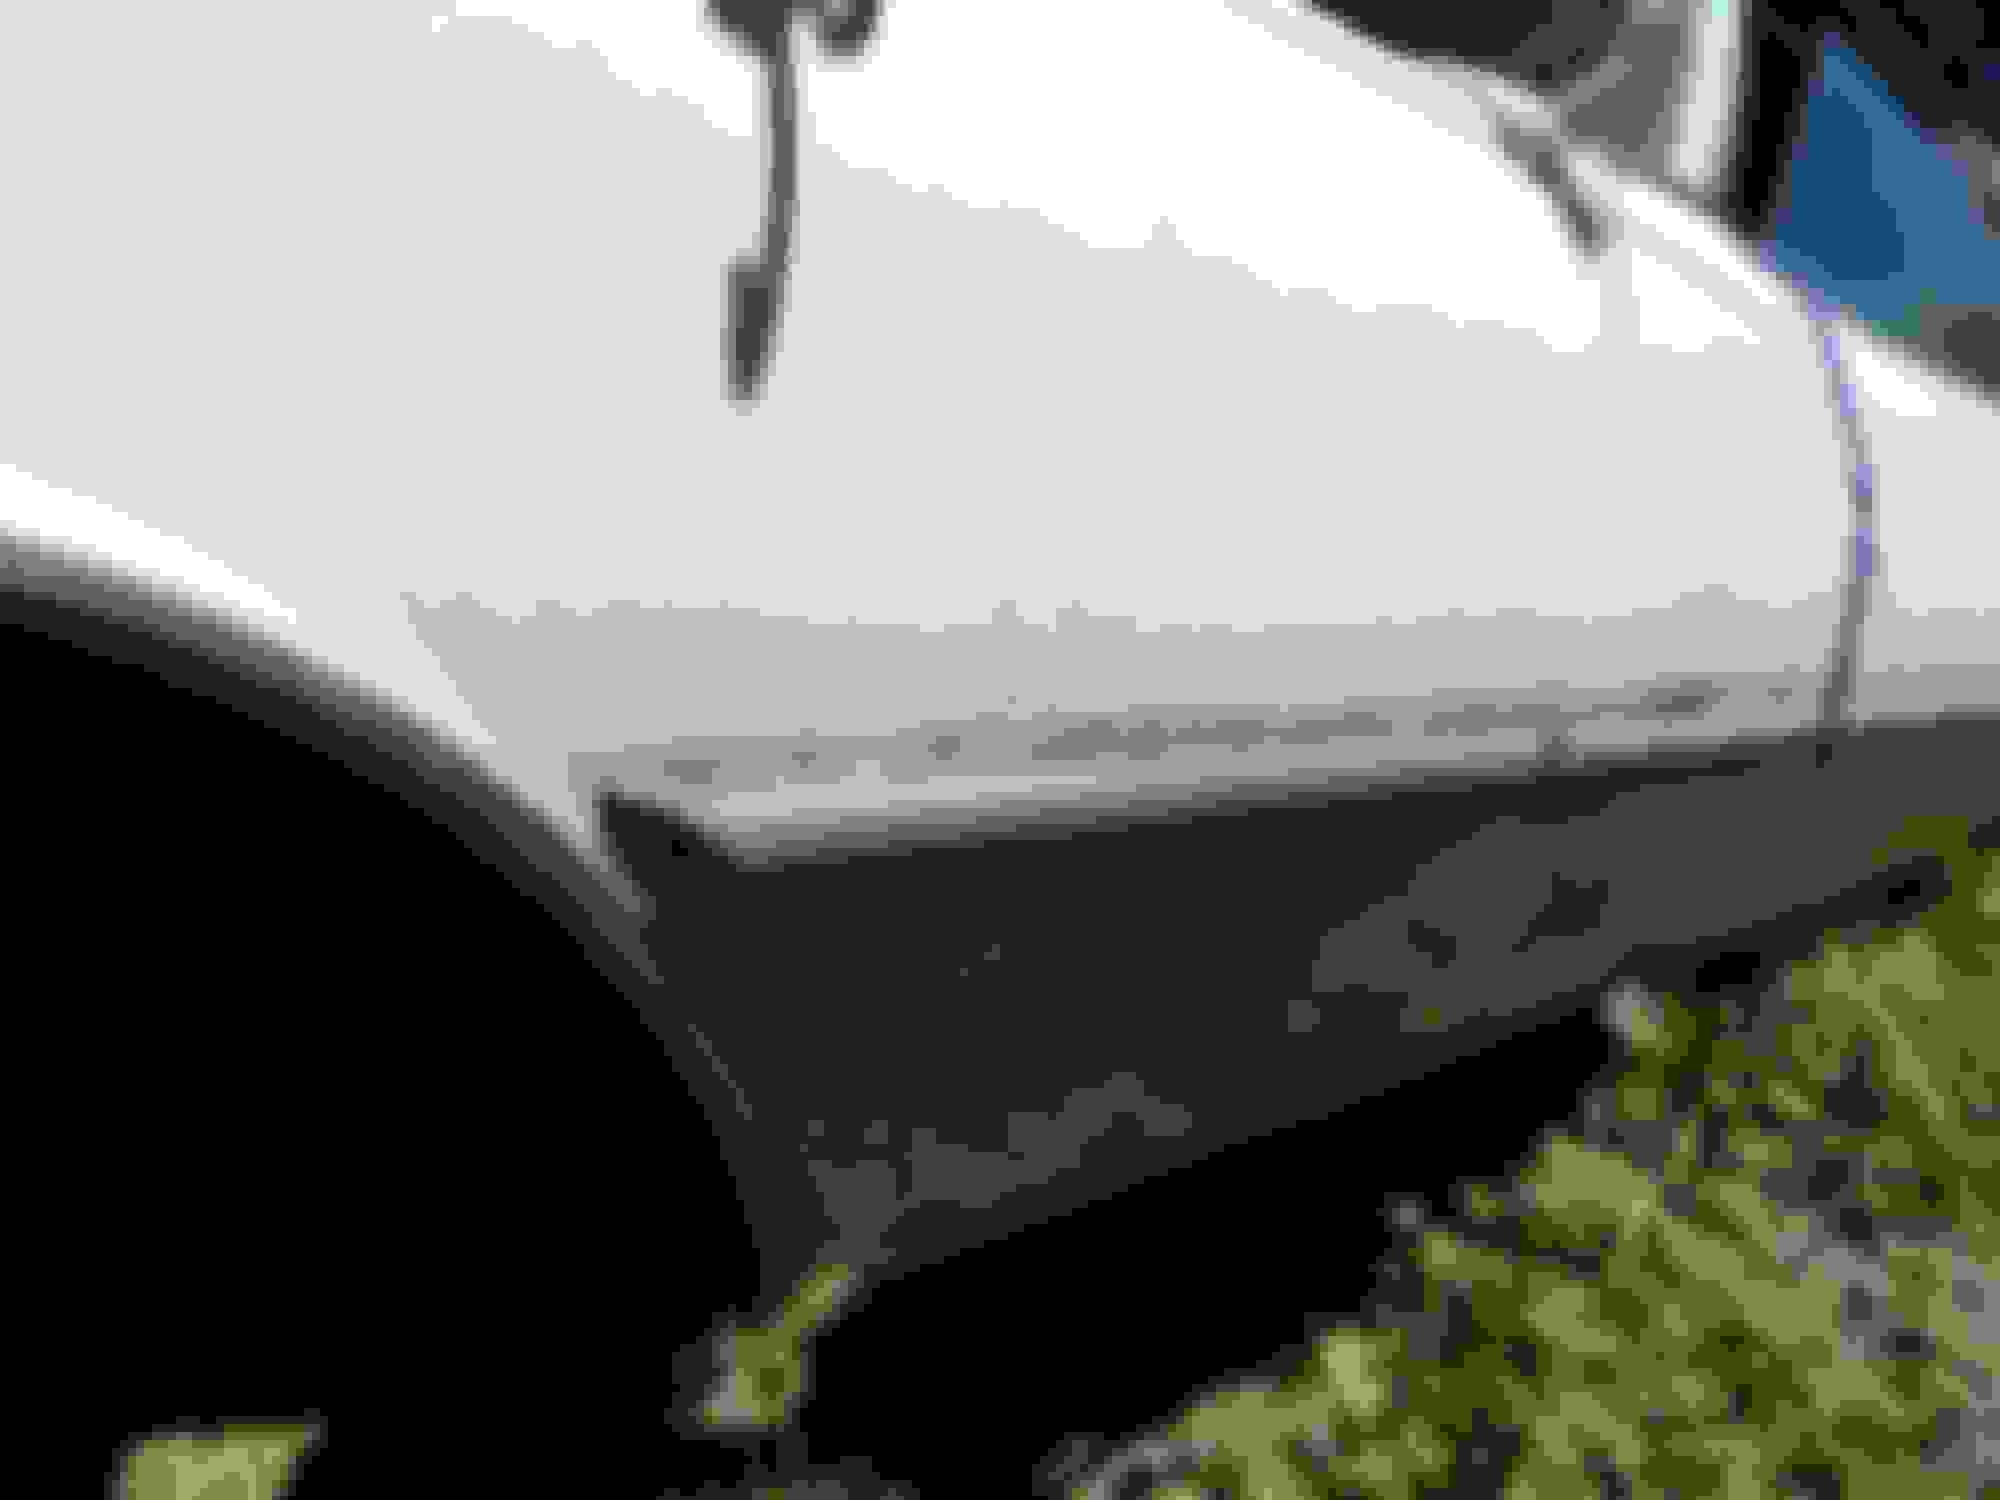
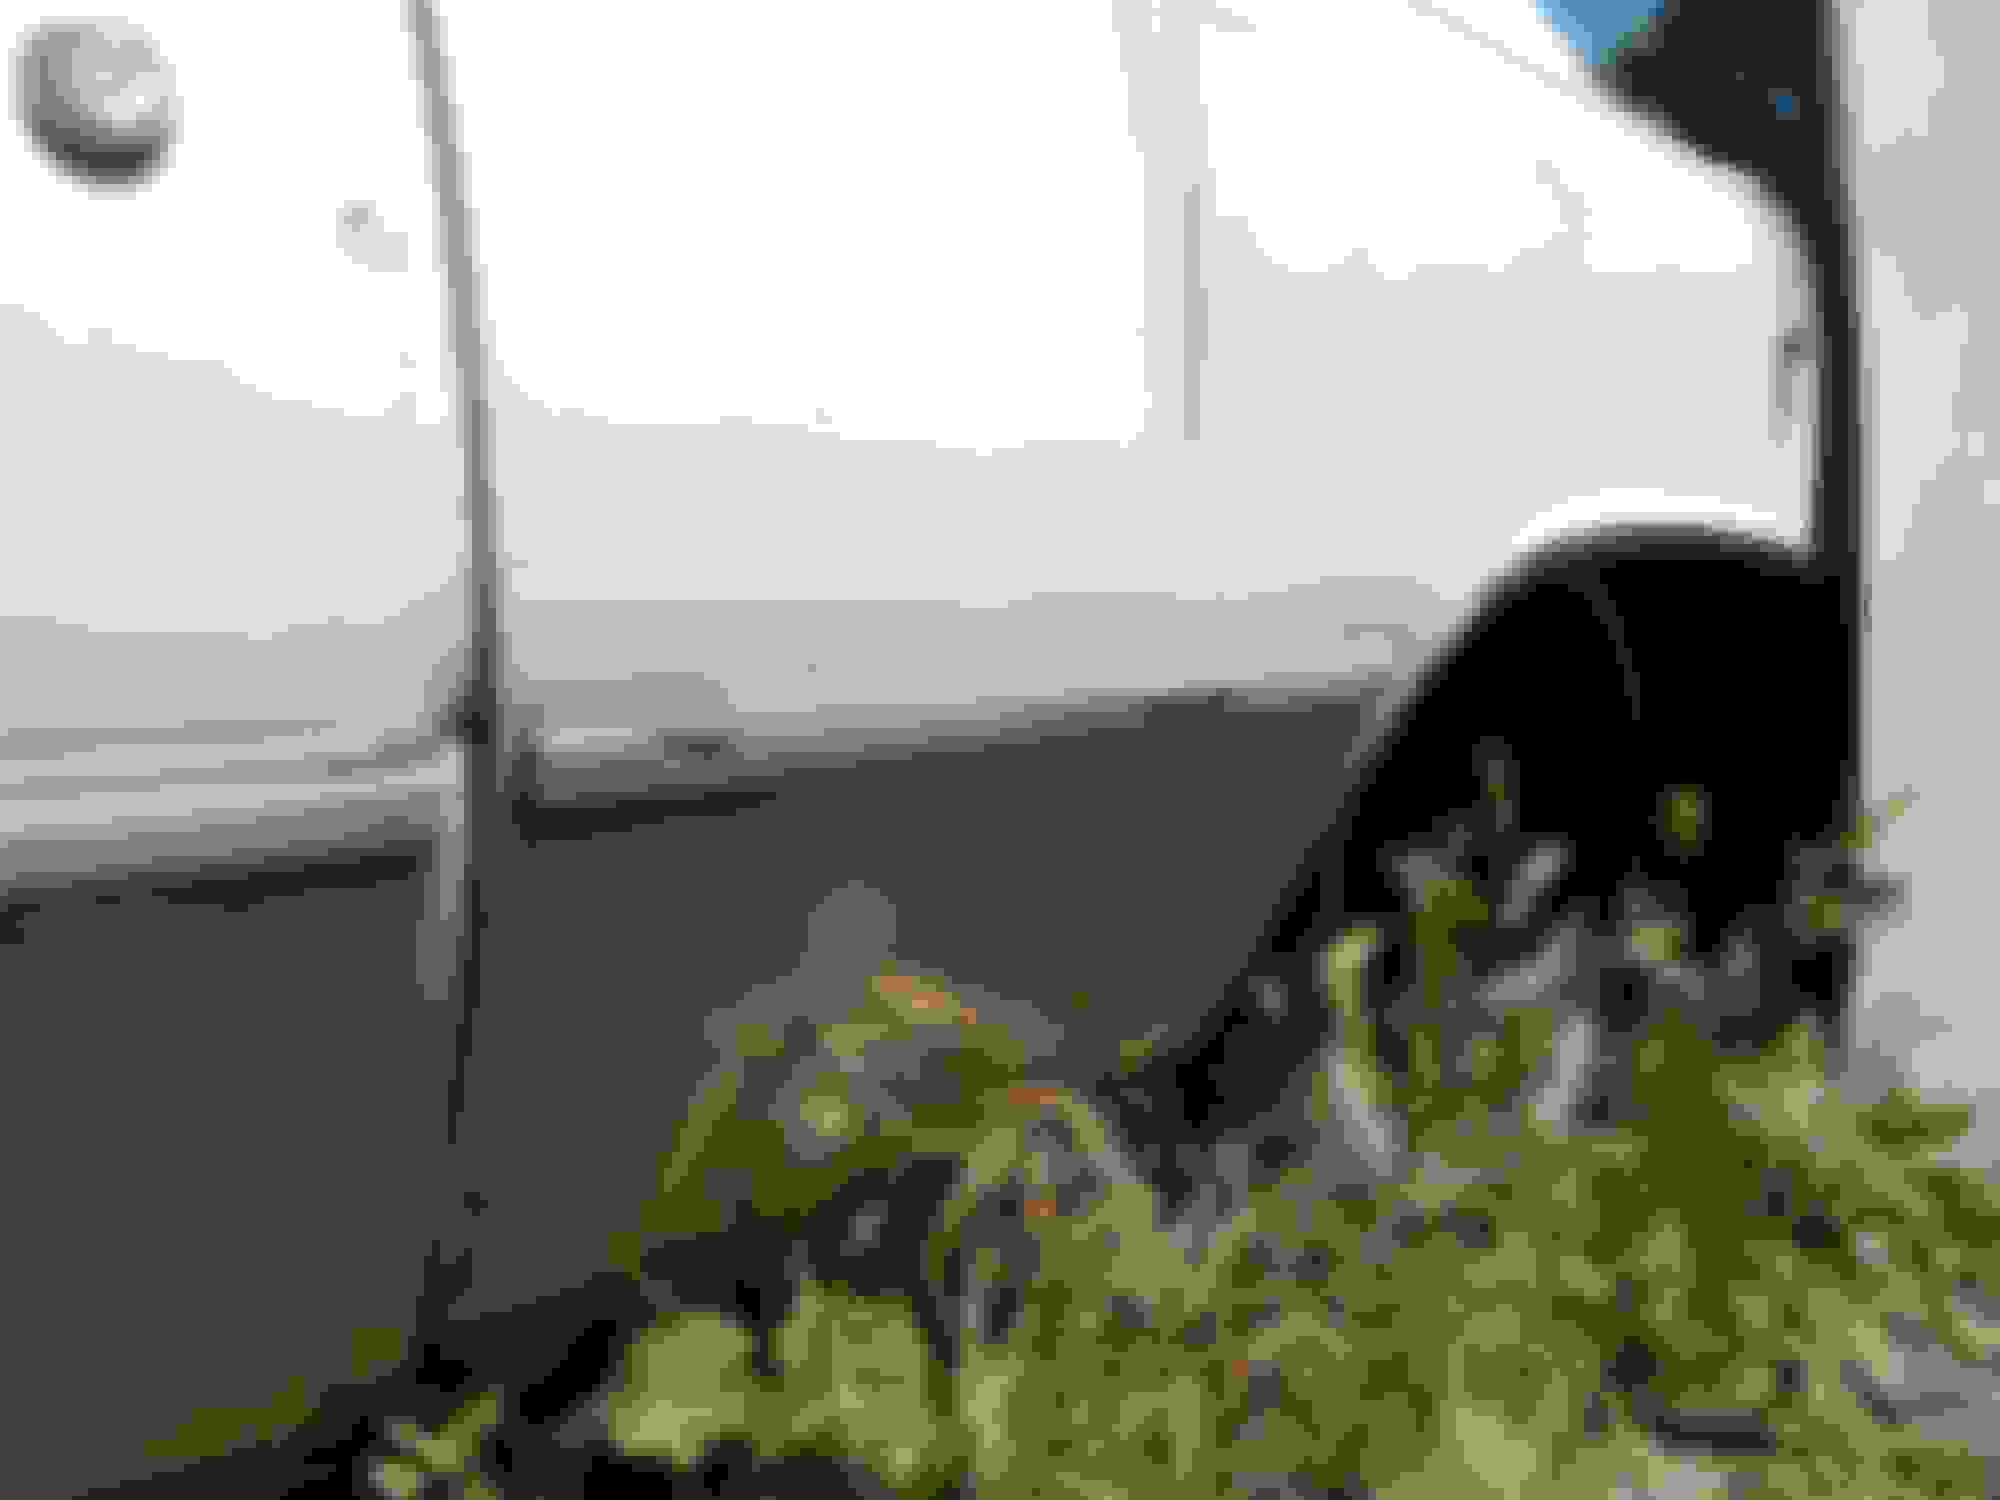
The molding does have to come off to repair some rust spots under the molding. If you look really really close on the passenger side you might see the rust stains running down the door. There is also a spot on the drivers side with the same problem.
Again the pictures don't show it well due to my poor photographic skills but the molding is rather wavy due to the adhesive starting to let go. The other thing you cannot see is the the chrome on the molding is starting to flake off in places. Also when I touched the rear piece of molding the end angled piece fell off in my hands.
So the choice is to try and salvage the existing and see if I can find a plastic paint to fix the color insert and live with the chrome flaking off or try and locate some new molding of the right size. I am not too worried about the angle ends as long as there are decent end caps for the new stuff.
If I can't find suitable replacement stuff then I will probably have the body shop remove the molding, I will then clean off the old adhesive tape, paint the insert, apply new 3M tape and reinstall myself. So far the best I can come up is made by Cowles but it is only 1-1/8" high (and the original is 1-1/2" high) and is only available in chrome or black.
I would even settle for something (the right size) that is paint-able that way I could get them to paint it body color. Now that would be interesting and maybe give it a more modern look.
Incidentally I had a close look at one of the pictures you posted of yours and noticed the cool looking rectangle exhaust tips. Now where did you come up with those beauties?
Another idea(s)...remove it permanently. The shaved look would clean the body up nicely, IMO. Just need to figure out what to do with the rear markers. Fill and eliminate them. Or maybe ad the 70 Toro rear quarter rocket similar to 68-69 Cutlasses. Take a look at the 71 bodies. They are pretty clean without the midline molding.
I understand your situation. Good luck. Keep us posted on your progress, and we definitely want to see the finished project.
Regarding the exhaust tip on my car (it is only single exhaust), it was on the car when I got it. I don't know where it came from. One of the receipts I received along with the car was for exhaust work done in 1996, and I'm guessing that's the last time any exhaust work was done given that the car was parked in 2003 and not moved again until last year.
I have not had to touch the exhaust system on this car except to have a muffler shop replace one seal. It is otherwise as it was on the car when I bought it.
I retouched one of the photos of the car to enhance the exhaust tip. Had to increase the brightness and lower the contrast, which makes the rest of the photo a little washed out, but the exhaust tip is more visible. In most photos, it's hidden in shadow.
Another idea(s)...remove it permanently. The shaved look would clean the body up nicely, IMO. Just need to figure out what to do with the rear markers. Fill and eliminate them.
A radical solution, in my opinion, but to each his own.
Wouldn't removing the side marker lights make the car illegal to drive in public? Those were required on all vehicles starting in 1968. The '71 may have had no molding, but it still had a rear side-marker light (and a front one, too).
Last edited by jaunty75; June 30th, 2018 at 03:17 PM.
A radical solution, in my opinion, but to each his own.
Wouldn't removing the side marker lights make the car illegal to drive in public? Those were required on all vehicles starting in 1968. The '71 may have had no molding, but it still had a rear side-marker light (and a front one, too).
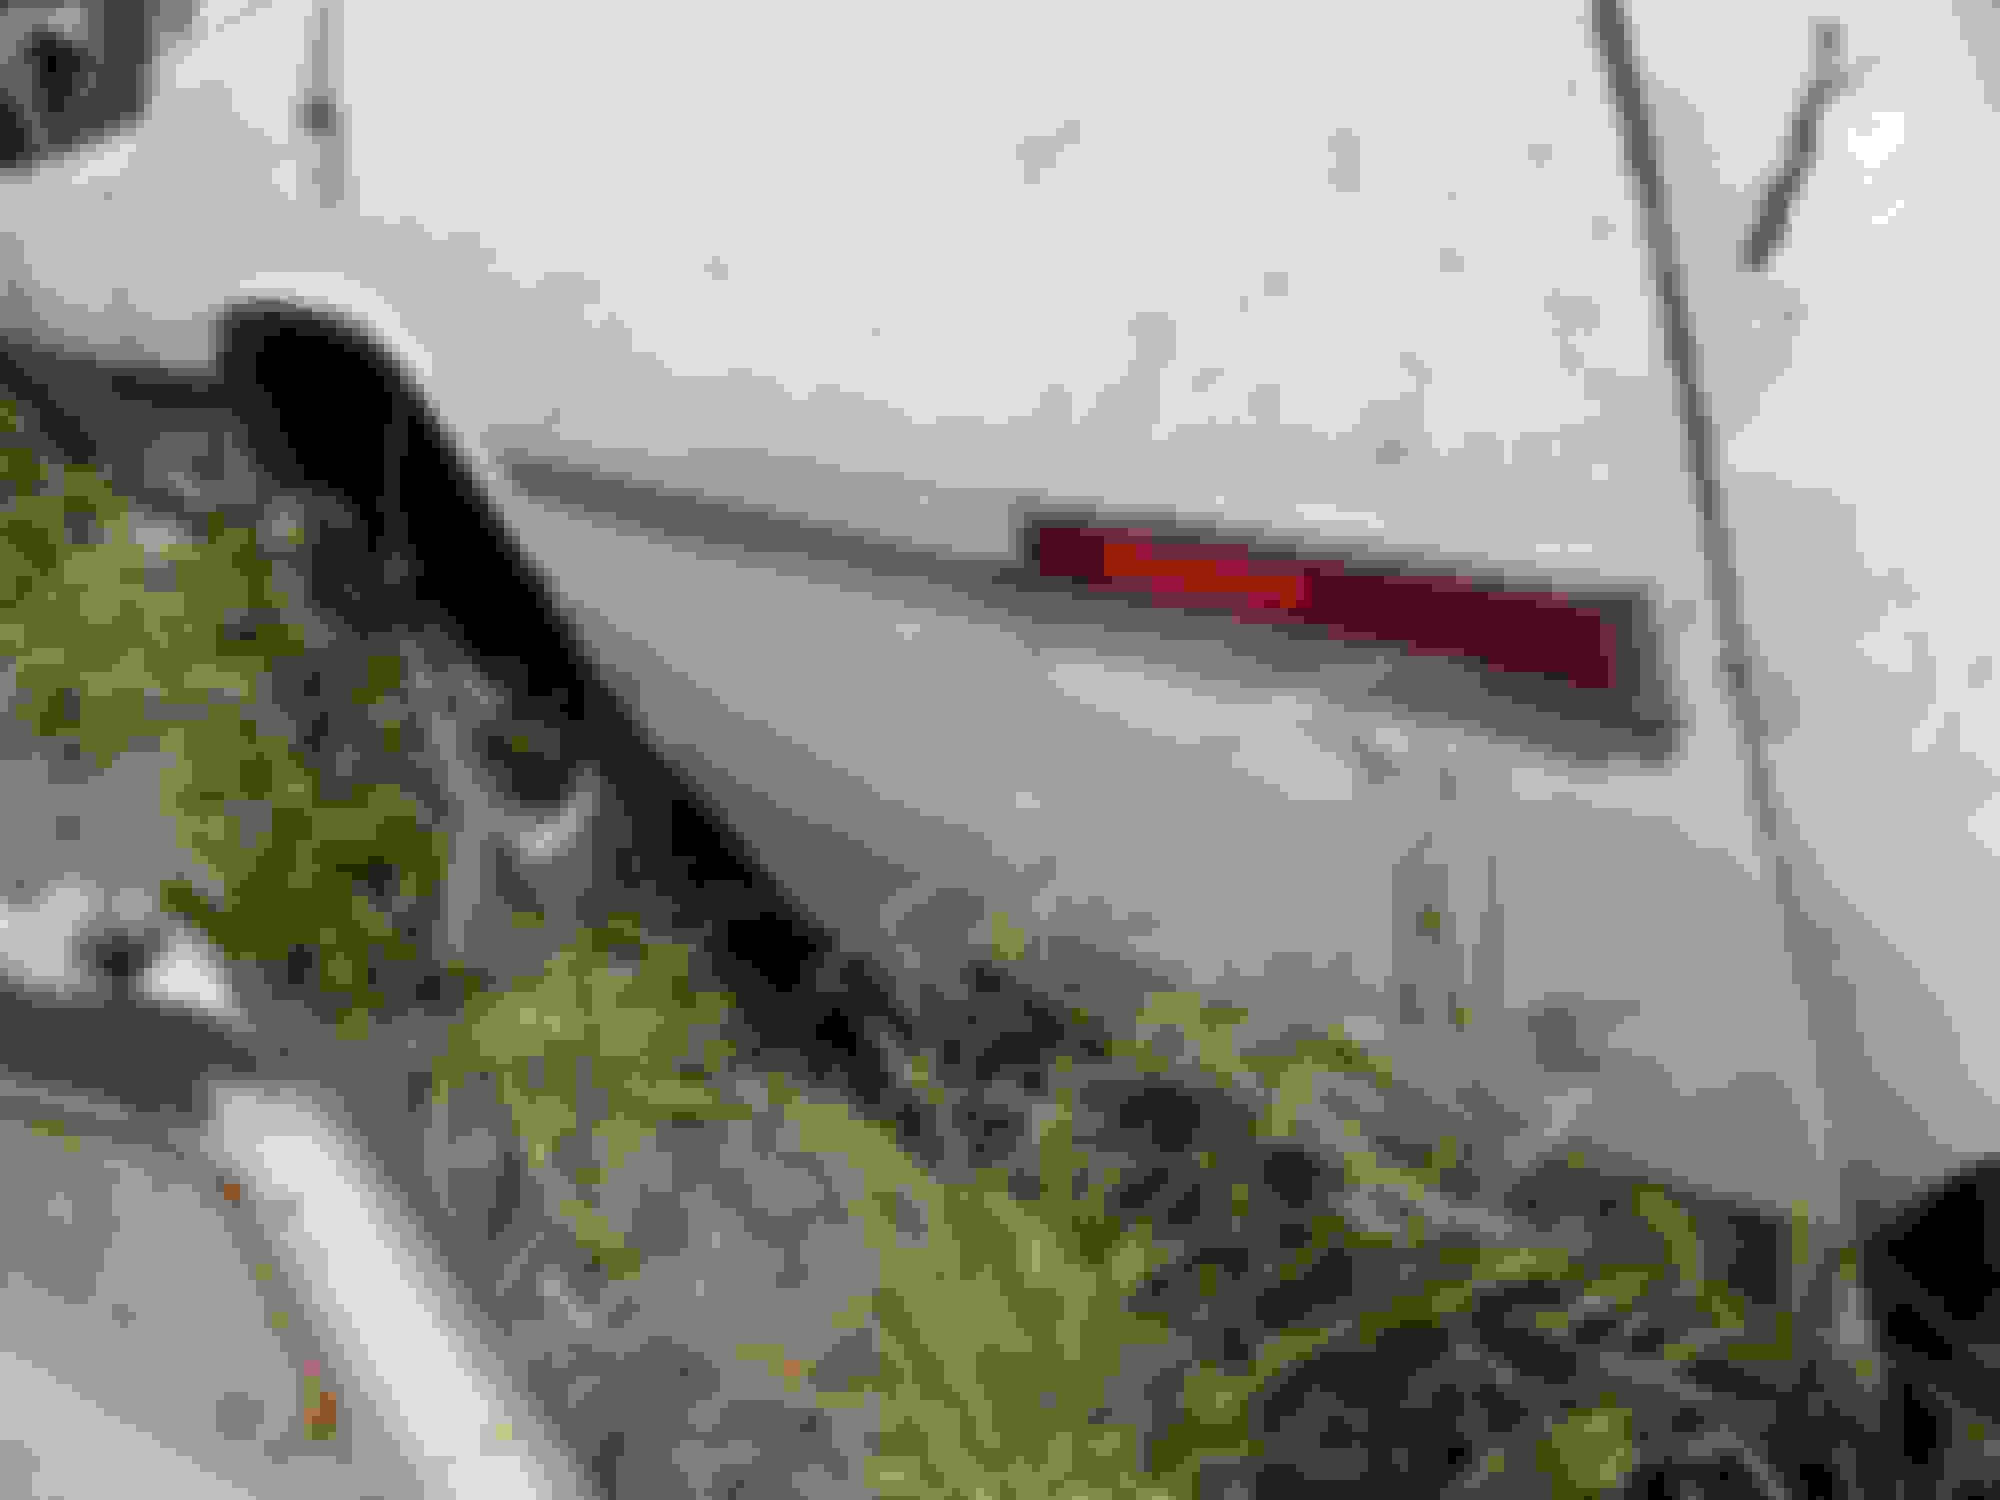
Now isn't that interesting. I notice on yours Jaunty that you have a rear side marker light as part of the body side molding. But mine does not. My rear side marker light is on the side of the vertical chrome bumper strip. Another difference is that you have what appears to be a red tail light reflector in the vertical bumperette but mine is solid vinyl/rubber insert.
I agree that shaving off all the side molding is a little too radical, besides after spending big bucks to get the old girl re-painted I don't want to risk having some parking lot clown ding my new paint job. So I will continue searching for replacement but as a back up I will plan on refurbishing my existing mouldings just in case. Will keep you posted on how I make out. Will be a while as it does go into the body shop until early August and they have told me it will take them 3 weeks to get it done.
In the meantime, heater core and a/c and cruise control. Will update or post new threads on those as they occur.
Now isn't that interesting. I notice on yours Jaunty that you have a rear side marker light as part of the body side molding. But mine does not. My rear side marker light is on the side of the vertical chrome bumper strip. Another difference is that you have what appears to be a red tail light reflector in the vertical bumperette but mine is solid vinyl/rubber insert.
I never noticed this! I always thought the only real difference between the '77s and the '78s was the grille. But now that you point this out, I've looked at photos of other '77s, and you are right. Wow. Learn something new every day.
Here's a nice '77 from the Mecum website. Easy to see the rear side-marker light...if you're looking for it!
You're right about the vertical portion of the outer part of the bumper. There's a reflector there. On the earlier models, there's an insert there. I noticed that insert before, but I never put two and two together.
I could definitely use the whole vertical rubber piece on both sides as mine do have wear, but I haven't found any and don't expect to, at least not easily. I've seen nice-quality versions of the entire outer vertical ends of the bumper on ebay, but they were about $300 each, and I haven't brought myself around to the idea of paying that much for something like this yet.
Byron, this is John down in Oregon. My cars a 1978 so the rear sidemarker is different. Also the trim around the insert looks like plastic and has a layer of something peeling off it. But if the inserts that are the right length will help you I'd be willing to remove them from the car and get more detailed photos. They would need dyed to your color, but I think the plastic is still sound. Here's a few pictures from the drivers side of the car.
I think I can actually contribute something to this thread - other than my usual bad jokes.
I have two '77s. One had the trim removed altogether, the other one has been replaced with an aftermarket molding.
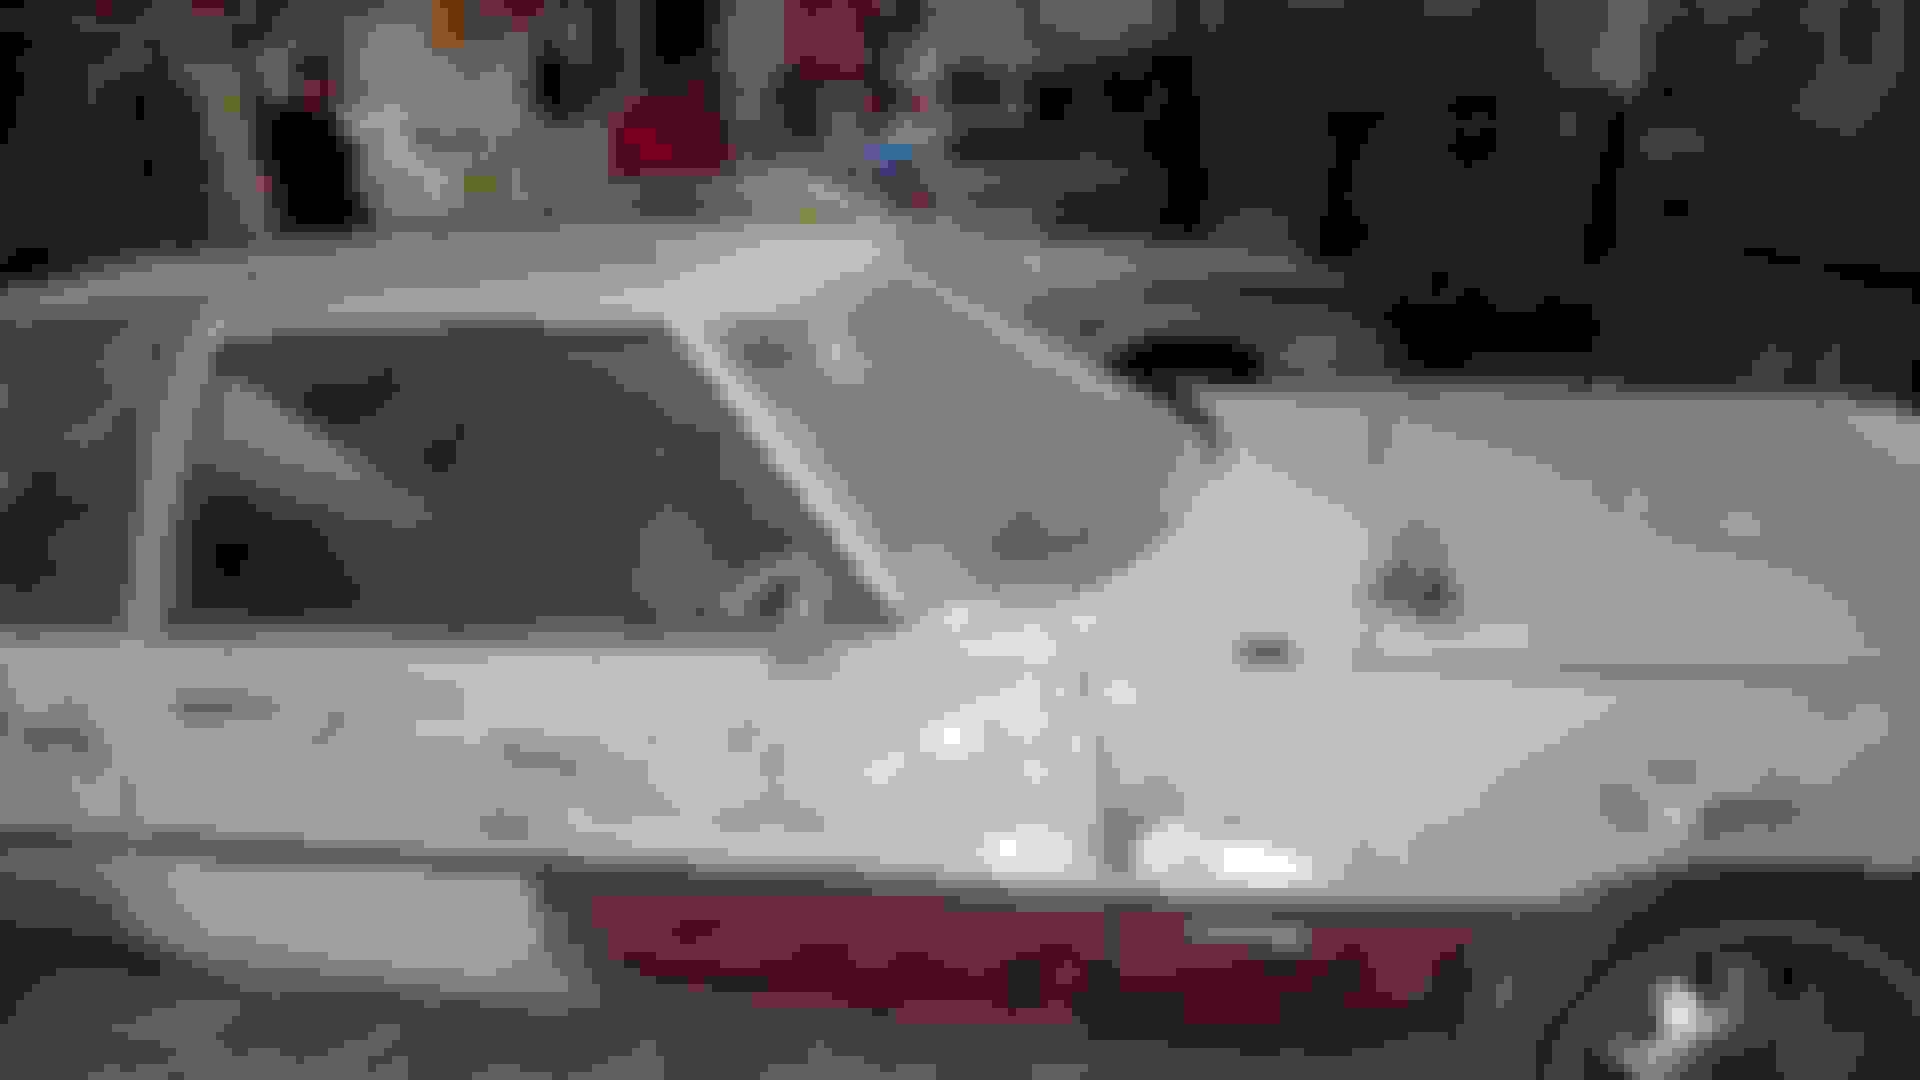
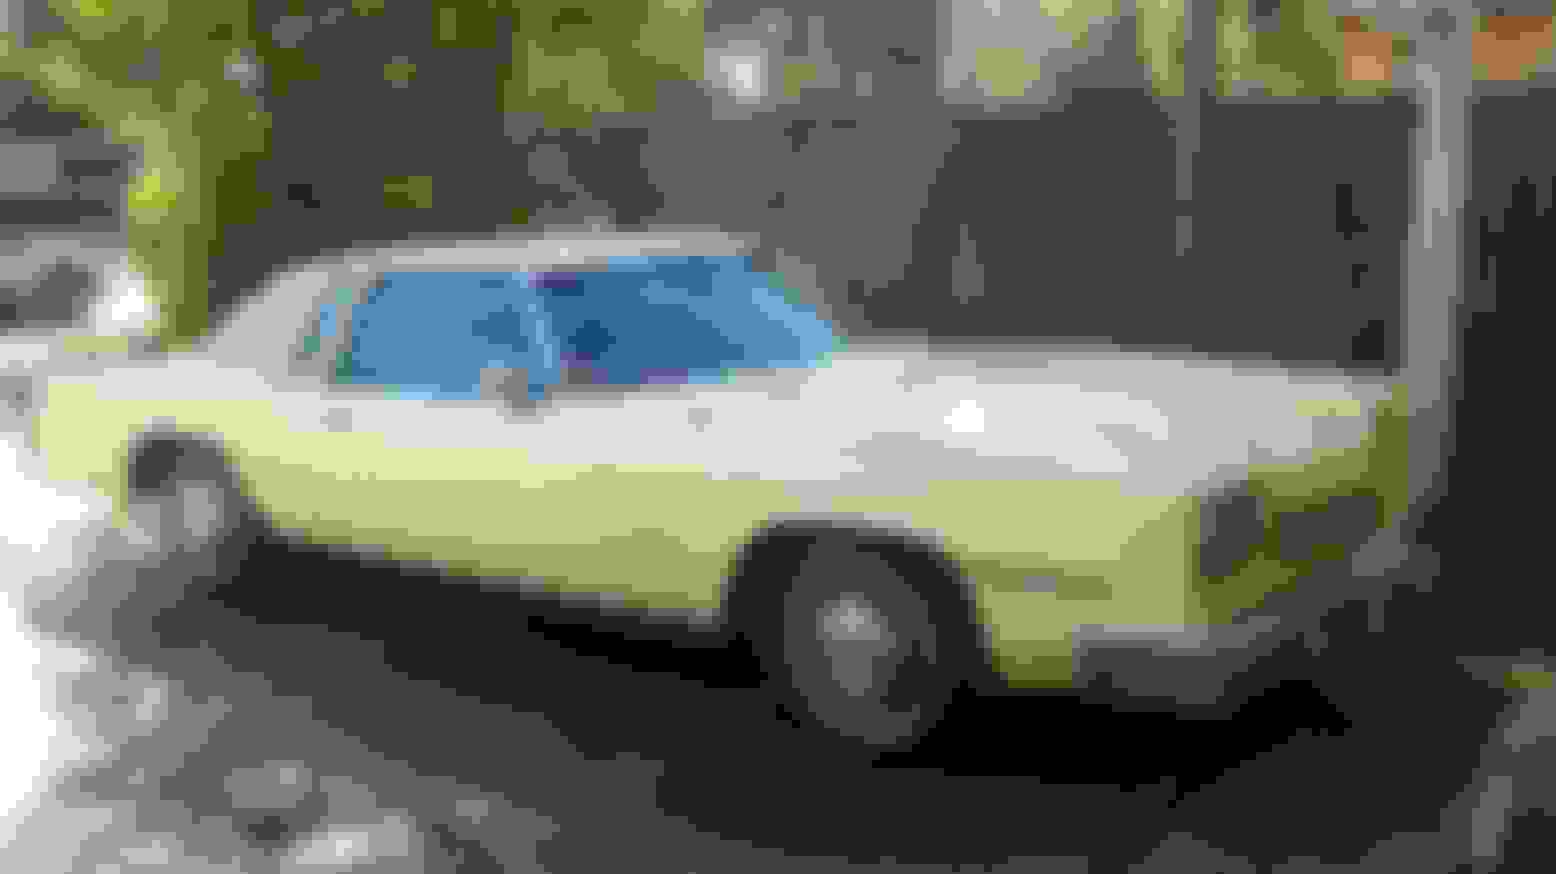
My Dad decided to go without the trim when he took his to Maaco. Here's what it looks like with smooth sides.
One warning when doing this - you will collect dents from people opening their doors into your car. The marks on the passenger side aren't too bad here, but someone got him pretty good on the driver's side.
My car has had the trim replaced at some point in its life with some generic molding. Here's a picture I've posted a bunch of times of it.It's hard to see, but there is a thin chrome trim around the edges.
I don't know where that molding came from, but when I was talking to the body shop that will eventually paint it, the owner acted as if he would have no problem finding some suitable replacement molding, if needed.
John's white '78 Toronado has helped so many of us on this forum!
"John's white '78 Toronado has helped so many of us on this forum!"
I still haven't taken the time to finish dismantling the 1978, but yes I've sent parts from it to a lot of people. P.S. the car we talked about a while back is down to $300 but I just don't have the space for it right now! John
the car we talked about a while back is down to $300
That is unbelievable. It's a darn good thing that is in the opposite end of the country from me. Otherwise, I'd have to explain to my wife why I'm hauling another car home.
Yep! John's 78 certainly has been a big help to a bunch of us. I got a number of parts from John and greatly appreciate him helping me out with various parts for my 77.
John thanks for the offer of the side mouldings from your 78 but I am working on my back up plan to salvage and repaint my existing mouldings.
i note with interest the posts showing the Toronado without side mouldings, while it looks pretty good the issue wil be parking lot dings which I want to avoid after spending big bucks on a new paint job.
What I did do as an experiment was to remove the side mouldings behind the rear wheels. I kind of like the look without it and it seems to make the car look even longer, which is kind of neat. This then leaves mouldings on in the critical area of the doors and immediately if front of and behind them.
Also gives me a few pieces to experiment with in trying to repaint mouldings, removing old application tape and applying new tape.
So far I have discovered that the best product for removing the side mouldings adhesive from the body is believe it or not WD-40. It was far and away better than Goop Gone and other similar products.
So now I just have to find a paint that is compatible with the mouldings which I think is vinyl, and in a color that is a close match to the vinyl top. Anyone have any suggestions on what to use?
To 77 Toronado, I kind of like the look of you car with the generic mouldings. Can you possibly post a few more pictures of it up close and personal. Would also appreciate knowing what size it is - ie the height, would be very helpful.
Would also appreciate knowing what size it is - ie the height, would be very helpful.
I'm sorry it took so long to reply to this. Work has been kicking my behind with 70ish hours per week. I didn't have the spare brain cells to even contemplate logging in.
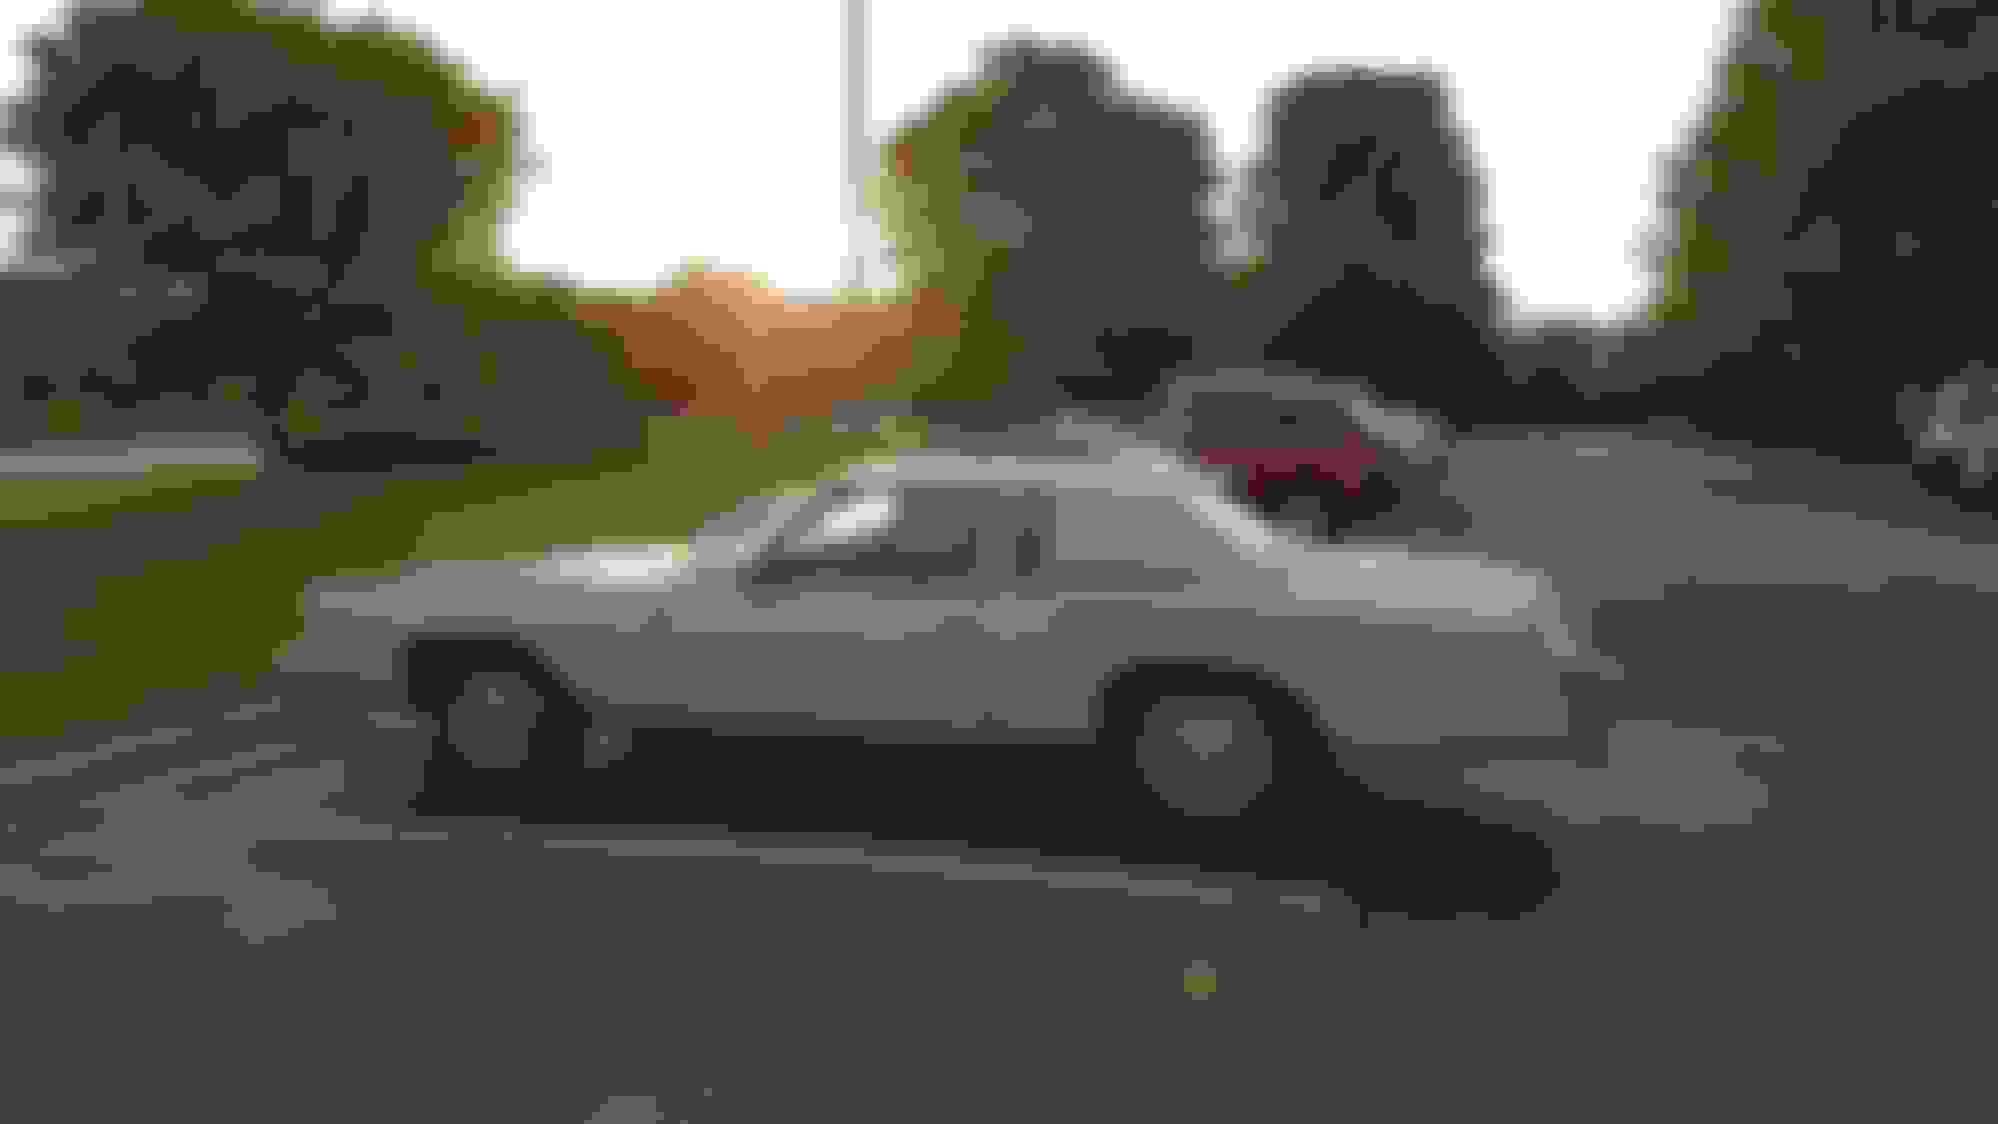
I finally got to go back to the car last weekend. It was pouring rain, so I didn't drag it out for a proper cleaning and good lighting, but here's a close up of the moldy molding on the driver's door.
Here's a closer side shot of the car. I kept waiting for those people to get out of the background, but apparently someone taking a picture of a car froze them in their tracks.
While I was out with the car, measuring the side molding, I decided to pop the hood and check the battery. As soon as I opened the door, the smell of something dead hit me.
Once before, a small mouse got into the car and chewed a little hole in my package tray. Yes, I was pretty, um, "ticked" off.
After that happened, I started putting a very large glue board rat trap in the trunk in case any of his friends decided to drop by.
So, I popped the trunk, expecting to find a dead mouse on the glue board ..... SURPRIIIIIISE
Yes, he was still alive .... he's looking right at the camera. I left the full size antifreeze jug in there for scale.
So, two dead mice and a live snake. Wonderful. Next adventure will be to find where they all got in at.
77Toronado thanks very much for the photos and measurements. I like the looks of your side mouldings and they work well on the car. Now if I could just find something like that it would make life easier.
That is quite a collection of critters you are collecting in your vehicle. Really hope that you can find the point of entry for these guys otherwise you could be in for a big and not so pleasant surprise one day.
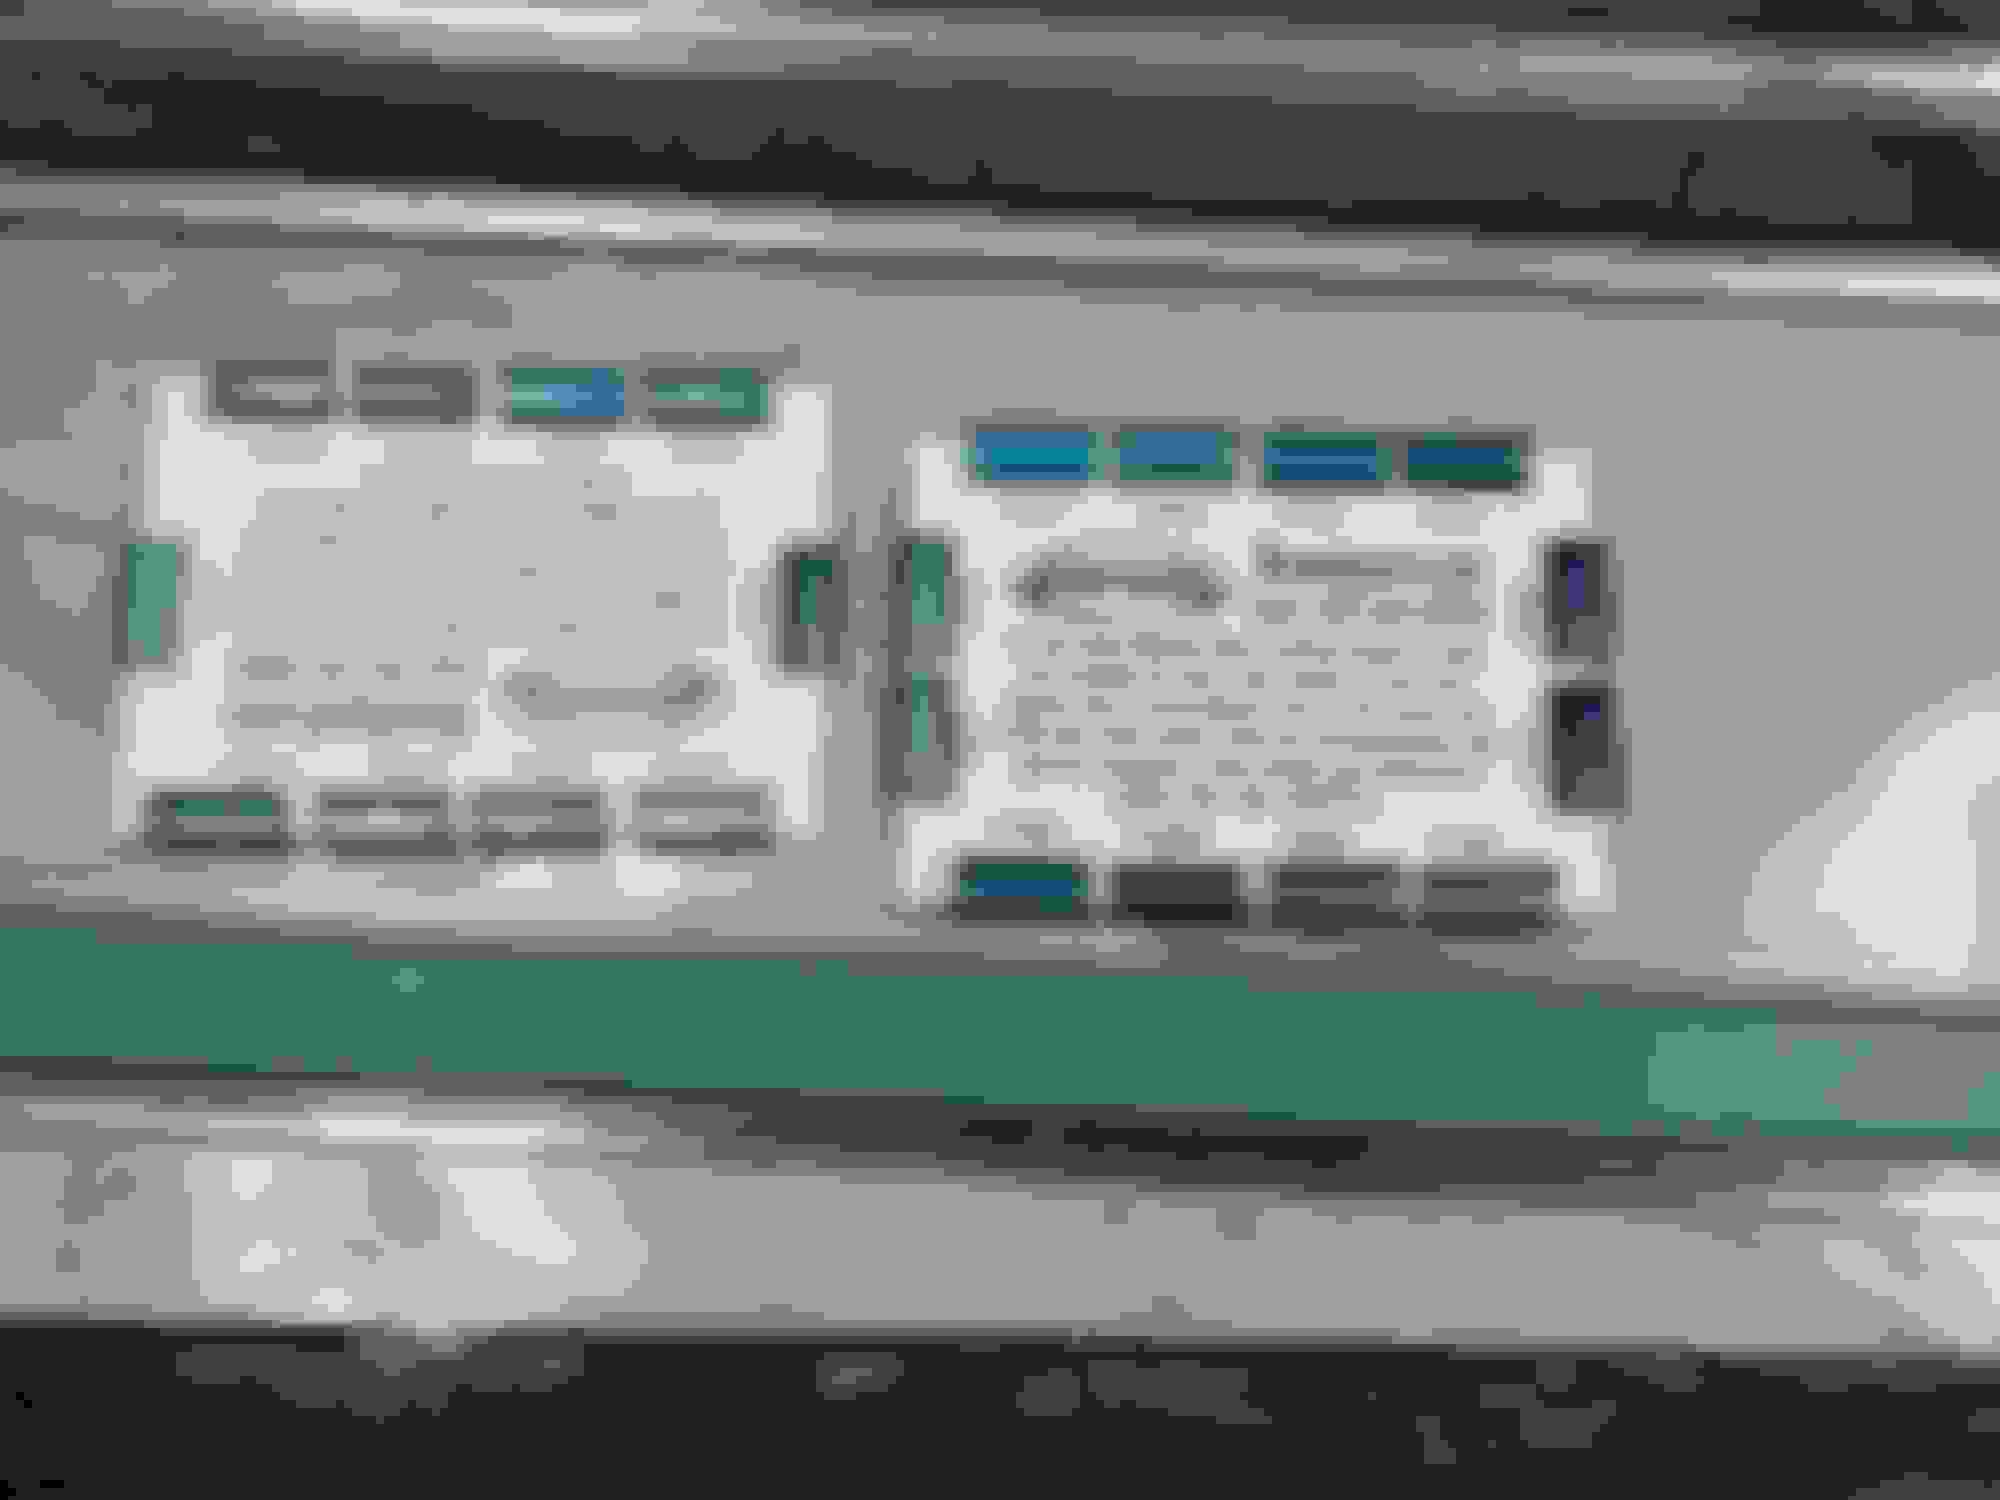
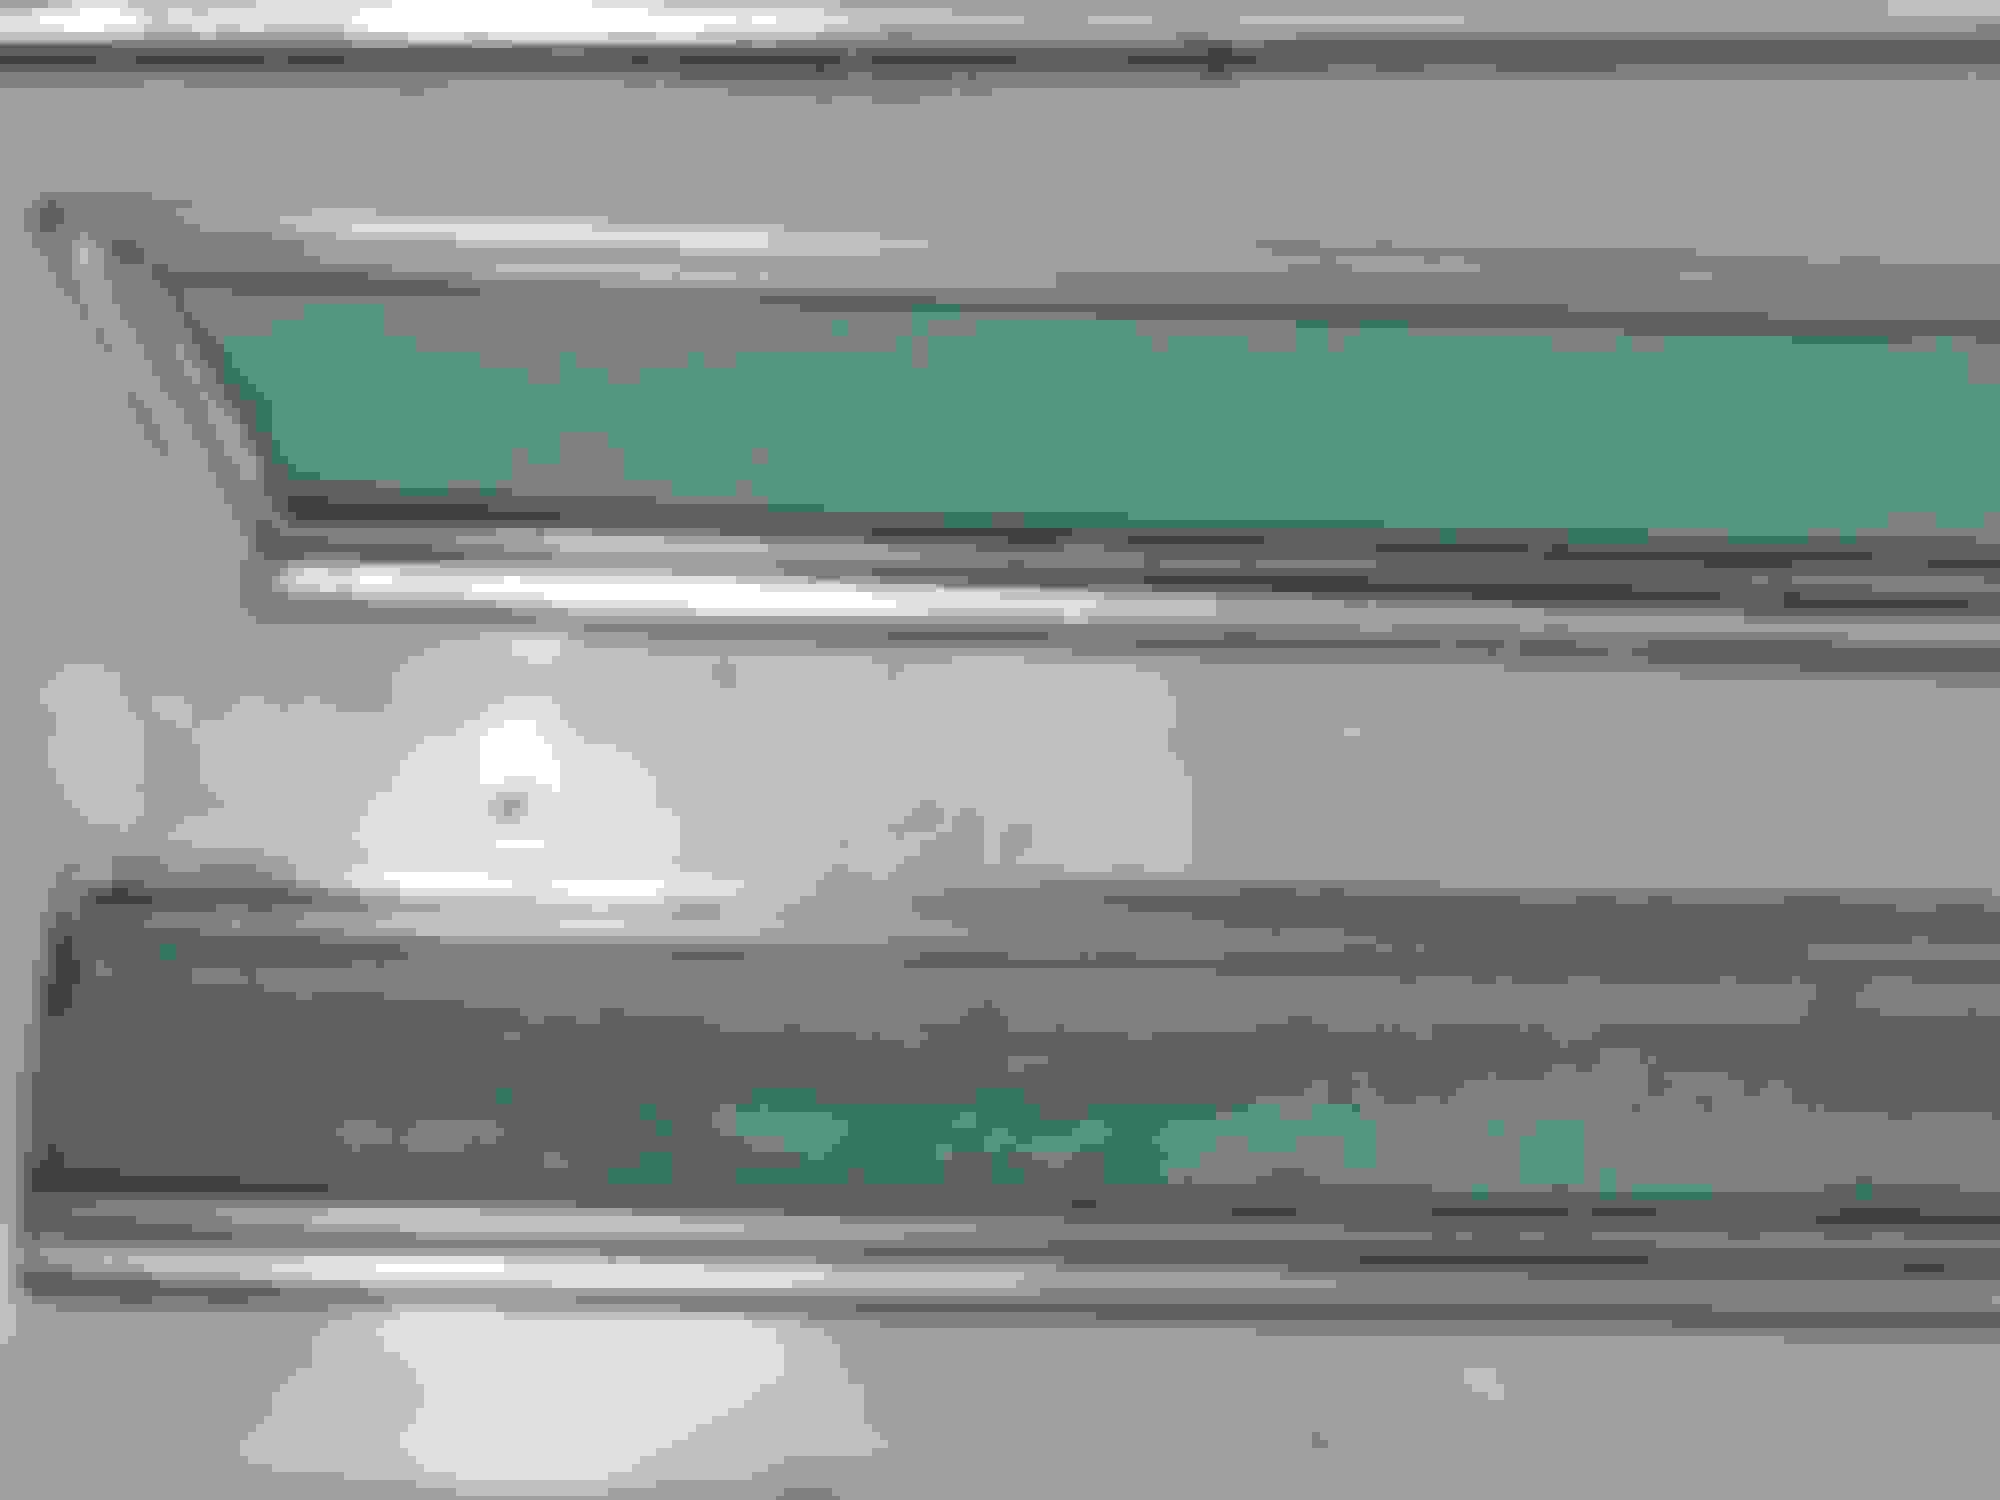
I recently received some color cards from Brand Sports for body side moldings they have available close to the size (height) I was looking at for the Toronado. Here is a photo of the 2 color cards of the various shades of blue they have available. I have taken a photo beside a piece of cleaned existing molding. I don't really see a really close color match although I realize that the 40 year old original has faded.
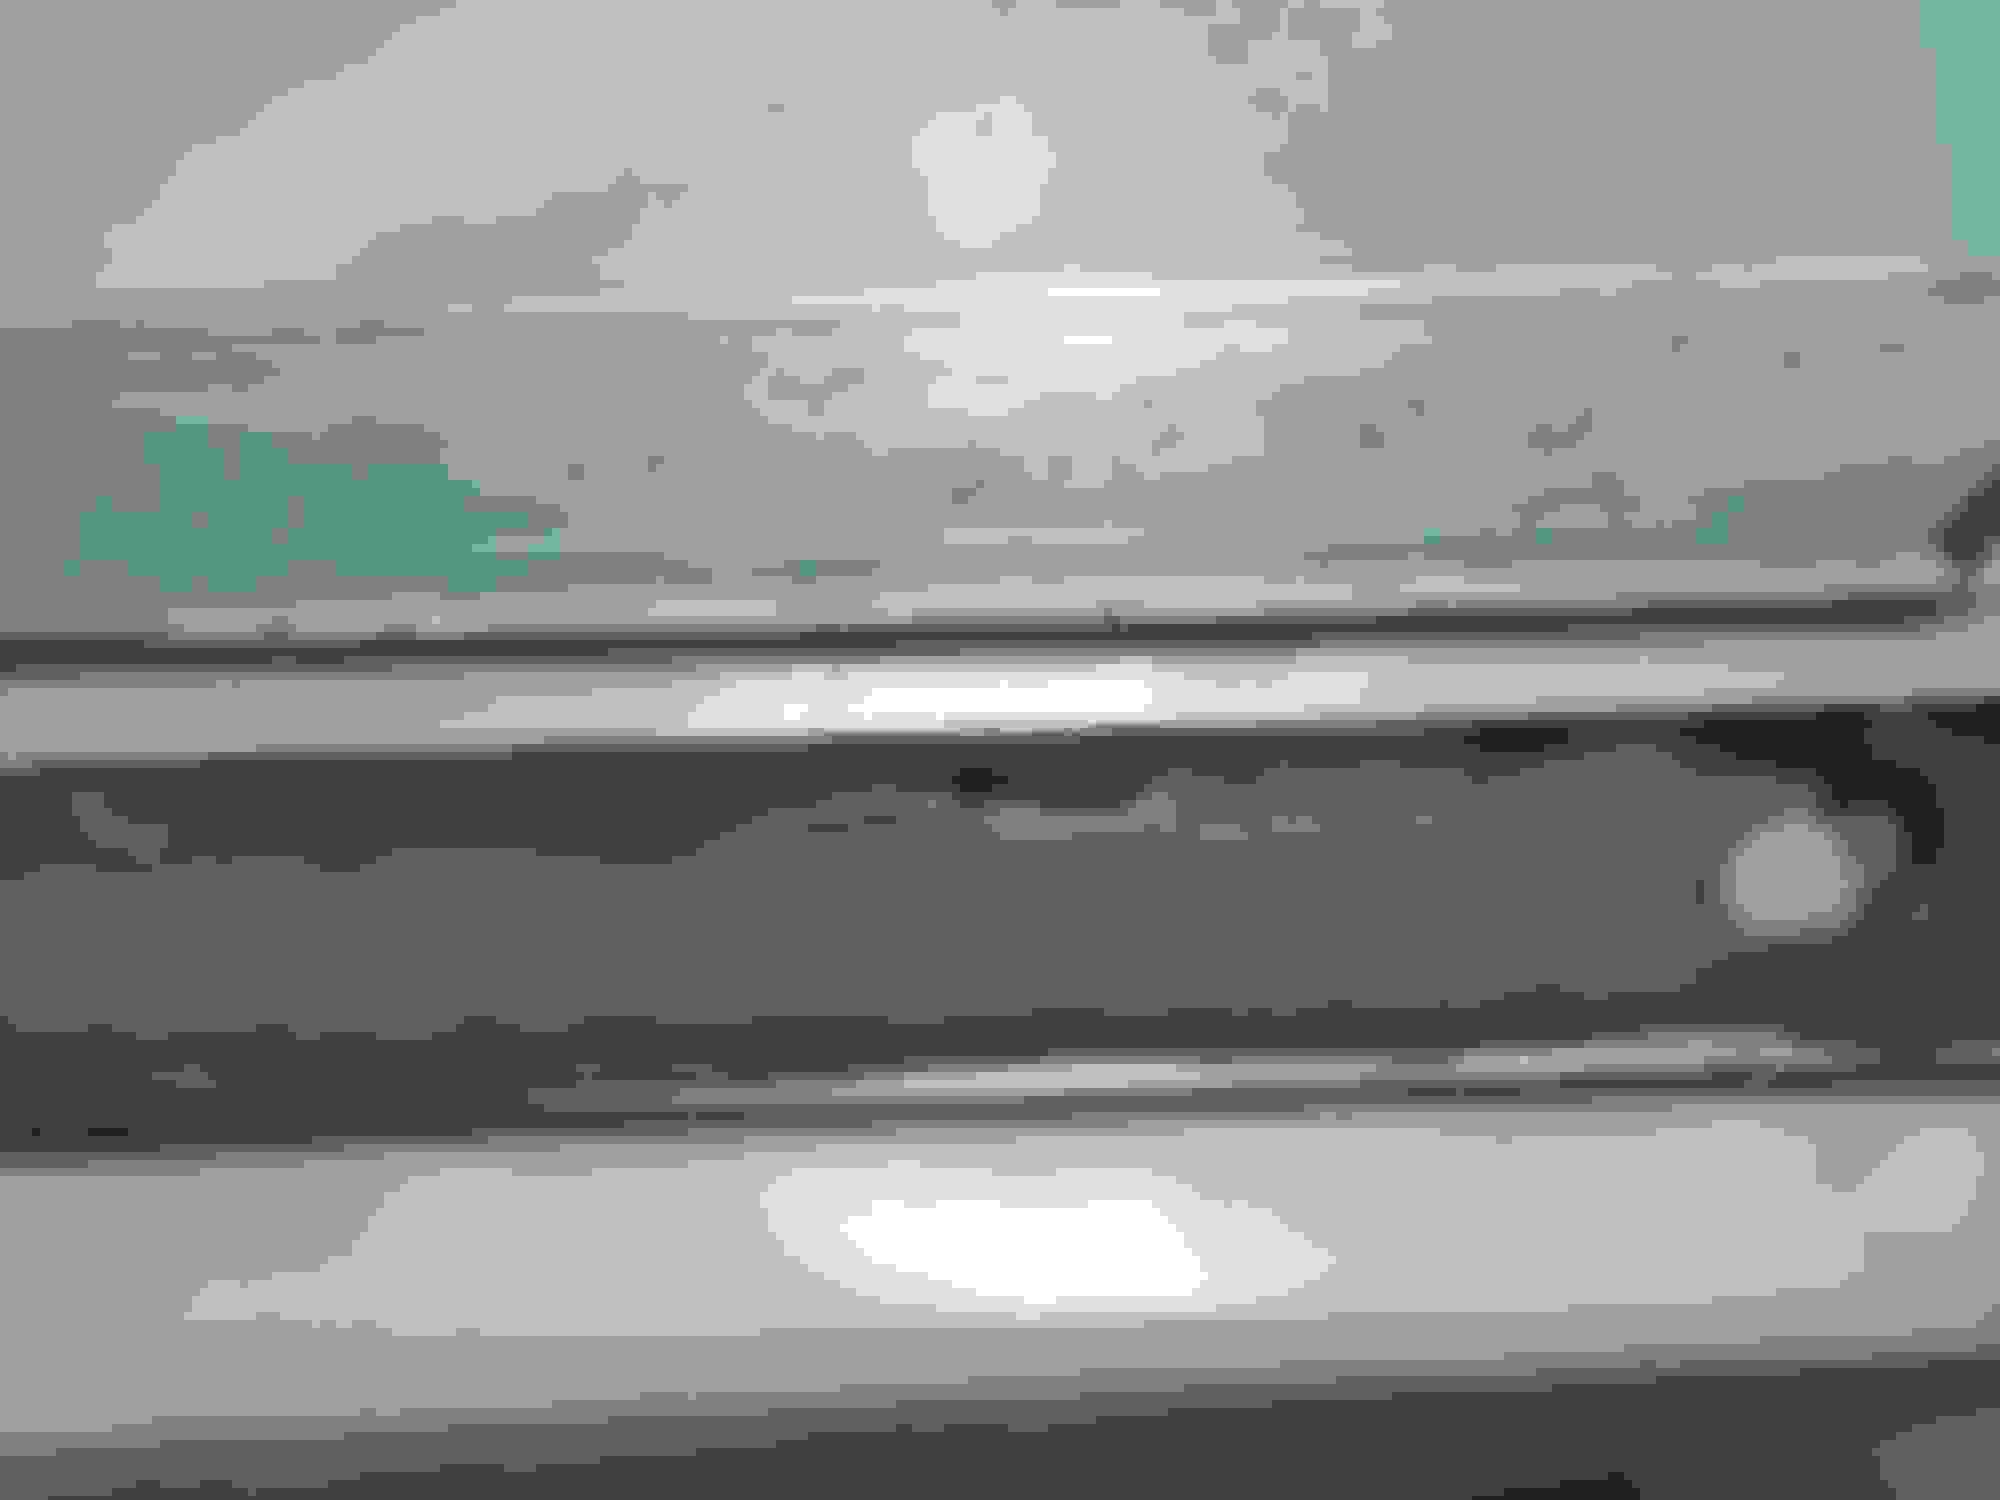
So I am continuing with my back up plan of trying to salvage the originals. I am not adverse to spending the money on new molding if I could properly replicate the look of the original molding but that is not doable.The first step was to see if I could remove the double sided adhesive tape from the back of the existing molding. Now that was and is quite an ordeal. So far I have spent 4 hours and half a can of WD-40 peeling and scraping the tape off the 2 front quarter panel pieces. The trick for anyone else trying this exercise is a liberal application of WD-40, a good plastic scraper and rolling it with your fingers. My fingers now ache!
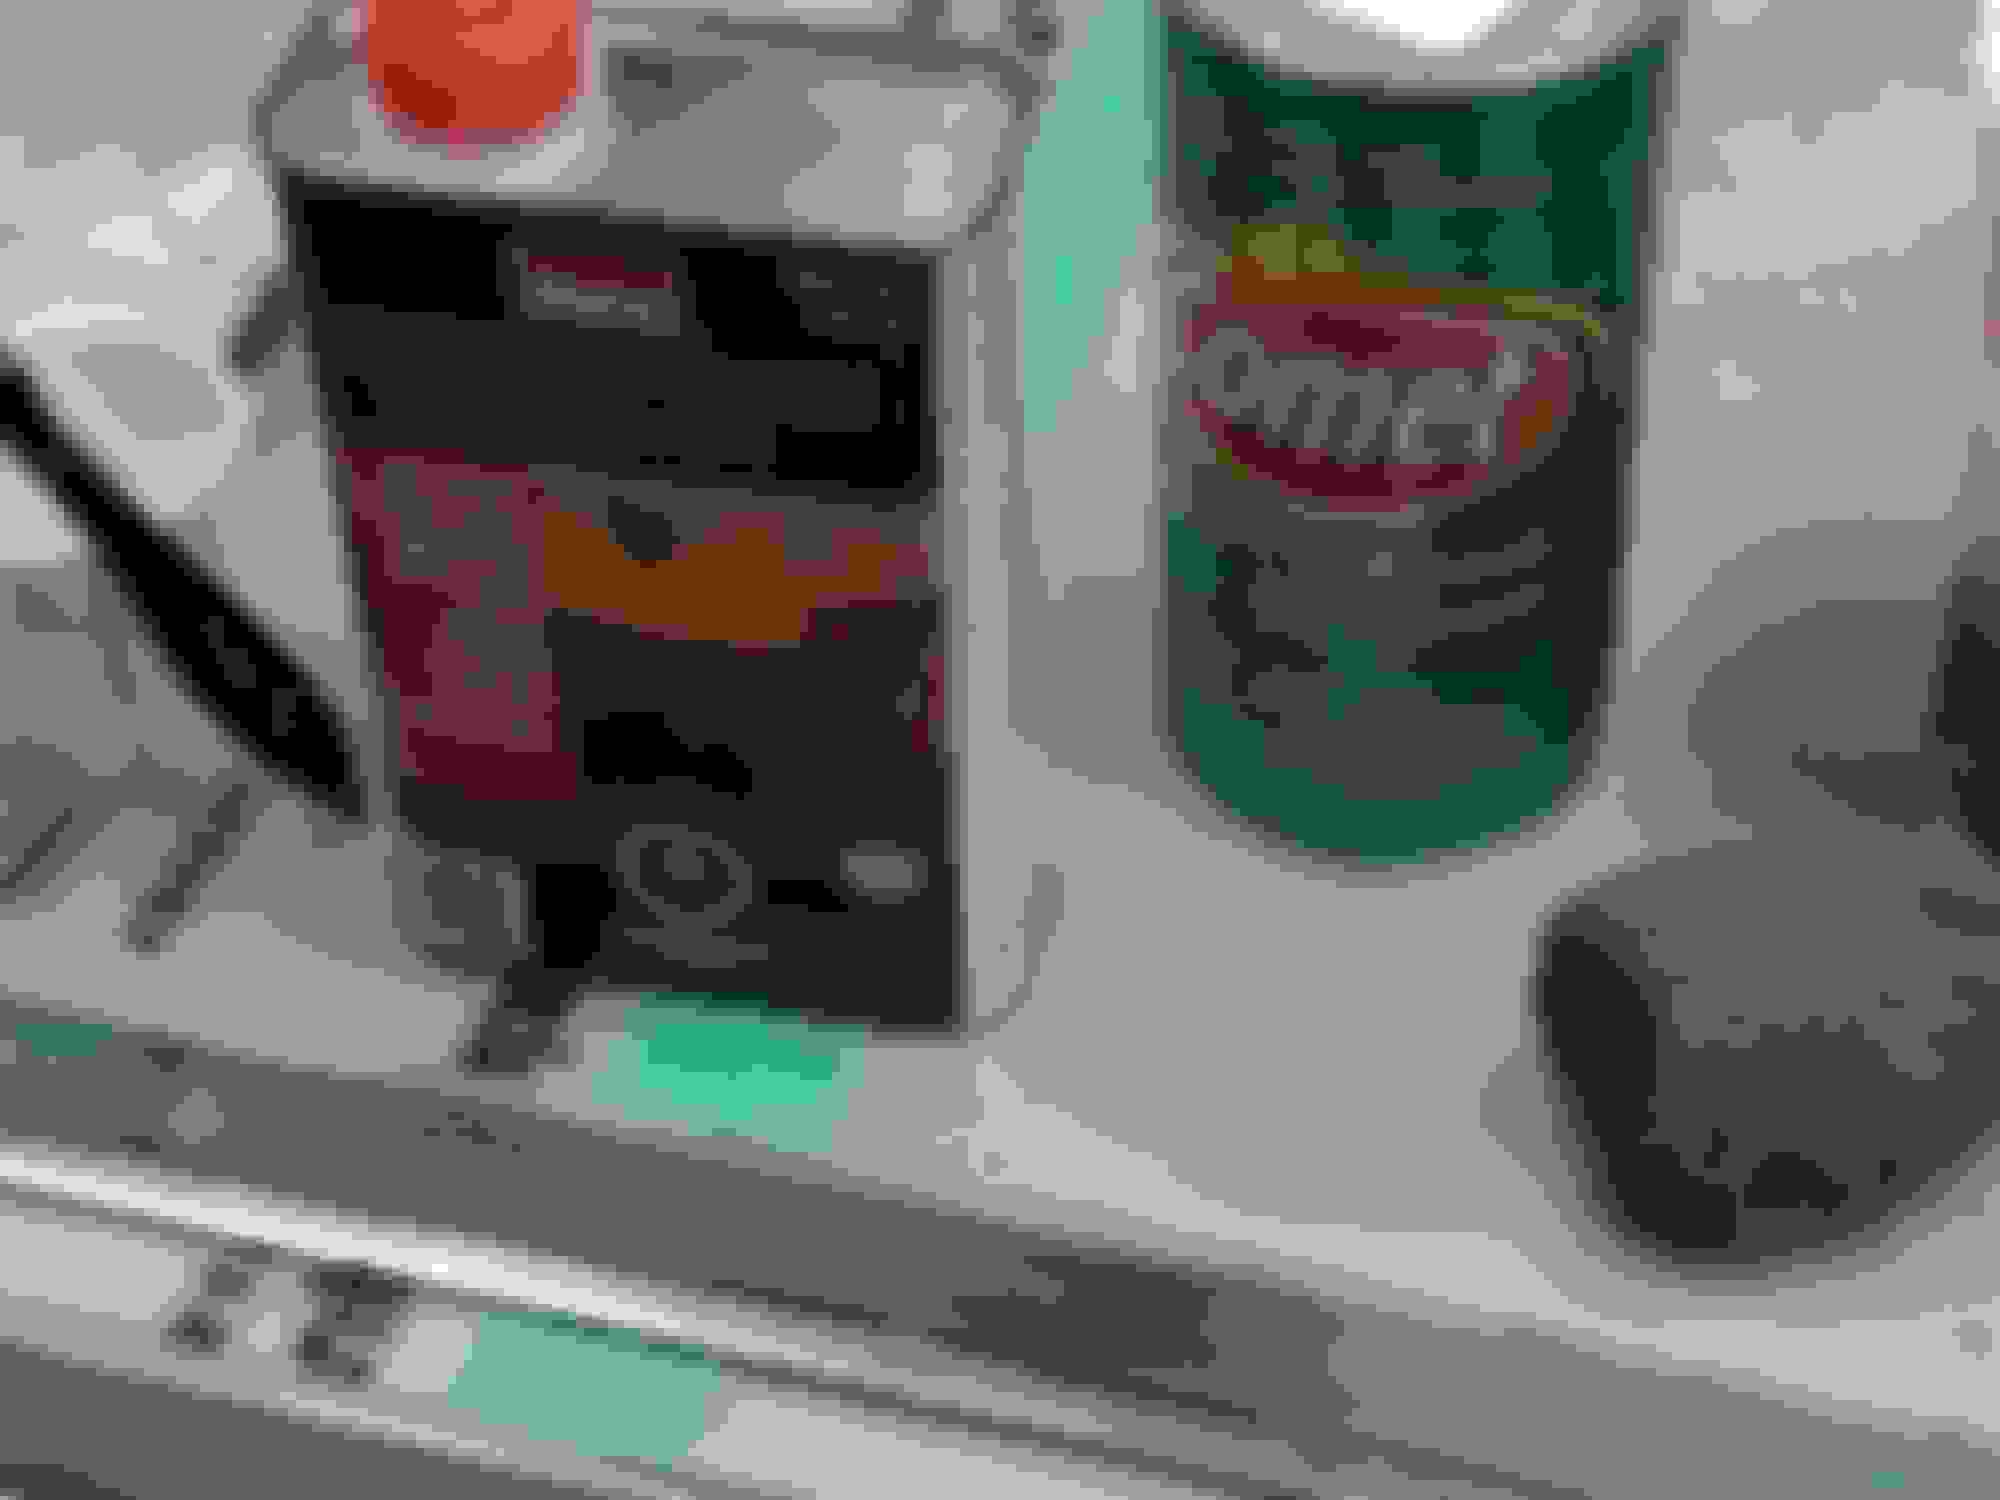
The next step was to find the best cleaning agent to get all the years of grunge and schmutz off the face of the molding. I tried lacquer thinner, turpentine, varsol, acetone, goo gone, brake cleaner, engine degreaser, wd-40,oven cleaner and paint stripper. The best result was the paint stripper and the plastic scraper to get the bulk of the gunk off and then to scour it with Comet and fine steel wool.
The results of cleaning with these products are shown below.
After another 3 hours I have the drivers front quarter panel and half of the drivers door molding done. This is a long and tedious process. But I kind of like the idea that the car will have its original moldings - fingers crossed that all the other pieces clean up as well as these.
Once all the rest of the molding is cleaned up the next step will be to remove all the plastic coating from the chrome strip and clean it up. Really no choice as some of this clear coating is peeling anyway, so might as well remove it and then look at spraying the entire molding with a clear coat of some sort.
Also went to the storage facility today with one of my cleaned pieces to check it out against my new paint job, but it was hard to tell due to the poor lighting in the storage facility. So I will just carry on cleaning the existing molding and in another month when the car comes out of storage I can then see what it will look like in proper daylight. If I don't like the look of it then I can consider going to an auto paint supply shop and see if they can get me a paint that will work on this material and spruce up the look of the molding so that it does justice to the new paint job.
All looks good, Byron, and I agree that being able to re-use the original moldings would be much nicer than getting something new.
Getting back to your first photo, you stated that none of the color samples on those cards was a good match to your molding. From my view of it, it looks like what you need is card with shades of green, not shades of blue. In your first photo, at least on my computer monitor, your original molding looks more blue-green with emphasis on green that it does a shade of blue. I would assume that that supplier has shades of green available as well. But, as you say, I would only go back to this option if you can't get your original moldings to work.
 June 30th, 2018, 11:12 AM