When you click on links to various merchants on this site and make a purchase, this can result in this site earning a commission. Affiliate programs and affiliations include, but are not limited to, the eBay Partner Network.
I feel bad for Mark having to deal with guys like VP, especially when he doesn't need to waist his time commenting back to those posts. Mark is very much respected here on CO,
he goes out of his way to help so many guys here. He's an honest straight shooter and backs up his promises. You guys in the U.S.A are very lucky to have such an honest dedicated Oldsmobile engine builder!
We need to clone him and get one of him up to Canada haha.
Eric
Thank you Eric.
Rockers are Speedmaster shaft style.
Cam is on a 114 which gives up a bit of peak hp and tq in trade for a wider power curve.
And yes you�ll actually lose a bit of peak hp as well with a multiport vs a carb or throttle body but typically pick up some midrange. I think having close to 500lbft at altitude should be fun.
Thanks Mark, I figured there were some trade-offs being made here to accommodate the higher operating altitudes. Thanks for explaining that, much more clear in my mind now.
OP, when's the ETA for the new engine being installed?
Lots to do before I can set it between the frame rails but once it is delivered I can ramp up the prep work. Right now I am in the process of rebuilding the front suspension and swapping to disc brakes but temps are still too cold to work in the garage. I will resume the photo stream once I can begin work again.
Lots to do before I can set it between the frame rails but once it is delivered I can ramp up the prep work. Right now I am in the process of rebuilding the front suspension and swapping to disc brakes but temps are still too cold to work in the garage. I will resume the photo stream once I can begin work again.
Just waiting on delivery. So much of what comes next depends on how it fits around the engine so I don't want to start making changes or mods and then have to redo them once I set the engine in. Like a kid waiting on Christmas...
Engine is in the car, but that is it. Life has a way of hitting you in the face when you least expect it. My Mother and Father-in-law moved to Albuquerque two years ago and life was grand but last year just after my engine was delivered Mom was diagnosed with alzheimers so we have been making lots of adjustments to home life so my wife can spend as much time with them as possible. That cuts back on garage time a great deal. Sucks, but so far it beats the alternative. I get a few minutes with the car here and there, but not enough to get started on anything or remember where I left off last time I was working on it. Now and then I open the boxes and look at the throttle body and wiring harness and dream of driving Old Hwy 66 with the top down, but not yet.
CJSDAD: You asked in an earlier post about fitment of big block headers in that chassis/engine combo. Yes they will in most cases fit but will hang lower due to the difference in block deck height ( I think around 1.300"). You may also run into problems with fit around the non stock oil pan using big block headers. I am not familiar enough with the aluminum heads to know if they have raised exhaust ports. If so that may help somewhat with the fit. I do have a friend that had a 1966 Cutlass with 330 engine and 4 speed trans many years ago and put inexpensive big block headers on it. They did fit okay for him but did hang pretty low.
I took some pics today but the engine is not "under the hood". I have the front clip off so I could replace the core support bushings and convert the front brakes to disc. As you can see in the pics, that is still a work in progress too but when the engine arrived I was so excited I installed it anyway.
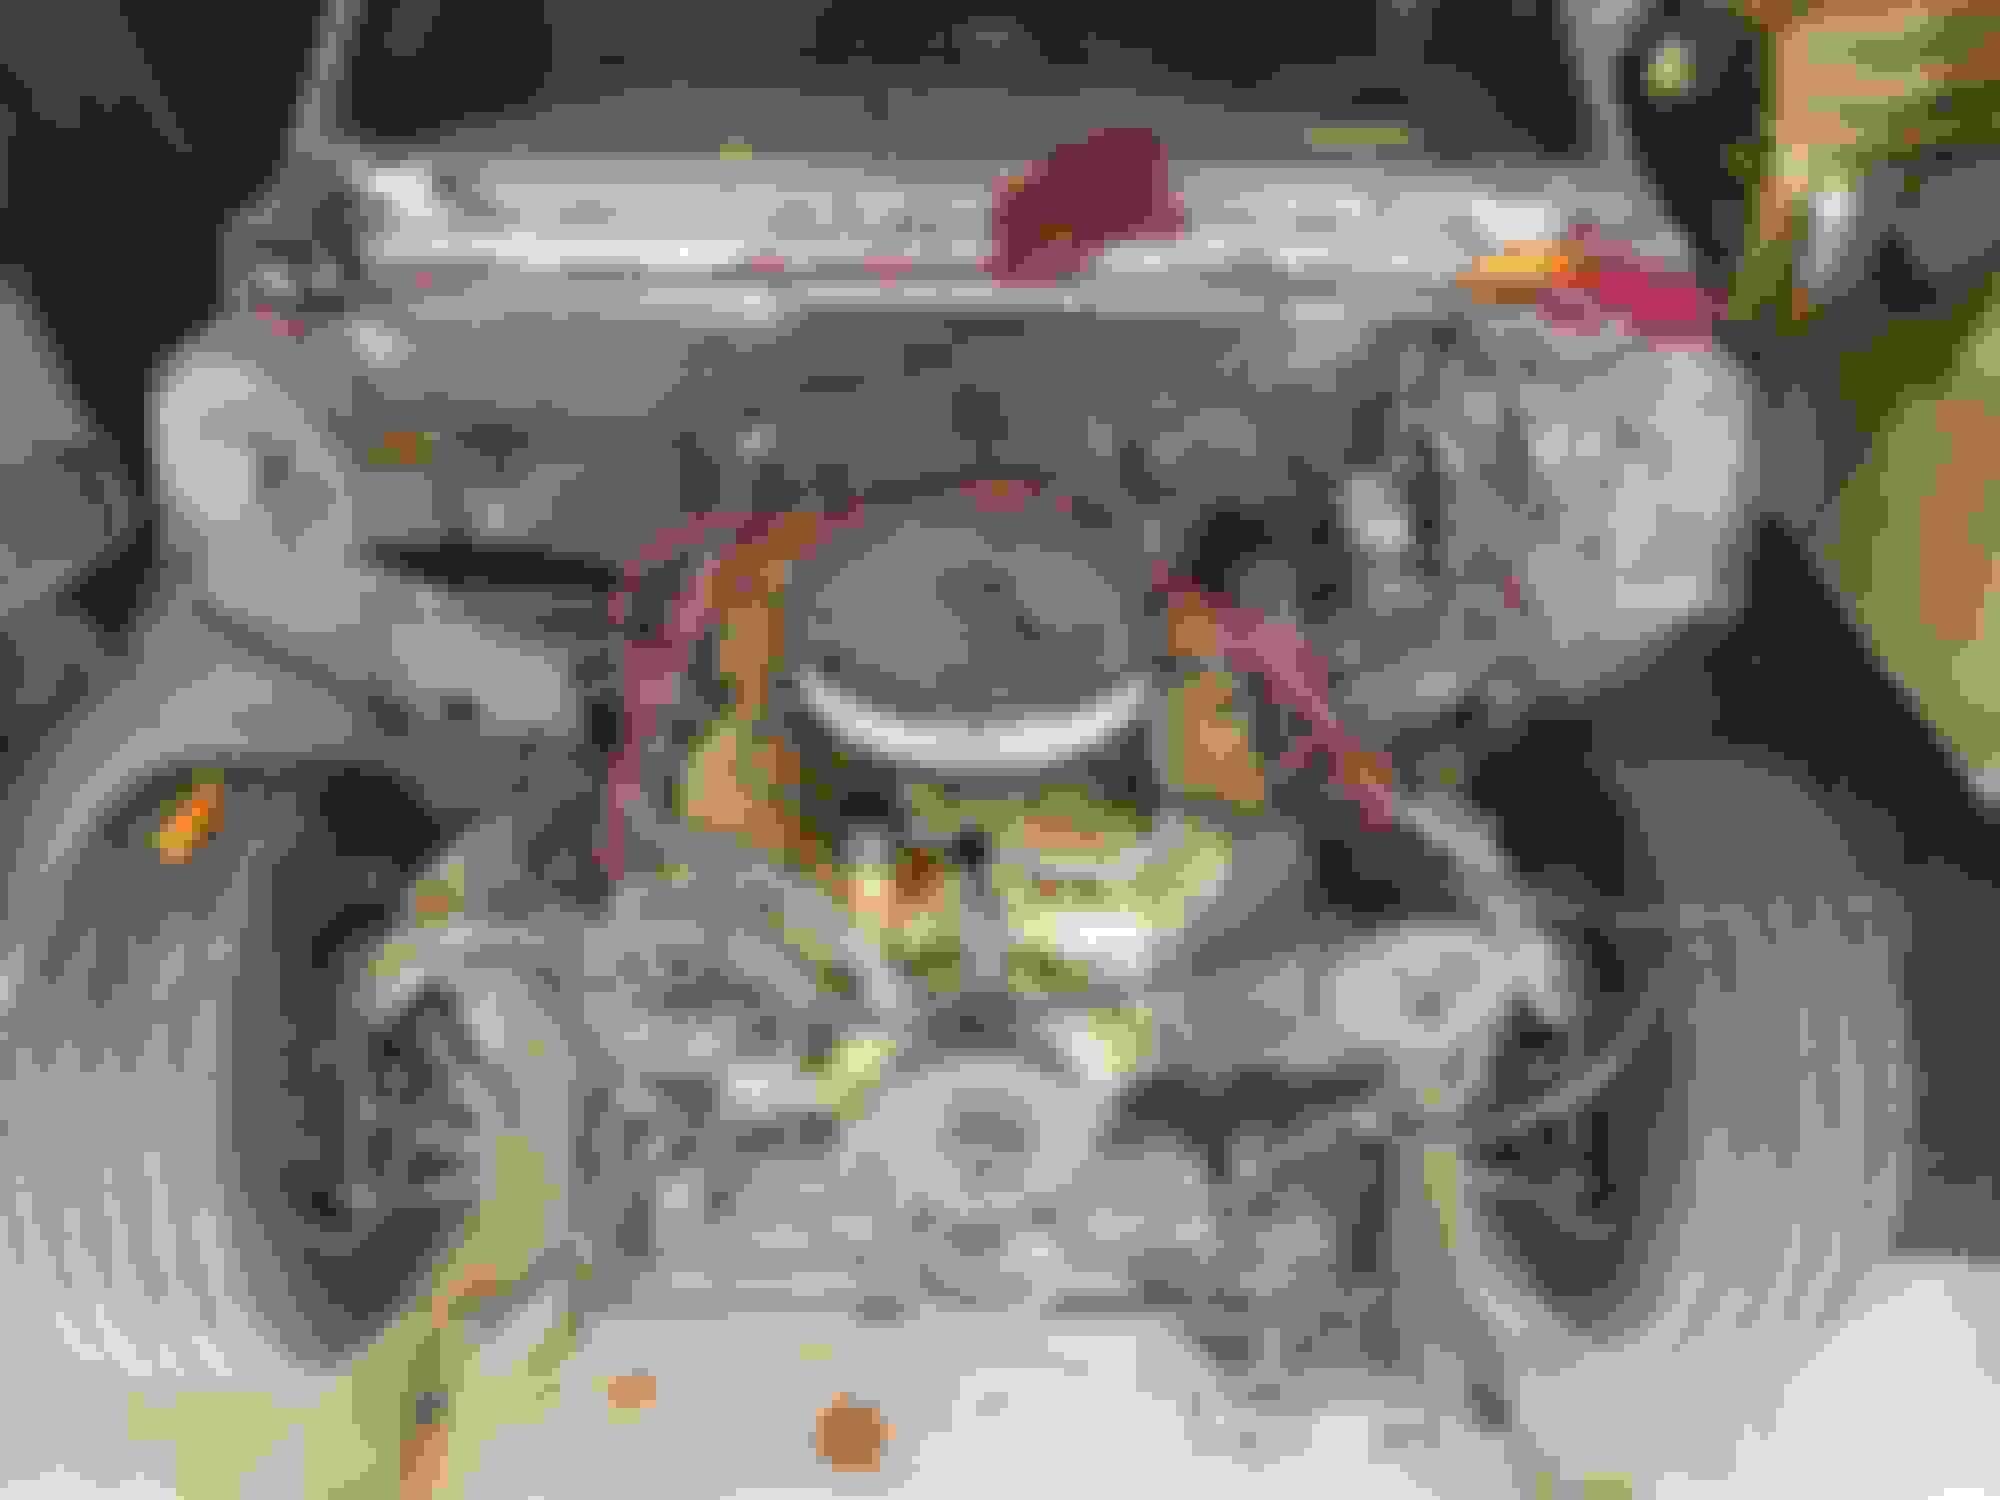
The original engine...
The new engine...
So... while I was trying to install the trans mount and crossmember, I took a pic of the engine mount and noticed something that I did not see until I looked at the photos. It looks like there is a crack around the front drain plug of the block. I will need to pull that plug and verify if it is indeed a crack in the block or if it is a giant paint chip. There should not be any water in the block to freeze and cause it to crack like that. Even if there were some residual water left in it after the dyno run, it has been sitting in my garage for 6 months and New Mexico is DRY! Even anti-freeze coolant will evaporate. Mark, If you're seeing this, any ideas?
Location: Colorado Springs Colorado/Thousand Oaks Ca
Posts: 1,719
Originally Posted by cjsdad
So... while I was trying to install the trans mount and crossmember, I took a pic of the engine mount and noticed something that I did not see until I looked at the photos. It looks like there is a crack around the front drain plug of the block. I will need to pull that plug and verify if it is indeed a crack in the block or if it is a giant paint chip. There should not be any water in the block to freeze and cause it to crack like that. Even if there were some residual water left in it after the dyno run, it has been sitting in my garage for 6 months and New Mexico is DRY! Even anti-freeze coolant will evaporate. Mark, If you're seeing this, any ideas?
The block is cracked, not a freeze crack as you would see a freeze plug would move. You might want to consider grinding the whole boss flat and tapping for a 9/16 pipe plug, that might work? But again the crack is near the motor mount bolt. At the same time you might want to square up the freeze plugs.
I can also recommend a excellent cast iron welding company, but they have to pre heat the block in a oven to weld it, if needed.
Last edited by VORTECPRO; January 4th, 2020 at 06:54 PM.
I assume you contacted Mark about it? Looks like the aftermarket plug was over tightened. I like the shouldered factory plug for that reason, unless a huge ratchet or impact is used, never an issue, will only seat so far.
Location: Colorado Springs Colorado/Thousand Oaks Ca
Posts: 1,719
You could also try this:
1. Remove the pipe plug with too much taper
2. Clean all the hi tack off with super tech carb cleaner, this can be bought at Walmart
3. Use a die grinder with a cartridge roll to bring the surface !/2 inch past the crack in all directions down to bare metal
4. Again use super tech carb cleaner to clean the surface and threads, use compressed air to dry, repeat until spotless
5. Clean the oversize brass pipe plug with carb cleaner spotless
6. Screw the over size brass pipe plug back into the cracked block until the crack just opens up, be careful
7. Apply 3M SEAM SEALER into the crack and 1/2 inch past the crack in all directions, build it up
8. Take a non tapered pipe plug, clean it with the carb spray, use compressed to dry
9. Coat the pipe plug with GM SEAM SEALER liberally then screw it in
10. Apply 3M SEAM SEALER in all directions 1/2 past the crack
11. DO NOT ATTEMPT TO USE ANY THING OTHER THAN THE CHEMICALS SUGGESTED
12. Square up all freeze plugs while your in there
This could possibly work, and its the easiest to try. I can supply you with a non tapered pipe plug if needed.
Last edited by VORTECPRO; January 5th, 2020 at 06:01 AM.
Clean the area with brake clean or similar then see what you really have. Can you feel the �crack� with a fingernail?
That engine was running on the dyno for every bit of 90 minutes or more to map the fuel and spark tables. Never a leak, anywhere at anytime.
Let me know what you find.
Location: Colorado Springs Colorado/Thousand Oaks Ca
Posts: 1,719
The cooling system on the dyno doesn't run at the same pressure the cars cooling system runs at, that extra pressure could cause a problem. Heres an example of a shouldered freeze plug installer.
Last edited by VORTECPRO; January 5th, 2020 at 06:23 AM.
The cooling system on the dyno doesn't run at the same pressure the cars cooling system runs at, that extra pressure could cause a problem. Heres an example of a shouldered freeze plug installer.
I know that. But running at temperature the �crack� is going to open up no matter what.
And I�m not sure what a shouldered freeze plug installer has to do with anything at this point.
Location: Colorado Springs Colorado/Thousand Oaks Ca
Posts: 1,719
The installer pictured will help you install the freeze plugs square, this could be a problem under in car operation. If the plug is cocked it isn't sealing with much surface area. I think the crack problem could be made not to leak using my above operation, is it good....no but it might work. You could also do a short block fill, but welding is the best bet, but very involved.
Last edited by VORTECPRO; January 5th, 2020 at 07:02 AM.
Has anyone suggested brazing ?. Quick easy string enough and its a low heat topical bond . when I skateboarded i used to build grind rails and braze them . held up all the impact my 150 lb body could throw at it.
The block looked cracked to ME, but when I looked closer it looks like Aviation #3 sealant was used, and it runs like that when not wiped clean? The freeze plugs on the other hand... NO GOOD!
The block looked cracked to ME, but when I looked closer it looks like Aviation #3 sealant was used, and it runs like that when not wiped clean? The freeze plugs on the other hand... NO GOOD!
Bernard Mondello Racing Enterprises
I agree with this.
In regard to the freeze plug, I take pride in the little things as well. If you could see all of them you would notice the part numbers on the plugs all face the same way and so on. Maybe it got bumped during crating etc but an easy fix nonetheless.
Location: Colorado Springs Colorado/Thousand Oaks Ca
Posts: 1,719
Originally Posted by cutlassefi
I agree with this.
In regard to the freeze plug, I take pride in the little things as well. If you could see all of them you would notice the part numbers on the plugs all face the same way and so on. Maybe it got bumped during crating etc but an easy fix nonetheless.
It does look like Hi Tack on the top, but the bottom looks like a crack, simple enough for the owner to get under there with a rag and carb cleaner. All the freeze plugs look cocked to me, maybe he can take a better picture.
The block looked cracked to ME, but when I looked closer it looks like Aviation #3 sealant was used, and it runs like that when not wiped clean? The freeze plugs on the other hand... NO GOOD!
Bernard Mondello Racing Enterprises
We have a winner! When I went to take a better close-up picture I wiped around the plug and it was indeed a bit of sealant that was stringing down the block. It wasn't a run or a drip, more like a string as if someone had touched the sealant and then pulled away and the stringing sealant then fell down against the engine without sticking. The camera angle of the first photo surely did look like a crack though. Scared the **** outa me for sure. Here are some better pics.
One would think when was on the dyno it would be leaking and would of been caught then.
Wire brush it clean and find out, how I found a crack in a 394 I was trying to save.
The motor mount, looks like its cracked or separating. Or am I seeing things?
One would think when was on the dyno it would be leaking and would of been caught then.
Wire brush it clean and find out, how I found a crack in a 394 I was trying to save.
The motor mount, looks like its cracked or separating. Or am I seeing things?
Never mind. lol
Glad to hear its a false alarm!!!!!
One would think when was on the dyno it would be leaking and would of been caught then.
Wire brush it clean and find out, how I found a crack in a 394 I was trying to save. The motor mount, looks like its cracked or separating. Or am I seeing things?
The motor mount is cracked but I have new ones to install. I need to get the trans mount squared away before I install the new engine mounts though. Don't want to be jacking up the engine with nothing holding the back end. My car is a 67 base model convertible and doesn't have the extended frame mounts for the trans crossmember so I need to add them. Once the trans is mounted I can jack the engine up and not worry about it sliding under the car while I change out the engine mounts.
Small update, I wanted to get some of the hardware installed for the electronics so I needed to install the O2 sensor. I consulted with Mark to find where the best place to put it and in his usual perfunctory reply, "in one of the collectors". Things are kinda busy on the driver side so I put it on the passenger side. I made a bung out of an angle bracket, threaded it, cut it down and ground it round, then welded it into the collector area of the header on the passenger side. Just an FYI, the tap is a leftover from a job a looong time ago. It is part of a kit that was used to restore the sparkplug threads in a toyota pickup and the guy gave me the parts to keep afterwards. Anyway, it turned out to be the right size for the O2 sensor so I didn't have to buy a ready-made bung. And now the sensor will live there. The wiring will probably be tied to the TV cable once everything is complete.
I have been working on getting the wiring harness installed so I though I would show a little of the progress.
I needed to put a hole in the firewall for the new engine harness and I wanted to try and keep it looking like it belongs there. Not really, but it makes me feel better to think that way. I started by enlarging the existing hole for the convertible top power feed. Sorry for the poor quality of this pic, I forgot to take a pic of the grommet or hole before I started.
I used two holesaws together to cut it large enough for the new harness grommet. I made a test hole in cardboard to find the right size saw. I won't bore you with all of the pics of that, but it woked out in the end and then I had to make another hole for the original grommet.
I need to get some more wrinkle-wall tubing to cover the wiring but after a bunch of shortening and lengthening wires I finally have everything connected. Everything that I have anyway. I still need to get an oil and fuel pressure sensor to connect to.
When I am done, I will be using an internally regulated alternator so the firewall-mounted regulator and condenser will be removed. That will help clean things up a bit
Last edited by cjsdad; April 12th, 2020 at 08:34 PM.

 February 28th, 2019, 05:10 PM