When you click on links to various merchants on this site and make a purchase, this can result in this site earning a commission. Affiliate programs and affiliations include, but are not limited to, the eBay Partner Network.
1972 350 Engine won't start on first attempt since resto- please help troubleshoot
Hi! Today, for the first time since 2011, my son and I rolled our Cutlass out of the garage and attempted to start it up. Unfortunately, it s not starting. I have a gas can that a friend of mine modified with hoses and valves to act as a "mini gas tank" to test the engine without filling the gas tank in case I needed to drop the real tank for any reason. I installed the new battery and new terminals. I double checked the negative battery terminal ground behind the power steering pump to make sure it was free of paint before I tightened it down, as I also did for the engine block ground from the head to the firewall. I poured about 6 tbsp of gasoline down the vent tube on the carb, and sprayed starting fluid down the vent tube near the primaries. It sounded like it really wanted to turn over, but never did. The starter sounded like it was engaging well. Gas was definitely getting to the plugs since when I removed a plug to check for spark, it was wet with gasoline. I took the plug out and had my son turn over the engine and saw no spark at the spark-plug, nor when I held it up to an unpainted bolt. What could it be? To give some background, here's a recap of some of the related things I have done to the engine to help us troubleshot this: Removed the engine, and trans, cleaned and painted. Replaced fuel pump with a mechanical one as original. Replaced timing chain and both gears following procedures outlined in my past threads (did not remove the distributor). Replaced points, cap, rotor, and coil, all with Blue Streak parts. I used NOS AC Delco NOS plugs (45S I believe), as well as NOS AC Delco wires, both probably from the 1980's (double checked the firing order from the chassis service manual). I also replaced the water pump with an AC Delco unit, installed a rebuilt QuadraJet carb from Everyday Performance. The manifold and heads were not taken off. There were many other parts I replaced, but I think these are the ones that might affect the starting. I smelled gasoline from the passenger side tailpipe, so I think the engine is running as it should. What could be the issue? Bad coil? Bad wires from the distributor to the coil? Bad spark plug wires? Points? I'm not sure where to go from here. Did I provide enough information here for you to help me? Thank you all so much for all of the help you have given me over the years. I am so excited to have been able to make it far enough to attempt to start it and I am eager to figure this out and get this car running!
Sincerely,
Chris
Last edited by Oldssupreme; November 12th, 2019 at 03:41 PM.
Hi Norm, I haven't set dwell yet, I thought I had to have it running to do that. The carb was supposed to be set pretty close to specs from Ken at Everyday Performance, so I haven't touched that yet either. Plugs, wires, cap, rotor, condenser, points, all changed. And since I didn't remove the distributor, the timing should be that far off right? What really confused me is I thought that I would see some spark when I removed the plug and wire and the engine was cranking, but I saw no spark at the plug at all. I should see something right?
Chris
Sorry, I should have asked did you perform a tuneup prior to all this work...as in the last time the engine ran. Did you replace the coil wire? Any chance you might have reversed the leads to the coil terminals when you installed the new coil?
First check and see if you have power to the coil+ terminal in both the start and run positions of the ign switch. Disconnect your tach from the coil- terminal if you have one.
Norm, Yes, I've done tuneups on this car prior to this one. I reused the old wires from the distributor to the negative lead on the coil. Should that wire be replaced? And if so does the distributor need to come out to do that? Dave, I didn't realize that I could set dwell with the engine cranking. Would I do it in the same way as if the engine were running? And Eric, what kind of reading should I have at the coil? Thank you!
Chris
I believe you should move towards addressing if you have voltage as Eric suggested. You have to have initial voltage to feed the IGN system, so that should be your first test.
Regarding using the old wire from the distributor that should be fine as long as you hooked it up to the correct terminal on the coil as I suggested. If you connected it to the wrong terminal you’ll get no spark to the rotor and no spark to the plugs. I would double check your wires to make certain you didn’t cross them.
It is also critical to have the hardware firmly securing the points and the points must be gapped to specs - I believe 0.019” as must the plugs be gapped correctly. Very critical you’re at least w/in the range for the contact points gap.
At the risk of beating this to death which in some cases isn’t a bad idea when troubleshooting, you need two wires to the coil+ side - one from the IGN SW and one from the condenser (make sure you didn’t reverse them to the coil- terminal); and one wire from the distributor to the coil- terminal. It never hursts to double check the simple stuff.
the points must be gapped to specs - I believe 0.019”
In reading through the information, this is what I saw as the most likely cause for the no-start. If the points are installed so far off that they are not opening or closing, there will be no spark. The gap needs to be set with a feeler gauge during installation.
Last edited by Fun71; November 9th, 2019 at 08:18 AM.
All you need regarding contact points is ensure your contact points are set correctly @ 0.019" gap (as pointed out in Post #9 above). This will provide the ability to start the engine. The dwell is about fine-tuning the contact points gap to the specifications established by the Oldsmobile manufacturing engineers (30* dwell angle) for the Olds 350 cid once the engine is running (if you prefer you can do it if the engine isn't running but you'll be cranking your starter for an extended period of time at the risk of overheating). The dwell is nothing more than establishing the correct opening & closing of the contact points to close the electrical field at precisely the optimum contact points gap (with rotation of the distributor). Without appearing condescending, you do realize the contact points gap must be set at the high point (top) of a lobe on the distributor cam and locked down securely.
You can read the diatribe I wrote on Dwell Angle here>>> 35
Hi everyone! Thanks for all of your replies. I checked the wiring on the Coil, and the wire from the bottom of the distributor is attached to the negative terminal and the positive terminal has two wires attached. I will remove all of the wires at the coil and check the primary and secondary voltage. I will also look at the points as was suggested. I'm going to go with your spec of 0.019" for the points gap. There is no spec in the 1972 CSM for points gap, only dwell. And Norm, I think I may have not installed the points on the high point of the cam lobe. Where exactly should the high point of the cam lobe be on the points assembly before I tighten them down? And do I nick the key until the cam winds up in the right place, by luck? Or should I hand-turn the crank? Am I on the right track? And Norm, I will check out your other post you referred me too, maybe that will answer some of my questions. Could it also be the condenser is bad and if so, how would I test it? If it turns out I need a new set of points and condenser, is there a brand that is a quality piece not made in China? Thank you all so much!
Chris
Chris - With the distributor cap off rotor removed you can see the eight lobes (8 cylinder) of the distributor cam. You should be able to clearly visualize your points. Turn the engine by hand (generally just grab the alternator belt, fan belt, or the crank pulley) turn the engine to the position where one of the eight distributor cam lobes is positioned at the point where it opens the contact points, you can also place the vehicle in gear and slightly nudge it forward (without the IGN on), or you can nick the IGN if you like (easy if you have someone nicking the IGN SW while you look to see the heel of the points is on the high point of a dist. cam lobe). This will generally be referred to as the heel of the contact points. This is the position where you set the contact points gap. Ensure after you have secured the hardware holding the points down and remeasure the gap just to be sure you're still at the 0.019" gap.
Before addressing recommendations on buying a new set of points and condenser, you need to dial-in the correct contact point gap. Don't get ahead of the curve.
Last edited by Vintage Chief; November 9th, 2019 at 07:15 PM.
Reason: sp
Using a multimeter, what would be the proper way to my first step of checking the coil for power as Eric has suggested? Thank you all for your patience. I'm definitely learning a lot from you all and I truly appreciate it!
chris
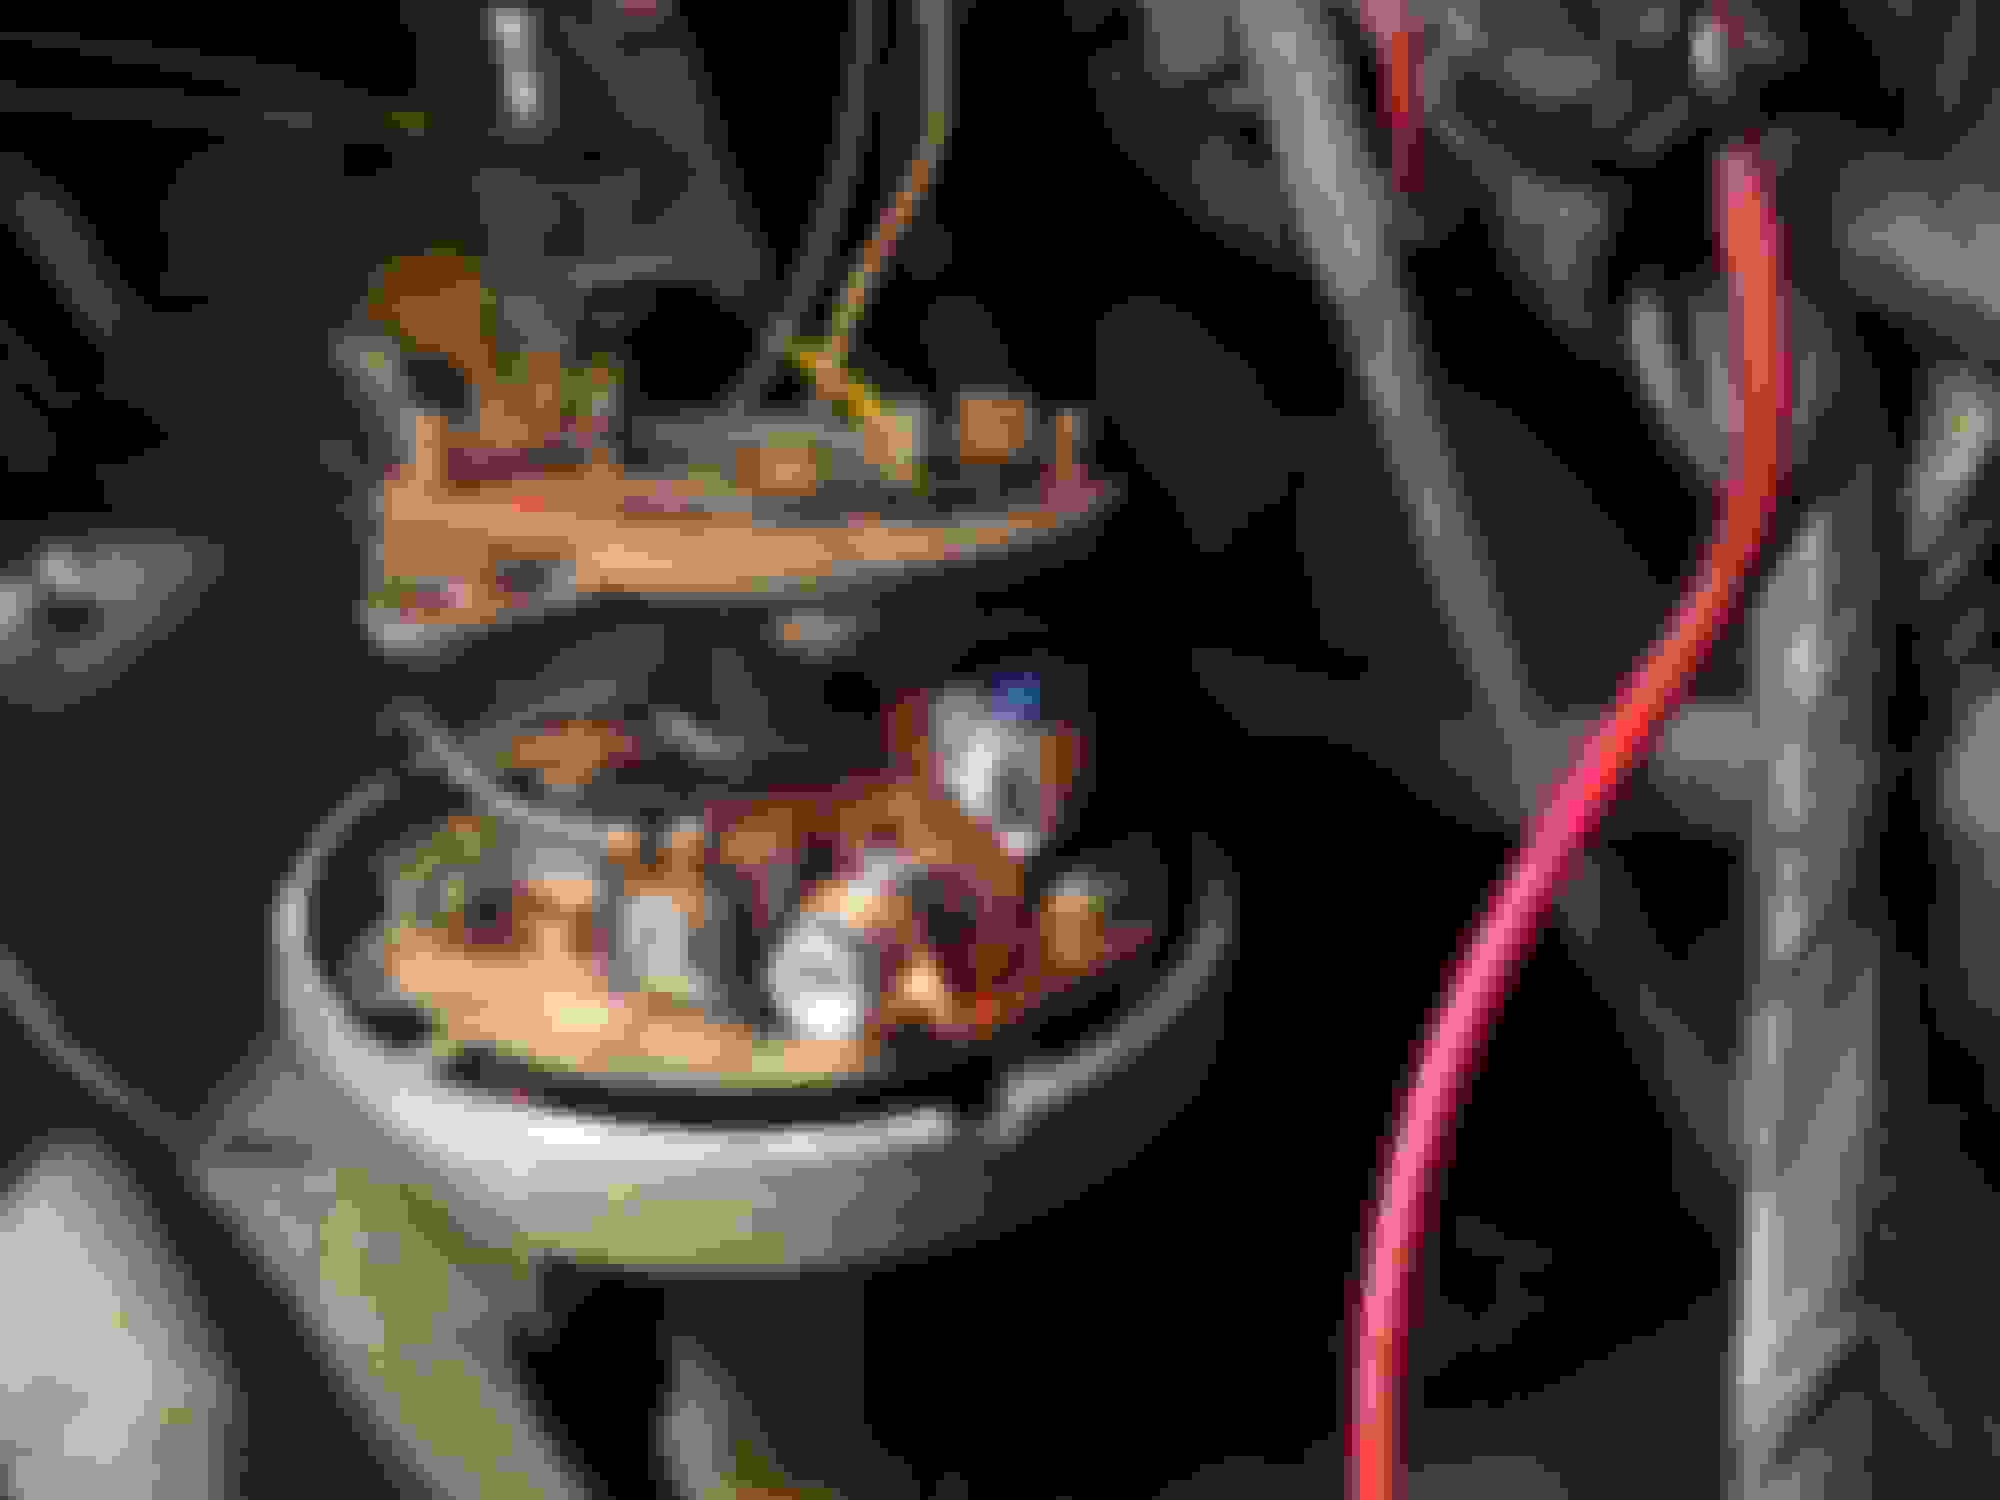
Hi guys. Can anyone tell from these photos if the right part of the points is up on the cam? I'm thinking not because the points are completely closed in this position (making contact with each other). I haven't tried to start it yet. This is how the points were installed when it wouldn't start or get spark he other day. I haven't gapped them or done anything to them yet. I measured the unconnected battery just now after sitting for a few days and I'm showing a little over 12v. Haven't checked the cool yet. Thank you!
Doesn't look like it. If you look at the points there is a wearstrip that rides on the cam. Turn the engine back and forth and watch the points, when they are open the farthest and the wearstrip is on top of 1 of the 8 points on the cam, that's where you set your gap.
The wear strip Eric refers to is the 'heel'. You must set the heel on one of the lobes (high points) of the cam. That is where you establish the point at which you set the gap opening.
BTW, I think I made an error when stating the contact points gap should be set to 0.019". I believe 0.019" is for the L6 engine. I believe Eric is correct. Set your contact points gap to 0.016". This would be a better number to set the gap; although, 0.019" should get it to fire, as well.
Eric and Norm, thank you both so much for this! You are incredible. I'm going to try this tomorrow. By the way, I tried to move the engine by hand by grabbing onto the fan and alternator belt, but it wouldn't move. Should I remove some or all of the spark plugs, would that make it easier to turn the engine using the fan belt? Thank you!
Chris
I would have to say the best way and often easiest is to place a large socket on the front crankshaft bolt, attach a long ratchet wrench or breaker bar and rotate the crank. Sometimes, depending on your strength and access, you can turn the crank via the alt and/or PS belt. Whichever method you choose, it will certainly make it easier if you remove one or two spark plugs.
The distributor turns CCW. Turn the engine crankshaft forwards not backwards. If you aren’t sure the direction, just give the ignition switch a couple burps and watch which direction the crankshaft turns. Turn the crankshaft in that direction.
You won’t ruin anything - no big deal. Don’t even worry about it. The amount you’re going to turn the crank is absolutely minimal - several inches at most. Just don’t get carried away and continue rotating backwards in opposite direction several full turns. Engine parts rotate in one direction only. Just rotate enough to get the heel aligned with one of the lobes. The reason I mention it is because if you miss a lobe continue cranking until you hit the next lobe - preferably in the direction the crankshaft turns.
Last edited by Vintage Chief; November 15th, 2019 at 08:12 PM.
OK, got it. I'll nick the ignition to see which way it turns, but I believe that If I'm standing looking at the engine, I would turn the crank clockwise right?
Chris
So I've looked over the threads and chassis manual and I still have a question about gapping.
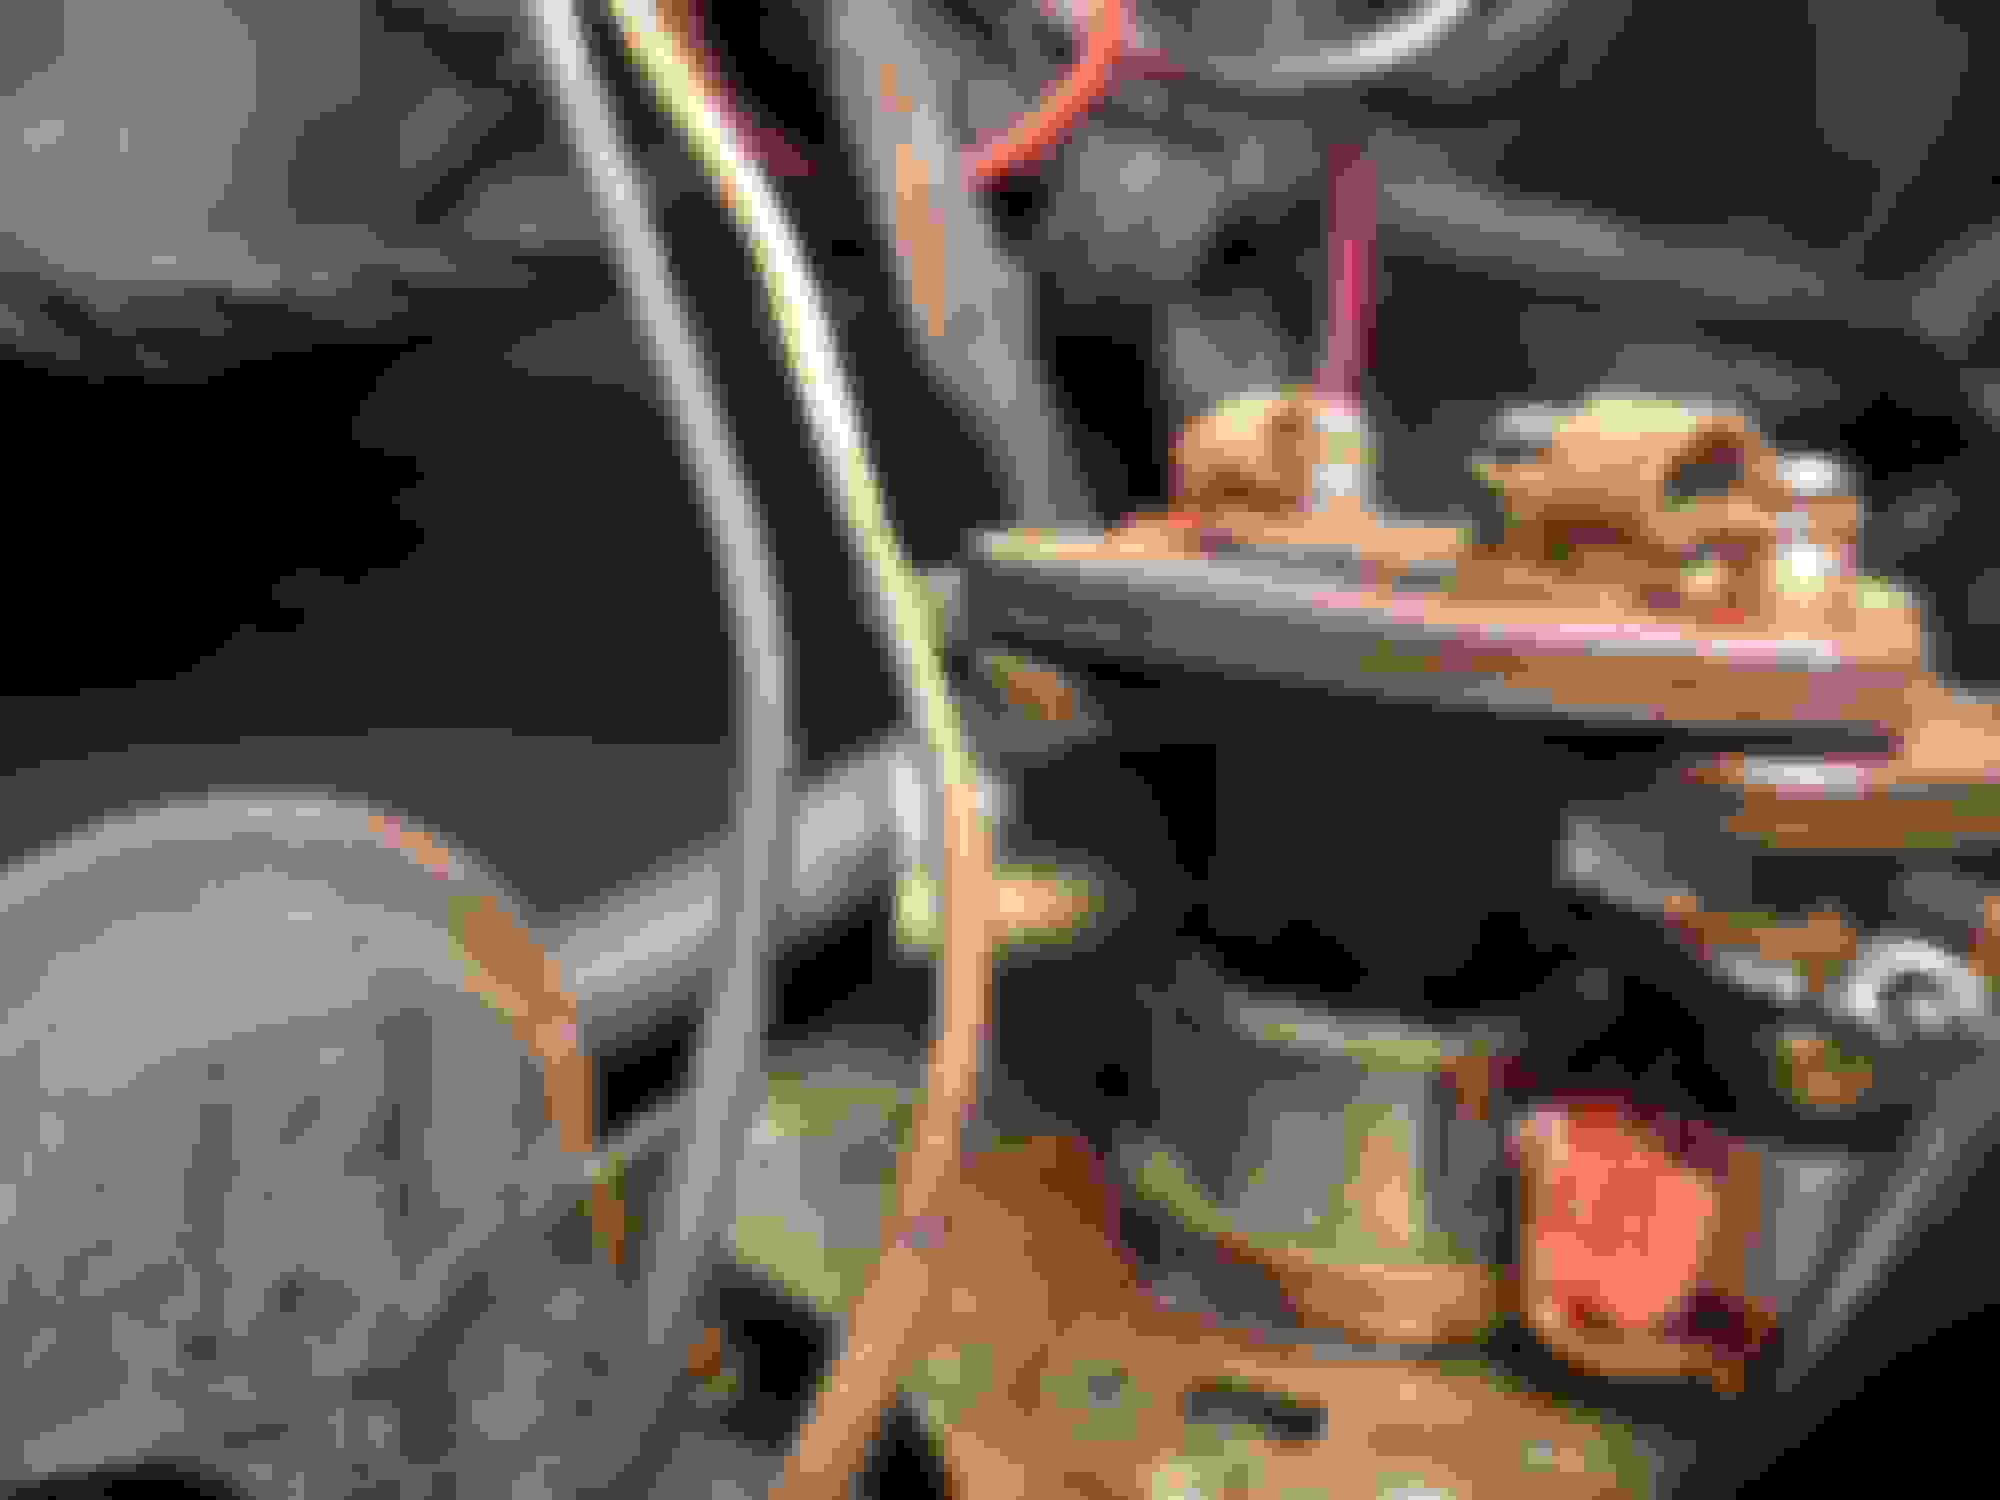
As you can see in the photo, there is a screw holding down the points base plate in the front, and another one in the back. Which one do I secure first? I have the heel on the high point of the cam, and if I push in the back portion of the plate, the points open up. Is this how I gap them? And do I need to remove the weights and springs from the top to access the points to get to them? FYI, neither of the screws are tightened down in this photo. Thank you in advance, Chris
Last edited by Oldssupreme; November 16th, 2019 at 02:50 PM.
Loosen the screw, move the points until you achieve the required gap. Tighten down the screw. No, you don't have to remove the weights/springs. It doesn't matter which you loosen first. Loosen them both, then decide which one you want to tighten first or last.
I'm sorry to be such a pain. Where do I put the feeler gauge in? From the side by the firewall or the engine side? There doesn't seem to be a clear shot anywhere. Then again I'm using huge 12" feeler gauges so maybe i need a smaller set. Thank you
Oh yes. I understand where i need to check the gap but I'm just not sure how to get the feeler guage in there as the condenser seems to be in the way. That's why I was thinking to remove the weights and springs from above. But I'm not sure how to do that and I'm assuming it's not necessary?
Chris.
Last edited by Oldssupreme; November 16th, 2019 at 03:30 PM.
Remove the weights/springs if you want. Whatever you need to do. There are a gazillion different sized feeler gauges, & various types of points by various manufacturers. Use some ingenuity.

 November 8th, 2019, 07:22 PM