When you click on links to various merchants on this site and make a purchase, this can result in this site earning a commission. Affiliate programs and affiliations include, but are not limited to, the eBay Partner Network.
Well after only 4 years, 4 months and two body shops I got my car back yesterday...........
This was September 3rd, 2015
It's now nice and straight with new rockers, new door bottoms, a new floor and floor braces.
I've got 4 years worth of formerly rusty, but now shiny, parts to install.
I had the frame home for a while about 9 months ago and fit the exhaust system.
I rebuilt the engine (with help!) about 3 years ago and have no idea if it will run.
More to come!
Bill
Last edited by Nomadoc; February 15th, 2020 at 09:07 AM.
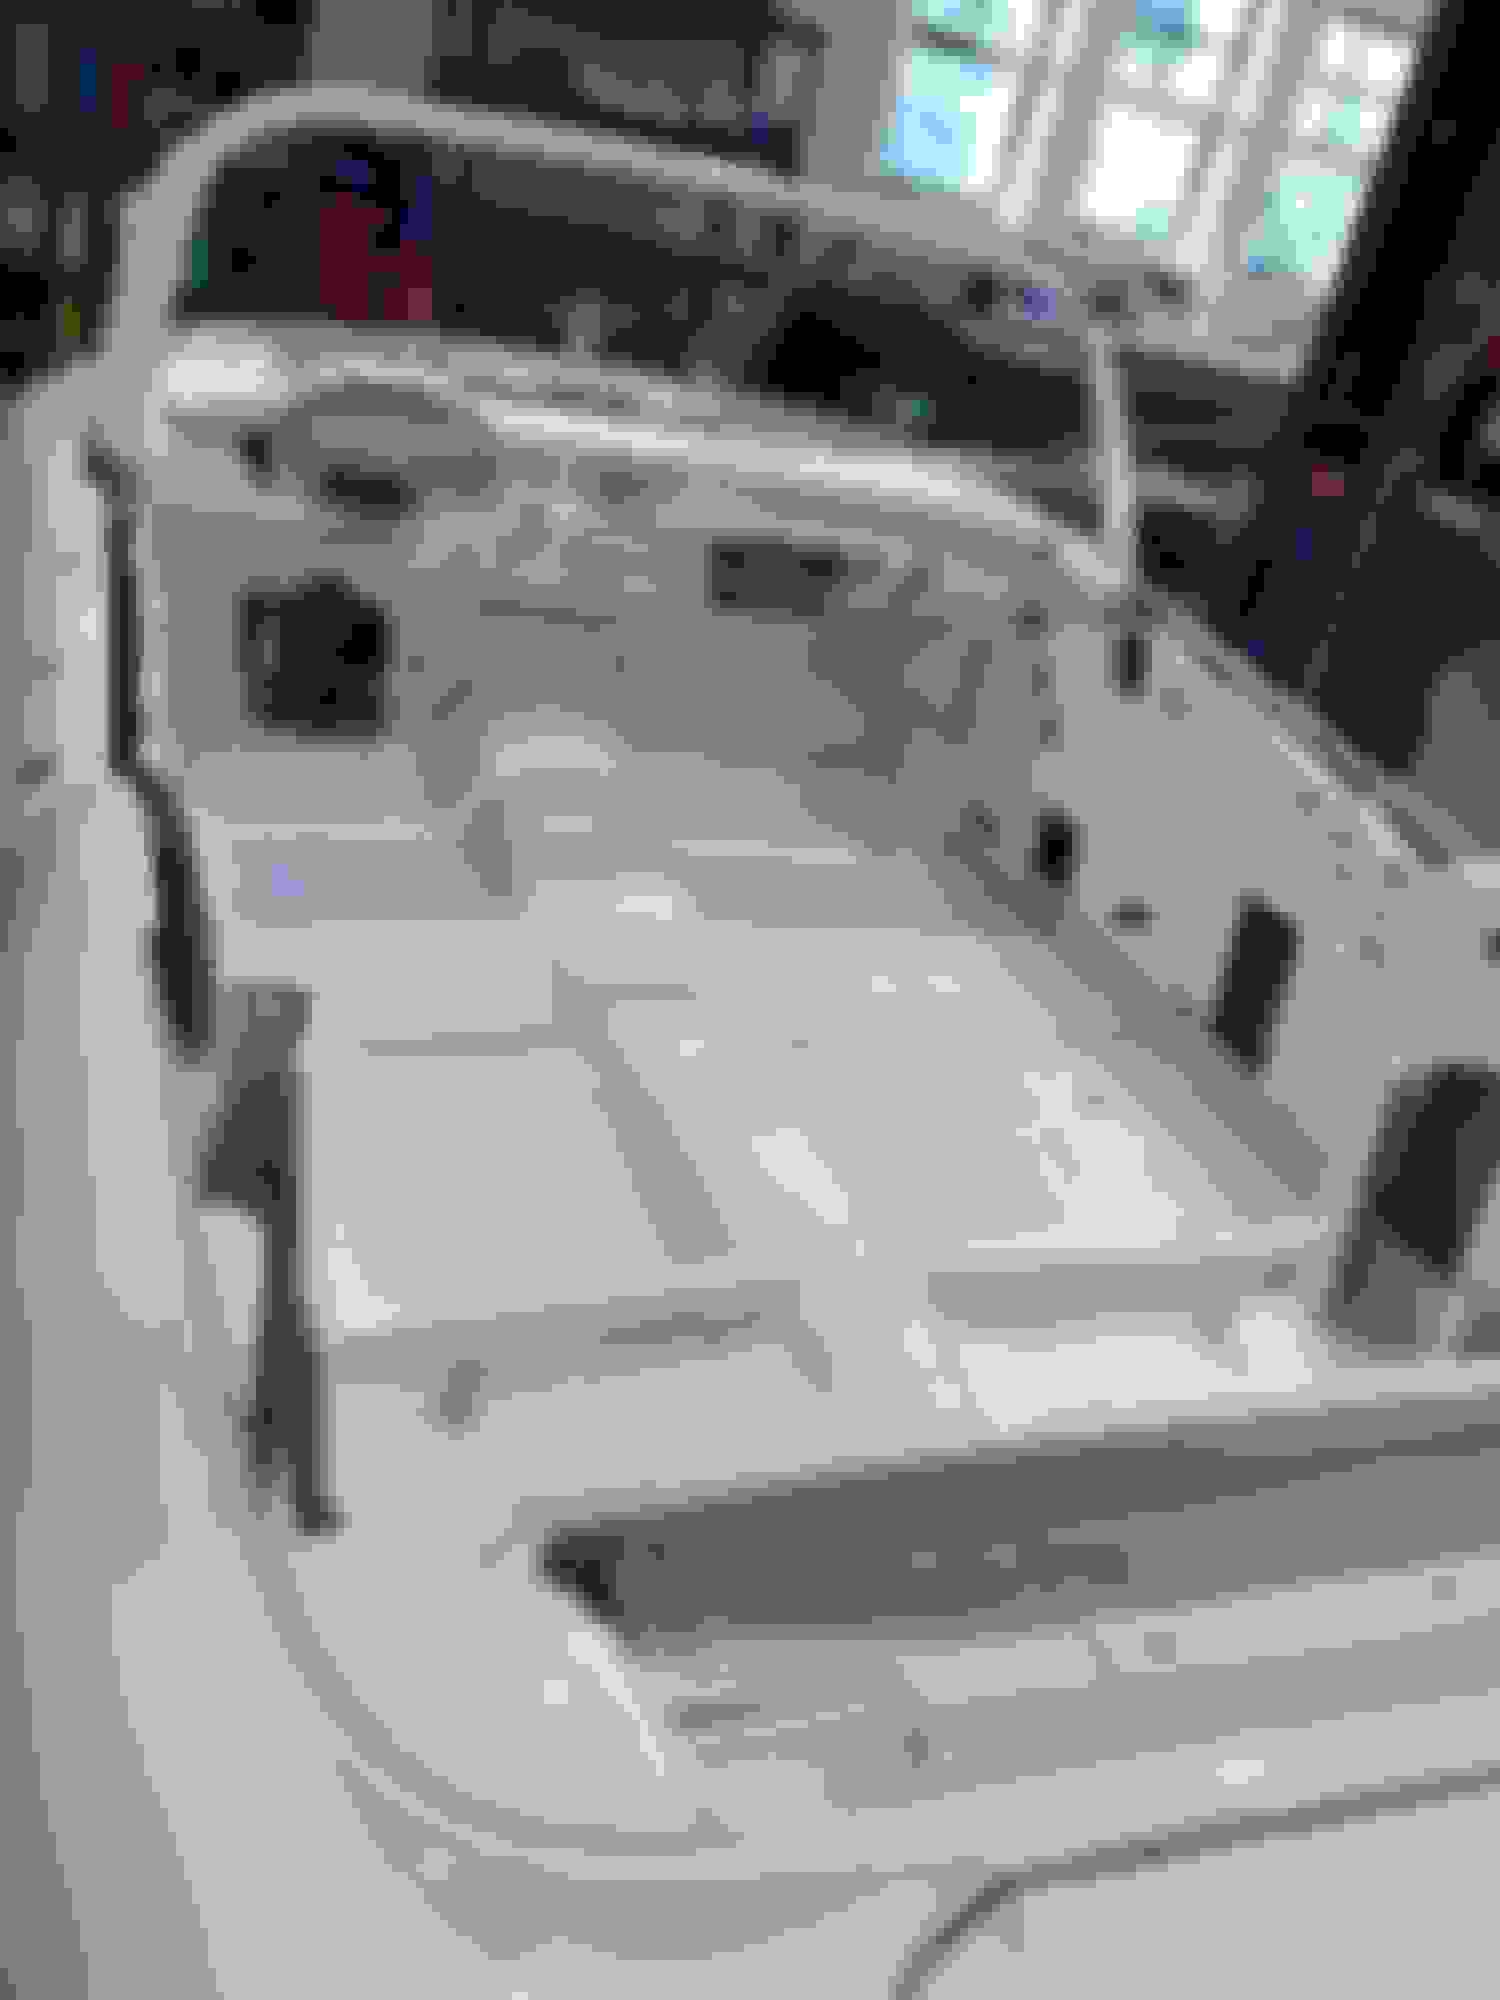
Making some progress.
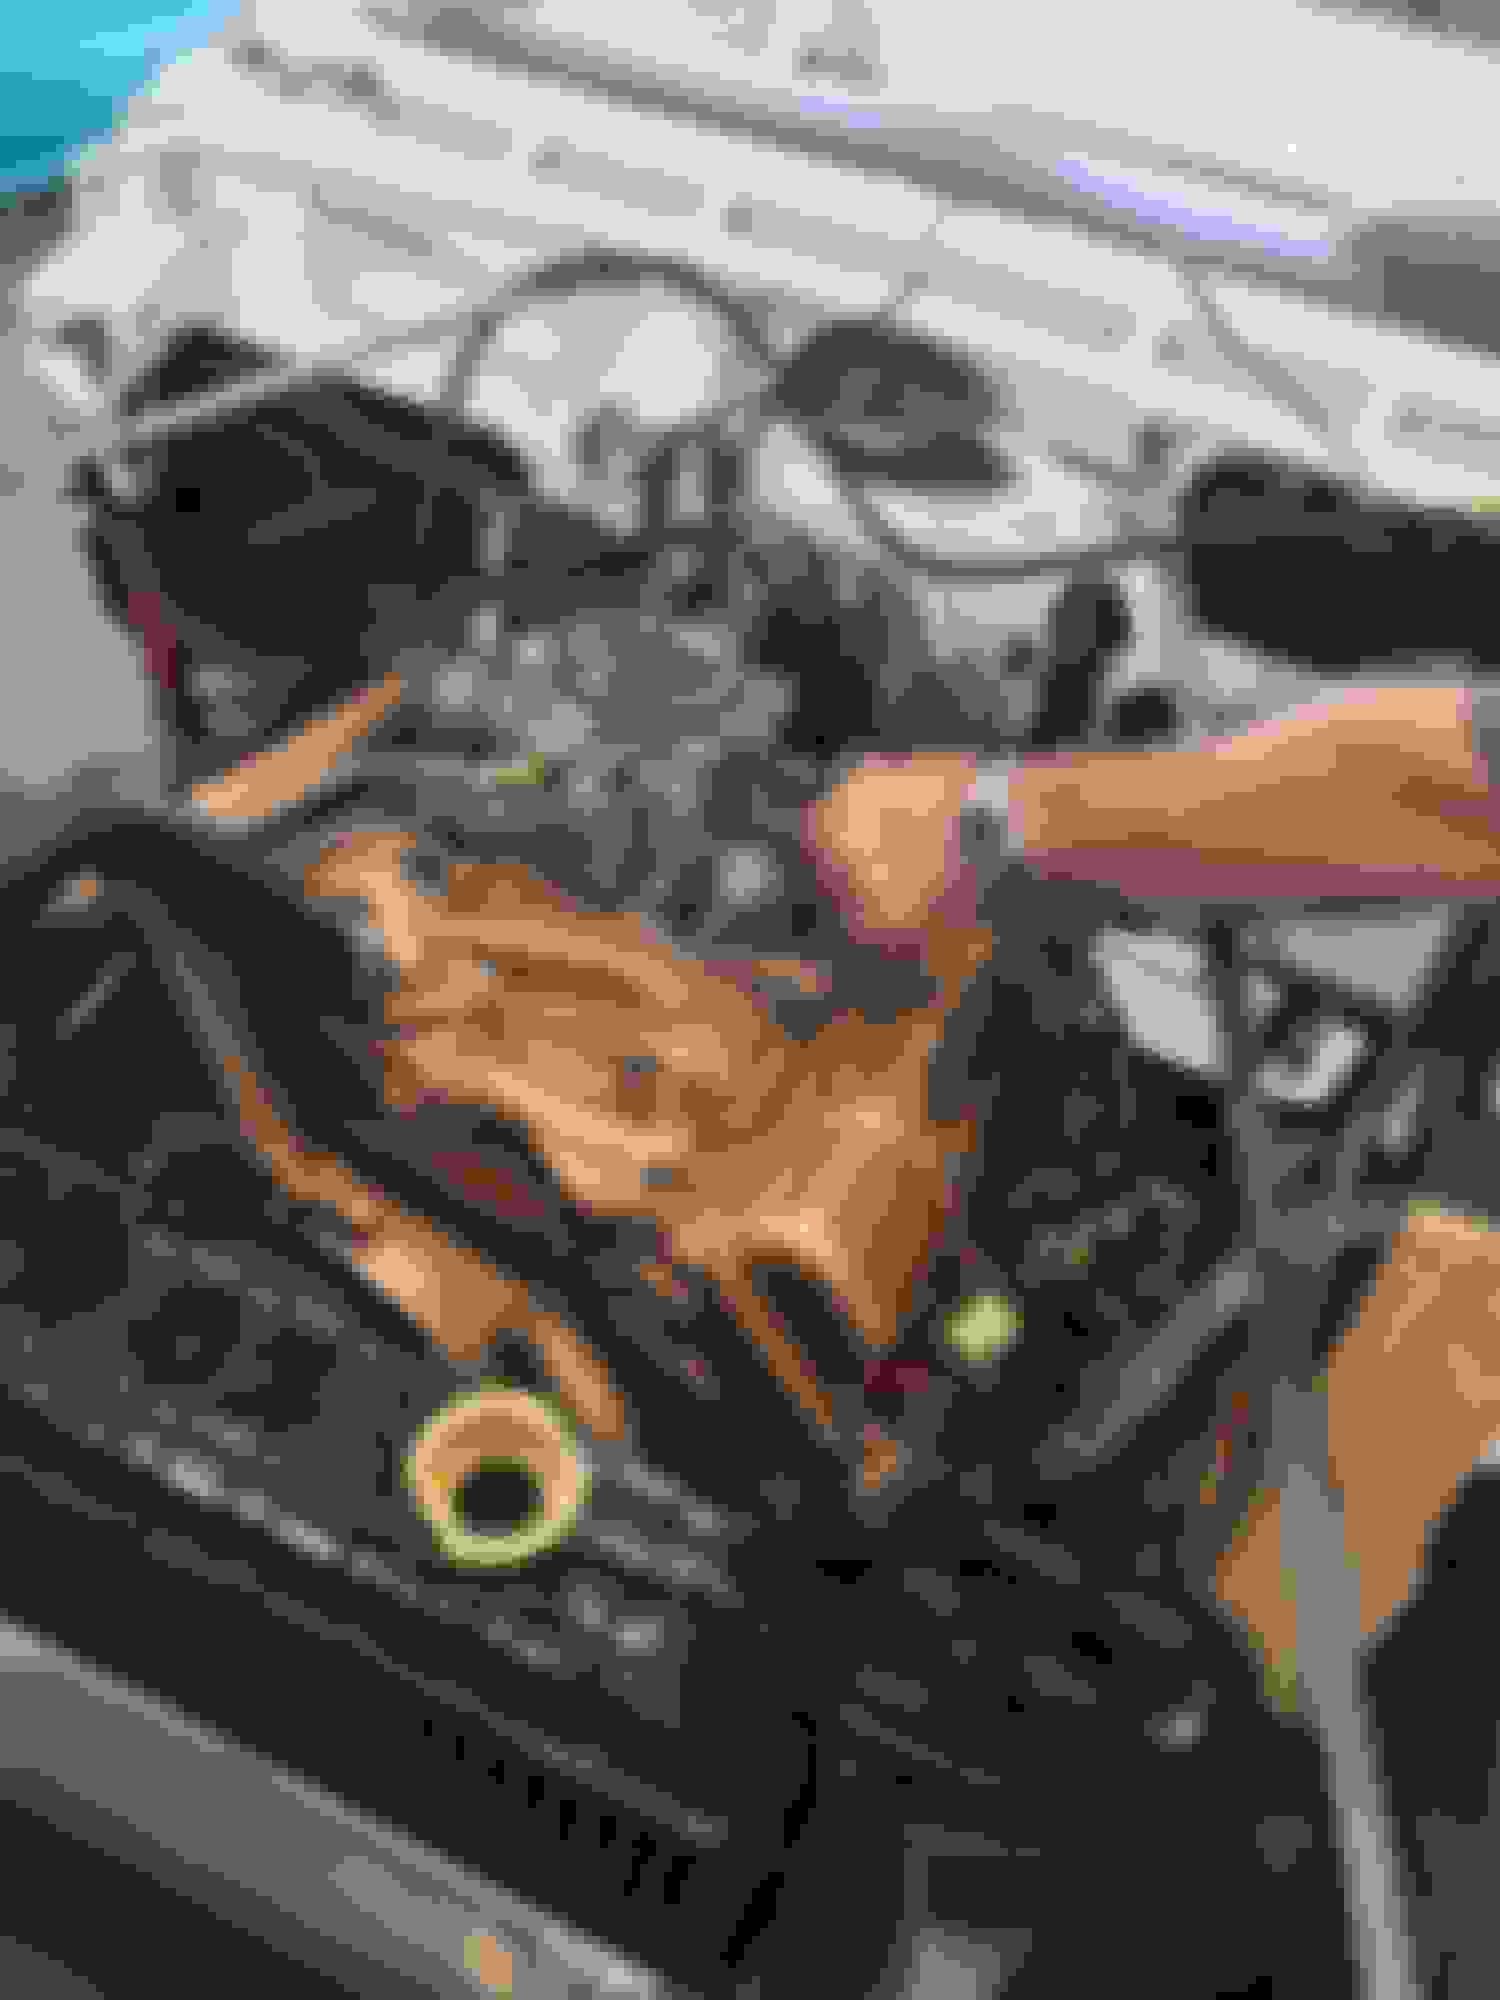
Put the engine back in.
And I have come to the conclusion that It's a LOT easier to set it on a bare frame.....
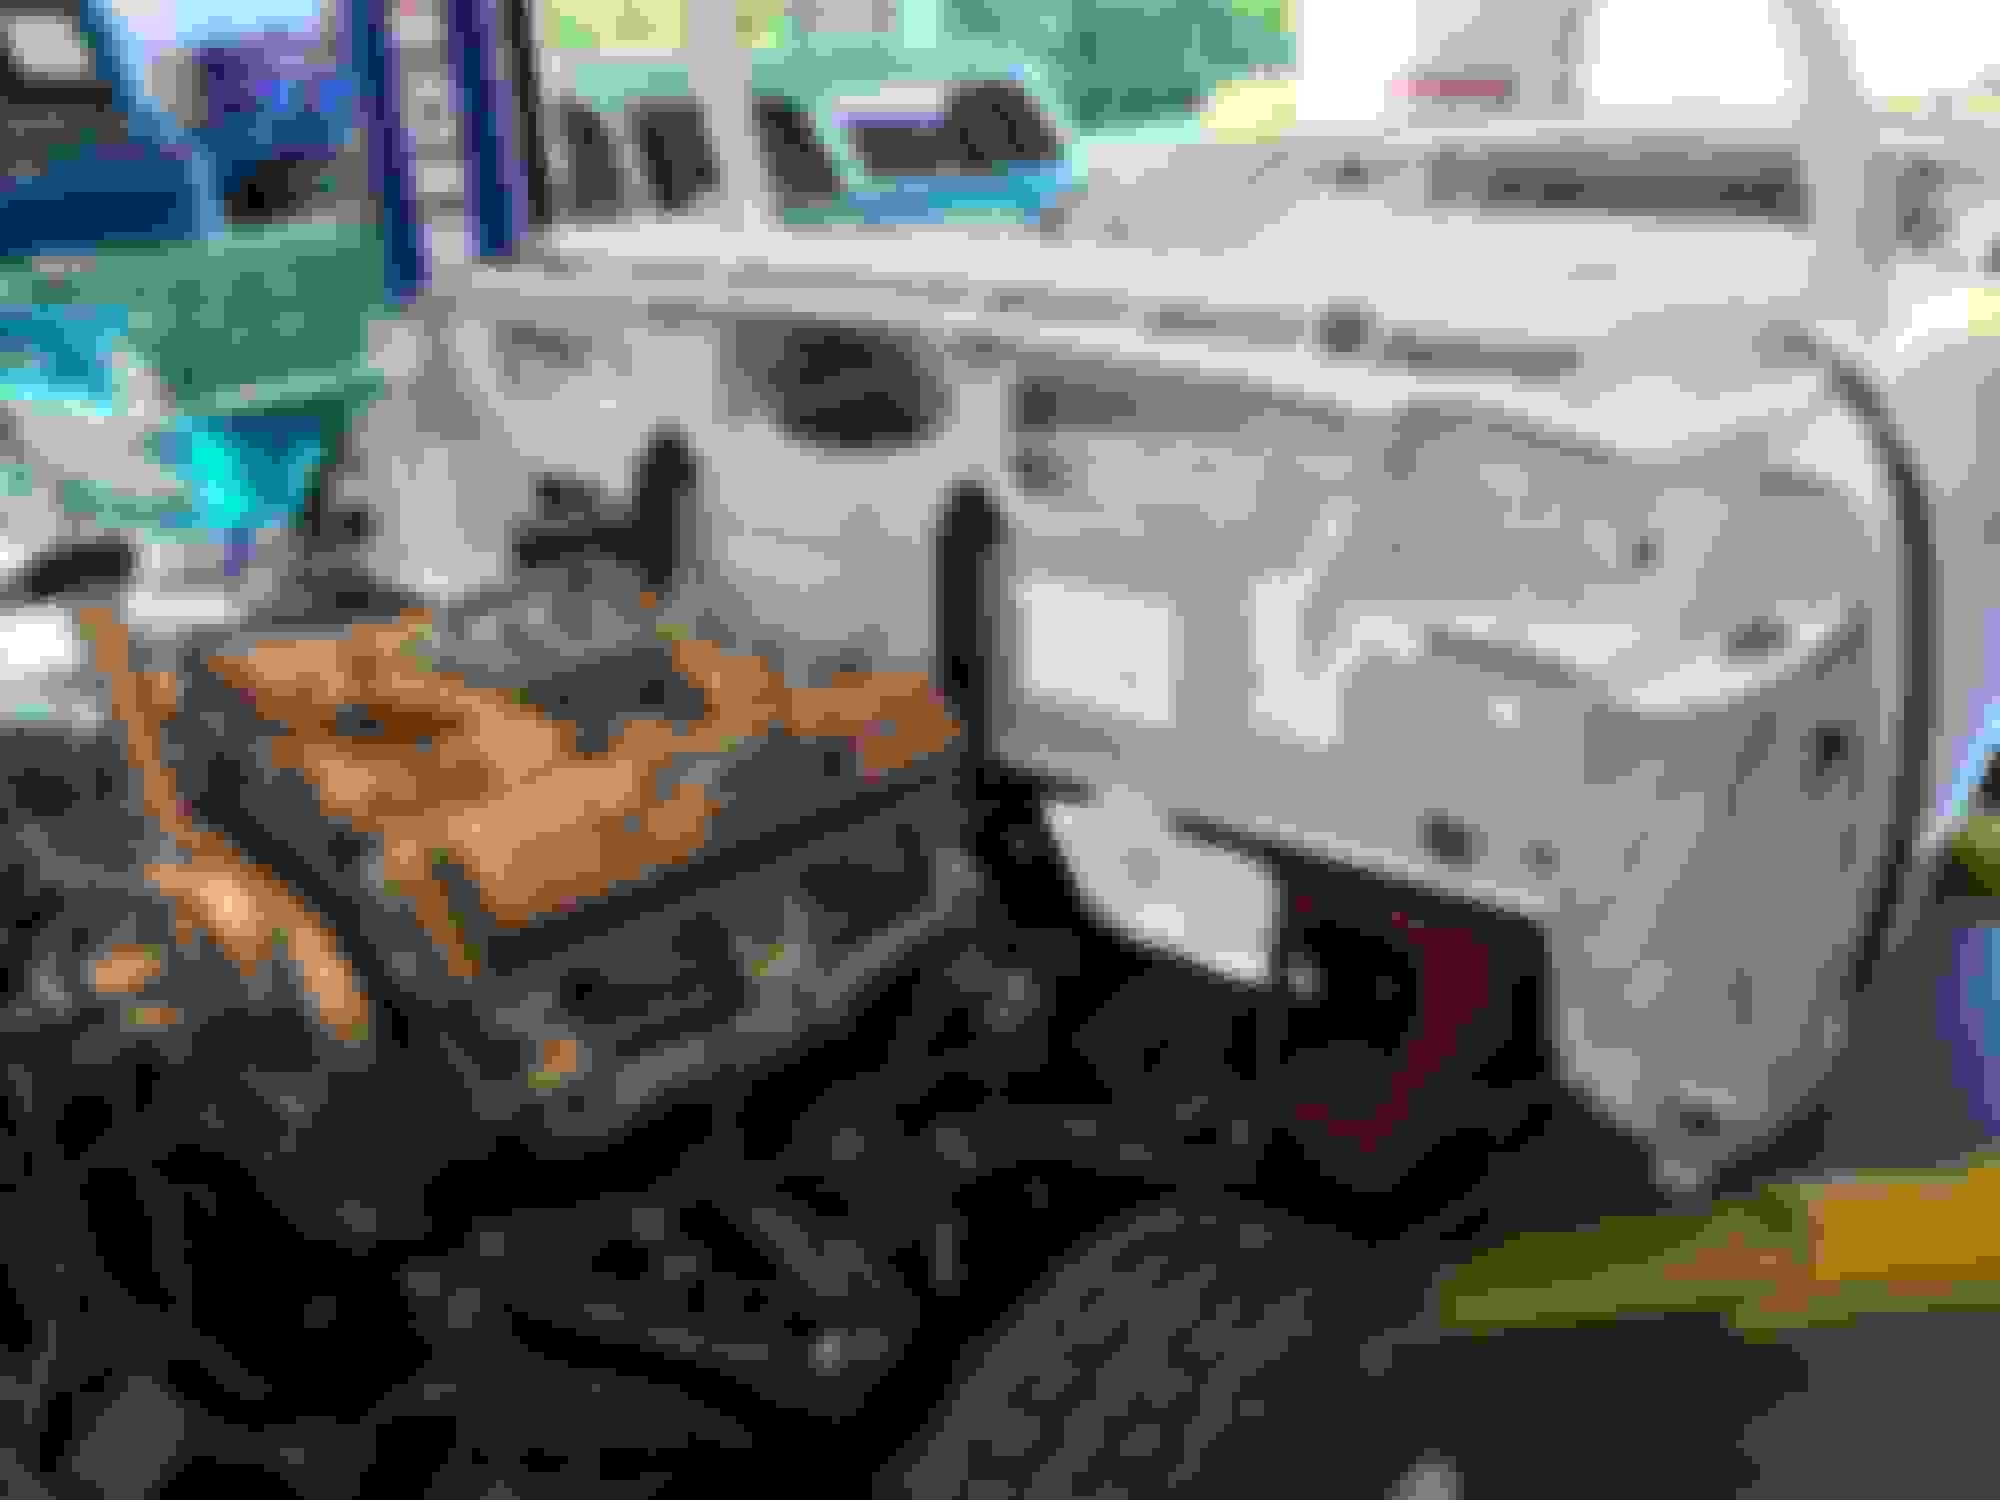
Since there is no instruction sheet for reassembly I have decided to start with attaching parts to the firewall that will be difficult to get to once the fenders are back on. Once my radiator returns from the the shop I'll work on getting the engine running.
For now I'm enjoying getting to spaces, like under the dash, that are typically a pain to work on but are now pretty easy.
I thought that I would just be cruising along with reassembly but typically I find that there are parts that I haven't cleaned yet.....
So it's pretty much been a process of find a part, clean it up, go to NAPA or the hardware store for whatever that I'm in need of, attach said part then repeat....
The best days are when I get parts back from the chrome people.
The worst days are the days the chrome people call to tell me how much it's going to cost......
By the way, I've been using R and D Refinishing in Elizabethon, Tennessee and they have done an amazing job with the chrome.
Last edited by Nomadoc; March 2nd, 2020 at 08:39 AM.
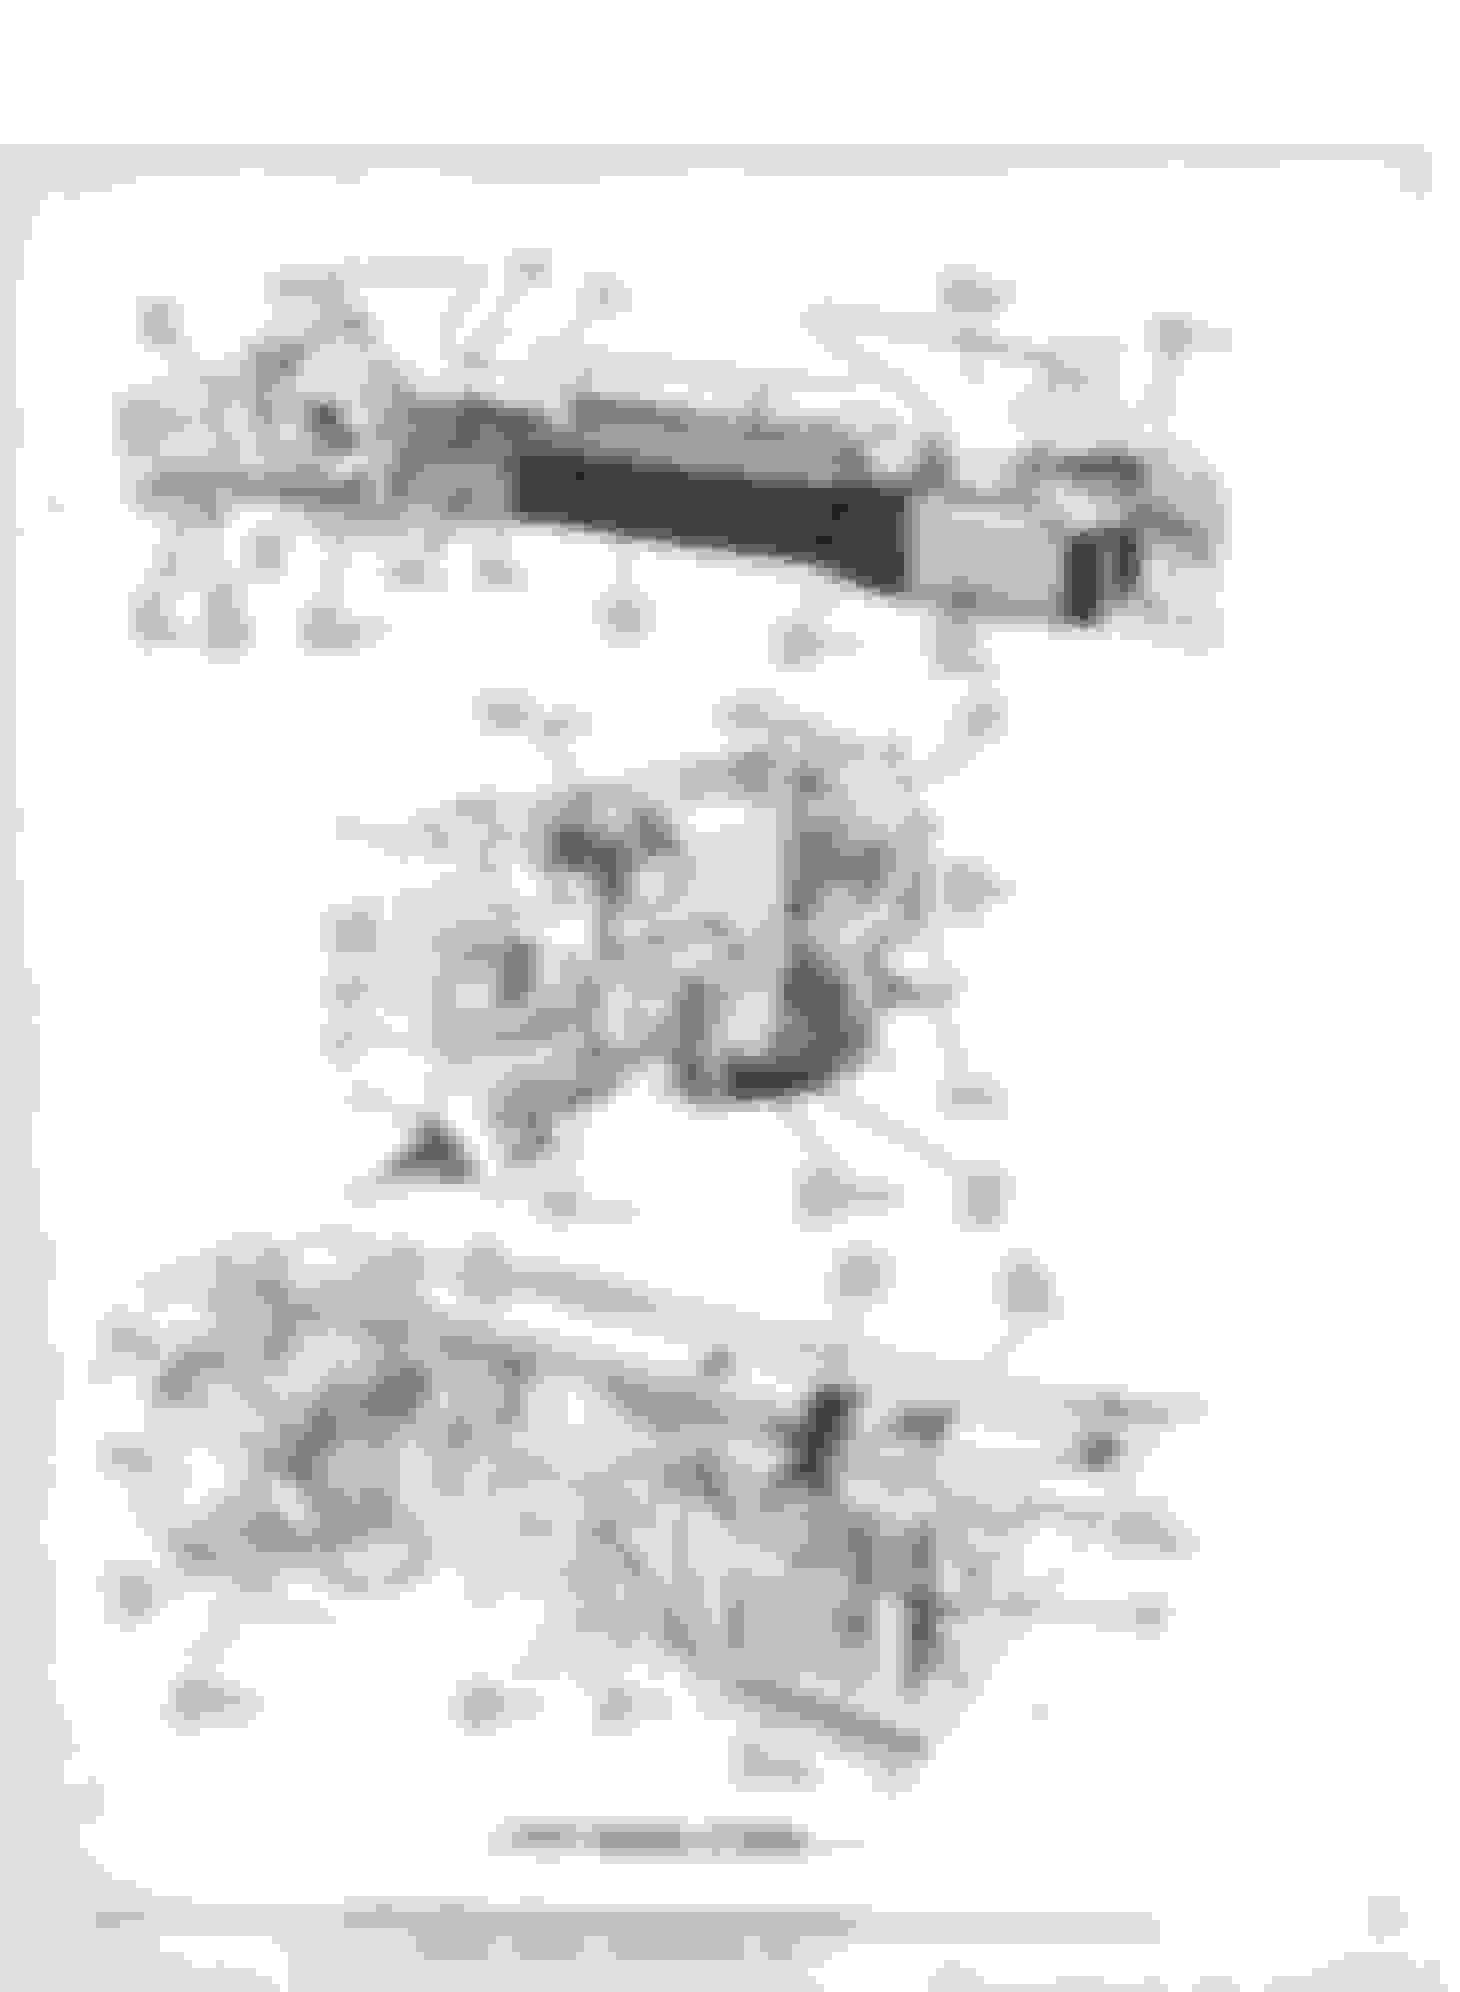
Kinda like assembling a giant model car . Except that instead of breaking the parts off a plastic "tree" , you have to clean , paint , polish , or repair each piece .
BTW there are assembly instructions ( of sorts ) contained in the Oldsmobile parts catalogs .
They contain many illustrated breakdowns that show you where each piece goes .
68RocketAction has made these available in a free download on this thread here ; https://classicoldsmobile.com/forums...dition-131501/
The 1963 edition covers back to about 1957 .
Here's a sample ;
Well if I'm going to be stuck at home, it's nice to have a project.
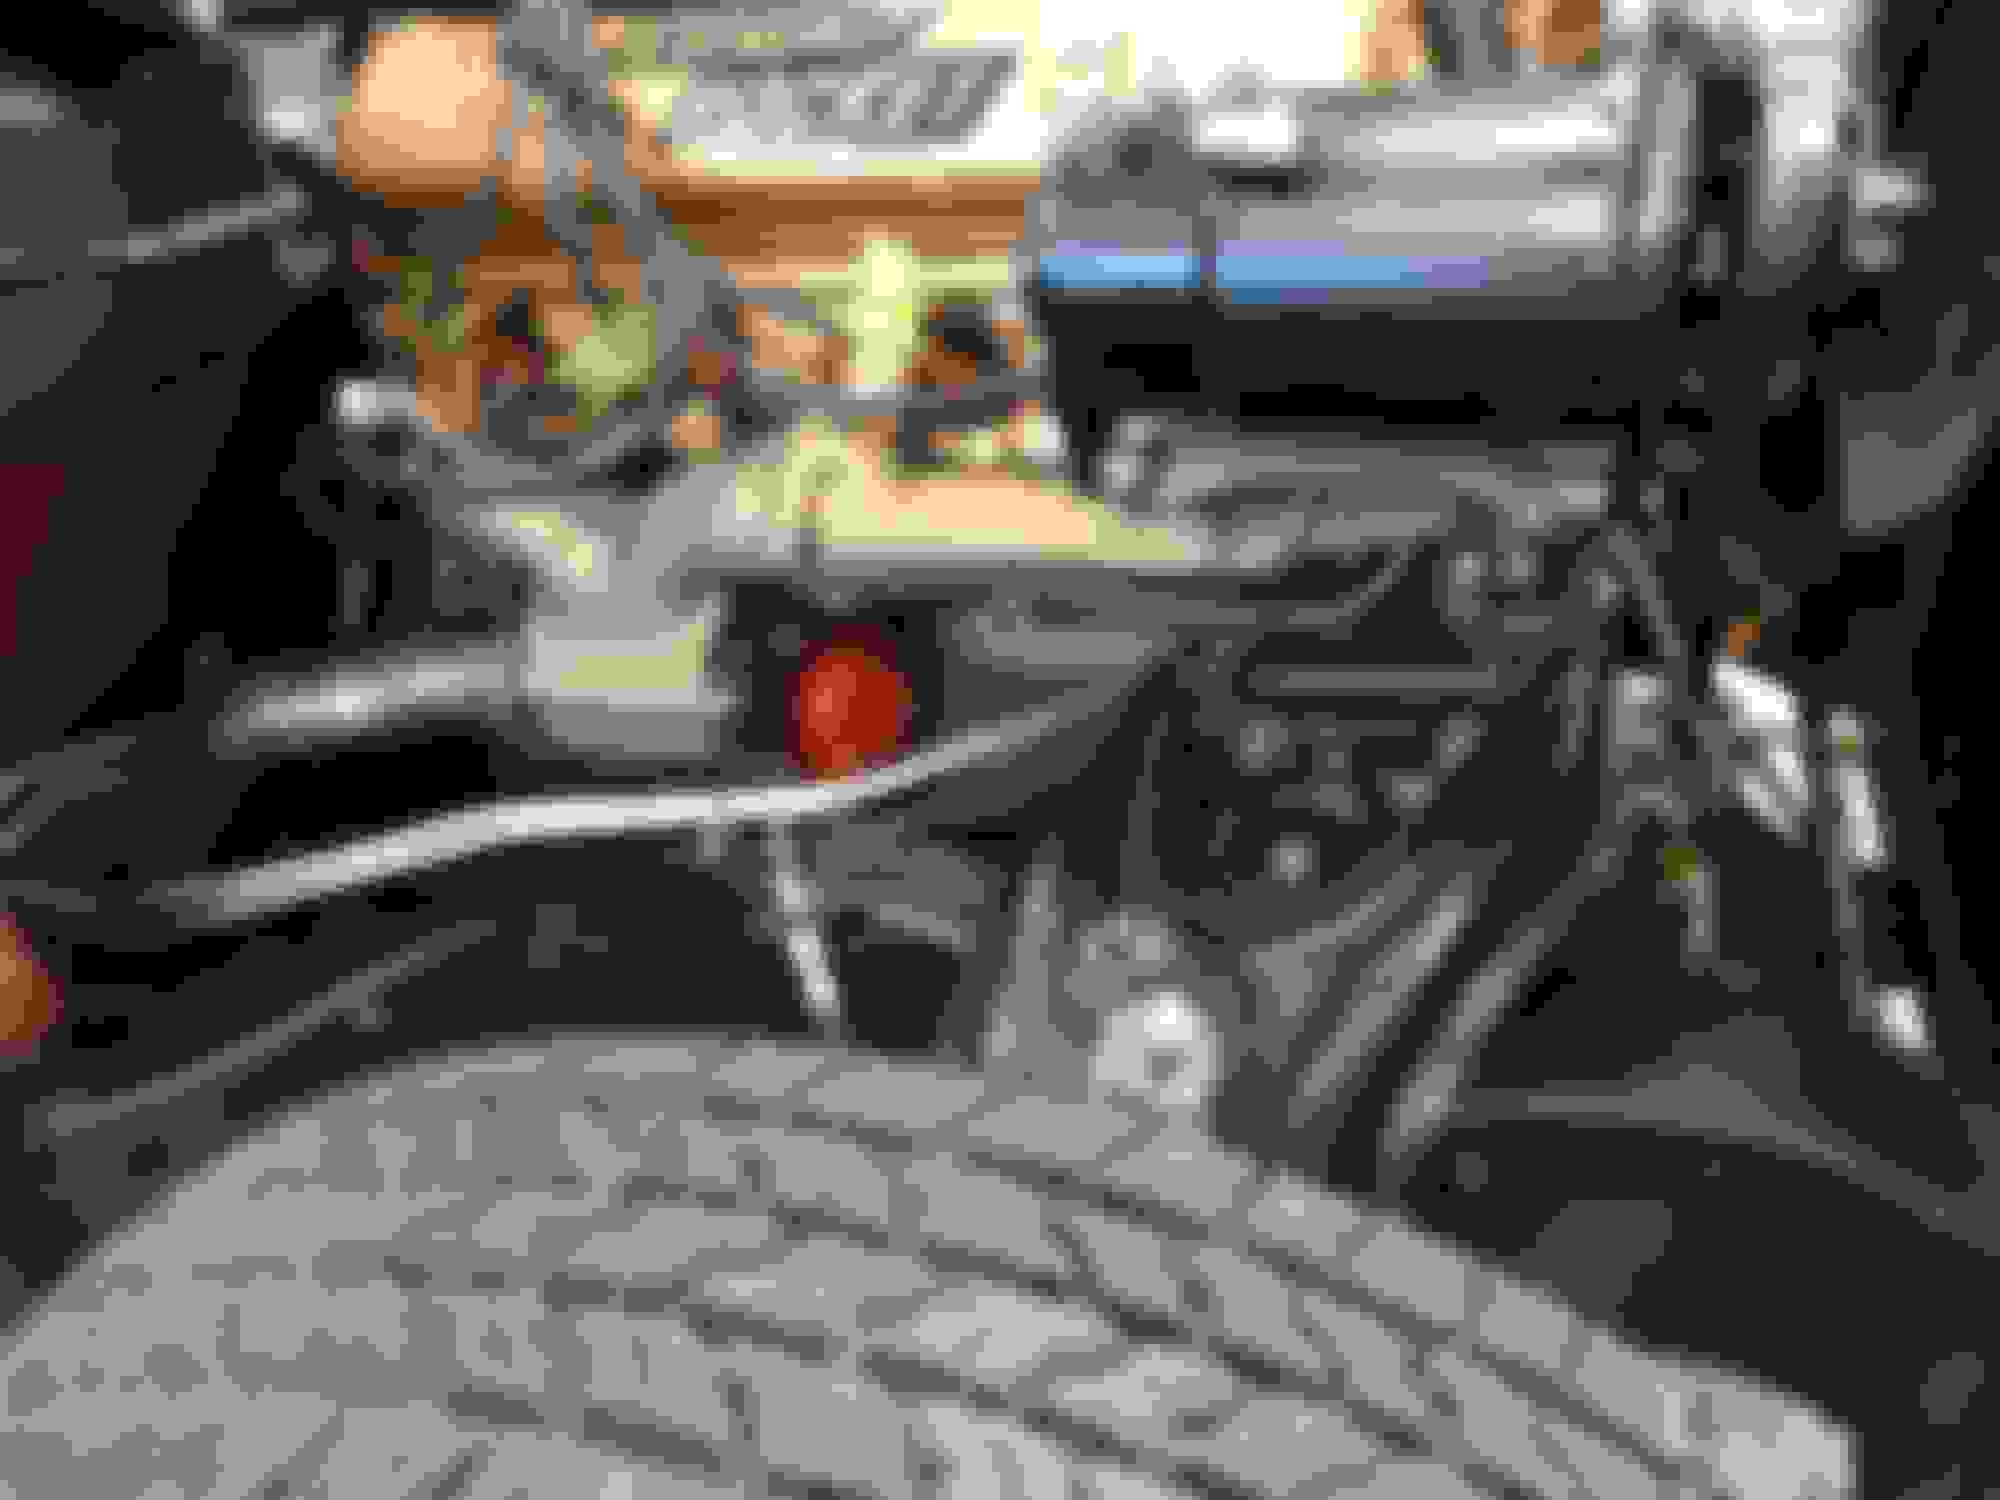
Installed the driveshaft and exhaust system.
I'm glad I was able to pre-install the exhaust with the body off first because even though it's supposed to be "custom fit" from Waldron's Exhaust it required quite a bit of tweaking. Not to mention having to build my own exhaust hangers...
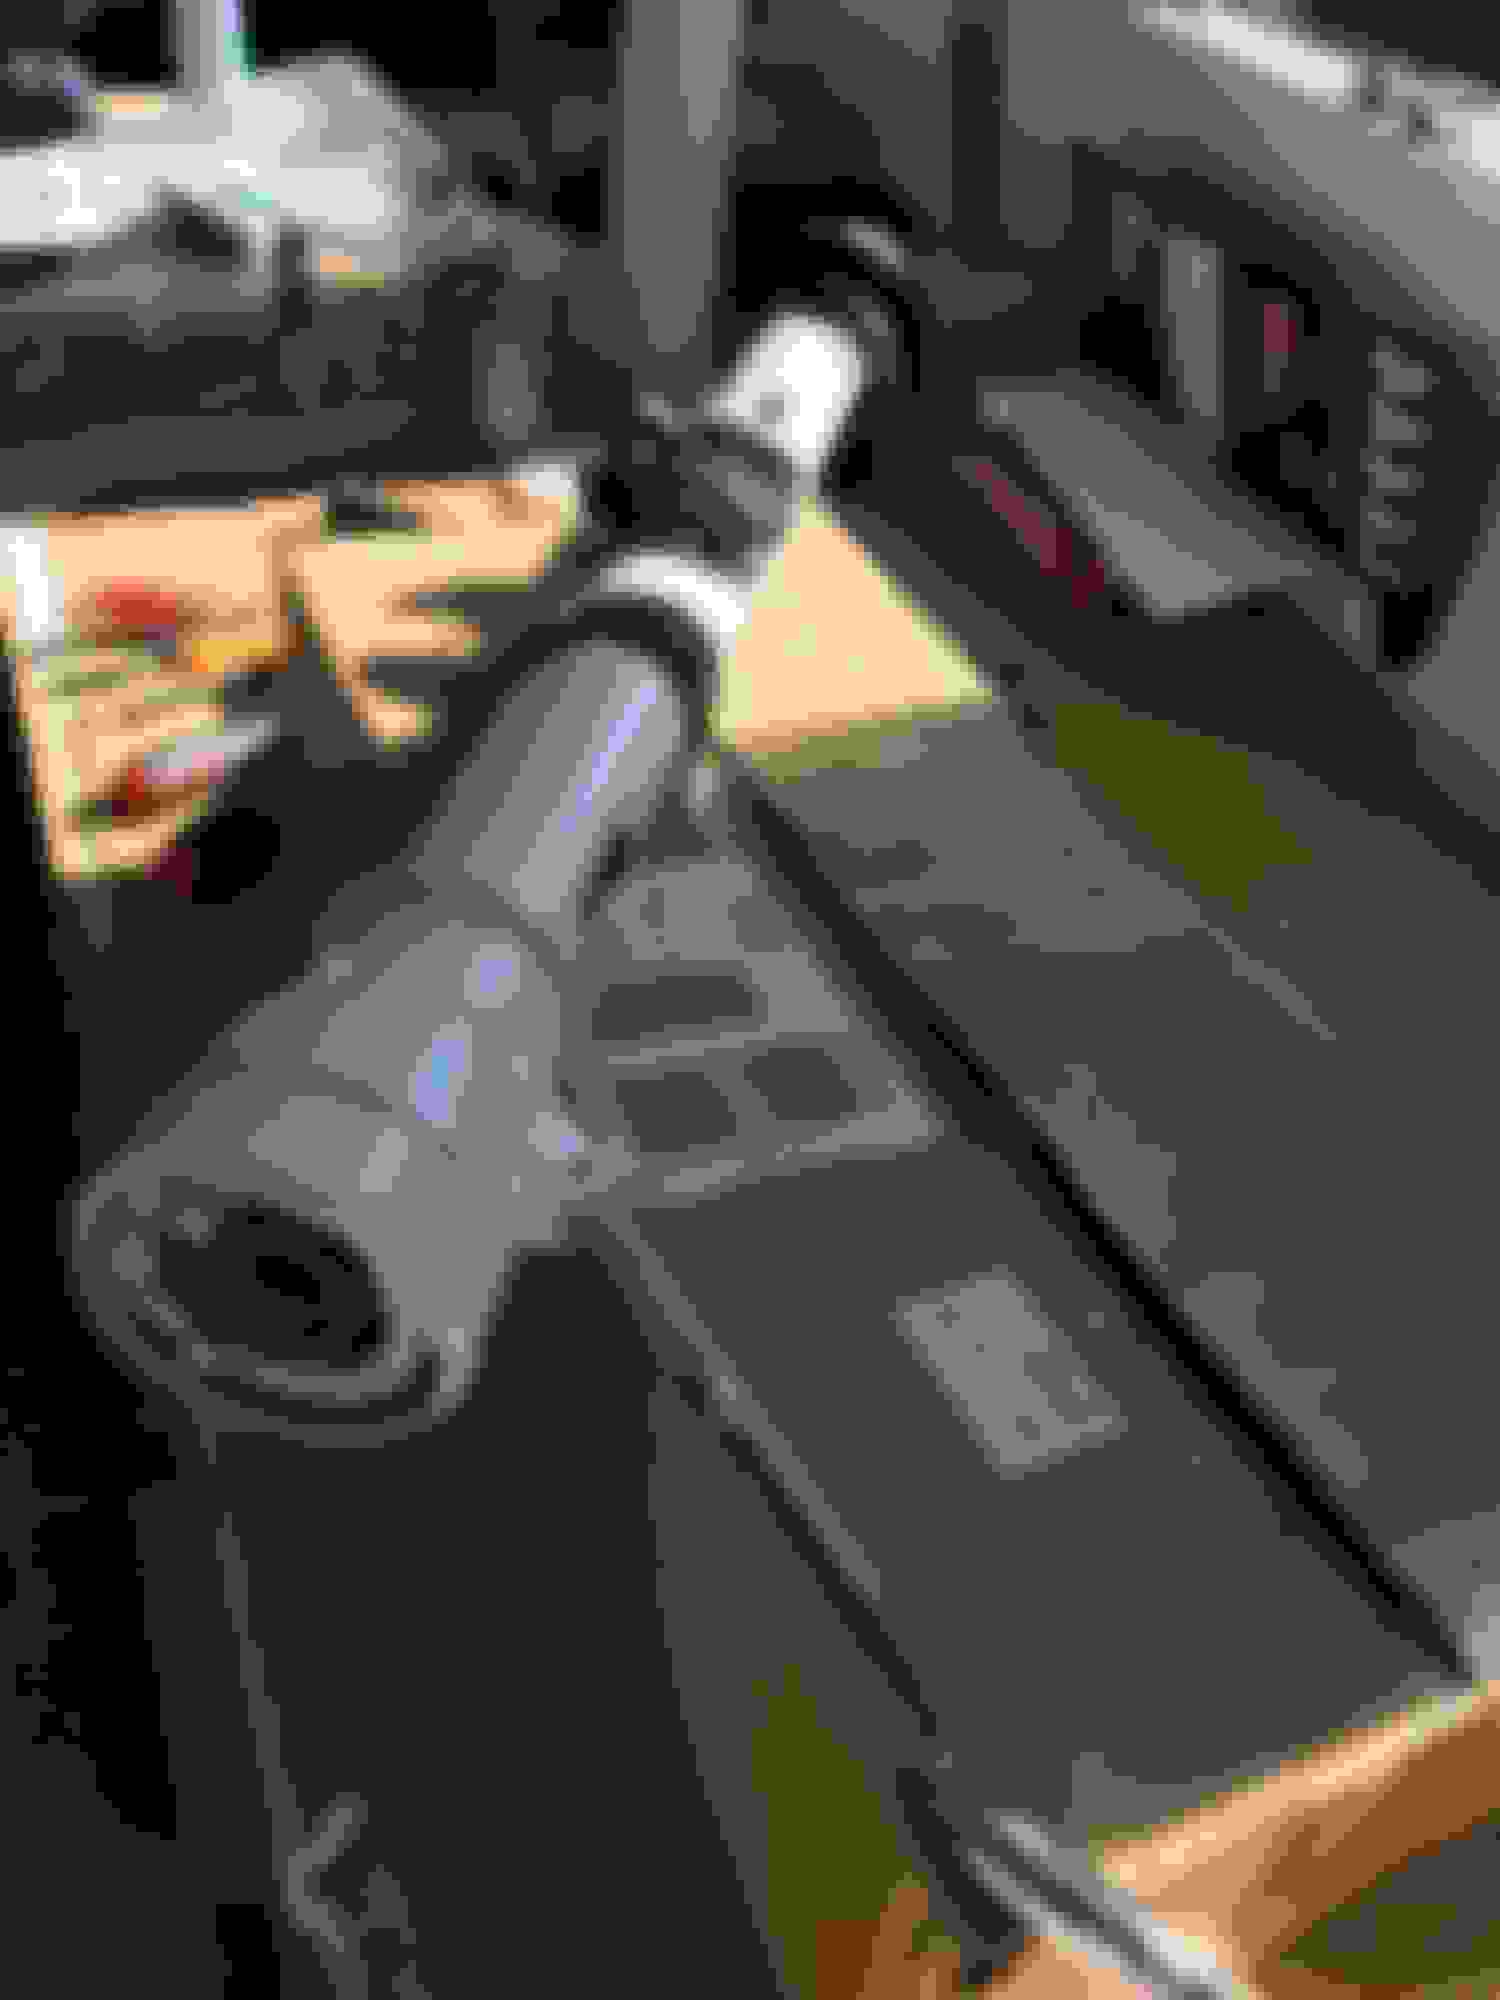
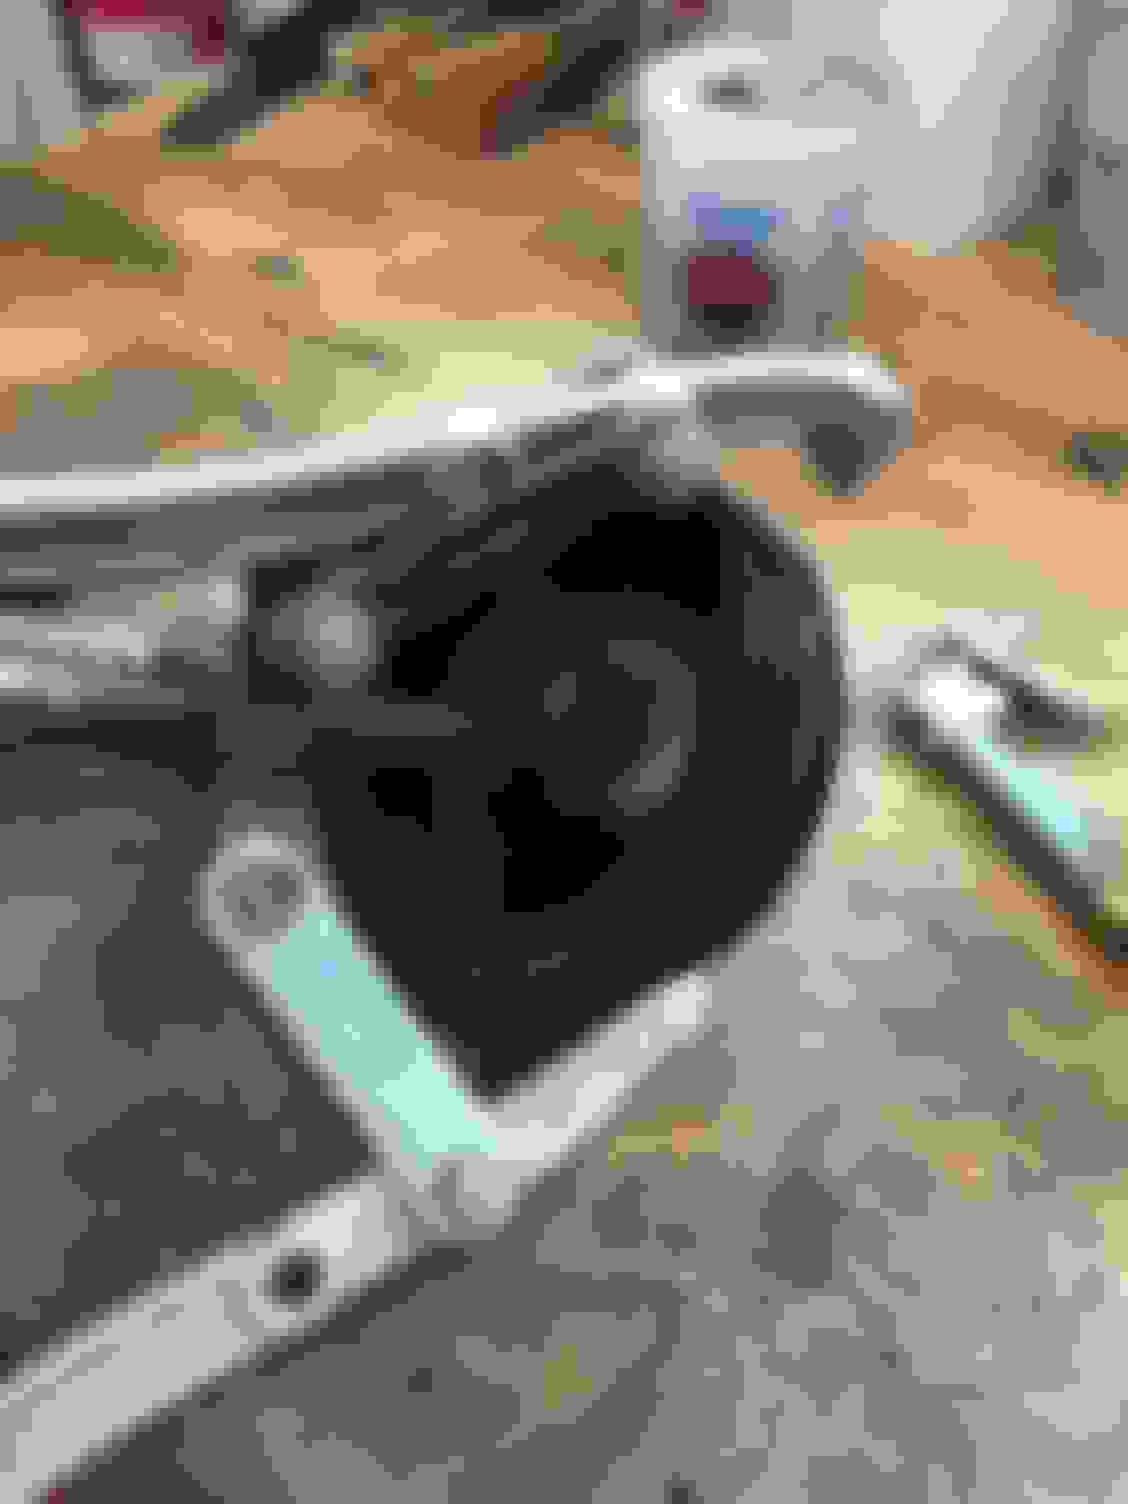
Assembled the steering mast which seemed a lot like assembling a watch.
Started hooking up the new wiring harnesses (there are 3 in the car).
Of course I didn't know that and figured the "chassis harness" included the wiring to the power windows but it didn't so that's another 6 weeks or so because it has to be built......
I also didn't know that the wiring diagram in the service manual doesn't mention colors of the wiring!
I did find one on the internet that does have the colors noted so my set up for hooking things up is a little cumbersome.....
I hadn't looked at the components of the harness since I took them out of the car so I had to to clean up and refurbish the components as I hooked each one up.
The light switch in this car has 5 (!) springs in it so it was a lot like a Jack in Box with little parts flying everywhere....
Installed the dash pad and did a first trial of the rechromed dash components to help hold the pad in place while the glue set
Assembly goes a lot slower than I thought it would.
Because it has been so long, I have to look back through the photos I took to remember what goes where.
Kind of like a jigsaw puzzle. I spend 95% of my time looking for things and 5% actually attaching them.
Looks awesome. I hope to be there someday in the not too distant future. Which the car's original colors? The black scheme, or the new white scheme? Neither?
Looks awesome. I hope to be there someday in the not too distant future. Which the car's original colors? The black scheme, or the new white scheme? Neither?
Thanks!
It was originally Jade Green with a white interior.
Then it was red, then black.
I wanted to paint it Jade Green but the wife completely nixed that.
Oh well, she doesn�t complain much as the receipts come in, so I have that going for me....
Thanks!
It was originally Jade Green with a white interior.
Then it was red, then black.
I wanted to paint it Jade Green but the wife completely nixed that.
Oh well, she doesn�t complain much as the receipts come in, so I have that going for me....
Too bad you couldn't have compromised on a two tone scheme with Jade Green and white. That would have been awesome! Anyhow, marital harmony is very important and it's looking amazing so far.
Well the past 6 weeks has seen slow progress with some successes and some failures......
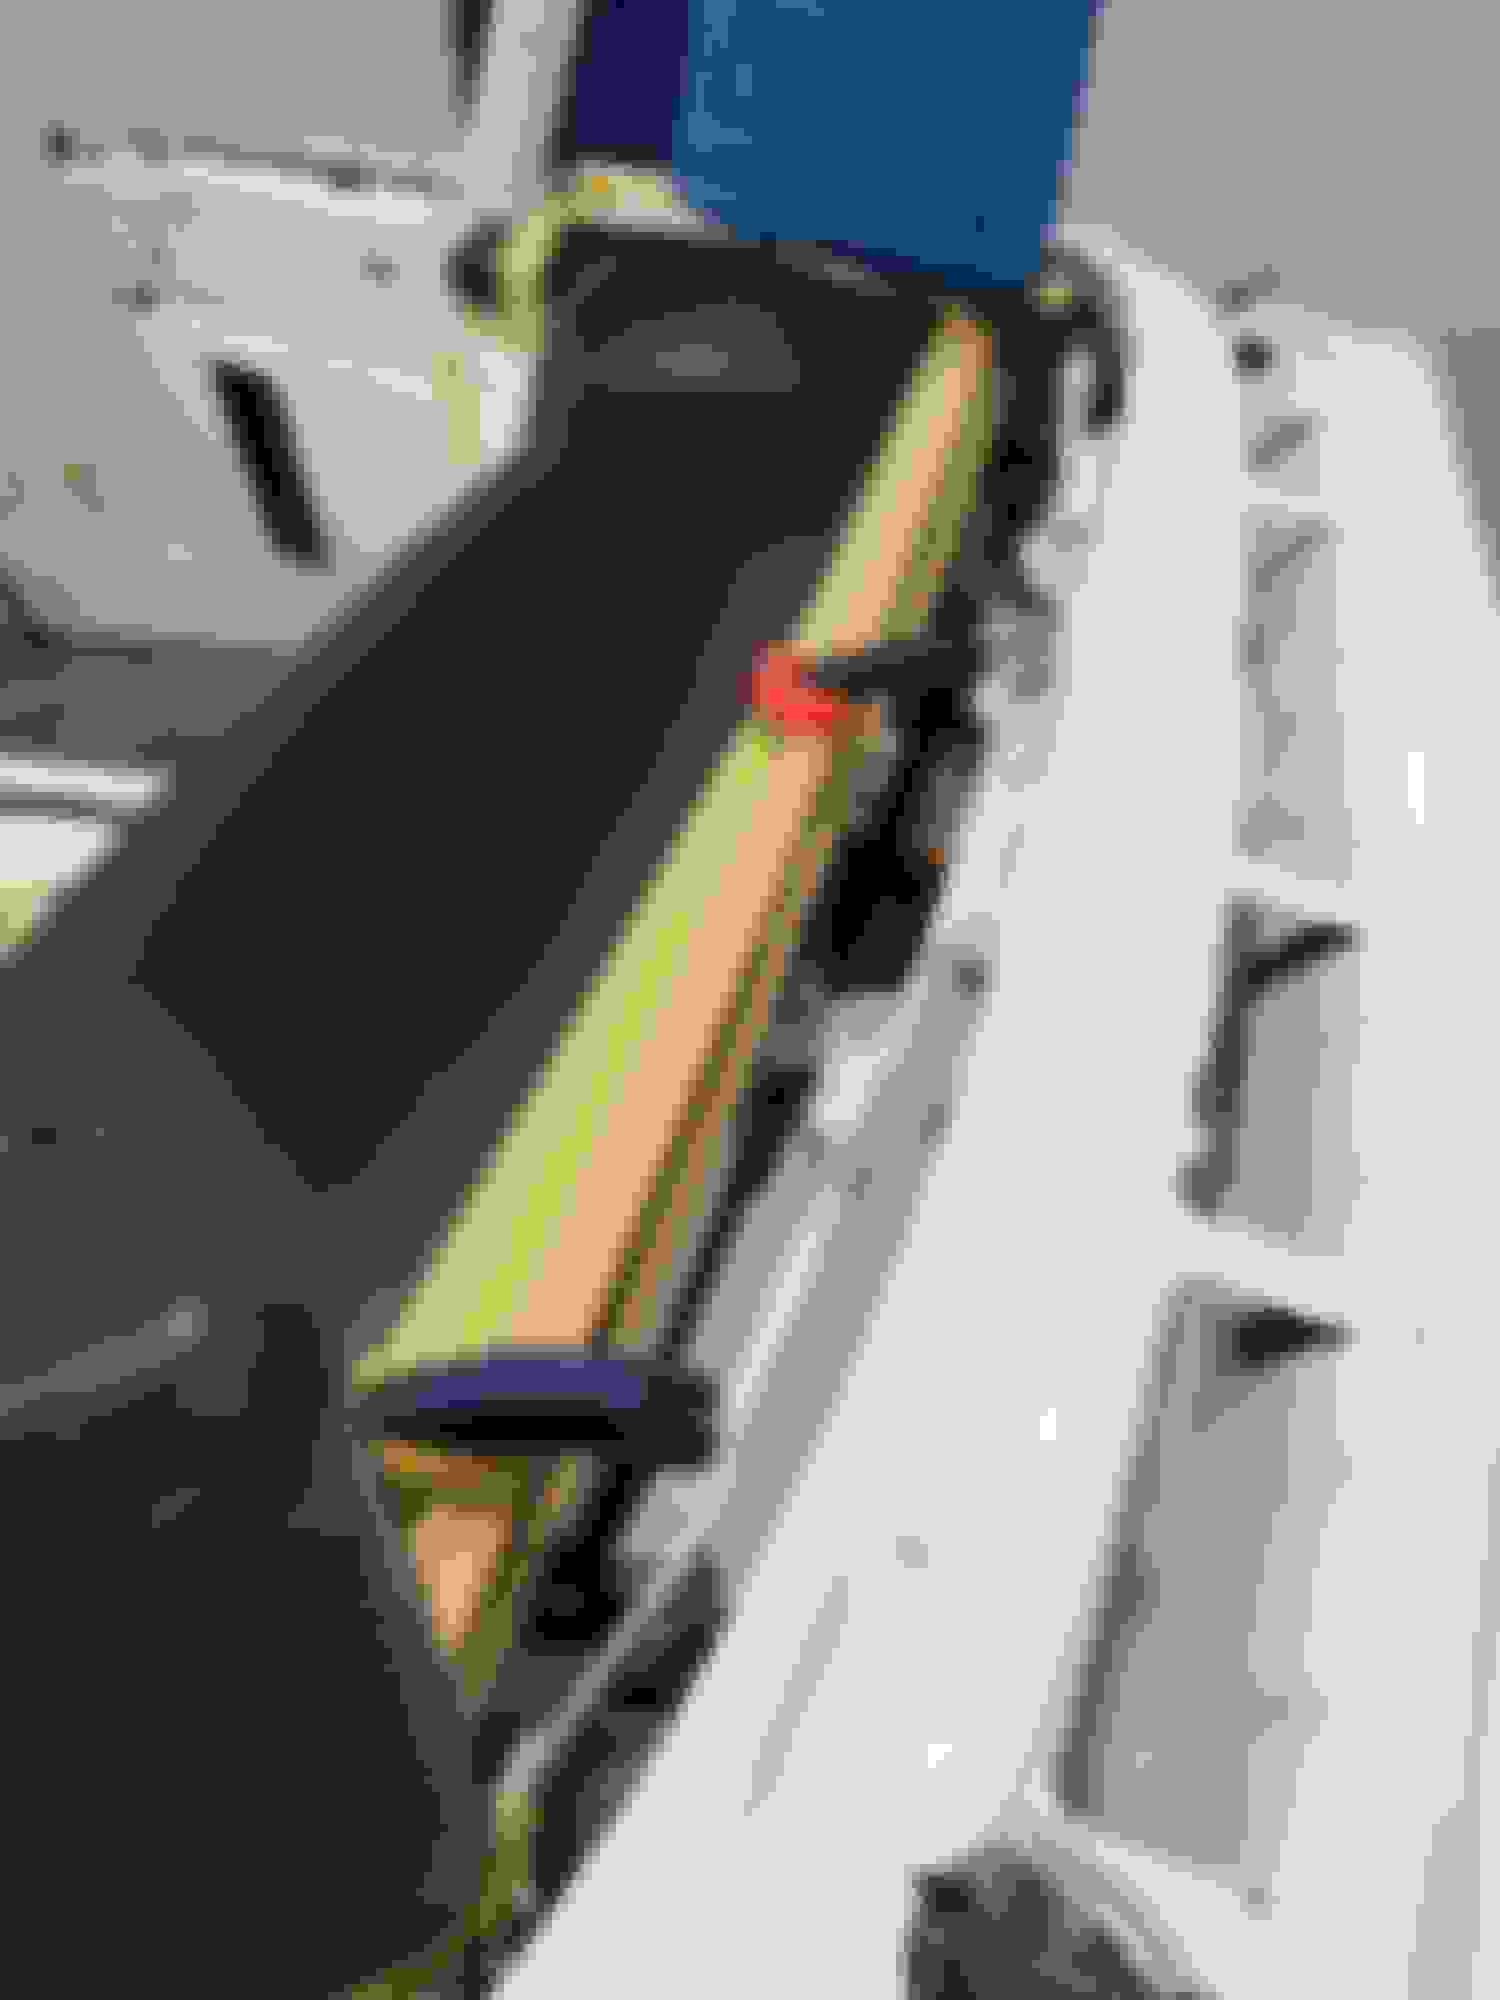
I decided to reassemble the convertible top frame when the parts came back from the chrome people (and while it's disassembly was relatively fresh in my mind). However, it quickly became apparent that one of the parts that left in the package, did not return. The chromer swears it did not arrive in the box, yet I took pictures of everything right before I packaged it up. So that was a "fail".
I searched the internet for a replacement and the closest I came was a whole rusty top frame for a 1958 Chevy Impala for $1500. So I decided to make the piece myself out of 1/4 inch steel plate.
Fortunately, I could use the one from the other side as a size template, I just had to make a mirror image with bends in the opposite direction.
I made a pattern for the plasma cutter out of 1/8th inch plywood and cut around it.
Used the green masking tape to protect the new chrome finish on the one that I used as a template and guesstimated the bends as best I could.
Drilled the holes, cleaned it up and sent that off with the last batch of stuff to the chrome shop. Hopefully, this one will make it back....
Made further progress installing the dash, a "success".
Installed the tail lights and the side trim (success)
But quickly realized that we didn't carry the black paint up onto the door (fail)
The car has to go back to the shop for the fenders and hood to be fit anyway so not a big deal to add the paint....
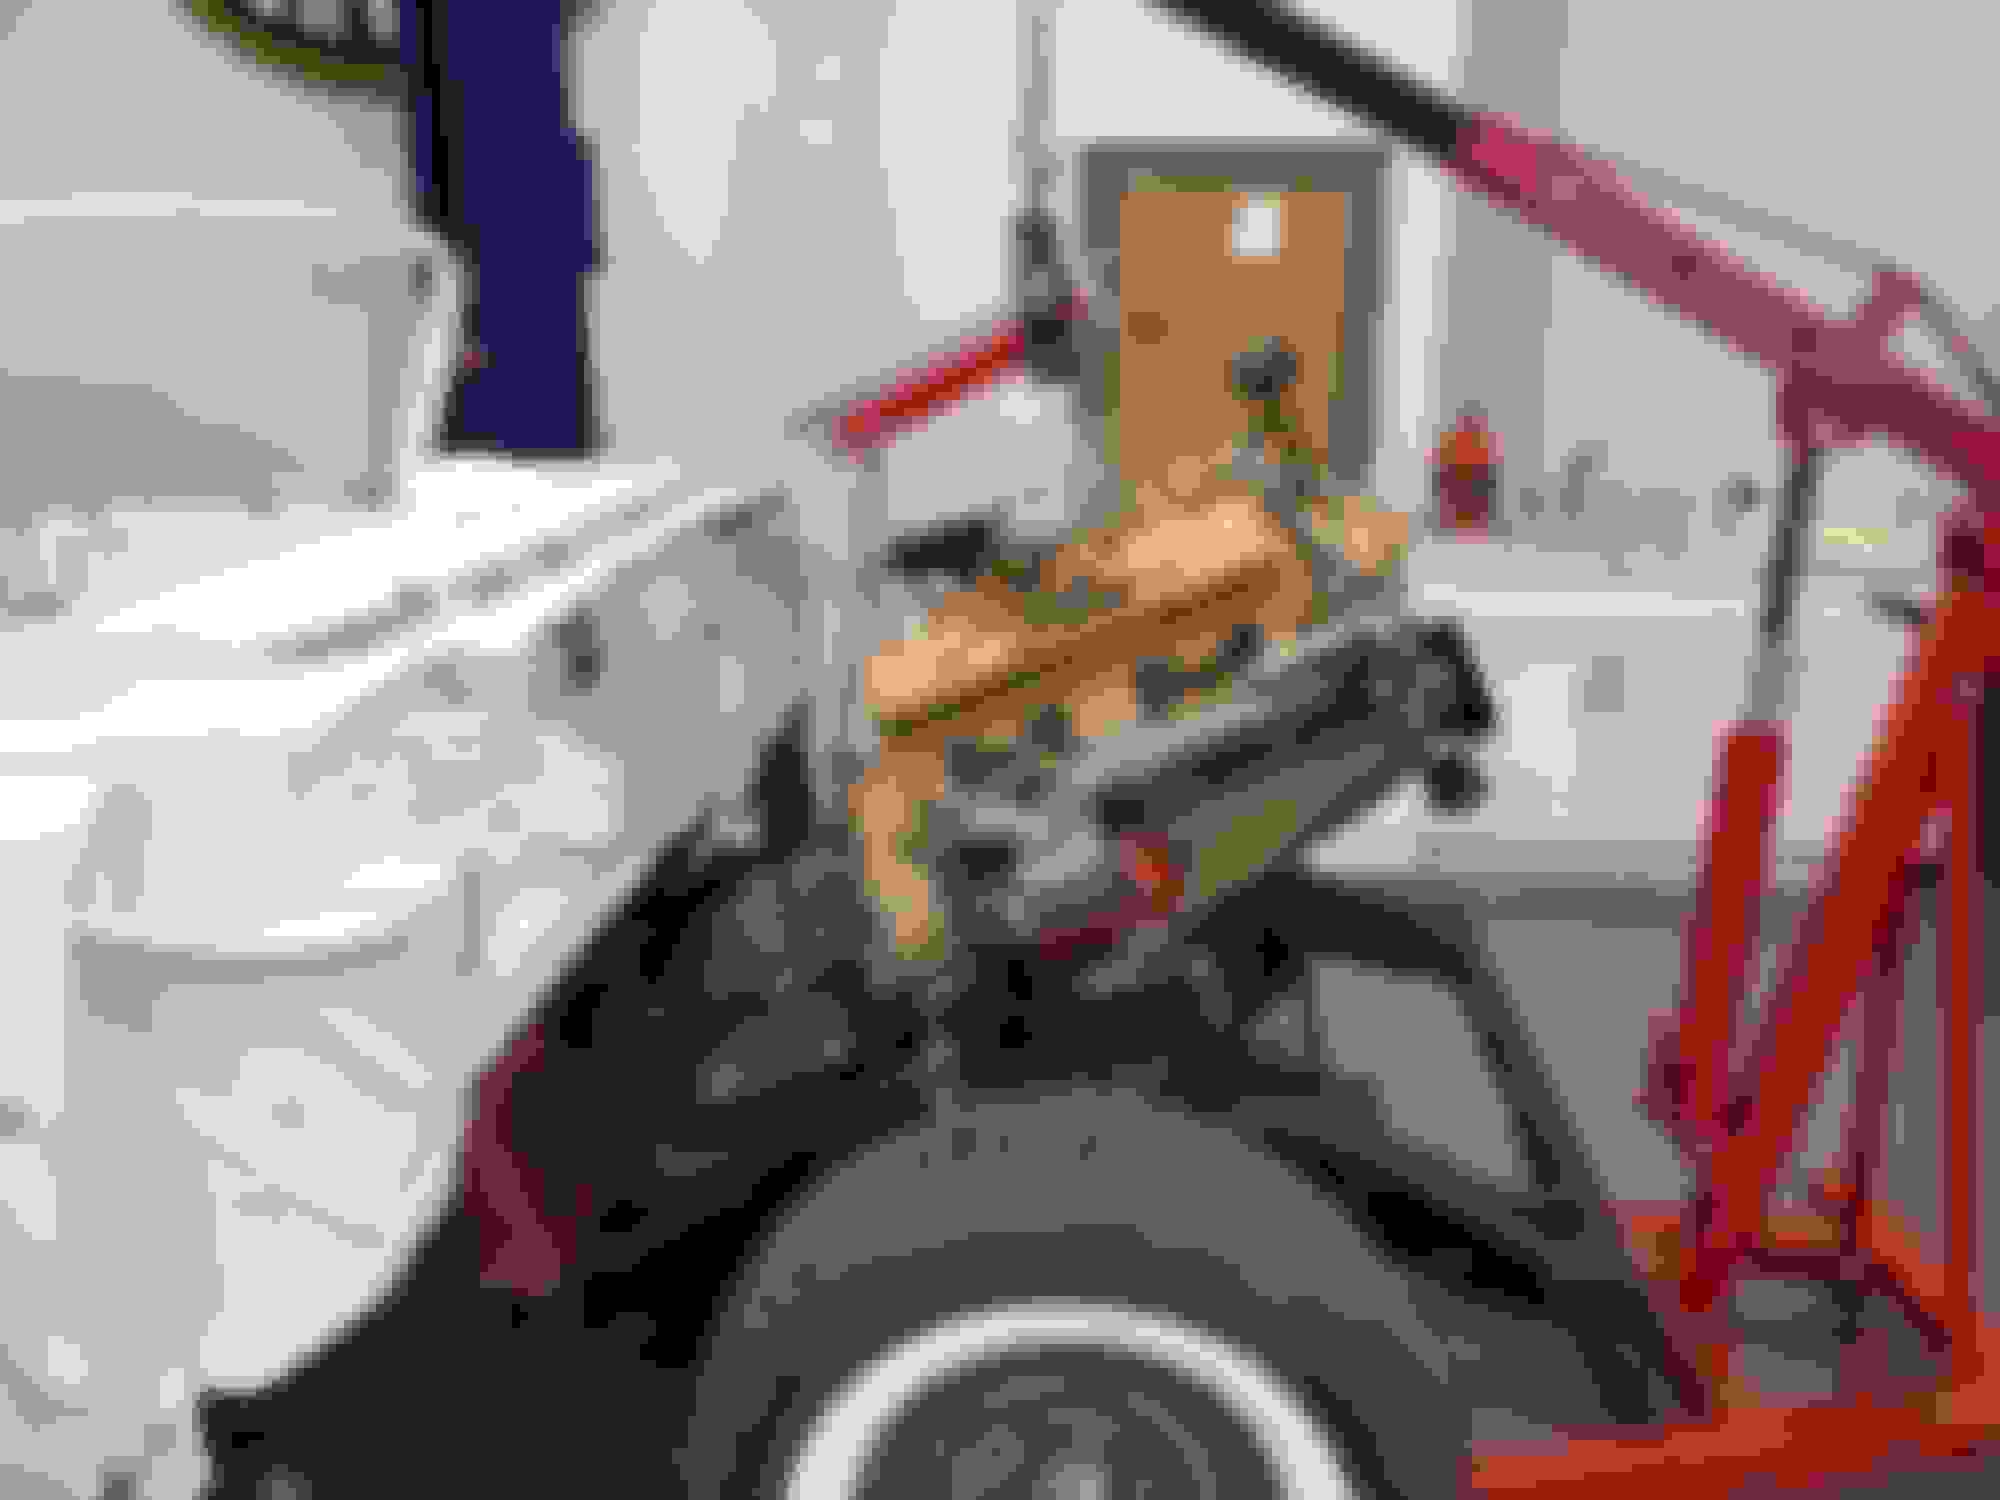
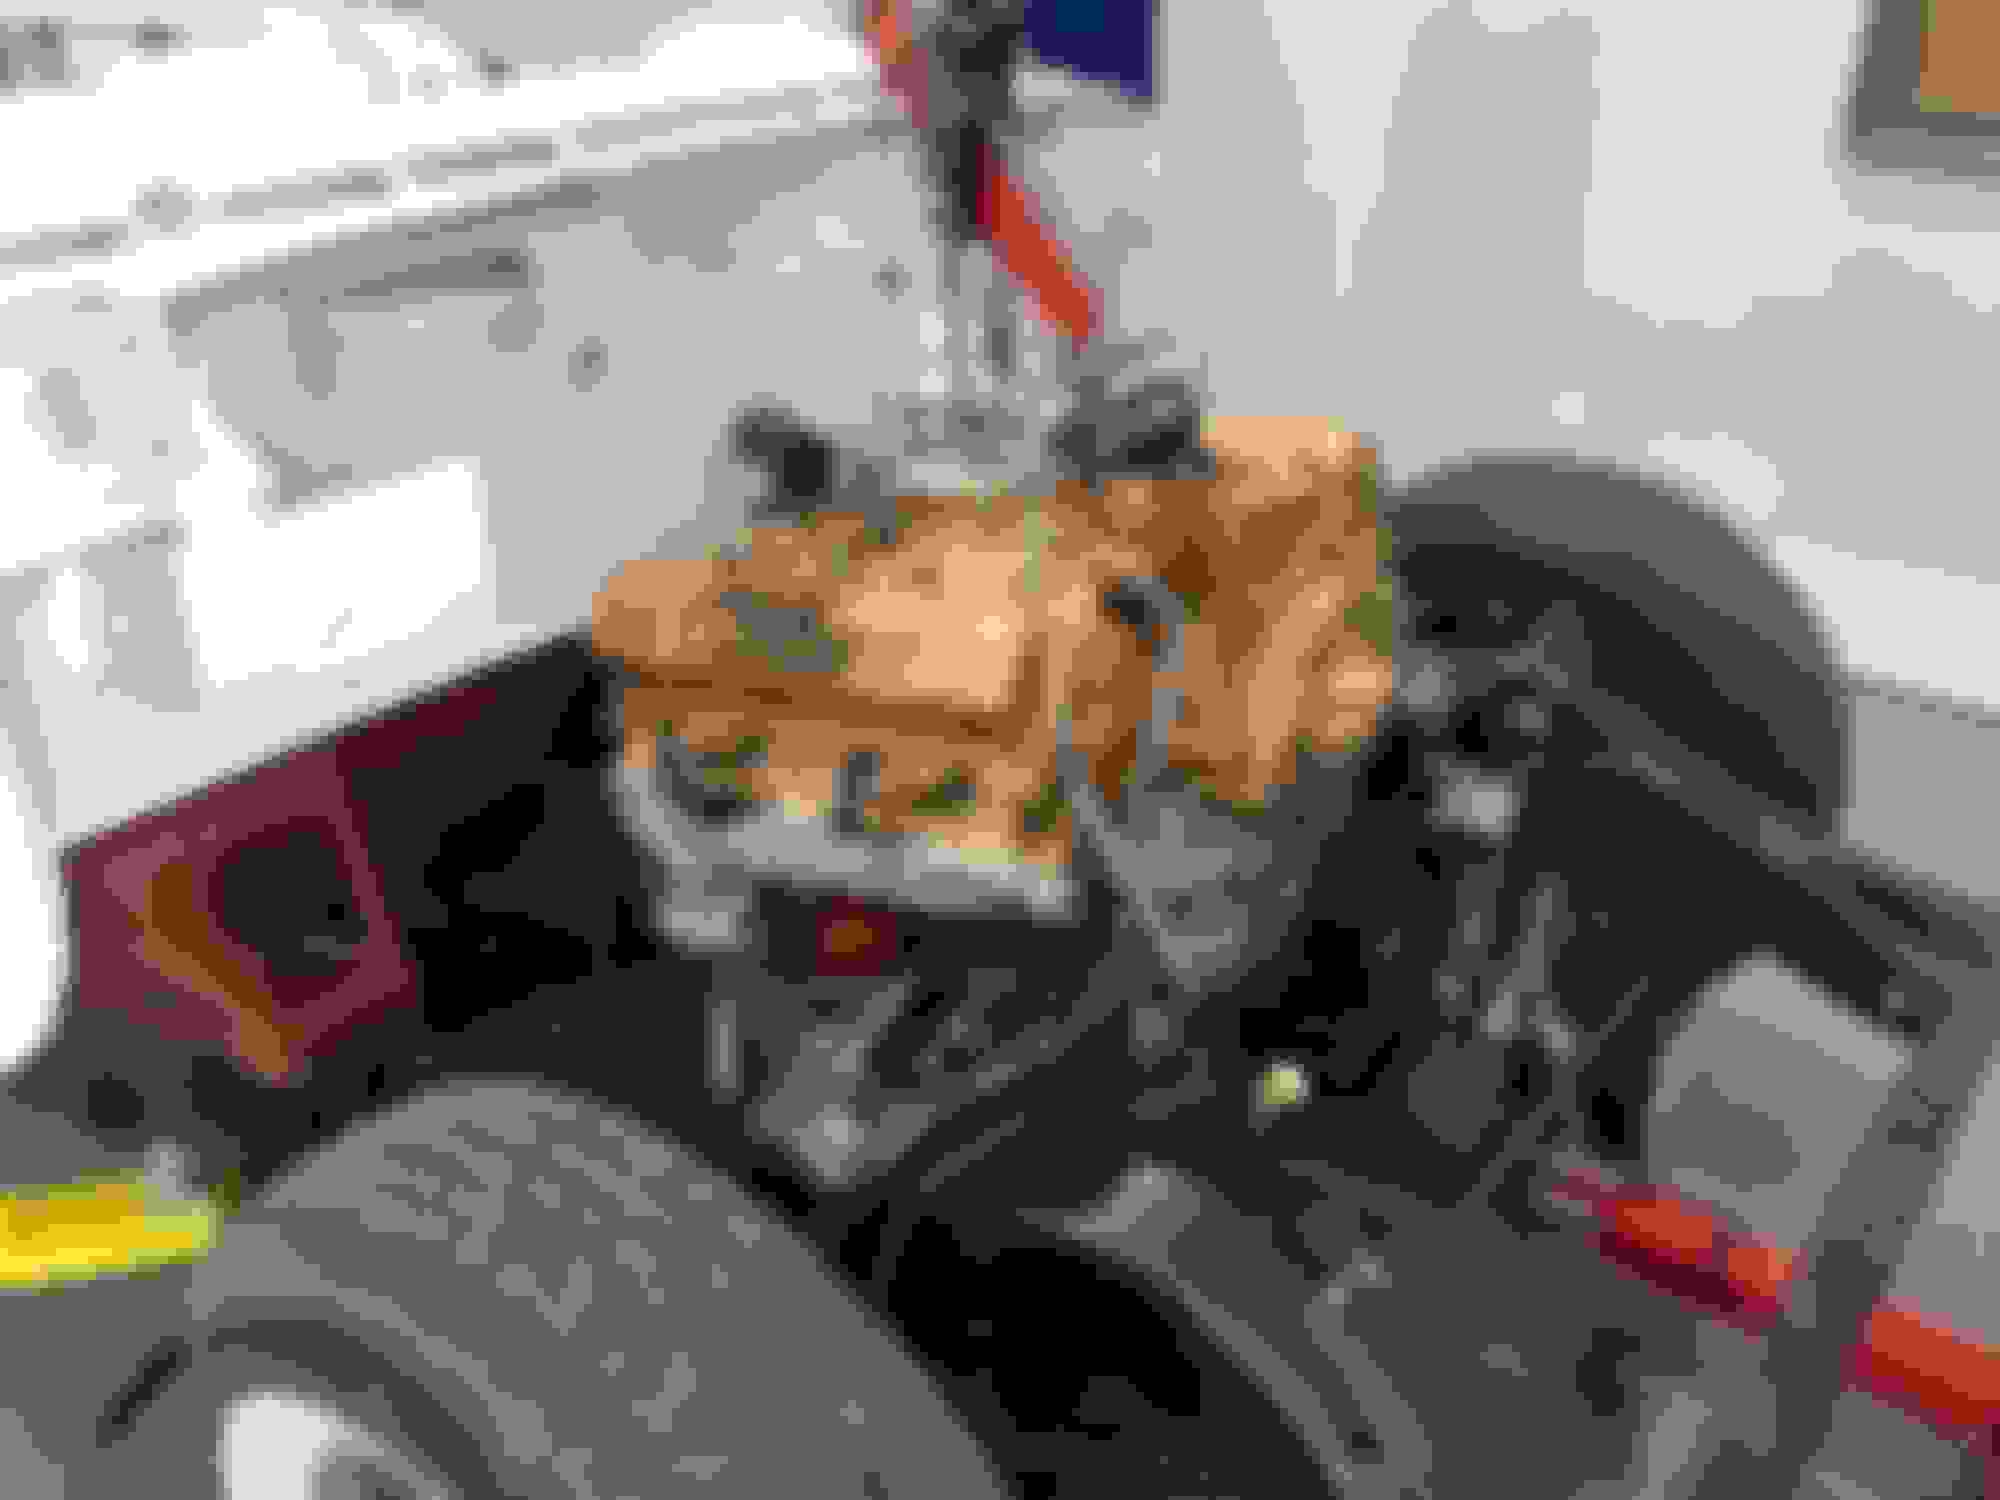
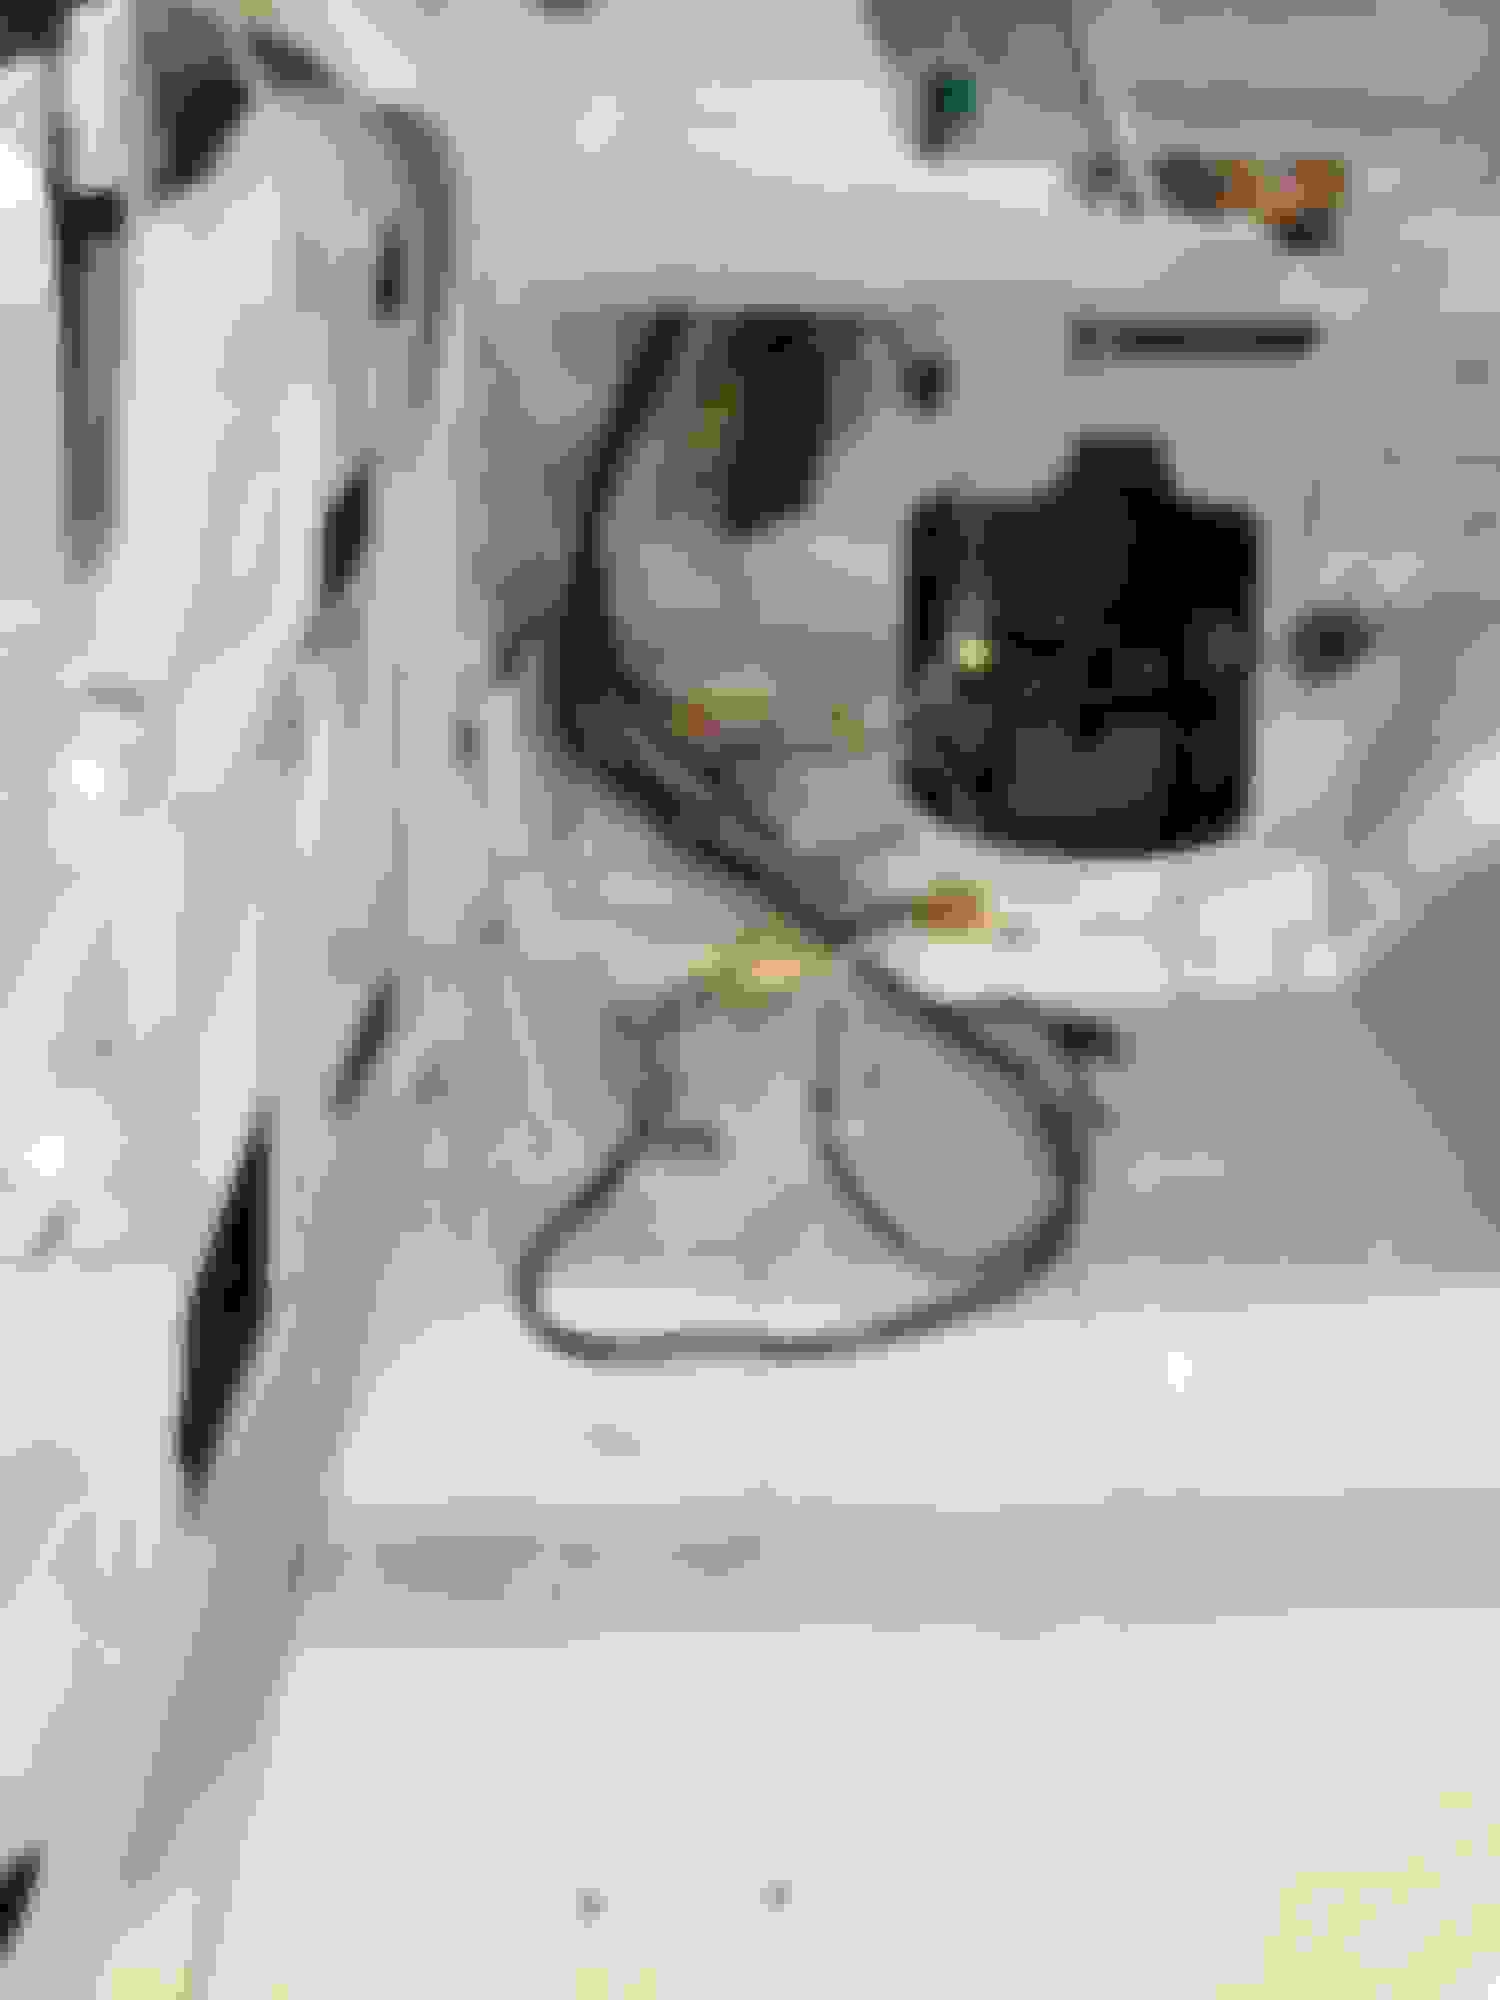
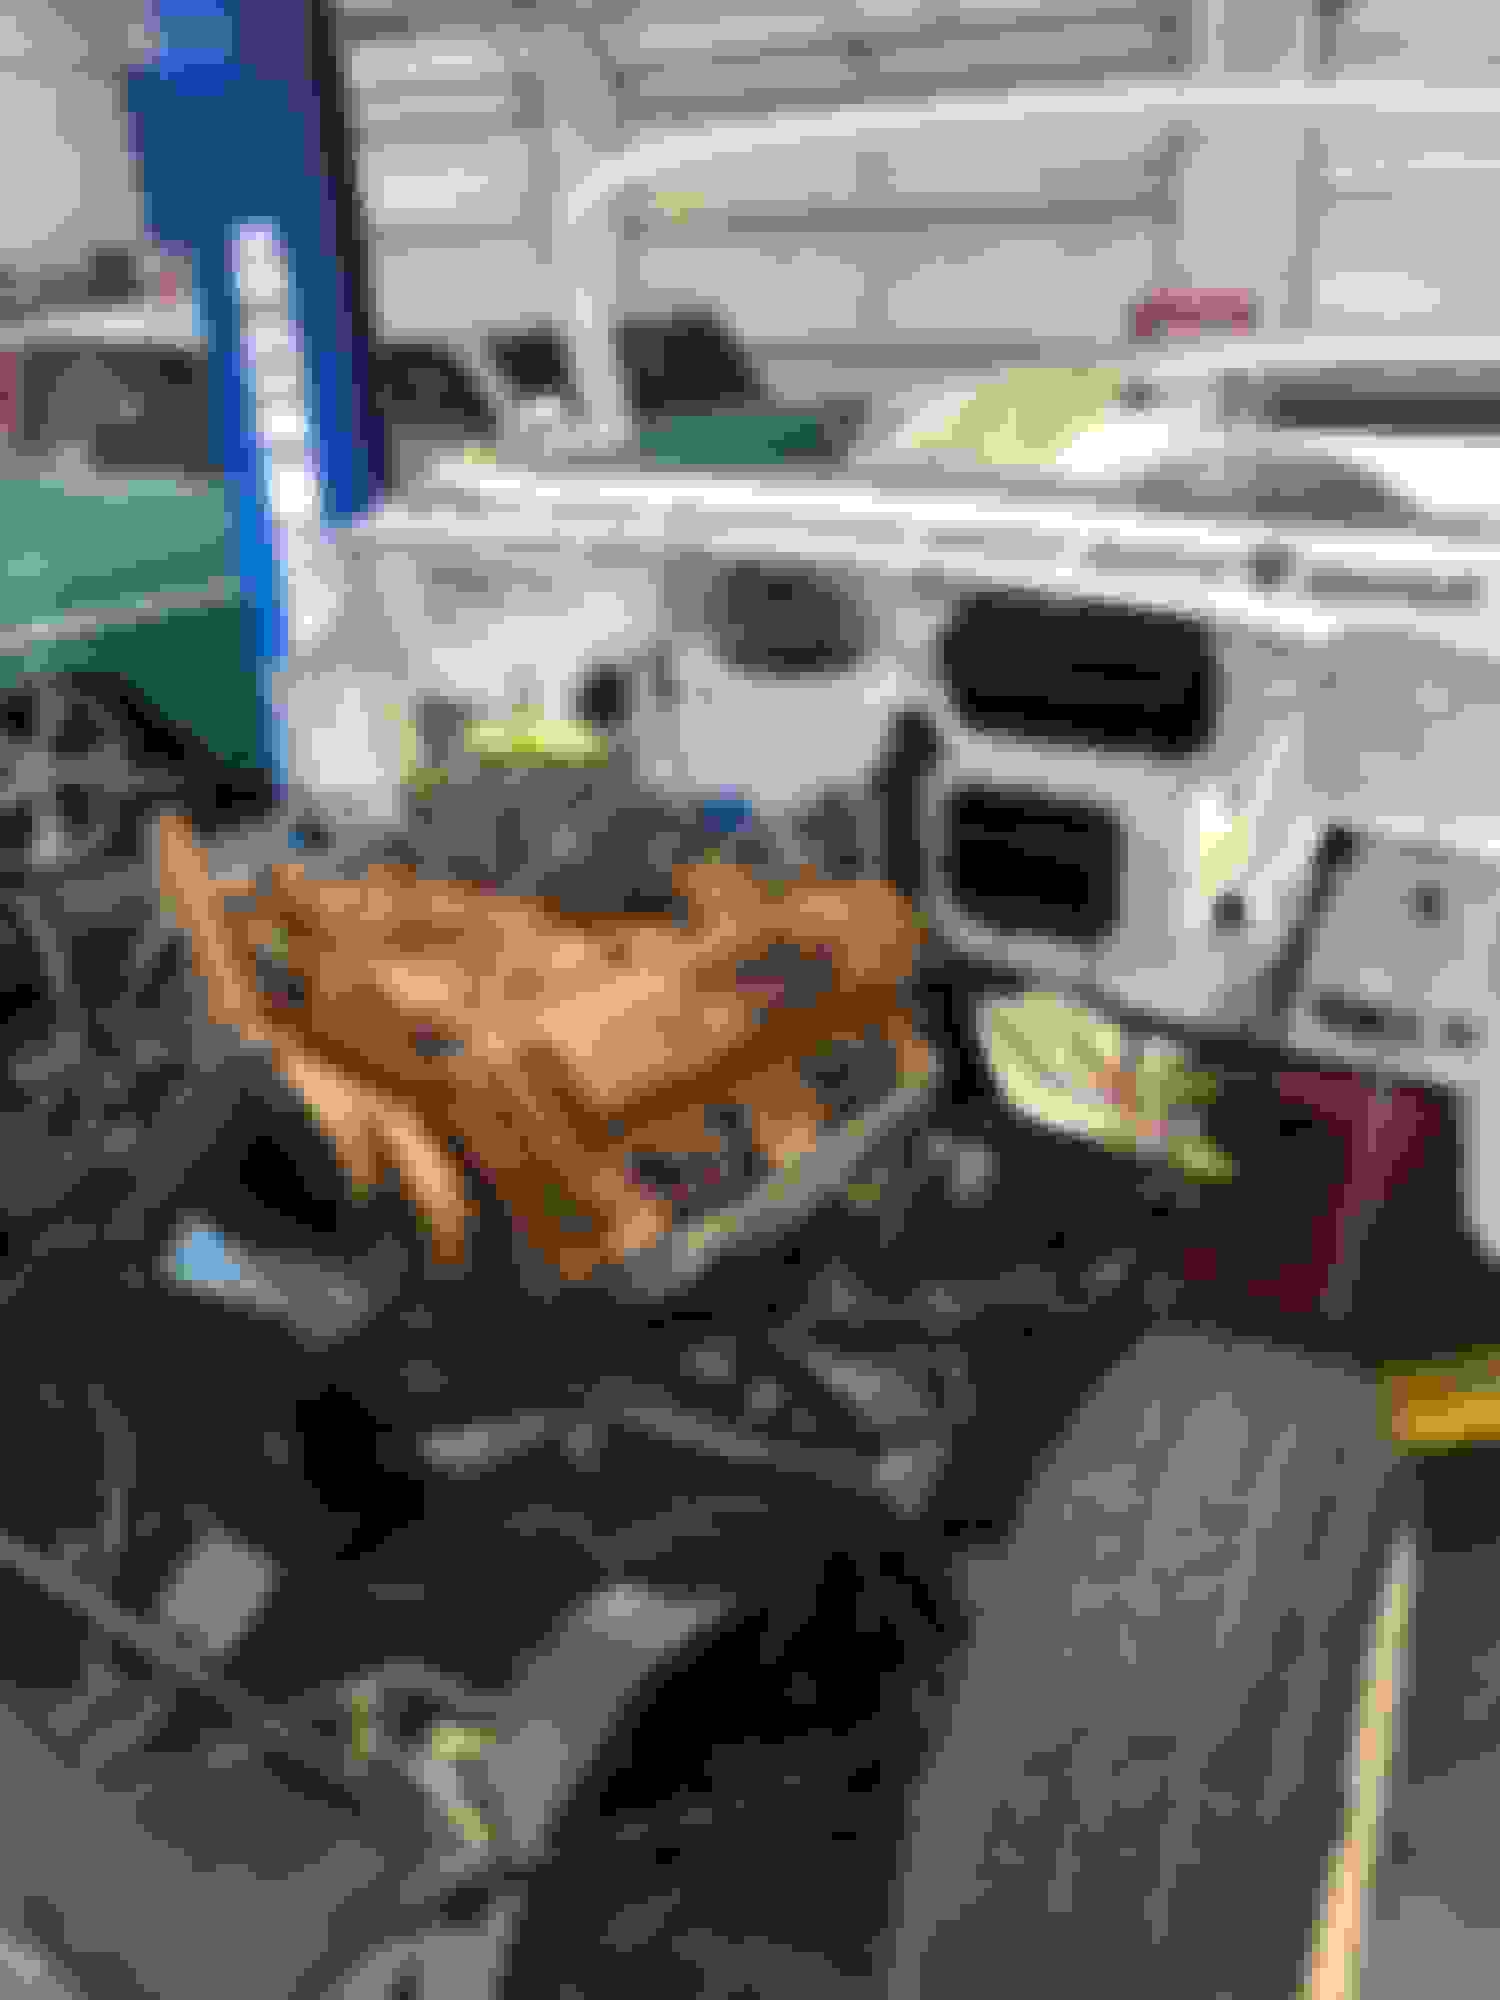
Temporarily rigged up the core support and radiator. Hooked up the water and vacuum lines. Put in a temporary mechanical oil pressure gauge and fired up the engine (HUGE success)
You'll have to use your imagination for the engine noise but there is no sweeter sound than hearing an engine that you built start right up first crank...
But, in keeping with my theme, it became apparent when looking for the timing marks, that I am missing the damper ring from the crankshaft pulley (FAIL).
So we set the timing by marking top dead center and used a dial back timing light.
Fortunately, the owner of Damper Dude in California says he can add the harmonic balancing ring, no problem...
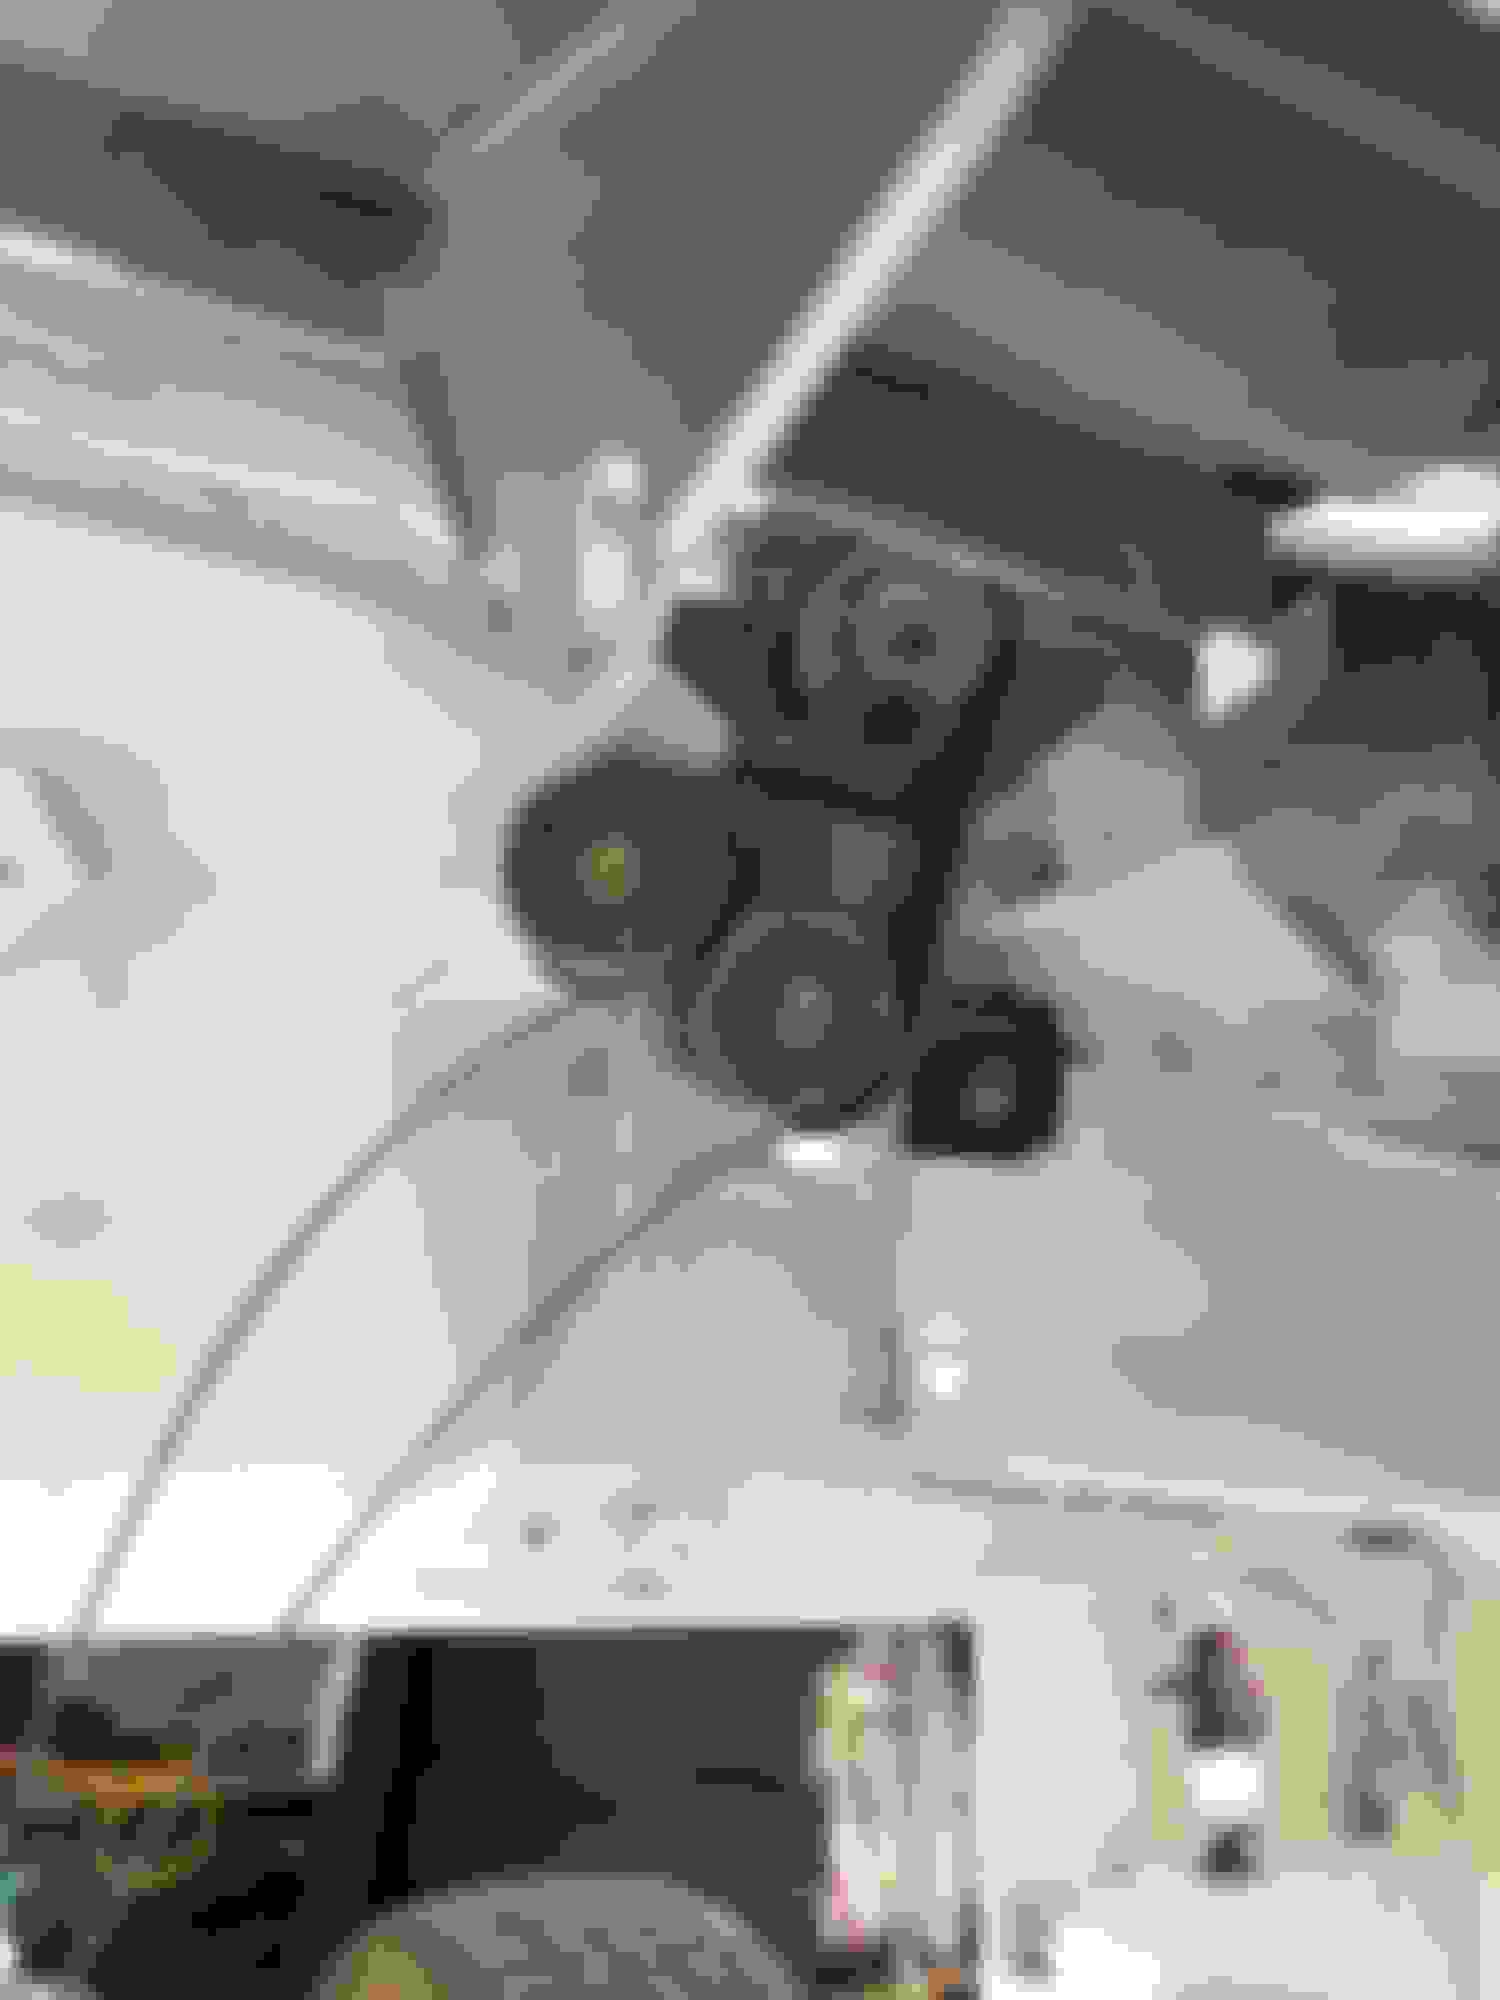
I haven't had much luck with pre-bent lines in the past but I decided to try it again for the transmission cooler lines. I have to say these ones by "The Right Stuff" fit perfectly (success)
Wow Bill. I never knew about your build thread and just sat here and looked at the whole thing. Man,,,,,,,,,,,,,,,,,,,,,,,,,,,i am impressed. Have to see about arranging transportation to bring you mine. Since you did yours first and now know the in's and out's, then mine should be a breeze for you. Great job so far. Mark.
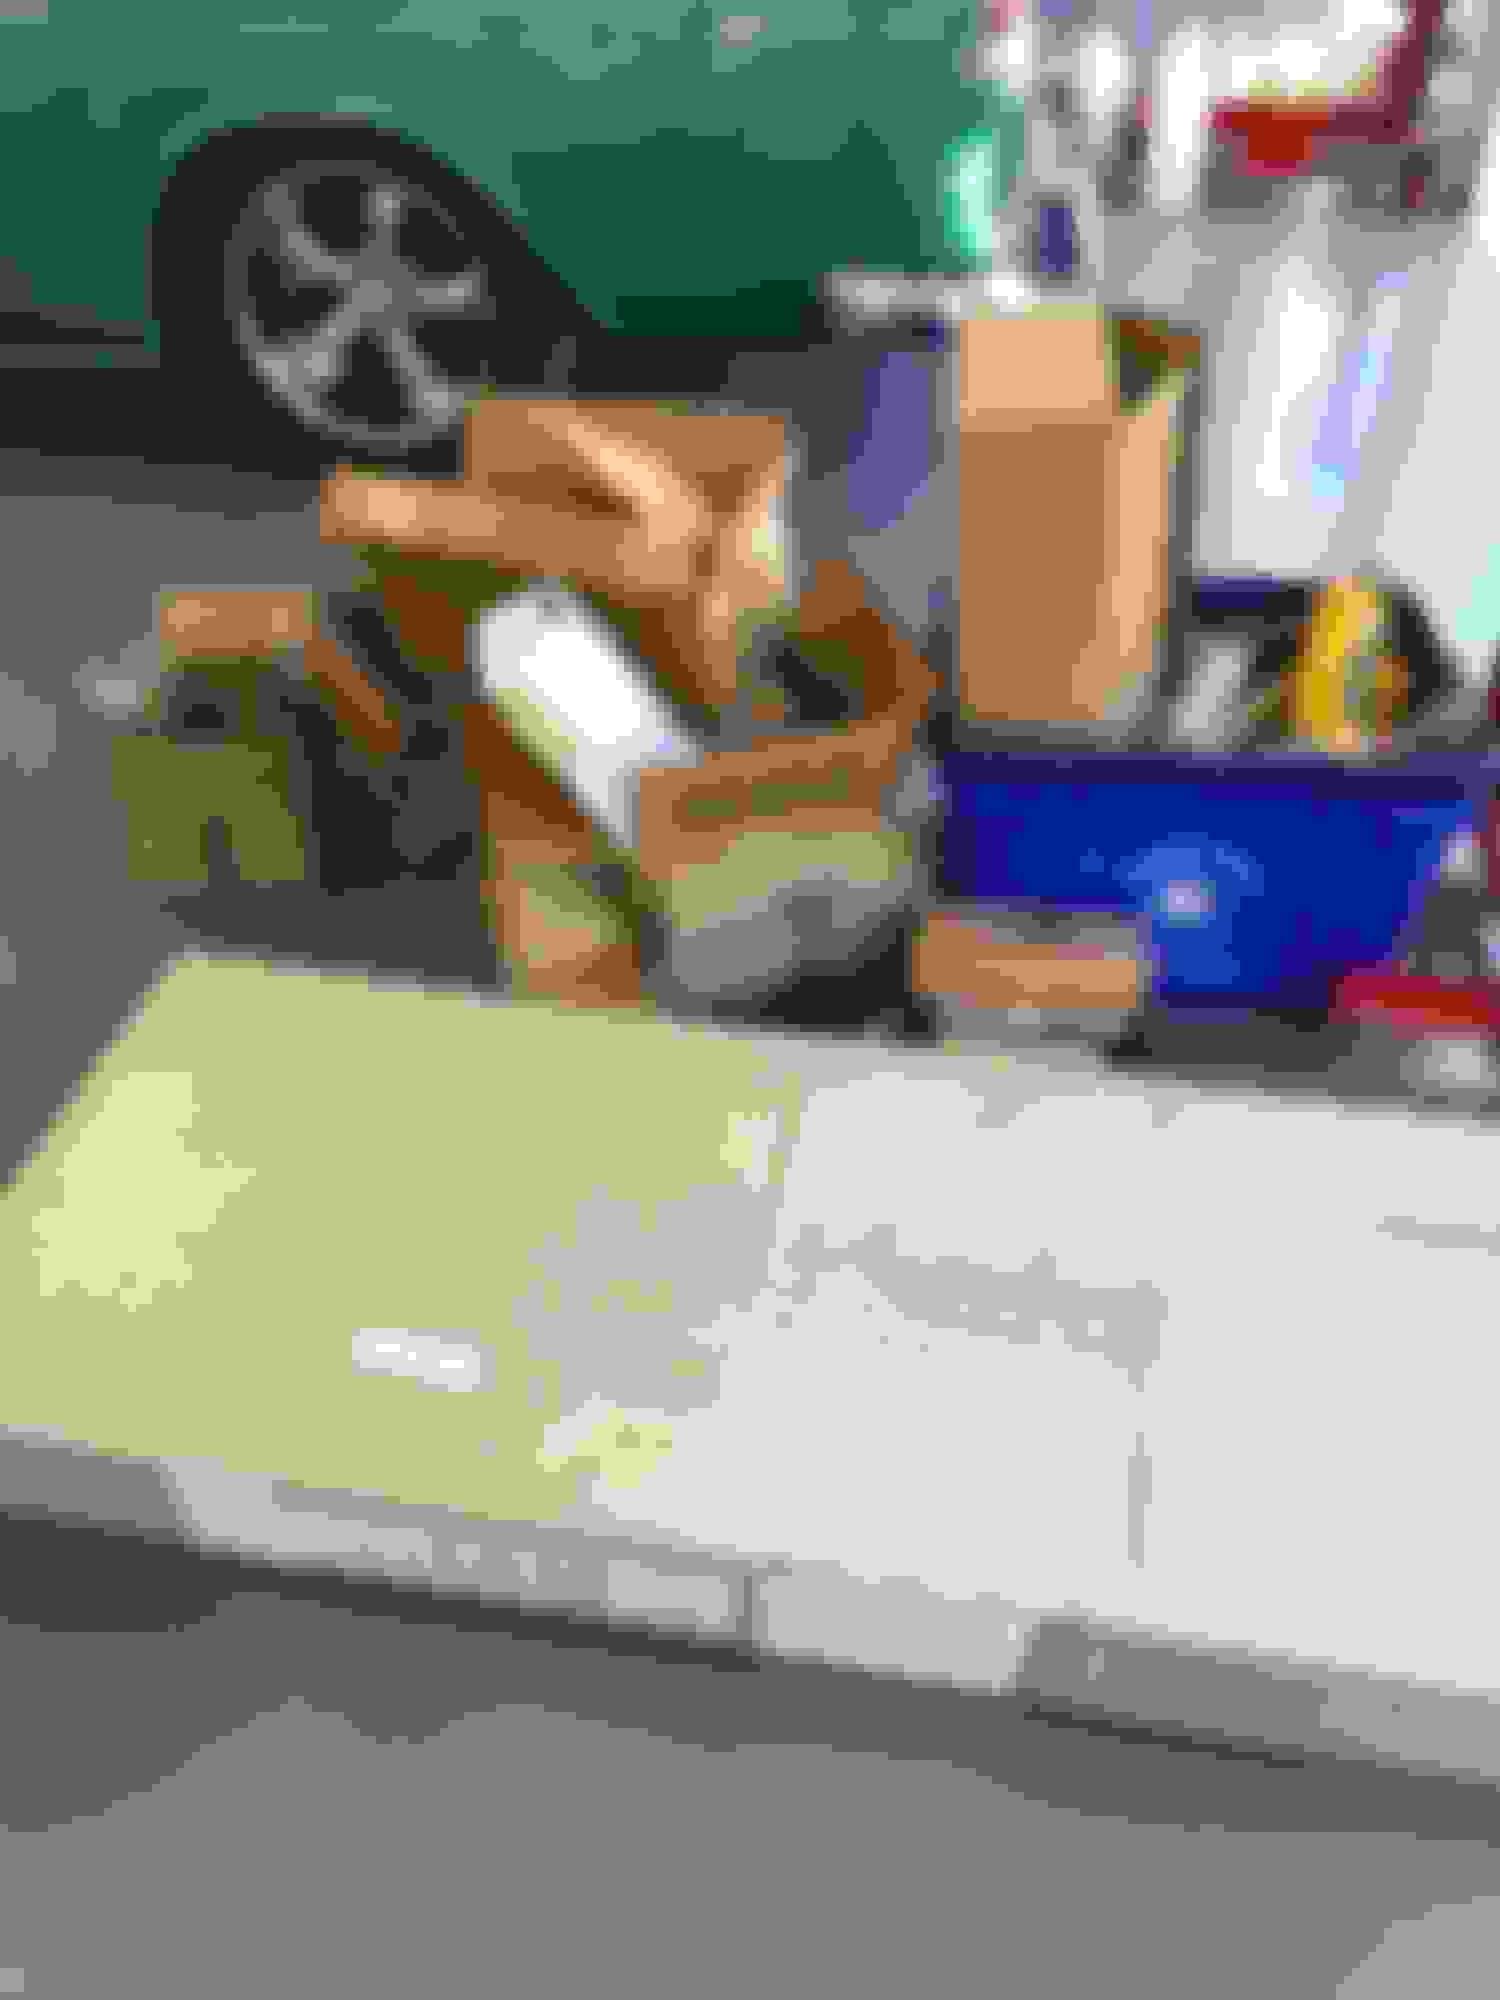
Lets see...I took about five months off of the Olds to catch up with other projects but started again in earnest in October.
Took the radio apart and sent my last shipment to the chrome people (who now must have a very nice private jet).
This dash is my favorite thing about the 1957 Oldsmobile.....
Assembled and installed the convertible top frame and windows. And, remarkably, the hydraulic top cylinder did NOT push through the floor like it did the first time I tried it 6 years ago.
I found that the power brake booster that I had sent off for rebuild 5 years ago (predictably) would not hold pressure and sent it back in for another rebuild. It returned $500 later with the same problem so back again for another until it ultimately was fixed.
Third time's the charm!
Started attaching some bling to make me feel better
Had to make some custom door sill plates since this being the third floor in the car, the originals were long gone (Thanks to ZZCruzin for the photos of the originals!)
These will be under the carpet and the decorative sill plate attach over the top.
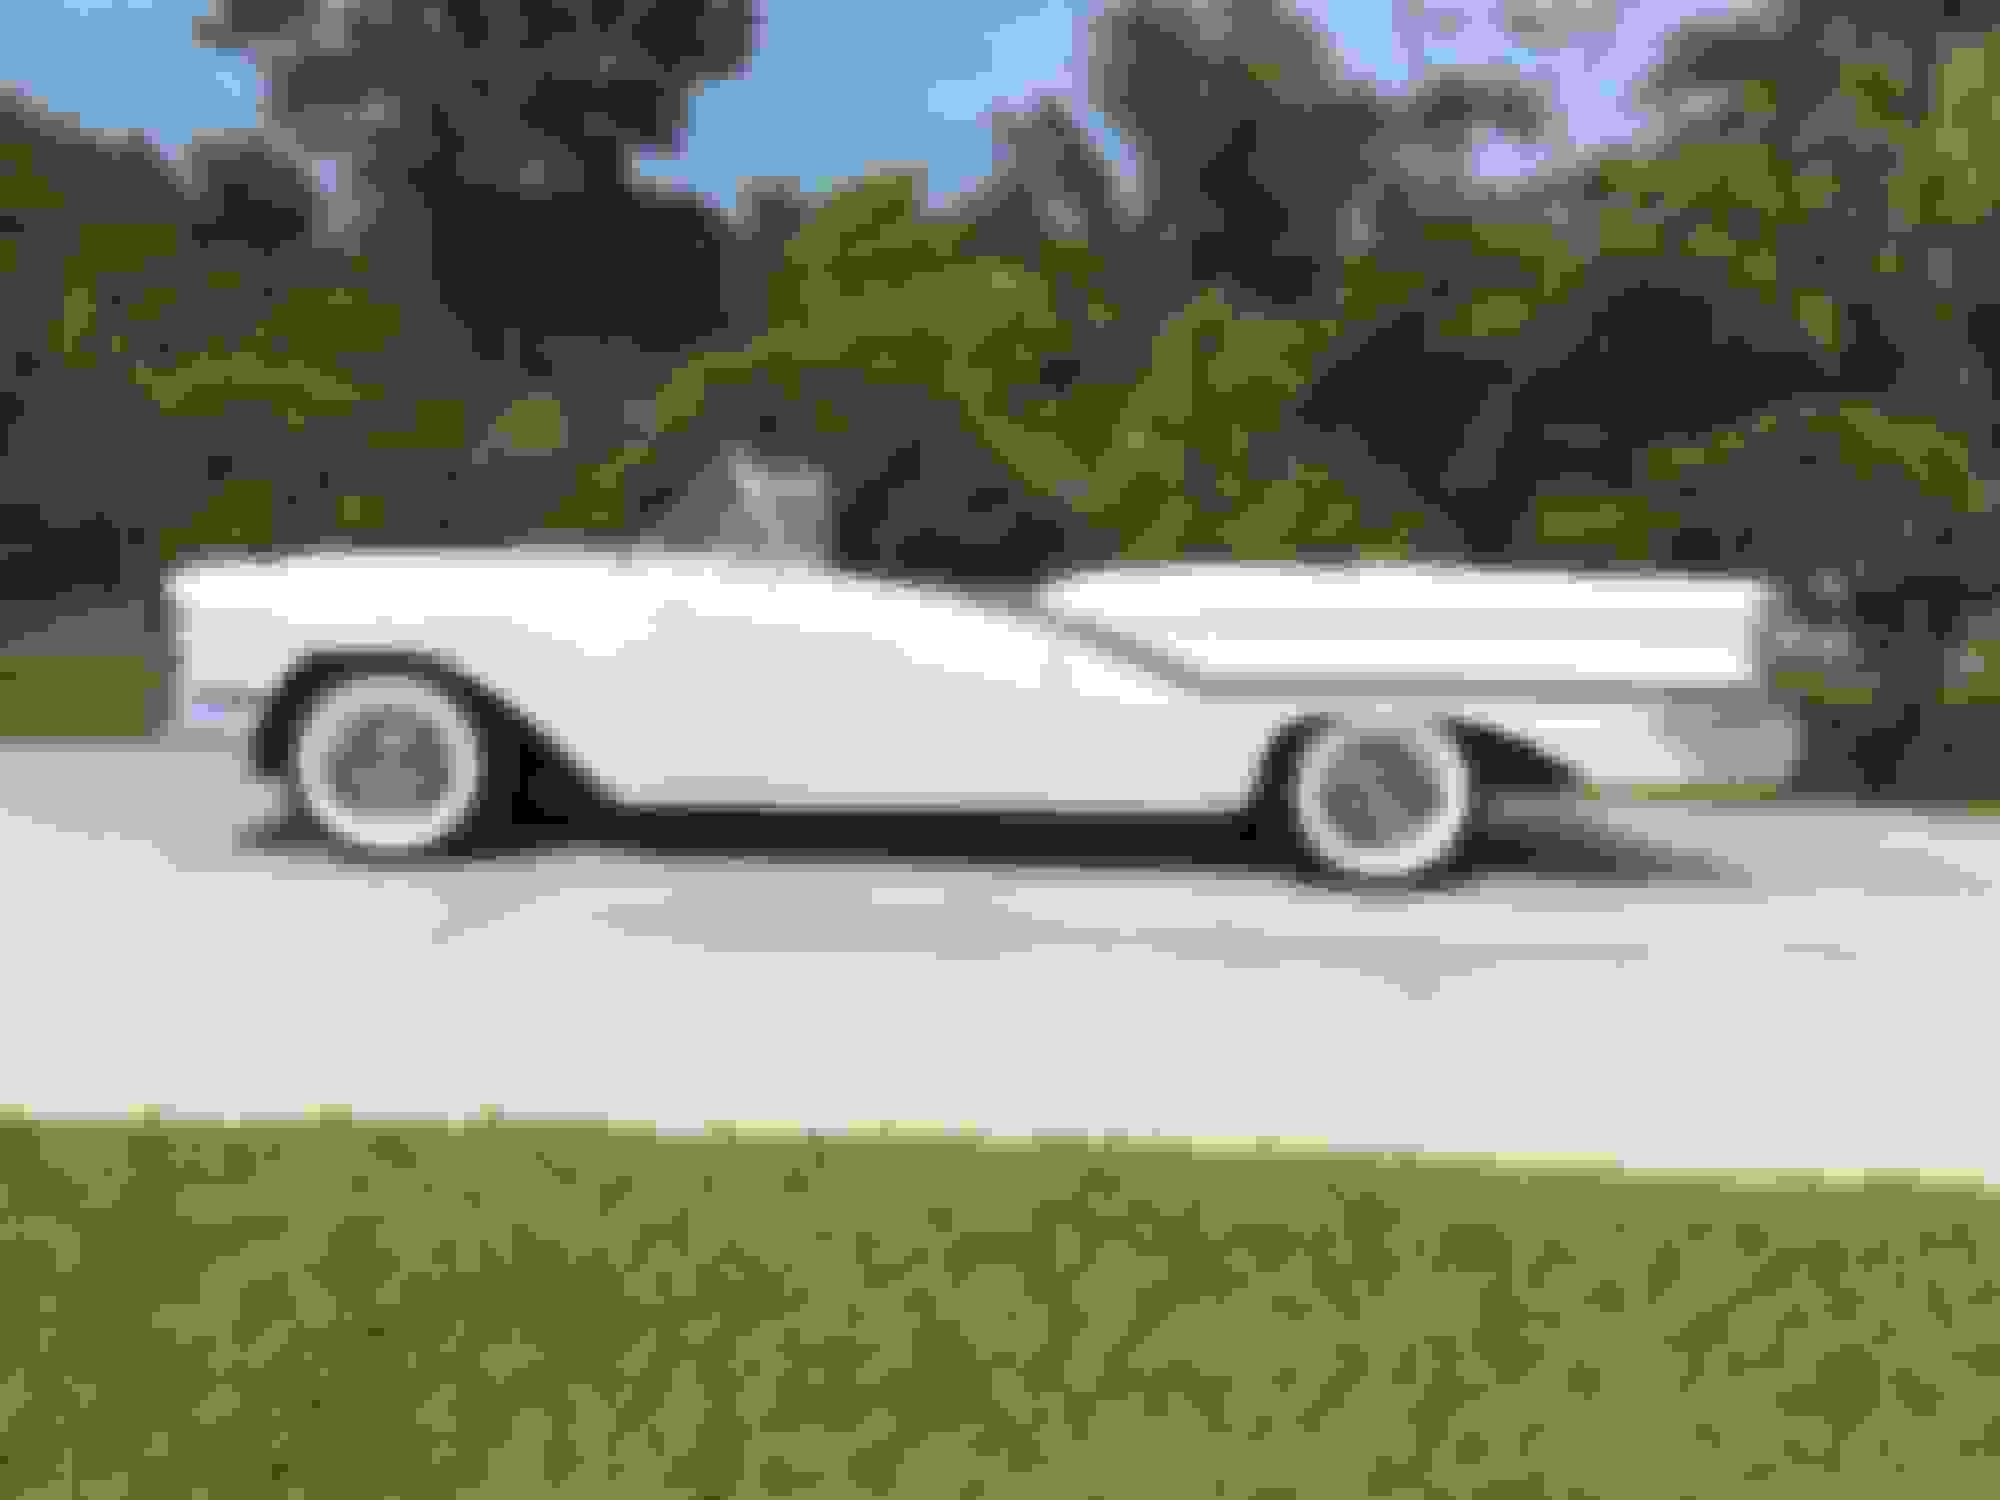
I decided to go ahead and hang the fenders and hood myself. Definitely a task requiring patience and imagination on a car that has had as much surgery as this one.
Hung the bumpers.
Like every other step, getting them lined up straight took about 10 times the amount of time that I expected (and I ran out of shims!)
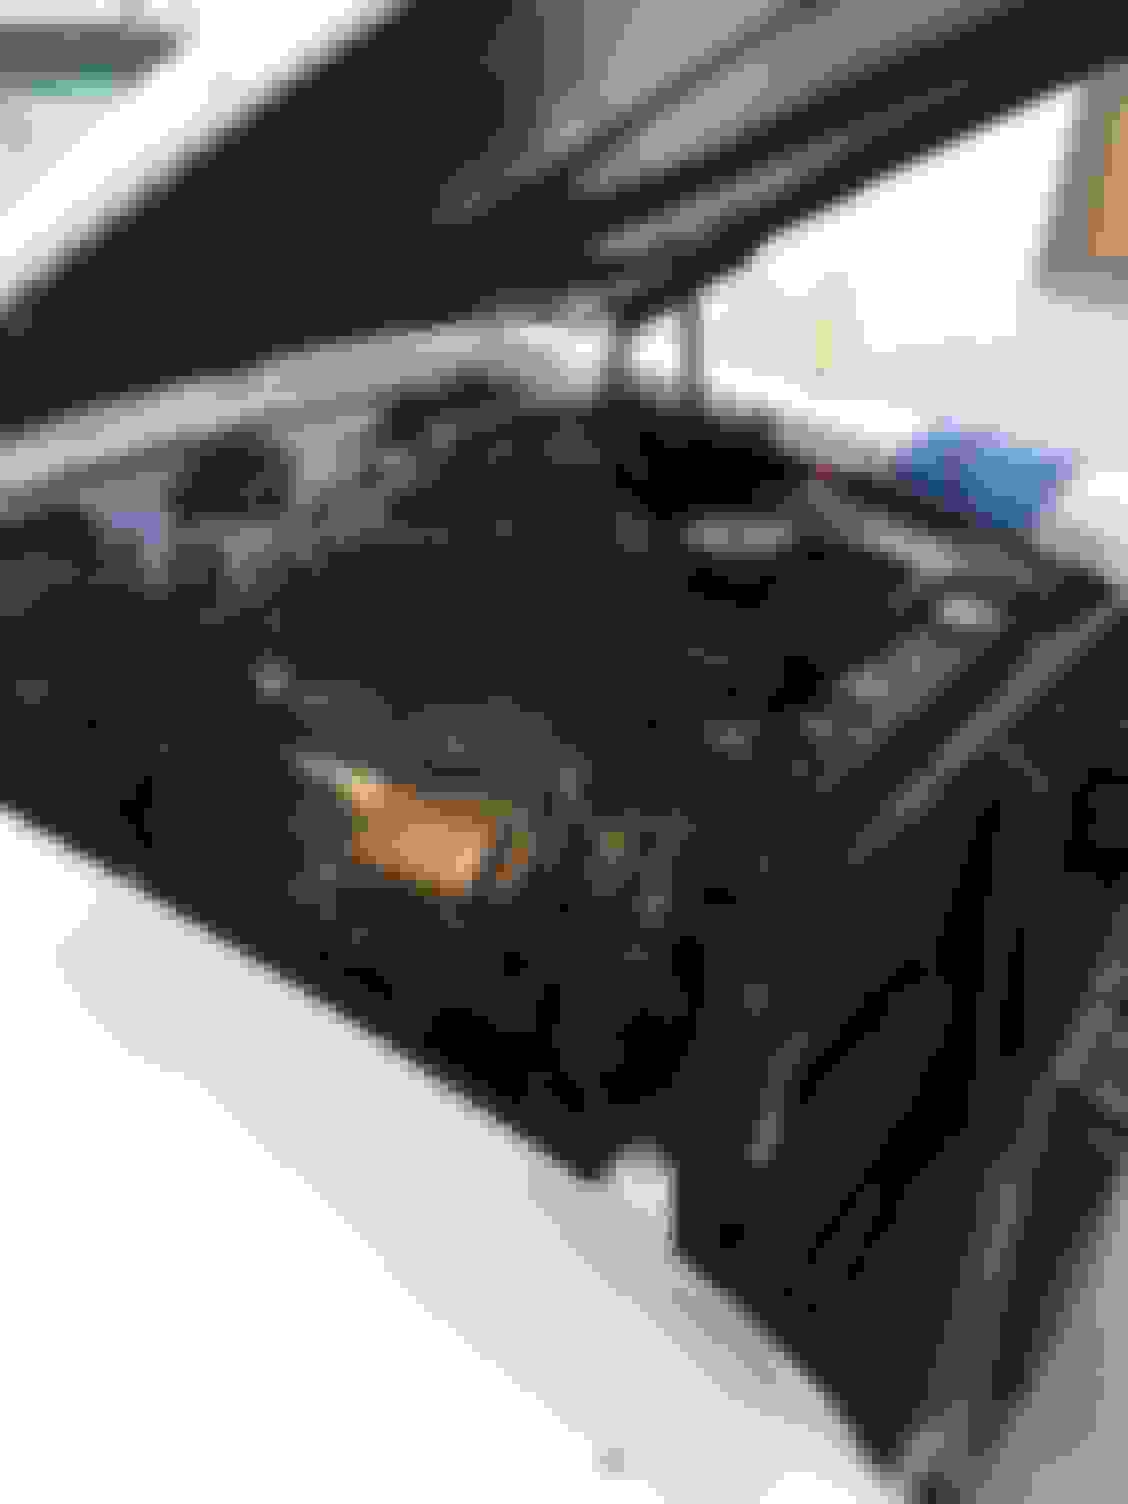
Had the seat frames blasted and powder coated
Installed the door seals. This was one of my least favorite tasks with a white car. The guy who invented 3M Weatherstrip adhesive deserves a special place in hell...
Did the alignment with a string box and a Fastrax camber/caster gauge
Sent the car back to the paint shop for the black stripe we missed in the door trim.
Now it's ready to go to the interior shop.
Note that if you are using SMS it may be a year or more from the time you order your door panels before you see them again.....
That's all for now.
Thanks for following along.
Bill
Wow Bill. I never knew about your build thread and just sat here and looked at the whole thing. Man,,,,,,,,,,,,,,,,,,,,,,,,,,,i am impressed. Have to see about arranging transportation to bring you mine. Since you did yours first and now know the in's and out's, then mine should be a breeze for you. Great job so far. Mark.
HA!!!
I'll get back to you on that Mark.....
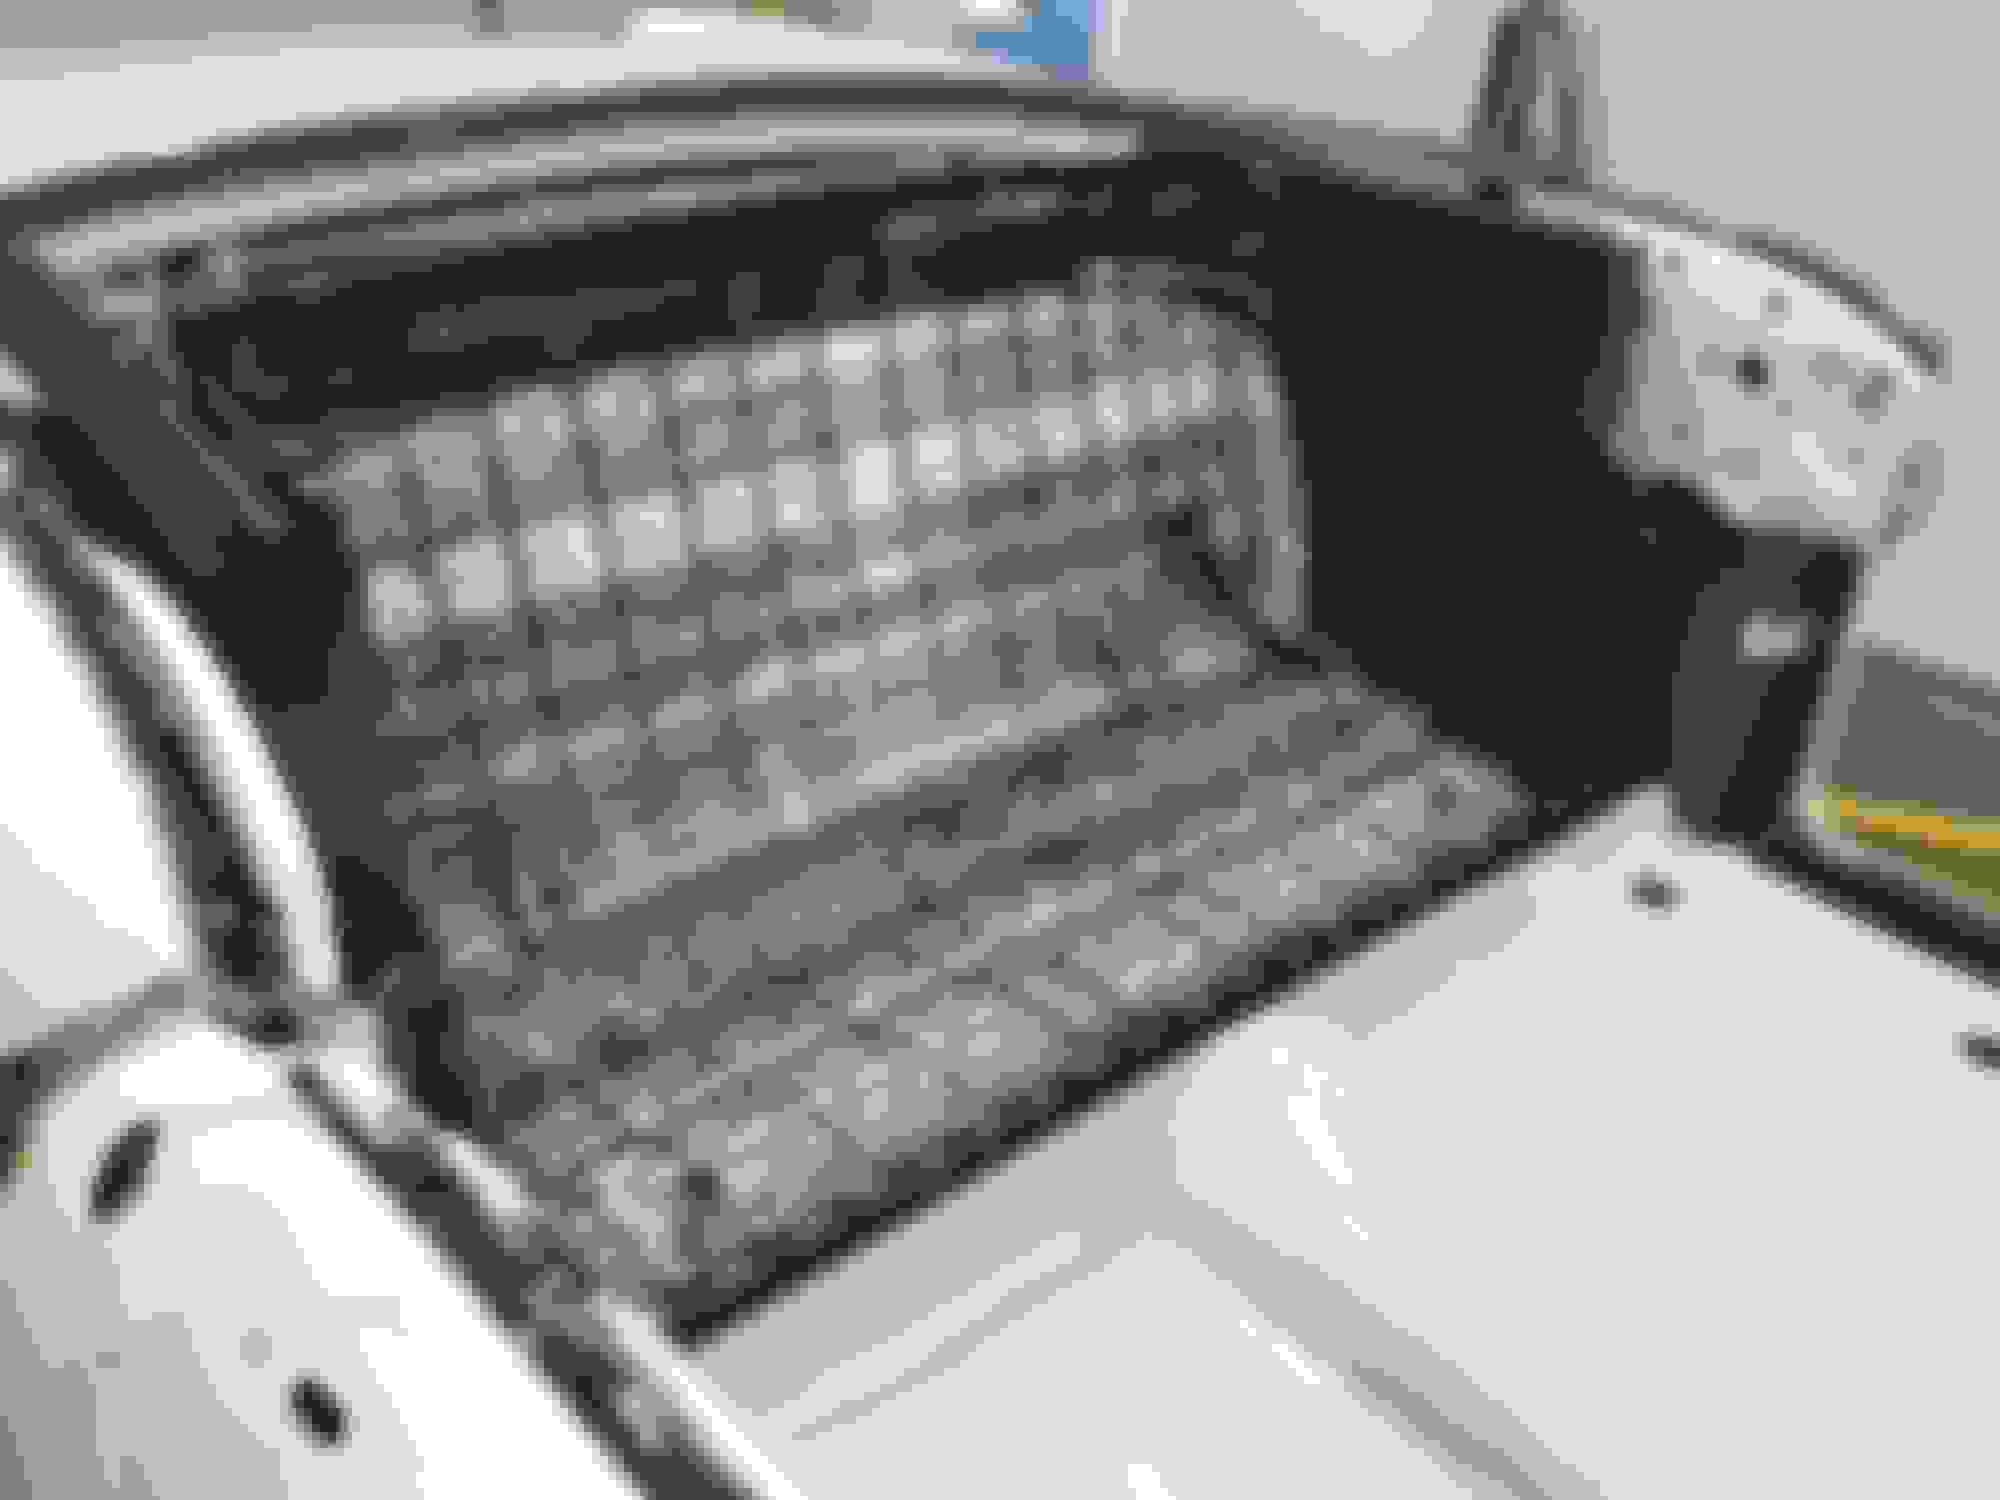
Here's what your once brand new shop manual will look like when you get done:
Gorgeous car, and great job you did on it! The bumper looks good.. as a side note, I knew of a guy restoring a J-2 convert, who took so long to finish it, after a friend painted it, that the paint actually began to crack (lacquer). That back bumper drove him crazy! I don't know if it ever got finished, but 20 years after paint, it still was not on the road!
Well…..a few things.
The transmission wouldn’t shift properly and had to be removed and re-rebuilt. The shop said it was a problem related to having it sit for 4 years without being used. But on the bright side, it now works well and I’ve gotten to drive it a little around town.
I went away for the summer to escape the south Florida heat and had arranged for a date to deliver the car to the interior shop for mid September.
The date arrived but the guy decided he no longer wanted to take on the job so I’m waiting for another shop for an appointment.
Also, interestingly, the float on my gas tank sender decided to float-no-more. When I removed it I thought it was made of wood but I’m guessing it’s cork.
Then I had some back surgery……I’m doing great but all I get to do for the next 5 weeks is sit in my shop and make a list of stuff I need to get after!
Thanks for asking,
Bill
Well�..a few things.
The transmission wouldn�t shift properly and had to be removed and re-rebuilt. The shop said it was a problem related to having it sit for 4 years without being used. But on the bright side, it now works well and I�ve gotten to drive it a little around town.
I went away for the summer to escape the south Florida heat and had arranged for a date to deliver the car to the interior shop for mid September.
The date arrived but the guy decided he no longer wanted to take on the job so I�m waiting for another shop for an appointment.
Also, interestingly, the float on my gas tank sender decided to float-no-more. When I removed it I thought it was made of wood but I�m guessing it�s cork.
Then I had some back surgery��I�m doing great but all I get to do for the next 5 weeks is sit in my shop and make a list of stuff I need to get after!
Thanks for asking,
Bill
Well, it sounds like you need a good rest. Back problems are not fun. I have been digging the Panama canal in my front yard for the last week. New main water line, sprinklers and some electrical work. Now i am looking at trading my back in for a new one. 75 years old and digging ditches is not my thing. I just rebuilt the trans in mine also. Bought a complete kit and took my time and did it myself. And to my surprise,,,,,,,,,,it worked great. Looking for ward to interior pictures later. And speaking of pictures, do you happen to have any of the convertible top hydraulic cylinders? Getting ready to tackle mine and it has not been up or down for 40 years. I got the motor working,,,,,,,i think,,,,,,, but it won't move. Glad to hear from you. Take care, Mark.
Well, it sounds like you need a good rest. Back problems are not fun. I have been digging the Panama canal in my front yard for the last week. New main water line, sprinklers and some electrical work. Now i am looking at trading my back in for a new one. 75 years old and digging ditches is not my thing. I just rebuilt the trans in mine also. Bought a complete kit and took my time and did it myself. And to my surprise,,,,,,,,,,it worked great. Looking for ward to interior pictures later. And speaking of pictures, do you happen to have any of the convertible top hydraulic cylinders? Getting ready to tackle mine and it has not been up or down for 40 years. I got the motor working,,,,,,,i think,,,,,,, but it won't move. Glad to hear from you. Take care, Mark.
I am impressed that you took on the Jetaway and won!
Just the thought of getting into it gives me the vapors��
I�m pretty sure I can scrounge up the old cylinders if you want them but I know that they leaked pretty badly. I bet you can get yours to move if you disconnect them from the top and use a little persuasion.
I got new ones from Hydro-e-lectric. Be aware that they sell 2 different length cylinders for the 57. The first ones I got from them were too short.
Good luck with the canal.
Bill
Thanks Bill. I will see if i can get mine to move. I have seen the Hydro-e-lectric website. Might be doing the same thing down the road. Did not know about the two different lengths. Good tip. Now back to digging. Mark.

 January 8th, 2019, 10:41 AM