When you click on links to various merchants on this site and make a purchase, this can result in this site earning a commission. Affiliate programs and affiliations include, but are not limited to, the eBay Partner Network.
Here's a little background on my Jetstar 1 project.
My grandfather bought it new in 65 then gave it to my dad for working for him one summer. My dad put on a custom paint job, built up the motor and put on one of the first sets of custom "mags" in the area. He never liked anything stock. Around 74 he repainted it again, this time with a 70's Metalflake kandy paint job, but never got around to putting it back together. The car sat indoors for roughly 15 years and the new paint never saw the light of day. In the late 80's my dad gave the car to my older brother. The acrylic lacquer didn't fair well and the car was completely stripped and repainted for a 3rd time ( at least ). My brother drove the car for one summer and blew the motor. Then the car sat, outside, for ten years. Sometime in the early 2000's I figured enuf was enuf so i made room and tucked it away in a storage building. Well after more than a decade of that I figured it doesn't deserve to just rot away and get eaten by mice. Also my grandfather is getting up in age and i thought he might like to see his Jetstar back on the road. So late last fall I loaded it up on a trailer and hauled it over to my place. The car has deteriorated much more than i thought. The floors are rotted from sitting outside, with bad weatherstrip, and it needs a complete repaint, again, just to list a few. I know I don't have the time or money to paint it now but i would like to get the mechanicals done over the winter so its road worthy again. Anyway that about sums it up. Sorry I don't have any pics of it back in its "glory days". The picture album with them was lost. (another long sad story). Heres what Ive got so far: image.jpg
I've got more pics but cant get them to upload right now for whatever reason Ill post more ASAP
Great story about the Jetstar. Any story where everything goes smoothly doesn't hold a reader's interest for long and this one promises to be an interesting race to finish the car while grandpa can still take a ride and enjoy it.
Jerry
Great story, and I know your gramps will be thrilled. You cant change the past only chart the future and the old girls in good hands now... looking forward to your build..
Heres an interior shot: image.jpg
My dad made some custom seat covers for it back in the 60's out of naugahyde. He wore out my grandma's sewing machine doing it, or so the story goes.
Cool story, and cool car (though I am biased, as I also own a '65 J1). Hope you can get it on the road soon.
I can see from the interior shot that it was the "Custom Deluxe" (faux woodgrain) steering wheel. Also, that upholstery sure doesn't look bad for "homemade".
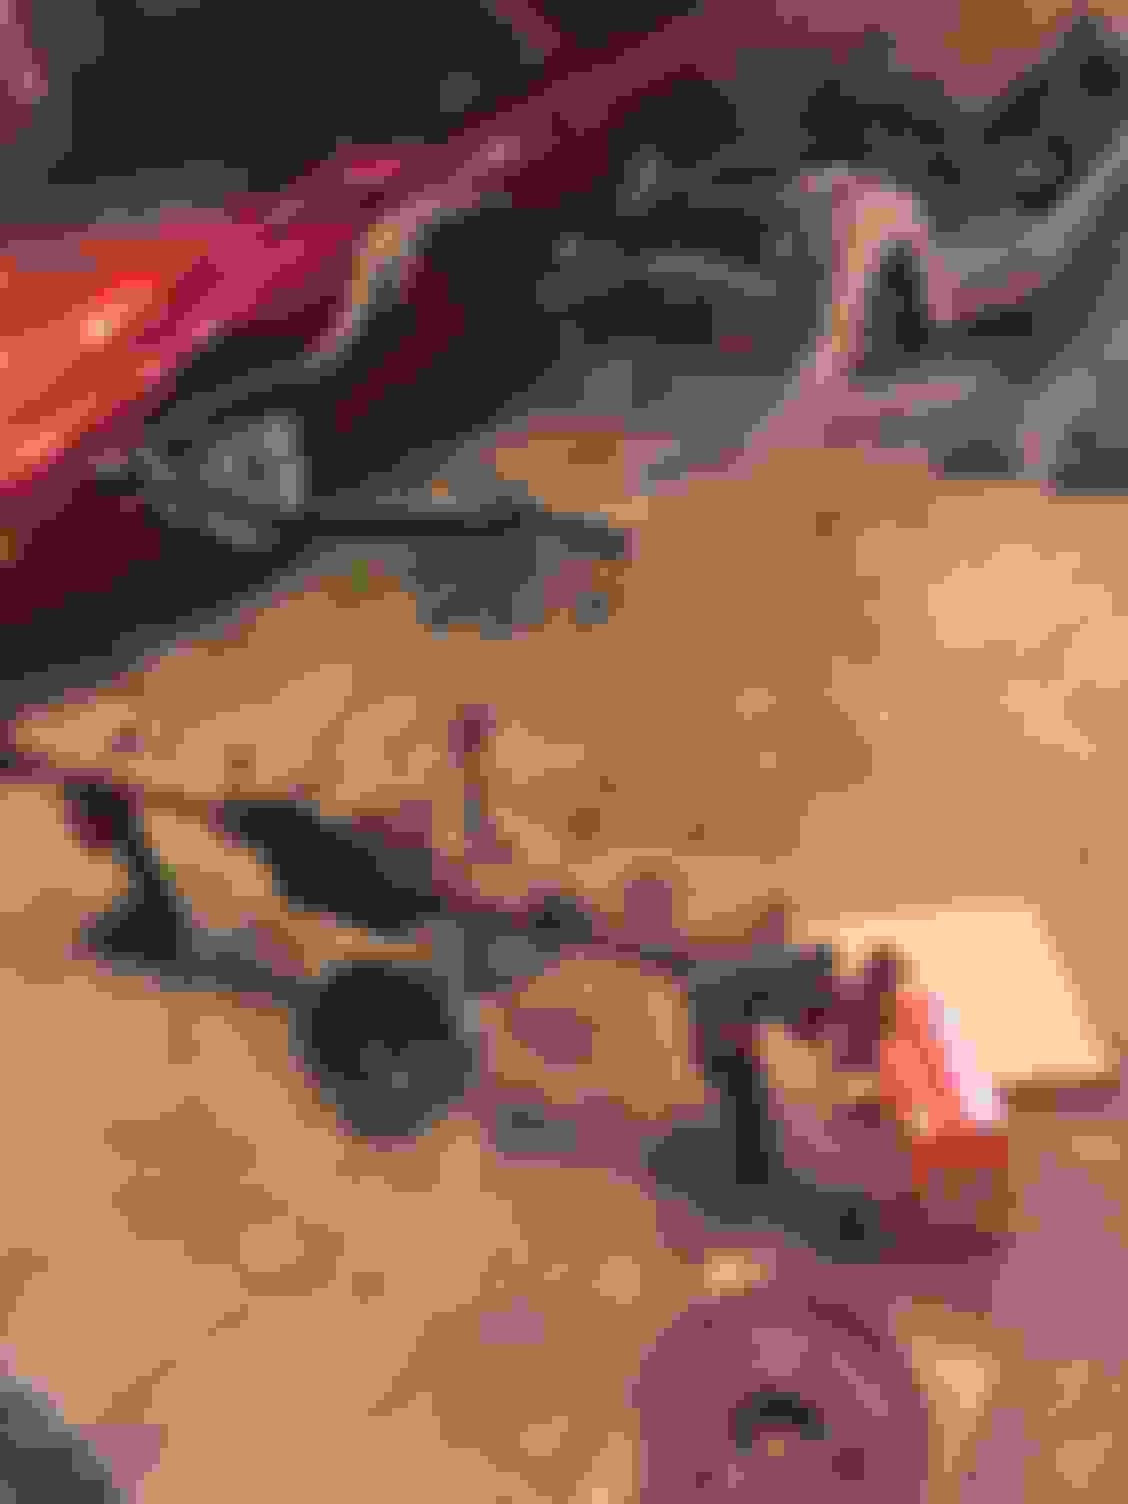
Some of the disassembly and rust shots: image.jpg
...guess I've got to do them one at a time. every time I try to load multiple images all of them change to the last one uploaded.... using an ipad.....ideas anyone?
I see a bolt-on wheelcover in the trunk? Is that what the car came with originally? If so, is the car currently wearing the special rims used for these? I am not familiar with those hubcaps, and can't quite tell what size rims are on the car. Looks like they could be 14s with VERY tall tires?
I see a bolt-on wheelcover in the trunk? Is that what the car came with originally? If so, is the car currently wearing the special rims used for these? I am not familiar with those hubcaps, and can't quite tell what size rims are on the car. Looks like they could be 14s with VERY tall tires?
Yes that is the original wheel-cover. JS1's and Starfires got them. The current 'sneakers' are 15' wheels and tires off my 82' GMC p/u, hubcaps are off a mid 70's ninety-eight. I'm sure the special wheels are around somewhere, my dad never threw anything out.
JS1's and Starfires got them...I'm sure the special wheels are around somewhere, my dad never threw anything out.
You could actually get them on any B or C body 1965 Olds including Ninety Eights with their fender skirts. All the 1965s had the two-bar spinner with vertical Rocket; 1964 used a two-bar spinner for Starfire/J-1 and a dished non-spinner cap for 88 and Ninety Eight, both with 57-64 style horizontal Rocket.
If you don't use them, those wheels can be worth some coin if they're in good condition.
Looks like you're making pretty good progress so far. It's cool that you know so much of the car's history (or could ask ones who would know). Does your grandfather know you're restoring his car?
I'm surprised to see the rot on the gas tank like that. Usually it's found around the seams, or so I thought.
Good luck!
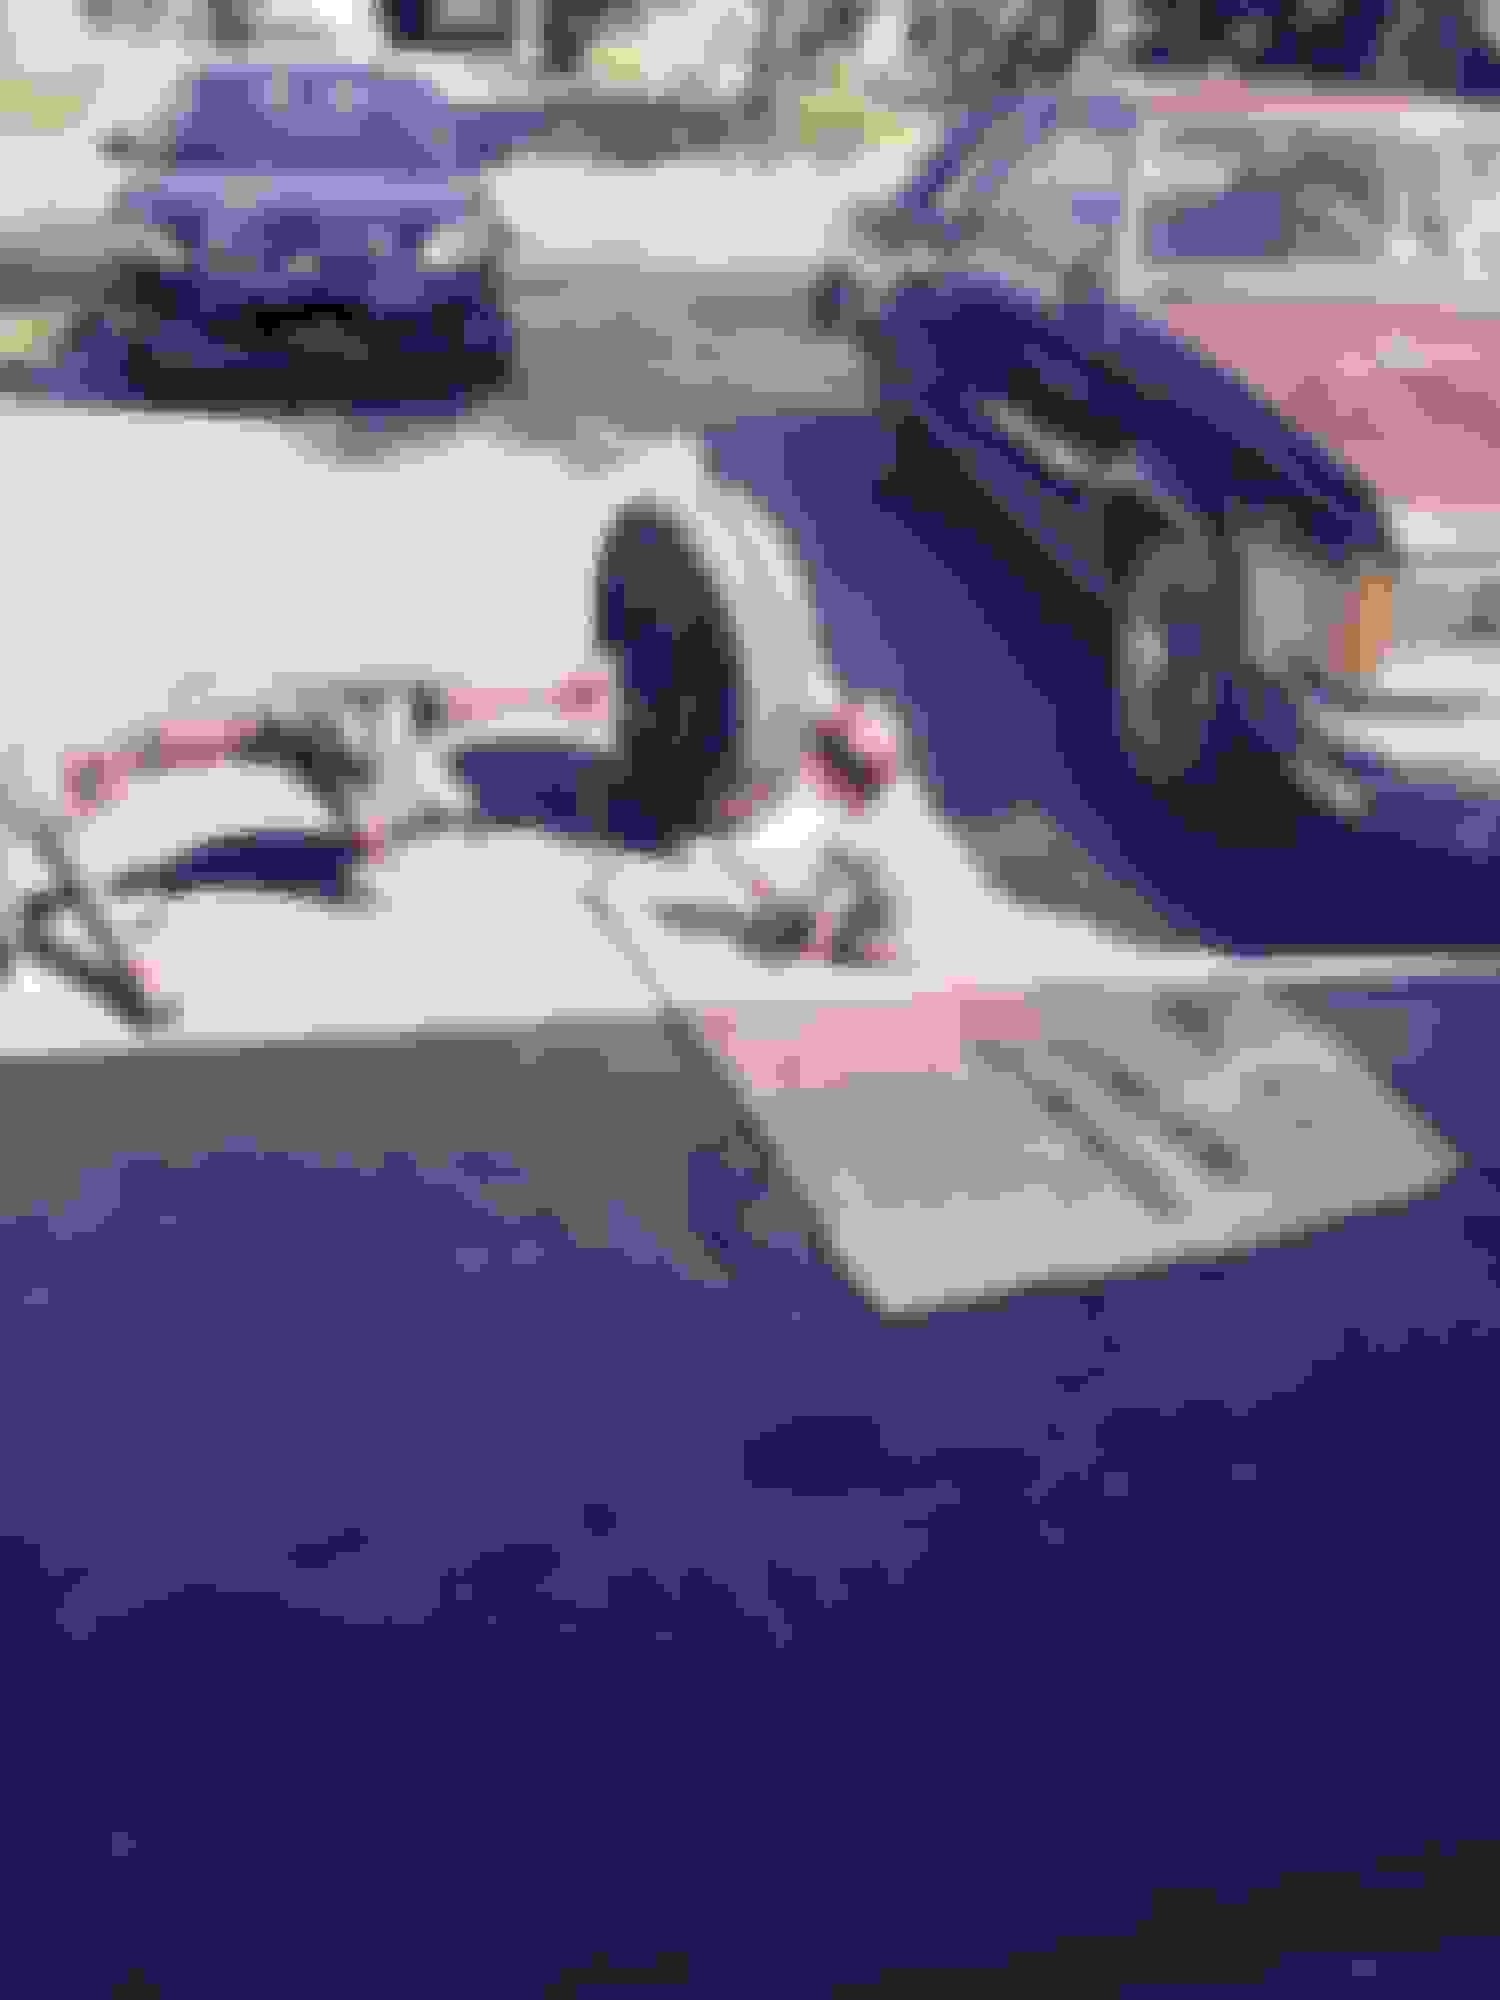
Yes my grandfather does know I'm working on the car. He and my aunt came over last fall for my sons b-day. He had a big grin but just shook his head about the rust. My aunt said ,"oh your fixing 'my car' for me!". I think her and my dad used to go back and forth on who's car it was. In fact she had taken her drivers test in the Jetstar. It was a snowy winter day. She was coming around the cloverleaf out of town, spun around and kissed the guard rail smashing up the drivers fender. Which is why, my dad painted it the first time. image.jpg
some of the progess. I stripped the front end apart and am going thru / rebuilding everything.
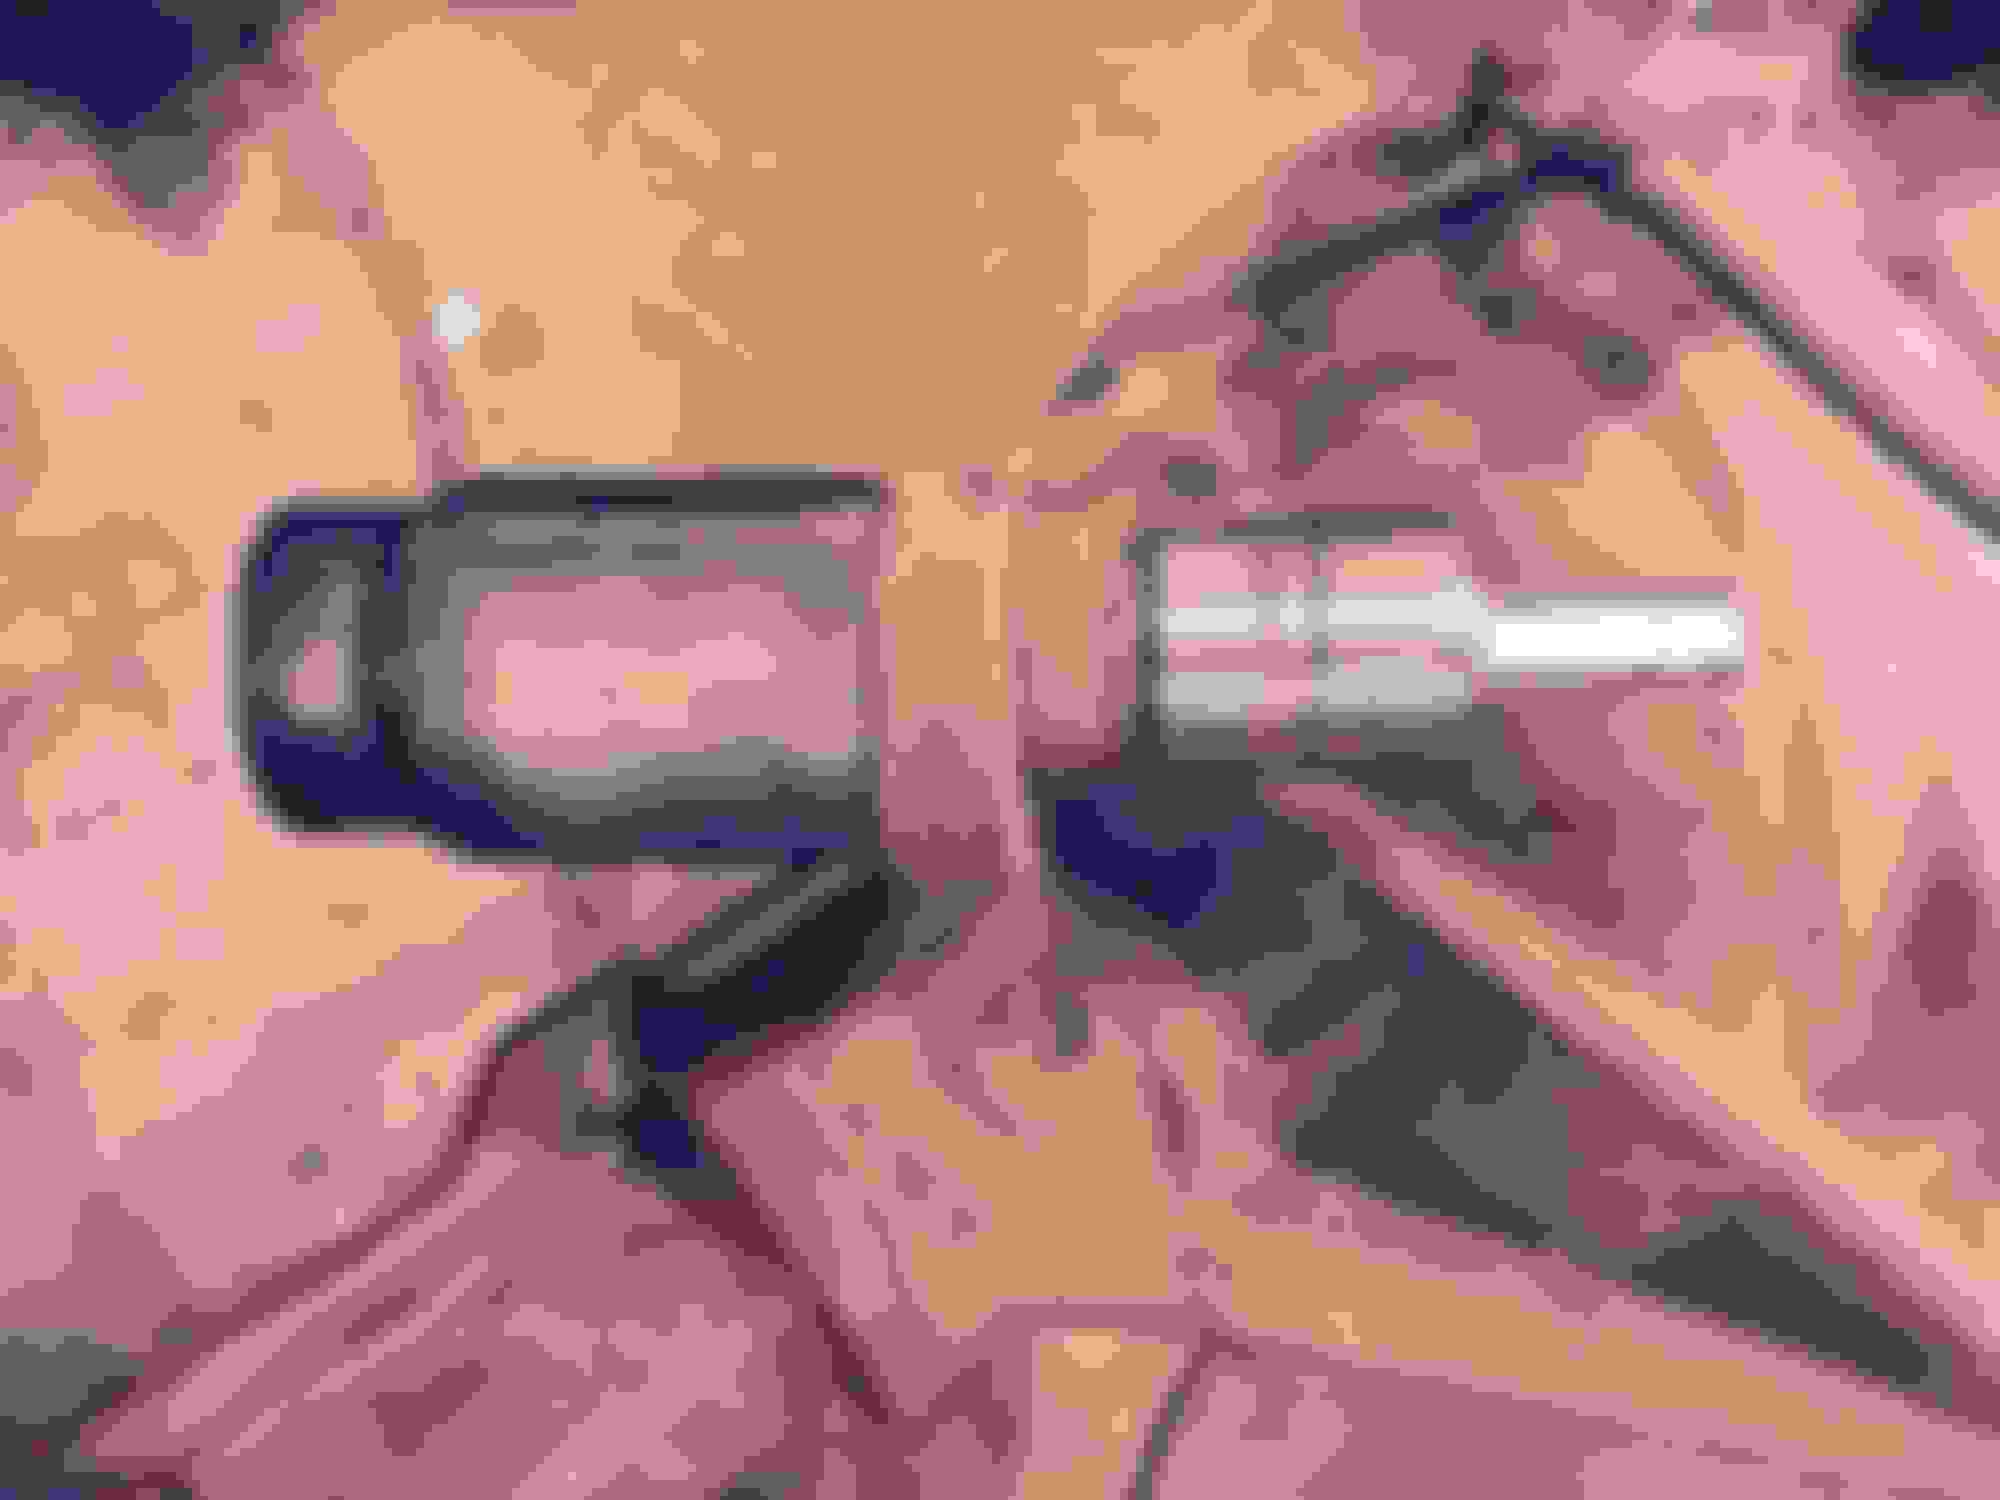
Some of my the work last week. Rebuilding the control arms in my living room. It was -27F outside, too cold in the garage. I wanted to use the kitchen table but my wife said no. image.jpg
Some of my the work last week. Rebuilding the control arms in my living room. It was -27F outside, too cold in the garage. I wanted to use the kitchen table but my wife said no. Attachment 108623
So you did it on the living room carpet?!? Newspaper or not....My wife would have my head!
How do you plan to rebuild? Original colors(what were original colors?)? Bone stock or modified somewhat?
How do you plan to rebuild? Original colors(what were original colors?)? Bone stock or modified somewhat?[/QUOTE]
The original colors were Target Red with black interior.
As far as the rebuild goes: The interior is in pretty good shape except for the carpet. The seats had custom covers made for them by my dad back in the 60's and I'm gonna keep them for the history.
The color will stay red. But I havn't picked a peticular one yet as that may be years down the road, when the budget allows.
For wheels, AR makes a set that are very similiar to the original 'mags' my dad put on it.
I have a 455 the I rebuilt 15+ years ago for a guy who never paid for it. Nothing special but i may put a set of tri-carbs on it. Someday I would like to put a built 425 in it. Maybe I can even find the original block somewhere?
I did find the original switch pitch 400 in a parts trailer the other day and will rebuild it and put it back in. Maybe a 4L80E or a GV overdrive down the road.
I have a 66 Starfire that i need to check under and see if it's got a posi.
Lastly over the years I have collected every availible option I could find for the car: PW, PL, A/C, PA, CC, AM-FM radio, even Guide-O-Matic dimming headlamps. Not sure what route I wasnt to go with these yet. The only option that my grandpa ordered on the car was power truck release and deluxe wheel covers, go figure.
Those are the "Special Deluxe Wheel Covers". I have a set but one has broken and missing mounting ears. I also have the rims, but have not decided if I am going to 15s yet. I still have a long way to go first.
I love seeing people saving these big cars.
Started running some new brake lines. Used the NiCopp alloy stuff. It bends and flairs real nice and has kind've a that cool copper look to it. But it is spendy, probably should have just bought the stainless pre-bent set from ILT. image.jpg
I used the same product to bend my brake lines-Easy Bend, probably all made by the same company. Works very well, fact I heard BMW and other European cars are built from the factory with this product.
Started assembling some of the front end. But then after reading some of the horror stories about the upper control arm cross shaft bolts breaking, I thought I'd hold off and order some new ones. The drivers side had been changed out with plain old grade 8 bolts anyhow. BTW how many of you knew that the 65 B-body used 7/16" bolts like the A-body, but the 70' 98 used 1/2" bolts. Hmmm?maybe I should upgrade...... image.jpg
Well I got my order from ILT last week, new cross arm shaft bolts, wire harness tape, and a few other things. And guess what? The screwed up my order. Imagine that? But they were good about it. Sent them an email and they shipped out the missing stuff, no questions asked.
Also got my new/used floor pan & gas tank from AZ on Monday. Boy you guys in the southwest don't know how good you've got it! image.jpg
Now I only have about 600 spot welds to drill out.
Your doing great, I had a rust bucket too from Ohio. I replaced the floors, trunk and all the braces, sourced both doors, left front fender and the section between the taillights!
It is really looking great. As Alex said, Grandpa will 'know' you are doing it in his memory and be very pleased.
About 15 years ago I did a total body off street rod on a 1936 Chevy 2 dr. that happened to be the same make and model my parents took on their honeymoon in 1938. Alas I didn't get it finished before both of them passed away but both knew I'd picked that make and model because it was their "honeymoon" car and were really pleased about that. It made no difference I made a stock 36 into a street rod. It was the idea that I thought there was something special about their honeymoon car.
Jerry
Thanks for the kind words guys. I have a bunch of pictures of the progress the last couple years. If interested I'll keep posting a few every few days or weeks etc. Still a long long way from completion but it's getting there little by little.
Before pictures of the front brakes. These came off a 70' Nintey Eight. After I bread blasted and painted everything up. Part number for the rotor if anyone needs. These are for a 2000 Camaro?? I had the center machined larger and drilled for 5 on 5 bolt pattern. This is what's left of the backing plates after I soaked them in Metal Rescue. I left them off for now until I can find or fab better ones. Tried to use ones for an A-body. Not even close.
A few pictures from a while back when I took the body off the frame. Used nothing but a floor jack some jack stands and a few five gallon pails. Body in its new 'home' at my dads shop. Where I started doing the major metal work and will be painting it.
Looks like its going in the right direction! One of these days I may do something with mine, but I really hate to take it apart until it blows up, or something flys off or it!, Lol!
Some pics of sprucing up the rear axle: My little helper My homemade bushing press. Bushing press in use Tore down ready for prep and paint Upon disassembly found that the Axle tubes were full of sand. From sandblasting on the previous restoration 25+ years ago. Luckily the car wasn't driven enuf to damage the gears or bearings. I just ended up cleaning and inspecting everything. Replaoall the seals and re-set the backlash and bearing pre-load Painting it up.. painted the tubes raw steel color. Center section cast gray (not pictured)
 January 12th, 2015, 11:01 PM


 . In fact she had taken her drivers test in the Jetstar. It was a snowy winter day. She was coming around the cloverleaf out of town, spun around and kissed the guard rail smashing up the drivers fender. Which is why, my dad painted it the first time.


