501Paratroopers 69 442 Build

Thread Tools
 
Search this Thread
 
Old June 27th, 2014, 11:04 AM
  #41  
Just an Olds Guy
 
Allan R's Avatar
 
Join Date: Jul 2008
Location: Edmonton, AB. And "I am Can 'eh' jun - eh"
Posts: 24,525
Why clear it? They didn't do that from the factory and your results look fantastic. The spatter paint should hold up quite nicely as long as you're not going to use this beast for hauling engines in the trunk.....
Allan R is offline  
Old June 27th, 2014, 11:17 AM
  #42  
Registered User
Thread Starter
 
501Paratrooper's Avatar
 
Join Date: May 2010
Location: SE Florida
Posts: 1,307
Eastwood advises using a clear on it.
501Paratrooper is offline  
Old June 27th, 2014, 11:56 AM
  #43  
Registered User
 
442rocketdave's Avatar
 
Join Date: Nov 2012
Location: Deland Fla.
Posts: 535
That came out perfect and it will look even better with the clear. Unfortunately for me I have to put a whole new trunk pan in!! I have a long road to travel! Glad yours is coming so quick, you will be enjoying it before the end of summer.
442rocketdave is offline  
Old July 21st, 2014, 09:18 AM
  #44  
Registered User
Thread Starter
 
501Paratrooper's Avatar
 
Join Date: May 2010
Location: SE Florida
Posts: 1,307
So I couldn't put a ratty taillight harness in my freshly spattered trunk.
I've seen two kinds of tape on the harness' of my car so I bought both kinds of original GM harness wrap tape, a non stick PVC type and a cloth sticky kind. I've seen that the sticky cloth kind was for areas of higher heat.

The rear taillight I noticed was the PVC type, but as I unraveled it it had the cloth kind underneath. So I wrapped it first with the cloth type then the non stick. Tough to tell in the pics but it came out nice the PVC type sticks to the cloth and makes the wrapping much easier.
Attached Images
File Type: jpg
Rear tail light haness.jpg (88.7 KB, 42 views)
501Paratrooper is offline  
Old July 21st, 2014, 10:43 AM
  #45  
Just an Olds Guy
 
Allan R's Avatar
 
Join Date: Jul 2008
Location: Edmonton, AB. And "I am Can 'eh' jun - eh"
Posts: 24,525
Nice. If you look at an OEM harness you'll also notice they got max coverage out of their wiring tape. The wraps were as far apart as possible with minimum overlap.
Allan R is offline  
Old July 21st, 2014, 12:57 PM
  #46  
NôôB
 
sicky olds's Avatar
 
Join Date: Jul 2010
Location: Las Vegas, NV
Posts: 2,076
Now arent you glad you didnt buy that Rallye when you went and looked at it for me . Love the build and subscribed buddy. Keep up the great work
sicky olds is offline  
Old July 21st, 2014, 01:26 PM
  #47  
Registered User
Thread Starter
 
501Paratrooper's Avatar
 
Join Date: May 2010
Location: SE Florida
Posts: 1,307
But Rallye's are so cool! Thanks Tom, glad to see you back.
501Paratrooper is offline  
Old June 4th, 2015, 06:01 PM
  #48  
Registered User
Thread Starter
 
501Paratrooper's Avatar
 
Join Date: May 2010
Location: SE Florida
Posts: 1,307
A little progress today. Installed KYB Shocks painted gray and the gas tank installed with 70Post's gas tank pad. Engine is going in next week!!!!
Attached Images
File Type: jpg
gas tank.jpg (65.0 KB, 26 views)
File Type: jpg
pad.jpg (71.3 KB, 23 views)
File Type: jpg
shocks.jpg (54.1 KB, 26 views)
501Paratrooper is offline  
Old June 5th, 2015, 06:38 AM
  #49  
Registered User
 
Boilerz25's Avatar
 
Join Date: Jan 2014
Location: Houston, TX
Posts: 453
Glad to see a new post. Project is coming along.

Sean
Boilerz25 is offline  
Old January 2nd, 2019, 06:31 AM
  #50  
Registered User
Thread Starter
 
501Paratrooper's Avatar
 
Join Date: May 2010
Location: SE Florida
Posts: 1,307
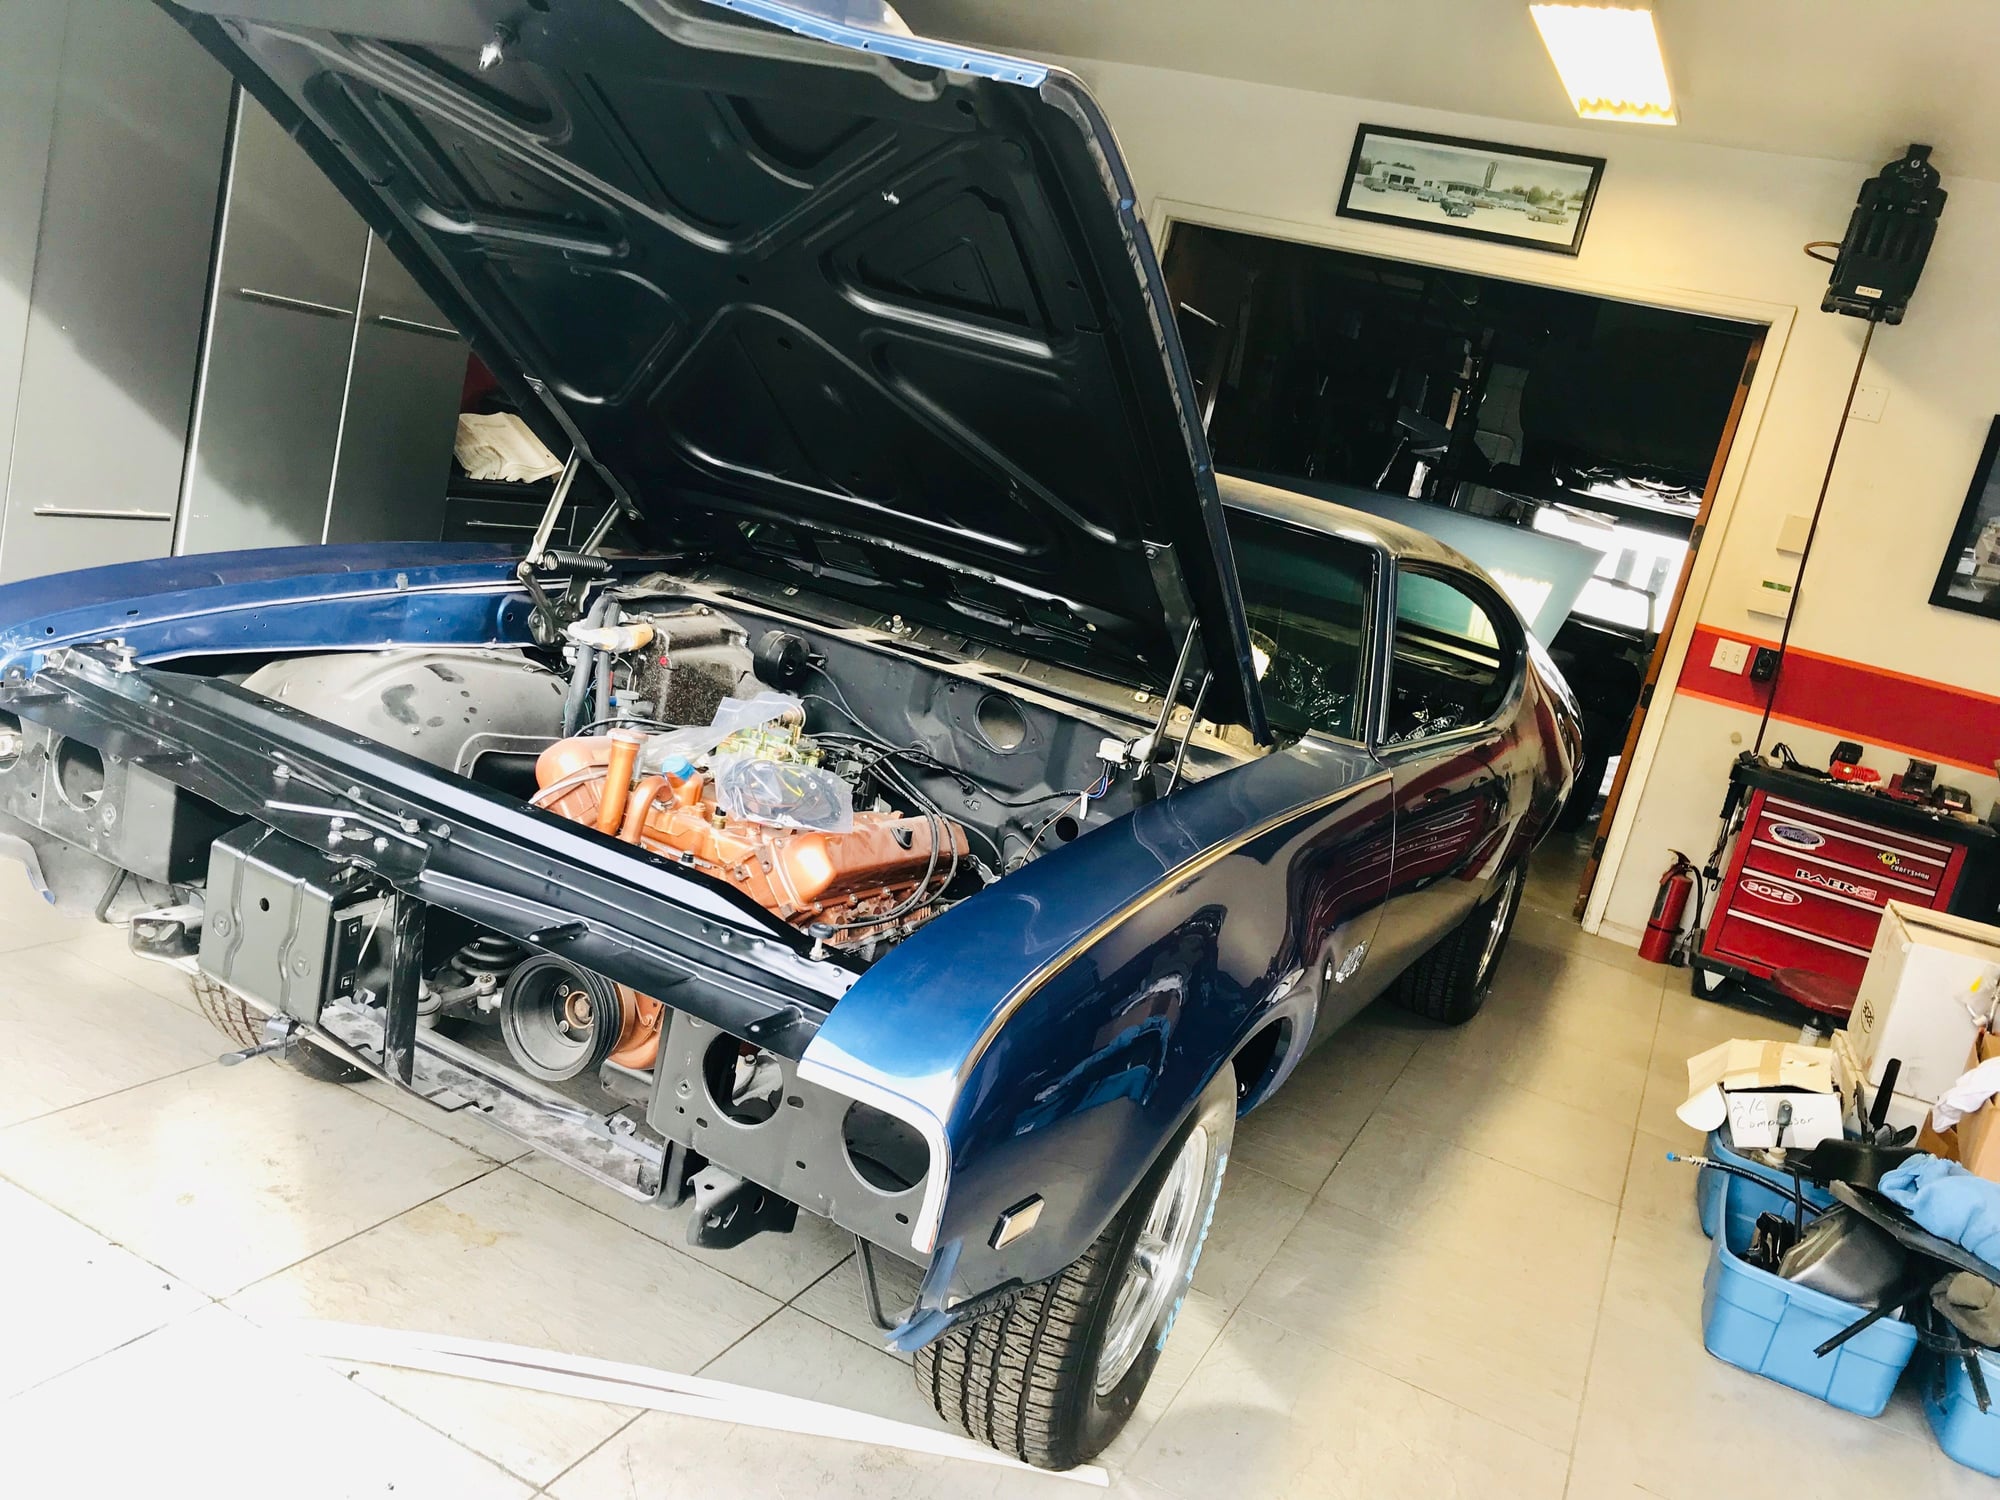
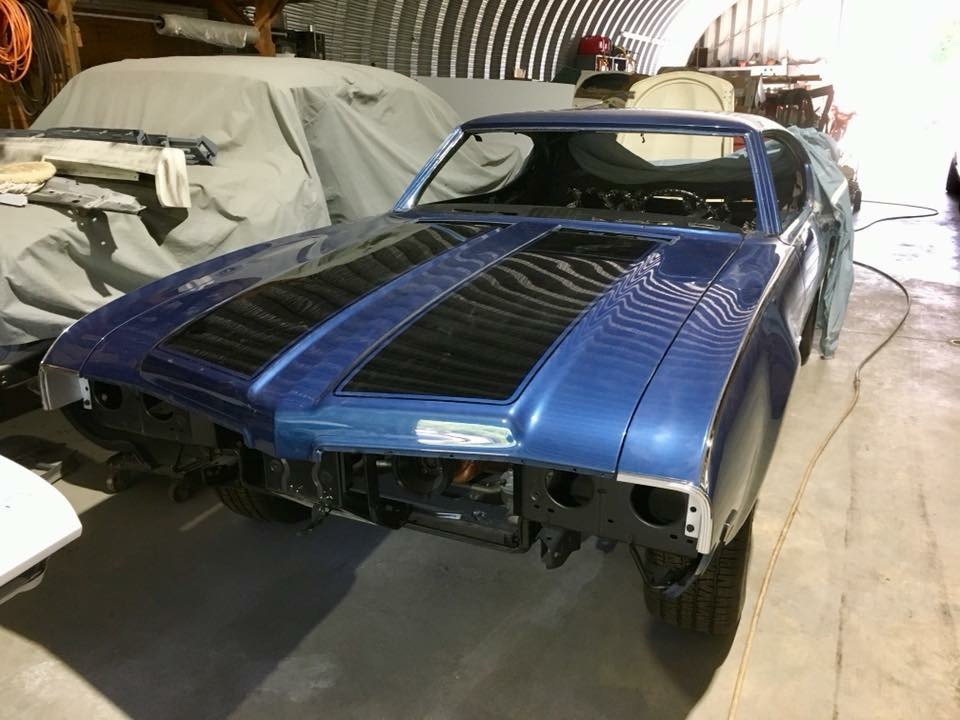
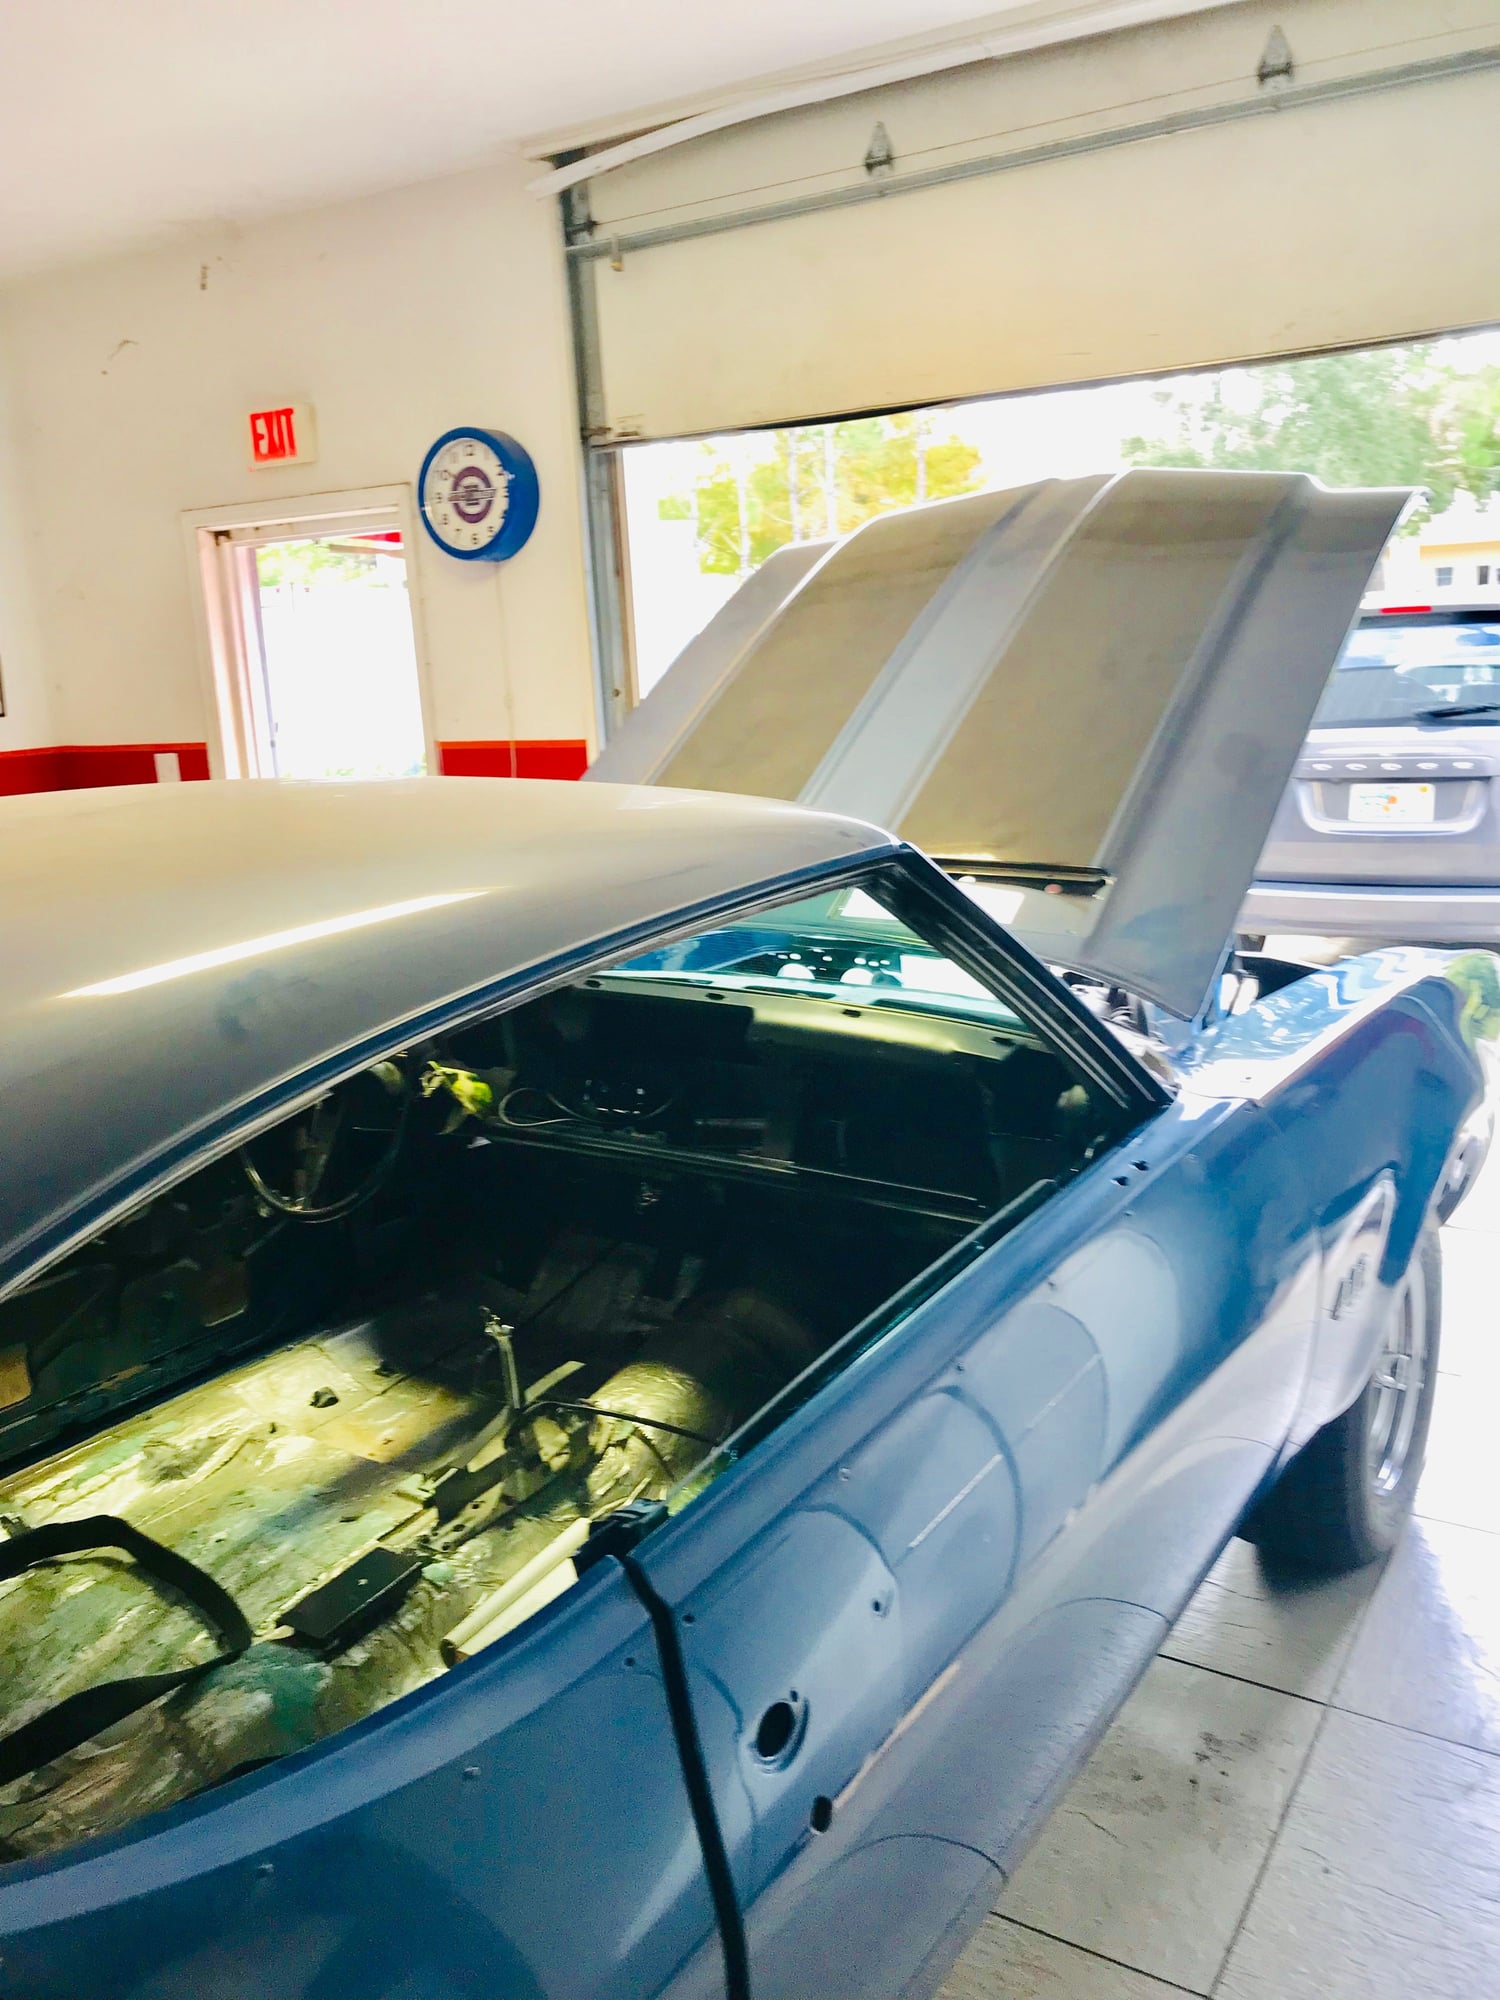
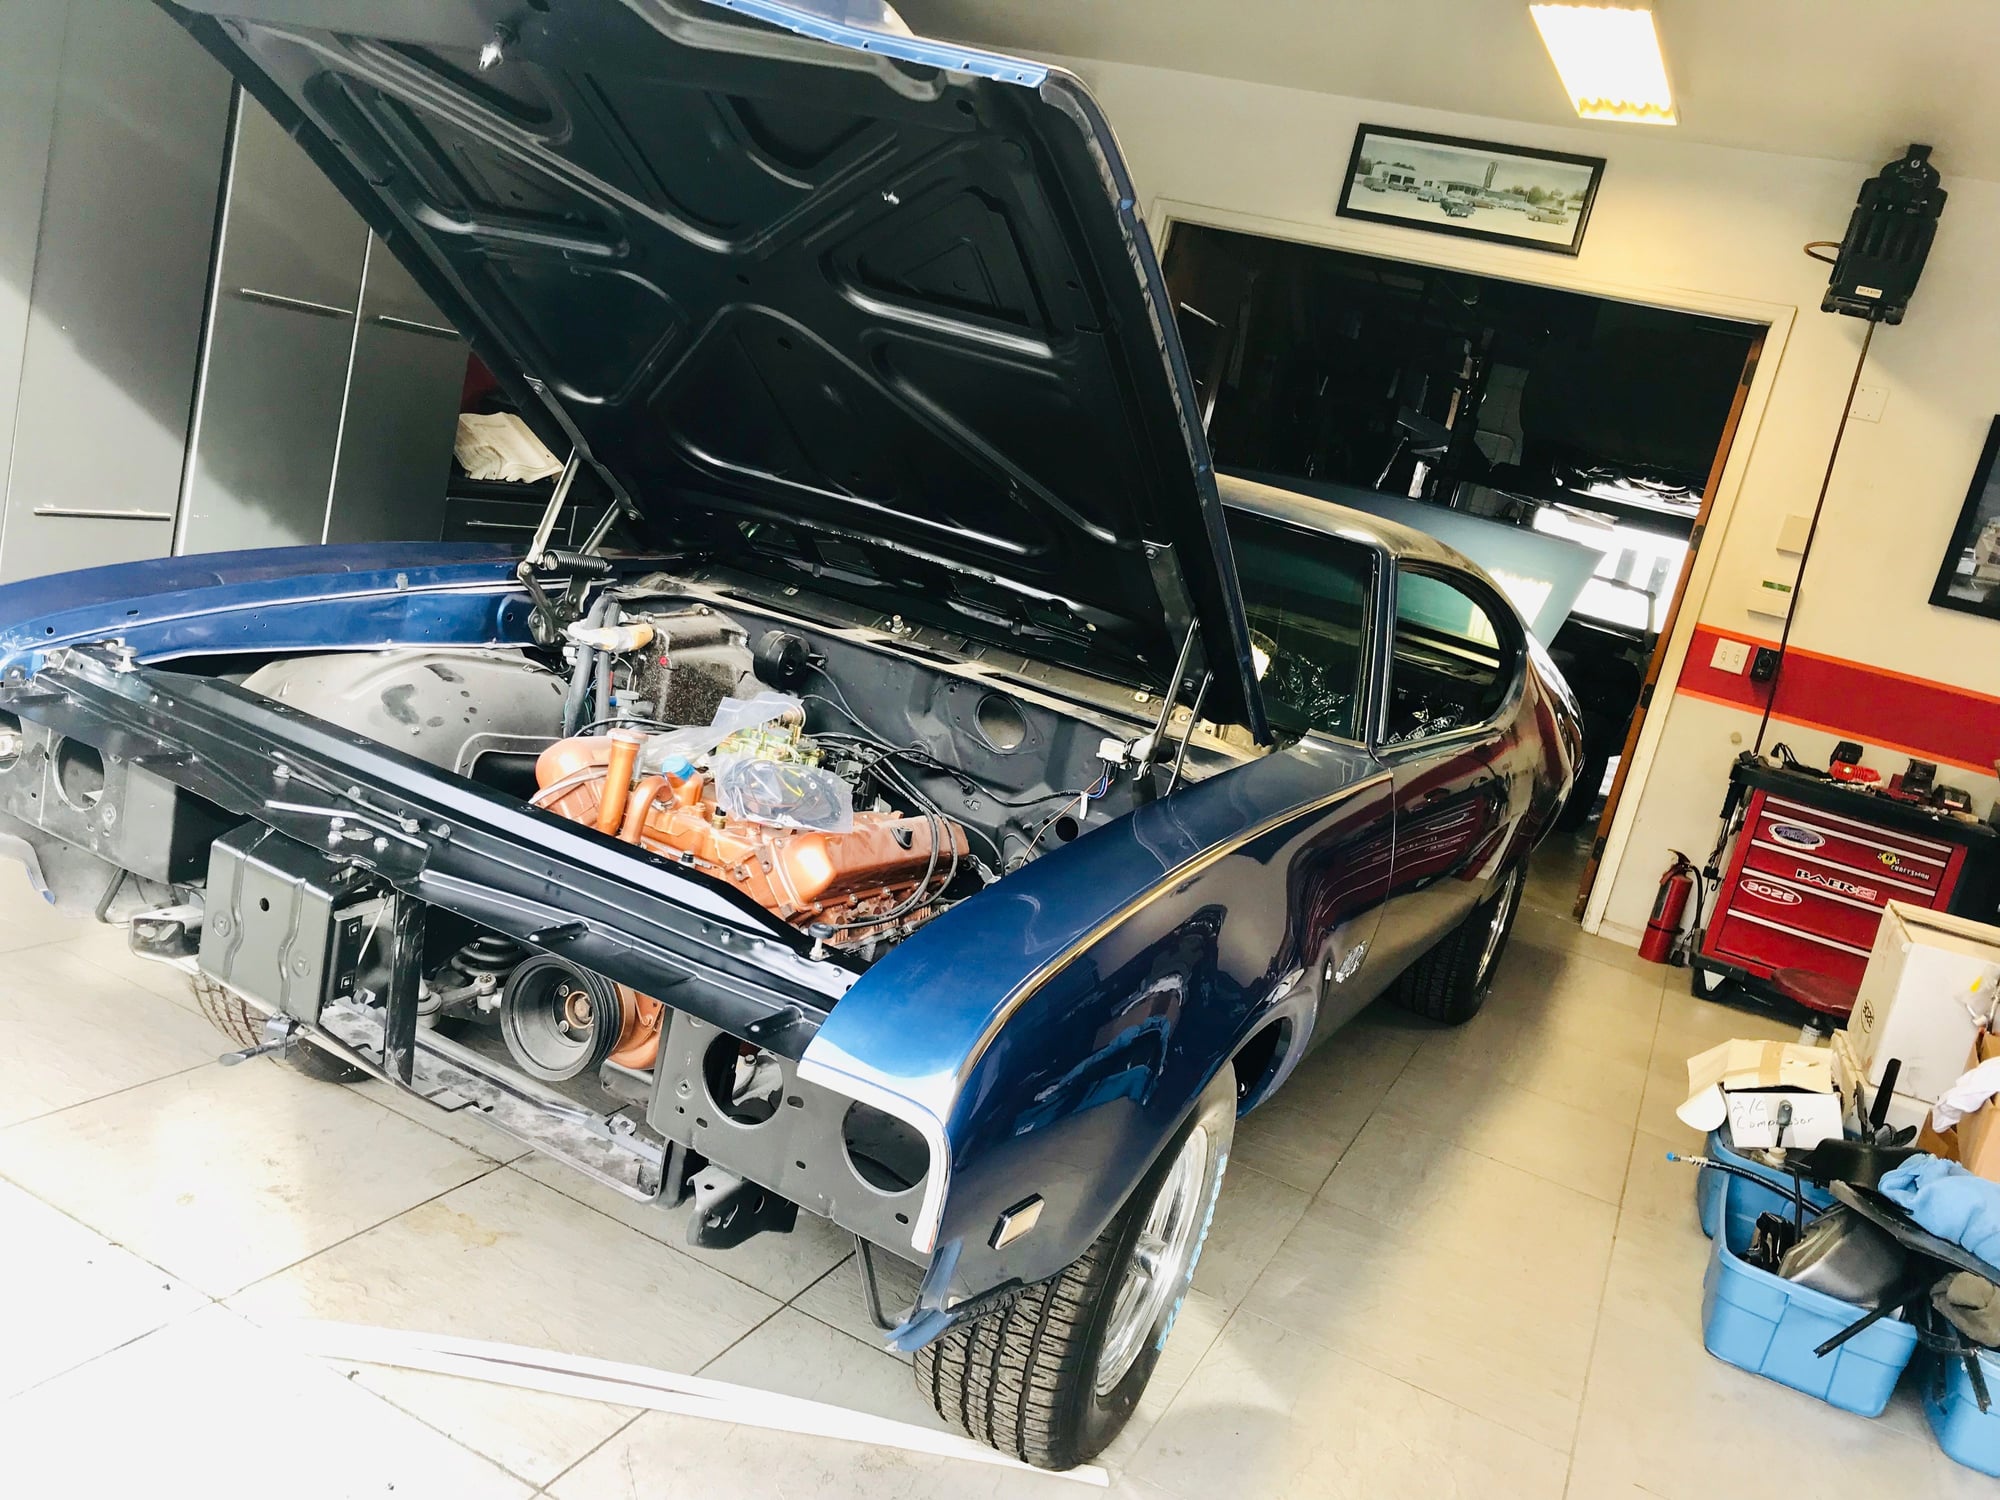
It's been is a long road but there is a light at the end of the tunnel!


501Paratrooper is offline  
Old January 2nd, 2019, 06:35 AM
  #51  
Moderator
 
Jamesbo's Avatar
 
Join Date: Jun 2008
Location: Atlanta, Georgia
Posts: 17,614
Beautiful
Jamesbo is offline  
Old January 2nd, 2019, 06:43 AM
  #52  
Registered User
 
Bernhard's Avatar
 
Join Date: Jul 2012
Location: Vancouver BC
Posts: 2,790
Nice!
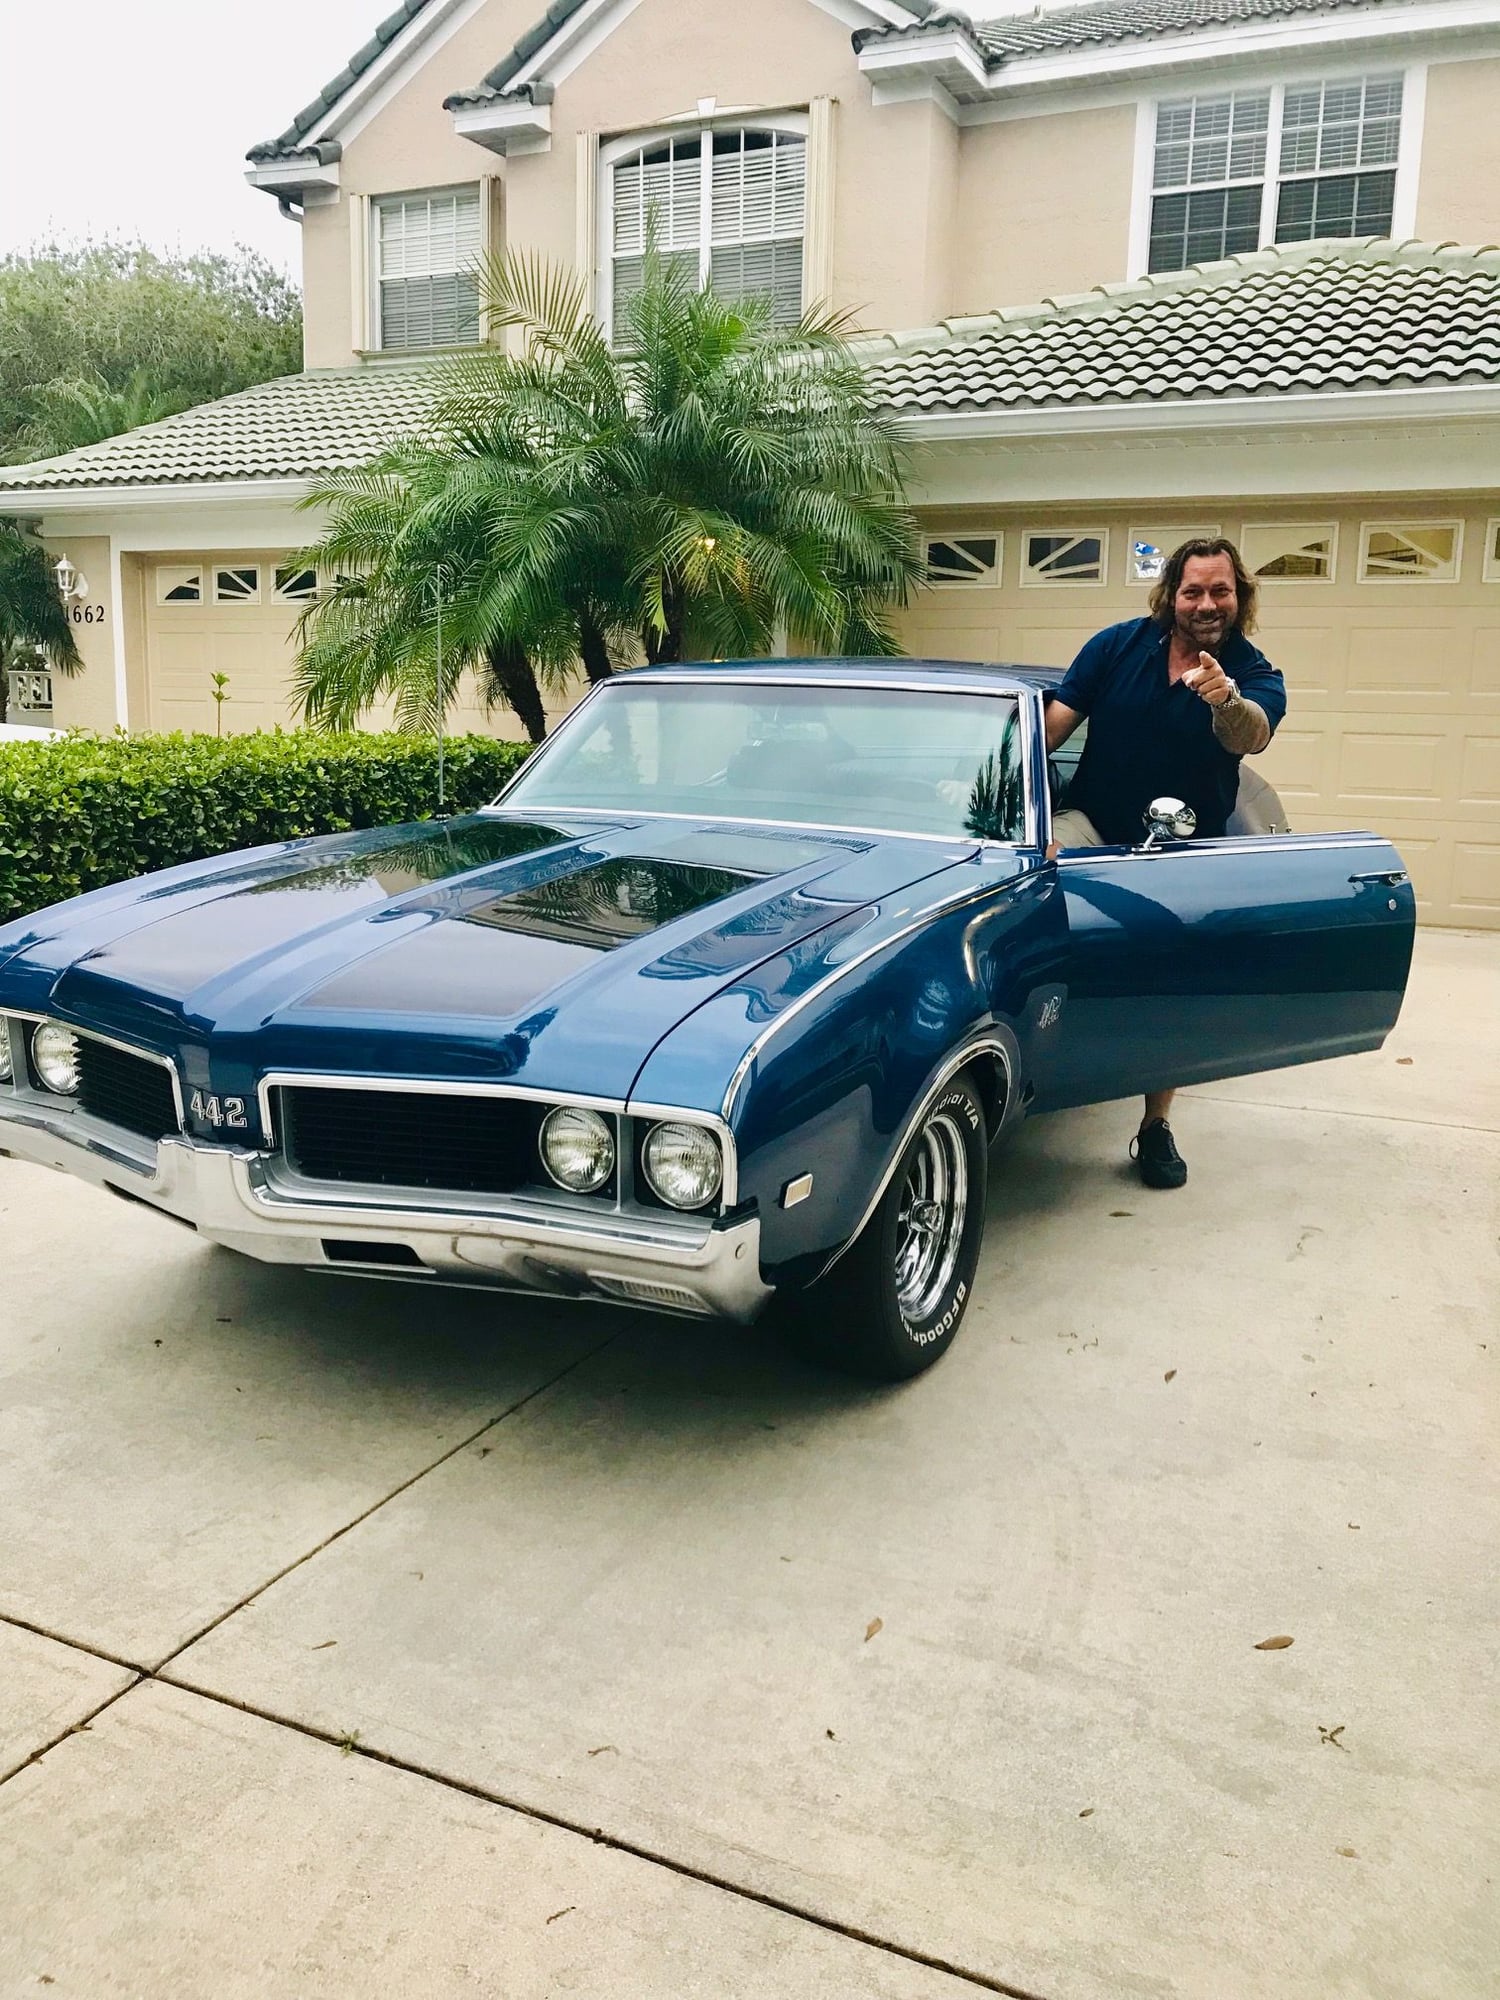
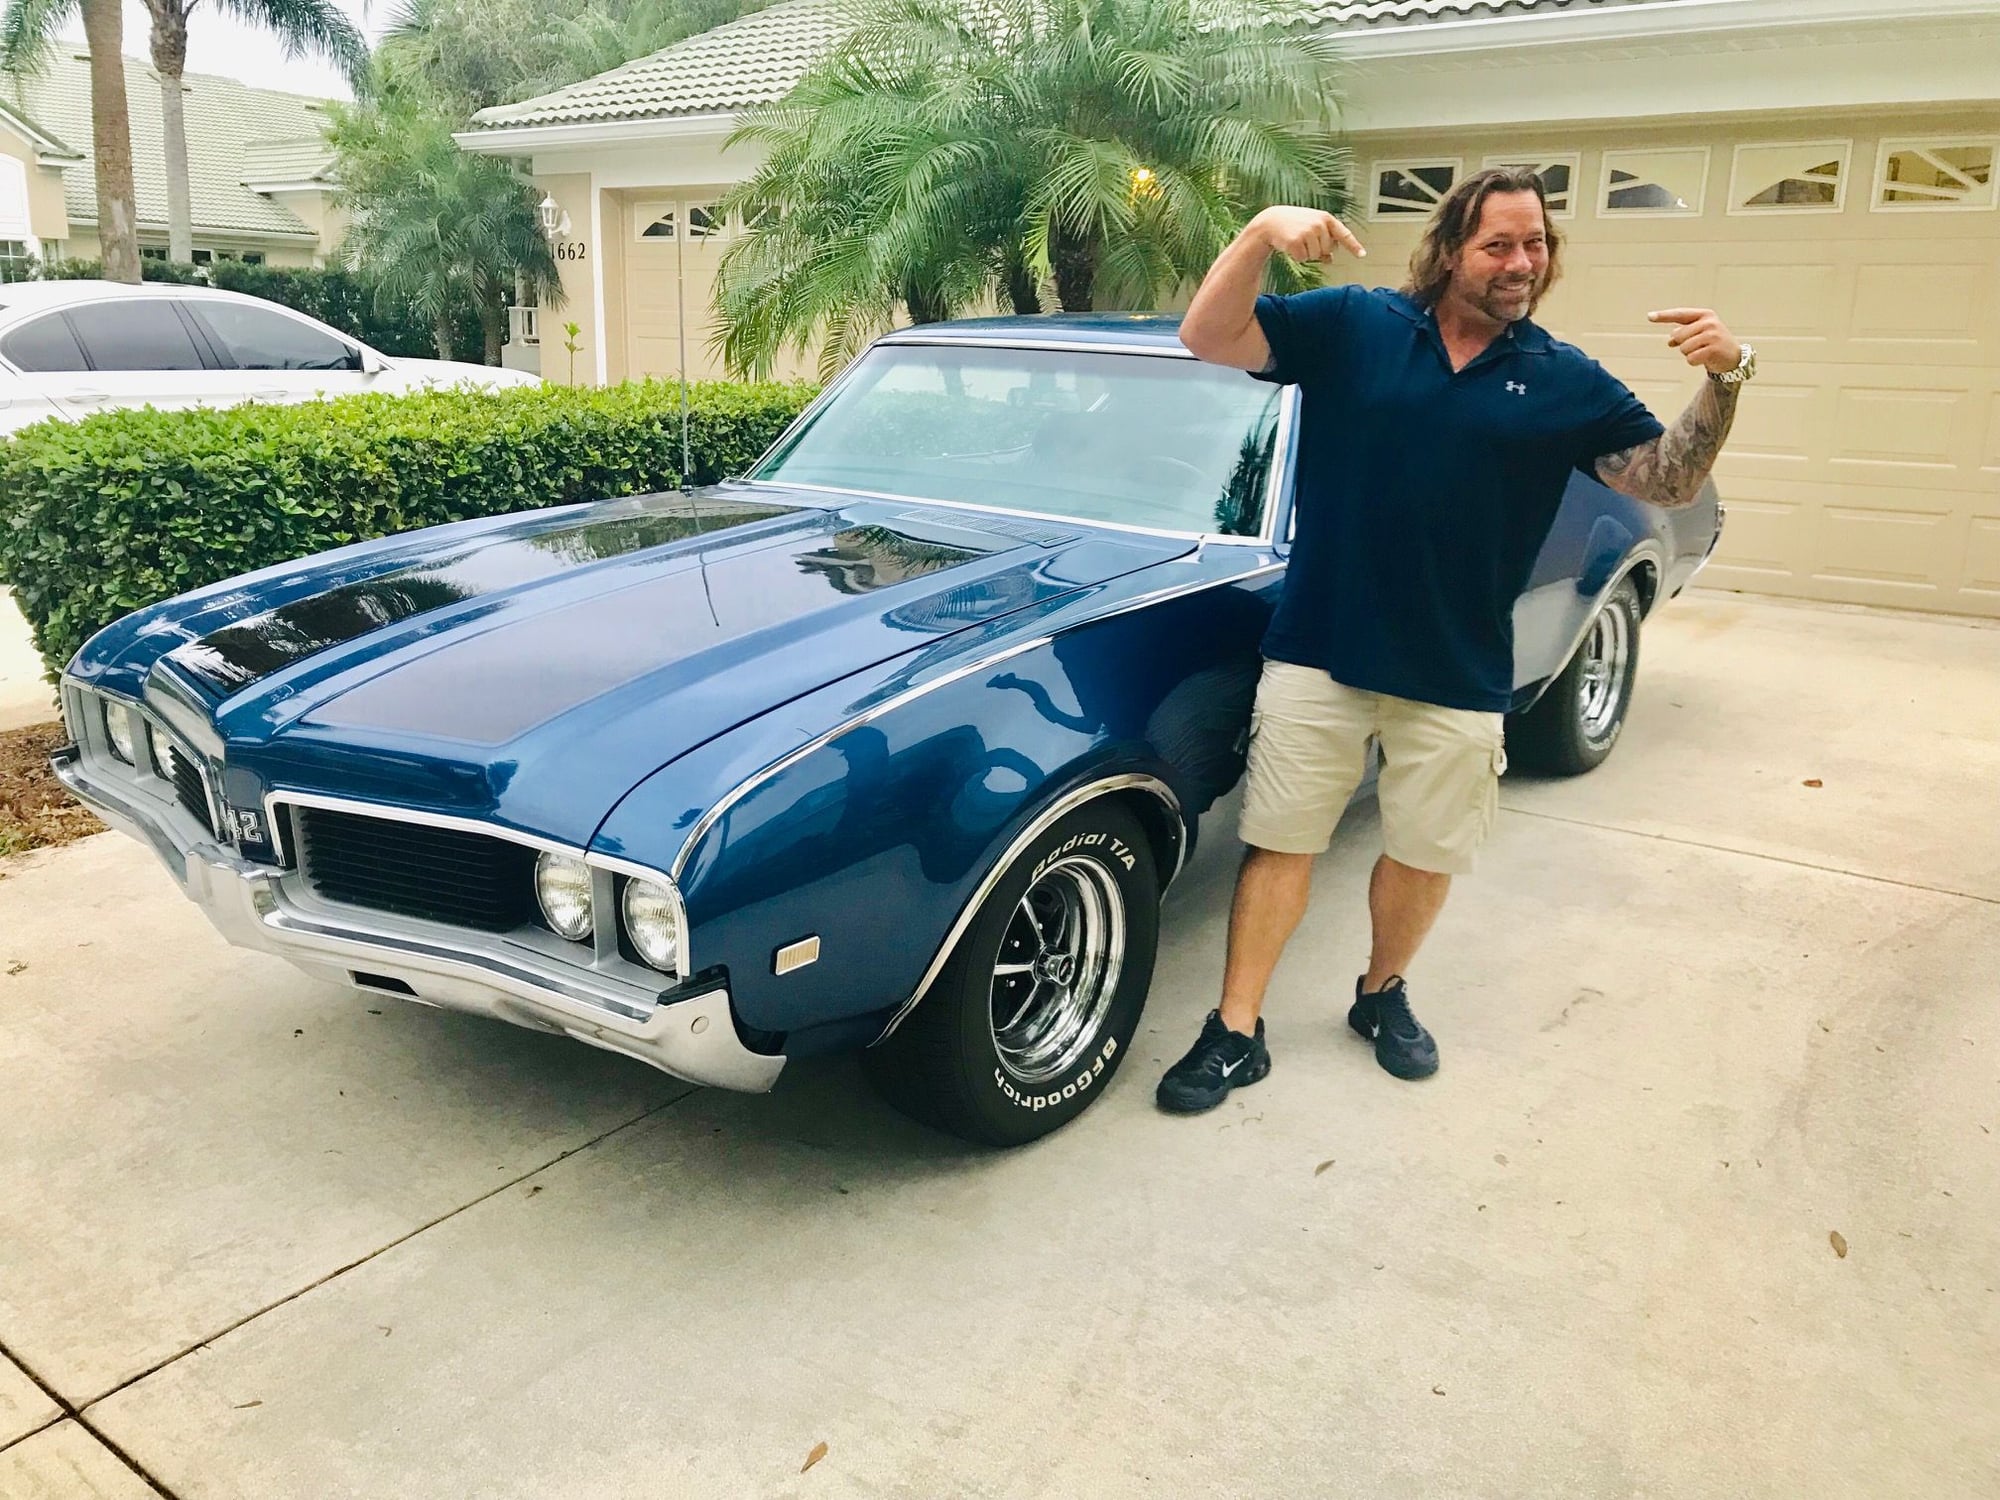
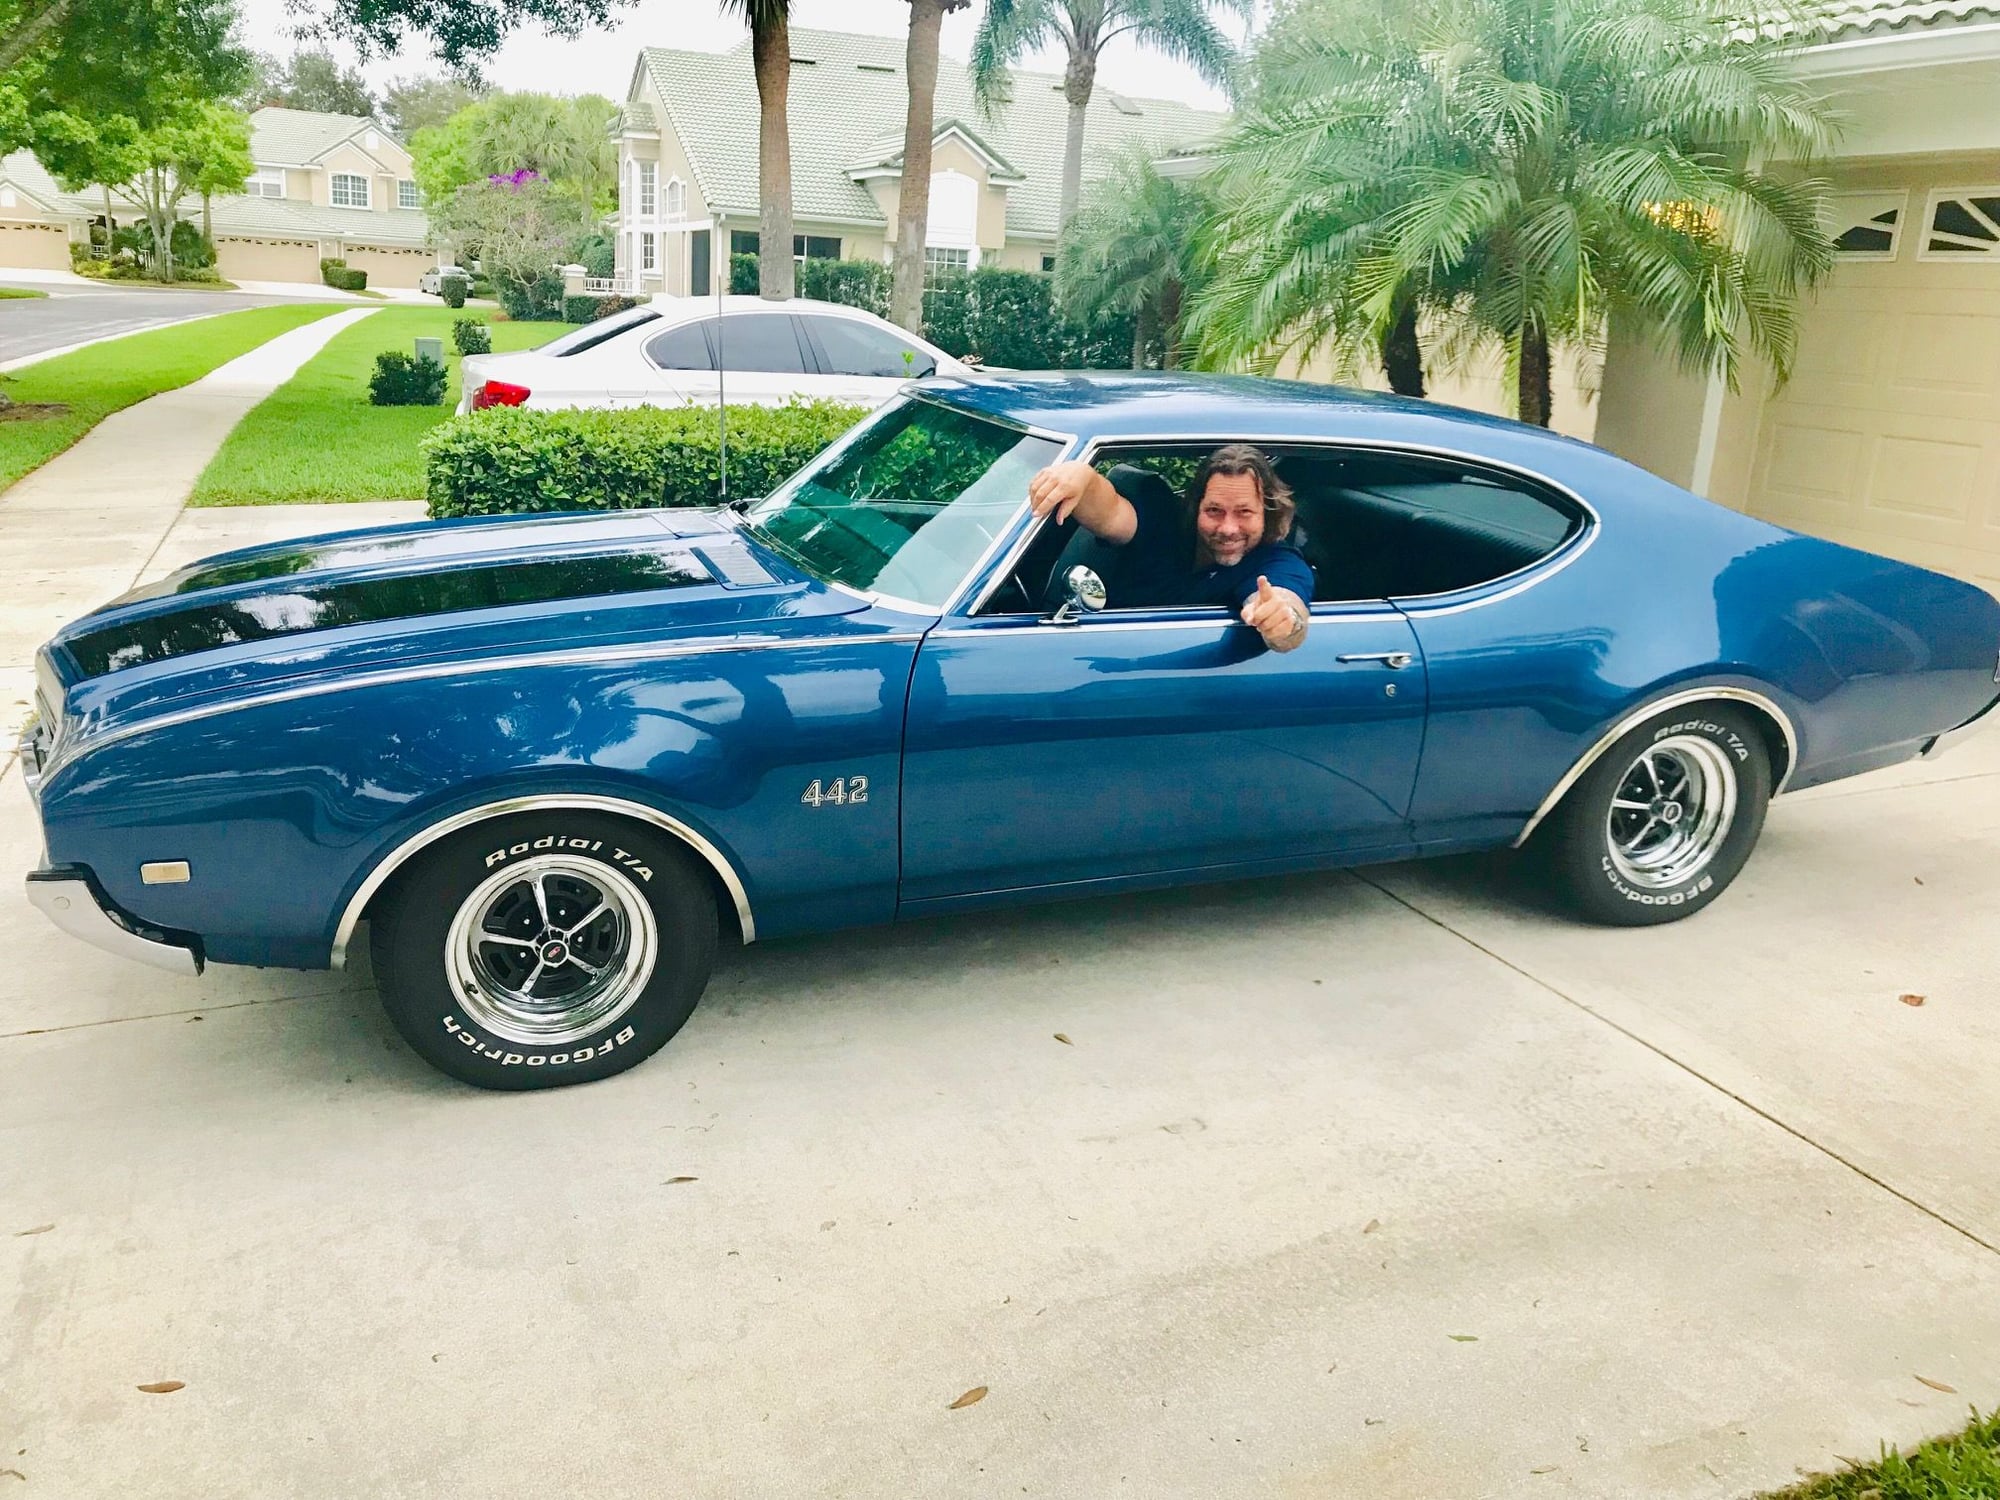
The blue with black stripes look look very sharp and work well with the 69 body line.
I'm glad to see you are making progress with your build thanks for sharing.
Bernhard is offline  
Old February 25th, 2019, 06:38 PM
  #53  
Registered User
Thread Starter
 
501Paratrooper's Avatar
 
Join Date: May 2010
Location: SE Florida
Posts: 1,307


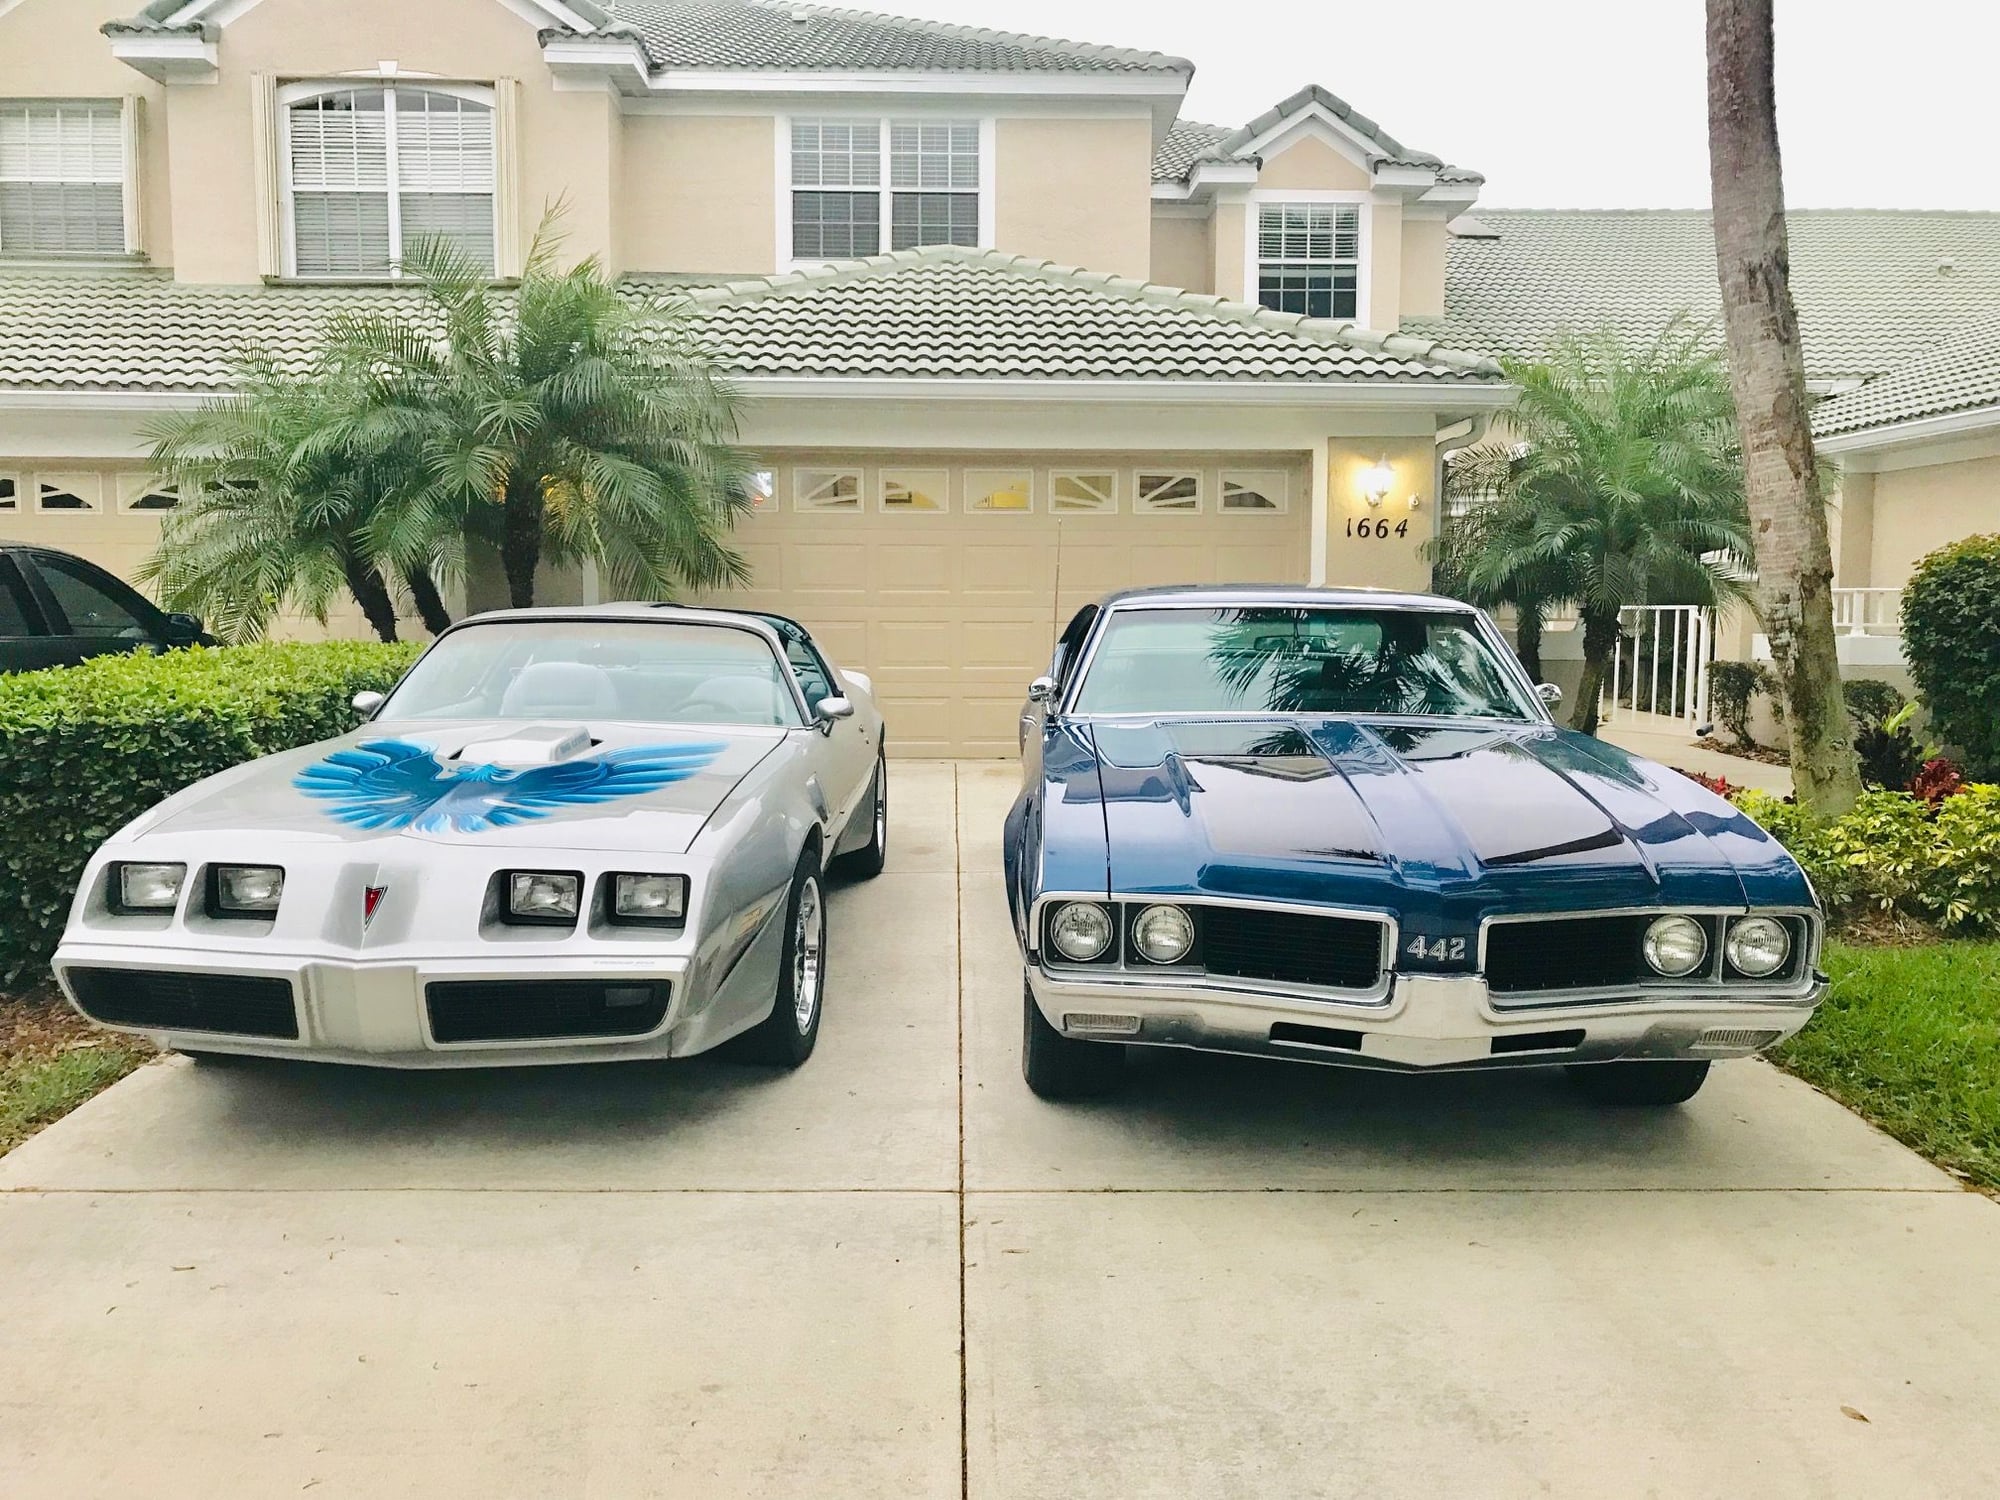
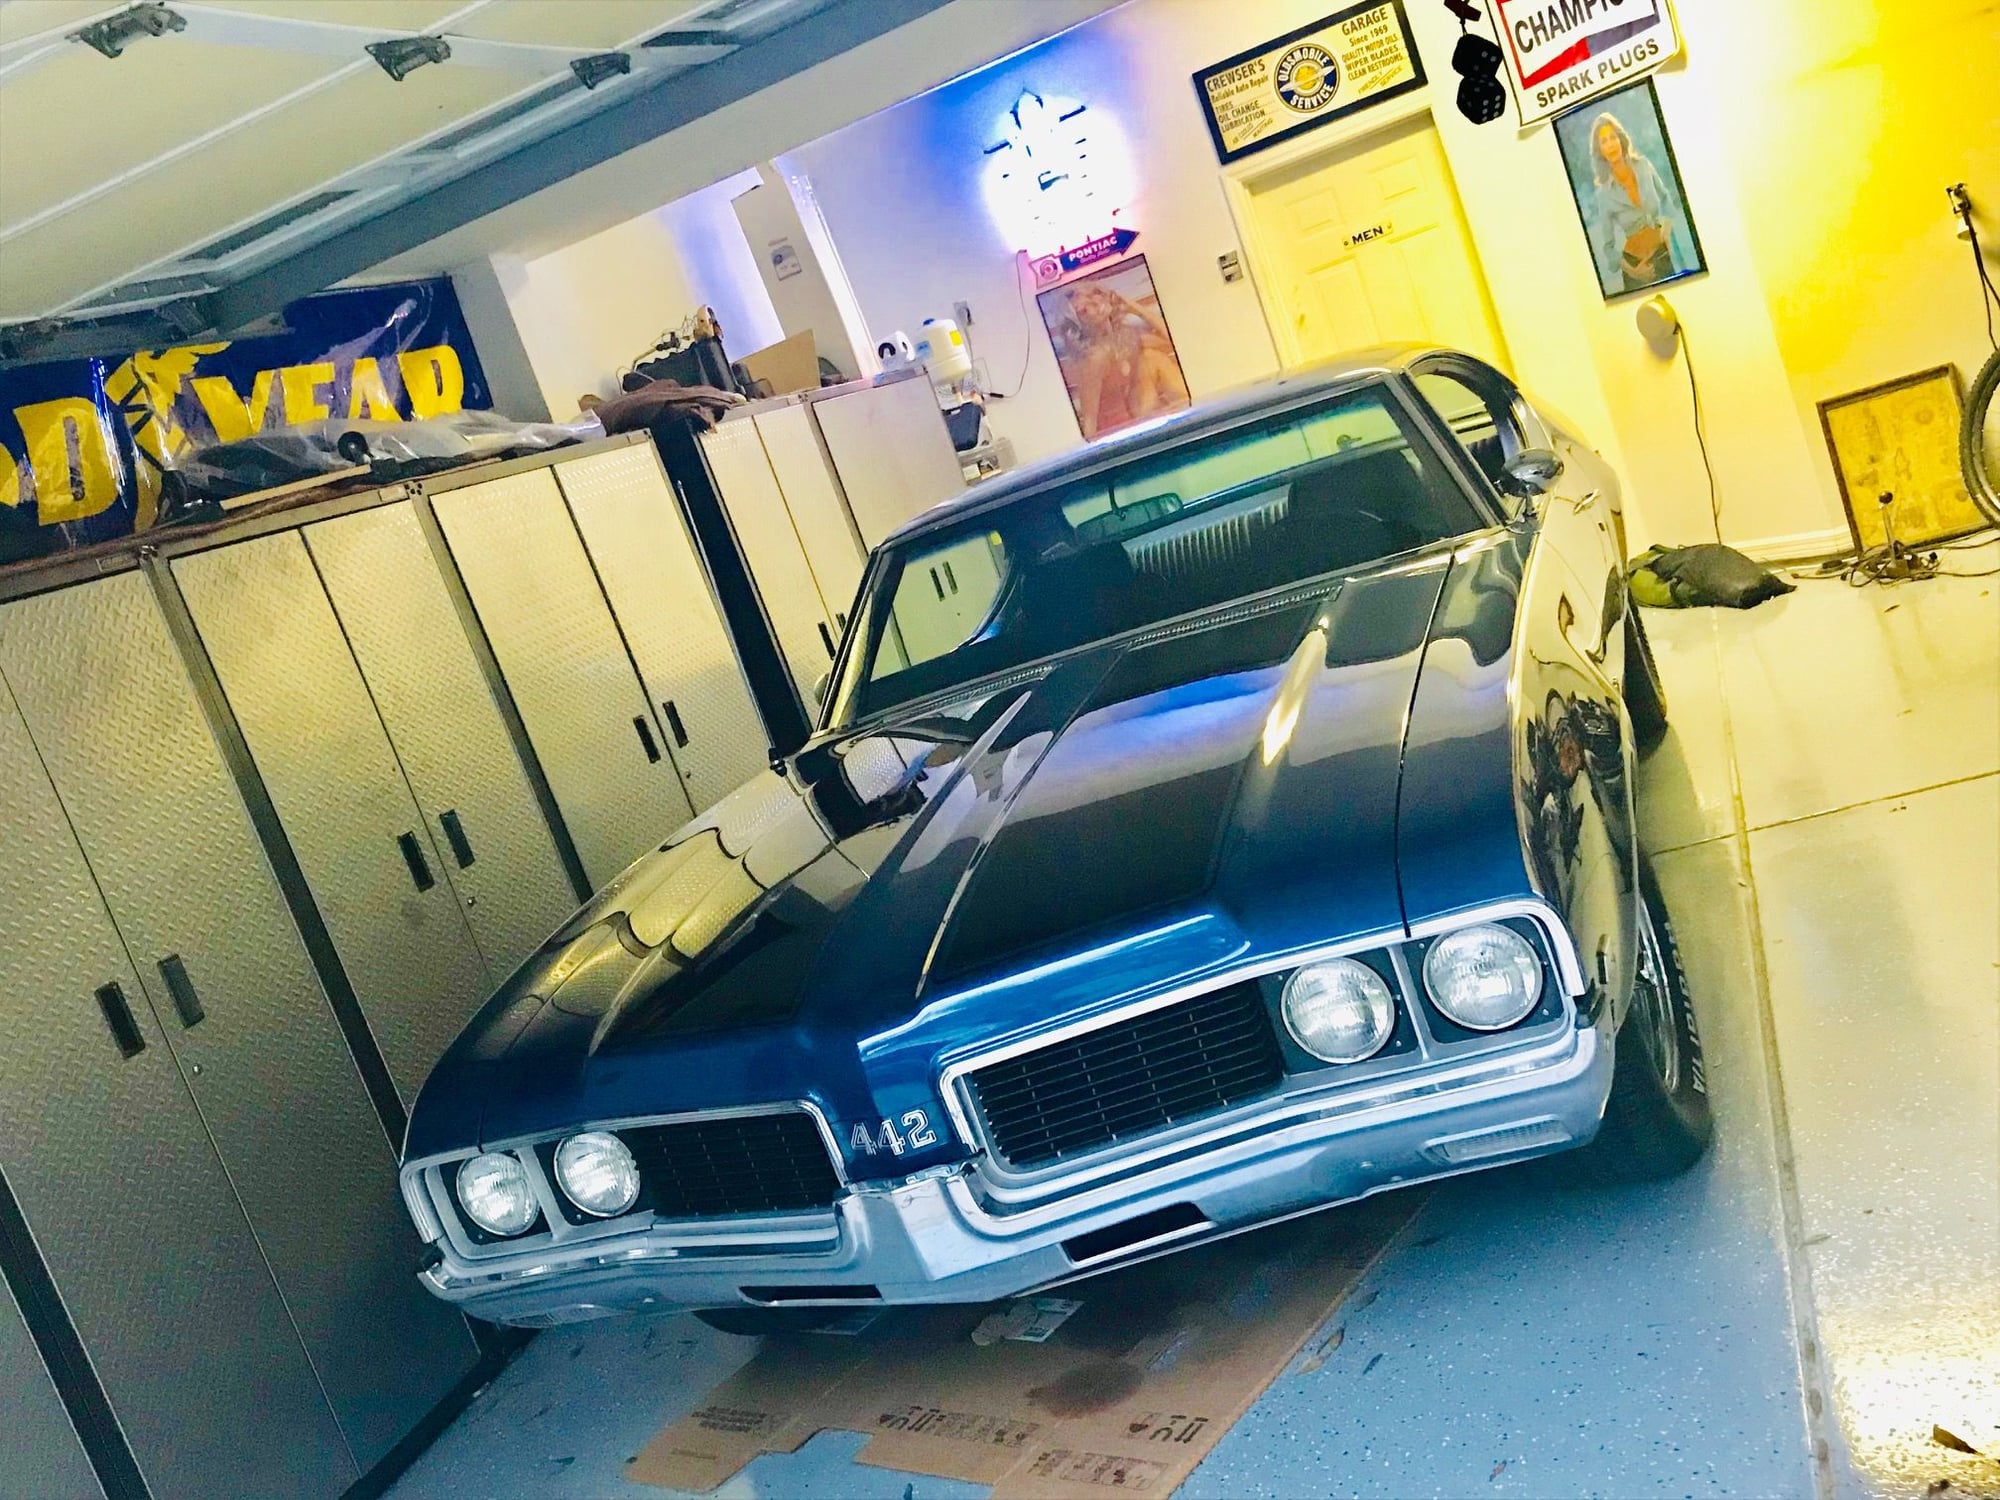
Well it's basically done-ish, they're never really done!
It's been a long road almost 9 years!
501Paratrooper is offline  
Old February 26th, 2019, 04:55 AM
  #54  
Registered User
 
JohnnyBs68S's Avatar
 
Join Date: Jun 2014
Location: Ft. Wayne, IN
Posts: 1,195
Beautiful! Well done sir. Dig your T/A too.
JohnnyBs68S is offline  
Old February 26th, 2019, 06:06 AM
  #55  
Registered User
 
sixtyfour's Avatar
 
Join Date: Jan 2007
Location: Martinsburg wv
Posts: 98
I love the 69"s this is sweet
sixtyfour is offline  
Related Topics
Thread
Thread Starter
Forum
Replies
Last Post
Alex garber
Paint
2
September 14th, 2017 03:06 AM
Montana1969-442
Paint
11
March 31st, 2015 06:08 PM
ent72olds
442
15
June 24th, 2014 12:04 AM
Evans1
Body & Paint
6
February 6th, 2013 11:15 AM
esisson
Paint
11
December 31st, 2010 04:30 AM


Quick Reply: 501Paratroopers 69 442 Build


All times are GMT -7. The time now is 12:19 AM.