When you click on links to various merchants on this site and make a purchase, this can result in this site earning a commission. Affiliate programs and affiliations include, but are not limited to, the eBay Partner Network.
Yes we have the grille and a lot of other trim parts, like the taillight "sights" and the trim from the front fender side and the die cast piece that ran between the taillights. The owner had them all re-chromed before he decided to go custom. We have the original headlight buckets and aluminum headlight trim as well.
Sanded and buffed (1000 grit, 1500, 3000, then compound, and liquid polish, and hand glaze)
Ron's doing a terrific job buffing the miles of stainless trim on the car. Starting to install it now!
We have been busy color sanding and buffing, so we took advantage of sunny and (relatively) mild weather to drive the car outside and check out the paint!
We're happy with it. Next we need to wash it and get back to final assembly.
Lots of stainless trim to be buffed. And polished stainless bolts for under the hood for that little extra.
Today was surprisingly warm and sunny, so we finally got the car outside to give it a thorough cleaning on the outside and under the hood. One little project we finished was to add map lights (l.e.d.) under the dash, next to the courtesy lights switch. Since there only seemed to be block off plates covering the two holes, we put the lights there and they are controlled by the courtesy lamp switch.
Under the hood we still need to run some clamps for the a/c lines on the right inner fender and the power steering lines and on the left inner fender. The "to do" list is getting smaller!
What a difference a day makes. Yesterday was about getting sunburned, today its all wet and windswept. Yesterday was lots of progress, today it was backtracking and troubleshooting. Among other things, a windshield wiper motor switch that has seen better days stopped the installation of the wiper assembly; while chasing down, and repairing, a broken wire in our headlight circuit took some time.
In the end the headlights are in and working and in the back we are waiting on some clips to finish up the trim.
We've just had some tragic news, the owner of this car passed away suddenly last week. We liked him very much and we are sorry for his family's loss. We are working with his estate to finish up the car so it can be sold. If anyone following this thread has an interest in acquiring the car, please PM me and we will put you in touch with the proper party. We do not know what the asking price will be.
Of course we'll continue to update this thread as we finish up the car.
sorry to hear that.. it is such a good build they should not have any trouble finding a new owner..
i have a 39 ford and a 73 javelin in my shop that have similar circumstances.. i am now having to find new owners for 'unfinished' projects for the widow so she can something back
Work continues on the car, but here's something you don't see every day: mercury switches. We cleaned up the trunk lid light and installed it but it wouldn't light. There was a good ground and a hot in the body harness that the light plugs into. It wasn't until we put it on the bench with a battery and was rotating the light around that it would flicker on. We dug into the socket and there it was, a little glass 'jar' with metal contacts on the top and bottom and a tiny amount of mercury in it. All we had to do was properly orientate the light when we reinstalled it, and it works fine.
The hood light is the same way. As you can see in the photo the original light is a little too rusted but luckily we had a nicer one on the parts shelf. You can see the little jar of mercury that sits under the bulb and on top of the wire. Hard to imagine putting something like this on a car today, it would be way too expensive and dangerous.
I recall the Duesenberg expert Randy Ema saying a Duesenberg crankshaft has several pounds of mercury in a sealed box to keep it in balance.
Be careful with that little bugger. Mine fell out and broke, and no one could supply me another. I eventually spliced in a more 'modern' mercury switch alongside the light and had a to make a metal spacer in the light socket. Works fine - but a lot of effort over a mistake.
There hasn't been much progress to show until recently. We had two frustrating problems that slowed our progress. The first was the trim on the bottom of the rear window would not stay on, it would just pop off. We pulled the glass, got a new gasket and new clips. The top pieces of trim were perfect but the bottoms would not stay put. We ended up having to drill holes and screw them into place from the underside.
The second problem was the windshield wiper motor. The car came to us without one. We had a good unit from an '85 G-body. We clocked it 180* so it would hide under the dash and give us a smooth firewall. It would not work as a direct plug-in to the wiring so we had to test our wiring on the bench. It was a problem because we needed the wiper in place so we could put switch/dash end in, that way we could run the a/c hose behind the dash, then we could mount the driver's side a/c vent at that end of the dash, then we could mount the speaker grille and ash tray so we could then re-install the console..... you get what I mean but the wiper was the keystone.
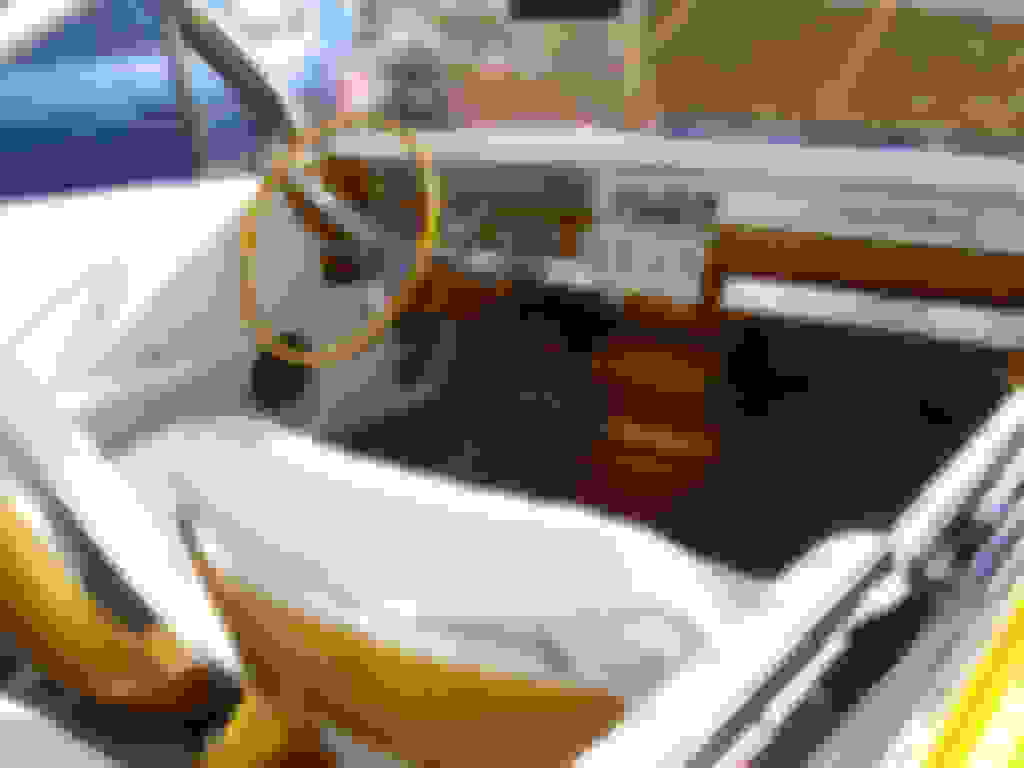
We resolved (mostly) these issues and started putting in the upholstery, we installed the hood grilles and polished up the front bumper and installed the grilles we made for that. Every weekend I keep thinking we'll be done in a month; we might finally be on the way.
So close! We were ready to take the car out for the first time last Saturday, to a cruise night right down the road from the shop. About a mile away, no great stress to the car. Then the rains came and they canceled. We grabbed a few pics before the rain.
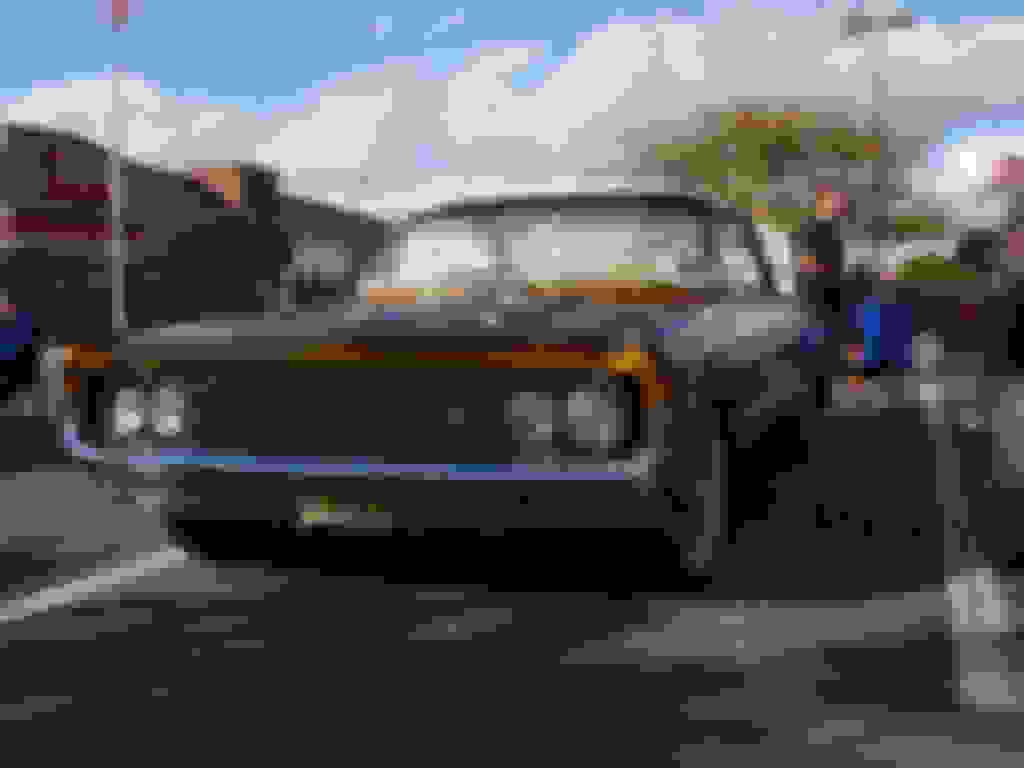
We're very happy with the design elements on the car. The front tube grille is complemented by the grilles in the hood scoops and in the front bumper next to the park lights. On the back the same tubing is used on the back panel and the lower bumper. The Lucas flamethrower-style headlights are twinned with our custom made taillight lenses.
We have our fingers crossed for putting some miles on the car this weekend. Thanks for following along.
Success!! We were able to get the car on the road for the last car show of the season. The reaction to the car was very positive, and it won a trophy as well (to be totally honest, I think every car won a trophy). It was the only Oldsmobile there in a sea of tri-five Chevys, Corvettes, Chevelles and a smattering of 32-34 Fords. Not a single 442 (all the threads on 442's on this forum, you'd think a few would be seen around).
All we have left to do are some minor adjustments here and there and a few electrical gremlins need looking after. We anticipate the car going back to the late owner's estate by the end of this month. We will be advising them on the sale of the car.
So this is the last update. Thanks to everyone who has followed along. At the very least we hope you enjoyed watching our progress but more than that perhaps you got some ideas for your builds. We didn't start this thread to say "hey look at what we did", but rather "hey look what you can do with your cars".
The good news is we have a new project Olds to work on. This is not for a customer, it is "in-house", so we will only be able to work on it when there is some free time. It is a 56 Olds 88 2-dr. hardtop and our concept for the car is really inspired. I can't give it away yet, you'll just have to keep an eye out for the thread.
What a great build and a gorgeous car. It's a real shame that the owner did not get to his dream completed. I hope the car finds a good home. Congratulations on a job very well done
Wellllll, not so much "finished"! During the ride to and from the car show, the right tailpipe was smoking pretty badly. So Sunday morn, I went out, and pulled the plugs on the right side. 2 were wet with oil. Puleed the rest of the plugs and did compression, and sure enough, the 2 oily ones had zero compression. Pulling a valve cover showed 2 pushrods that weren't touching the rockers. Intake came off next, bent pushrods. The valves were stuck, as well, and so were the lifters. That's what bent the rods. A call to USA Parts Supply, and 2 pushrods, 2 lifters, and appropriate gaskets are on the way.
The valves came loose with a good soaking of Gibbs Oil, and a couple taps of a brass hammer.
This thread has had my interest from start to finish. On my downtime here at work I would continue reading and admiring all of the pics and progress. The end result was better than I had expected. Sorry the owner did not get a chance to enjoy this awesome build. I too am working on my 55 Olds 98 and had very bad dealings with the shop owner that was working on my car and a year and a half later my car sits worse than did prior to taking it to that shop. I sure would like to see your new build and hopefully it will help me with mine since I have so many unmarked bags of parts and pieces that I have no clue where they go. Again, beautiful job on the car!
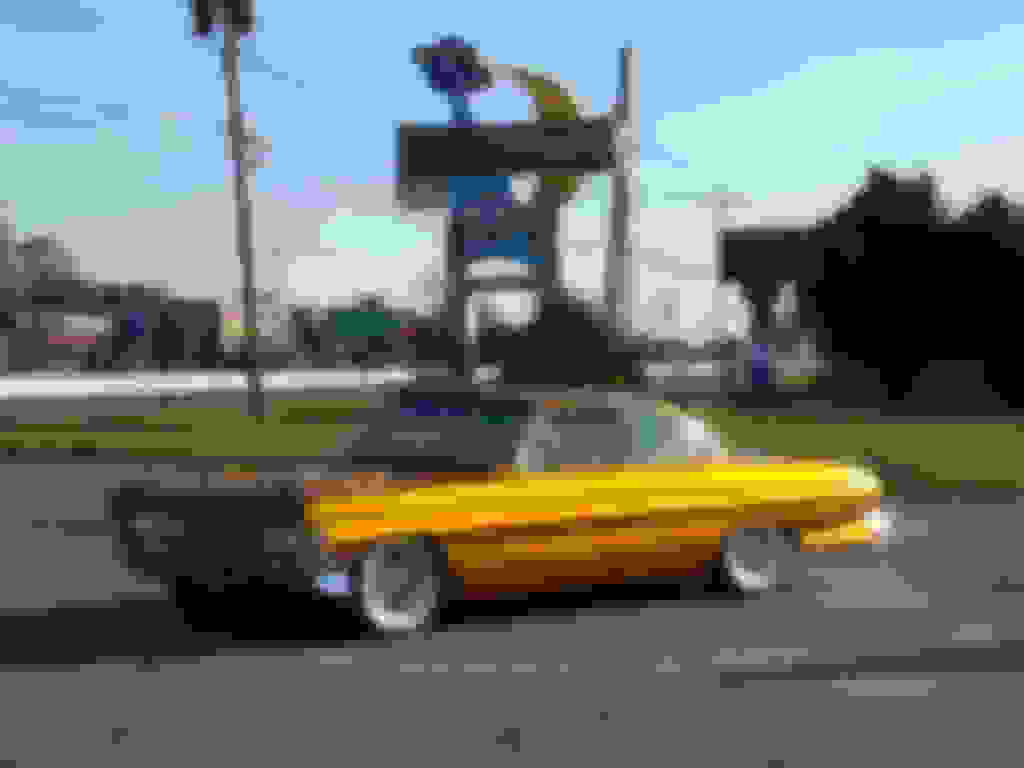
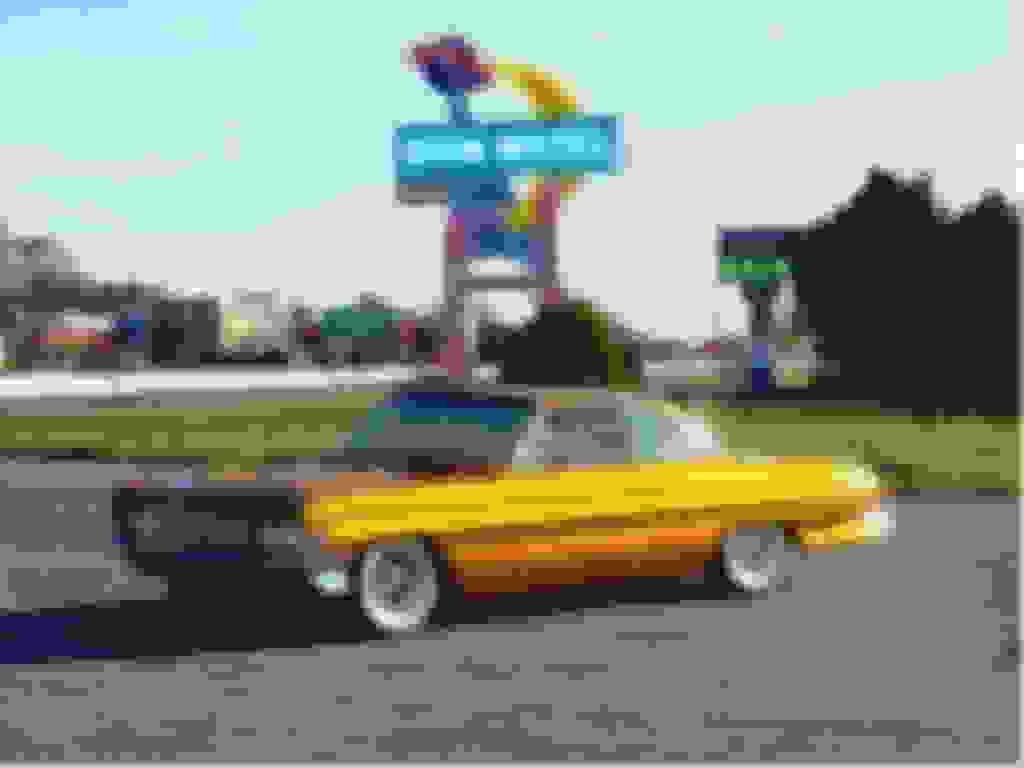
Before we delivered the car to the late owner's son, we had a photo shoot with a photographer who is connected to both Kustoms Illustrated and Car Kulture Deluxe magazines. We don't know yet which one it will appear in. One of the locations we visited was an old motel which was just demolished but the great old sign was still by the road. The first is the original shot and the second I used the magic of photoshop to enhance.
Then, just recently we received a text from a friend of the shop. He was in Princeton, NJ and saw the car driving around. Knowing that someone is enjoying the car makes this the best picture.


 January 15th, 2018, 01:21 PM