When you click on links to various merchants on this site and make a purchase, this can result in this site earning a commission. Affiliate programs and affiliations include, but are not limited to, the eBay Partner Network.
I'm not using the stock braking system. I've gone with an aftermarket booster, master cylinder and proportioning valve to replace the stock system. I've had good luck with this system in other cars before. The seals are tight and shouldn't leak but I will be painting the master cylinder before I install it.
It's from Performance world. The booster is more money than stock but to be expected being chrome. The master cylinder was only a few dollars more and same with the proportioning valve. They're made new not referbished and are of better quality than stock. The booster will provide easier braking with the dual diaphragm and a smaller diameter. See below.
I didn't get that much time last weekend to get much done but I did get the hood seal replaced and finished up the top deck of the engine bay. Attention to detail was required. The old seal was rough and I just couldn't bring myself to putting it back on so I replaced it. Not stock but looks way better and will work great.
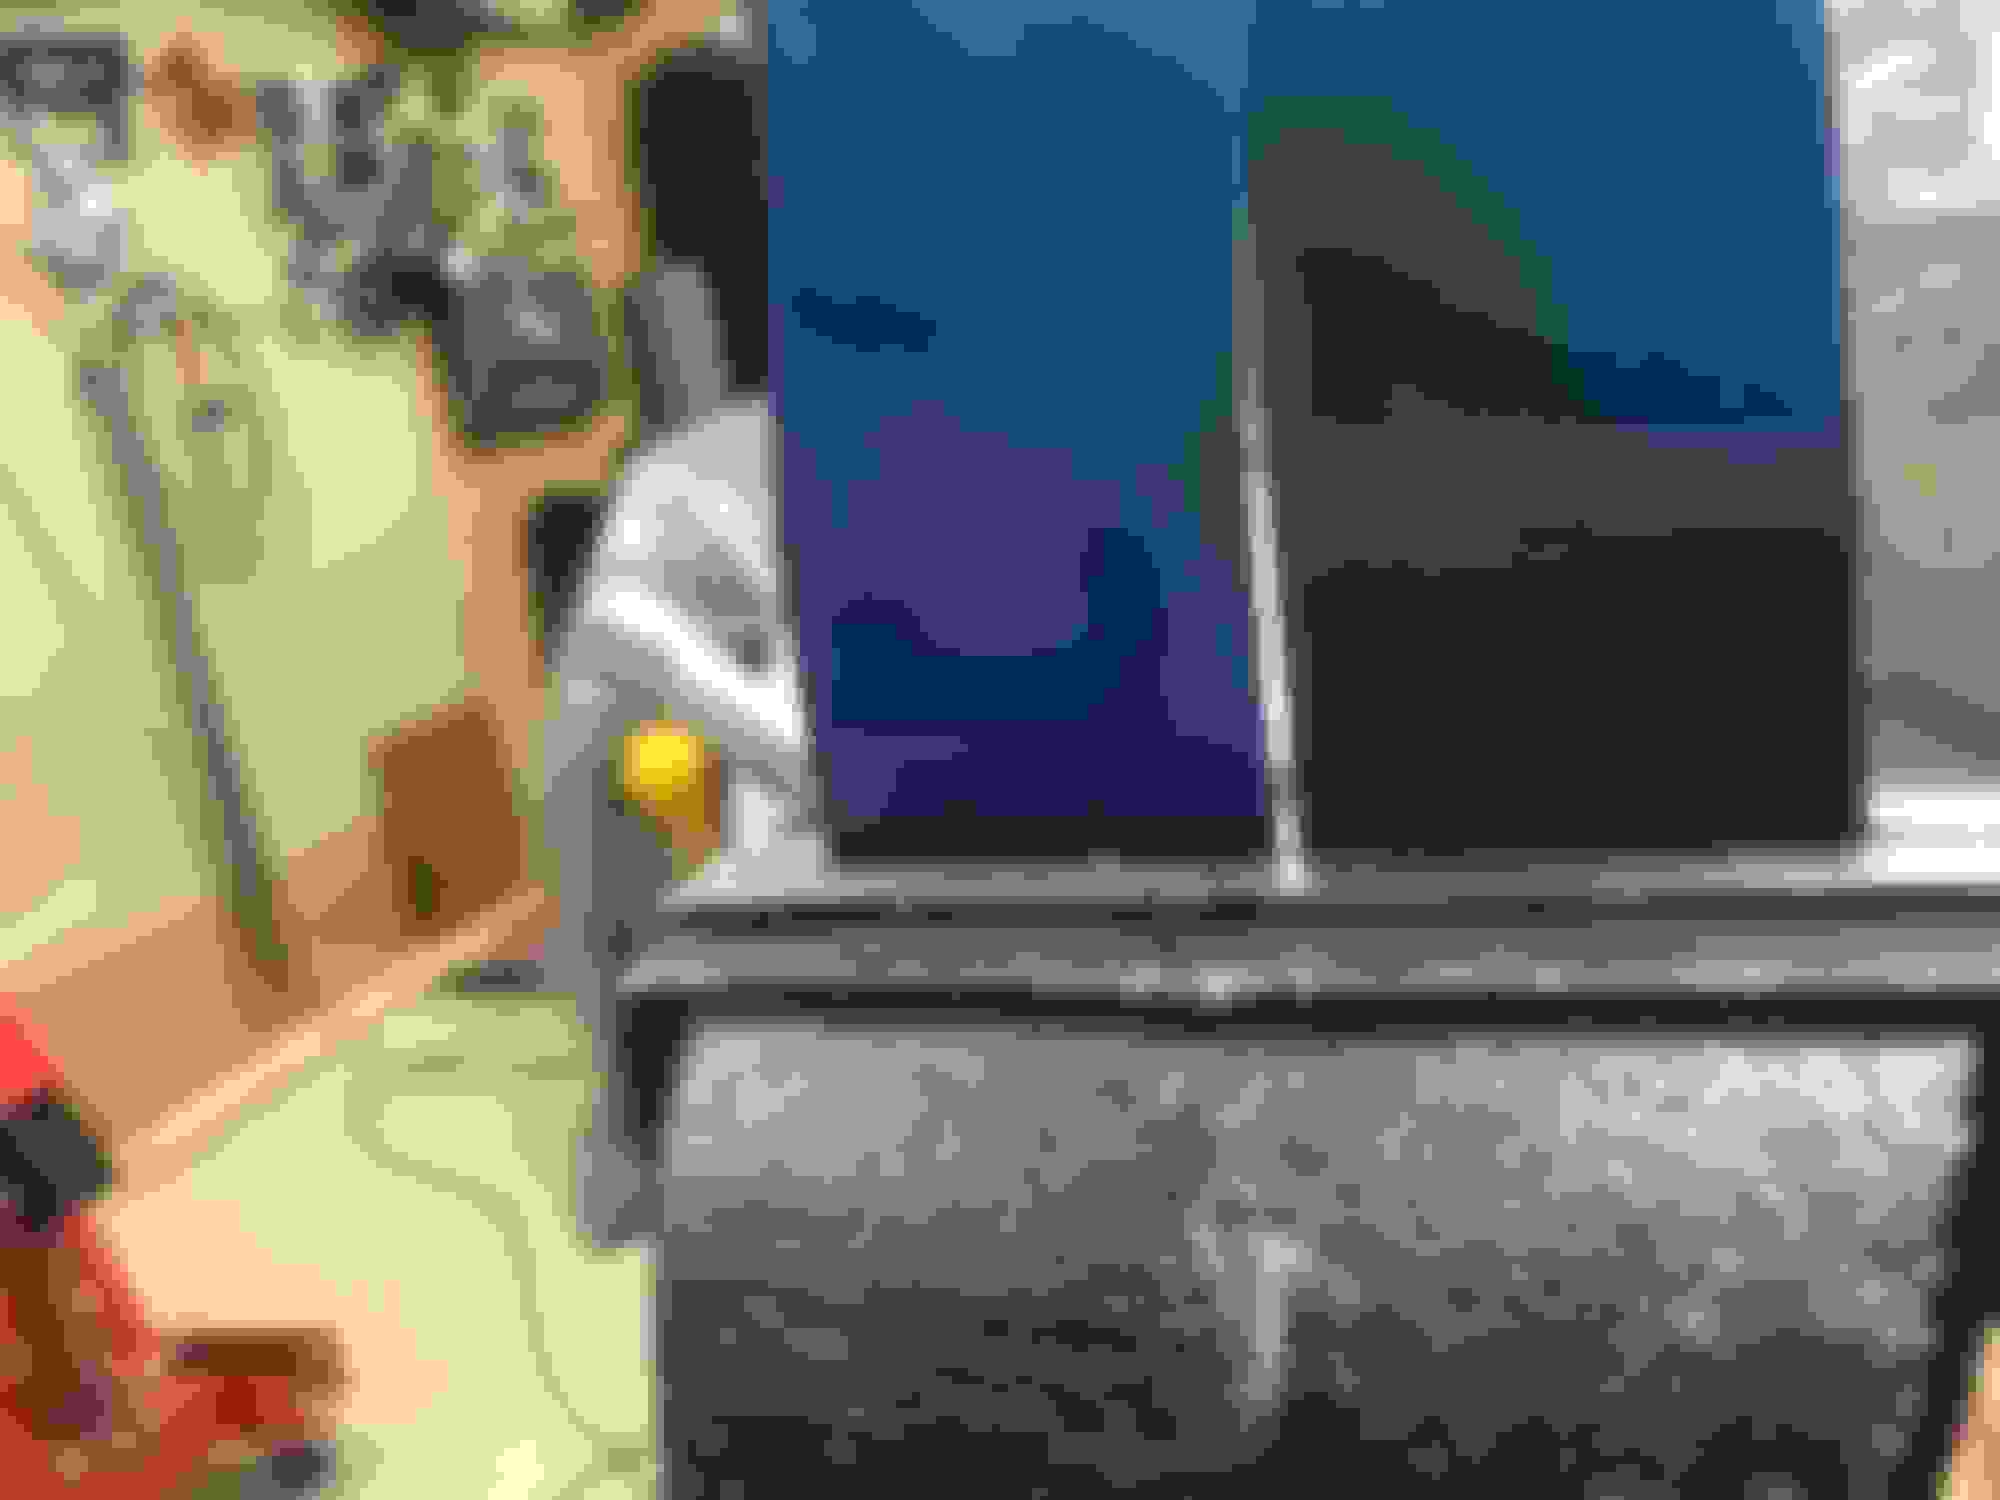
I also played with paint combinations for primer and the color I chose. The color is just your basic body paint but the base coat underneath is hi heat. I sprayed out sample strips on metal, put them in a vise and heated them up together to 700 deg to see which one would hold up.
The one on the right was a dupli-color engine white enamel and the one on the left was good old Tremclad hi heat flat white. To my surprise the Tremclad held up way longer and hardened very nicely. Impressive. Now I doubt my engine will ever get that hot but around the exhaust manifold it can get quite hot and the last thing I want is the paint to start to burn. Glad I did the test.
Managed to get back on track and cleaned up the frame and since I’m going to restore to the back of the tranny, I got underneath and cleaned up the the floor pan up to the end of the transmission tunnel. I was expecting the floor boards to be worse than what they are. The car was under coated, probably at purchase. It’s on there like a rock and a tar substance so trying to get it off is difficult so I decided to just give it a wire brush and a good cleaning so the new undercoating will stick good.
Managed to get the frame and front part of floor boards painted and undercoated.. turned out pretty good and now after it cures I can start assembly. Just ordered new moog steering linkage. Should be here in a week or so... but I have lots I can do while I wait.
I tried to use the wire wheel but it just started making a mess of the undercoating. for the best part, the undercoating was on there pretty good except where 40 years of driving wore off some areas and began to get some surface rust. I Cleaned those areas with the wire wheel and put a rust inhibitor on to kill the rusted areas and undercoated. I just used a wire wheel on the frame portion and it came out clean. Nice and solid so what I've done now should last many years. Probably another 40. Hahaha
I’ve got several things on the go at once so as I complete I’ll post pics. This is a small detail but I’ve always believed that the small details may go unnoticed but if not done they stand out. The body tag was in rough shape so I decided to clean it up but because there were 2 layers of paint on it and was deficult to get back to original with the raw aluminum. The paint wanted to stay between the letters. So I painted it black and sanded the letters to make them pop then cleared over it. See below original and completed pics.
Thanks Olds64, I apreciate the feed back. I was a bit surprised as to how well it came out actually. It seems from the factory they didn’t take much care with the details especially in the engine compartment.
It’s taken a bit to get all the little parts like brackets and bracing cleaned and painted, for the smallest details make the difference. I wasn’t to happy with the way the factory left the top of the cowl with welds and the layers of metal just covered in a sealant so after I cleaned it out and painted it it left an unfinished edge. I went to the same place I got the hood weather stripping and picked up some edge stripping to finish off the look. For $10 it turned out good. I’m happy with the end result.
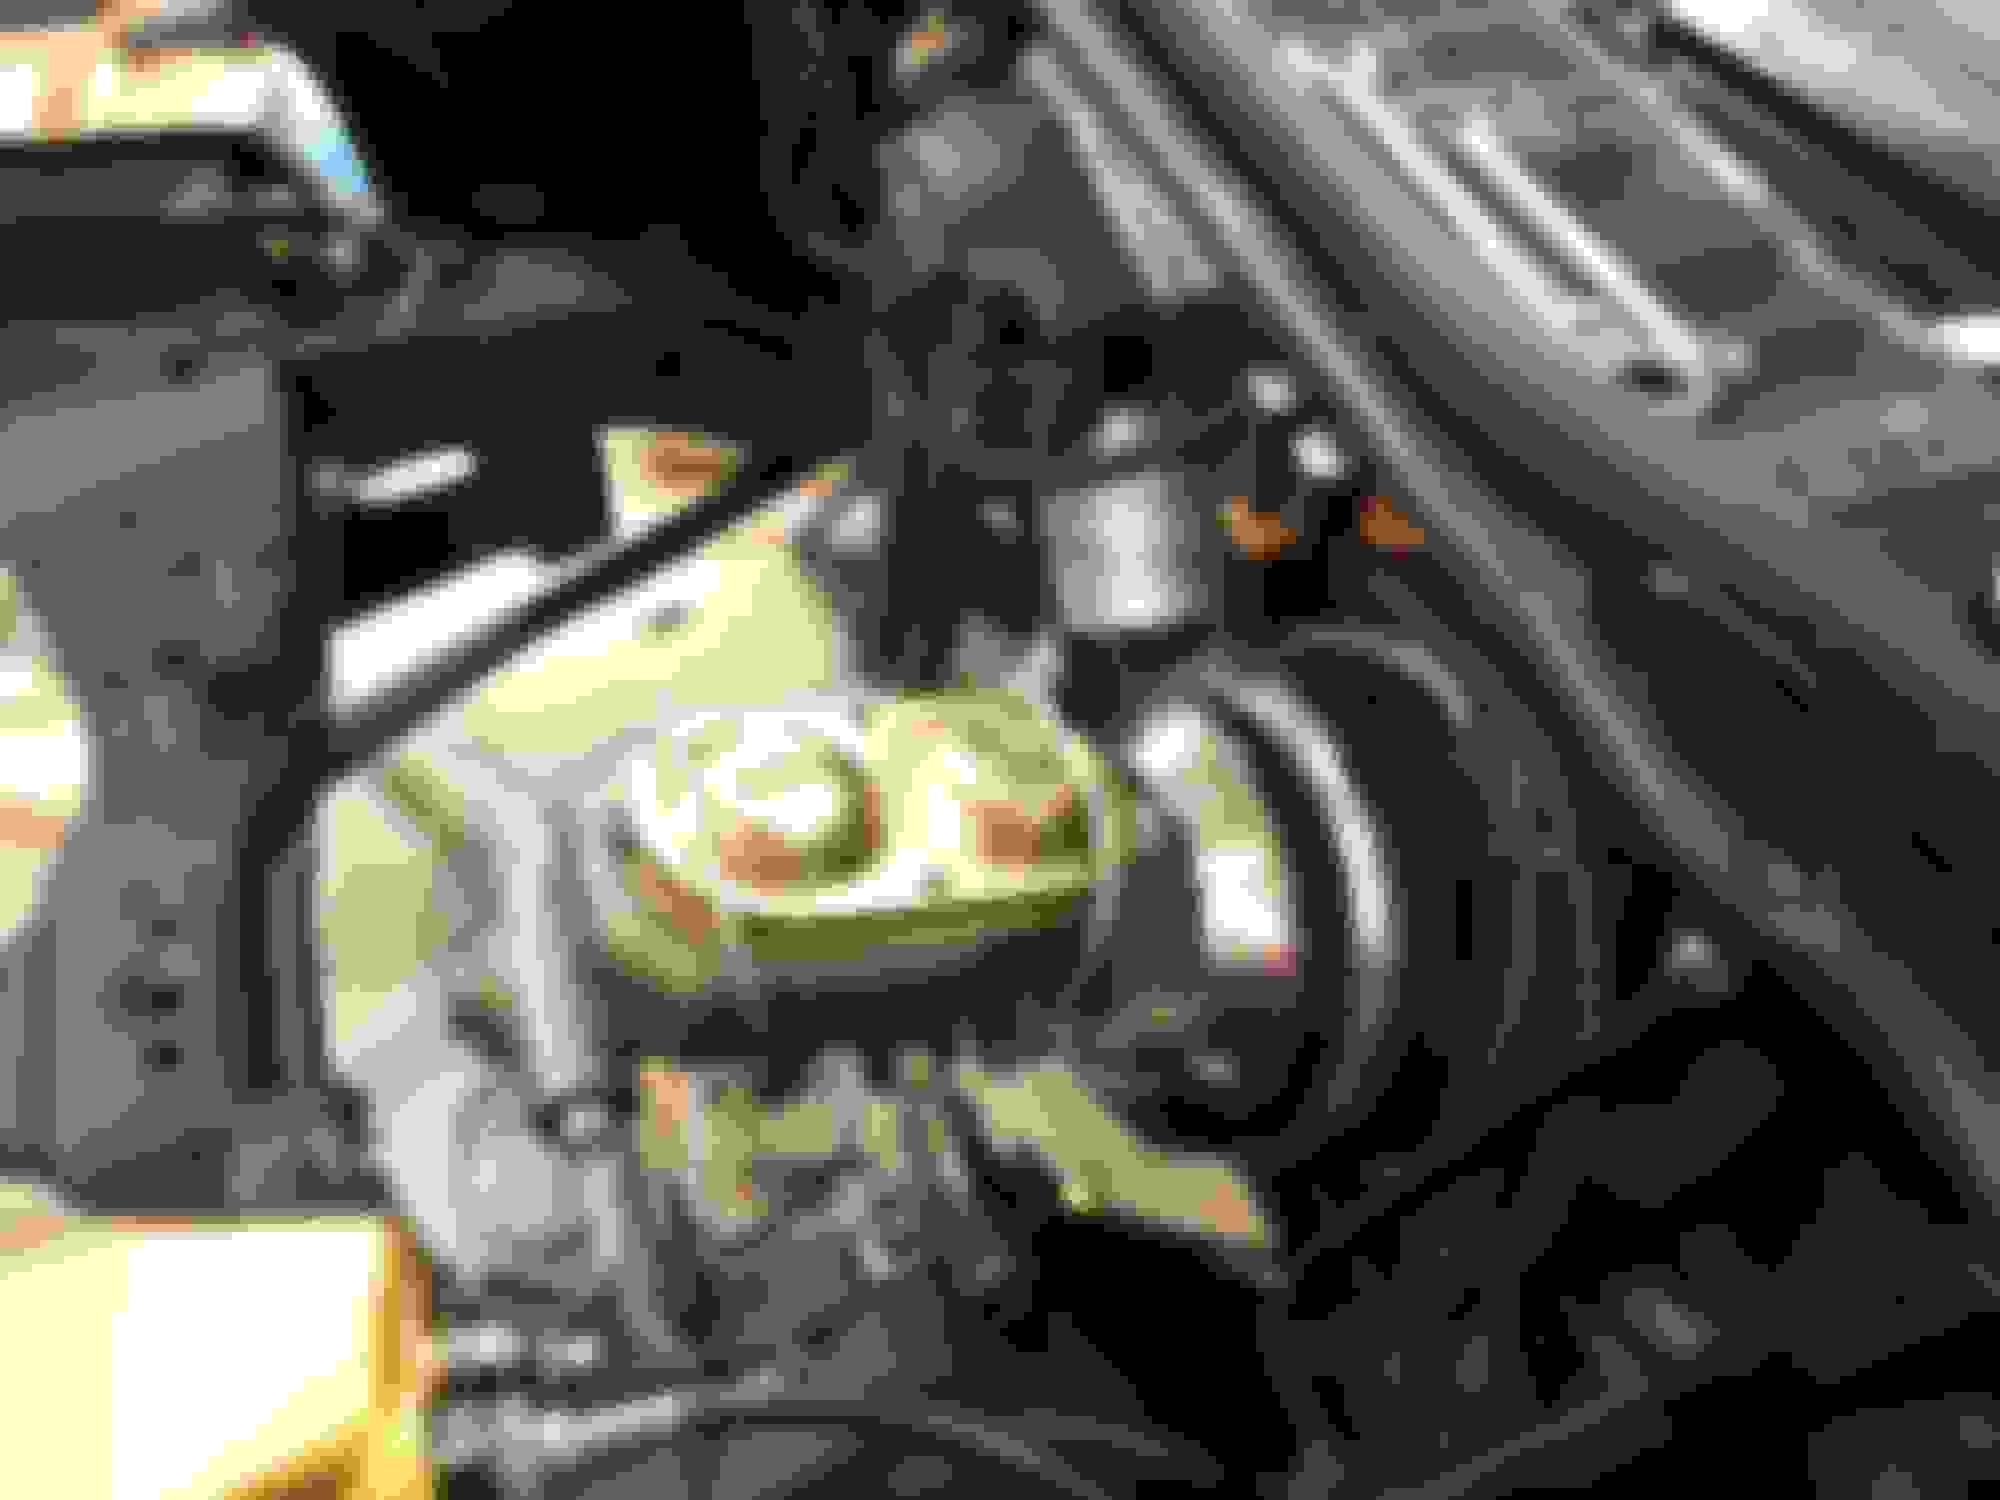
I got the washer fluid canister cleaned up, the cruise control module redone and a few other misc brackets cleaned up and installed. I’m now in the process of cleaning and polishing the brake and gas lines which is a pain but it’ll be worth it having them come out like chrome. I’ll be working on the suspension this weekend, hopefully with a lot of progress made. More pics below.
Have you considered replacing the brake and fuel lines? That might be easier than scrubbing them clean. I have no doubt that they will turn out immaculate though. Good job!
Have you considered replacing the brake and fuel lines? That might be easier than scrubbing them clean. I have no doubt that they will turn out immaculate though. Good job!
Thanks Olds64. I did consider new lines but I had problems with fitment on a past project. The bends didn't quite line up and when I tweaked them to fit they weren't sharp anymore. I also considered bending my own but you can never get them as nice as the factory ones plus it would be upwards of a $100-150 in cost for fitted lines and $80 for the straight ones.
I examined the original ones and they're dirty but not rusted at all so some fine emery cloth and steel wool polishes them up nice with very little effort and they fit perfectly. I'll put a coat of clear gloss on to keep them looking that way. I did the fuel lines already and they turned out quite nice.
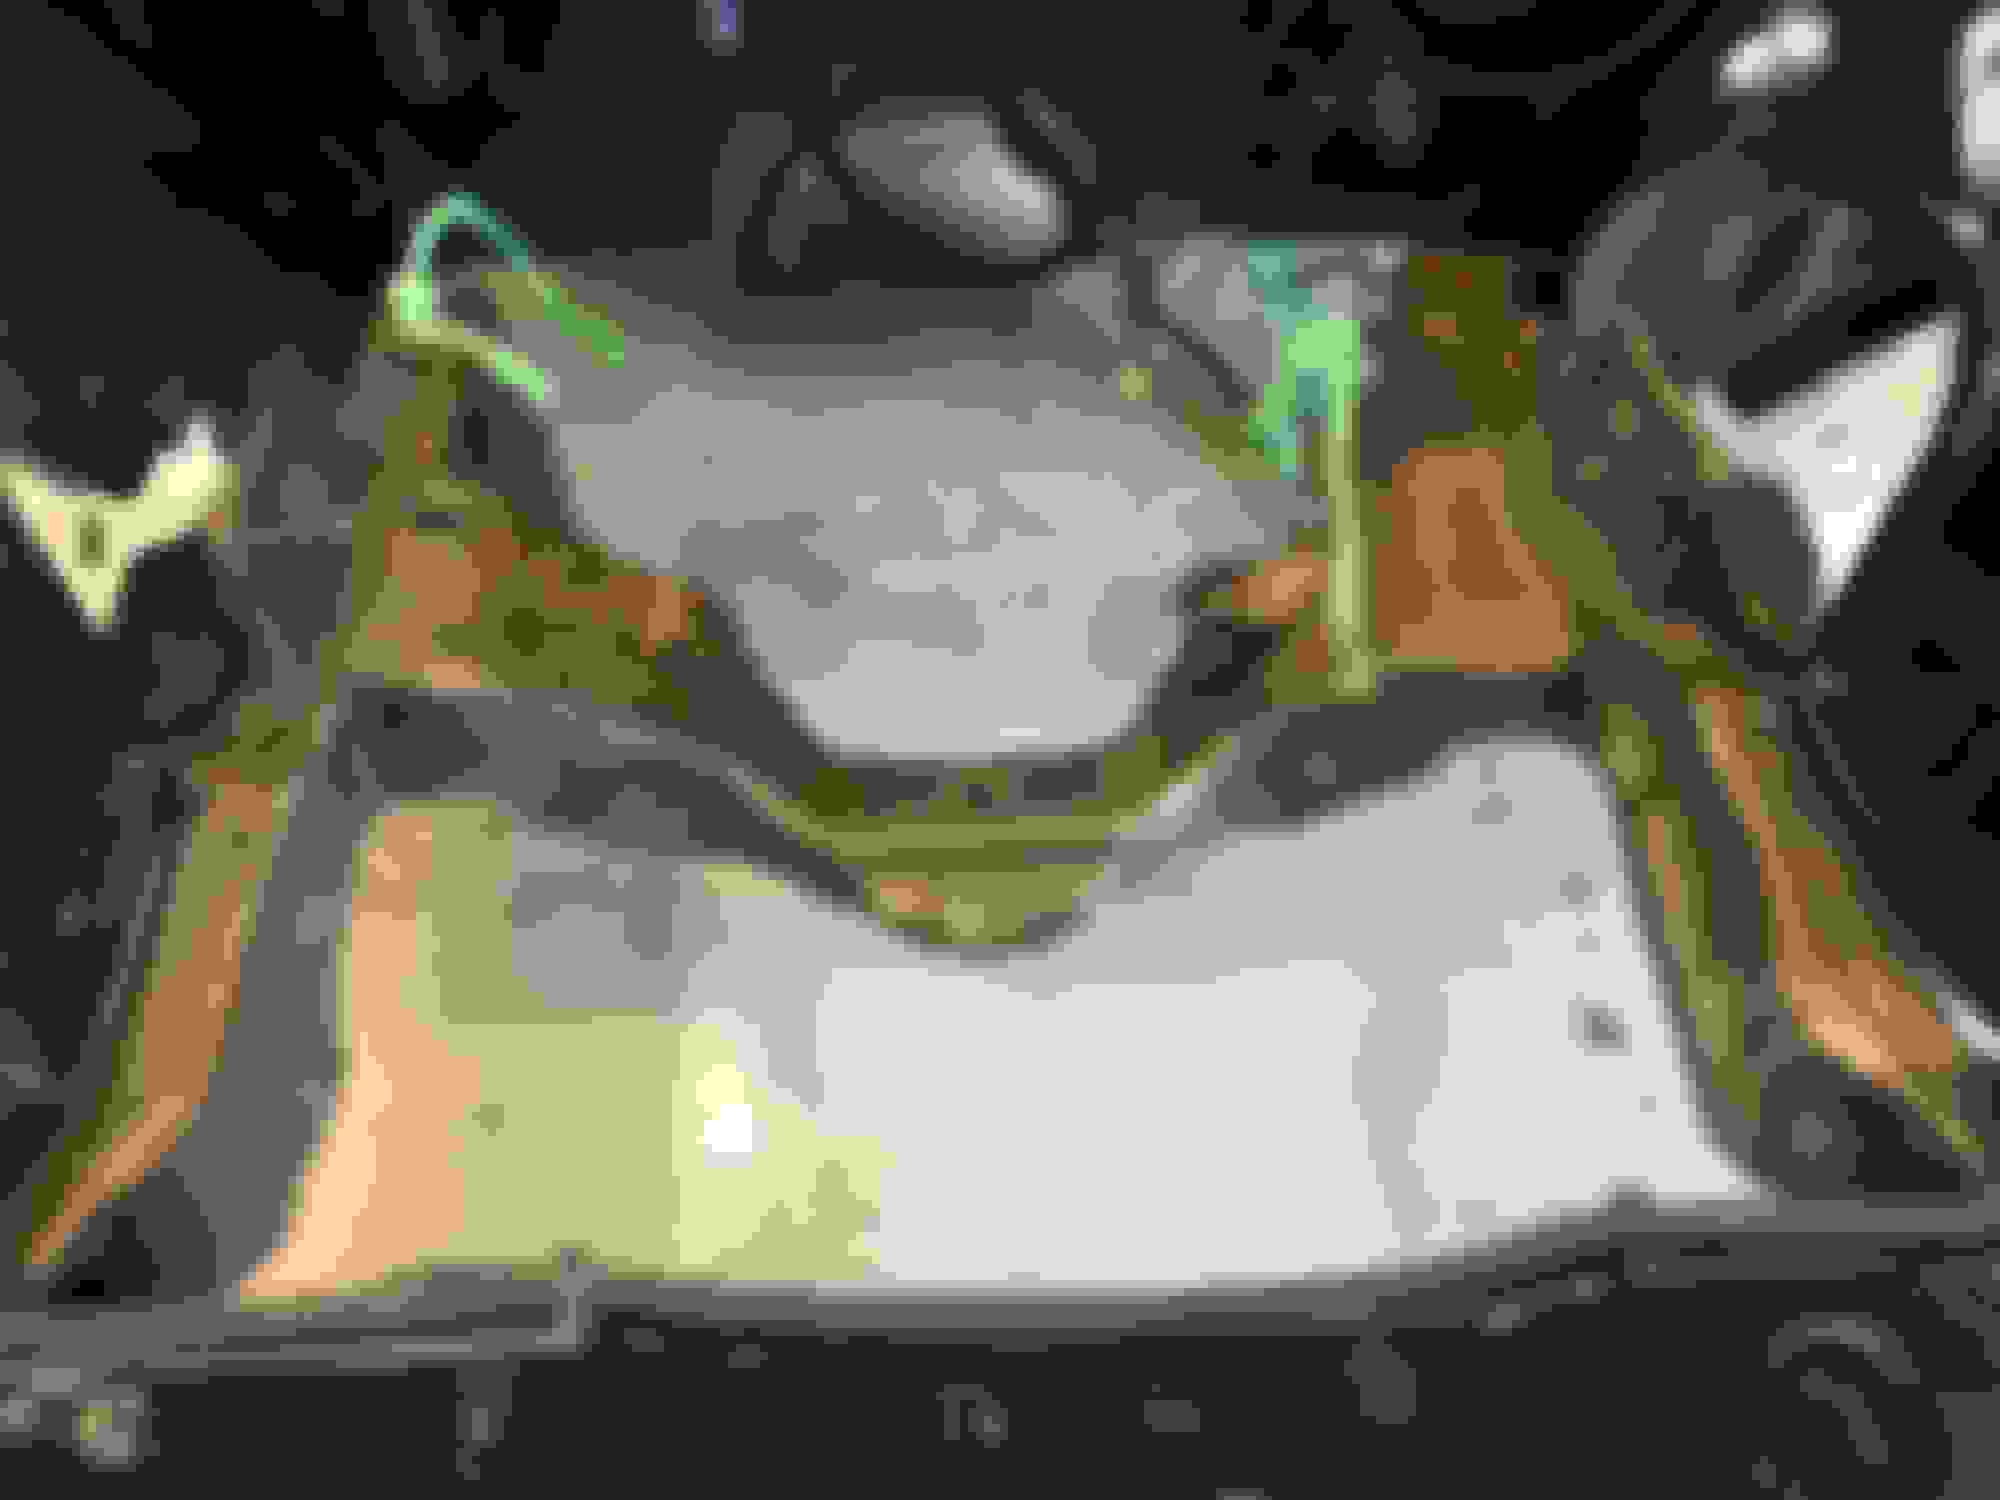
Now getting set up for tomorrow to install the front suspension. I had the upper and lower A arms sand blasted and powder coated, new bushings and ball joints installed, new springs and shocks. This is when it starts going together petty quick. The spindles are off a 72 Delta 88, mine had bearing damage. I had them done up as well. The car should drive way better and I’m looking forward to it, hopefully by mid June.
A big car has large suspension! That was a task to work those heavy parts but I managed to get things going. With everything being new it went together pretty good. Working those springs was work though and I’m glad they’re in.
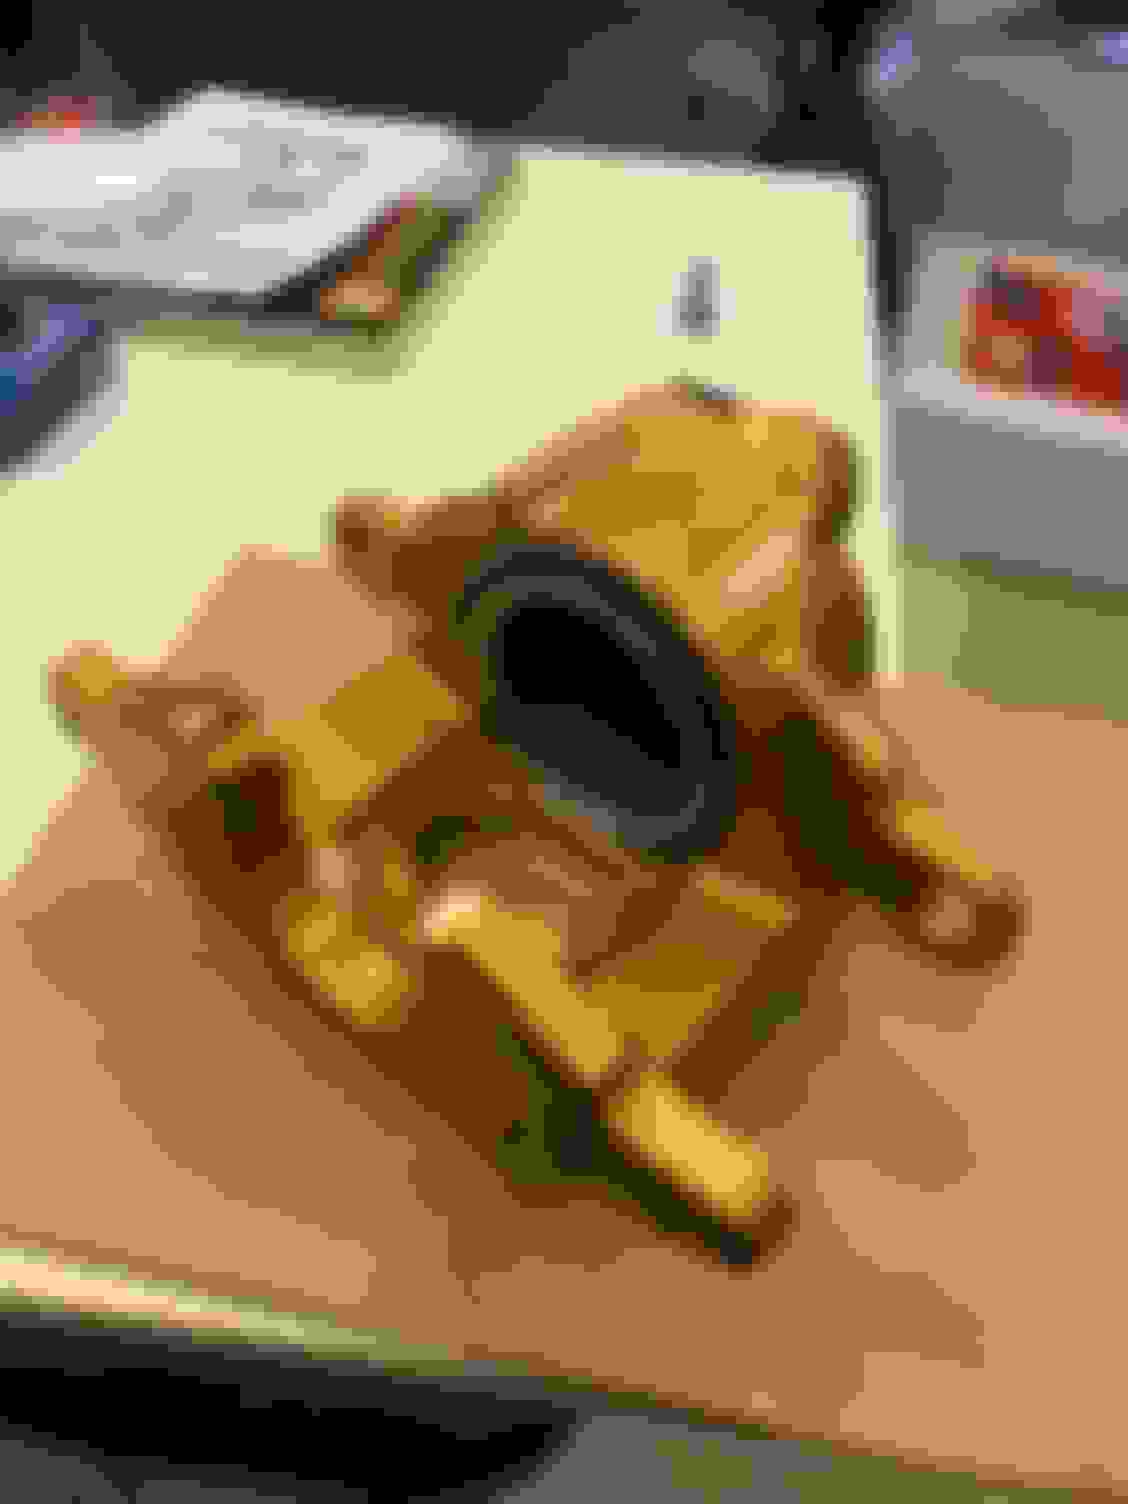
I took some time to do the monotonous task of paint more parts. Ones that look good new I just clear coated and painted others. I painted the callipers, rotors and master cylinder for appearance as well as protecting. New parts always seem to start rusting after a few years. I’m hoping what I’ve done should keep it looking good for quite a few years longer.
I got the entire braking system now installed. Bench bled the master cylinder, installed all the brake lines, new rotors, bearings, callipers and soft brake lines. Went together pretty slick and happy how it turned out.
Nice progress, looking good! Did you use caliper paint on the calipers? Engine paint will cook right off.
.
Your absolutely correct. Engine paint will bake and flake over time. You have a good eye. I like the VHT products especially their calliper clear. I use it on almost everything that comes in contact with fluids or grease because of its chemical resistance. The engine paint and calliper paint are very similar so there�s a trick to what I�ve done and done before on another project and it�s holding up great. I�m not a big fan of the colours VHT offers for their calliper paint selection so I�m always looking for something out of the norm. I sprayed the callipers with a light coat of VHT calliper clear first. The trick is you can�t let the clear completely dry so after 10 min I used the VHT engine paint, 2 light coats, just enough to get the colour even. The 2 bond very well together. Then after that has set up its 2 more coats of calliper clear. It�s held up for 5 years on another project I did very well. No flaking. The funny thing is I�ve used just the calliper paint alone and it started to flake off. I think the prep has a lot to do with it also.
Your absolutely correct. Engine paint will bake and flake over time. You have a good eye. I like the VHT products especially their calliper clear. I use it on almost everything that comes in contact with fluids or grease because of its chemical resistance. The engine paint and calliper paint are very similar so there�s a trick to what I�ve done and done before on another project and it�s holding up great. I�m not a big fan of the colours VHT offers for their calliper paint selection so I�m always looking for something out of the norm. I sprayed the callipers with a light coat of VHT calliper clear first. The trick is you can�t let the clear completely dry so after 10 min I used the VHT engine paint, 2 light coats, just enough to get the colour even. The 2 bond very well together. Then after that has set up its 2 more coats of calliper clear. It�s held up for 5 years on another project I did very well. No flaking. The funny thing is I�ve used just the calliper paint alone and it started to flake off. I think the prep has a lot to do with it also.
That's excellent! As I mentioned in post #40, I've had difficulty with master cylinders and vacuum boosters looking nasty after a year of use. I'll try this. Thanks for the tip.
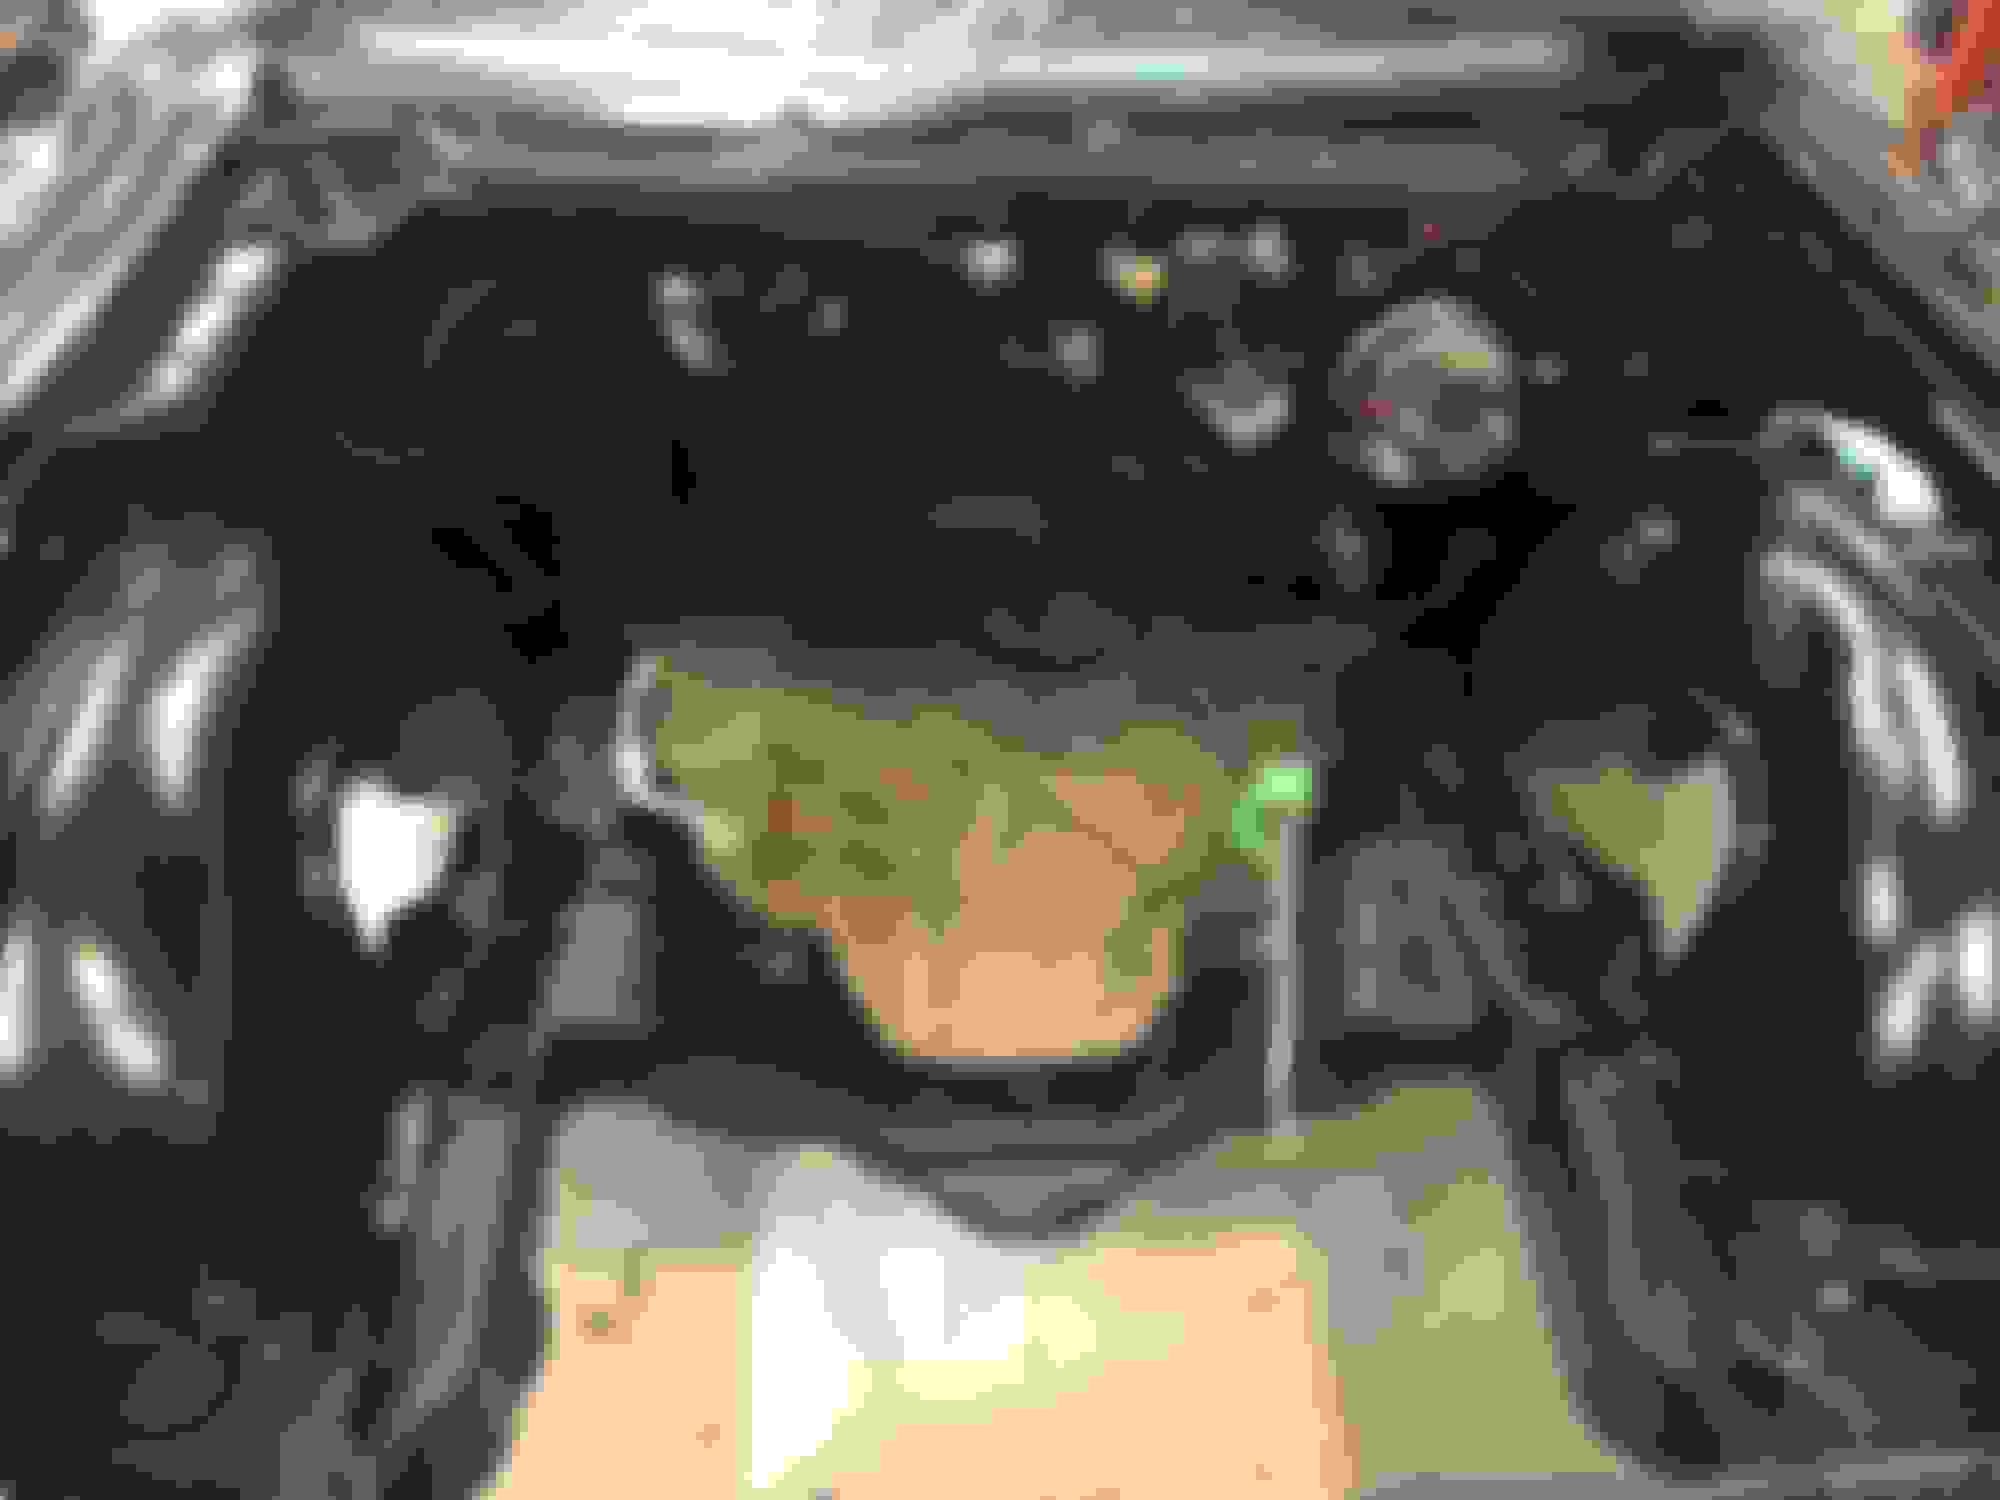
The next step to finishing the engine bay was the steering. After spending some time sourcing out parts and costs I decided to keep the power steering box. It was in good condition with next to no play in the steering and replacing it would be expensive. With only 100k miles on it it’s not a part which needs replacing. I cleaned it up and gave it s coat of paint and now looks almost like new.
The rag joint was also worth keeping. The rest of the parts were replaced. All new linkage, everything was cleaned, painted and cleared for durability. It all went together pretty easily and now the engine bay is ready for the engine to go in. which leads me into the engine build starting next week. Some picks below of the steering installed.
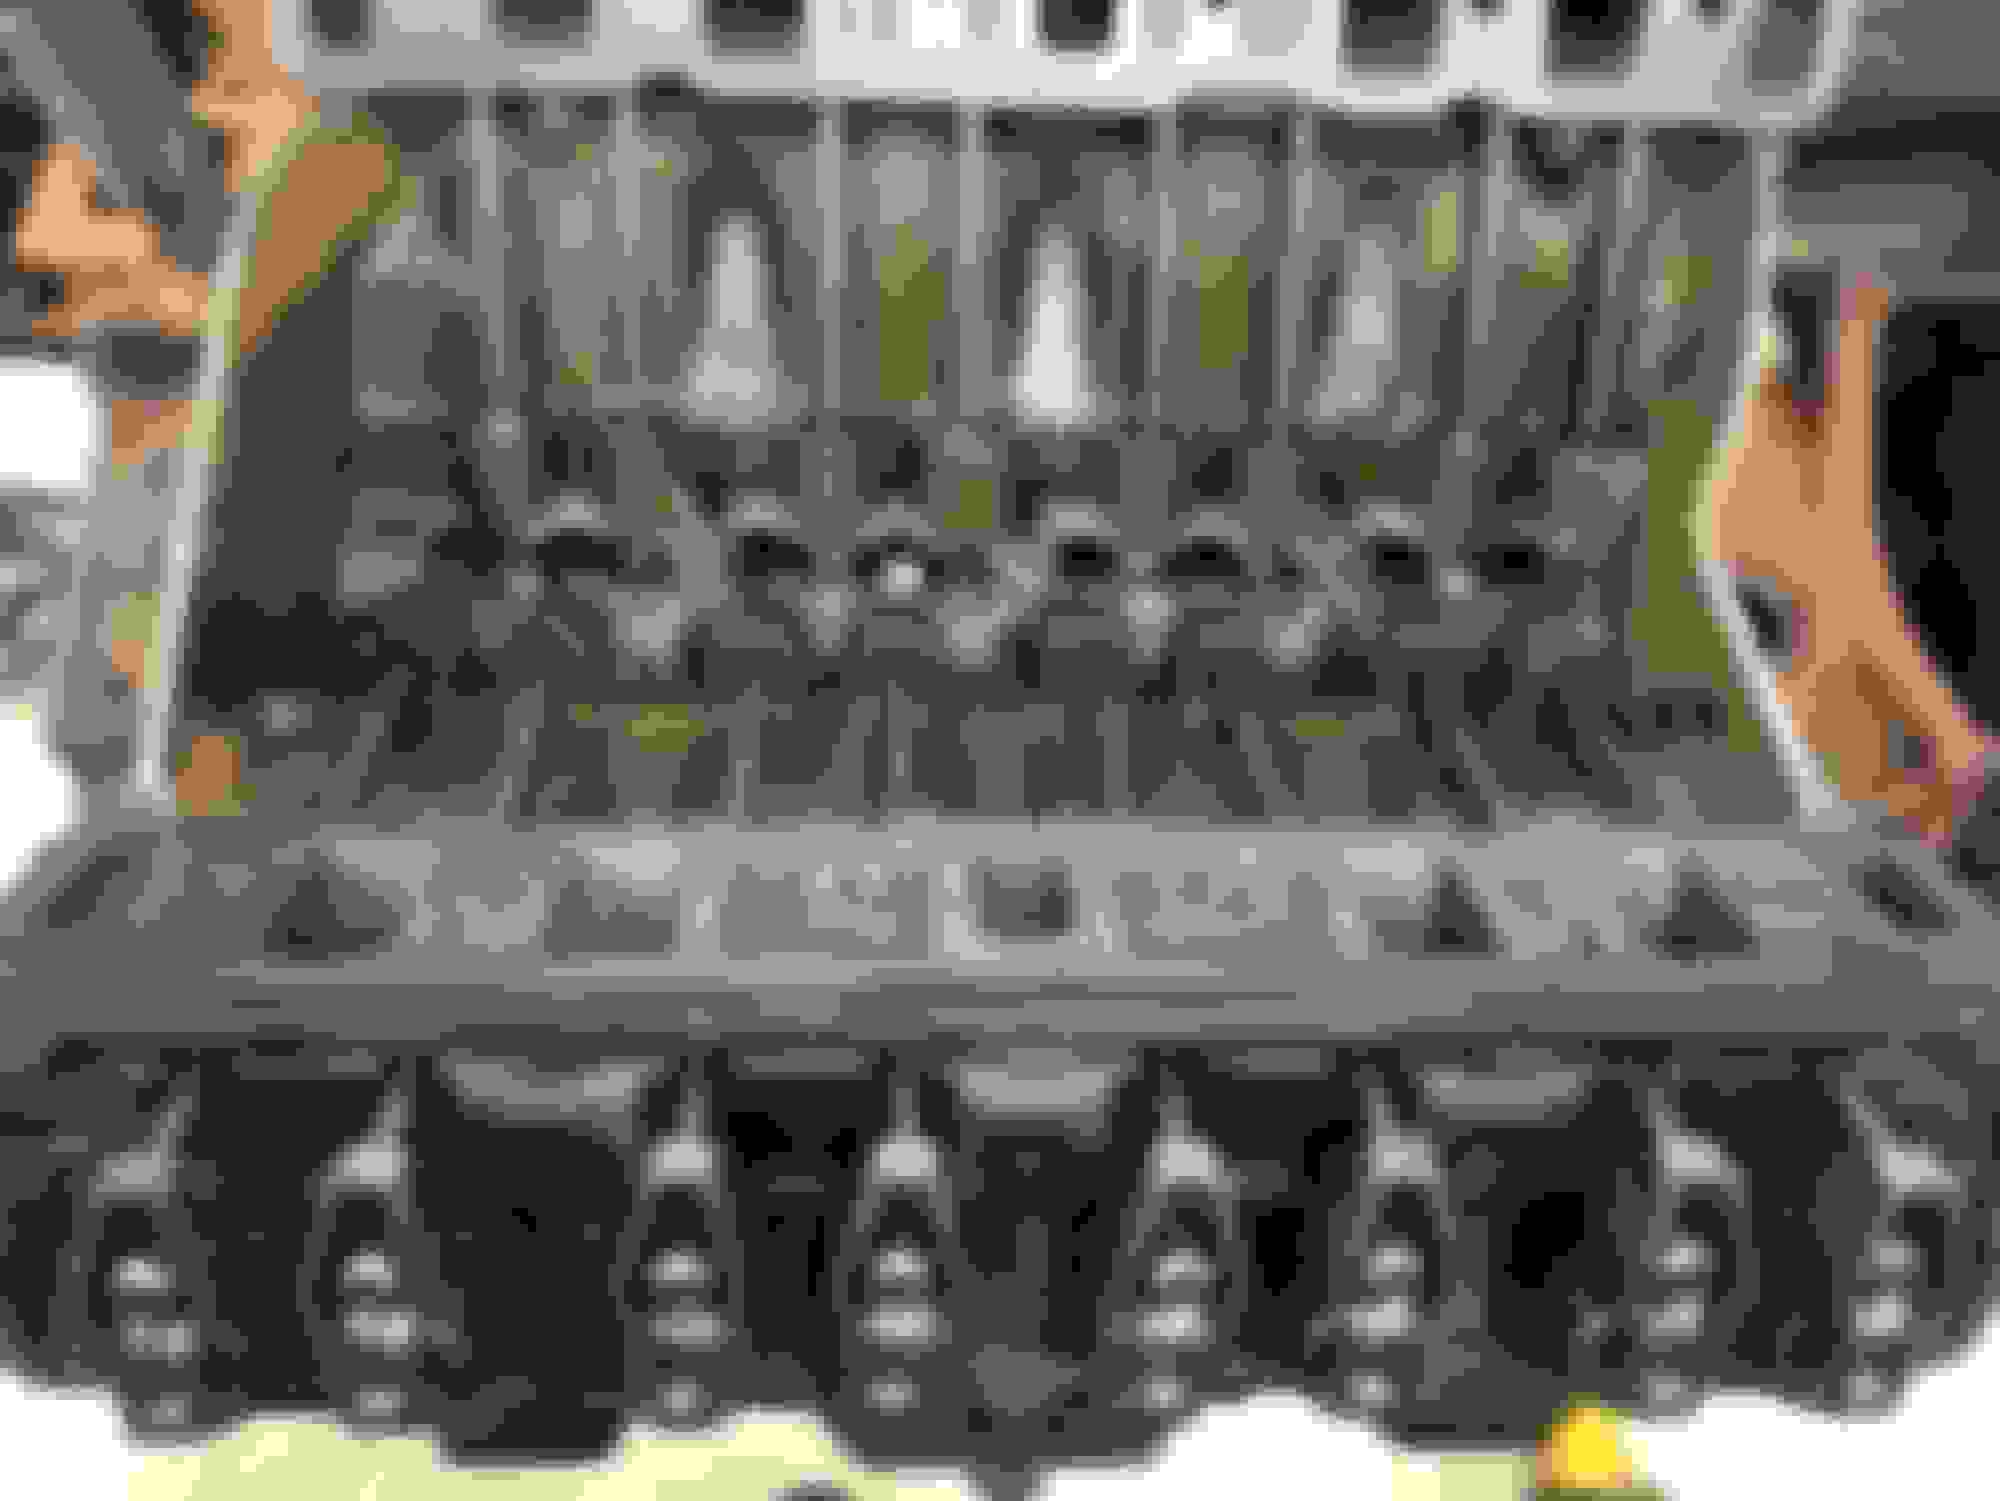
Thanks olds 64. It�s now time for the engine build. So just a quick recap on the 455. I had torn it down and sent it out to the machine shop. Had them flux the block, bored it out .020 over, do a line bore, pollish the crank, rebuild the heads and seat the valves. I had them install the crank and cam to spec clearances. The cam is a engine pro MC 1777 ( see pic below for specs )
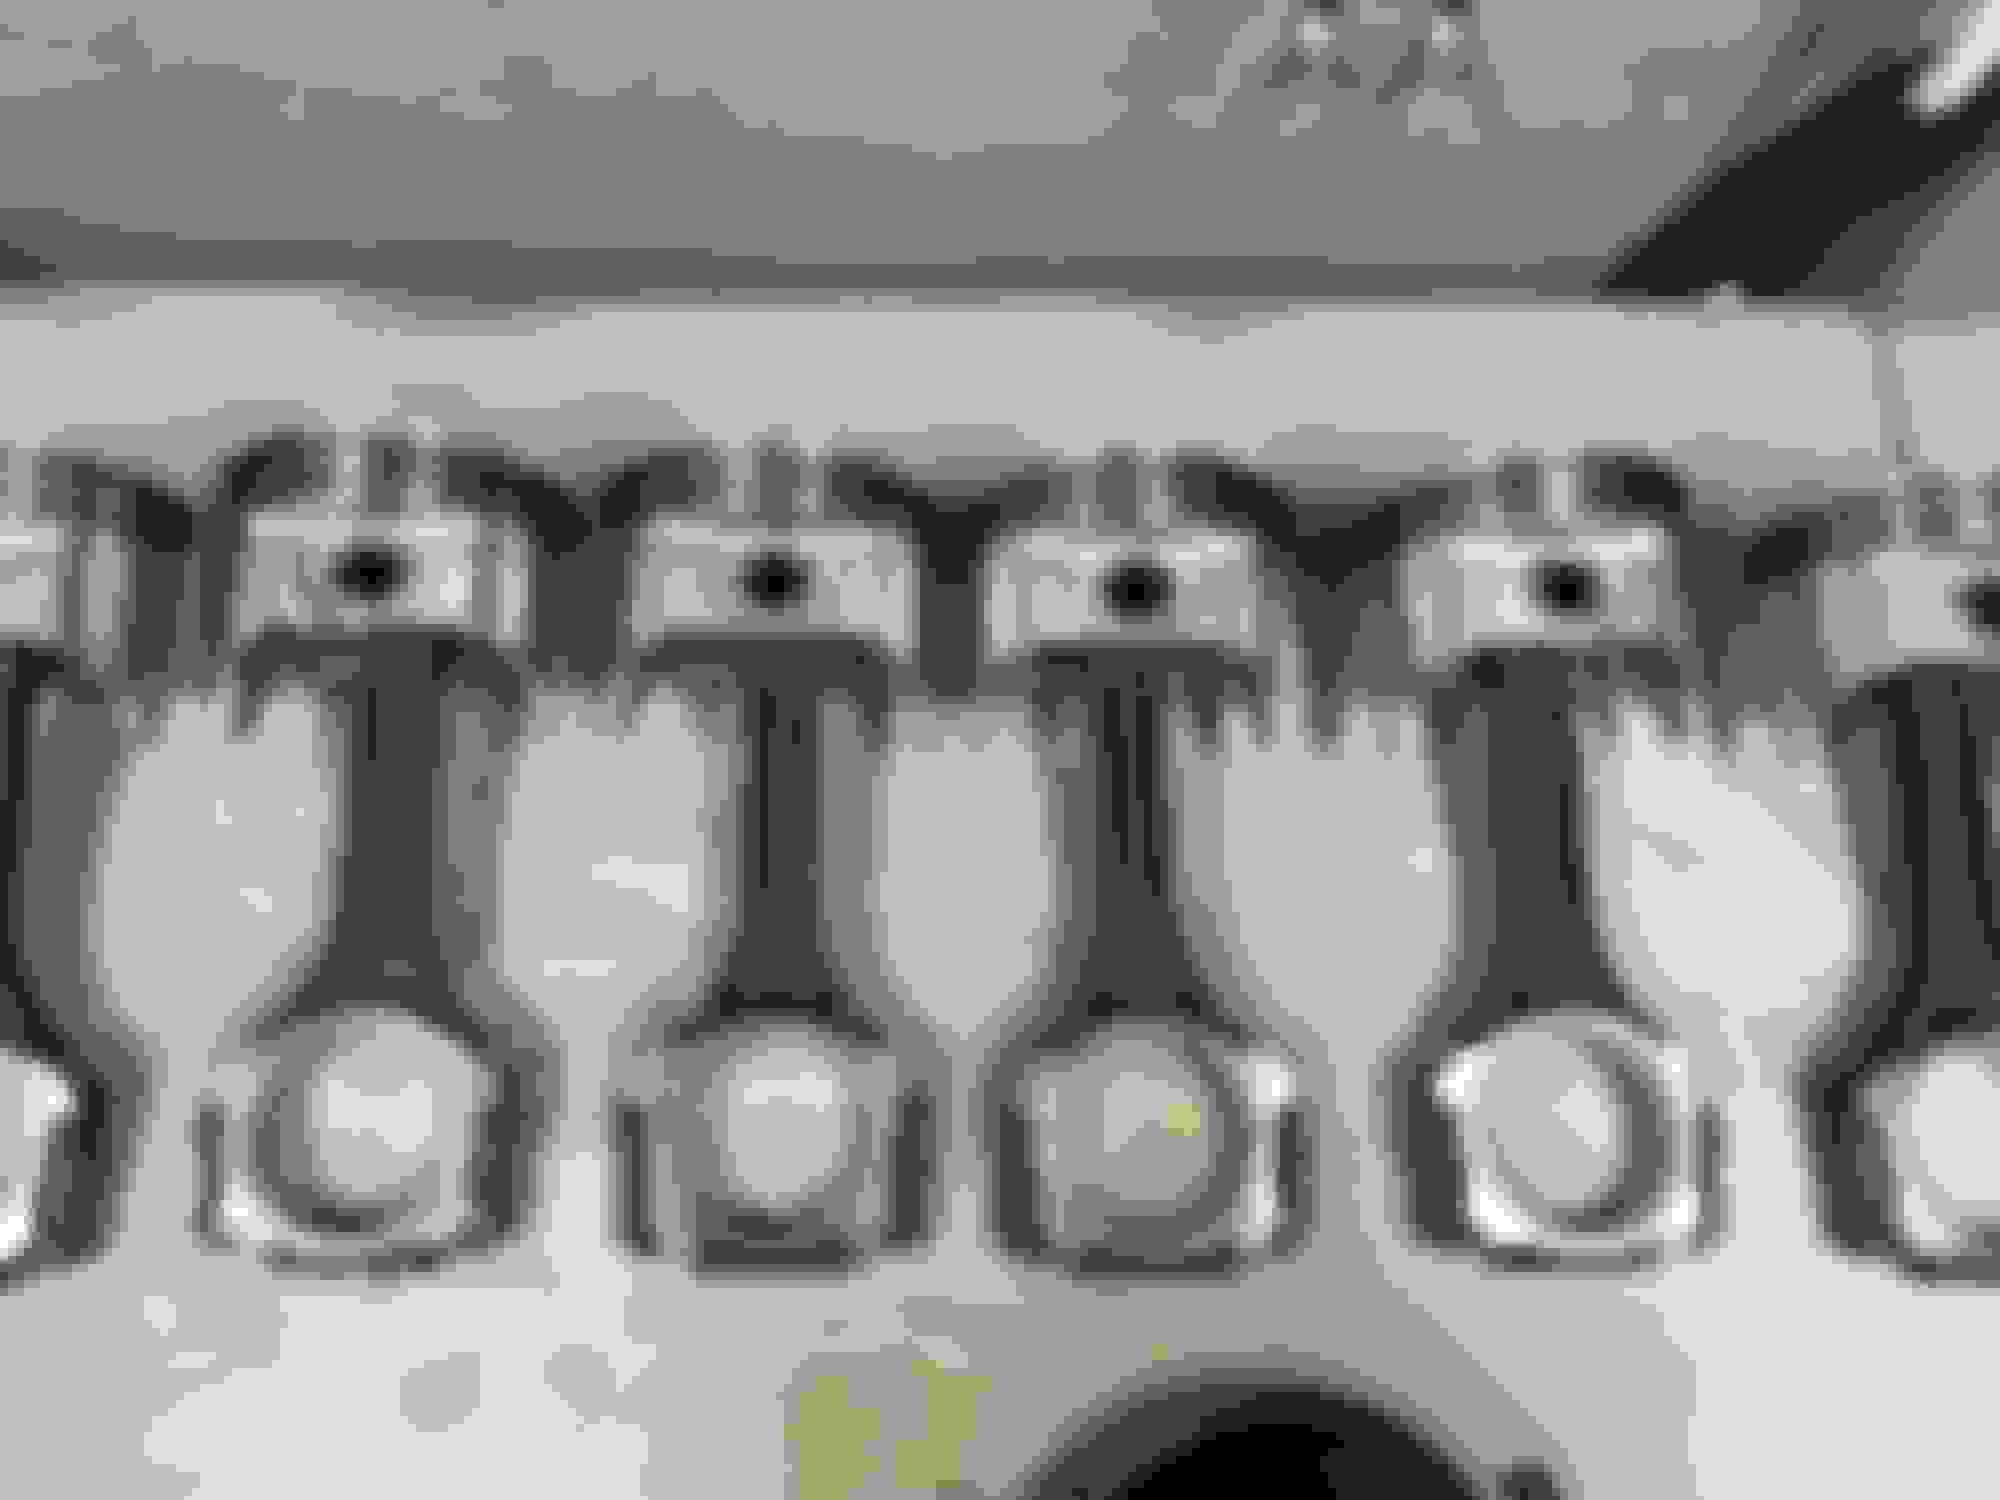
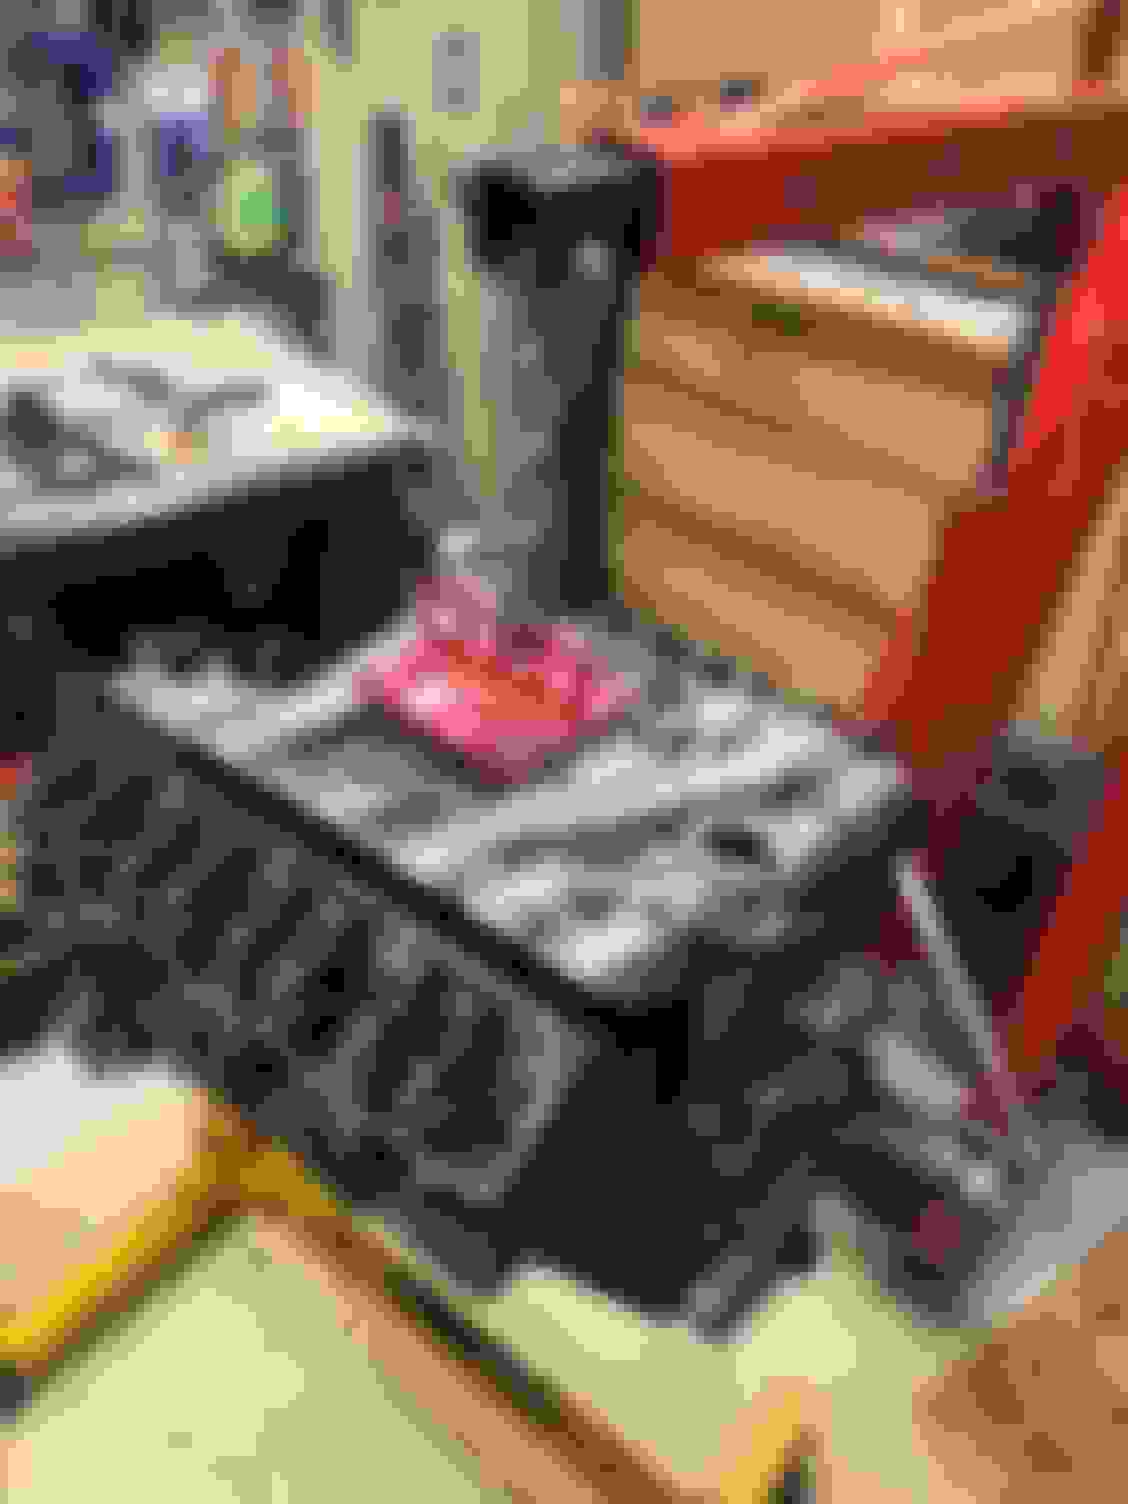
The pistons are Sealed Power cast pistons 369P .020 over with matching rings. I had the machine shop put the pistons on the rods and check the rod bearings. To save a bit of money I�ll do the ring gaps and install the rings and pistons in the block.
Before I started I decided to shorten the oil fill tube by 1 1/2�. I felt like it was too tall and looked a little out of place so I shortened it up for cosmetic reasons and personal preference.
I�ve put the rings on and have 4 pistons installed as of today. I�ll get the rest installed tomorrow.
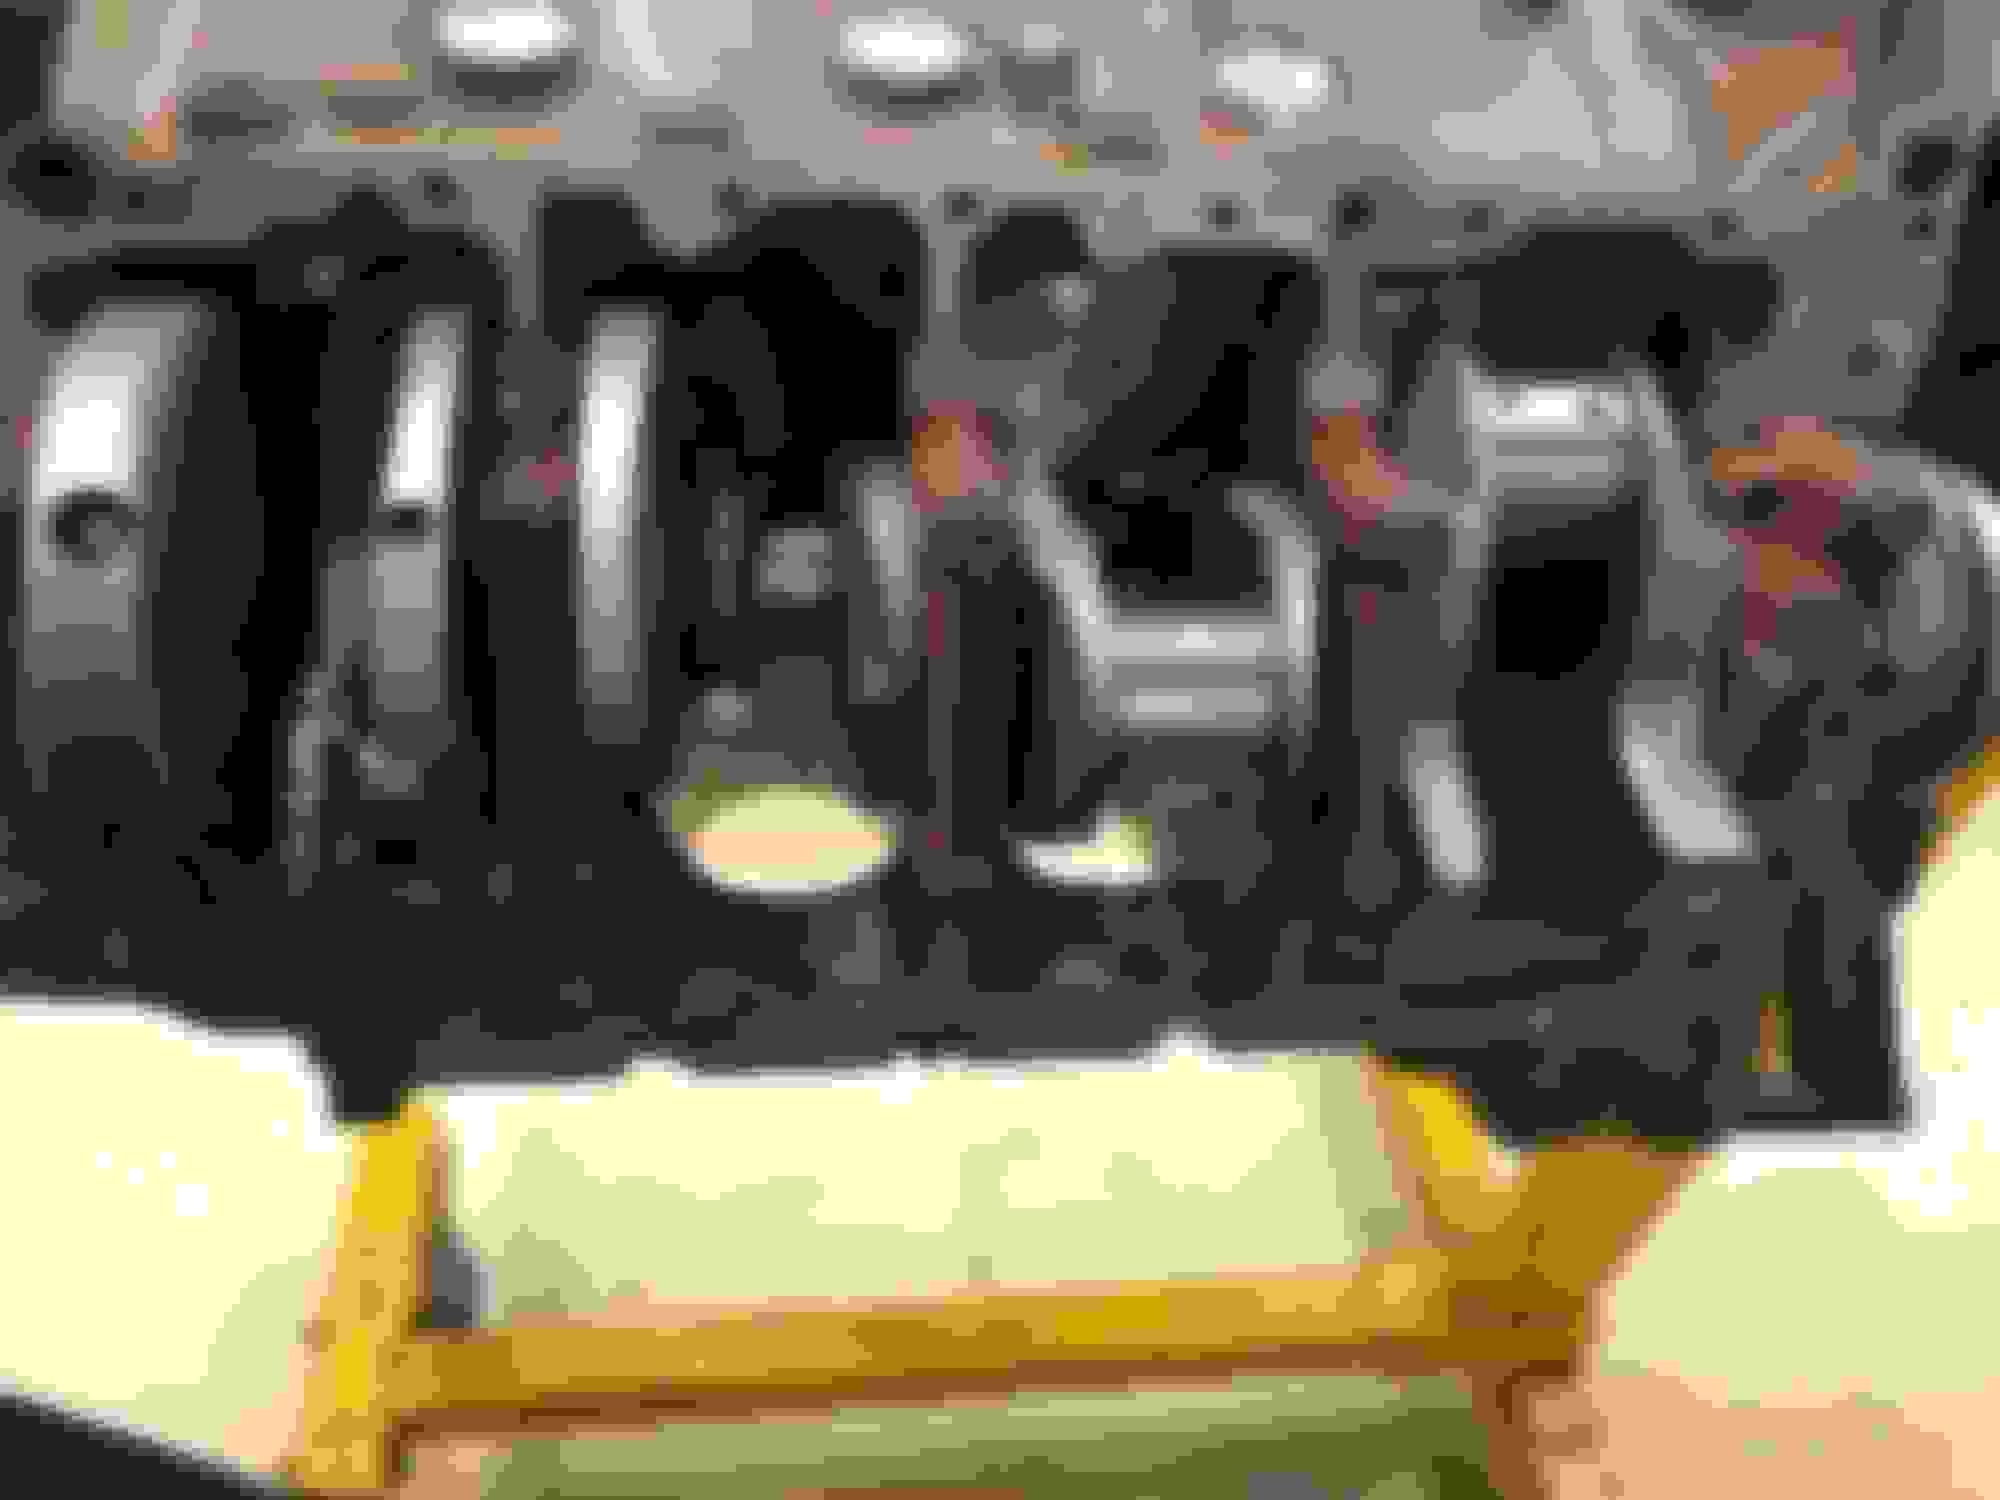
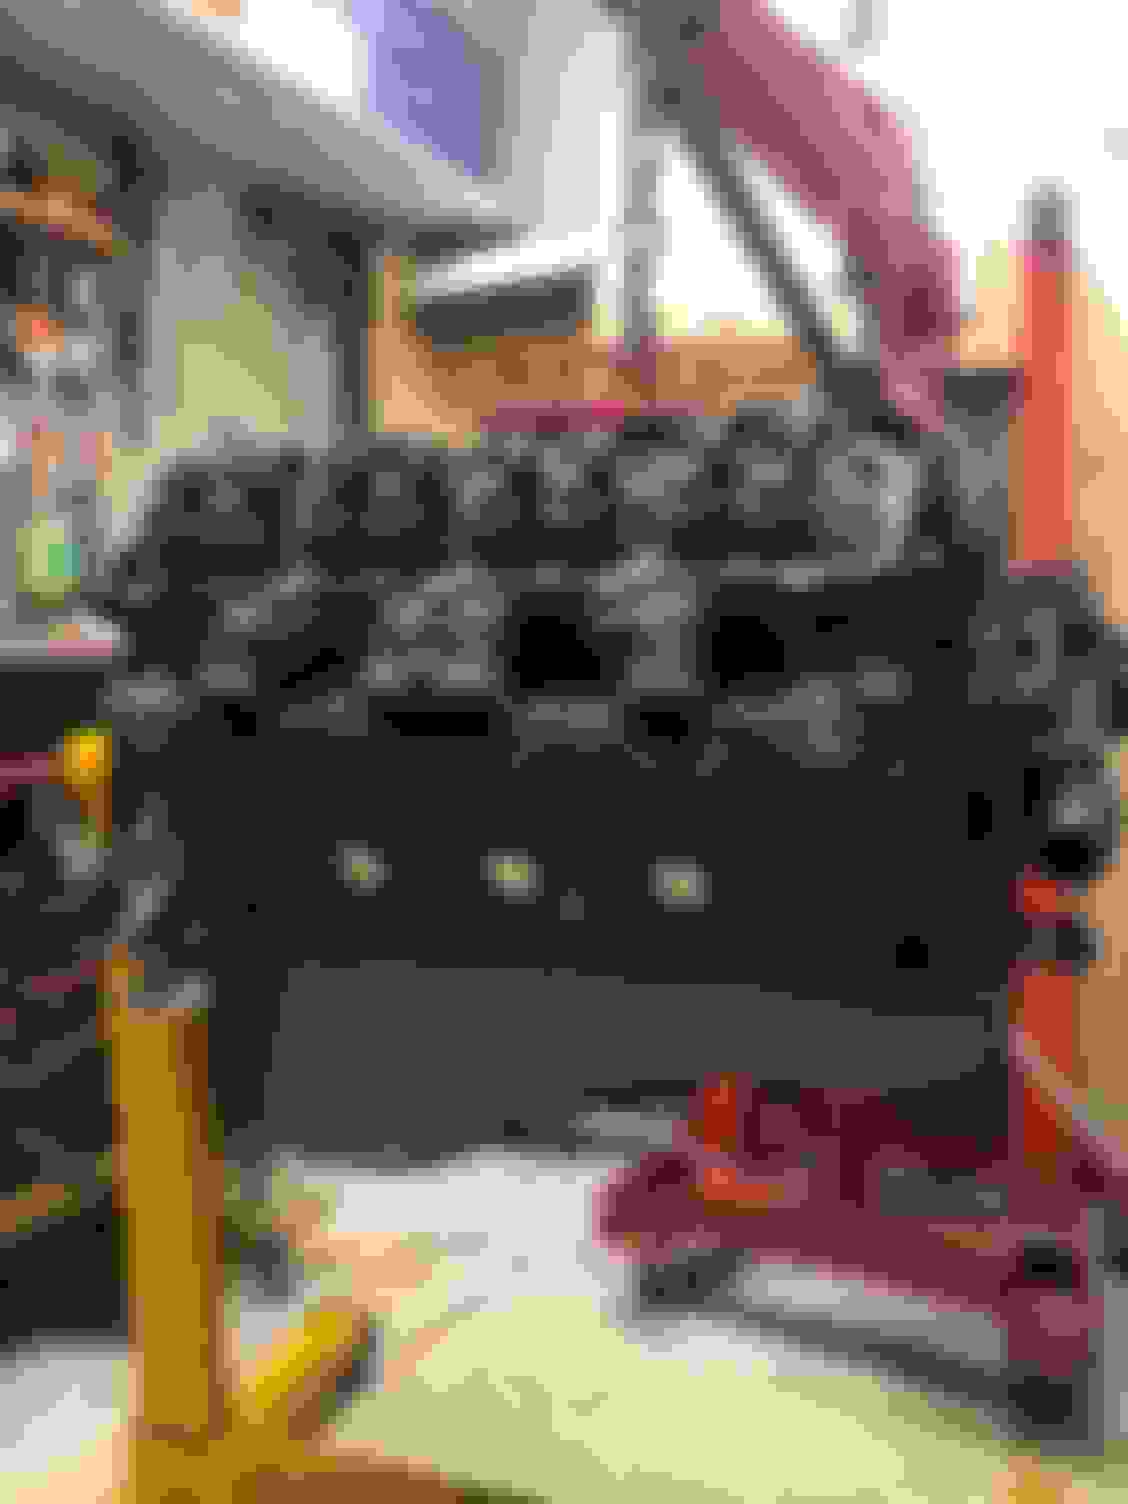
I got the rest of the pistons in with no problems got them torqued down. Through a bag over the engine because I probably won’t get to it again till the weekend.
Well as the weather becomes nicer the time spent in the shop is reduced. I managed to get it and install the heads, lifters, pushrods and rockers. Set the valve lash and preload. Now the rest should be pretty straight forward with just bolt on items.
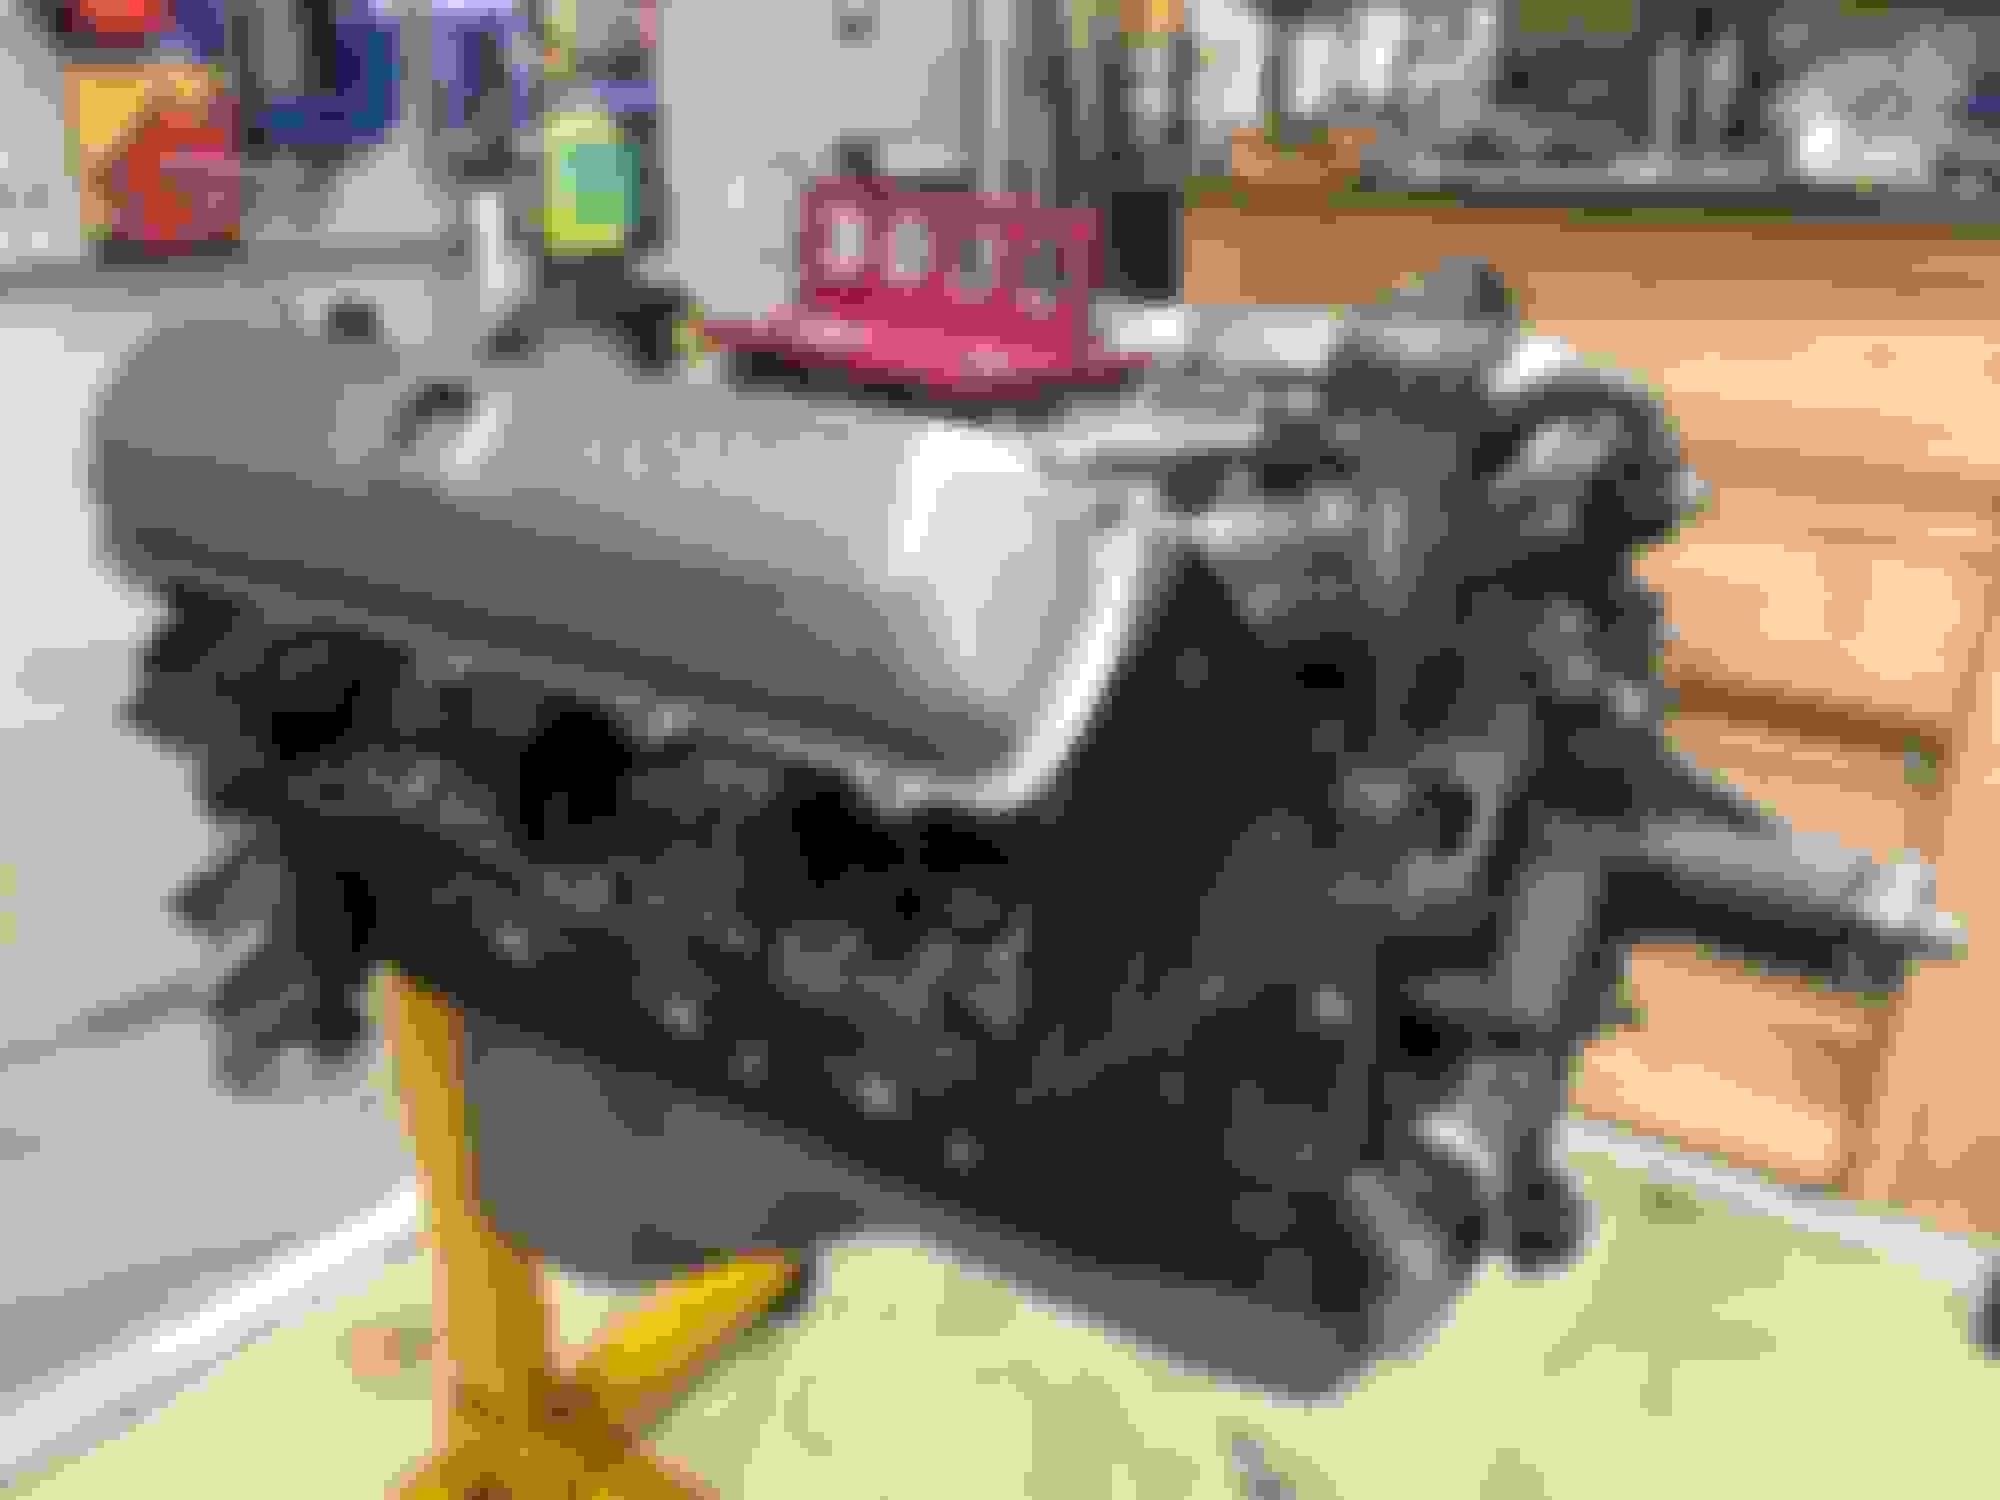
So the timing cover and water pump went on pretty easily. Ended up just buying a new pump although the one off the engine was in descent shape. For the $50 it’s new like the rest of it. Got the oil pan on and now onto the intake manifold.. I’m sticking with the original cast iron intake but the thought of lifting that heavy thing into place sounds like back pain. Lol so I rigged up the engine hoist to help put it into place. Looks like it should be no problem. Another reason I went with the original intake is for the weight. I believe that the weight of the car is what gives it that floating ride. If you start lightening it up it prob won’t have that same ride it was designed for. I’m hoping to have it ready for paint soon.
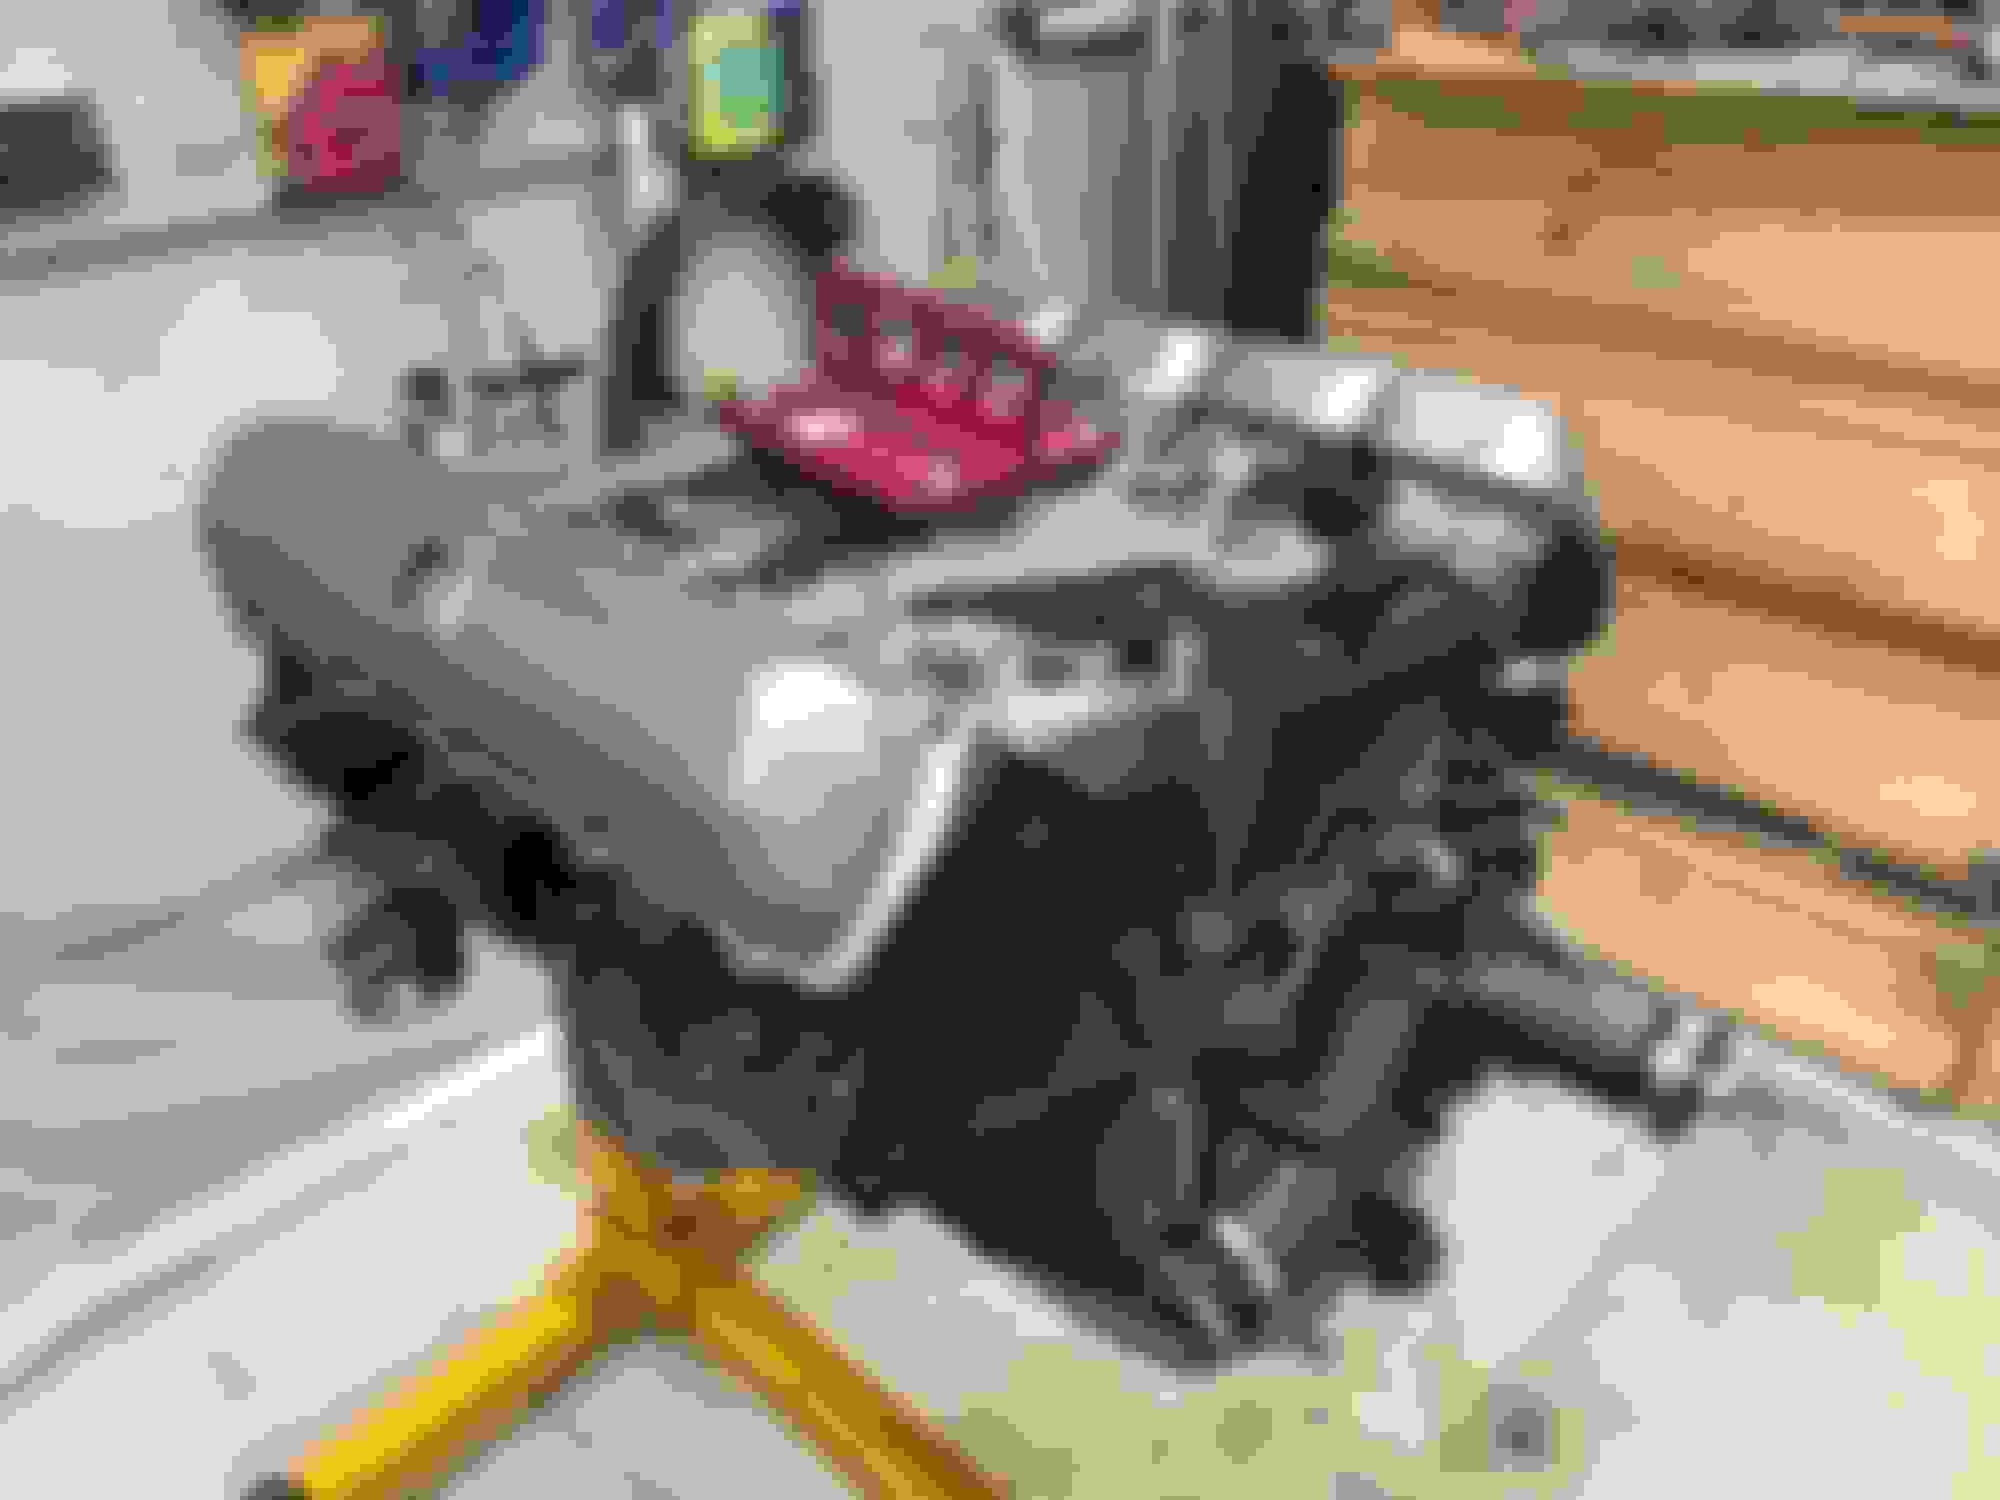
I got the motor seal up today and now ready to get prepped for paint. I pressure tested the cooling system to make sure there was no leaks and brought the oil pressure up with a drill. Had a good 60 lbs on the gauge with a small drill and got it flowing out the push rods. I had to manufacture some plates to block off the ports on the intake and fuel pump. Hopefully tomorrow I’ll have it painted.
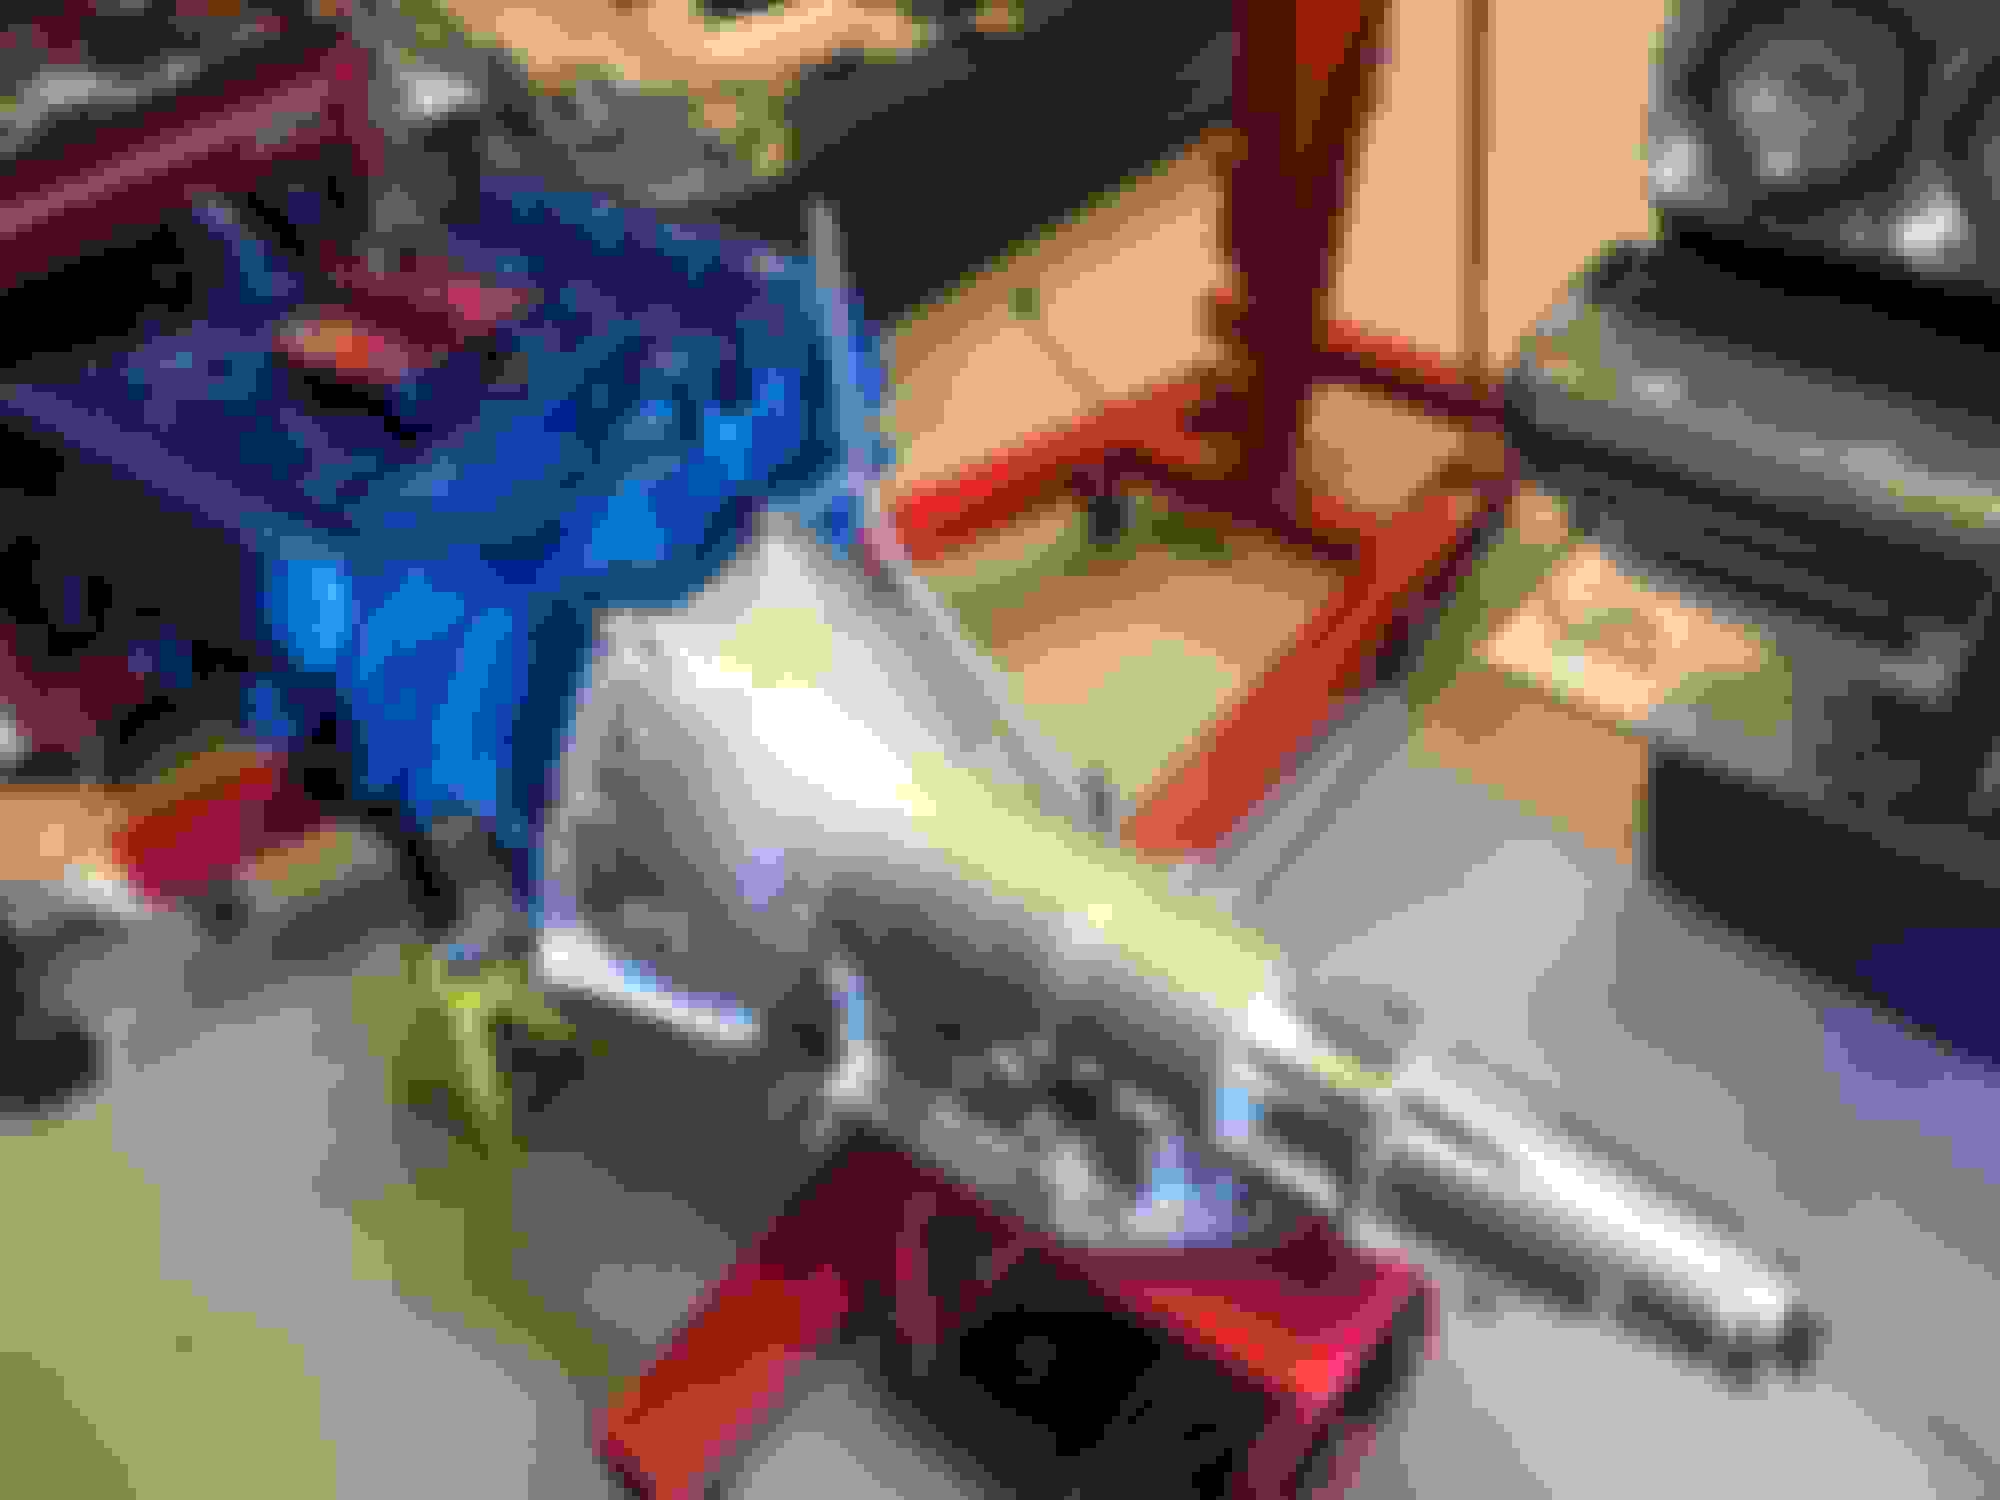
I didn’t bother trying to rebuild the transmission on my own so I sent it out to a reputable shop and had it completely rebuilt. It cost $1700 and I painted it up myself. Just did an aluminium engine paint to make it look better than being just cleaned. I joined the tranny to the motor and got it ready for install.
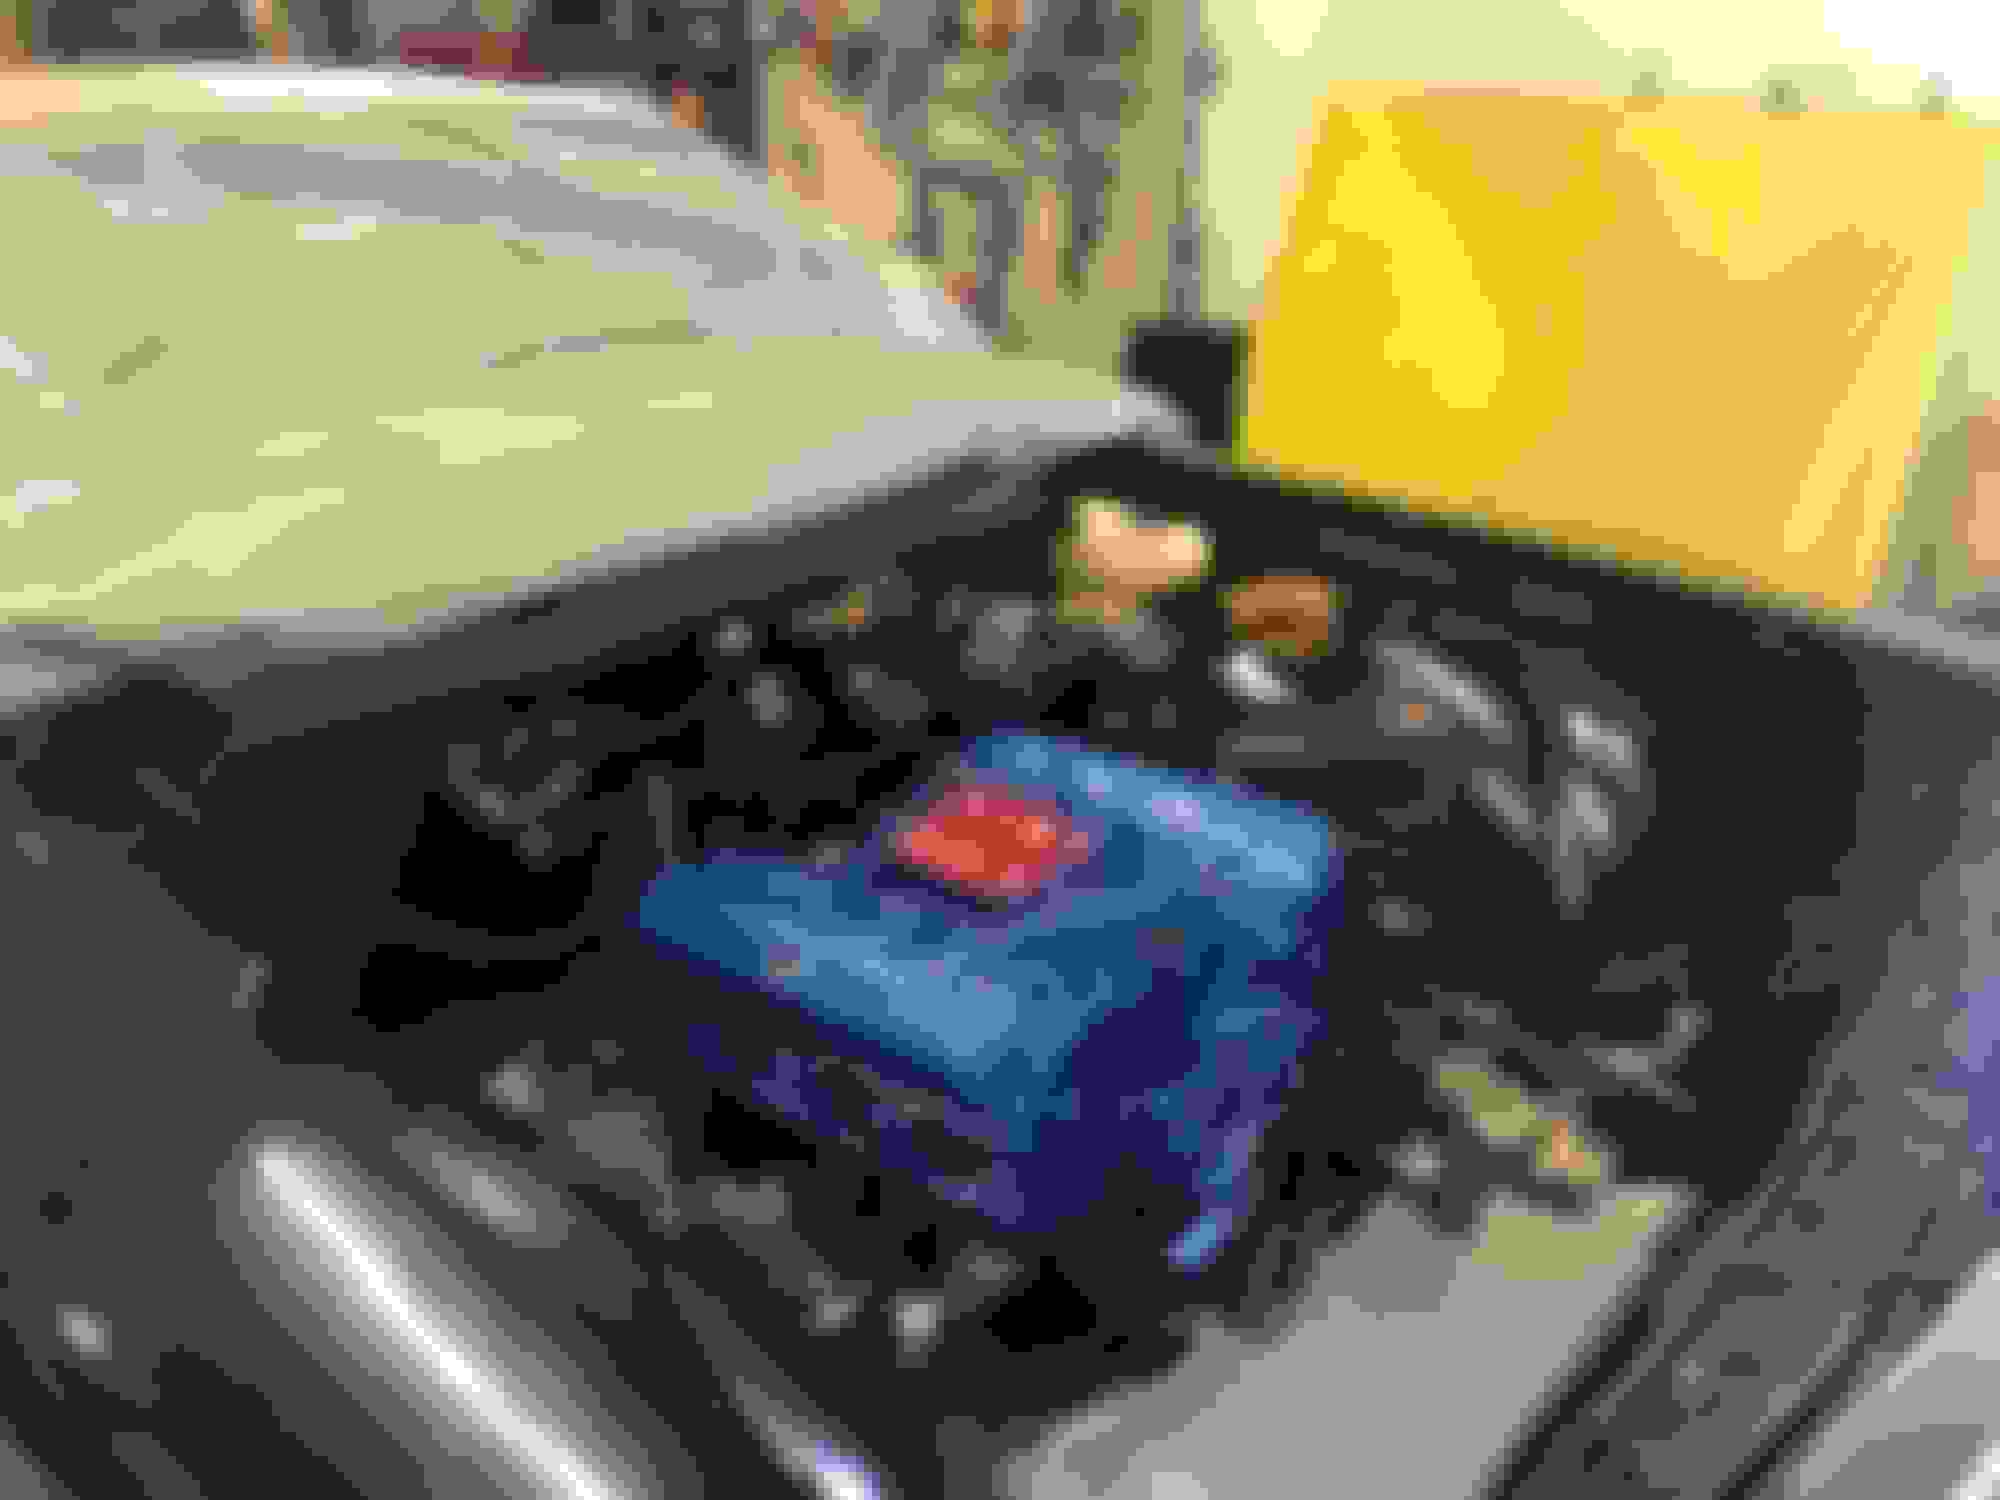
The motor and tranny together now it looks like a monster. Managed to get it installed in the car and man does it look small in the engine bay. Still lots to do yet but hoping to fire it up in the next couple of weeks.
I’m sure once the rest of it goes back together it should fill up the engine bay a bit more. Lol
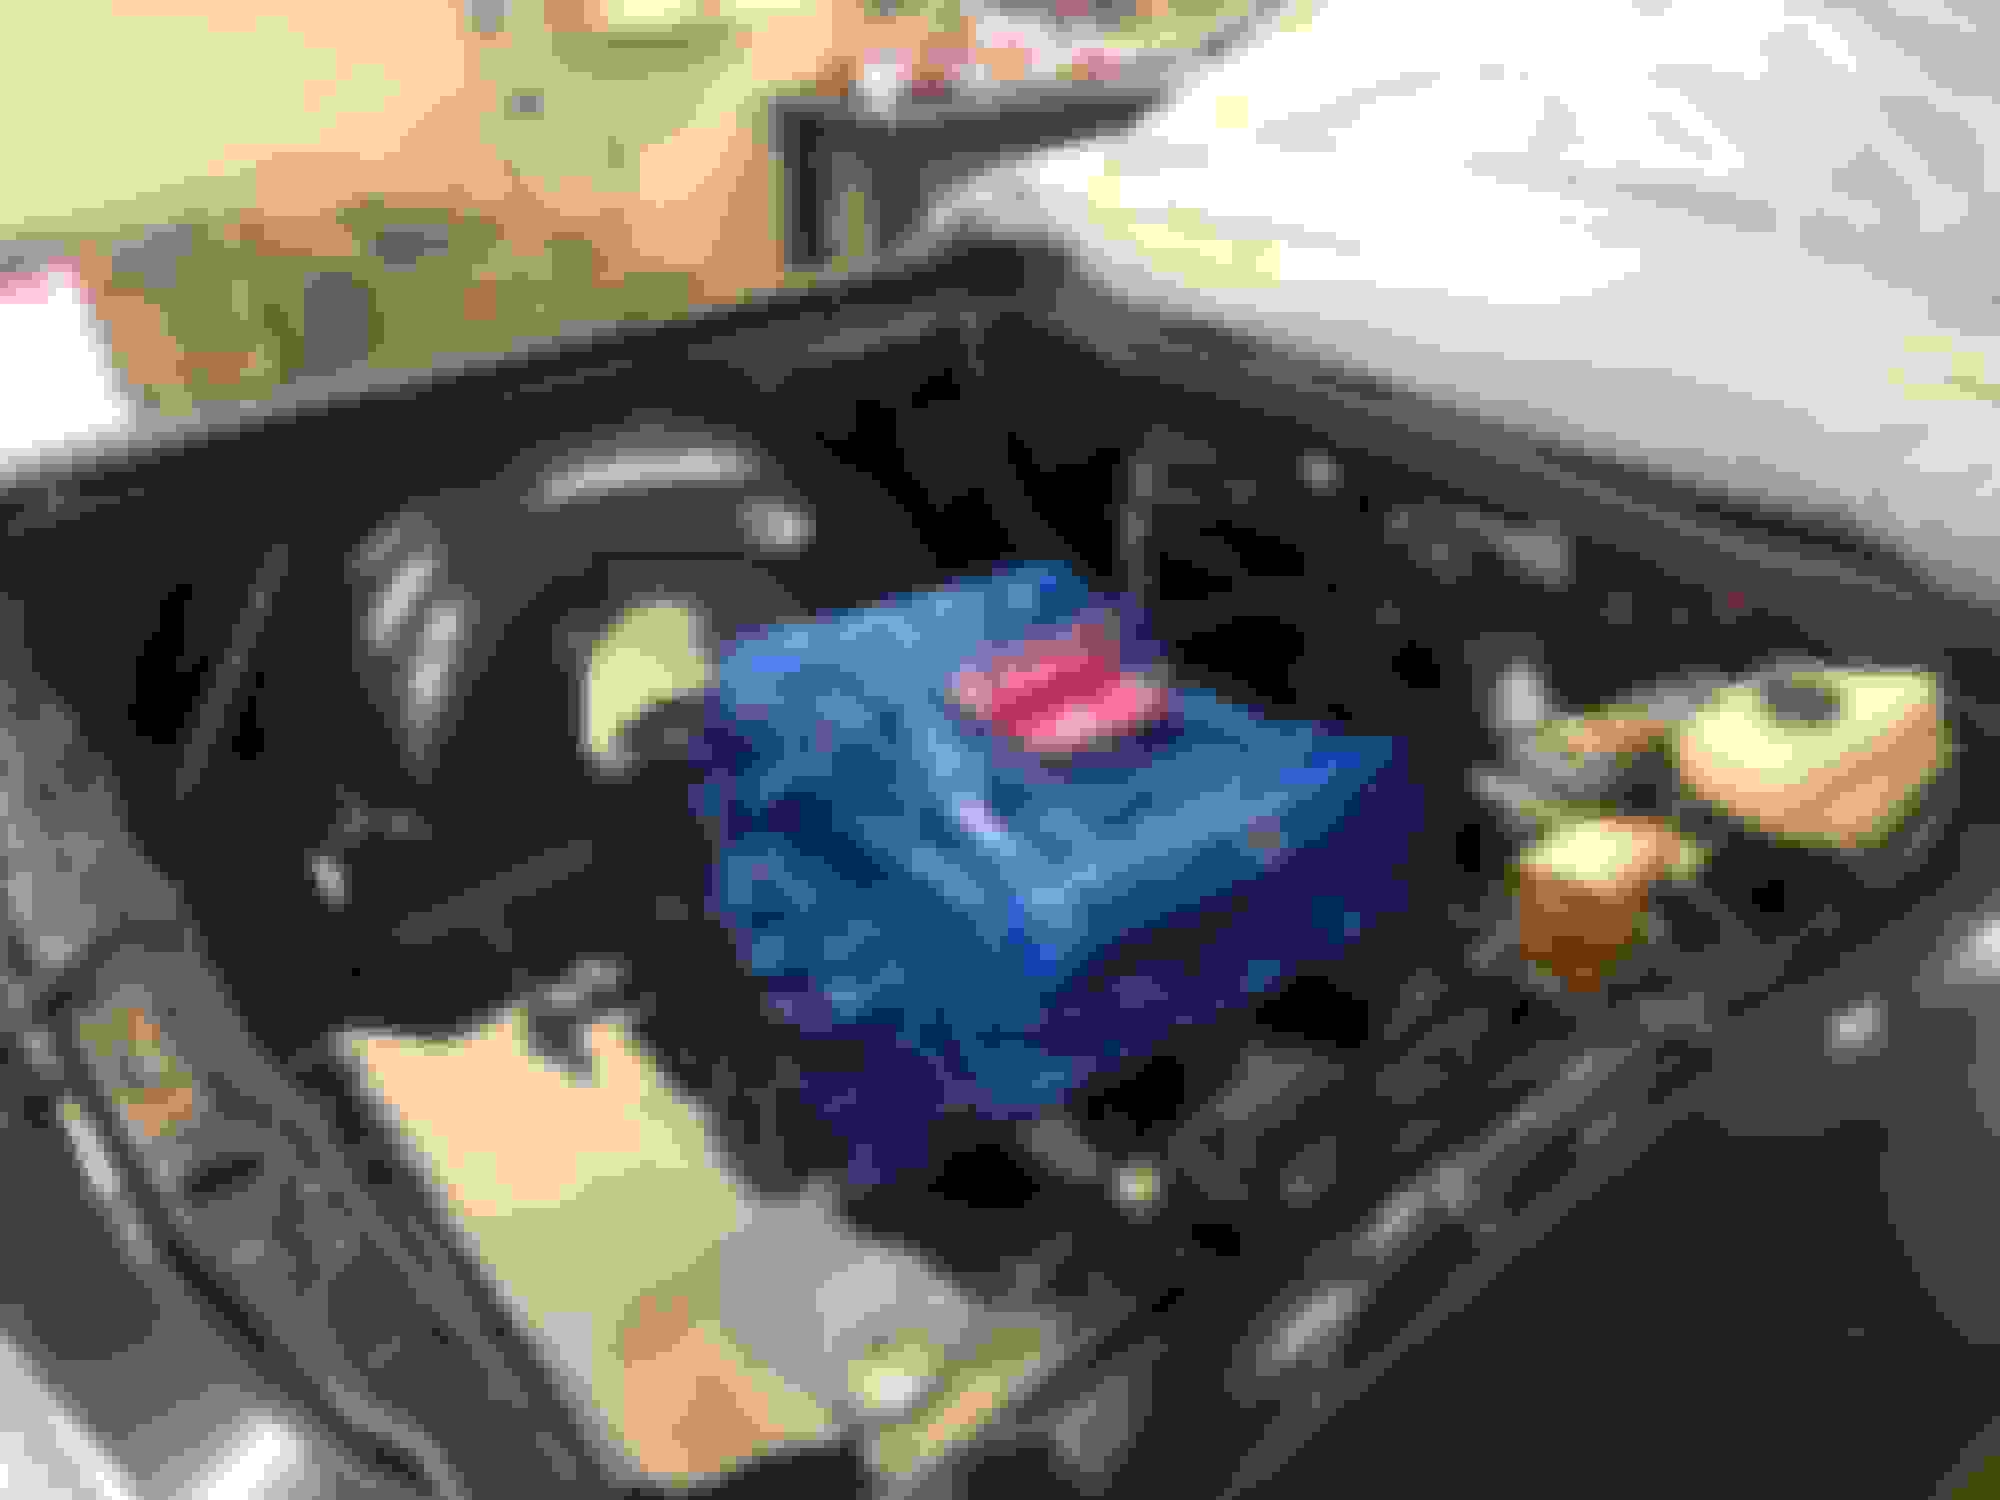
Everythijng is looking nice. I like the engine paint, i used thorntons on mine, but one of the the other major suppliers paint was a shade of blue similar to yours
Thanks, I like the colour and the pics don’t do it justice. The metallic doesn’t show up very well. I wanted a color similar but with a bit more pop. I just hope it lasts. I looked at Thornton’s but was told I might have issues getting it shipped across the border and I didn’t want to take a chance with it.
 March 15th, 2019, 08:22 AM