When you click on links to various merchants on this site and make a purchase, this can result in this site earning a commission. Affiliate programs and affiliations include, but are not limited to, the eBay Partner Network.
I'll check wheel clearance tonight for sure. I got these from OPGI
No issues on wheels clearance ! Its def close, but as many have said, including Joe P on this forum, 14 inch "steelies" will clear an OEM caliber and OEM disk brake setup, aftermarket it all goes out the window.
After my sons baseball game today I will try and get the old distribution block off and the new proportioning value on along with the lines.
I made some great progress yesterday, the new booster and MC is in. I also finished up the driver side disk conversion and I ran all of the new lines and the proportioning vale.
i need to get the proper bolts to mount the proportioning valve to the frame, can someone tell me the size ? What I took off from the previous drum distribution block will not work.
for today I want to bleed the MC and check for leaks. Hoping I can run to Homedepot or Lowe’s or Ace to source the 2 bolts I need for the proportioning valve.
Hey guys...so I'm all done with the disk conversion, bleed the system last night...went to drive and of course dead battery LOL I should get it out of the garage tonight for its first ride on the new setup
I have a question though, what have others done to secure the proportioning valve to the frame? Its considerably thicker than the distribution block/valve that came off from the original drum/drum setup.
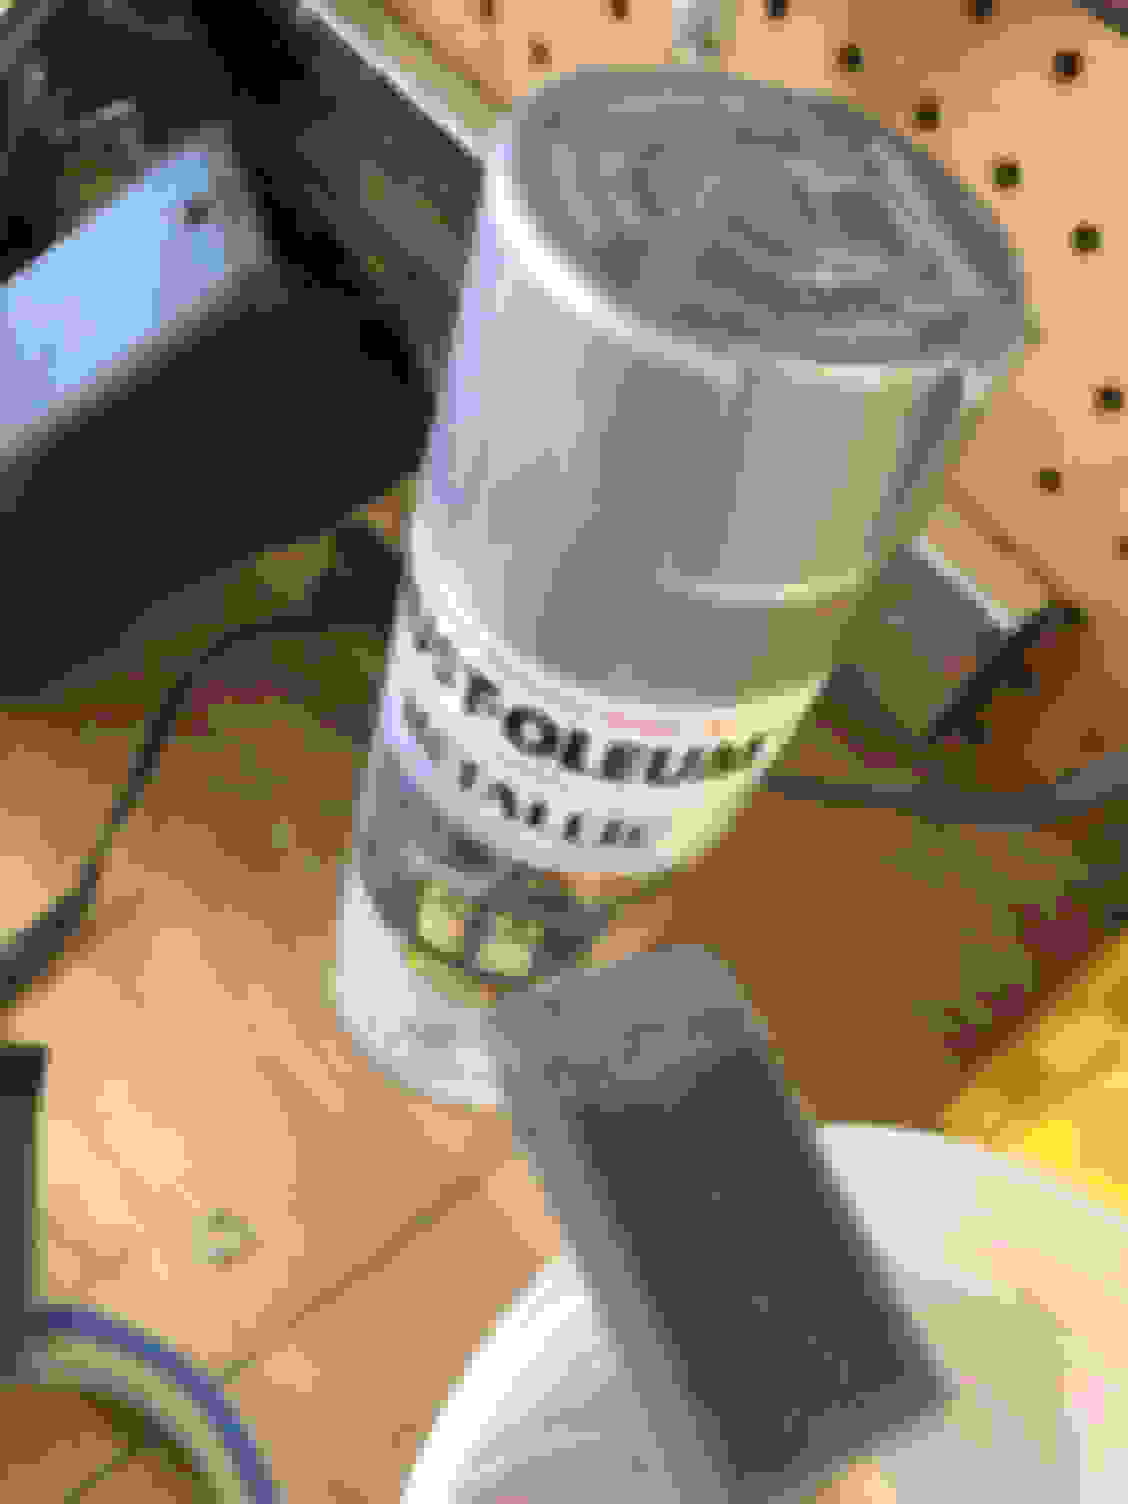
As you can see here I don't want to leave it just freely hanging close to the exhaust header...also this is the exact part I am using, and its very close to original location of the previous valve.
There is a factory style frame bracket that inline & others sell for the '71 up style combo valve that you're using on your conversion. It's pt# BRK04 for $19. The flange head bolts are INL12048 for $4
Last edited by rob1960; November 9th, 2018 at 06:06 AM.
There is a factory style frame bracket that inline & others sell for the '71 up style combo valve that you're using on your conversion. It's pt# BRK04 for $19. The flange head bolts are INL12048 for $4
Hey forum members, my next item now that the brakes are done is the gas tank. I got tired of smelling gas every time the sun hit the car in the garage with the door open. Since I was gonna pull it to check the vent lines, etc...I said to myself, well its 46 years old - might as well LOL
After thanksgiving my father in law and I will tackle this,. I have new lines as well and since I’m adding in the 455, I planned ahead and bought the sending unit that has the fuel return line. I also bought the return line itself. I am going to plumb for it and just cap it at the engine bay, that way its ready for me when I drop in the 455 and I’m not dropping the tank again
Location: Edmonton, AB. And "I am Can 'eh' jun - eh"
Posts: 24,525
I bought the same GM34R tank for my car. But it looks like your fuel sender is completely different than what I got. Yours doesn't have the attachment for the ground wire so you're going to have to drill and solder it on. For the wires, I also went with extra protection against the locking ring by using a small tube to insulate against abrasion. I also installed one of Patton Glades tank pads. (GM didn't put them on 72's but I thought it was a good idea)
Location: Edmonton, AB. And "I am Can 'eh' jun - eh"
Posts: 24,525
Yes, that looks like the ground. Mine came with the ground wire attached but the orientation was 180� off with the wire lead so I had to disconnect it and re-solder it in the proper orientation. I guess the manufacturer of your sender thought there was a clip style attachment for the sender ground. Also noticed your fuel strainer is a plastic unit? That's different as the originals all had a fuel sock. This is what the sender should have come to you looking like
Location: Edmonton, AB. And "I am Can 'eh' jun - eh"
Posts: 24,525
Good luck. Senders aren't that expensive. Personally I'd go with the OEM style. The one you have honestly doesn't look like it's built to last. Not a fan of the float either. With all the improvements you're doing to the car, why go with a cheap imitation of the real sender you need?
Allan / members - does anyone have a diagram of the fuel return line? I got my shipment in today from in-line tube , it’s two pieces... one long line which is a no brainer, goes along the frame right up towards the fuel pump. What I can’t figure out is the second piece which is maybe 2 feet long and has a rubber sleeve ...not sure where that second piece connects to? . My understanding would be return line from sending unit —> rubber hose —> connects to the long steel line —> then from the steel line rubber hose into the fuel pump
Location: Edmonton, AB. And "I am Can 'eh' jun - eh"
Posts: 24,525
If you look closely at the frame you'll find where the steel line is connected to the other one by a rubber fuel line with an abrasion sleeve over top of it. It actually runs through the frame. Do you have a 1972 Cutlass Assembly manual? If you do it's on page 116 of section 8.
LMK if you don't have it and I'll scan it for you.
I still don’t have one - been looking at eBay etc. I know. Can get a new one on OPGI, etc but have been trying to hold out for an original one. If you could scan that would be fantastic !
I made great progress today ! I got the Christmas lights up and I got the old tank out. Tomorrow I’ll route in the fuel return line and take more pictures.
Thanks again Allan for the diagrams !
Well the new tank is in and all of the vent lines replaced and I ran the fuel return line and capped it off.
I ran a fresh ground wire as well to the sending unit to be safe. After I got it back on the ground I turned the key to accessory mode and watched the gauge go to E from its previous position of 1/4 tank.
stopped for the night so tomorrow after work I’ll put some gas in it, check for leaks, etc.
Location: Edmonton, AB. And "I am Can 'eh' jun - eh"
Posts: 24,525
Where are the 2 bolts that secure the tank to the trunk floor reinforcing on each strap? They appear to be missing. Lock that thing down before you put gas in it.
Where are the 2 bolts that secure the tank to the trunk floor reinforcing on each strap? They appear to be missing. Lock that thing down before you put gas in it.
I took the pic before I put those bolts back in. They are in place now
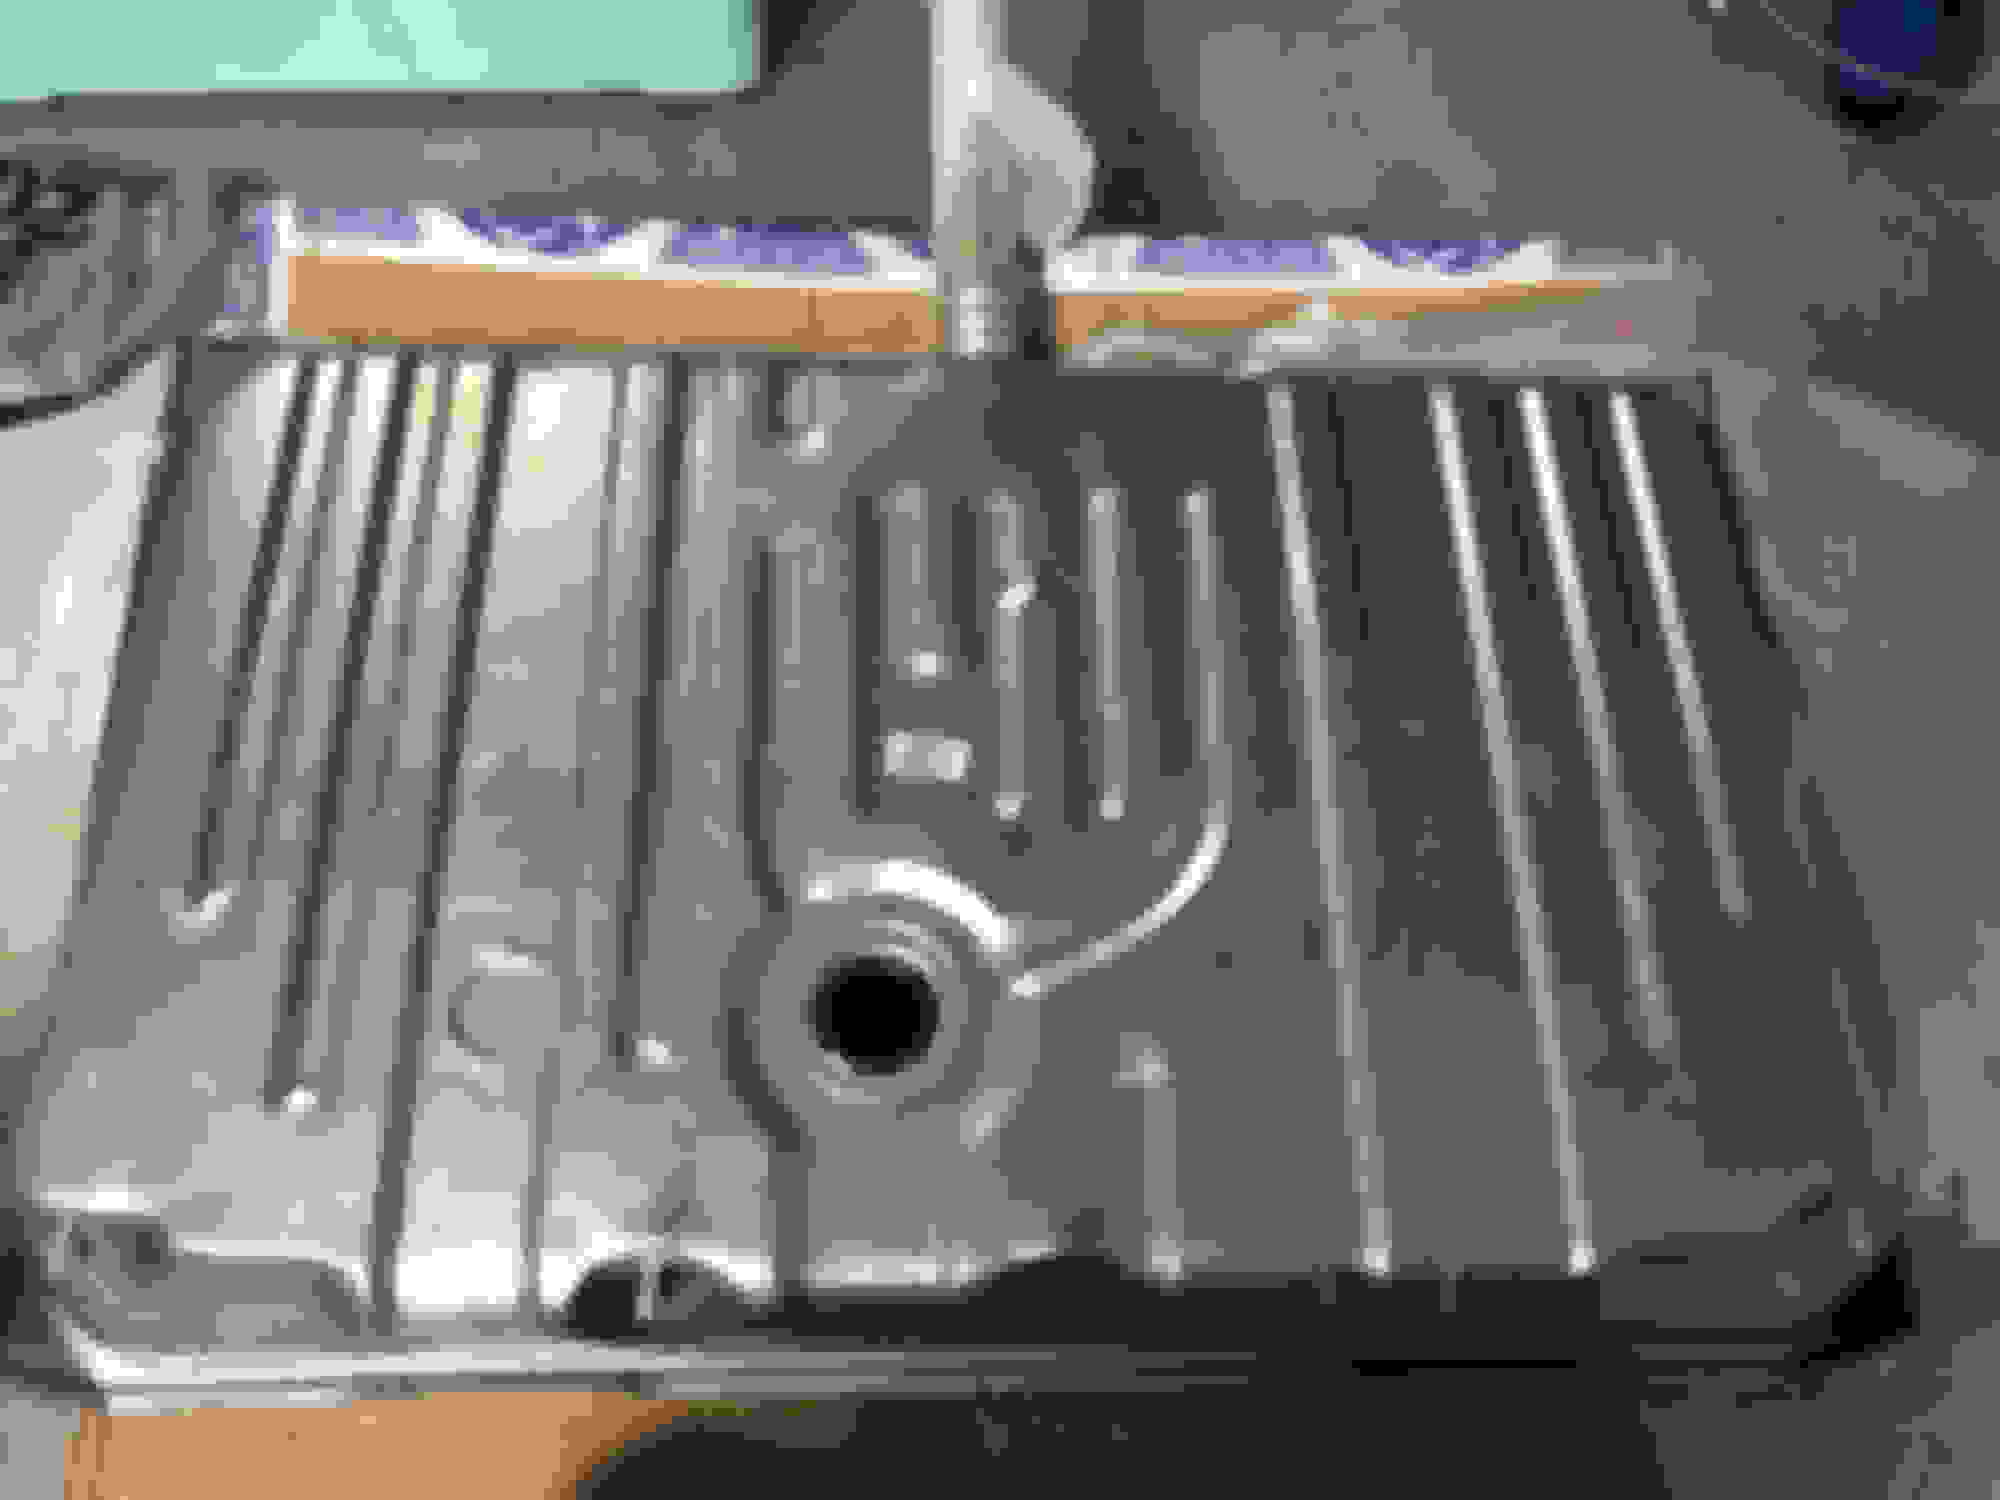
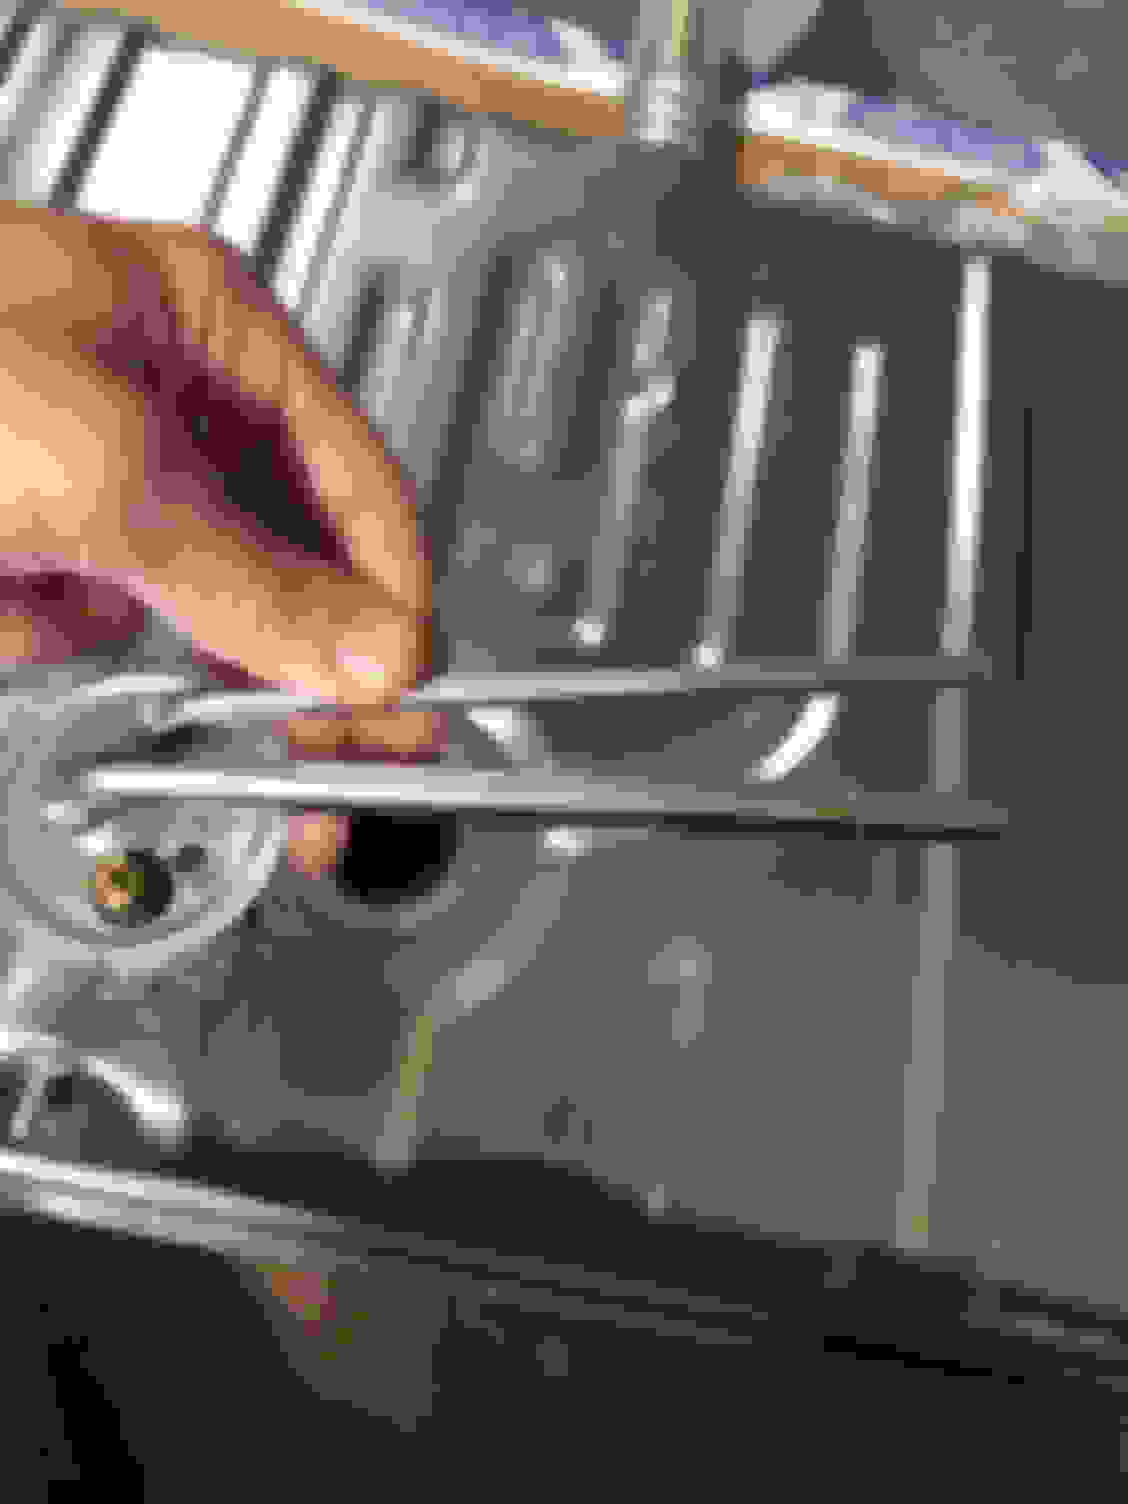
Before I start the interior color change I wanted to do a tiny bit more to my 455 build. I acquired this used oil filter housing from a forum member, can anyone tell me the bolt size and type for this ? I didn’t find much looking st the popular sites of OPGI, summit, etc.
hey there gang...Just wanted to post a small update that I am still working on the car, but in waiting mode for new parts. The holidays really slowed down my progress with all the family events and travel, but should be getting back to normal weekend stuff now on the car. I did also just buy a good bit of new parts last night to take advantage of sales.
I will be taking the cutlass this Friday AM for a front end alignment now that all of my front suspension is complete (and WOW what a diff it makes with new everything and a new CCP steering gear box too !). My first drive when I got it, it was swaying back and forth like crazy, now, its nice, stiff and responsive. The shop I'm taking it to for the alignment is run by 2 brothers who do good work, I trust them to work on a 72 for an alignment as they have done them many times in the past, plus my C3 vette I had, they did the alignment on that after my suspension work and it was dialed right in.
I'll be back soon with some pics and progress - Happy new Year !
Well some more small incremental progress, I got the cutlass to the alignment shop this AM, just picked it back up. Here are the results from all the front suspension work I did.
The specs The results
Brian
Last edited by Brians1; January 4th, 2019 at 02:51 PM.
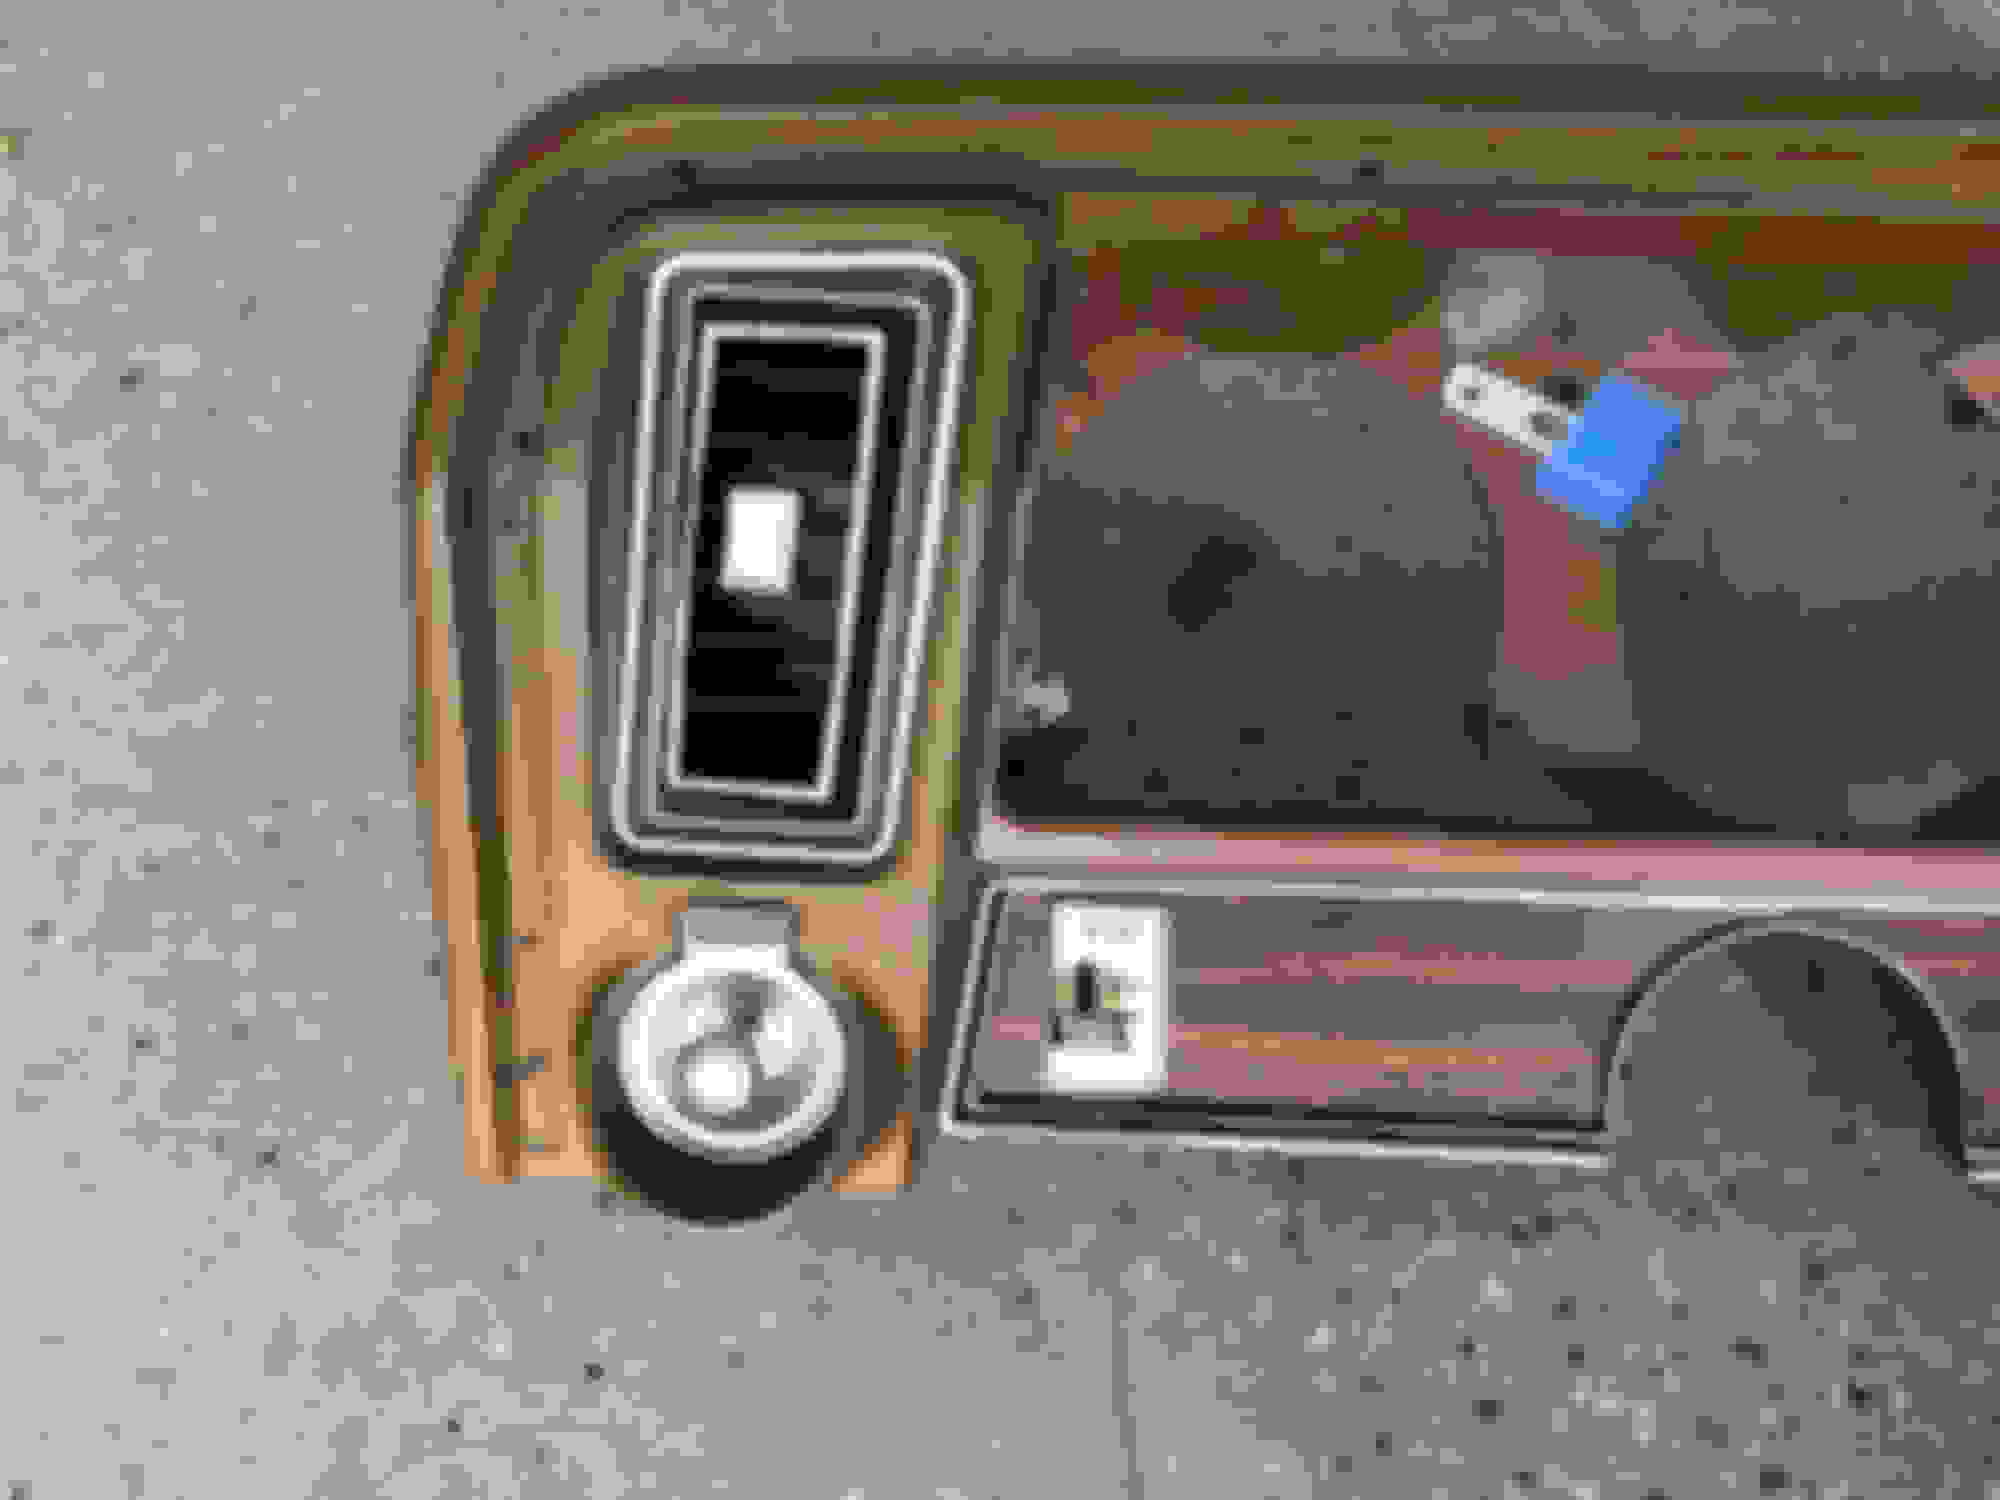
Ok so I got a bout 2 hours today to myself so I took out the lower dash section and the glove box and preppered and painted them...I cant wait to get the rest of the dash out and get it all done. This SEM Landau Black is really great stuff.
I do need some advice on the wood grain. The “Cutlass” logo...it will get replaced with the 442 badge since that’s what I’m building. As you can see the grain is faded, is this recoverable or should I just get new ? I don’t want to look at the 442 and see the 2 different shades - it will drive me bonkers....
* I washed and dried the sections and parts 3 times to get super clean and then prepped (scuffed) and painted. Prob did 6 coats total.
Location: Edmonton, AB. And "I am Can 'eh' jun - eh"
Posts: 24,525
I do need some advice on the wood grain. The “Cutlass” logo...it will get replaced with the 442 badge since that’s what I’m building. As you can see the grain is faded, is this recoverable or should I just get new ? I don’t want to look at the 442 and see the 2 different shades - it will drive me bonkers....
No. The 1972 442's never used the 442 emblem on the glove box. They retained either the Cutlass or Cutlass Supreme scripts. Leave it as is for authenticity and also it will not leave any grain difference.
No. The 1972 442's never used the 442 emblem on the glove box. They retained either the Cutlass or Cutlass Supreme scripts. Leave it as is for authenticity and also it will not leave any grain difference.
Location: Edmonton, AB. And "I am Can 'eh' jun - eh"
Posts: 24,525
You're welcome. What are you going to use to restore the chrome reveal at the bottom of the glove box? I'd suggest looking at Molotow Liquid chrome pens.
If you look at the bottom of your old tank, it should have the part number 307042 stamped in the middle.
That number, ignoring the first digit, is actually the date code of the tank. That tank number, which I presume you pulled from your car, was built the 7th of April 72. All three of my cars have a 2 or 3 for a first digit, perhaps a plant number, with the remaining date numbers corresponding very close to the cars production build dates. Just a little trivia for you.
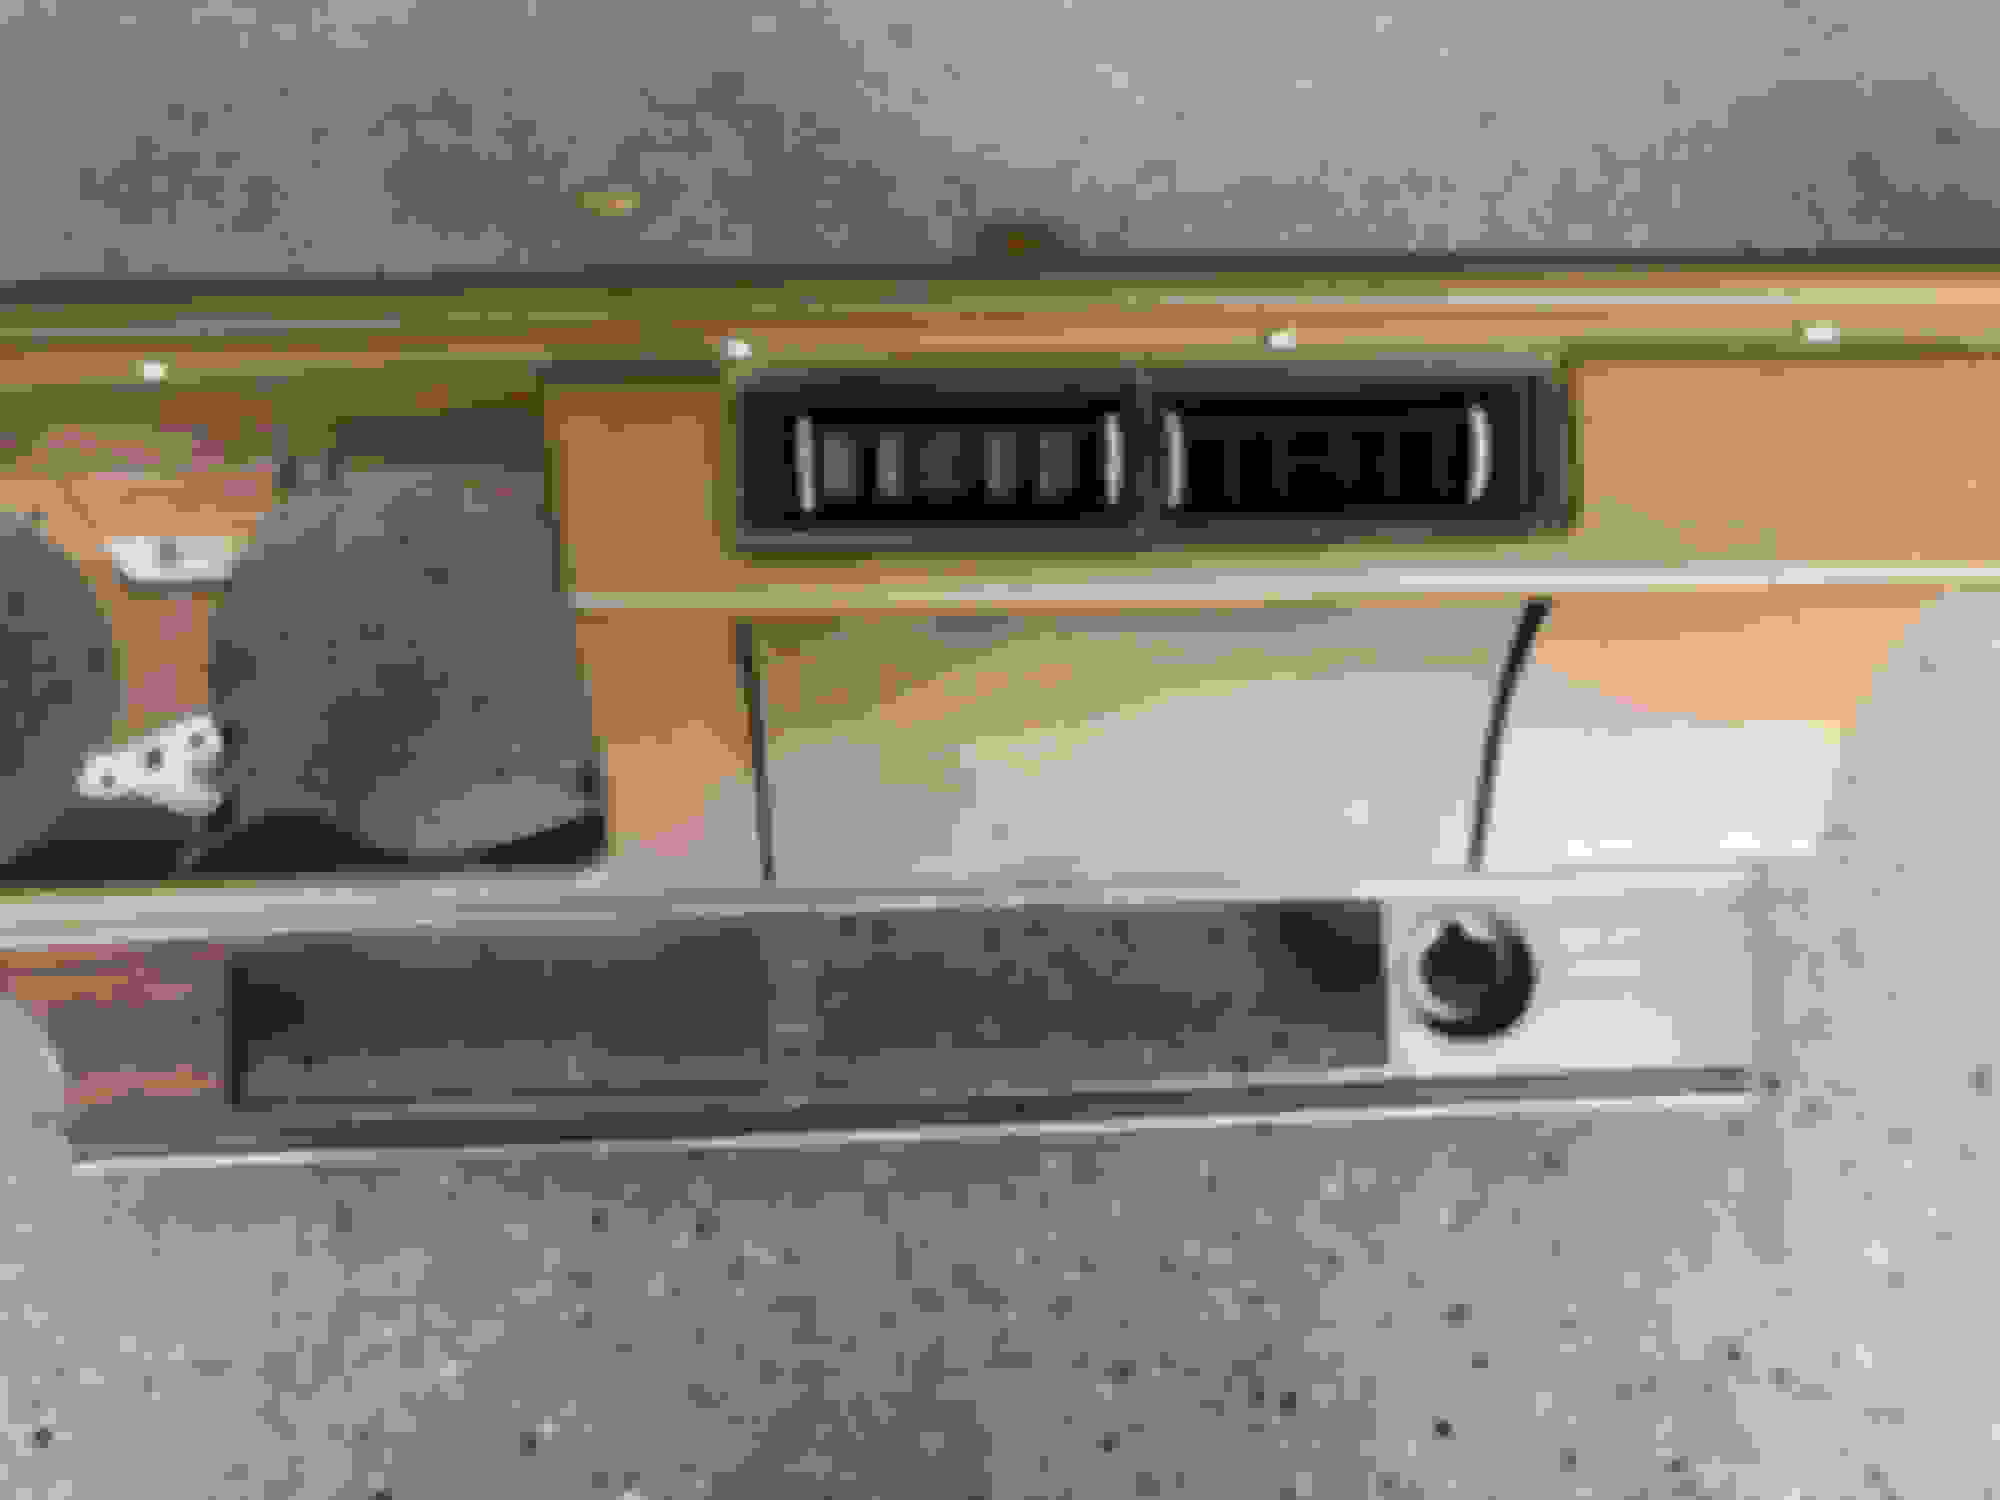
I made more fantastic progress today. I did a fresh round of scuffing and then final paint on the glovebox. I also didn’t like the paint pen uneven quality of my hand so I went a different route with a sponge brush - I must say this is def the way to go !
I am VERY pleased with this SEM paint and the results it gives. I can’t wait to get the dash out and do the same to it.
Here is the before and a bunch of afters
more to come
Brian
Last edited by Brians1; January 6th, 2019 at 11:24 AM.
Location: Edmonton, AB. And "I am Can 'eh' jun - eh"
Posts: 24,525
Originally Posted by Rocketbrian
That number, ignoring the first digit, is actually the date code of the tank. That tank number, which I presume you pulled from your car, was built the 7th of April 72. All three of my cars have a 2 or 3 for a first digit, perhaps a plant number, with the remaining date numbers corresponding very close to the cars production build dates. Just a little trivia for you.
WOW!! That's spot on, and yes it was pulled from my car. I suppose I could have still used it because I found the leak problem was actually caused by a defective rubber fuel line! My car started assembly on April 7, 1972 at Fisher Body Works Lansing. It was sent to Lansing Final Assembly and rolled out of the plant on April 10, 1972. GM documentation to prove it too! I suspect the 3 at the front simply means 'Oldsmobile division'? That would line up perfectly with all the documentation I have on the car.
Thank you for your 'trivia' insight. I never stop being amazed and educated by this forum.
Brian - that's incredible. I never would have thought to use a sponge as a brush.Was it difficult to get into the cranny at the top?
It was actually very easy to do, you would be surprised how steady you can be when you�re using a foam brush with light pressure versus the tip of the pen
Location: Edmonton, AB. And "I am Can 'eh' jun - eh"
Posts: 24,525
Did you spray the foam or spray the can onto a paper and then dip the foam into that? I'm curious because I'm interested in trying it myself. Now if you could break open the Molotow pen and use that chrome ink it would look exactly like factory. I wonder if you've stumbled onto the method the factory used to make these in the first place.
The first pass I sprayed it into a small paint bucket I got at Ace Hardware, dipped the brush and then applied. For the second coat I got curious so I just sprayed the tip of the foam brush and I got the same results.
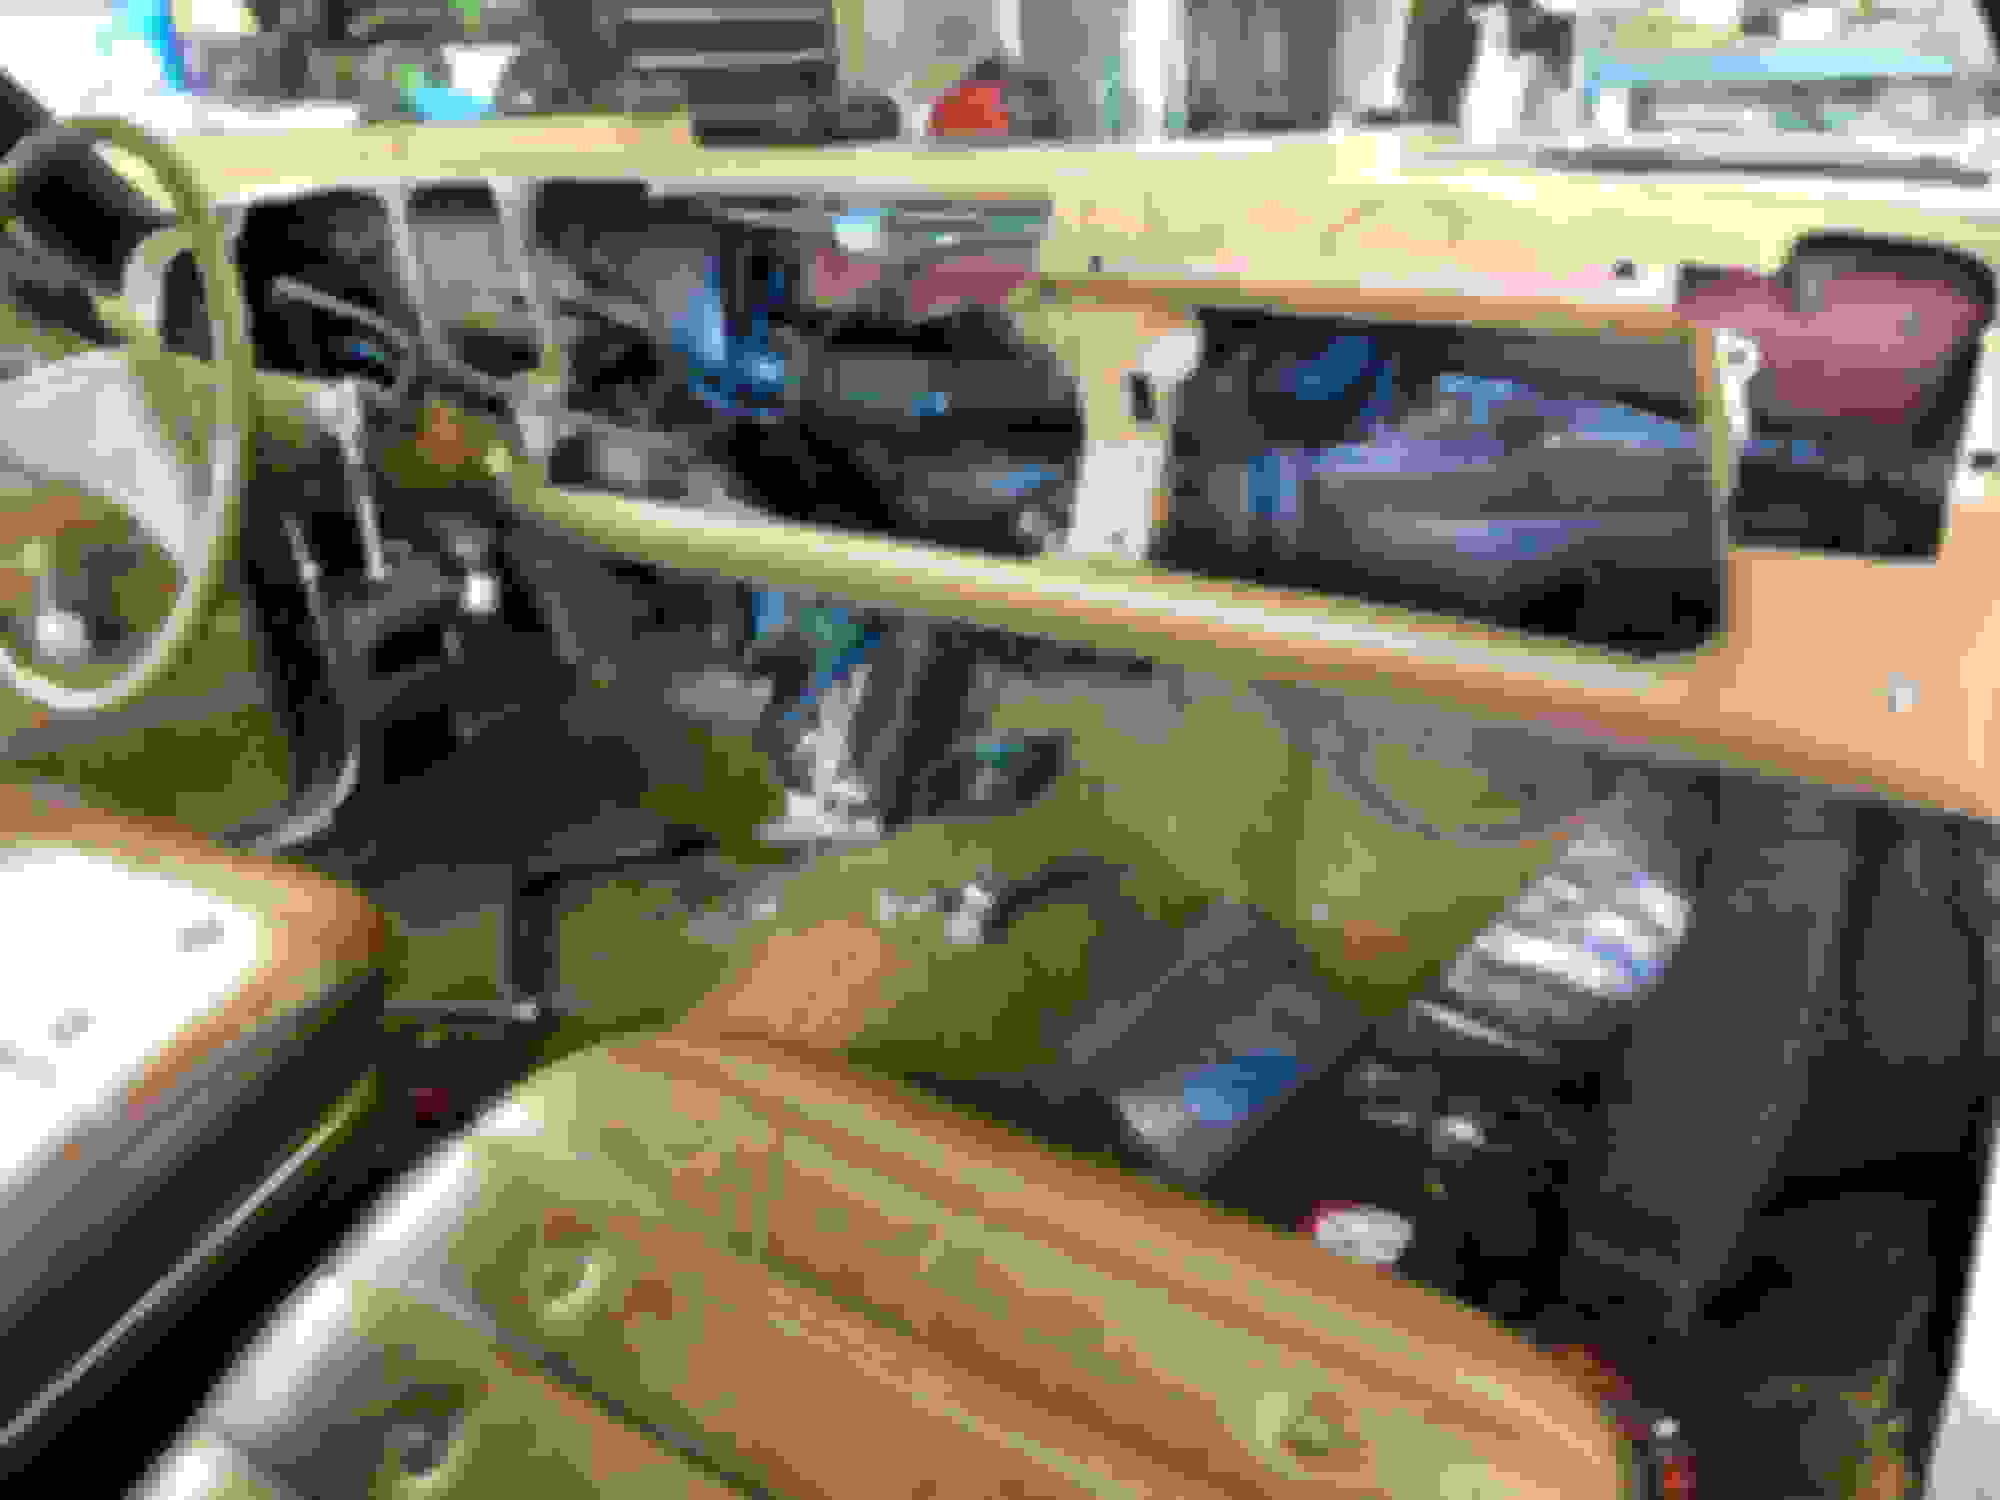
Well I made great progress today ! Wife had the day off so she took the kids and they went with the in-laws for their first ever flea market adventure. This translated into a free day for me !! So what did I do? I tore out the dash and started the color conversion...here is some of the tear down. I have business travel this week so I wont be able to do anymore till this weekend.
** I’m also thrilled that there is ZERO rust under the dash - its super clean !!
Dash is out - wasn’t too bad Tang N Bag as they say
More to come
Brian
Last edited by Brians1; January 13th, 2019 at 03:46 PM.
More great progress - Dash is painted and it looks great !! I need to do more but I wanted to post these. Also I got the all clear from the wife to do my VIntage Air conversion since the dash is out Woo Hoo !!
Also I think I’m going to have a company come out and take my windshield out so I can properly paint the dash
Location: Edmonton, AB. And "I am Can 'eh' jun - eh"
Posts: 24,525
I'm always amazed by the number of guys looking for color specific dash and dash pads. Then one of them gets painted black..... Nice detail work with the Molotow.
 November 3rd, 2018, 05:39 AM


 Nice detail work with the Molotow.


