When you click on links to various merchants on this site and make a purchase, this can result in this site earning a commission. Affiliate programs and affiliations include, but are not limited to, the eBay Partner Network.
I�ve never heard any issues with the Fusick grills. Make sure to get 442 as opposed to cutlass
Bingo! - Just looked in the Fusick catalog and the pic of their '69 442 grills shows black on the horizontal cross bars - but also has the argent silver on the border areas. These are Fusick's own manufacture so they are probably pretty darn nice.
I'm enjoying following your progress. I'm in the final stages of restoring my '69 442 convertible and purchased the Fusick reproduction grilles about a year ago only due to the fact that my originals had a couple of relatively minor cracks in the usual places. As far as quality goes, I would rate the combined set a B+. The grilles themselves were very nice but there were sink marks (from the injection molding tooling) in a few places that the originals don't have and when everything was assembled (reproduction headlight housings), there was some additional waviness between the multiple parts that even the 50 year old originals don't have. As far as originality, I'd give them a B only because the headlight housings had very obvious ejection pin marks on the black face. Here again, not present on the 50 year old originals. So, I ended up returning the grille set and repairing/repainting the originals and am glad I did. To me, the reproductions are easily spotted even in photographs due to some tell tale signs. OK for a driver but I think the originals are better, if you can save them.
One more comment regarding the fuel sending unit conversation; I also debated whether or not to replace the original with a reproduction unit when I had the tank out and everything disassembled. The original had always worked flawlessly so I figured if it ain't broke... Within 2 months of having everything back together the fuel gage stopped working. Turned out to be the original sending unit. I guess it just didn't like being disturbed after 50 years. My only point is that even though some of our components continue to work, there can be some delicate parts that finally give way after 50 years and then being disrupted so, in some cases, it only makes sense to rebuild or replace. I don't remember which one I went with (most likely from Fusick) but it's worked fine since I installed it. Calibration is a little off but nothing I can't live with. Good luck in the home stretch.
Patton and acavagnaro, thanks for your replies.
The primary problem with my original grills is some of the plastic material where at the mounting holes is broken away. My original headlight housings/bezels are good.
I did end up ordering just the grills from Fusick, who informed me they do not offer black grills currently - the color is all silver (argent).
Here's my plan:
-- Verify with my restorer if he can repair the original grills
-- If the above doesn't work, verify if he can somehow address the injection-molding issue.
-- Whether either of the above can be done, the grills/housings/bezels will need to be painted.
Which brings me to this matter:
I've seen photos of some '69 H/O's and 442's where the interior areas of the grill/bezels are black and the perimeter edges are silver (argent), and others all black.
Which is correct?
Thanks.
acavagnaro,
Thanks for your helpful comments about the sending unit, and your practical experience.
During the time I was posting about this topic, my original sending unit was where I couldn't get to it. When I did find it I realized its condition was very poor.
Thus I ordered one, from Rock Auto. It looks like a pretty good unit. Will hopefully know if it works within a few weeks(?).
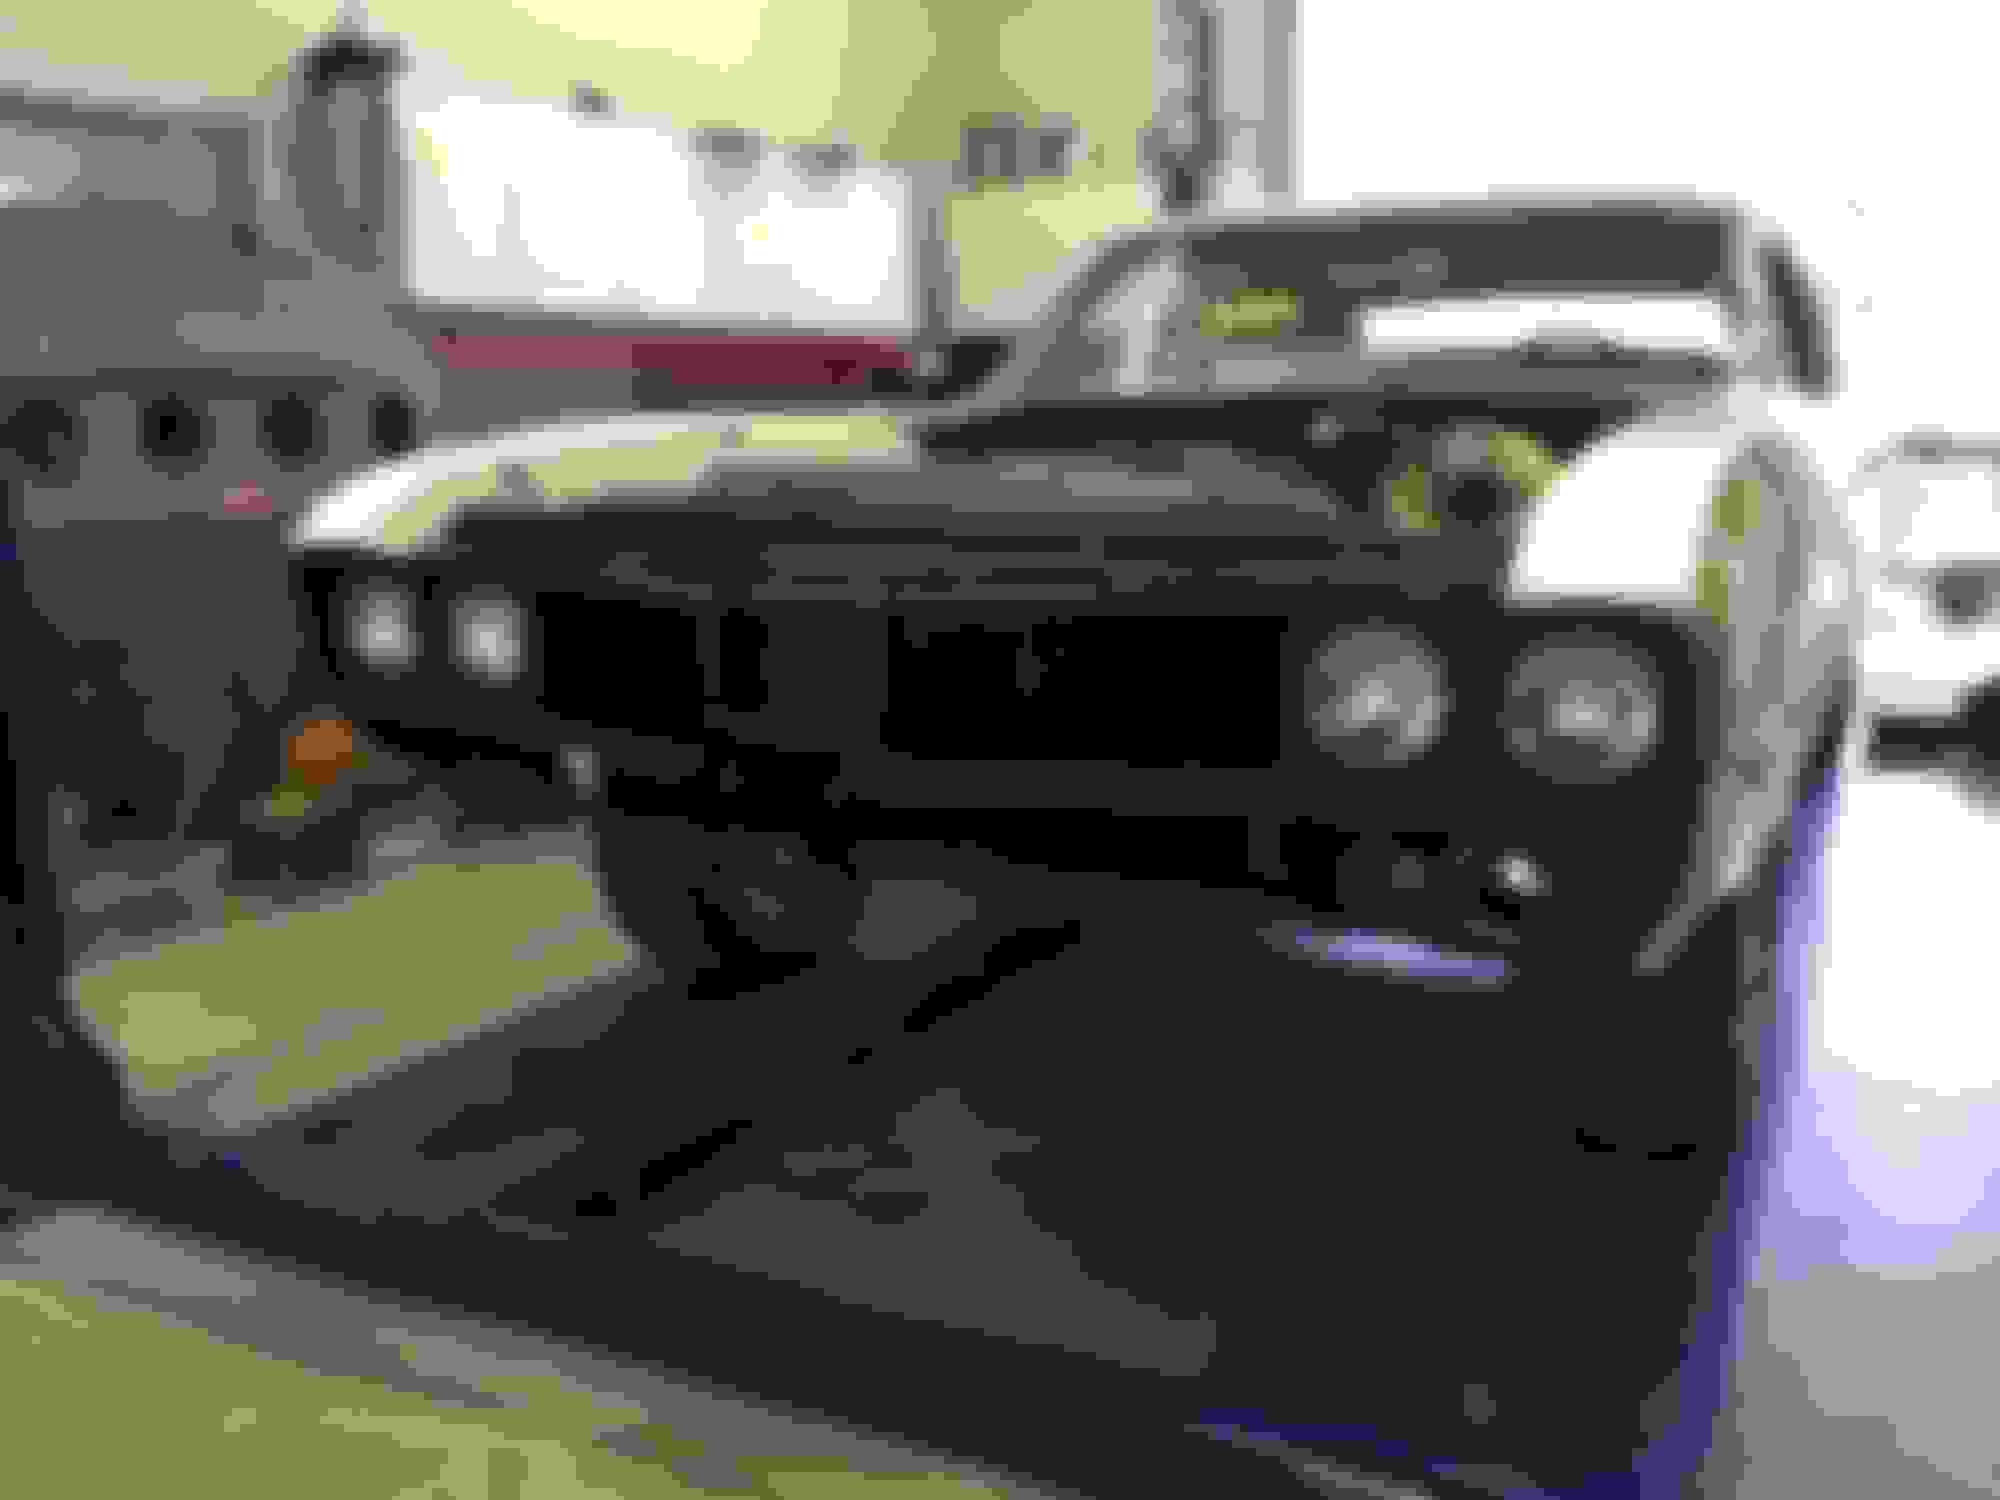
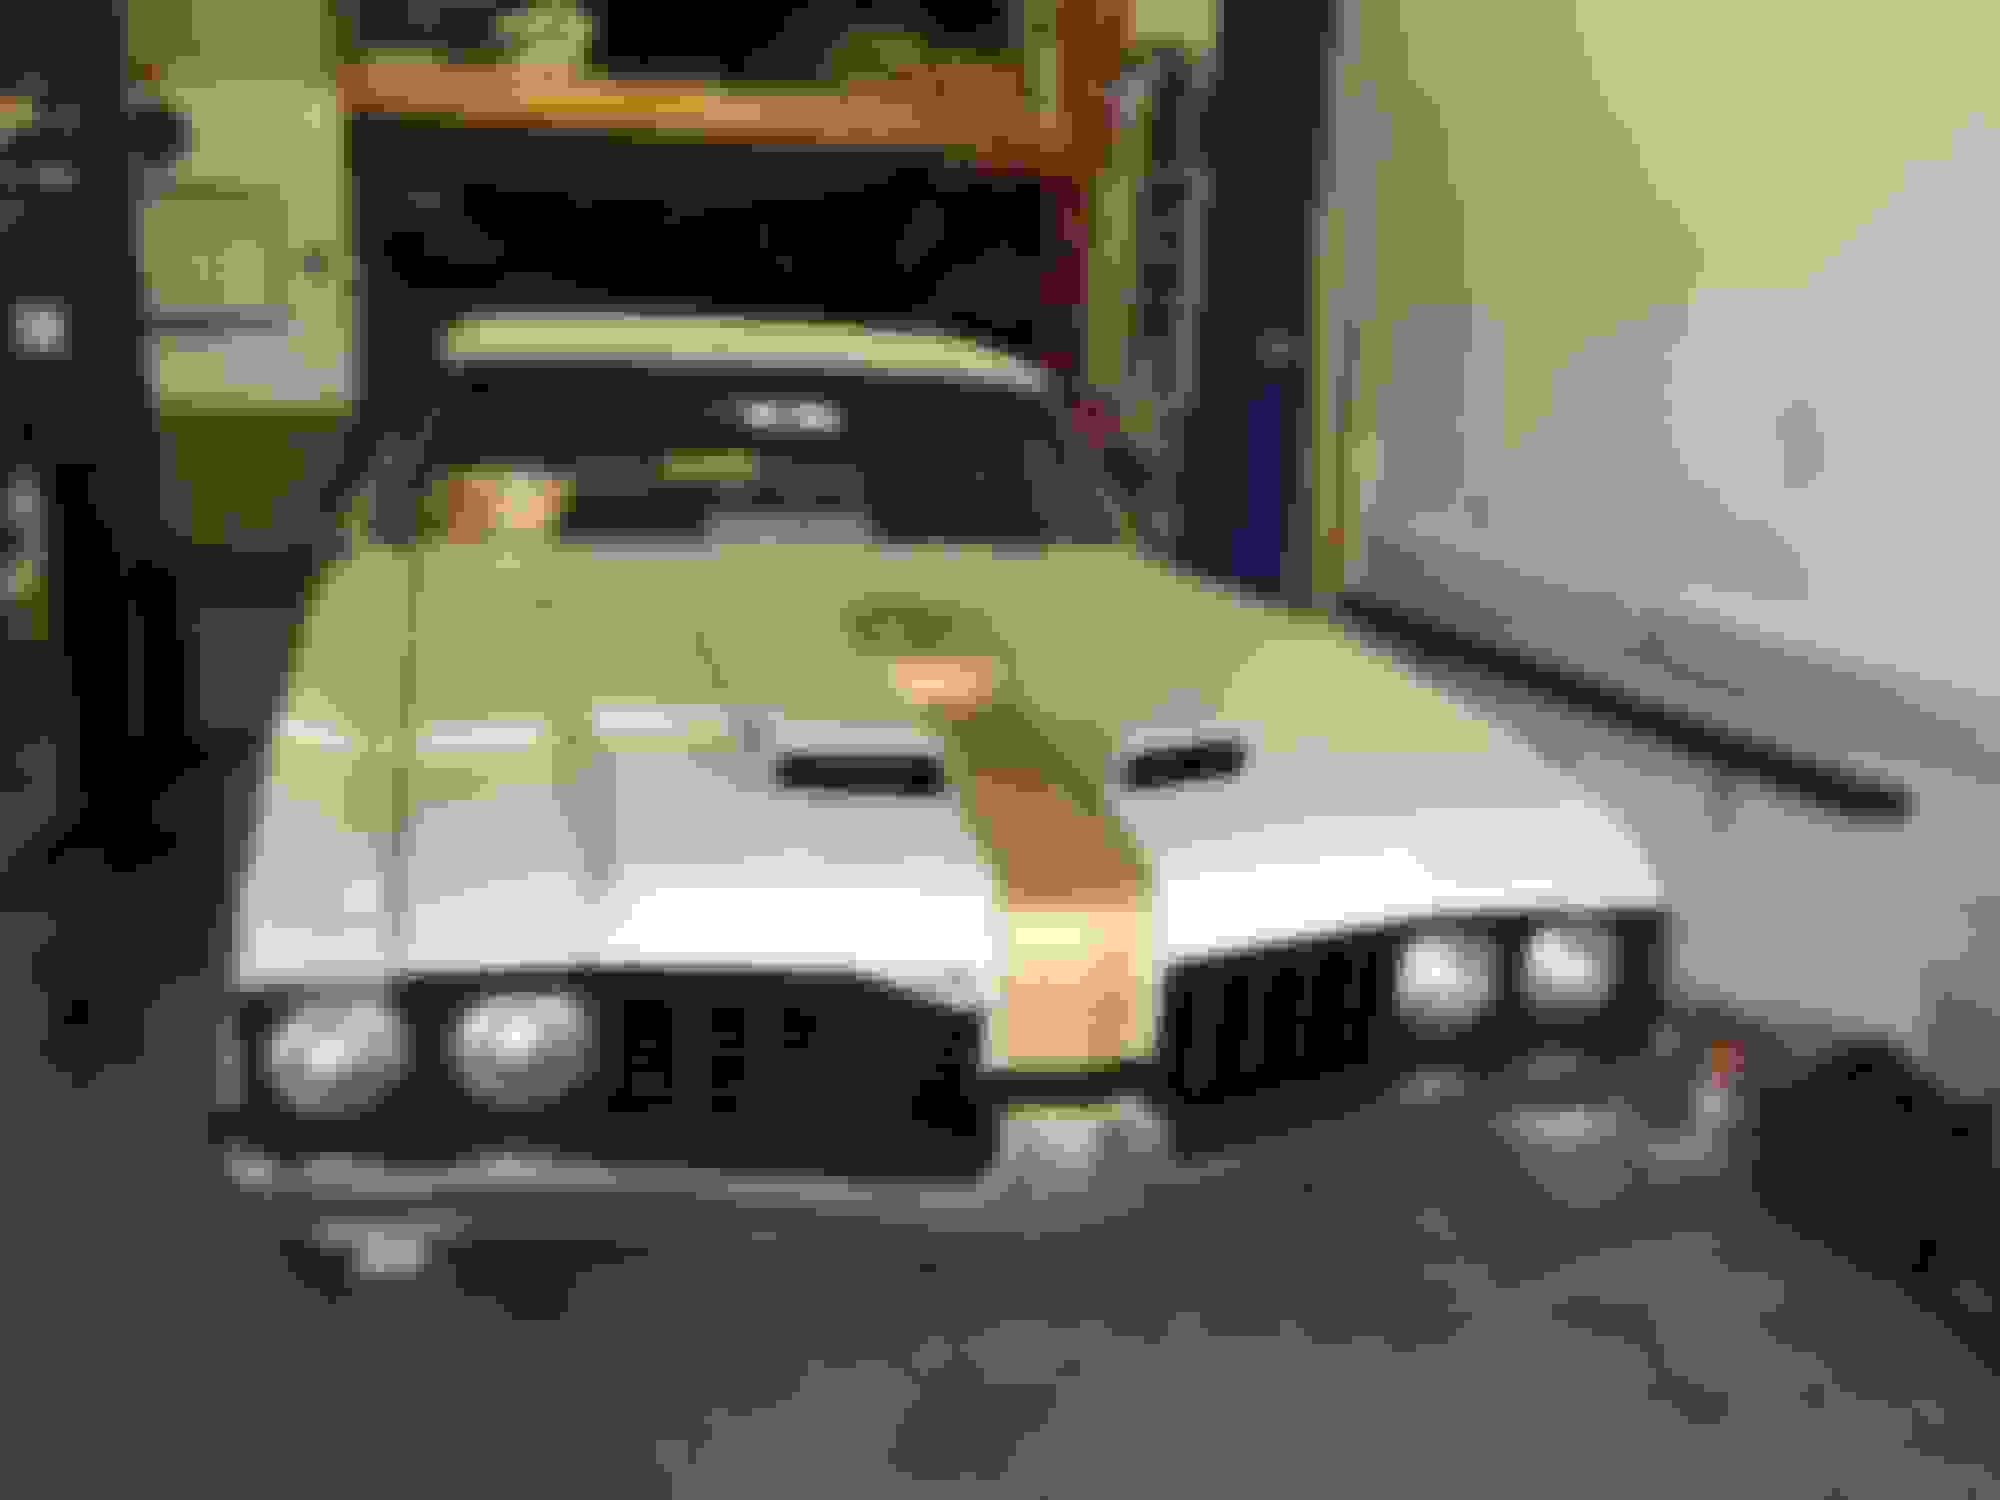
Unless your car is one of the first few converted at Demmer, it should be all black. The first few were masked off before paint to cover the silver. The grilles were painted at Demmer while on the car. The consensus is that the grilles were flat black. Here is a couple photos of my convertible.
Very interesting that Fusick told you the grilles won't come black. When I bought all the parts they were colored pretty much the same as the originals. Very low gloss black and argent silver in all the right places. Either way, you'd still have to repaint them to be correct for the H/O. Broken tabs and pins, especially at the mounting points, is very common for these. It's an expensive way to go but you may be able to use the Fusick pieces as donors and cut them up to repair your originals. Luckily, I still had the broken pieces of mine so I only had to get creative with some very strong glue to get them back together.
Posting pics of the damaged areas on my grills. Aside from what is shown, all remaining of the grills are good.
If I'm not mistaken, the damaged areas are on the outboard end of the grills and would be "concealed" behind the headlight housings(?).
acavagnaro,
Thanks for the tips/info. Will be interesting to see how physically similar the Fusick grills are with mine (without the damage, of course).
The mesh screen shown in the accompanying pic was secured to the underside of my hood over the forced air hole.
It measures 21" x 6".
I've not seen (nor actually noticed) such a screen in photos of other 69 H/O's. I may have not looked closely enough.
Has anyone else seen this, or variations of it?
Thanks.
Patton and acavagnaro, thanks for your replies.
The primary problem with my original grills is some of the plastic material where at the mounting holes is broken away. My original headlight housings/bezels are good.
I did end up ordering just the grills from Fusick, who informed me they do not offer black grills currently - the color is all silver (argent).
Here's my plan:
-- Verify with my restorer if he can repair the original grills
-- If the above doesn't work, verify if he can somehow address the injection-molding issue.
-- Whether either of the above can be done, the grills/housings/bezels will need to be painted.
Which brings me to this matter:
I've seen photos of some '69 H/O's and 442's where the interior areas of the grill/bezels are black and the perimeter edges are silver (argent), and others all black.
Which is correct?
Thanks.
In the past when I've tried to repair old plastic stuff where the stress points are, over time the repair doesn't hold up.
Very happy with Fusick repro grills, just paint them flat black What Demmer did during the conversion.. you won't be sorry....
just like they said in the Window Sticker supplement...
I would repair the grills.....since the area is hidden that presents the opportunity to add additional plastic material to "beef up" the tabs. You can cut and attach new or good used plastic to those areas and use any number of products for the adhesive.
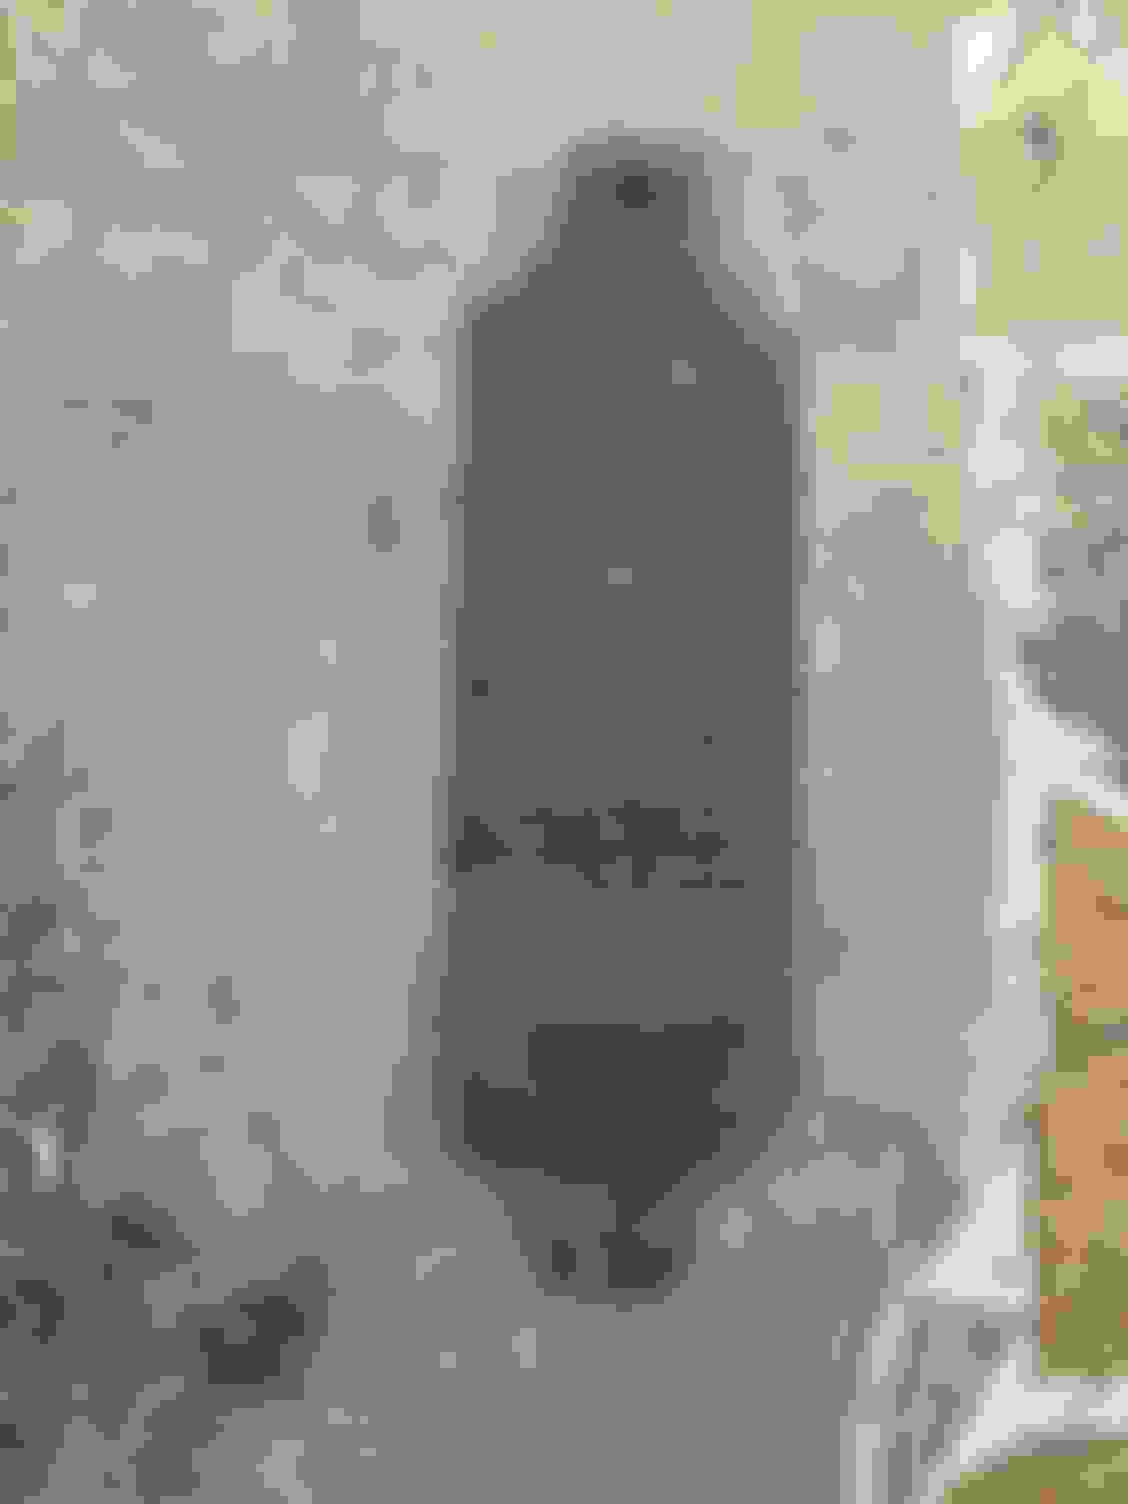
I'm hoping to obtain the dimensions of the rectangular stamps on the firewall, as shown in the attachment. They appear to be approx. 1.5" wide x 1" tall (?), but I'd like to be certain.
Would appreciate if a fellow CO member can help me with this. Thanks.
I believe the Hurst/Olds club has some stamps available for loan. I would suggest talking to Kurt Karch the 1969 H/O advisor. He can tell you what type and color paint matches the original. Beyond that, I do not know the exact dimensions.
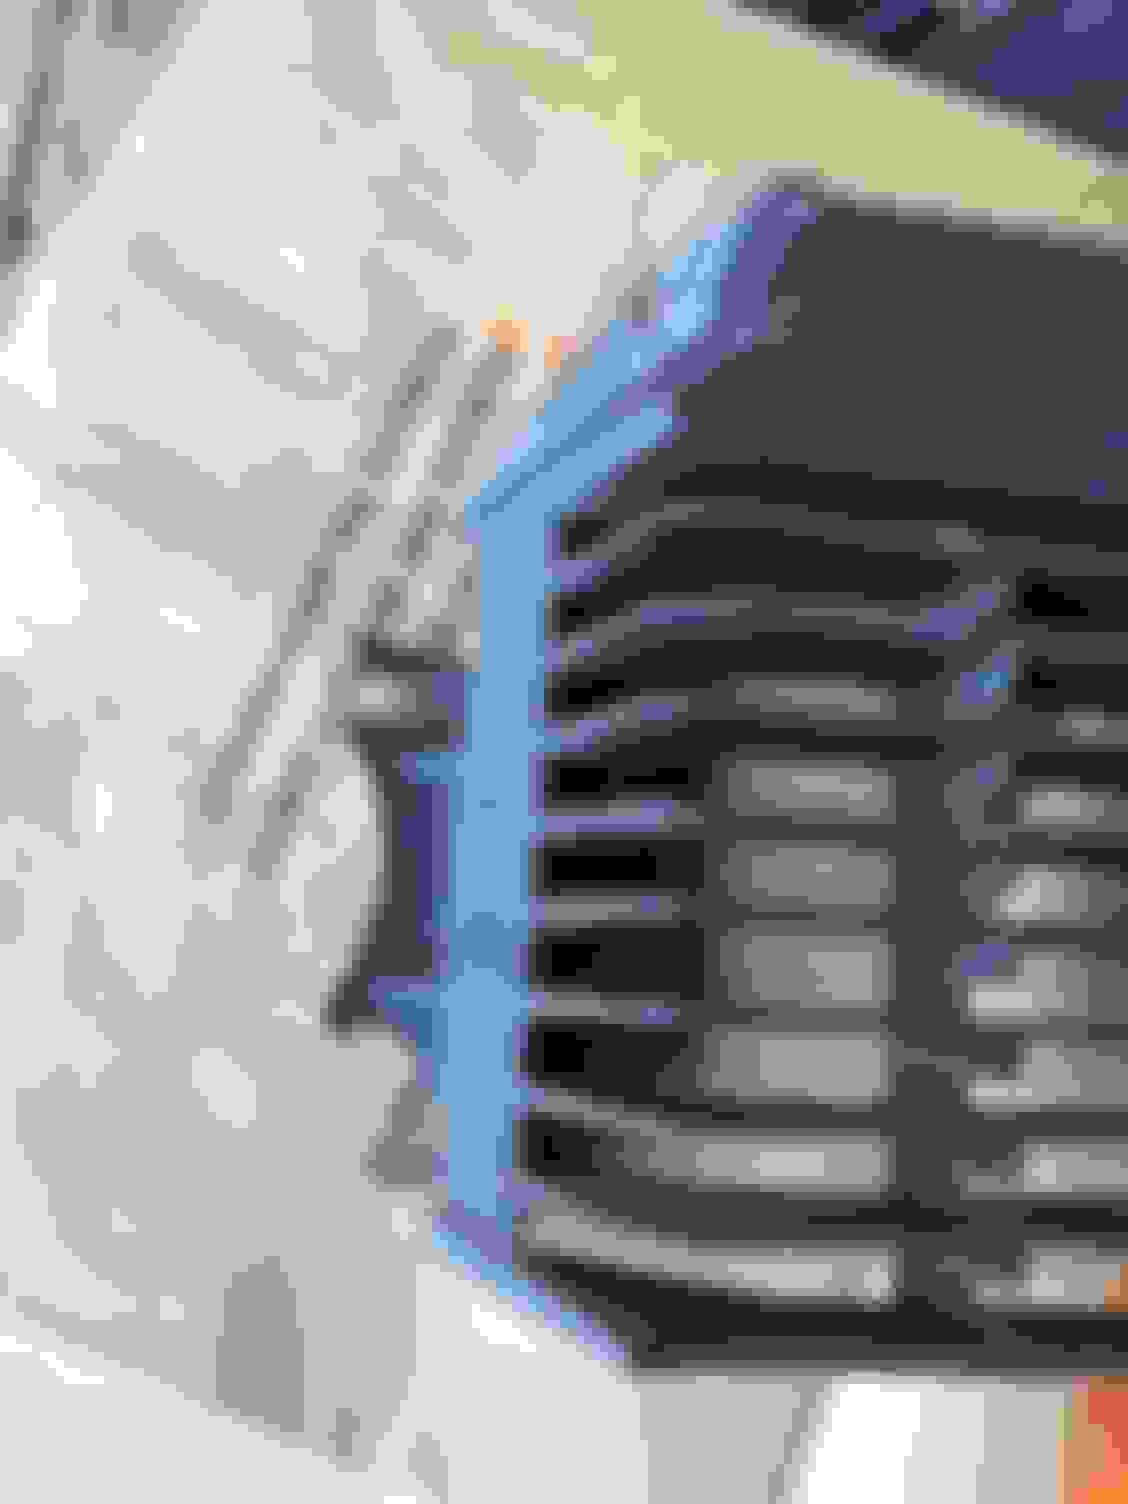
I've received/unpacked the grills from Fusick.
As Patton noted, the "interior" grill area is black and the perimeter "framing" is silver (argent), per the attached photo.
I apparently misunderstood the Fusick rep when I was ordering.
Apologies if my error has caused any confusion/inconvenience for CO members or potentially Fusick.
I've ordered/received a replacement foam donut for the top of the air cleaner. It's currently a straight strip of foam.
I'm looking for an effective adhesive to secure the ends of the strip together and then secure the donut to the top of the air cleaner cover.
Would any high-temp adhesive work?
Thanks.
Tom,
I tried two different adhesives with no luck. I ended up taking two sections of wire hanger (about 3" ea) and used them as "pins" by inserting in both ends of the foam and closing the gap. This process brings the ends together nicely and they are totally invisible.
Though I haven't posted a comment for a while, the '69 H/O project is progressing well.
Among other to-do's, I'm researching the correct paint for the exhaust manifolds.
I've found great pictures on the costpenn "The body stays on this one . . ." thread, per the attached image.
Should the color on the EM's on a '69 H/O be the same as on the '70 442?
Should the EM's be heat-coated before painting?
Thanks.
Well the originals were just bare cast iron. these look like Eastwoods Stainless Steel Exhuast paint, well over several years they are pretty rusty again. I see some ads for ceramic bare cast iron coating, I'd look into that and see whatothers are saying. the paint just doesn't hold up. also I barely use the car... surprised it got so rusty notso long after I did mine..
I've ordered/received a replacement foam donut for the top of the air cleaner. It's currently a straight strip of foam.
I'm looking for an effective adhesive to secure the ends of the strip together and then secure the donut to the top of the air cleaner cover.
Would any high-temp adhesive work?
Thanks.
FYI on the foam seal.... you will want to find one that has the 'coating' on the exterior, interior and the top of the seal. Most repro's I see recently only have the coating on the exterior with bare foam exposed on the top and interior of the seal.
Looks great of course Tom! I am sure you are getting anxious to get it out and rolling! I love it when a plan comes together! You will draw attention wherever you go in it I will be embarrassed by mine!
FYI on the foam seal.... you will want to find one that has the 'coating' on the exterior, interior and the top of the seal. Most repro's I see recently only have the coating on the exterior with bare foam exposed on the top and interior of the seal.
so who makes one that has this coating???? Please identify seller if you can
I ordered a foam strip from Fusick. It has "coating" on one side only. I'm going to have the coating positioned toward the outside when rolled and adhered to the air cleaner cover.
My question is if coating were applied to more than just the one side, how would/could the strip be rolled without crimping?
If the foam were pre-formed into its intended-use shape before the coating were applied perhaps multiple surface coating could work.
I have the Fusick foam on mine as well. I've never seen one available that has the coating on more than one side...???
Posting a couple pics of the pin-striping, which was done yesterday.
Very happy with the results.
Would recommend the pin-striper to anyone. Efficient, no-nonsense guy. Great value.
I've seen his work on other cars ('79 Cutlass Supreme, '93 Cadillac Seville, 2010 Buick Regal). Fantastic.
(If your eyes start to focus on the exhaust trumpets, they're not positioned/welded in place yet.)
It looks showroom new Tom. I actually saw one in the showroom of Pete Findlay Olds in Las Vegas. My dad was never a Cutlass fan so even the 442 and variants never got him excited, but if I would have had access to $4000, I would still be driving it today!
I got all of the top work done in disconnecting the 3.8. I had a few words for GM engineers while using both metric and sae socket sizes on the same piece. It has far more metric than sae and I recall why I became a critic rather than a fan of GM. That had to be the stupidest engine for a GBody car. There was almost 3 feet from the fan to the radiator. SBO 350 will fill it much better. I finally got the 7111 from Jegs, but now the carb is lost/late. I cannot get a break! I will do nothing more until next week. I have like 6 consecutive days off and it is too hot to work out there long!
 March 27th, 2019, 12:42 PM


 I will be embarrassed by mine!