When you click on links to various merchants on this site and make a purchase, this can result in this site earning a commission. Affiliate programs and affiliations include, but are not limited to, the eBay Partner Network.
Good afternoon Oldsmobile world! I'm getting ready to replace the door seals, roof rail seals and quarter window seals on my 72 Cutlass Supreme. It looks pretty straightforward but I was just asking for any help or advice that may make it easier.
Location: Edmonton, AB. And "I am Can 'eh' jun - eh"
Posts: 24,525
Work carefully. It's not that bad. The OEM stuff is also glued in place so you'll have to use something like goo gone to dissolve the old glue after you rip out the weatherseal. Keep your channels clean and use the recommended sealant (black goop) sparingly when installing the new rubber.
The quarter window seals are a bit of a PITA to get off. Works best if someone holds the window while you pull down at the bottom to remove them. Mine were very difficult to get out. When installing the new ones, dip them in soapy water - they'll slide into the chrome channel really easy. Then just wait for the water to dry and they're good.
Hey Allan when you say black goop are you talking about black RTV? Also, do the new seals have an adhesive already applied?
Allan might be referring to this 3m black weatherstrip adhesive I used this several years ago w no issues its runnier than rtv tho
Yea, I just saw this in a how to video on You Tube. The guy also said something about roughing up the surface for the adhesive to stick better...I guess there's a mold release compound that the adhesive won't stick to...is that right? My seals are made by Metro Super soft if that helps. Also, in another video they were replacing the quarter window seal on a 68 Impala and there was what they called a U seal that goes right under the quarter window seal where the door closes. Is that seal existant on a 72 Cutlass Supreme? And finally, how much of a factor does heat and humidity play in a job like this? As I said in my intro post, the summers in SE VA can be pretty brutal sometimes and I dunno how that will affect the successful completion of my endeavor.
I just cleaned the mounting areas of dirt and debris applied the adhesive and installed the weatherstrip, the adhesive once dried is pretty sturdy I haven't seen any lifting or other issues
Location: Edmonton, AB. And "I am Can 'eh' jun - eh"
Posts: 24,525
Originally Posted by RetroRanger
Allan might be referring to this 3m black weatherstrip adhesive I used this several years ago w no issues its runnier than rtv tho
Ding ding ding - winner in this circle!! Thanks Retro
And yes, there could be some release agent on the weather stripping but I doubt enough to make any difference. FWIW I don't think factory workers back in the day spent time wiping down weatherseal before installing it. This 3M stuff is pretty good. You don't need a whole lot - remember it's going to self spread under the weather seal so you don't want to put large gobs in there. Remember the old Bry-cream commercials? A little dab 'l do ya.
Don't get it on your fingers when you're playing with it or you'll need a solvent to remove it.
Its a contact cement, you actually have to apply the adhesive to both the weatherstrip and area your sticking it to.
Directions: http://images.myautoproducts.com/ima...M-8011_TDS.pdf
Directions for Use Surfaces to be bonded must be cleaned to remove dust, dirt, grease, oil etc., to obtain best results. 3M™ General Purpose Adhesive Cleaner (PN's 08984, 08986, or 08987) can be used to remove Apply a thin, even coat of adhesive to each surface and allow to dry until it becomes quite tacky. Wetter bonds could be made with porous substrates. Press surfaces together to insure intimate contact. Excess adhesive can be cleaned off with 3M™ General Purpose Adhesive Cleaner. * If 'Directions for Use' reference P.N.'s 08984, 08986, or 08987, please read. Federal and local air quality regulations may regulate or prohibit the use of surface preparation and cleanup solvents based on VOC content. Consult your local and Federal air quality regulations for information. When using solvents, use in a well ventilated area. Extinguish all sources of ignition in the work area and observe precautionary measures for handling these materials. Refer to product label and MSDS for P.N. 8984, 8986, or 8987 for detailed precautionary information.
Location: Edmonton, AB. And "I am Can 'eh' jun - eh"
Posts: 24,525
Eric Eric Eric When do guys read or follow instructions???
I understand about the contact cement part but I don't follow or suggest that to anyone who's putting these rubber parts on. I like to have the ability to "massage" the piece if necessary. If used strictly as a contact cement that is lost. After all, when the cement cures on its own, it will form the adhesion that's needed anyway. This stuff is likely the same as what assembly line workers used (or very close to it) and I seriously doubt they waited for it to cure. I've used it before and I didn't - weather stripping stayed in place just fine.
Allan Allan Allan... I use it the way the directions state. If your putting stock weather stripping on, it only goes in one spot, no massaging required as the pins dictate the routing.
Its a contact cement, you actually have to apply the adhesive to both the weatherstrip and area your sticking it to.
Directions: http://images.myautoproducts.com/ima...M-8011_TDS.pdf
Directions for Use Surfaces to be bonded must be cleaned to remove dust, dirt, grease, oil etc., to obtain best results. 3M� General Purpose Adhesive Cleaner (PN's 08984, 08986, or 08987) can be used to remove Apply a thin, even coat of adhesive to each surface and allow to dry until it becomes quite tacky. Wetter bonds could be made with porous substrates. Press surfaces together to insure intimate contact. Excess adhesive can be cleaned off with 3M� General Purpose Adhesive Cleaner. * If 'Directions for Use' reference P.N.'s 08984, 08986, or 08987, please read. Federal and local air quality regulations may regulate or prohibit the use of surface preparation and cleanup solvents based on VOC content. Consult your local and Federal air quality regulations for information. When using solvents, use in a well ventilated area. Extinguish all sources of ignition in the work area and observe precautionary measures for handling these materials. Refer to product label and MSDS for P.N. 8984, 8986, or 8987 for detailed precautionary information.
That looks similar to armacell glue. I know I have picked it up at the local Home Depot . It comes in black and is used for armaflex pipe insulation. It works quite well as long as you do both surfaces and give it a few minutes to get tacky. The armacell stuff comes in a can with a brush applicator.
I have used the "yellow stuff" for years and years. Whats the difference with this "black stuff" ? I like to glue the valve cover gaskets to the underside of the valve covers and bolts in the holes. I have even glued headliner edges back down. It has many home uses too.
Location: Edmonton, AB. And "I am Can 'eh' jun - eh"
Posts: 24,525
Originally Posted by oldcutlass
Allan Allan Allan... I use it the way the directions state. If your putting stock weather stripping on, it only goes in one spot, no massaging required as the pins dictate the routing.
Hahahaha, some pieces of weather stripping don't have alignment pins as it's very rare to see 'stock' weatherstripping anymore. Hence my comment. Otherwise, sure thing.
Location: Edmonton, AB. And "I am Can 'eh' jun - eh"
Posts: 24,525
Originally Posted by 72455
Can I expect the old seals to come off as one strip?
Hahahahahah, what Eric said They will tear, especially since they're old. I suppose you could try to take a scraper underneath, but what's really the point if you're replacing them anyway? You will need a small scraper and glue dissolver to get the old glue out. Eric's suggestion of using WD 40 is a good one. Let it soak in and it will turn the old goop into a sludgy mess.
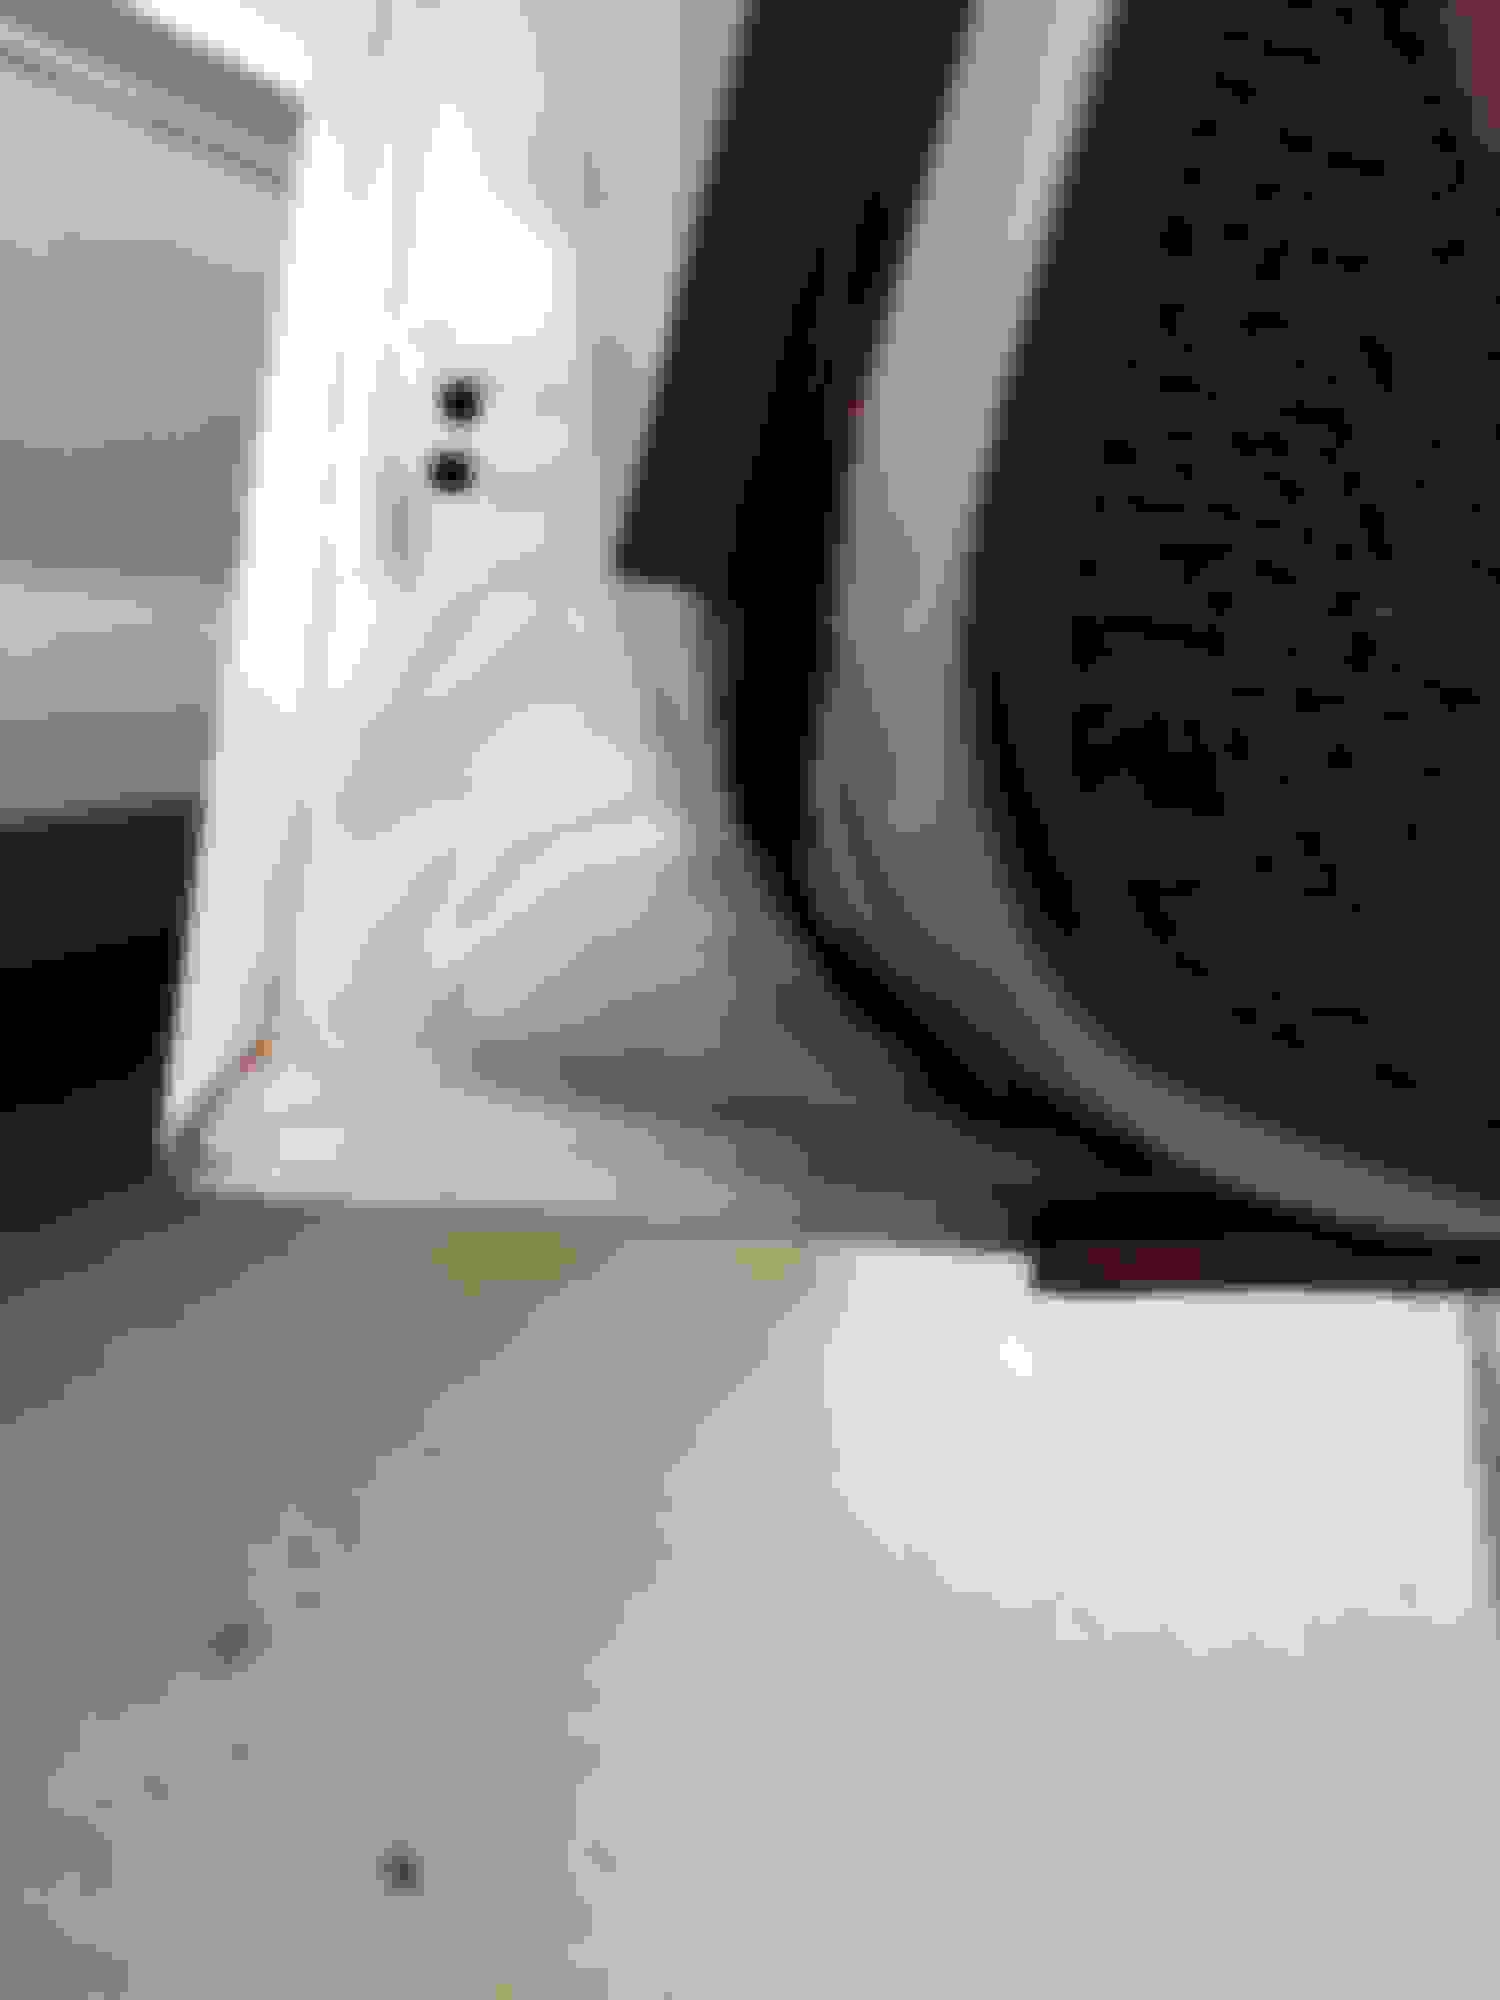
Update:. Got my new seals yesterday and started the project tonight. I was pleasantly surprised to see the door seals have the pins...didn't expect that😀
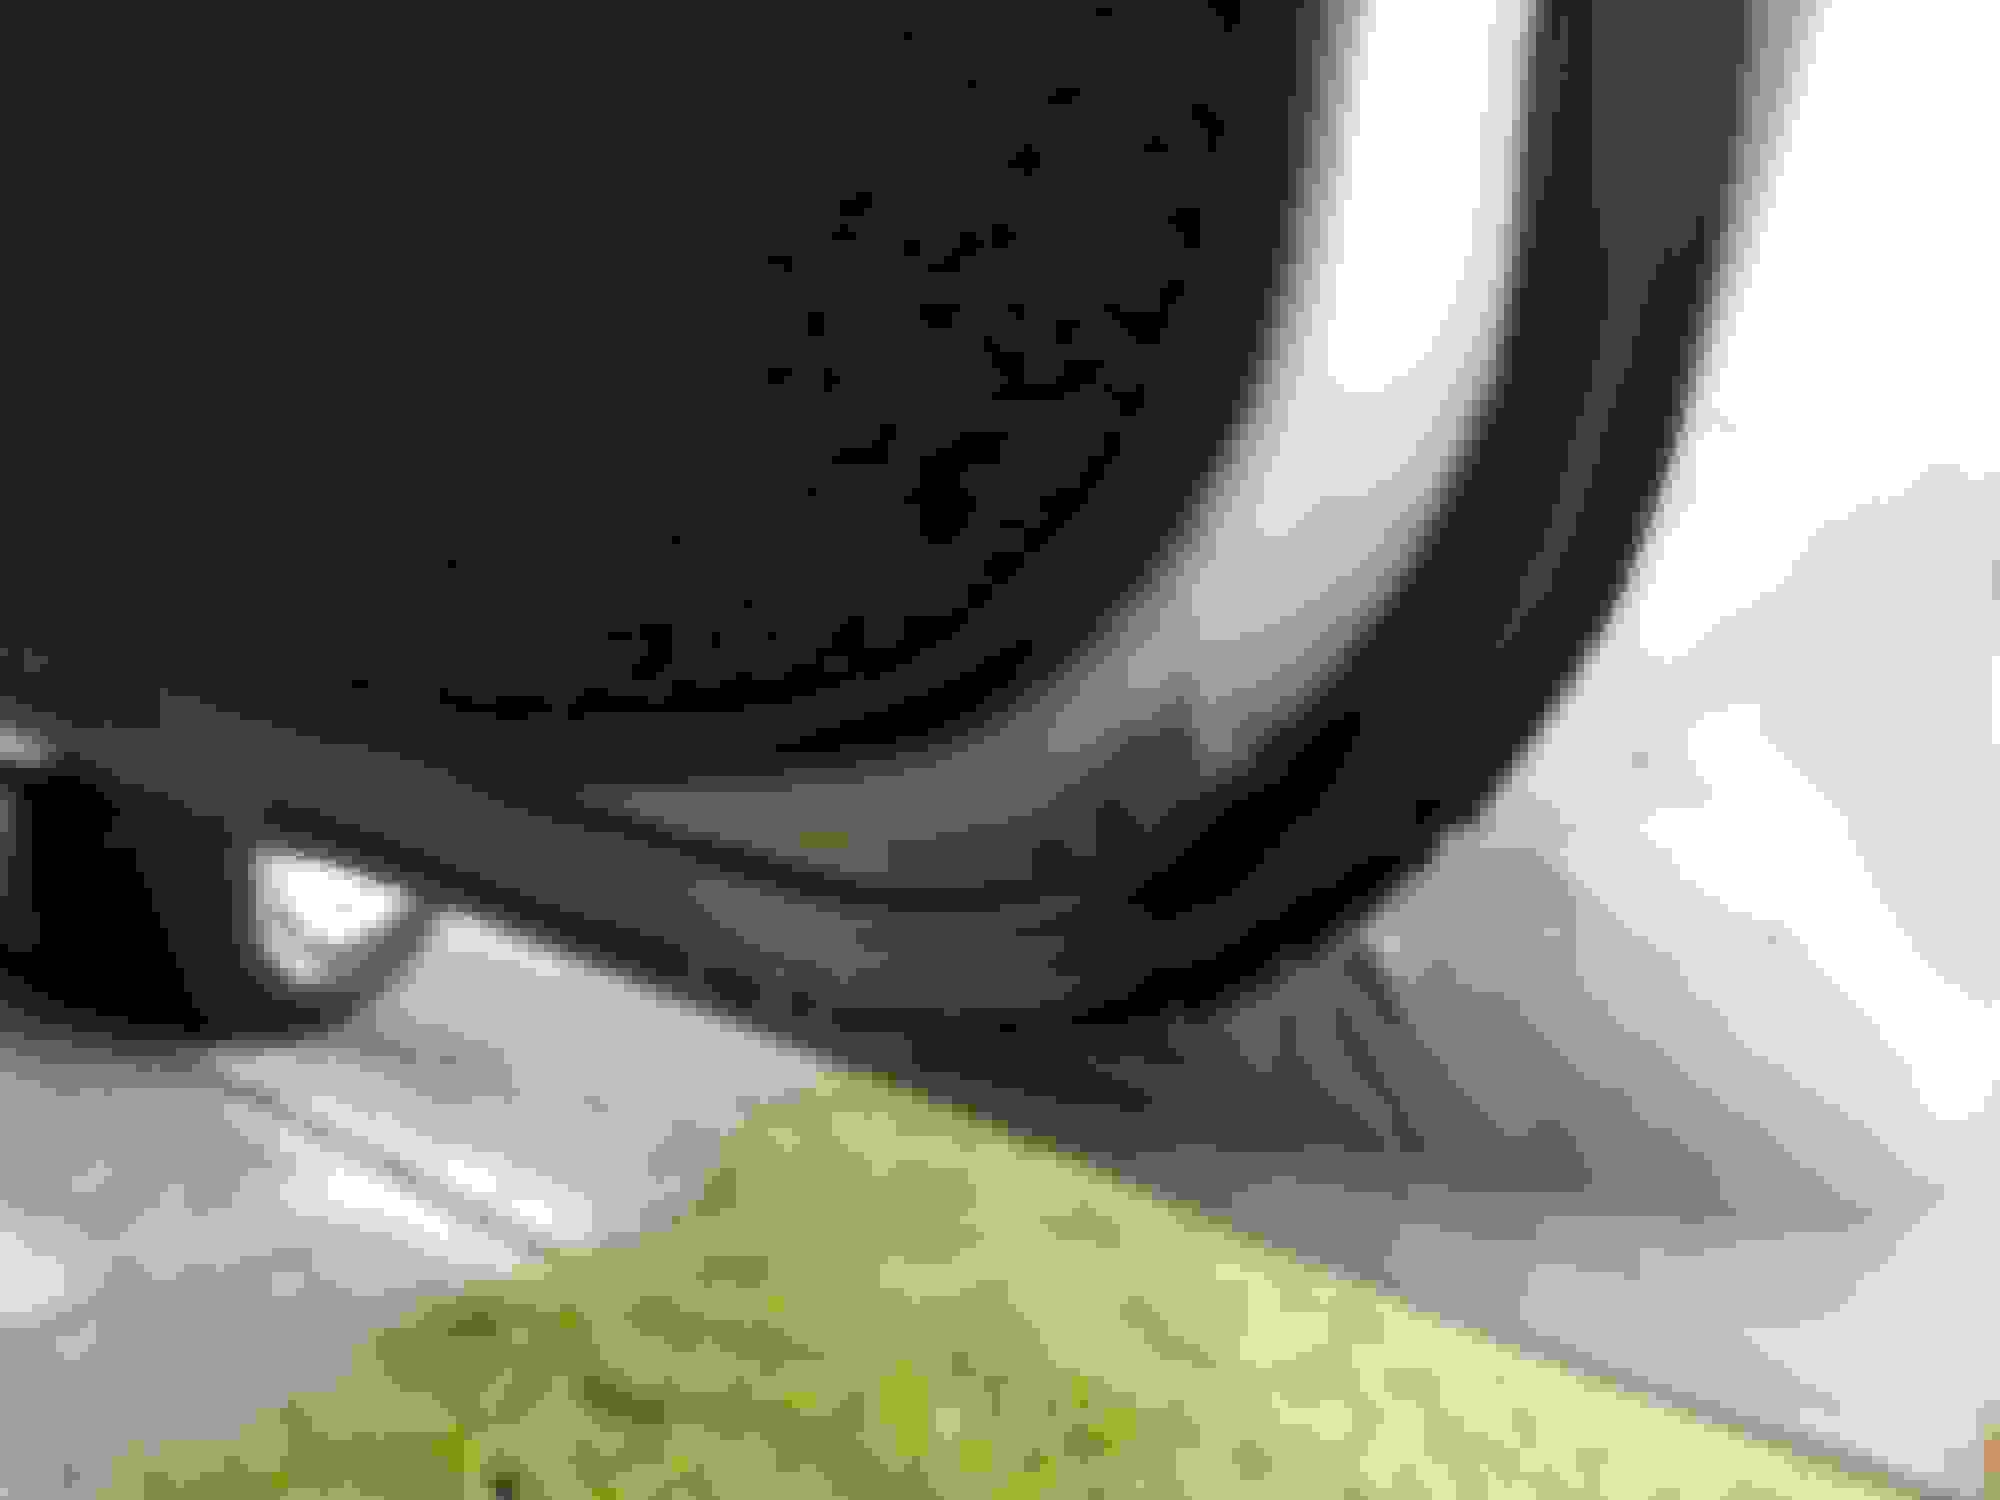
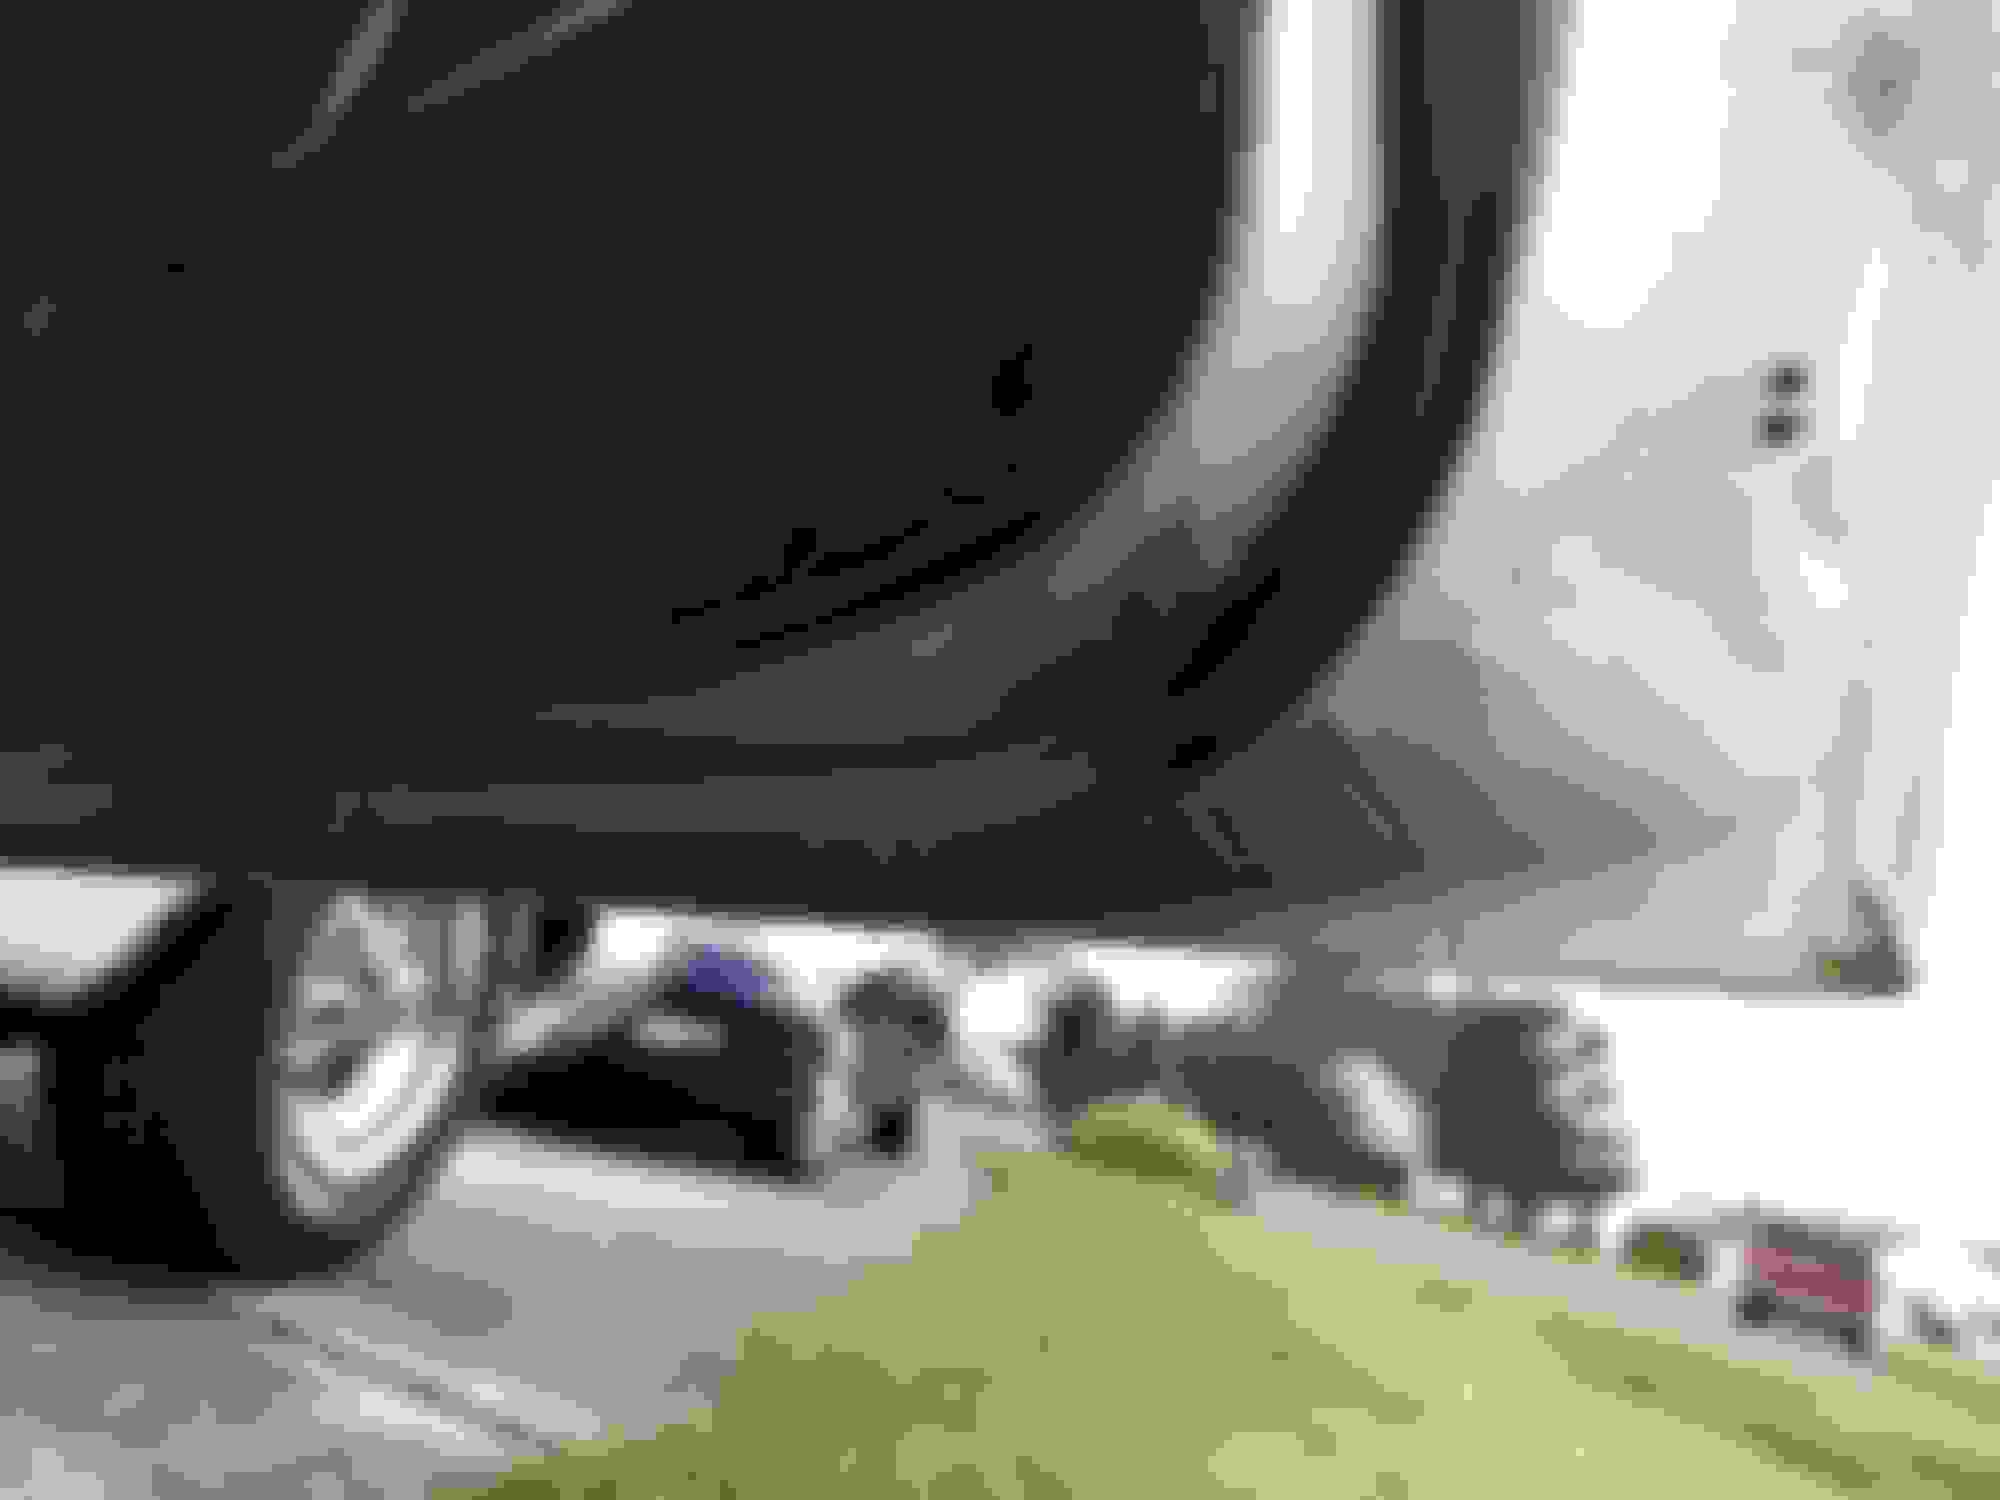
I removed and replaced the driver's side door seal and got another surprise when I saw there was no goop...only on the leading edge where it attaches to the front of the door. Installation was pretty smooth except for a small fitment issue on that same leading edge...just had to do some trimming to get the alignment right with the window operation. Other than that, good to go.
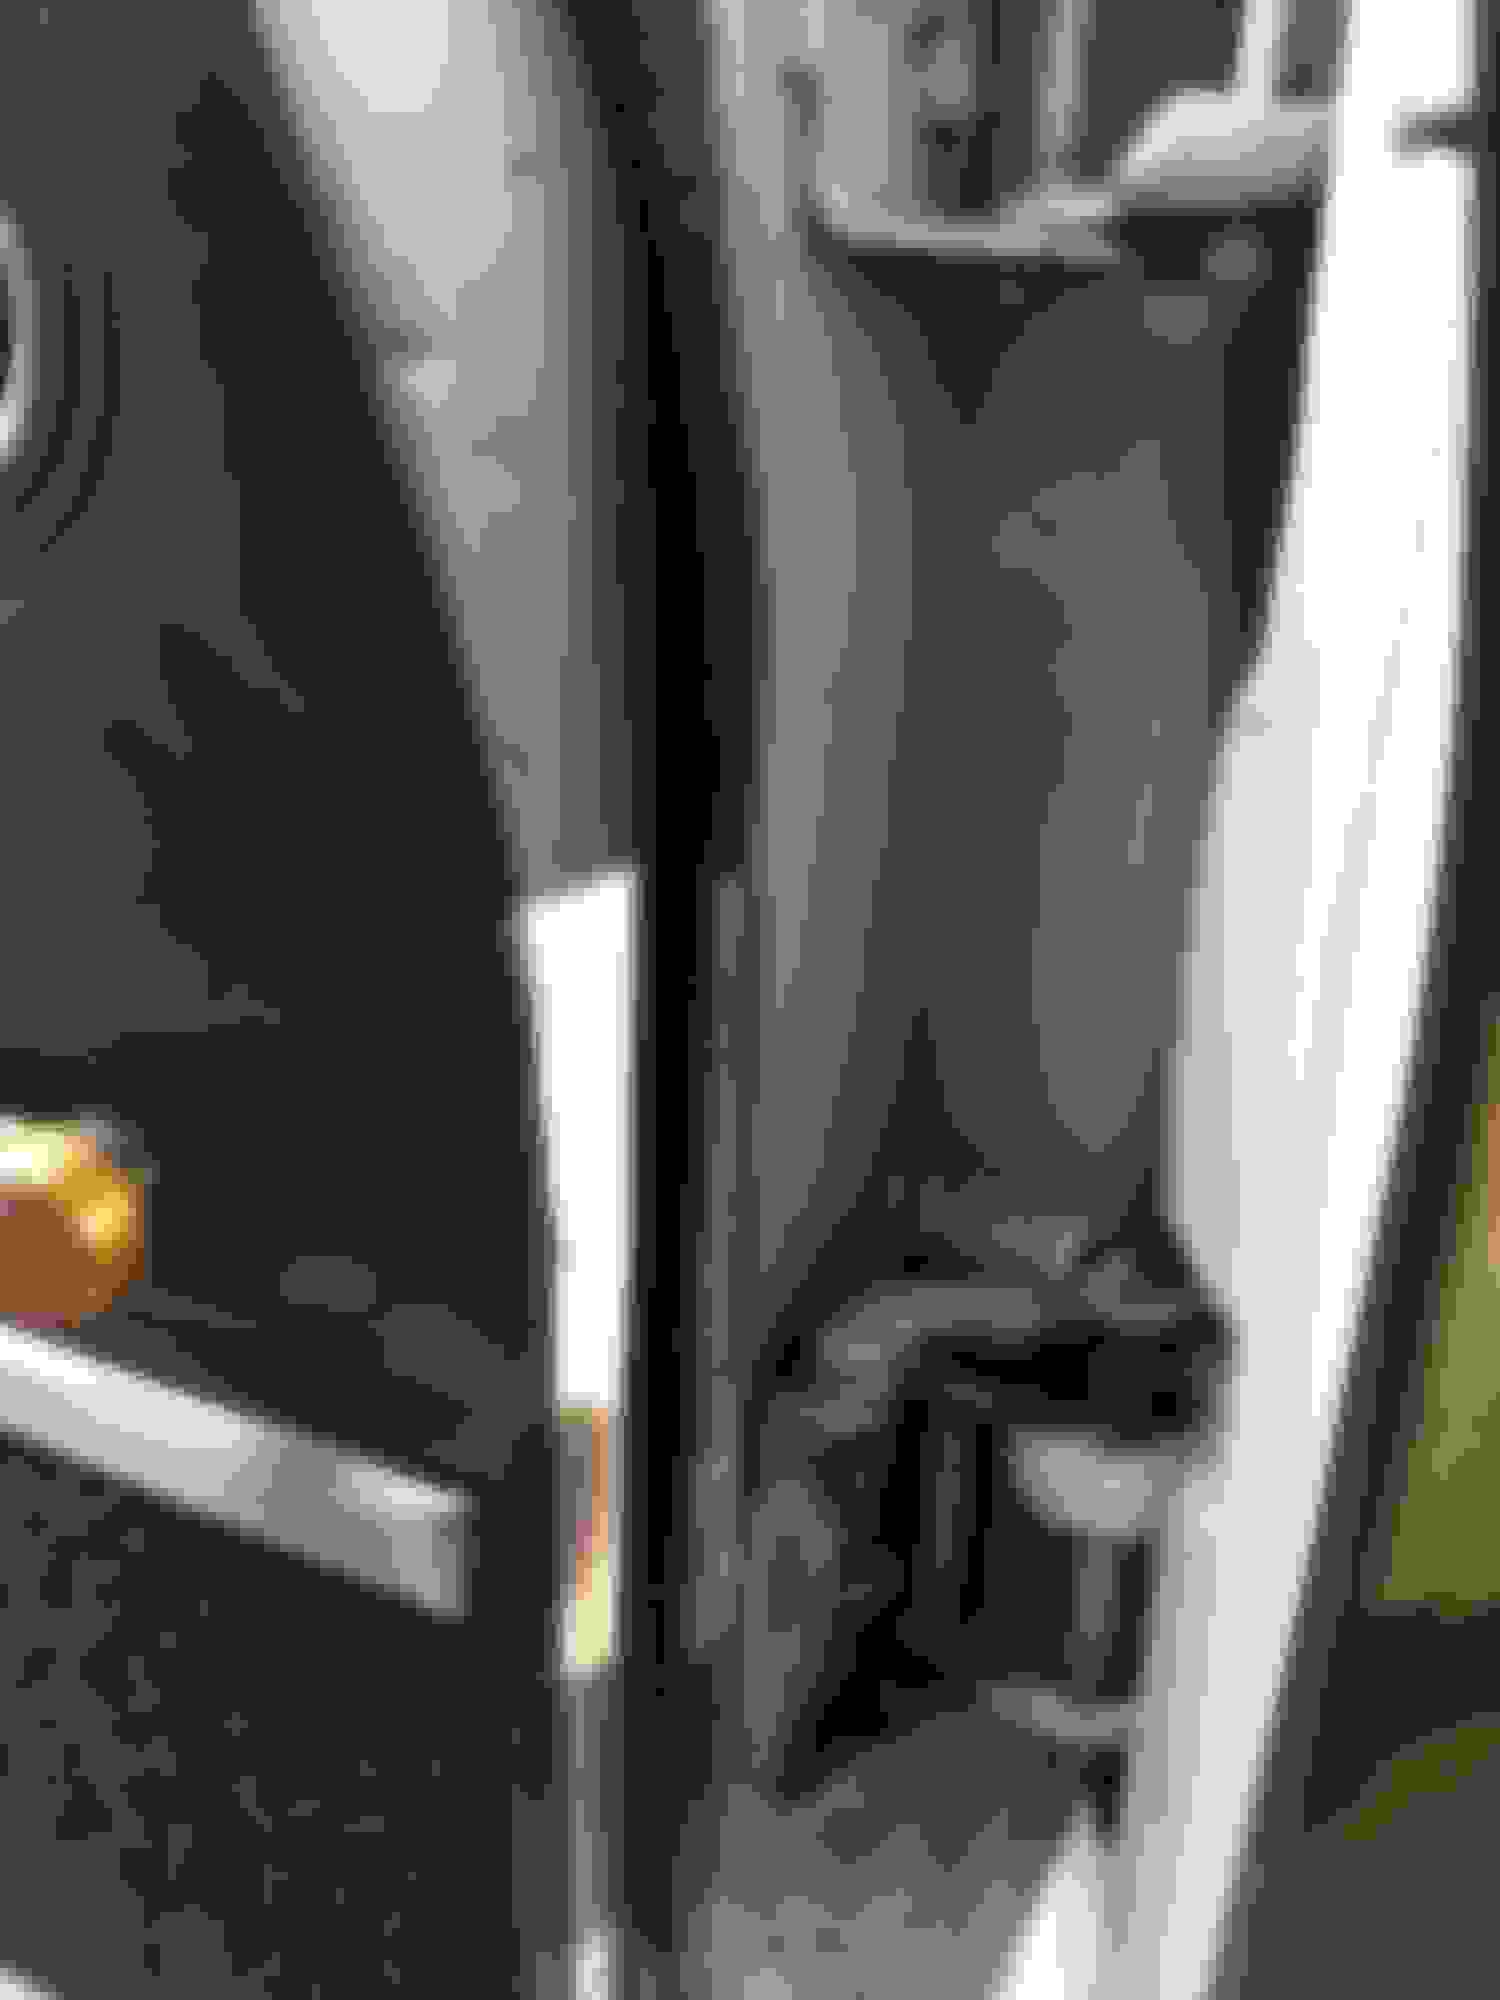
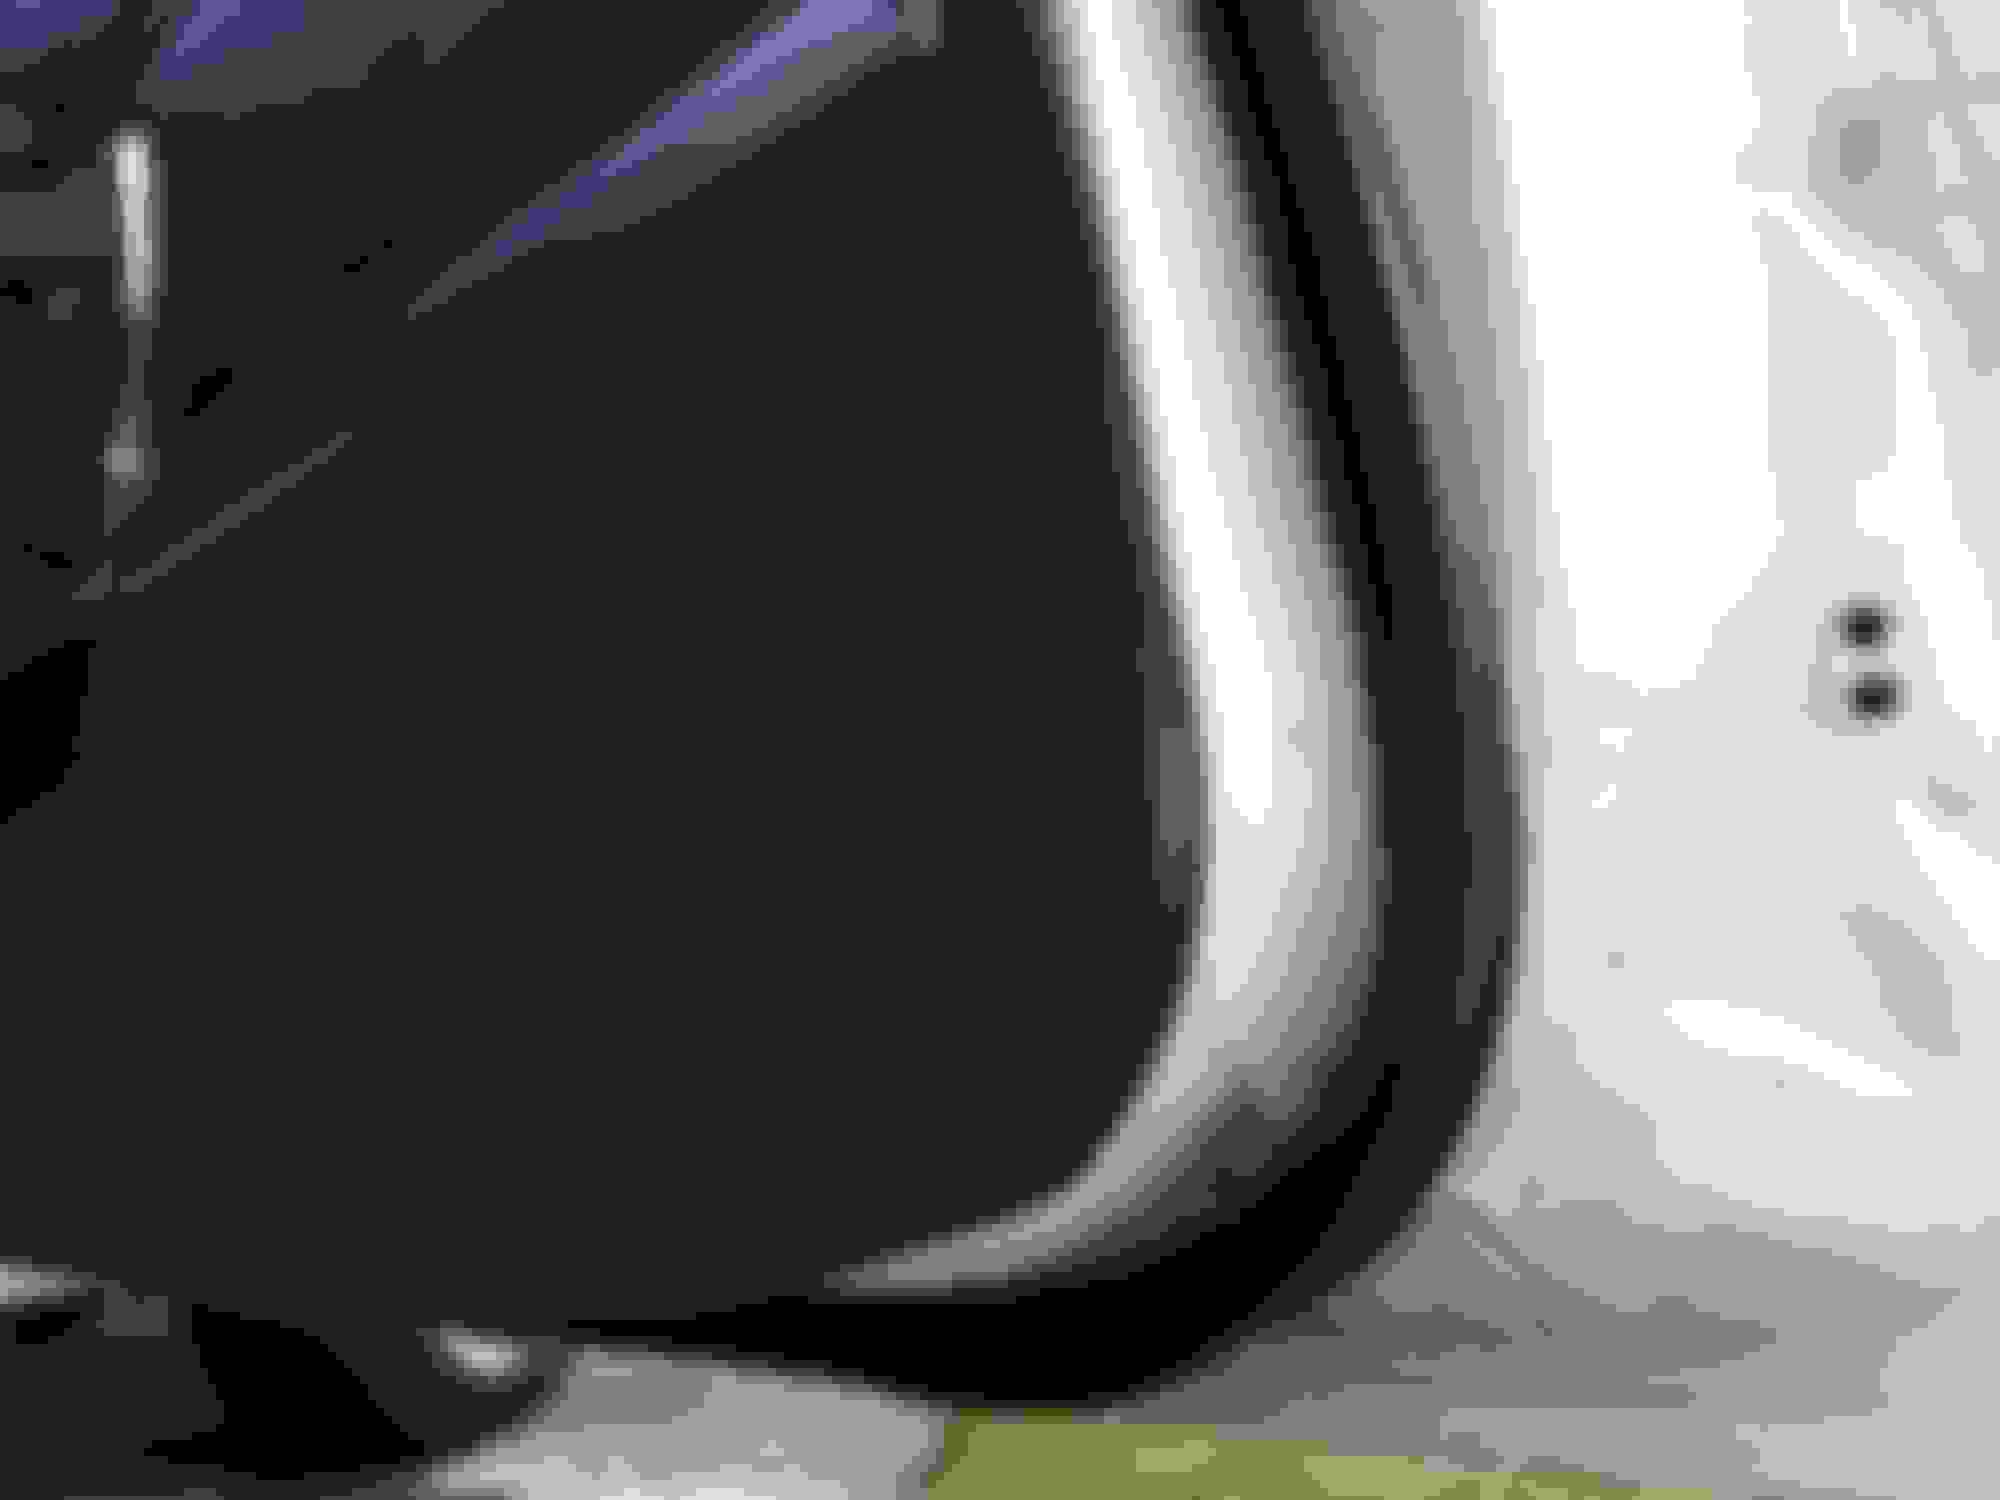
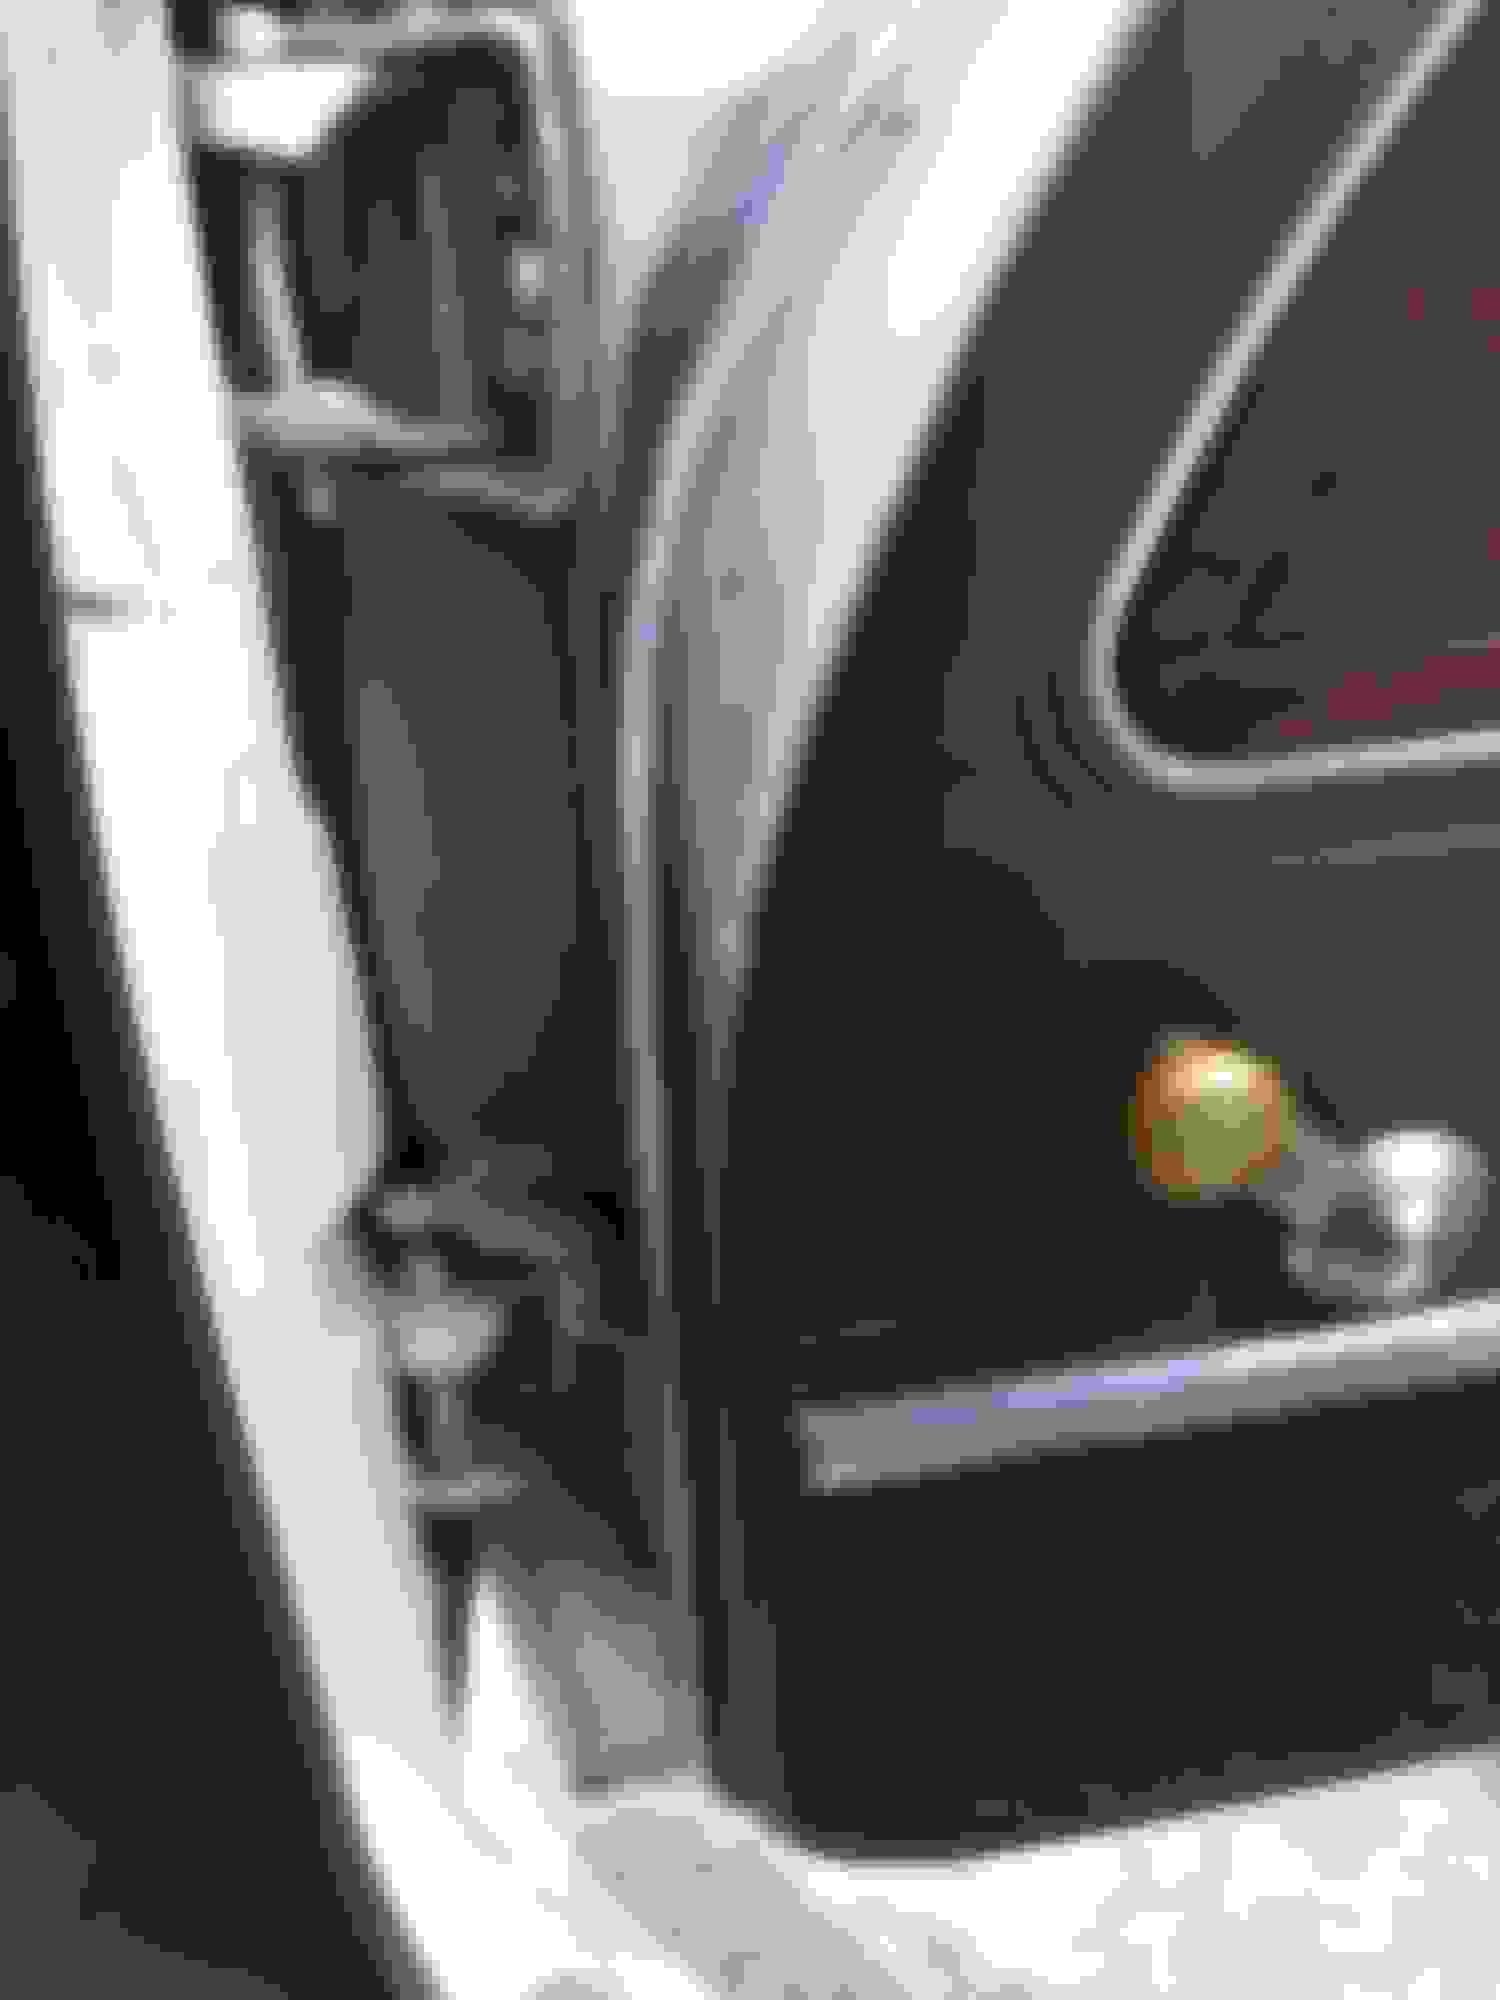
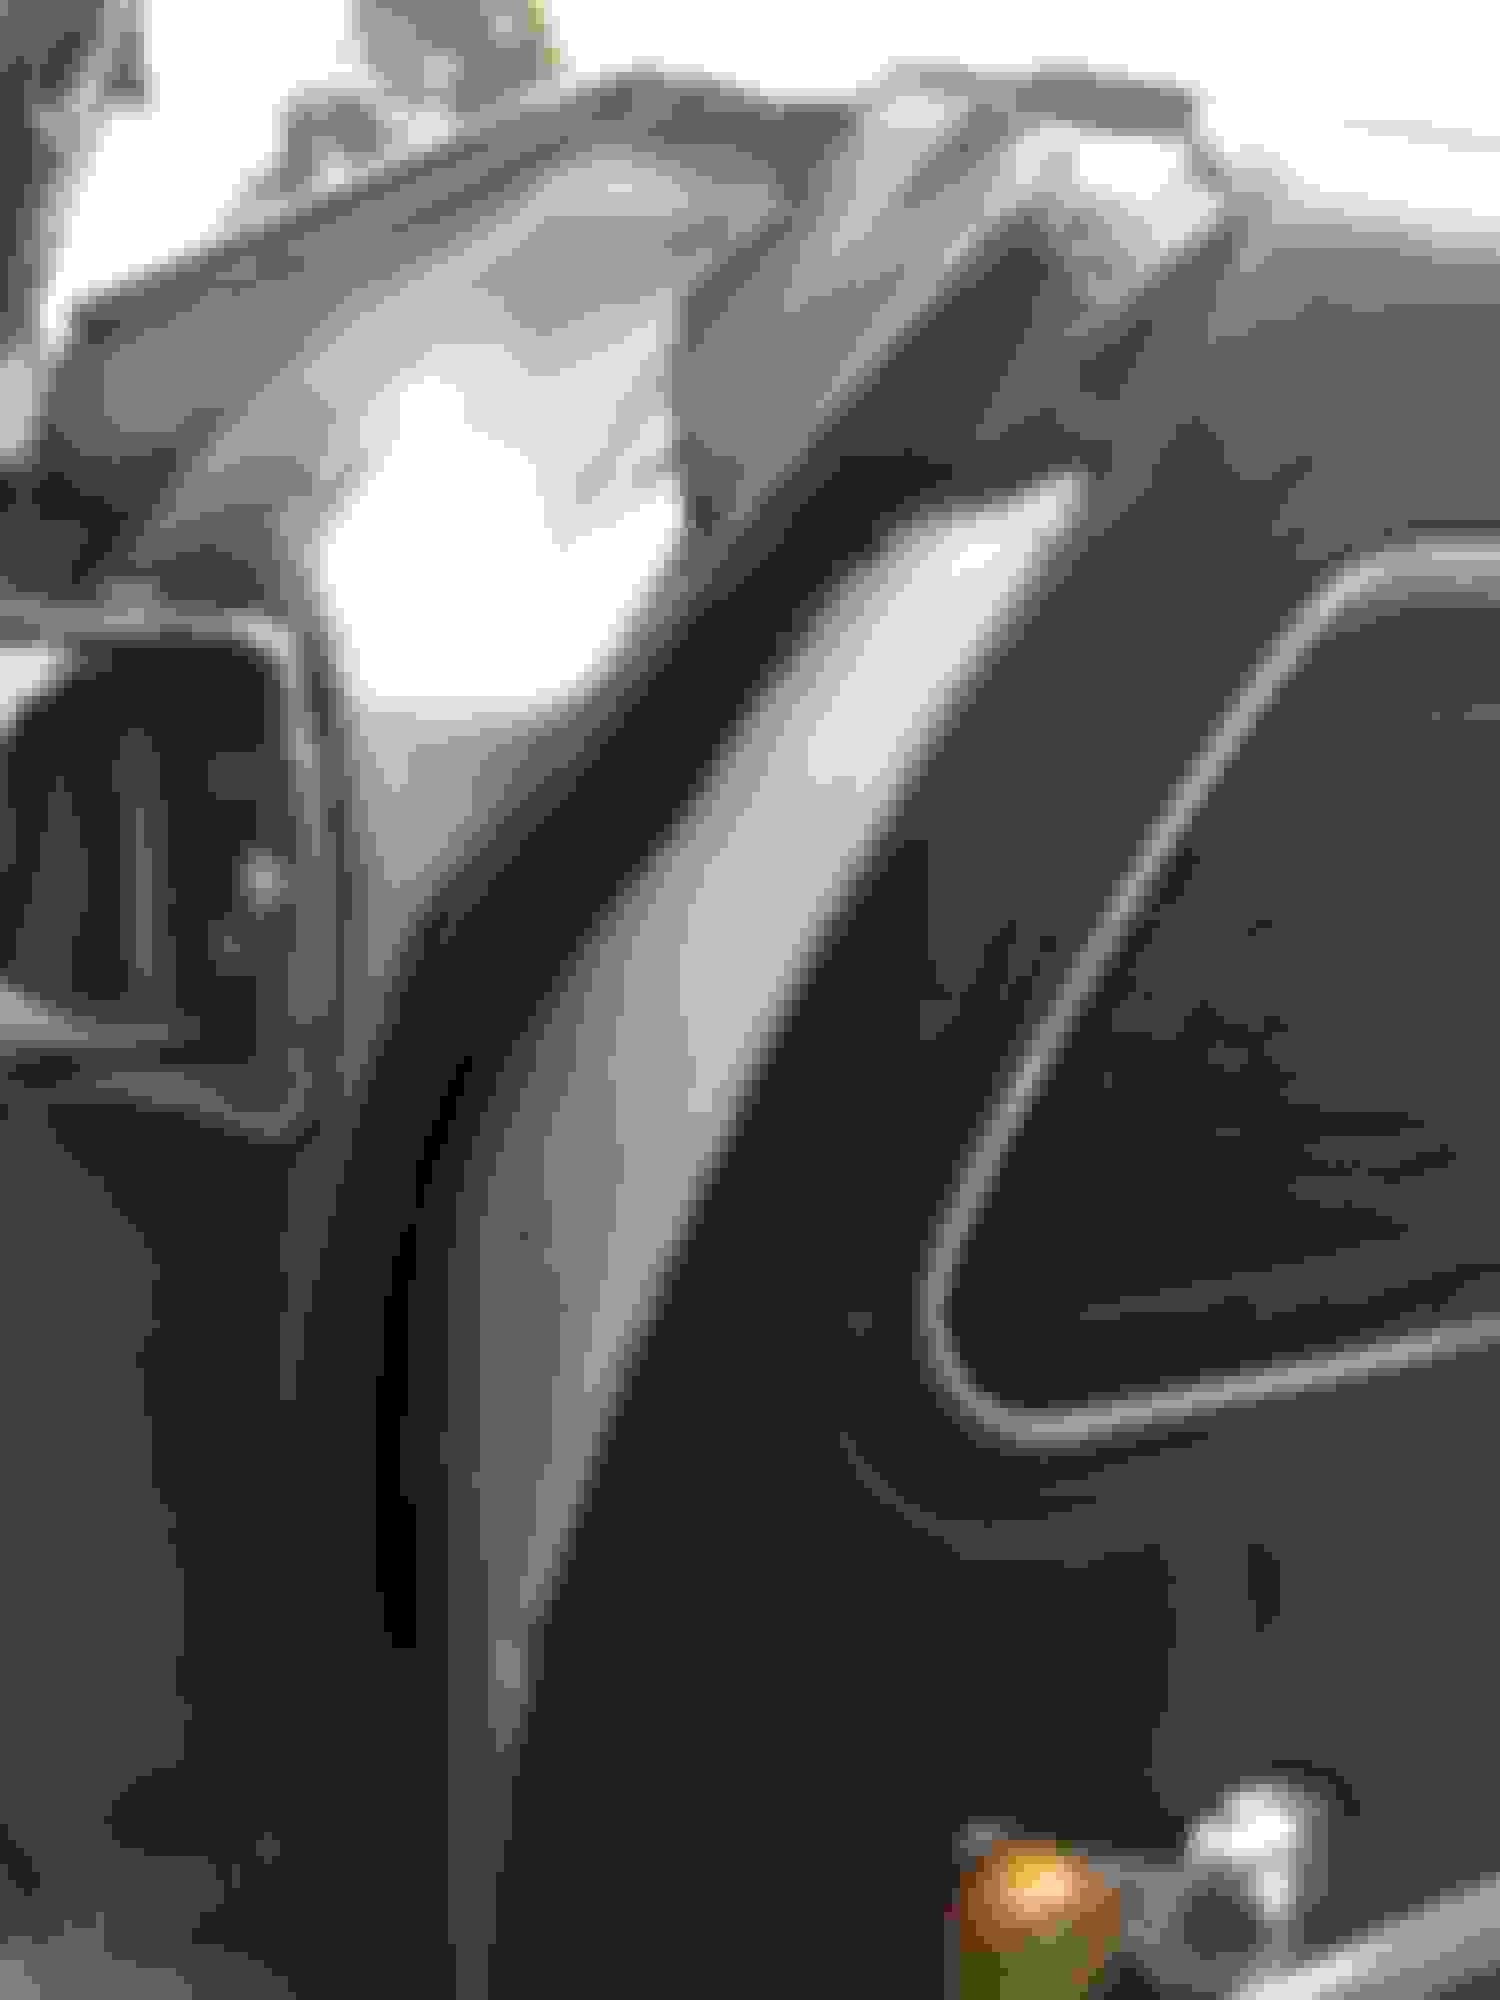
I do have a question though...on the back edge of the door, there was this wire looking thingie where the end of the old seal was attached to the door. My guess is it is some sort of support brace for the seal. I tried to put it back on when I installed the new seal, but it was too tedious, so I left it off. It didnt seem to make a difference on the installation, so I'm guessing I'm ok? I still have it just in case I do need it, so input would be appreciated.
I'll be back at it bright and early tomorrow morning around 6 am to do the passenger side, so off to bed I go. I'll post some before and after pics when I'm done...until then, Happy Oldsmobiling!😀
Location: Edmonton, AB. And "I am Can 'eh' jun - eh"
Posts: 24,525
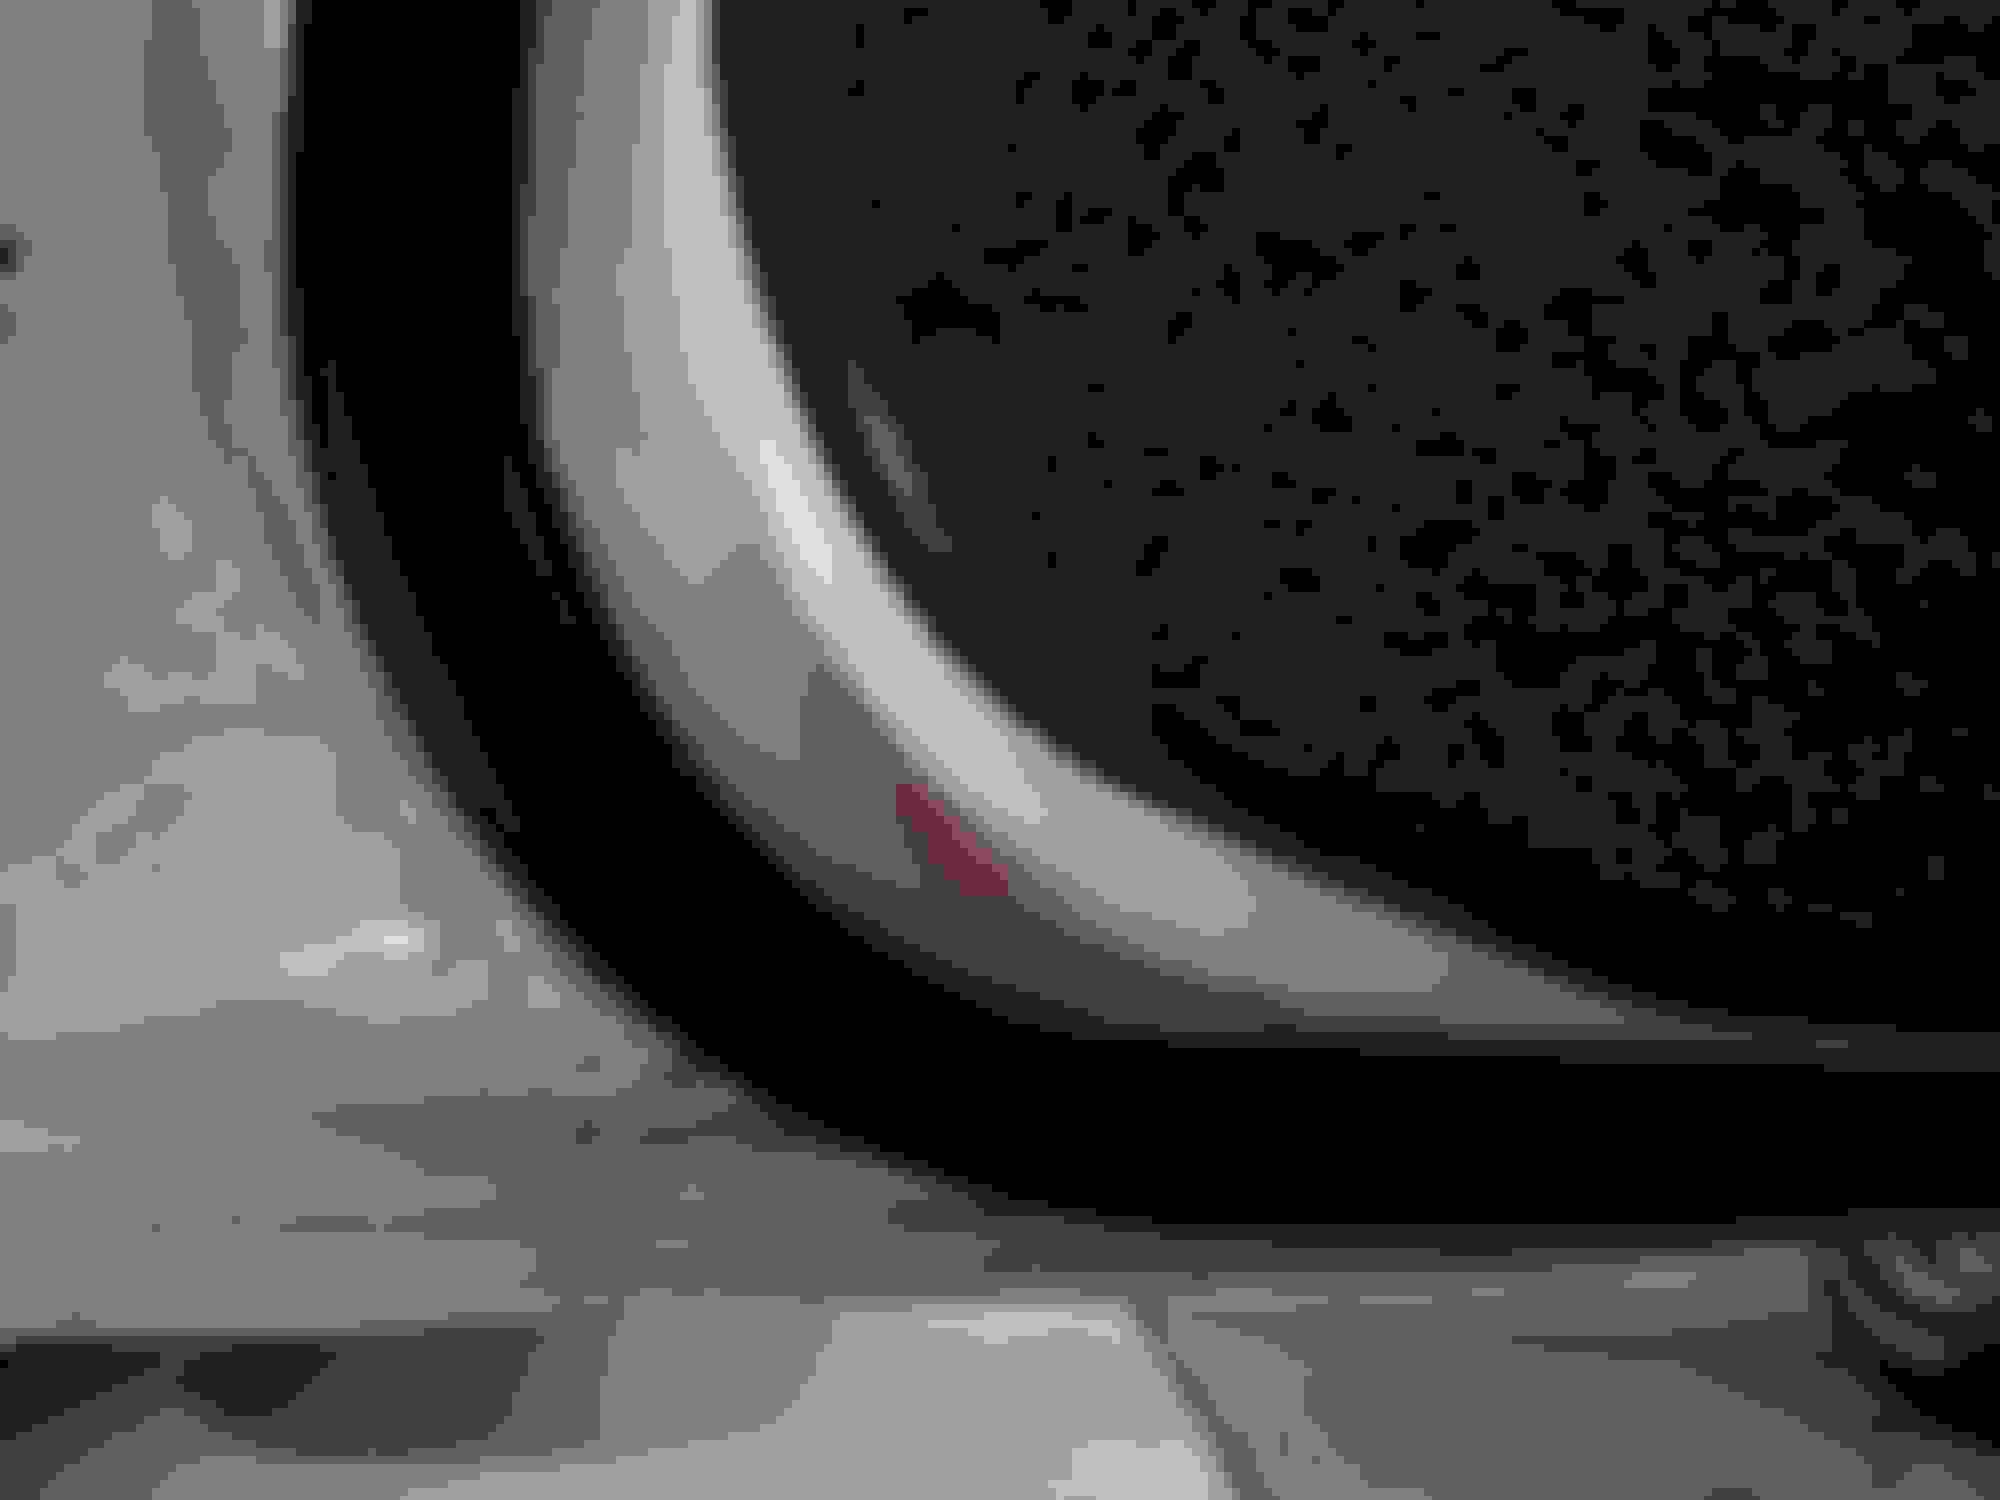
That's the easy part. Your pinch welds look to be in really nice shape too. Now for the roof rail weather stripping. You will find goop there.
On the doors, you're missing the rubber door bumpers. They go in those 2 holes at the bottom side edge. Door Jamb Bumpers
Chances are you're also missing the 2 rubber drain seals on the bottom of each door. Drain seals
These are available from numerous vendor. I just put links so you could see what they are.
Thanks for the info Allan...can you direct me to where I could see pics of where those other pieces actually go?
Location: Edmonton, AB. And "I am Can 'eh' jun - eh"
Posts: 24,525
Dave, look at the inside edge of your door. See those holes? One set up high one set down below? That's where the bumpers go. 2 bumpers per side, they cushion the door when it's being closed.
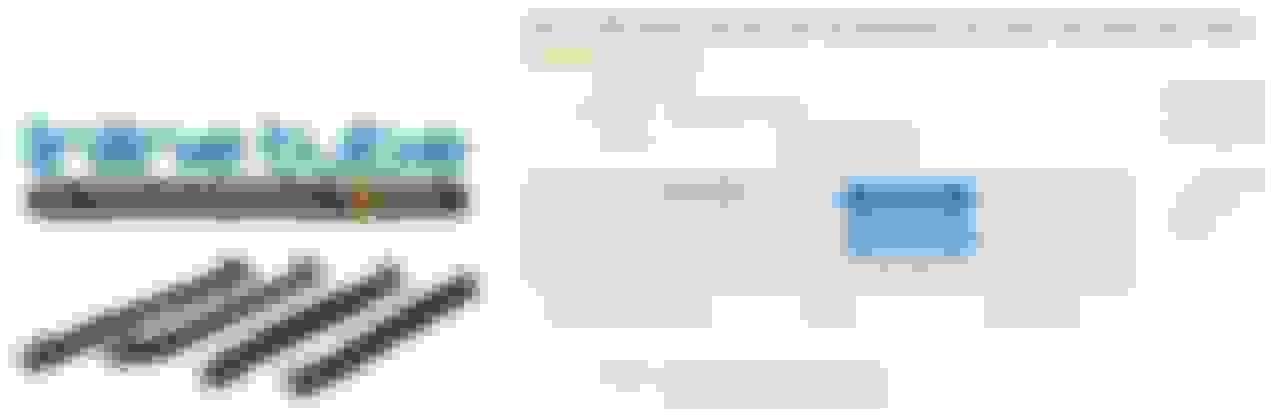
The door drain seals go on the very bottom of the inner door. You have to get down on the ground and look up at the horizontal section of the inner door. Chances are yours are missing and you'll see 2 long (3 1/2: holes with 2 round holes on each side). That's where they go. The rubber pieces look like this
Dave, look at the inside edge of your door. See those holes? One set up high one set down below? That's where the bumpers go. 2 bumpers per side, they cushion the door when it's being closed.
The door drain seals go on the very bottom of the inner door. You have to get down on the ground and look up at the horizontal section of the inner door. Chances are yours are missing and you'll see 2 long (3 1/2: holes with 2 round holes on each side). That's where they go. The rubber pieces look like this
Thnks Allan...got em ordered...and....check this out.. Door bumpers
Last edited by 72455; August 12th, 2018 at 10:08 AM.
Reason: Link not working
Location: Edmonton, AB. And "I am Can 'eh' jun - eh"
Posts: 24,525
They might be. A lot of vendors/sellers will buy bulk lots of parts that are generic and then plop em onto a GM box to make it look NOS. Here's the exact same ones shown as repro parts from a Chevelle site. The color cleans up to black. Same rounded face too.
When you install these, best to use some lubricant like a lithium grease on the rubber and a small flat blade to help them fit into those holes. They should fit snugly
Will do Allan, and thanks....and btw, the ones you mention are not quite the same as the ones I purchased. If you look at the repros, the "nubs" that go Into the holes have a "stem" that extends from the cone...kind of like the spout of a funnel. The ones I bought don't have that...just an observation.😀
Dave
Last edited by 72455; August 12th, 2018 at 12:40 PM.
Reason: Missed some info
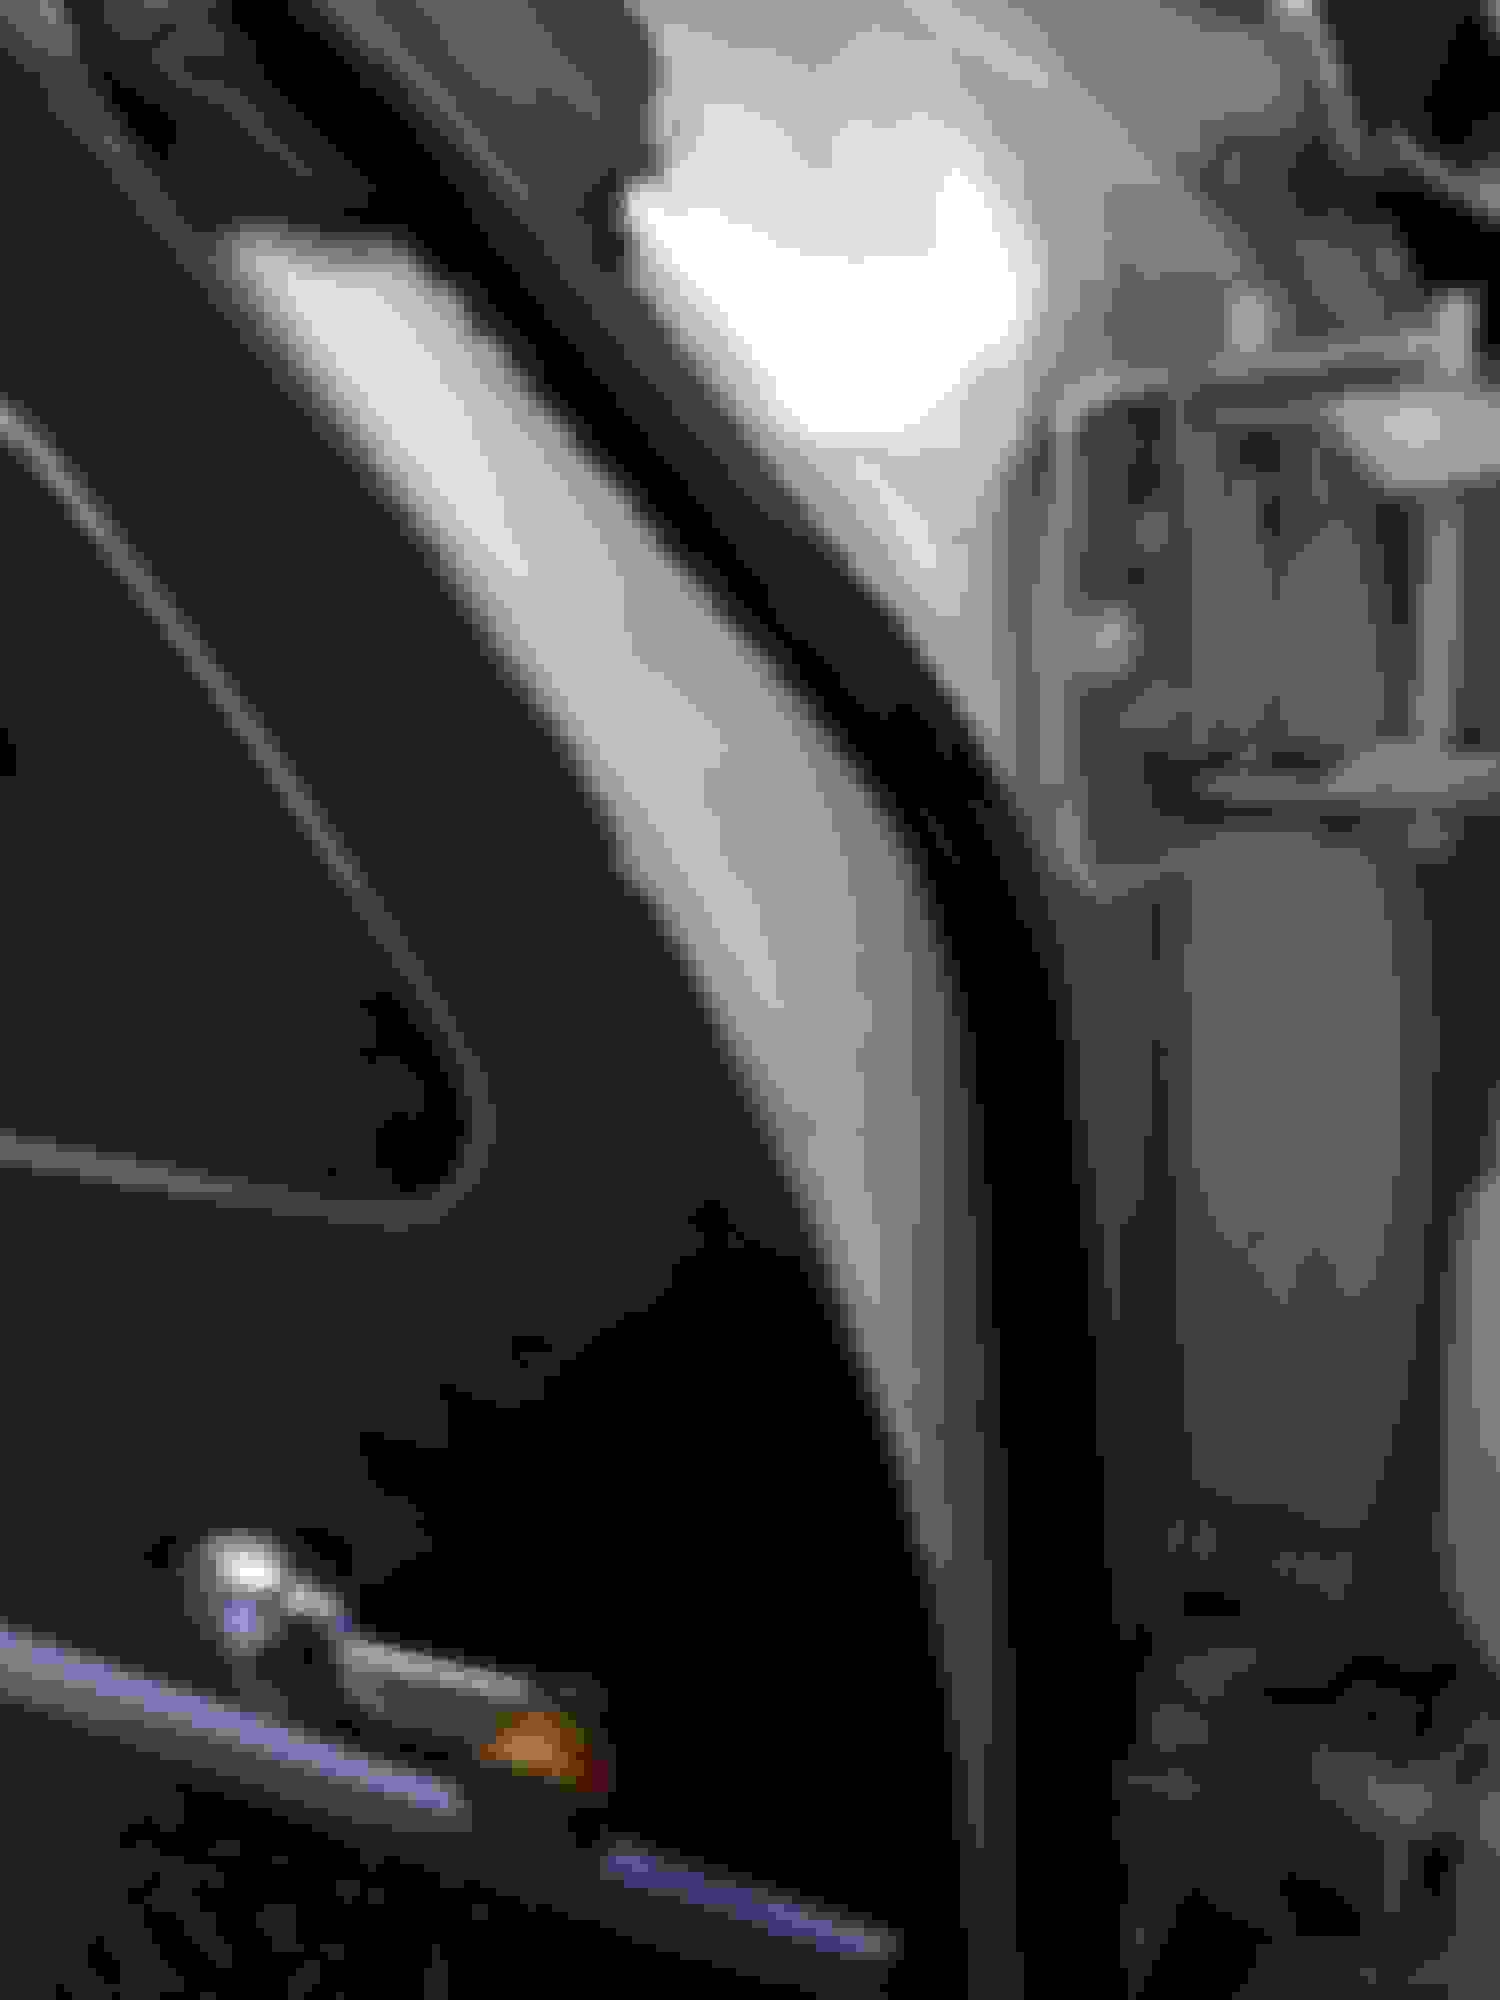
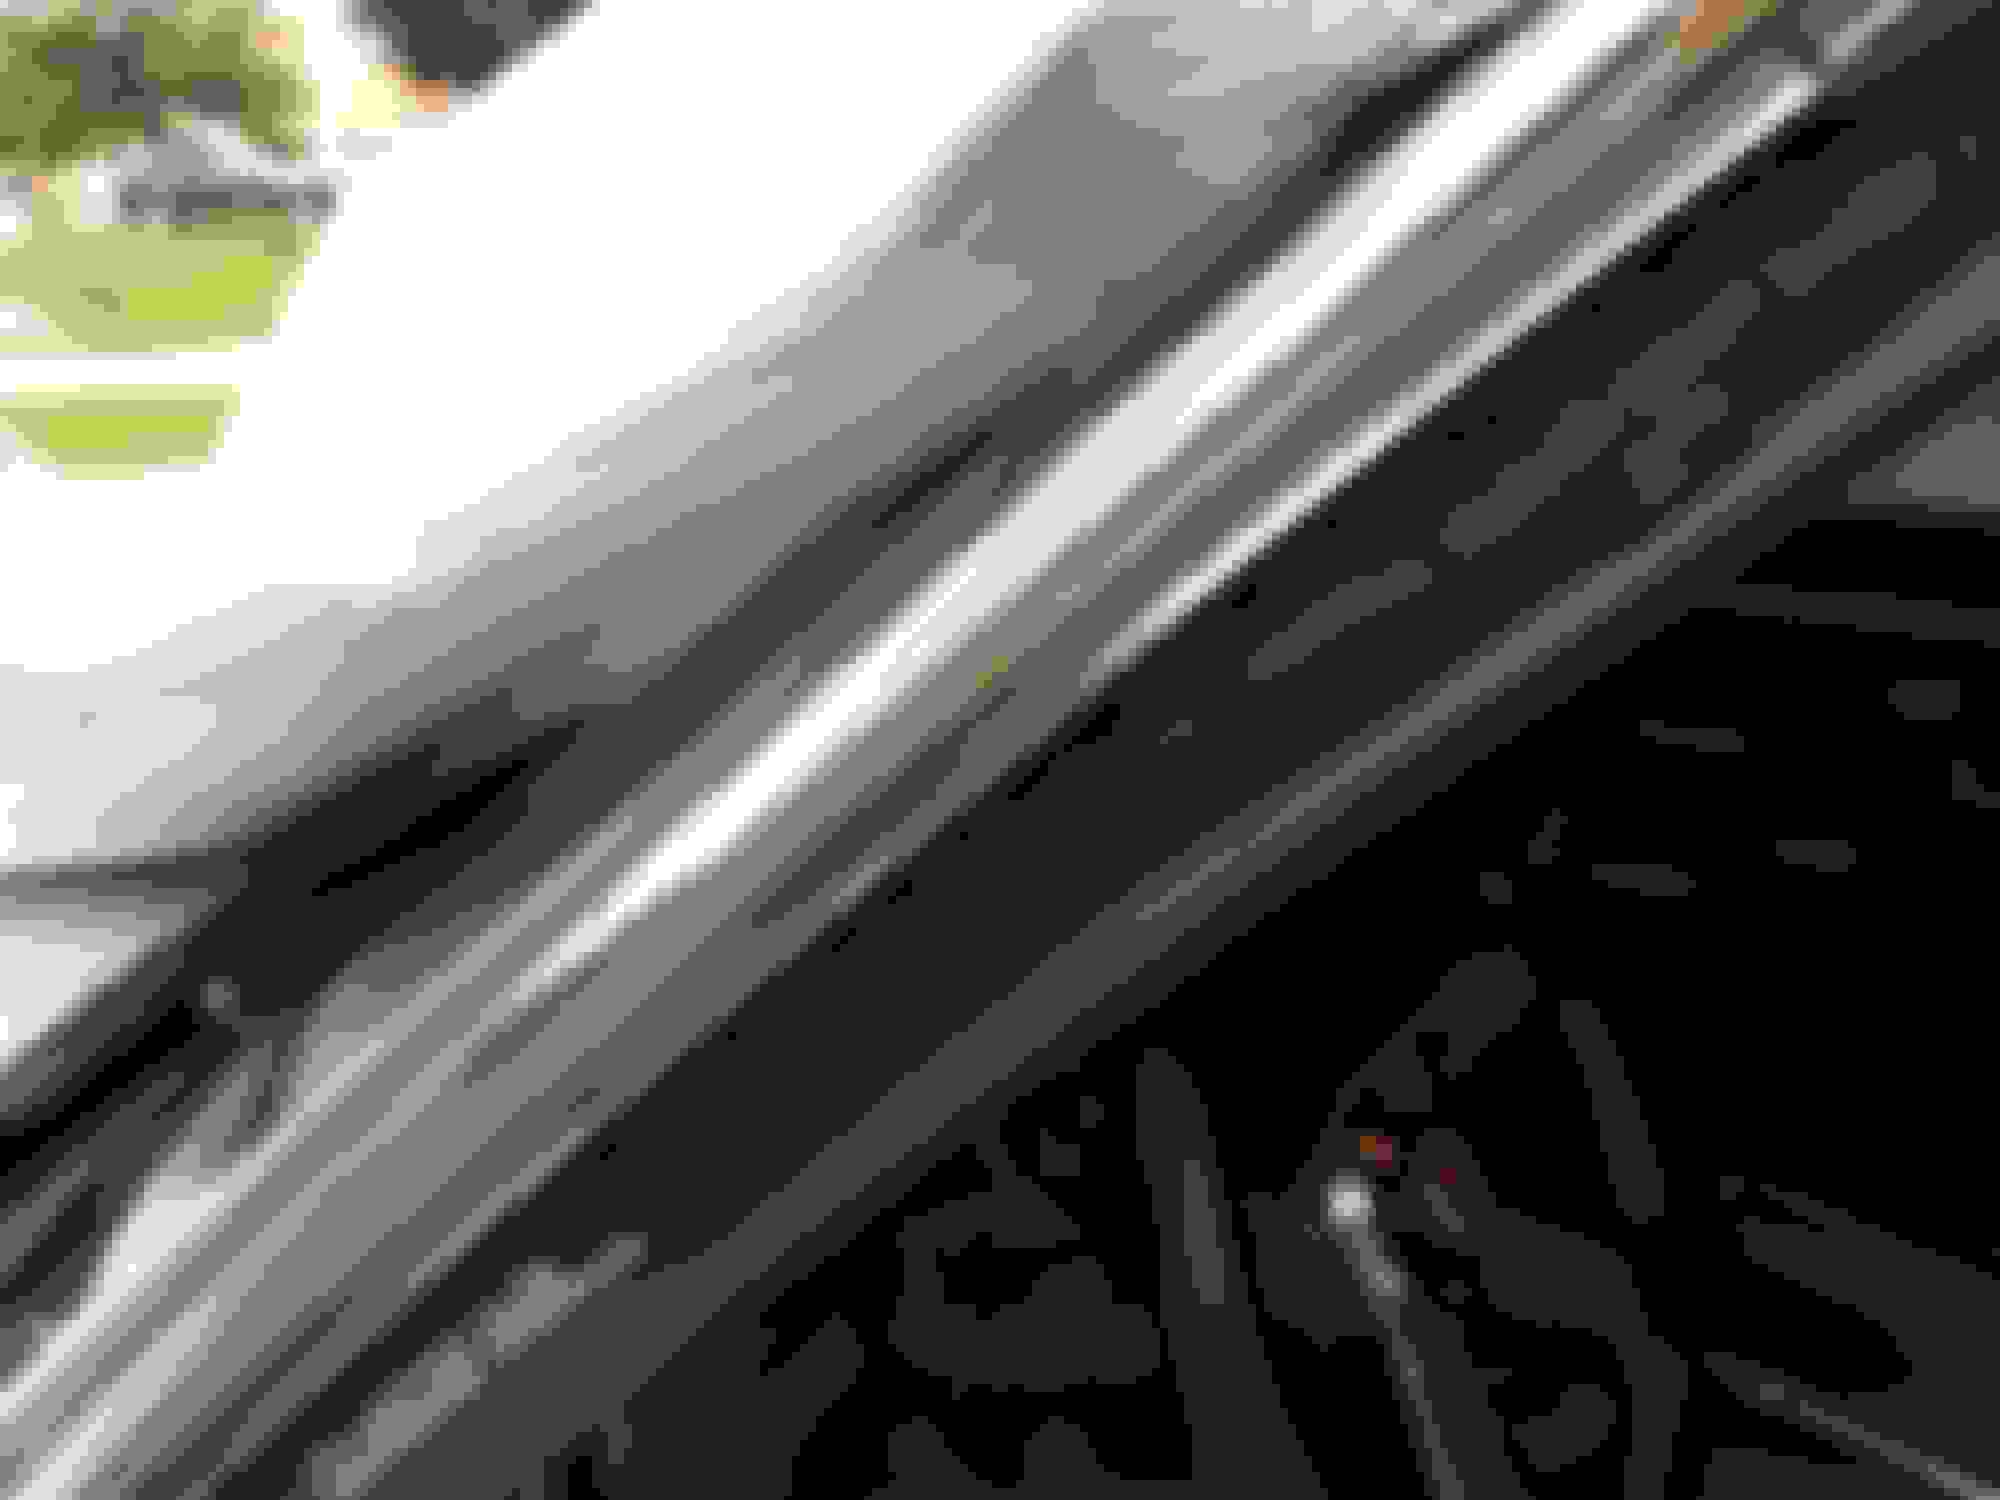
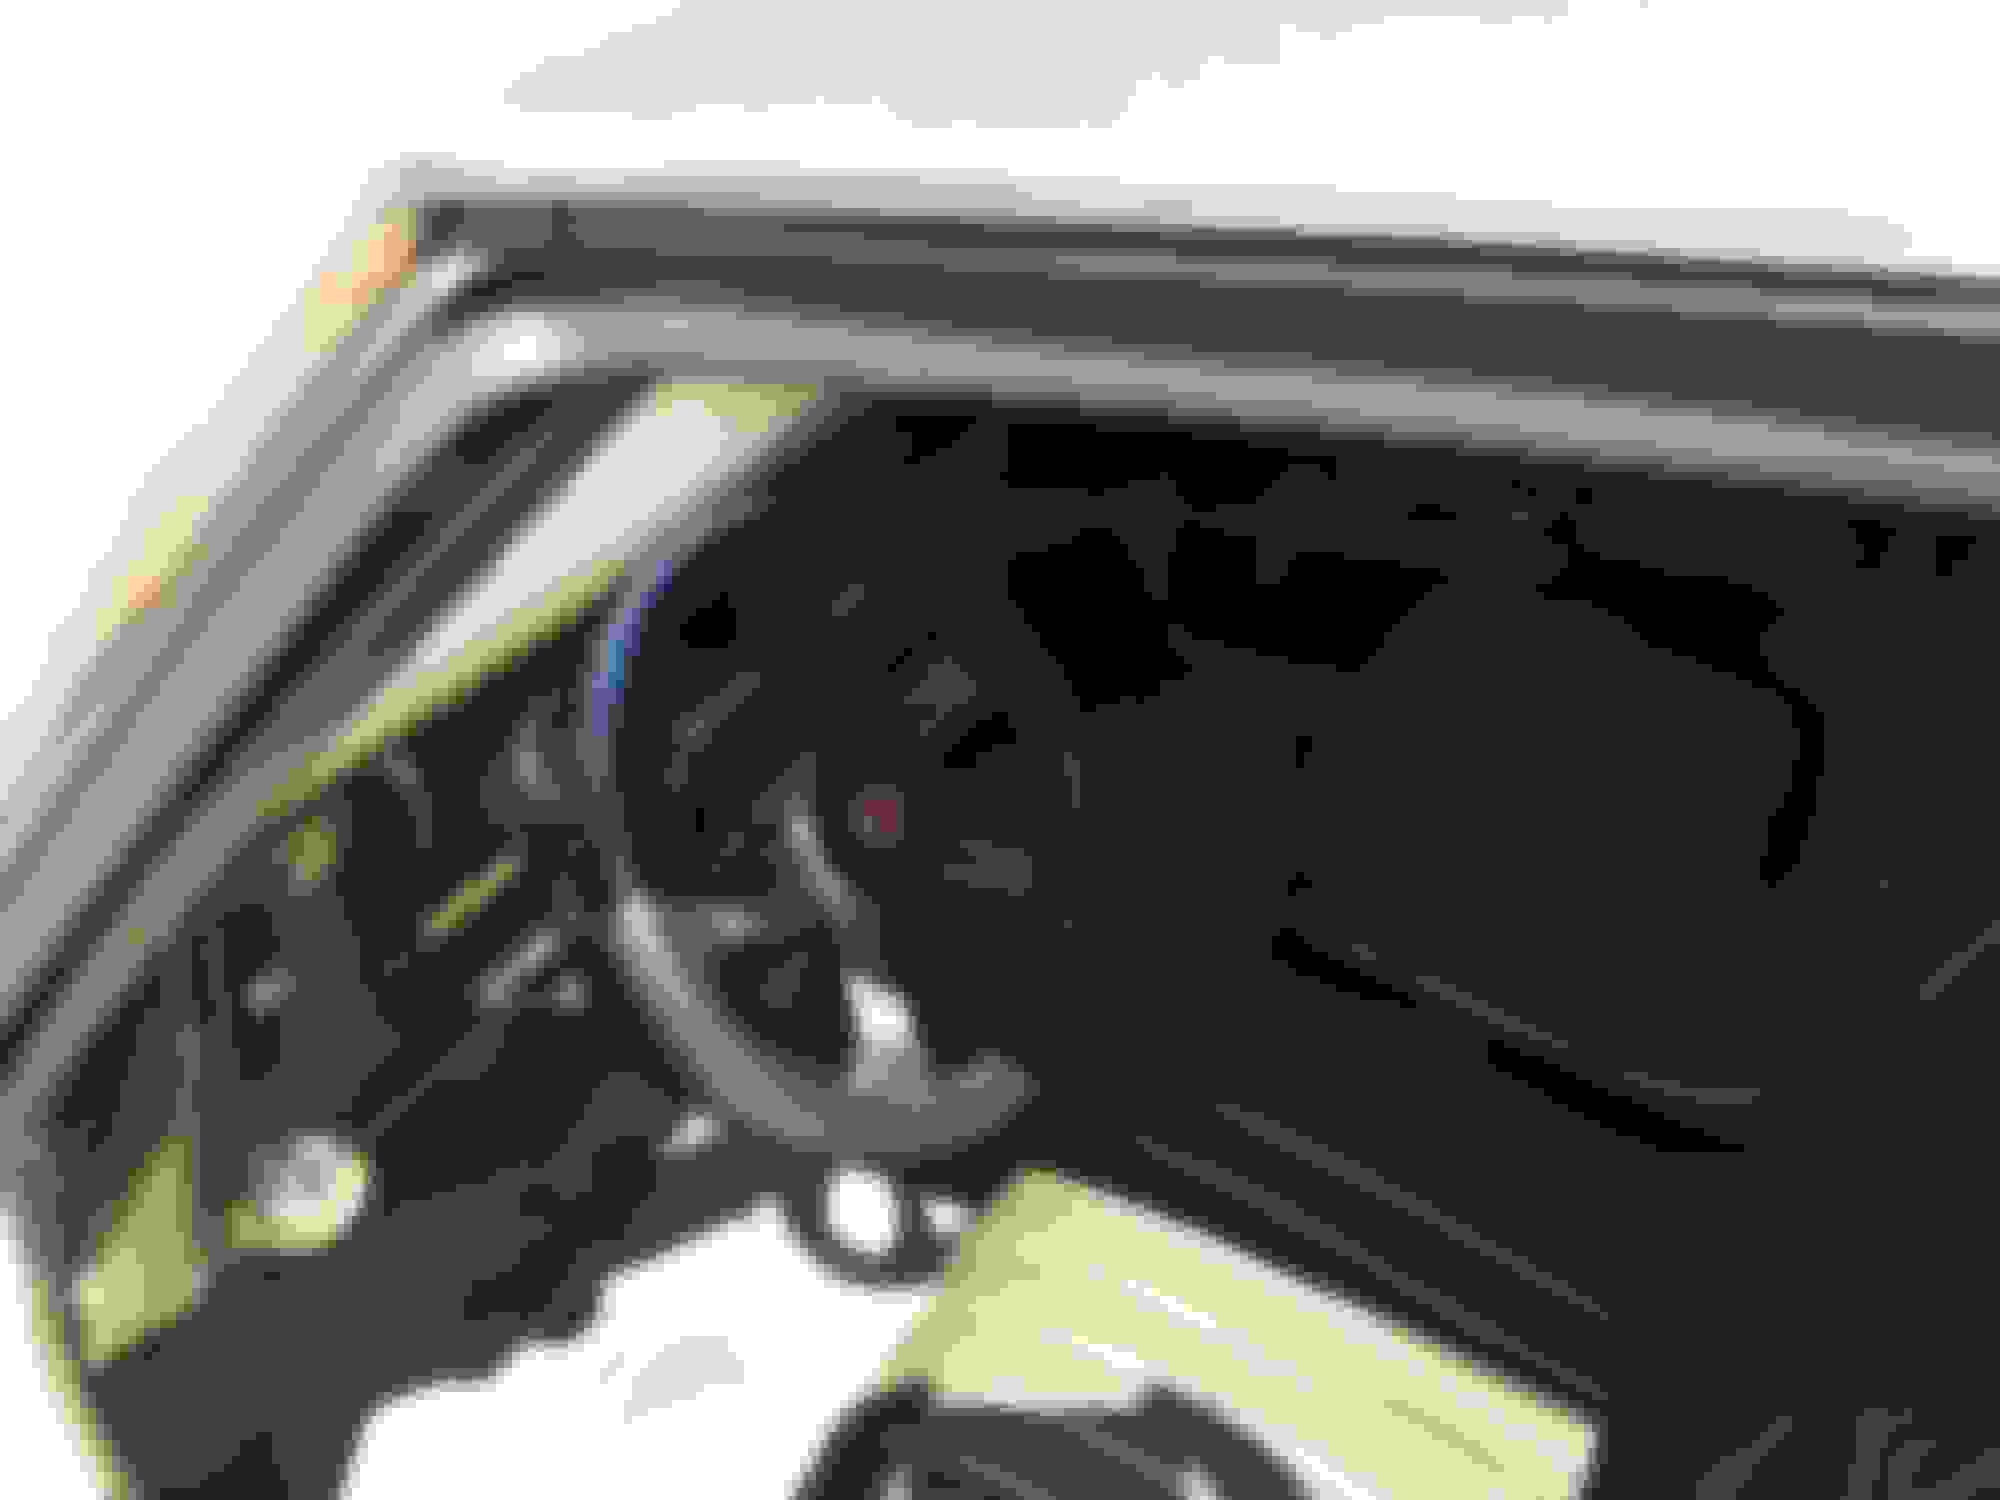
So I decided to get started on the next phase...driver side drip rail seal complete.
Couple tips for the rookies who decide to venture down this path...1) Put something down to cover your carpet (it makes cleanup a LOT easier) 2) Put on some disposable gloves cuz you're gonna be making a mess and the gloves will keep the old goop off of your hands. 3) Make sure you prep the area really good 4) Test fit the new seal before you start to get an idea of how it's supposed to in and also to identify any issues and 5) Take your time and be patient. The key is to be meticulious and pay attention every step of the way.
Having said that, here are some more befores and afters...
Location: Edmonton, AB. And "I am Can 'eh' jun - eh"
Posts: 24,525
Originally Posted by 72455
Couple tips for the rookies who decide to venture down this path... Take your time and be patient. The key is to be meticulious and pay attention every step of the way....
Hmmm, where did I read that before??
You'll notice a big difference in wind noise when driving with new seals, but your doors may not want to close well. Unlike OEM seals the aftermarket ones may take time to form the shape needed by the glass.
That's the easy part. Your pinch welds look to be in really nice shape too. Now for the roof rail weather stripping. You will find goop there.
On the doors, you're missing the rubber door bumpers. They go in those 2 holes at the bottom side edge. Door Jamb Bumpers
Chances are you're also missing the 2 rubber drain seals on the bottom of each door. Drain seals
These are available from numerous vendor. I just put links so you could see what they are.
I checked the drain seals...I'm actually missing just one on the passenger side.
You'll notice a big difference in wind noise when driving with new seals, but your doors may not want to close well. Unlike OEM seals the aftermarket ones may take time to form the shape needed by the glass.
Have you replaced the quarter window seals yet, or are they in good shape?
No sir.. didn't have to... they are good😀
I have to admit that I was a little intimidated with this project, but nothing gets nothing, so I'm glad I took the plunge. At the end of the day, I'm happy with the results, the Cutlass is better off, and I learned a thing or two, so it was a win win all the way around😀
Thanks to all who gave me the advice and tips.
Now onto the next project (does it ever end?..lol)... I'll be looking at lowering the rear. Will keep you all posted on the progress!
 August 9th, 2018, 11:06 AM


 Thanks Retro