When you click on links to various merchants on this site and make a purchase, this can result in this site earning a commission. Affiliate programs and affiliations include, but are not limited to, the eBay Partner Network.
After you soak a lot of things in the Evaporust, what do you then do to misc. bolts, nuts, screws and fasteners to prevent them from rusting again if the finish is good and you just want to preserve their appearance?
Wow, your engine looks great. I will have to investigate the Racetec pistons - 10.25 would be ideal, but I'm pretty sure my E heads are at about 80 cc's. What head gasket did you use, and do you remember how much was removed on your block? Also, Patton and I are having great fun with distribution blocks - is yours cast or brass, and if you look at the bottom, is the bracket swaged, bolted (single bolt) or screwed (2 screws) to the block? Lastly, have you found any Fremont car peculiarities?
Joe,
I cannot beleive that that it has been over a month since I made this reply. It has been a very busy month to say the least. I have looked a couple of places, but cannot find where I stored the old distribution block. I know I kept
it, but I actually used an new aftermarket on mine.
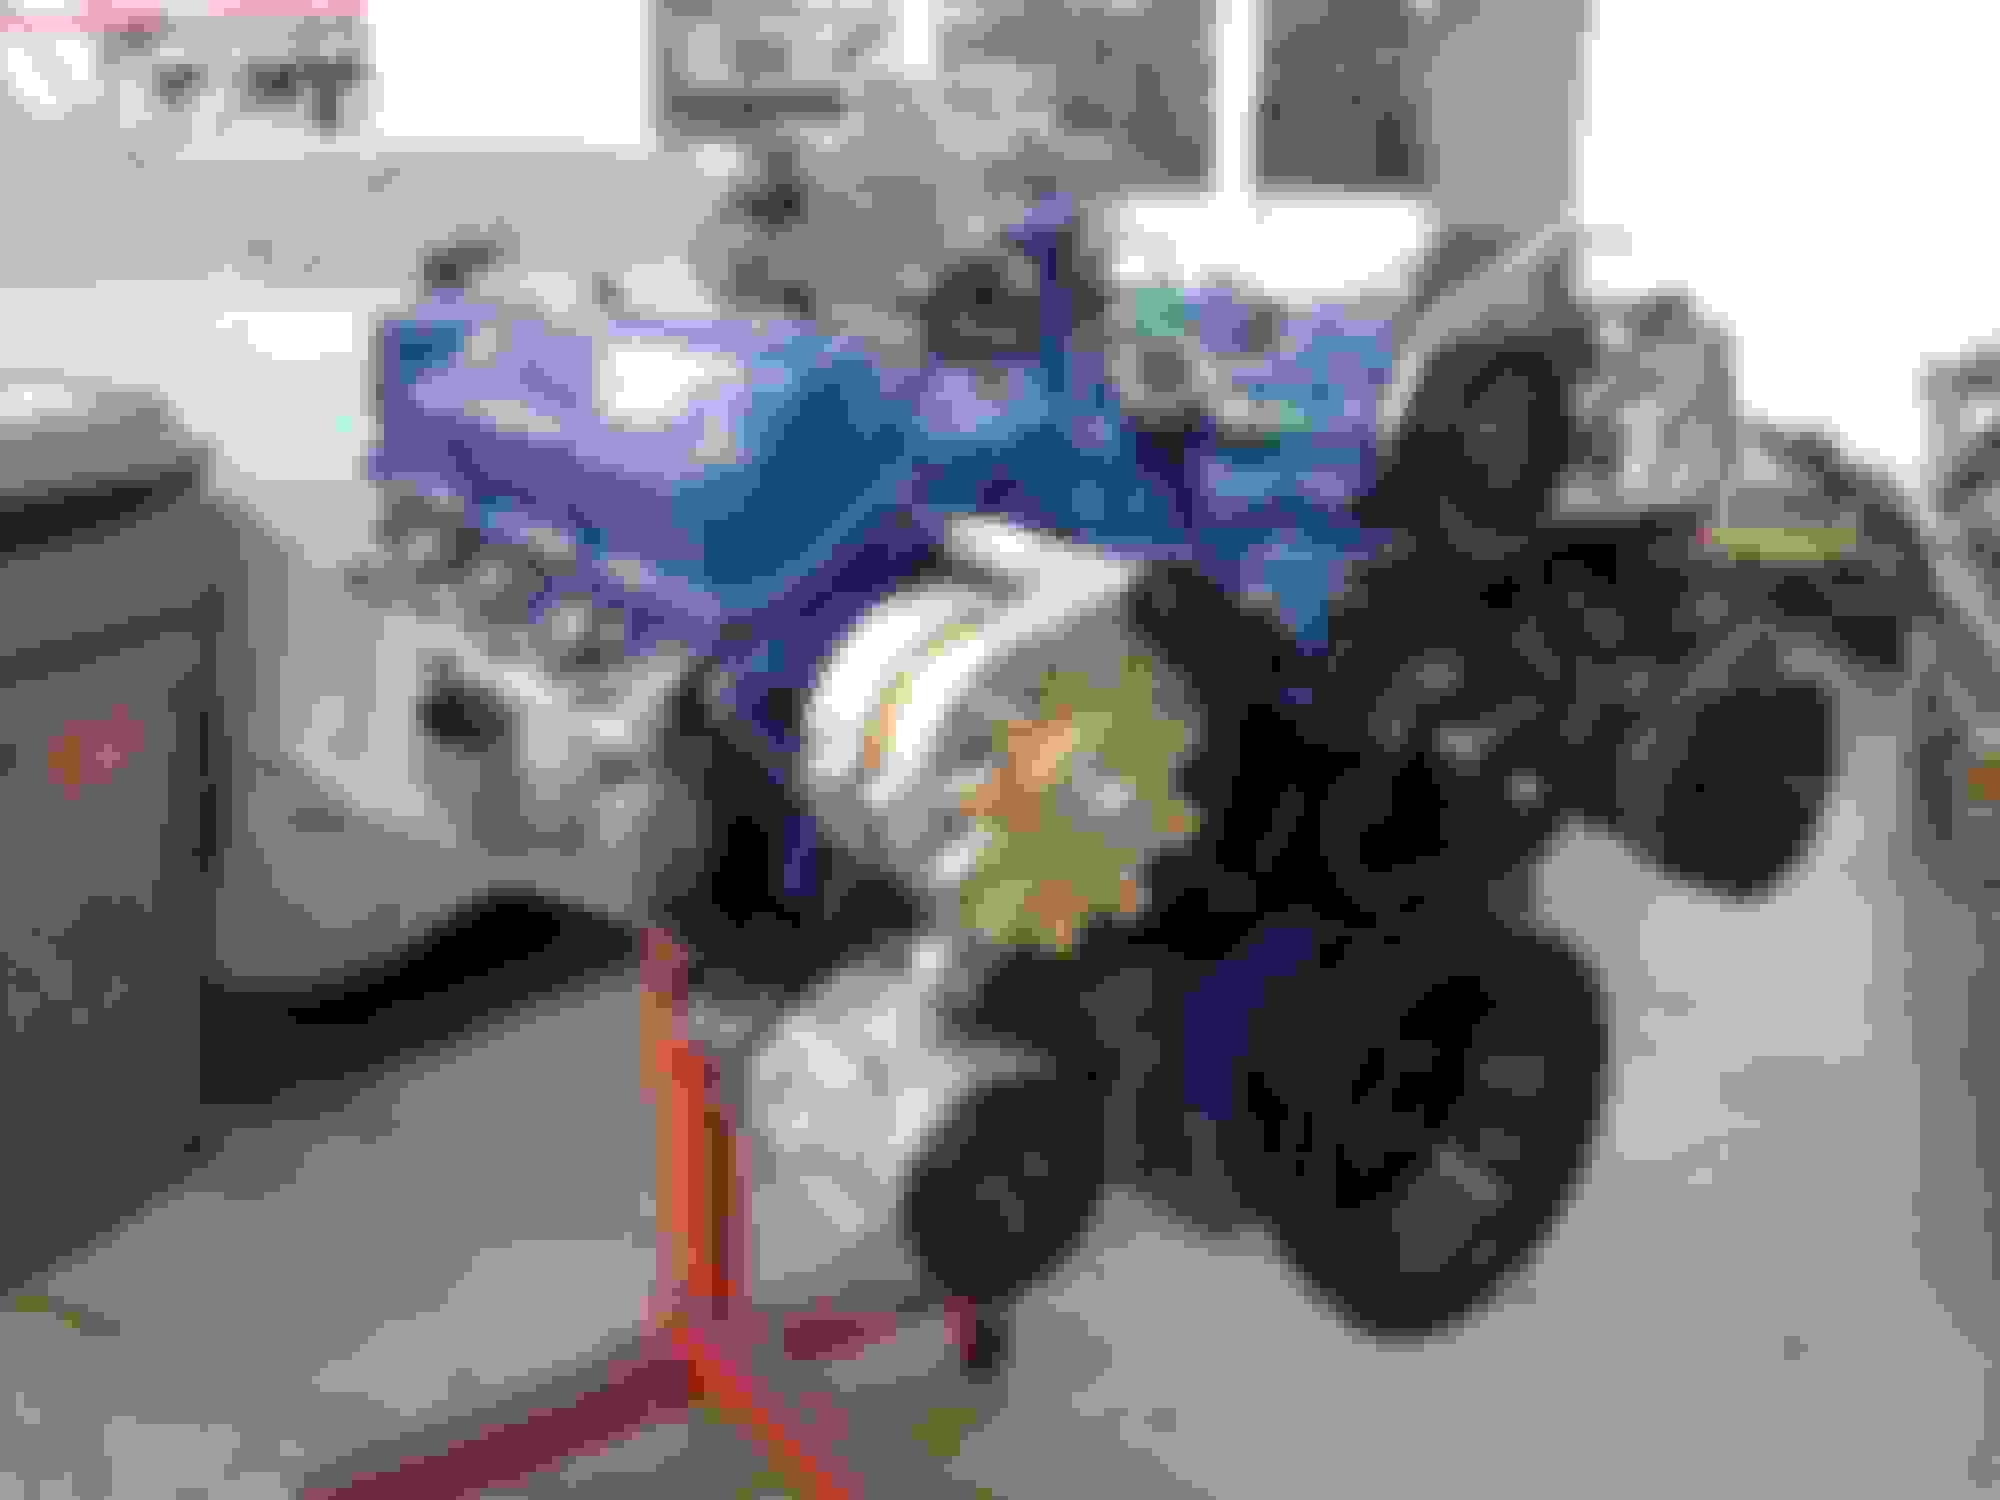
Engine was decked to roughly 10.615 which put the pistons 5-7 thousands in the hole. Felpro 1155 head gasket. 0.039 squish
I would be surprised if heads were actually 80 cc. My understanding is most BBO heads, even though they say 80cc, actually can cc around 82-84.
As far as peculiarlities for a Fremont Build that I have seen.
1) 3 months between frame build and assembly. Understandable considering parts coming from Lansing.
2) 2 Build sheets found, one on top of gas tank, the second under the package tray.
3) Only the body bushings that had bolts were painted turquoise. Evidence of the same colored paint on all of the bolted bushings. No evidence of paint on any of the other bushings.
4) Strangley enough Adam�s green 442 and mine which were about 3,000 cars apart in the Fremont plant, both were factory OAI hood cars according to the build sheet. I wonder if it was something more common to the SW cars, to get the look of a W30. 2 cars does not constitute enough data to make that assertion. It is interesting though.
After you soak a lot of things in the Evaporust, what do you then do to misc. bolts, nuts, screws and fasteners to prevent them from rusting again if the finish is good and you just want to preserve their appearance?
Great question. It depends on the use of the fastener. If the phosphate part looks good after treatment, I don't do anything to it when I put it in my storage trays. Then, if I need to use it, I leave it alone if it not likely to be in contact with water because it looks so cool. If it is something likely to see some significant humidity, I will spray some of the Eastwood's Diamond Clear on it. If will be exposed to direct water, I'll paint it with Eastwood's Zinc Phosphate paint. I have plated some stuff on occasion when I have enough for a good sized lot.
I cannot beleive that that it has been over a month since I made this reply. It has been a very busy month to say the least. I have looked a couple of places, but cannot find where I stored the old distribution block. I know I kept
it, but I actually used an new aftermarket on mine.
Engine was decked to roughly 10.615 which put the pistons 5-7 thousands in the hole. Felpro 1155 head gasket. 0.039 squish
I would be surprised if heads were actually 80 cc. My understanding is most BBO heads, even though they say 80cc, actually can cc around 82-84.
As far as peculiarlities for a Fremont Build that I have seen.
1) 3 months between frame build and assembly. Understandable considering parts coming from Lansing.
2) 2 Build sheets found, one on top of gas tank, the second under the package tray.
3) Only the body bushings that had bolts were painted turquoise. Evidence of the same colored paint on all of the bolted bushings. No evidence of paint on any of the other bushings.
4) Strangley enough Adam’s green 442 and mine which were about 3,000 cars apart in the Fremont plant, both were factory OAI hood cars according to the build sheet. I wonder if it was something more common to the SW cars, to get the look of a W30. 2 cars does not constitute enough data to make that assertion. It is interesting though.
Troy
Thanks Troy. Very cool on Fremont cars having build sheets staying with the cars and the other oddities.
Thanks for the compression ratio data - my pistons are .039- .041 in the hole, so I'll be right at 9.25 on compression.
Joe
Last edited by costpenn; March 18th, 2018 at 06:08 AM.
Keeping the hours logged (4 yesterday, 3 1/2 today)
Still working away on bolts. Last category to do is interior screws that were not replaced with AMK kits. Even though the average fasteners per baggie and size are pretty small, there are a lot of these to do. Worse, many are significantly rusted - screws in places that have no business being corroded highlighting the likelihood this car was - at some point - significantly underwater. My stock of these Zinc plated nex head screws is not very large, so I'll be making a AMK order for these along with the hockey stick and cowl screen screws missing from this car which I also did not have any of in inventory.
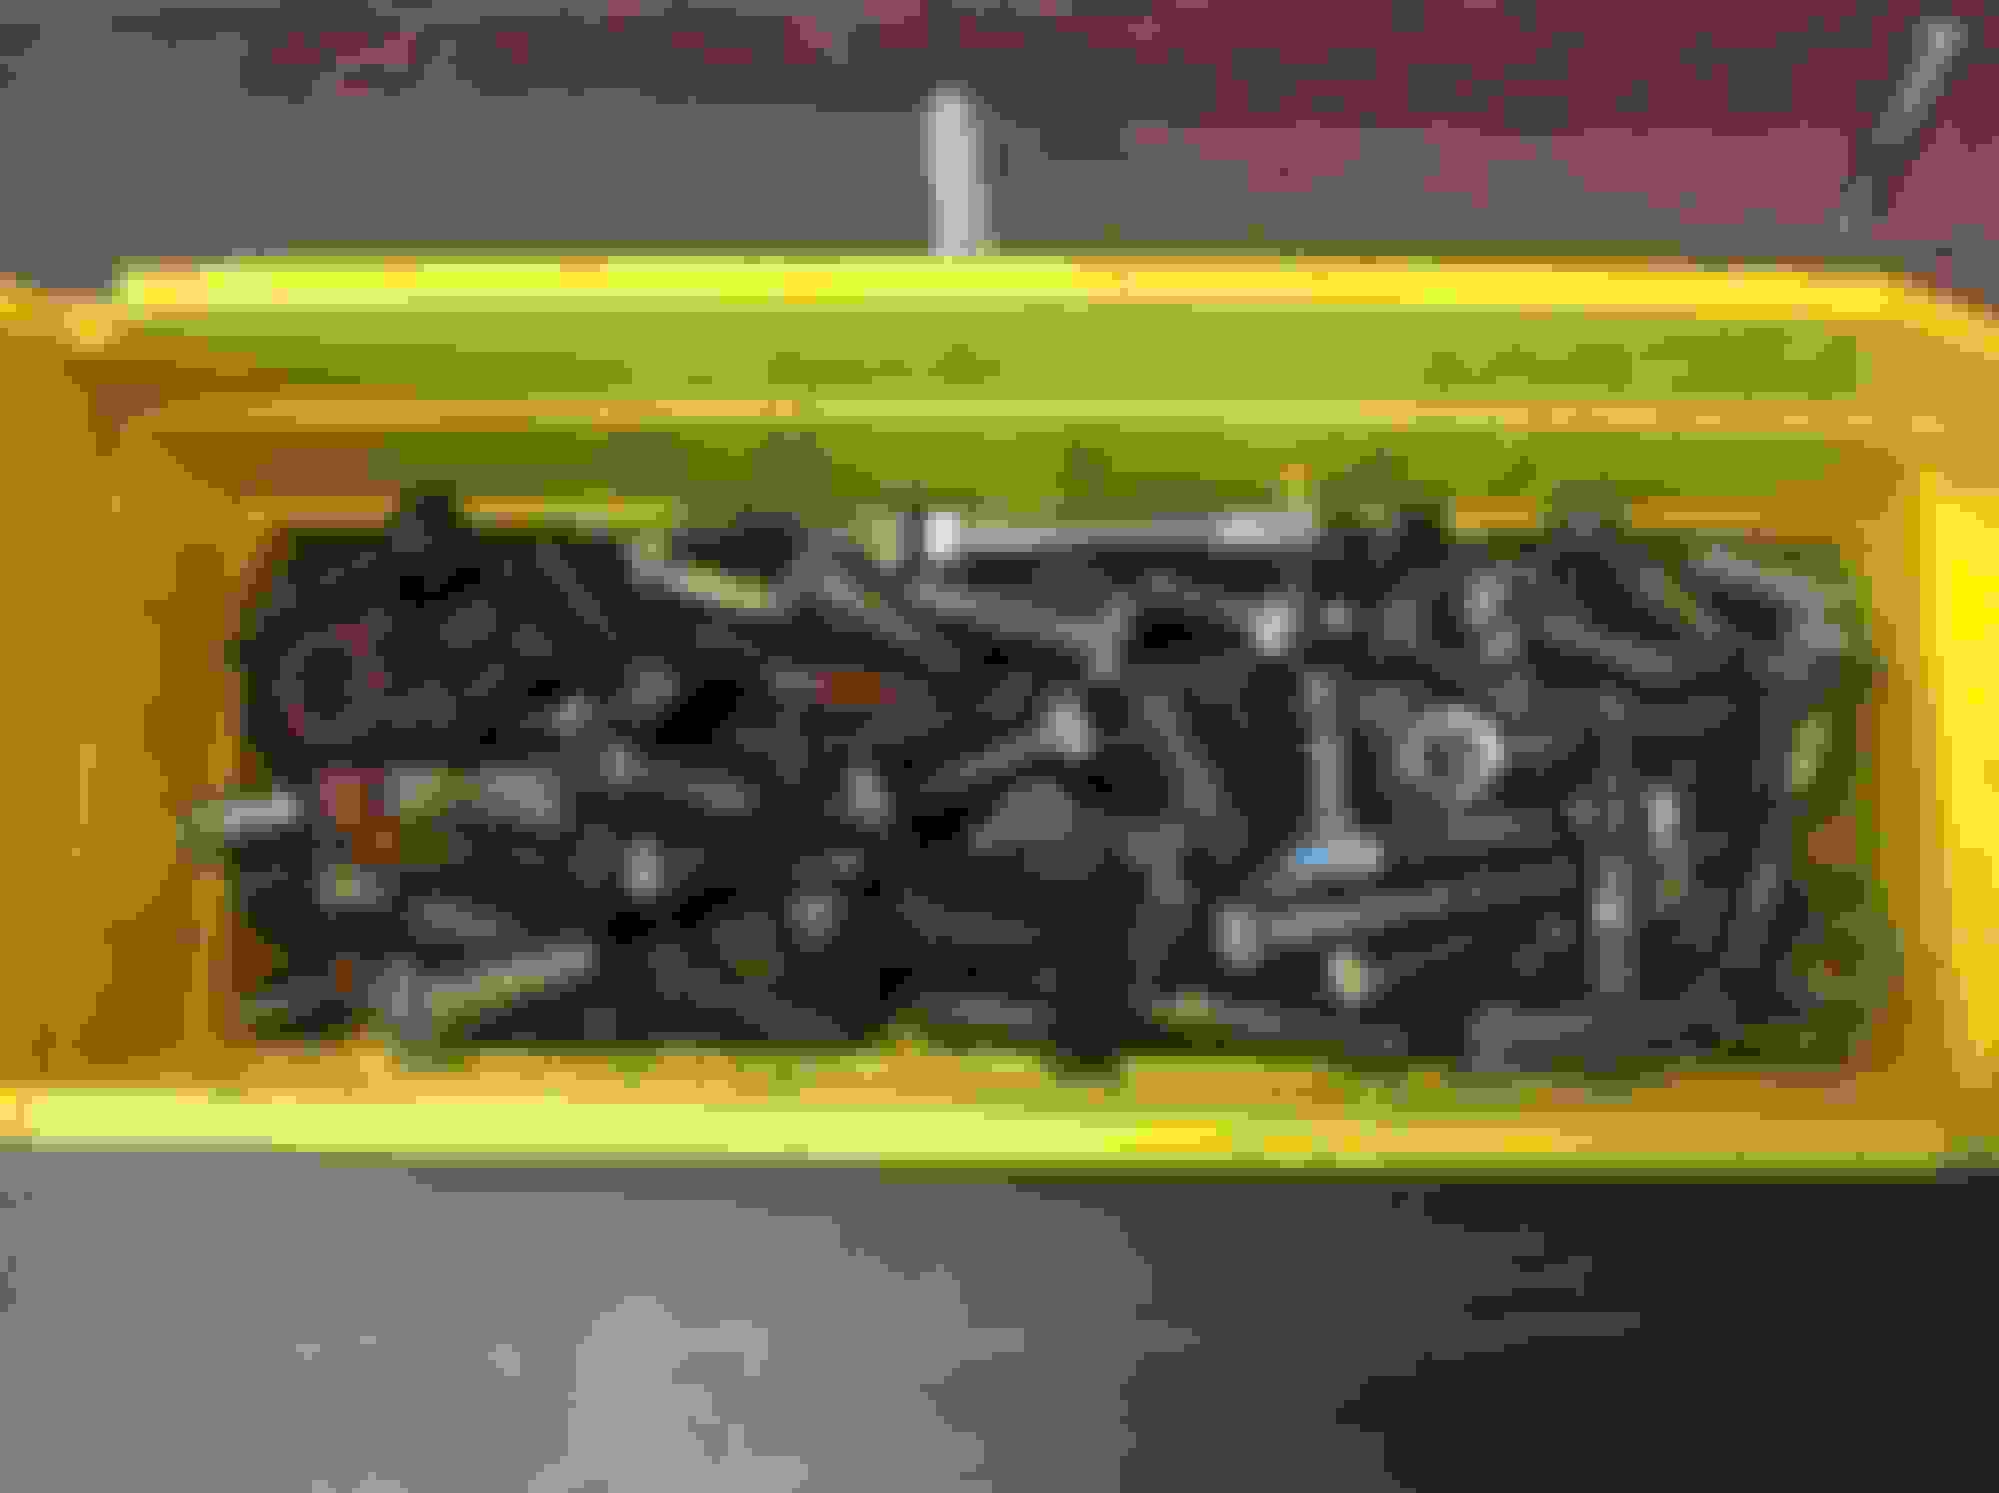
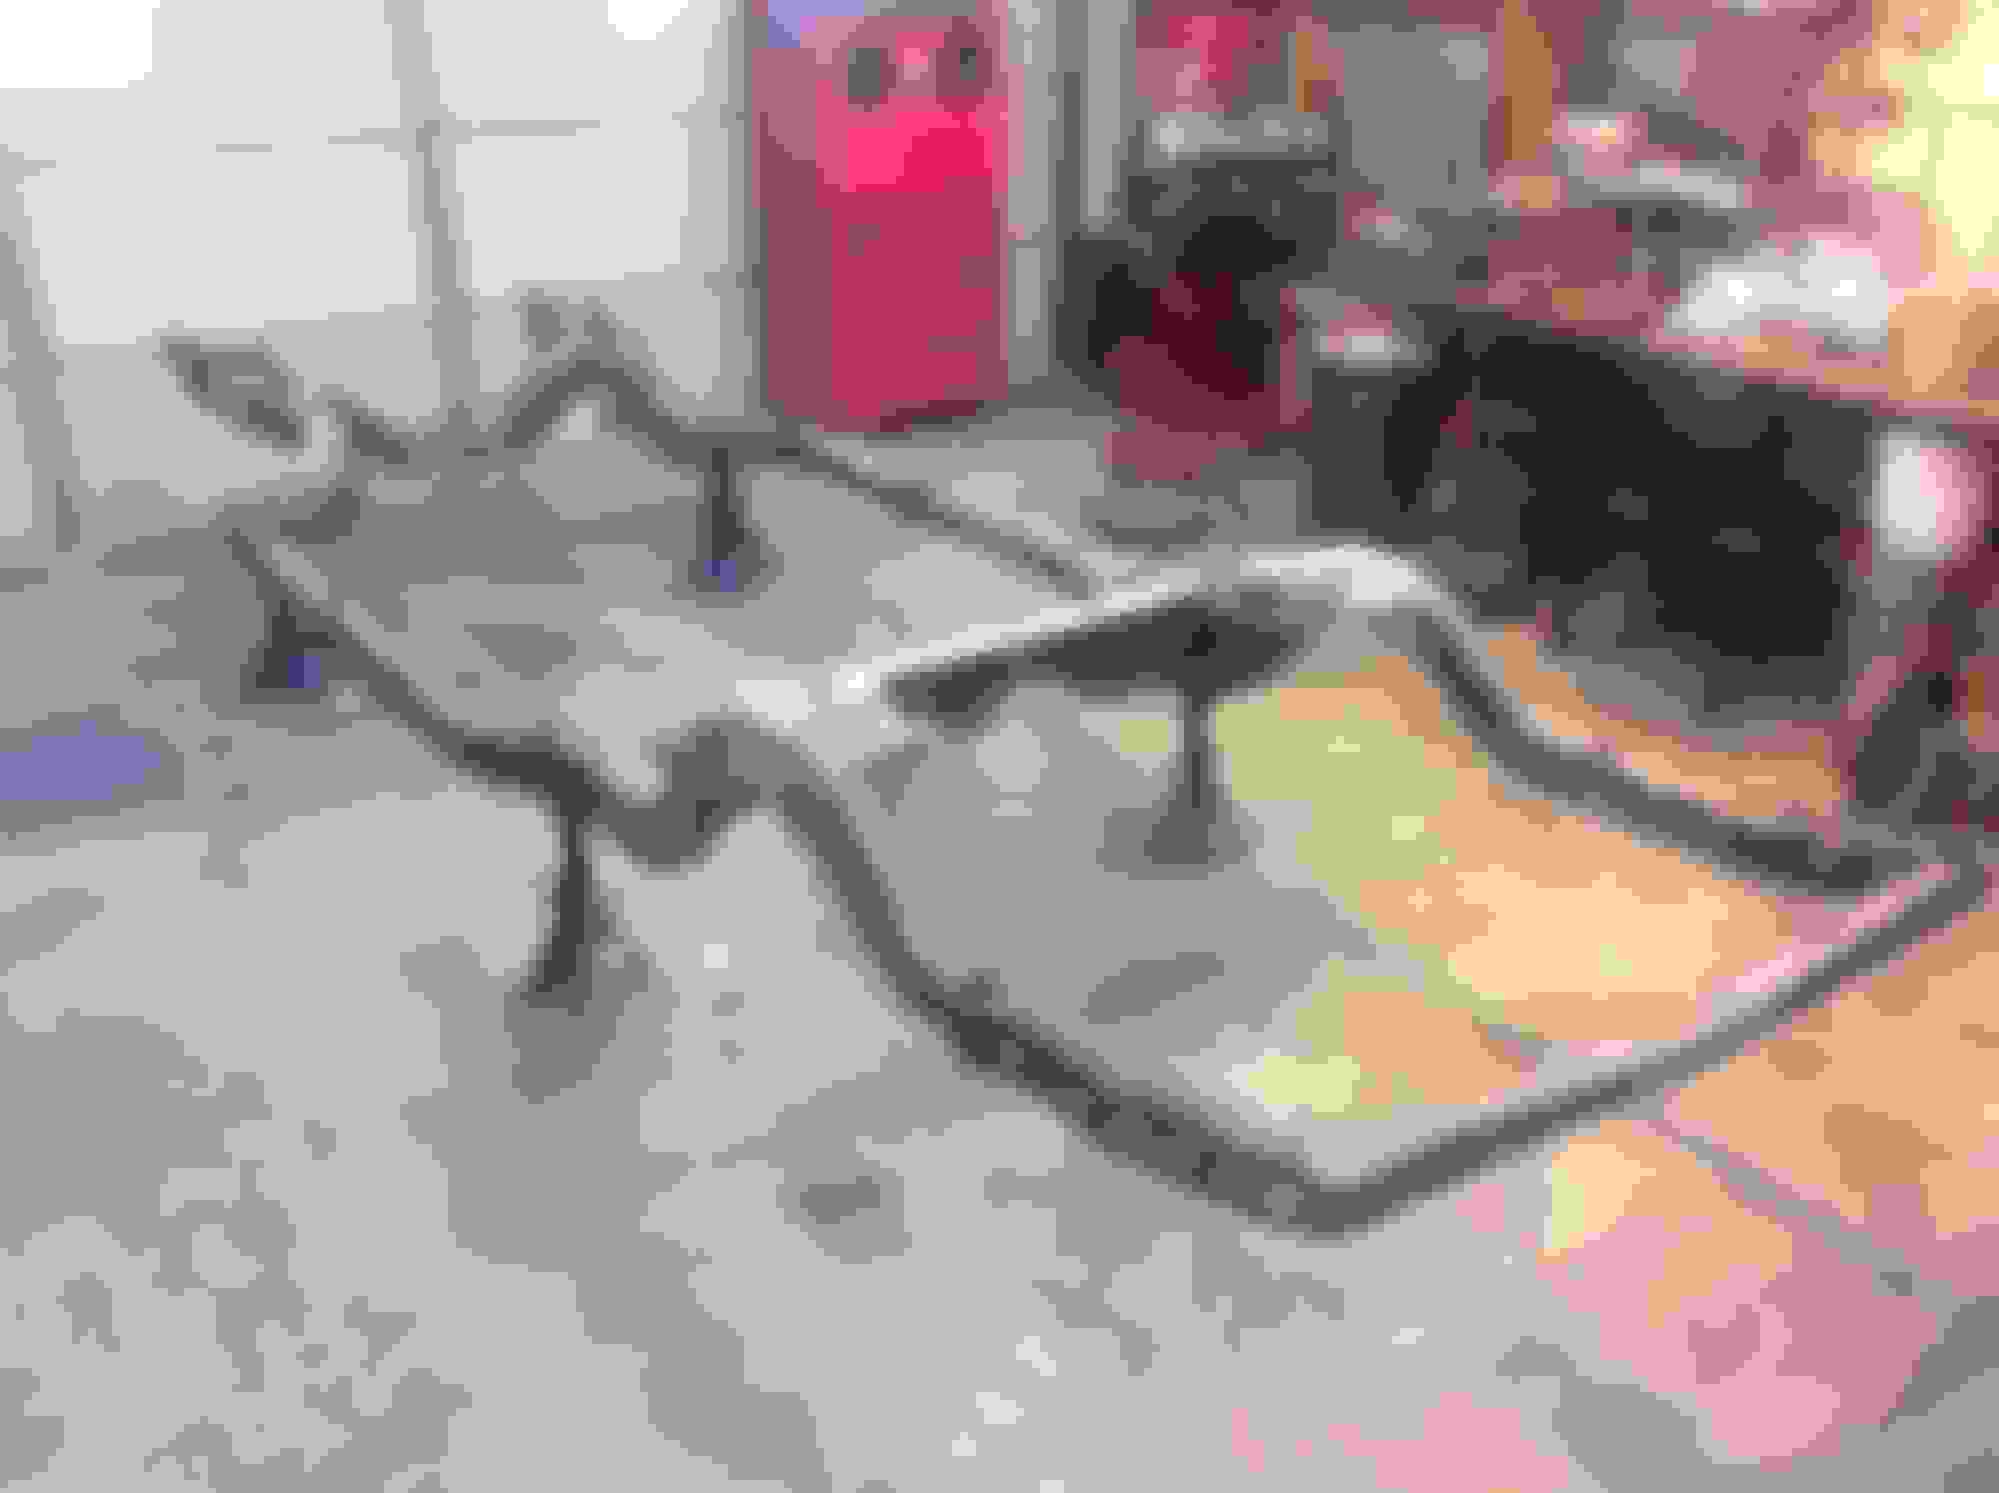
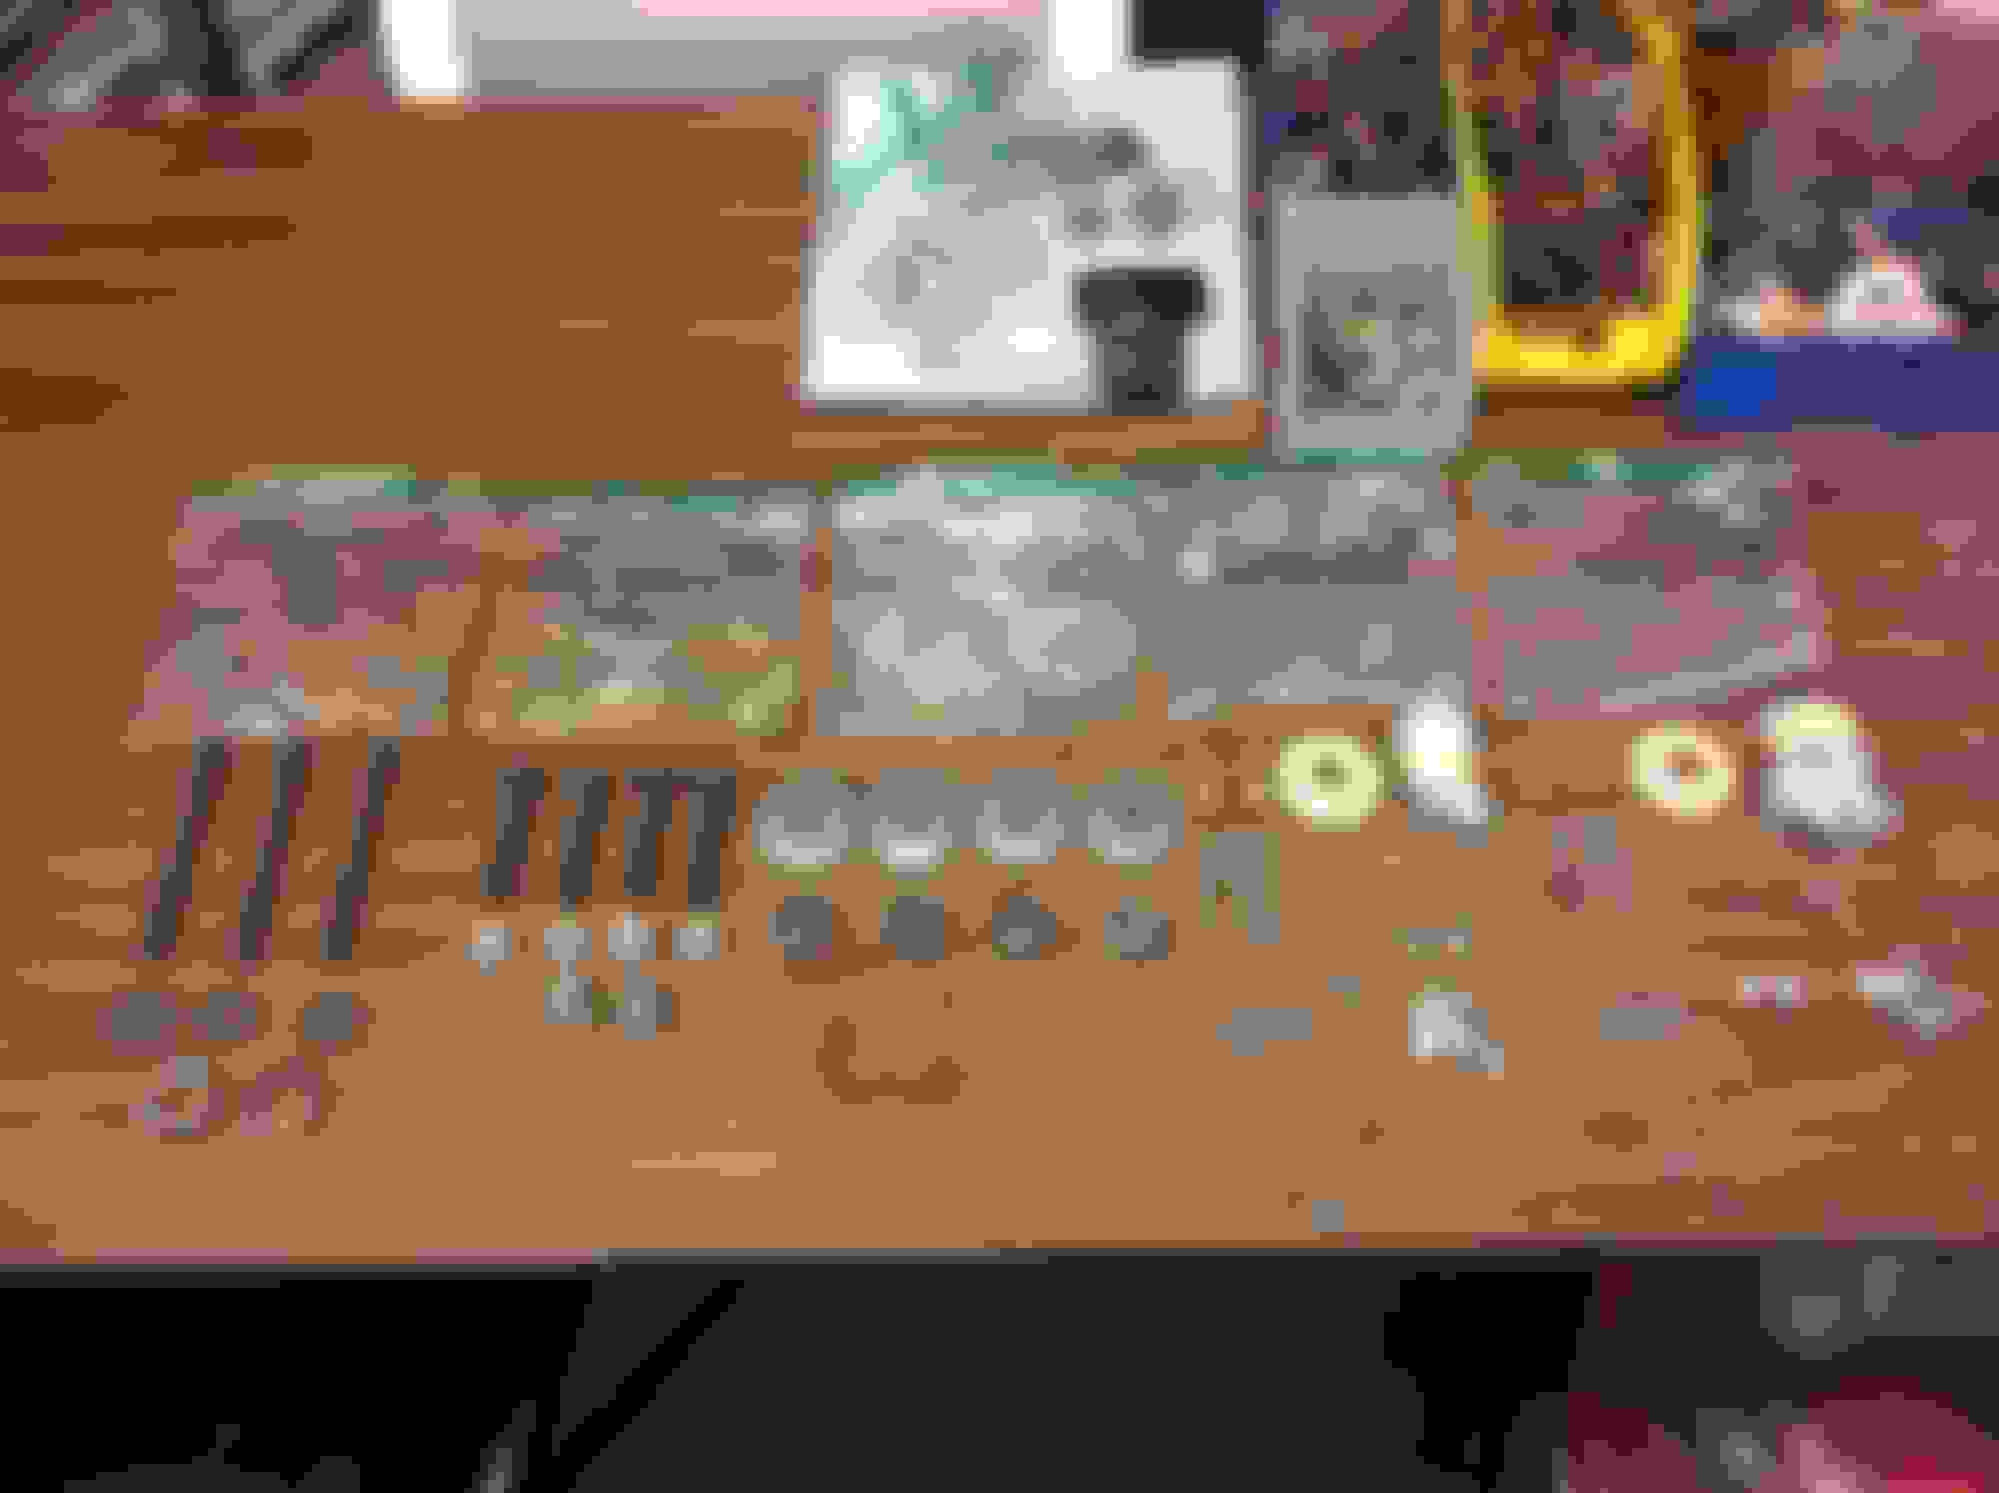
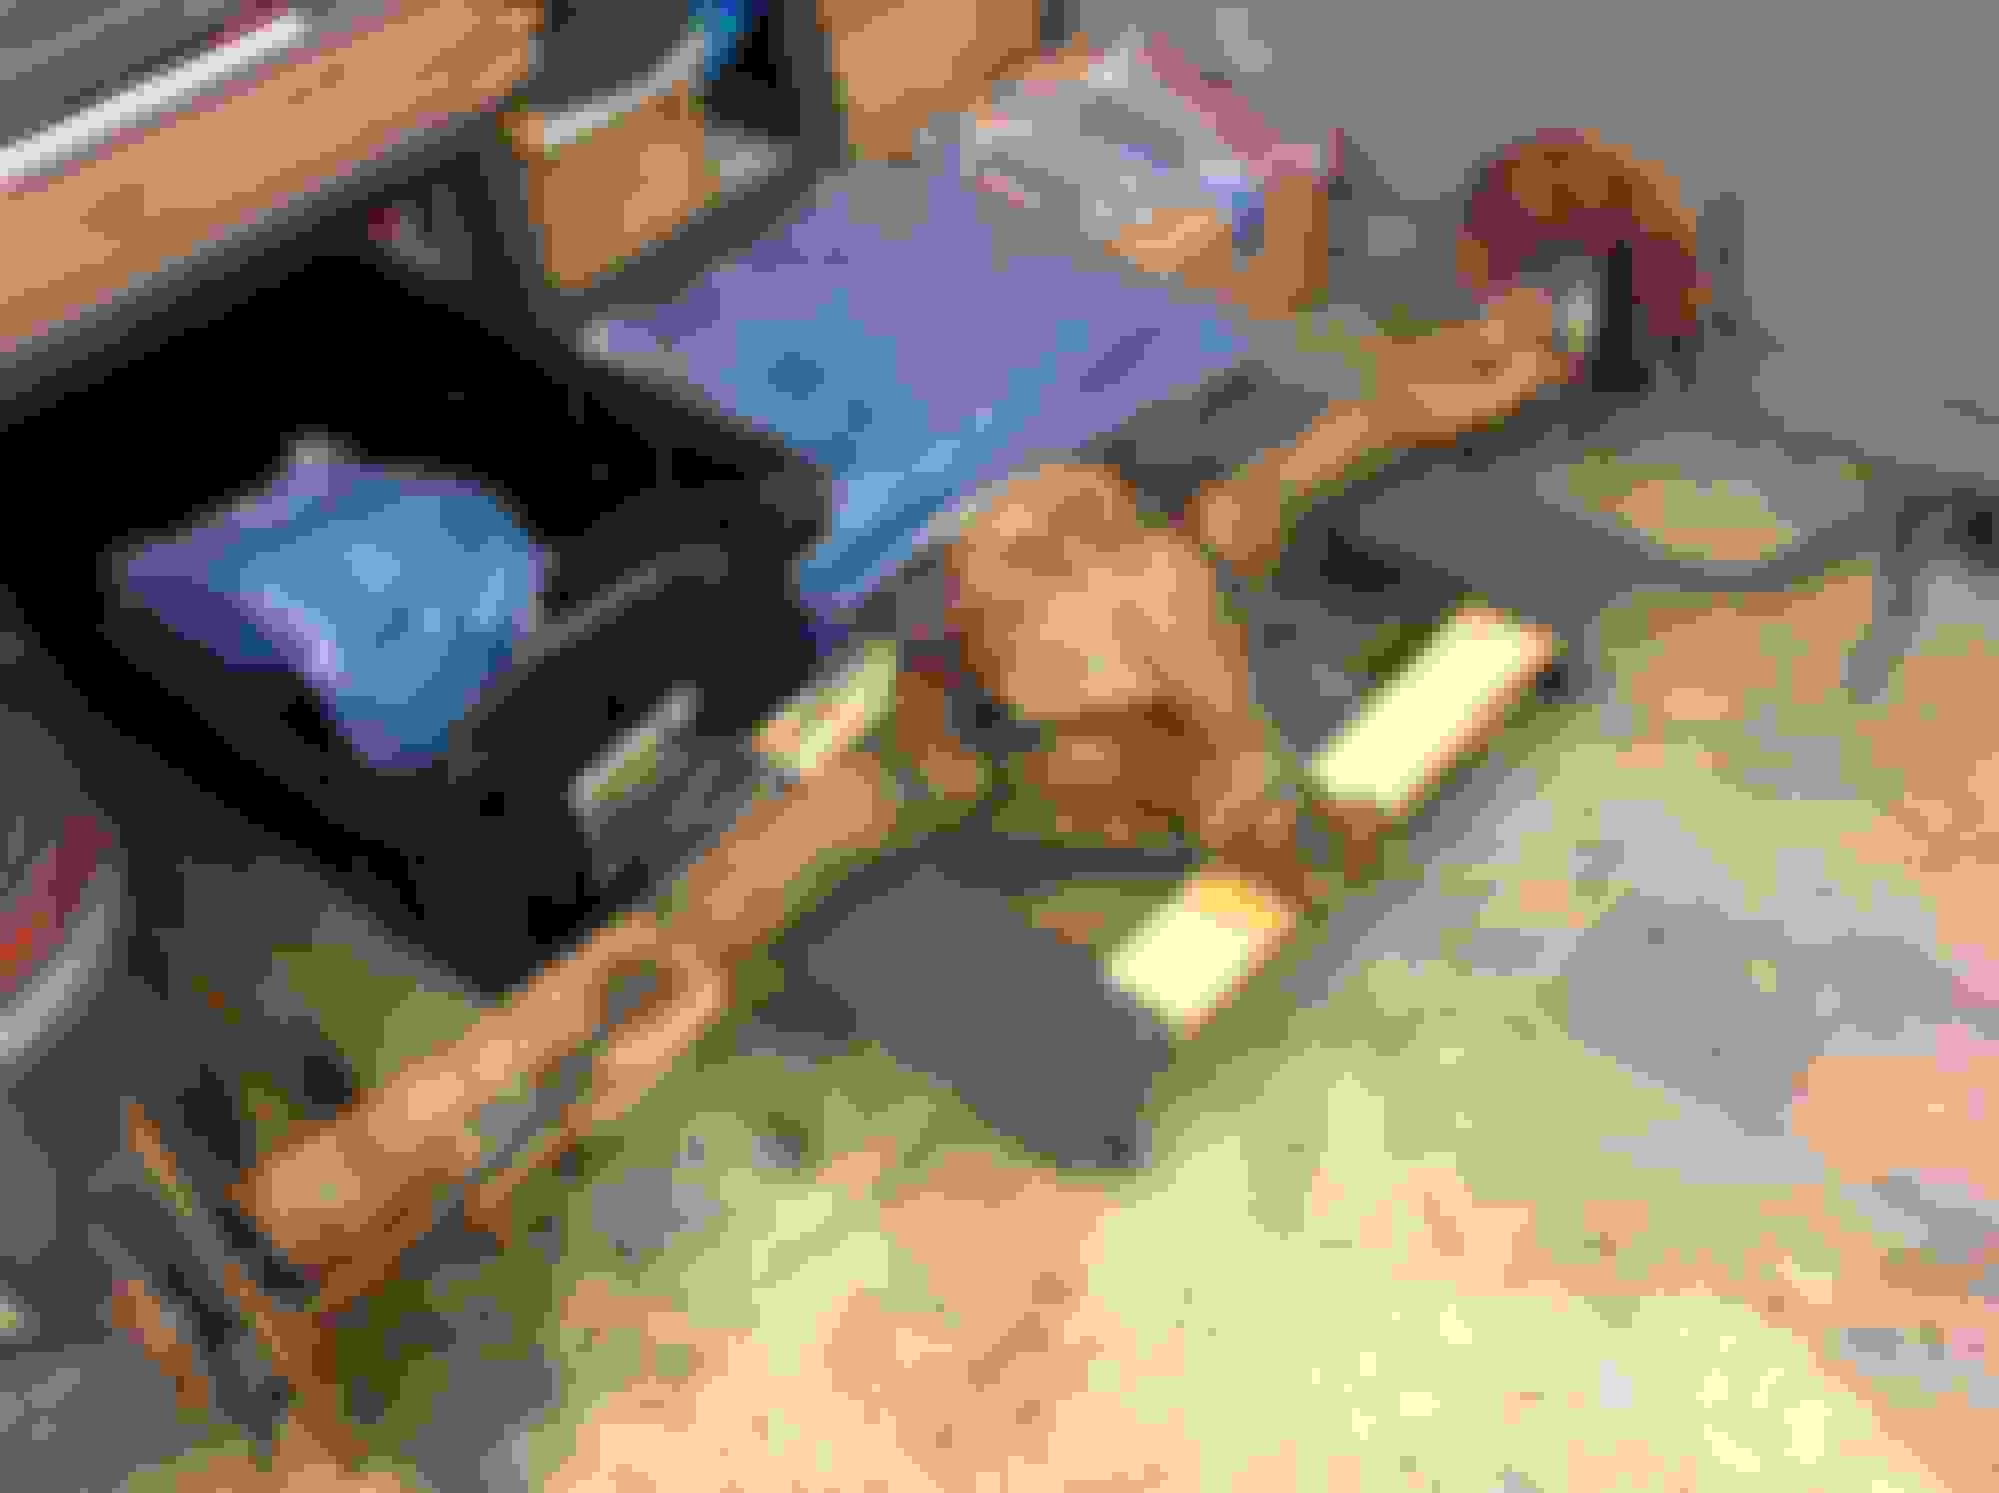
Here is a pic of the discarded bolt pile now. Again this does not include all the wrong oil pan bolts, valve cover bolts, and others replaced when I got the AMK kits:
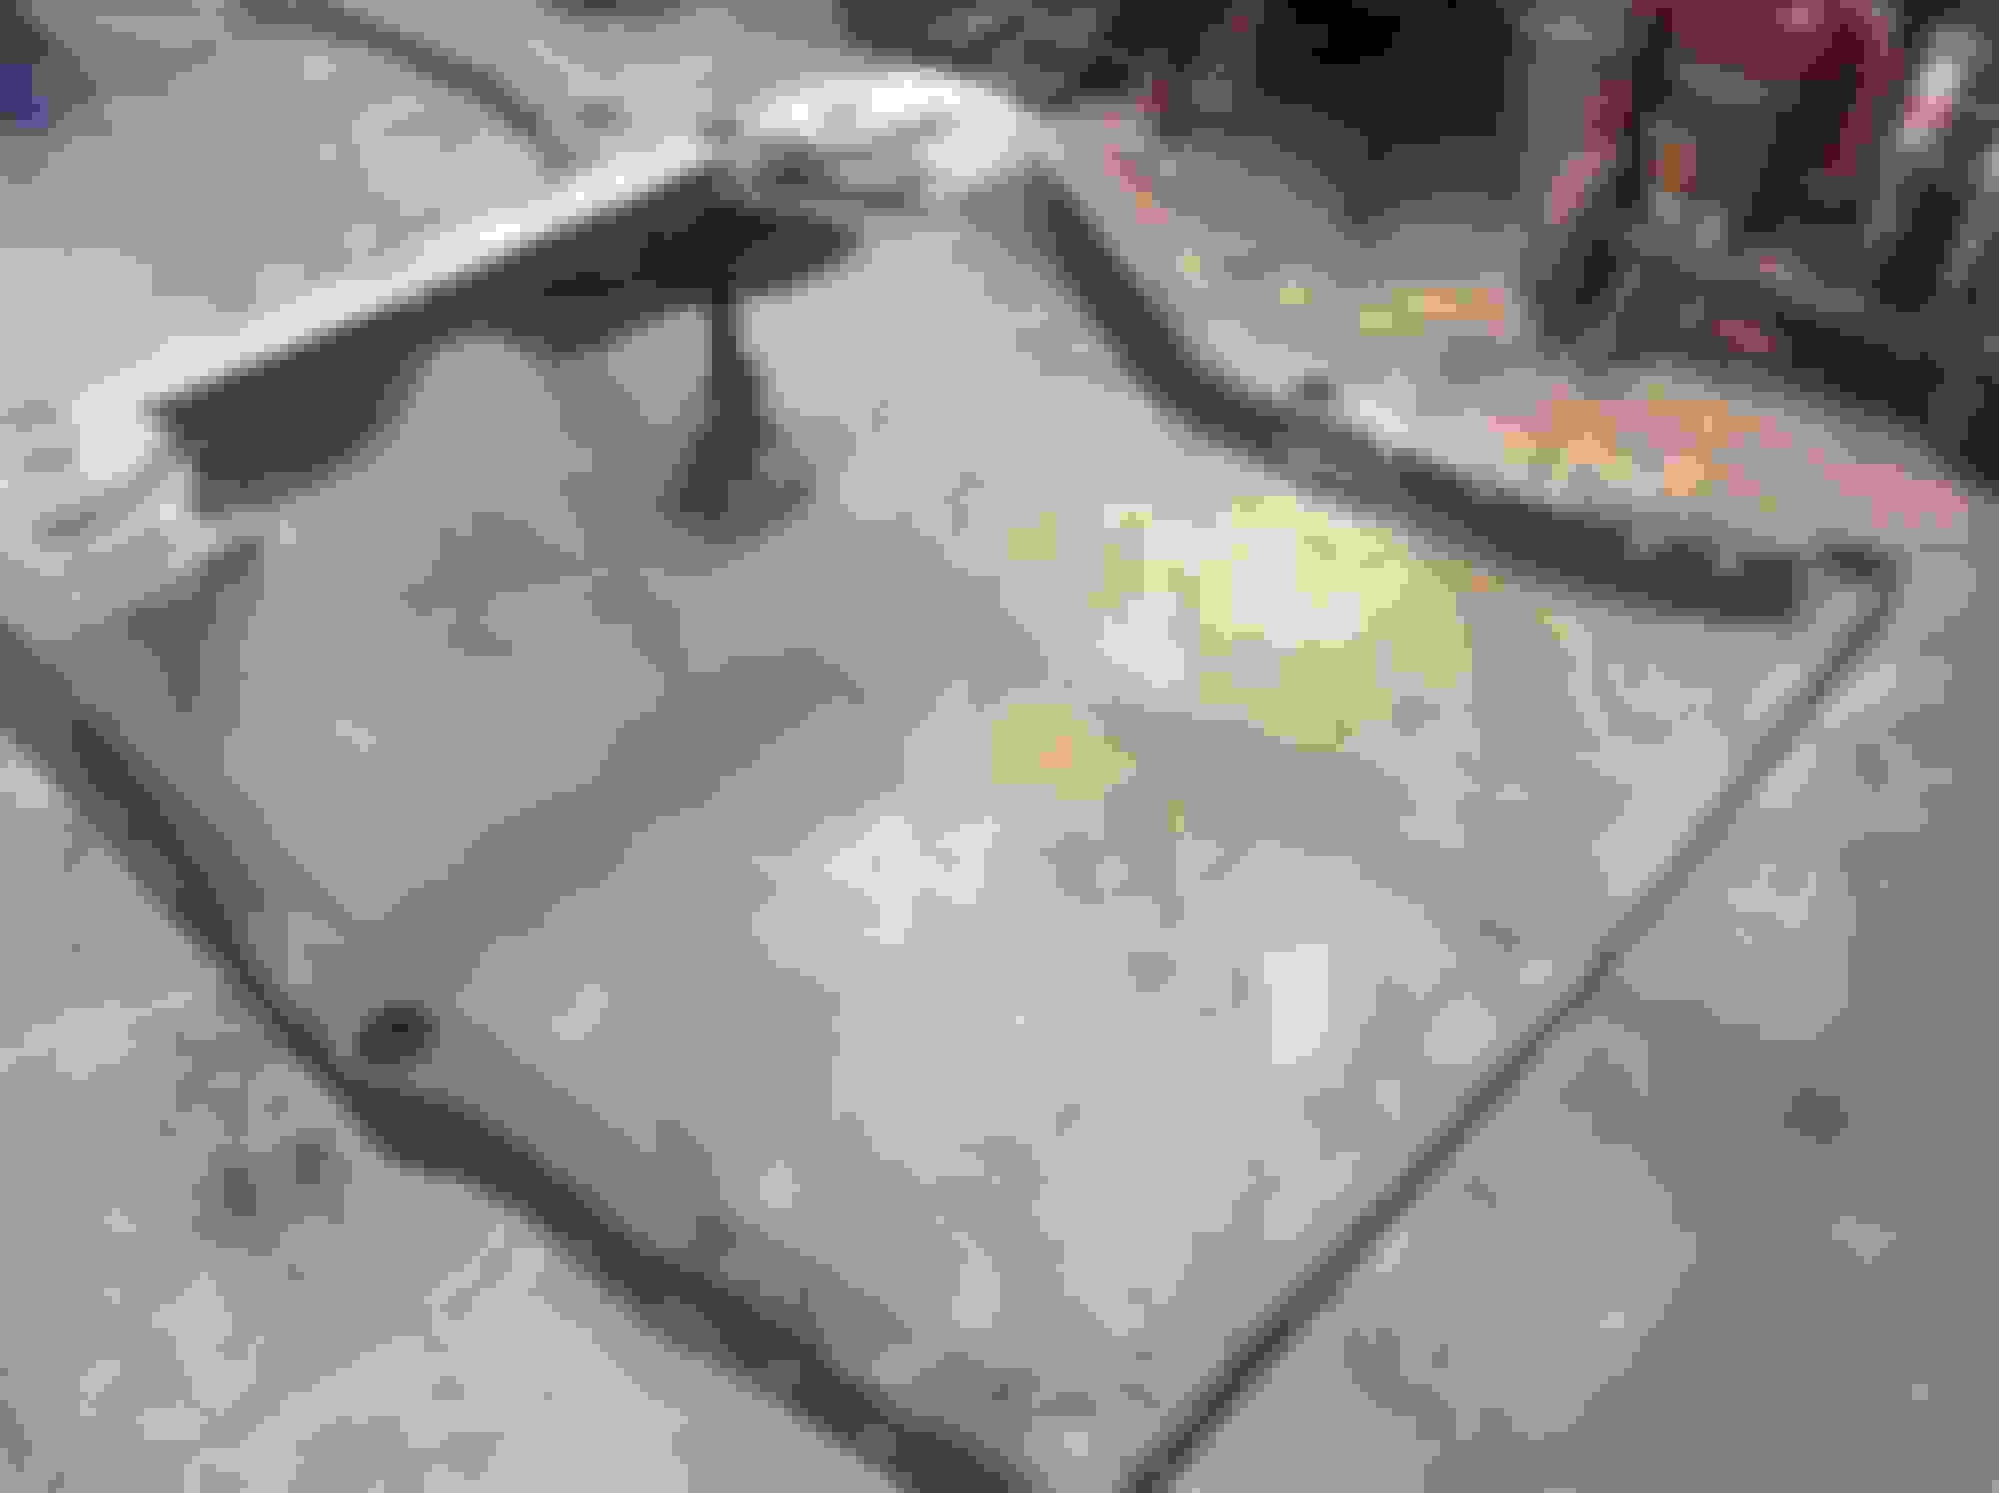
But, this here is pretty rewarding in getting everything ready before beginning the process - some baggies are done in 30 seconds - these are the motor mount to block bolts - ahhhhh.....
Will maybe log a little more work tomorrow AM, then be switching over to the Ford truck for a couple of weeks. Will also be sending off the carb to be rebuilt, engine to Tinker's Machine, radio and speaker to Freeman Tuell, OE A/C stuff to Classic Air in Florida, and plating to Al's Associates in Ft. Worth. Going to try Booster Dewey for replating this one - will report results.
[QUOTE= Going to try Booster Dewey for replating this one - will report results.[/QUOTE]
I used Booster Dewey for some parts on my W-30 and was very pleased with the work.
I have been taking tones of pre-pictures of our Jetfire today. Bolts and hardware are going to be an issue on this car. I am dreading them because they will be much more difficult than my W-30 was.
Last edited by jensenracing77; March 18th, 2018 at 04:25 PM.
I used Booster Dewey for some parts on my W-30 and was very pleased with the work.
I have been taking tones of pre-pictures of our Jetfire today. Bolts and hardware are going to be an issue on this car. I am dreading them because they will be much more difficult than my W-30 was.
I'm quite sure you will figure it out.
Did Booster Dewey do anything besides your Booster? Does he do other plating, or rebuild the hold off valve thing?
I went through and replaced some of the remaining interior fastener baggies with parts out of my good inventory. Have decided to order from AMK a couple of different fasteners in bulk that make up the majority of the ones left to do that are in poor condition. These, along with the cowl screen and hockey stick fasteners are the last ones I will need to get for this car, but I still need to get a set of MT flywheel bolts from another source.
Speaking of cowl screen, I also went through and poked out all the old adhesive still clinging to the screen and painted it. I think it is an original one since it has the "hump" in the right place. I used my old trusty semi gloss bumper paint - came out great.
David came over to discuss progress so far. Have decided to retain the power trunk opener, and replace the trunk light assembly (the lens housing is too yellowed to be acceptable) shifter ball etc....
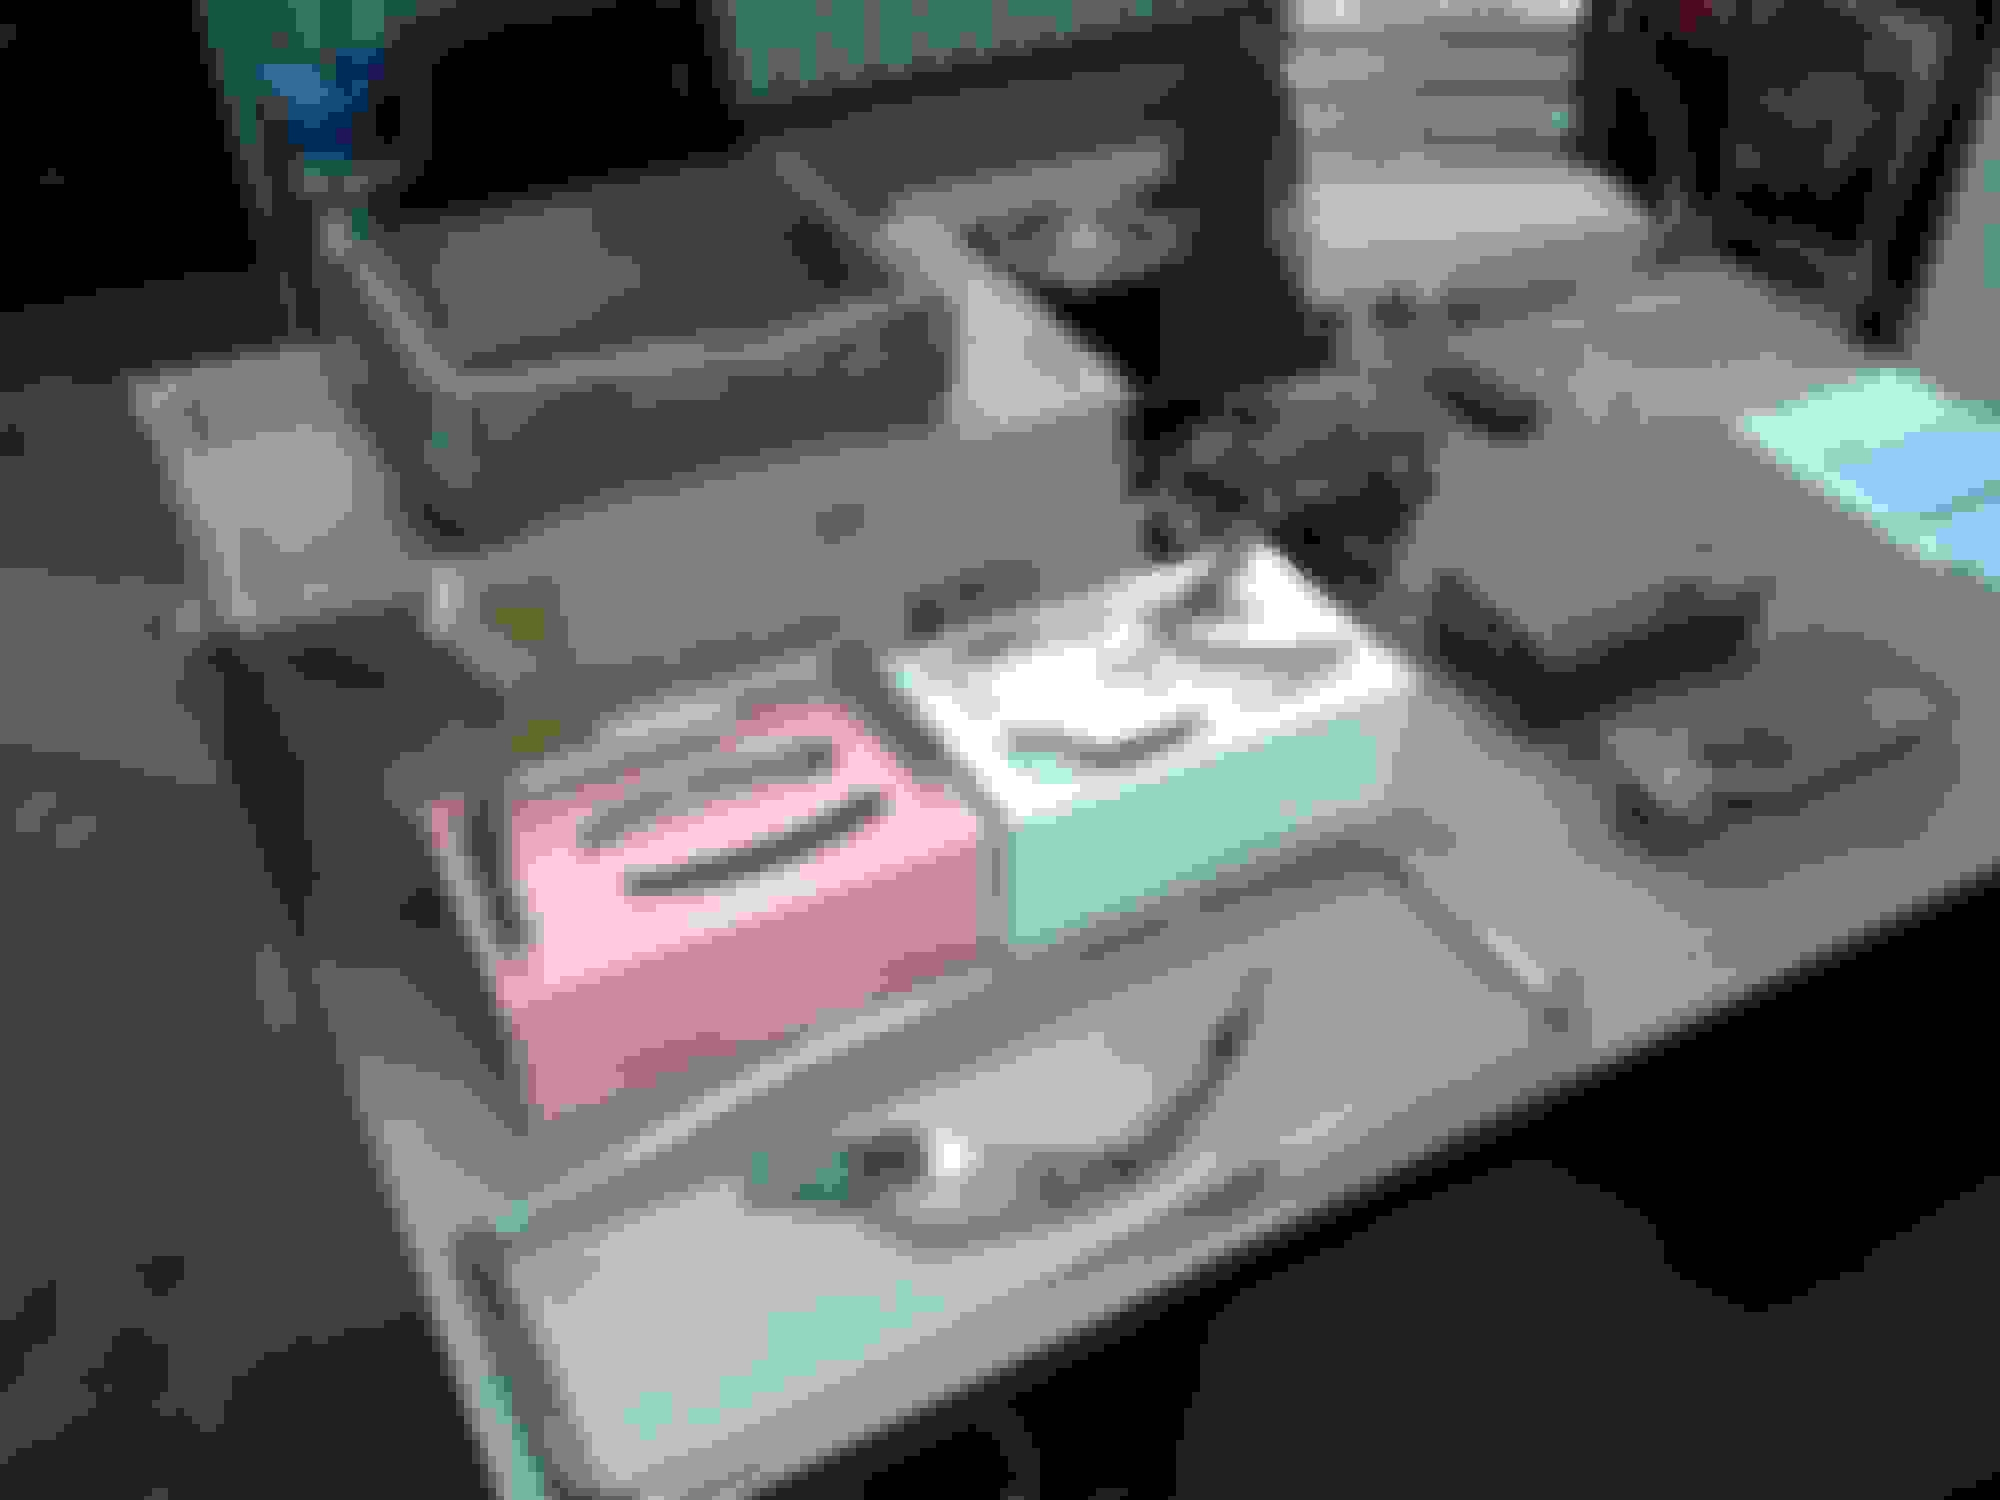
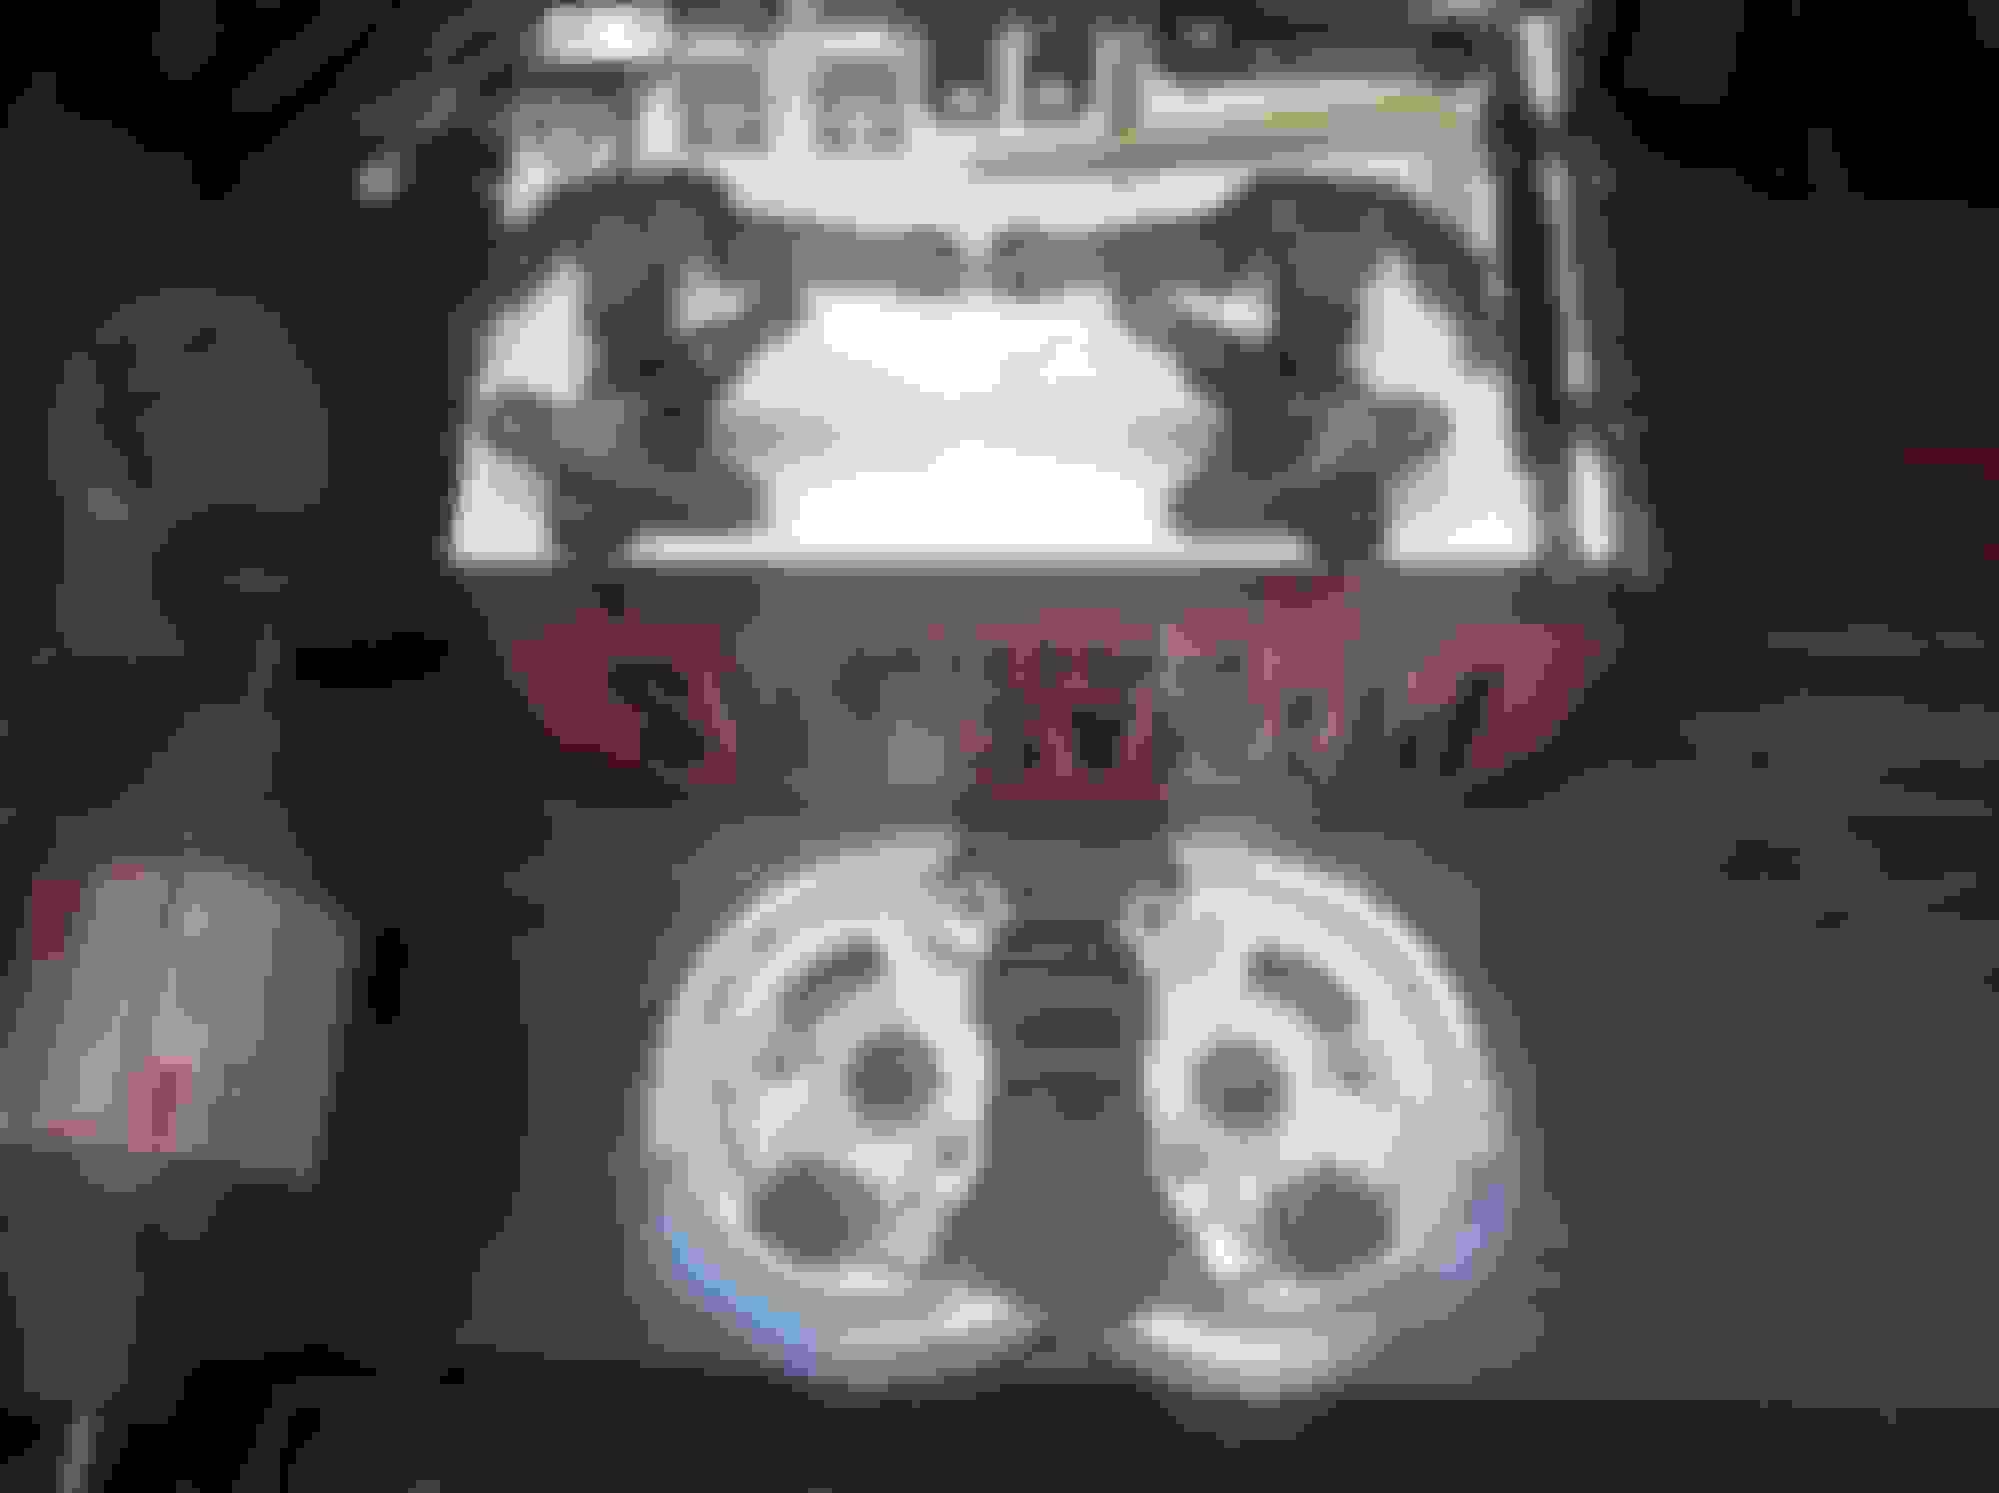
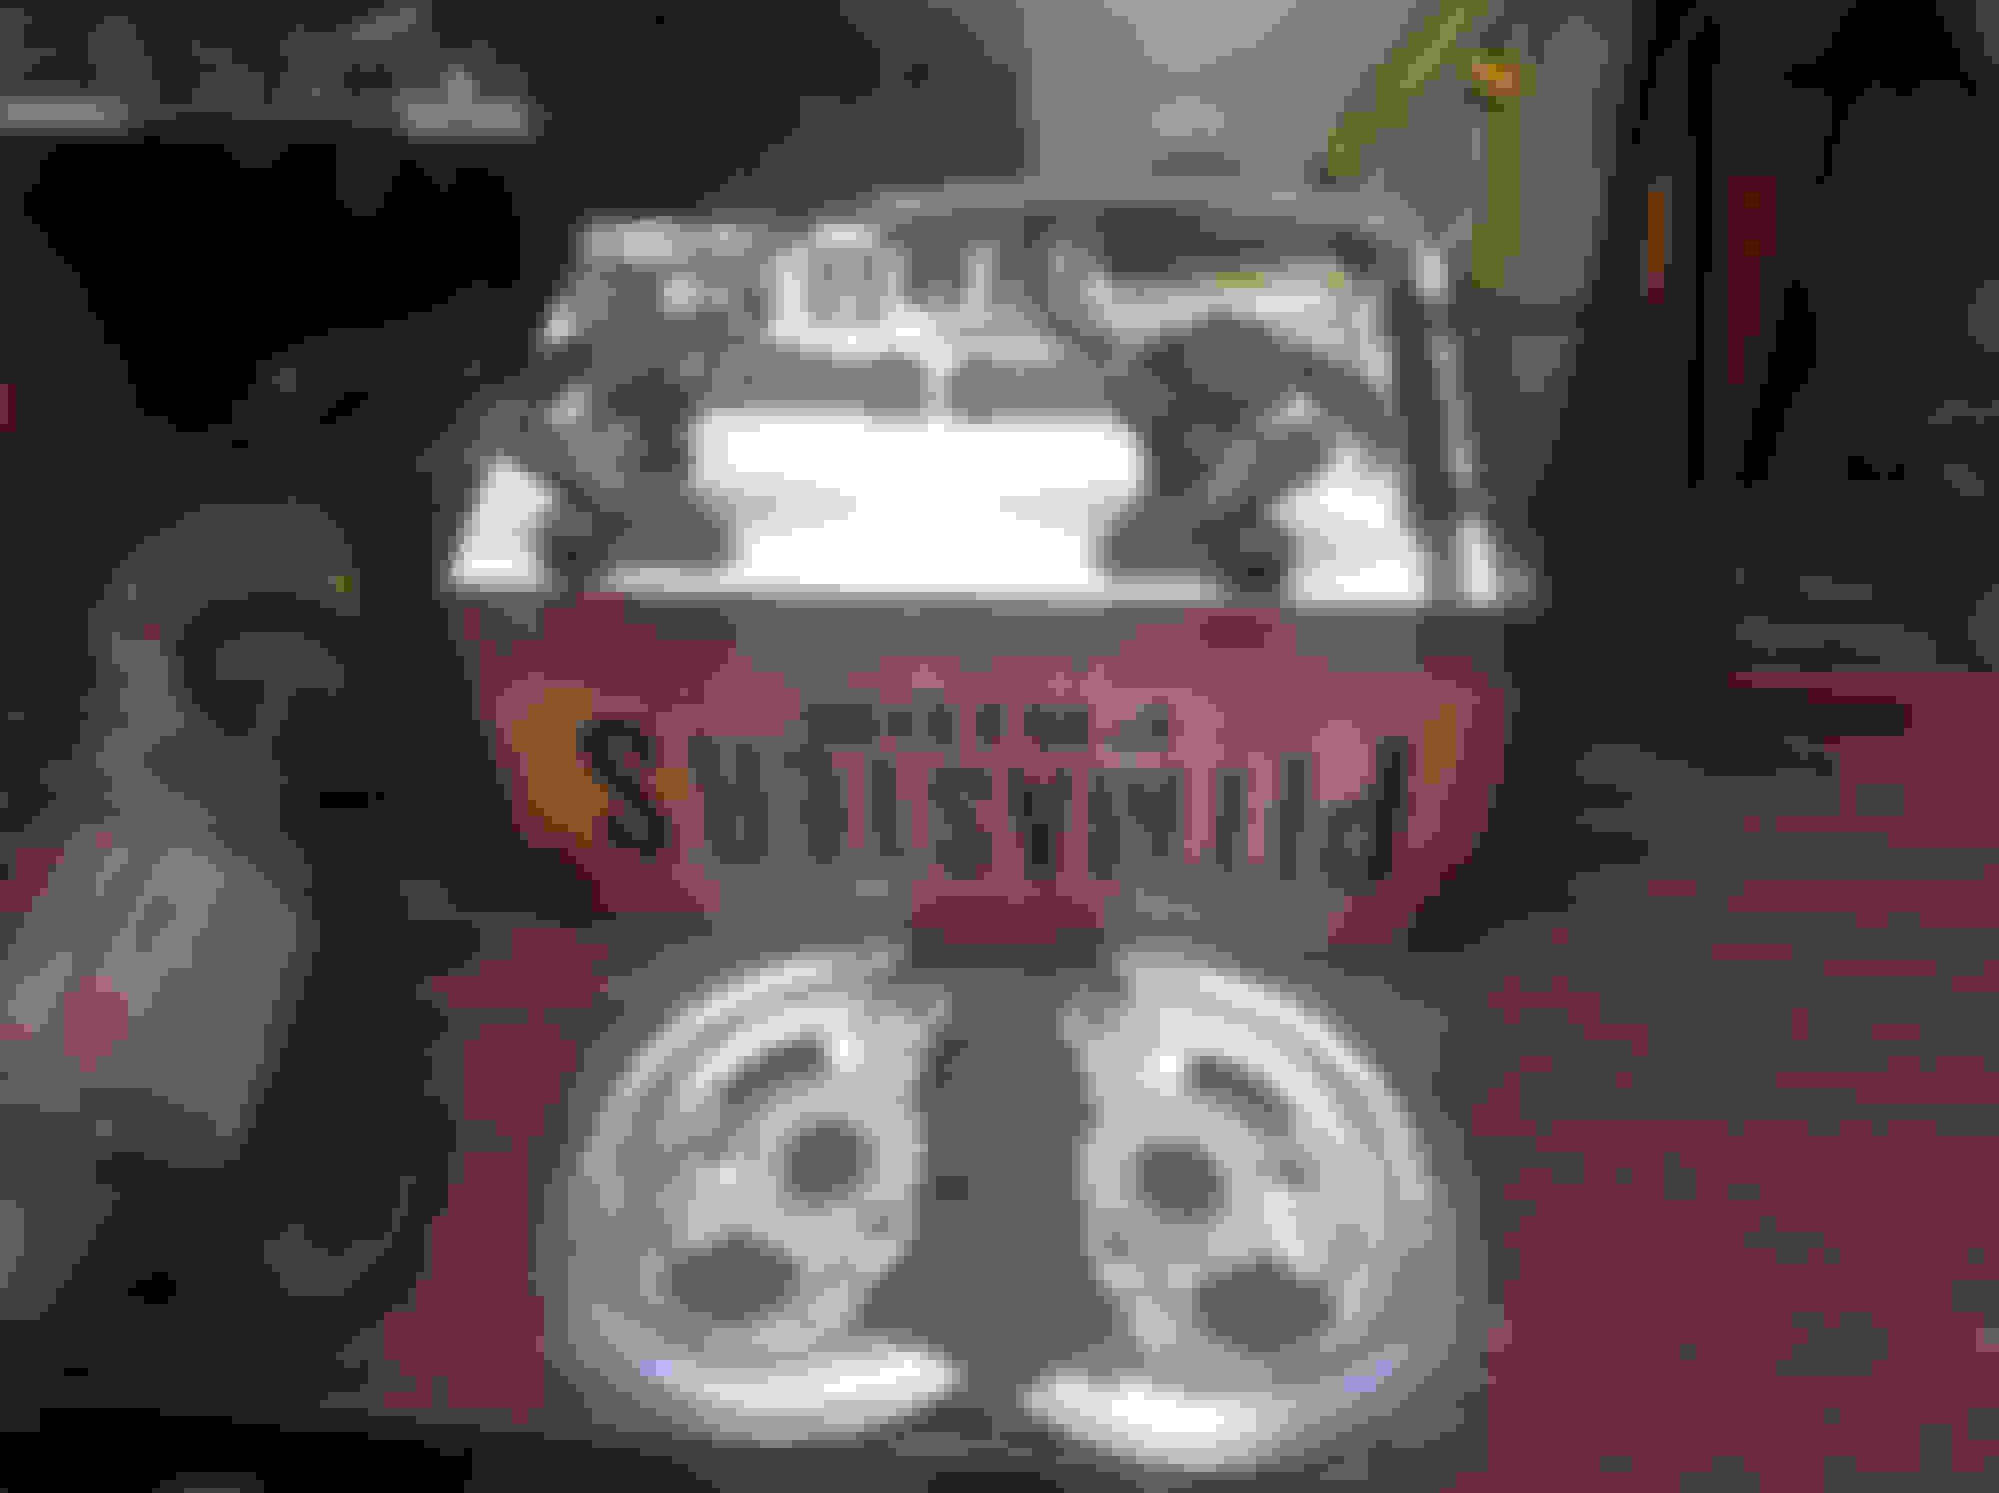
Today I took to work everything to be sent off for rebuilding. Will get it all securely boxed and on the way tomorrow. Picture of the items to be rebuilt and the brightwork being sent out - the rest I am going to fix/polish myself.
Lastly, the Goodmark rear bumper from Rock came in - it looks pretty good and at least to me VERY OE - but maybe not quite as mirror finish as the 1100.00 bumper rechromes I see on a lot of cars. And also, here's some pics and my observations of the repo wheel wells that also came in.
Overall I think they look pretty good - a lot of the apparent blemishes are just dust that wipes off. I did not have an original to compare to, but I can tell the wall thickness is significantly thicker than the originals. They don't flex as much. The biggest problem is that Rock Auto's drop shipper on this sent me two left wells. They really aren't going to like having to pay freight to ship me another one as well as ship the other one back.
Thanks for the commentary on the inner fenders. They actually look pretty good. Hard to believe anything is "thicker" than original! You might be surprised on what they do about the inner fender. I ordered a new gas tank from them for my car and it came in very slightly damaged. I sent them a pic, they told me to keep it and sent me a new tank at no charge. I was really surprised at the great service and attitude.
Today I received the big order of used parts needed from Scott Winn (Oldspackrat). More parts blasting to do, but we're getting close to the end of parts needed for this project.
Went through a few more baggies of interior fasteners I had cooking. Also, since I received all the correct A/C compressor brackets, I spent quite a while trying to figure out exactly what are the correct bolts to use since all the ones used in the 73-up brackets that were on the car were different and of the hardware store variety. Slowly remembered how many unique bolts are used in the compressor bracketry.
It is getting hard to switch back and forth between this car and the Ford truck. I like doing our cars a whole lot more.
A tiny bit more then off to Blue Oval land for a bit (1 1/2 hours)
Soaked the head bolt set I got from Scott overnight, wiped them off then cleaned and Wirewheeled the heads, shoulders and threads. I don't like the way the threads on one of the 13 regular bolts looks, so I'll be looking for one more
I had to take the bracket off the front speaker before sending it off to be reconed, and saw it was more corroded on the side that faces the dash than I thought. Evapoed it, and painted with that "galvanizing" spray paint. Does not have the flecking, but does have an interesting metallic glow to it in person. I'll have to try finding other uses for it:
Lastly,after being knocked over with price quotes to restore the AM radio by the various radio repair services, I found a good used operating unit from Greg Gordon with a pit free faceplate for a much more reasonable cost. Will do our usual detailing and call it good.
Hello, thanks for asking. Still working on the Ford but have received the rebuilt/replated booster from Booster Dewey and carb from Carb Junkies. Both look great. Car is still at paint and body, but the frame has been straightened and cracks fixed, extra firewalls holes filled and LH fender had the crash bumps removed. Still has a considerable amount of work to do on the trunk floor and weatherstripping channel.
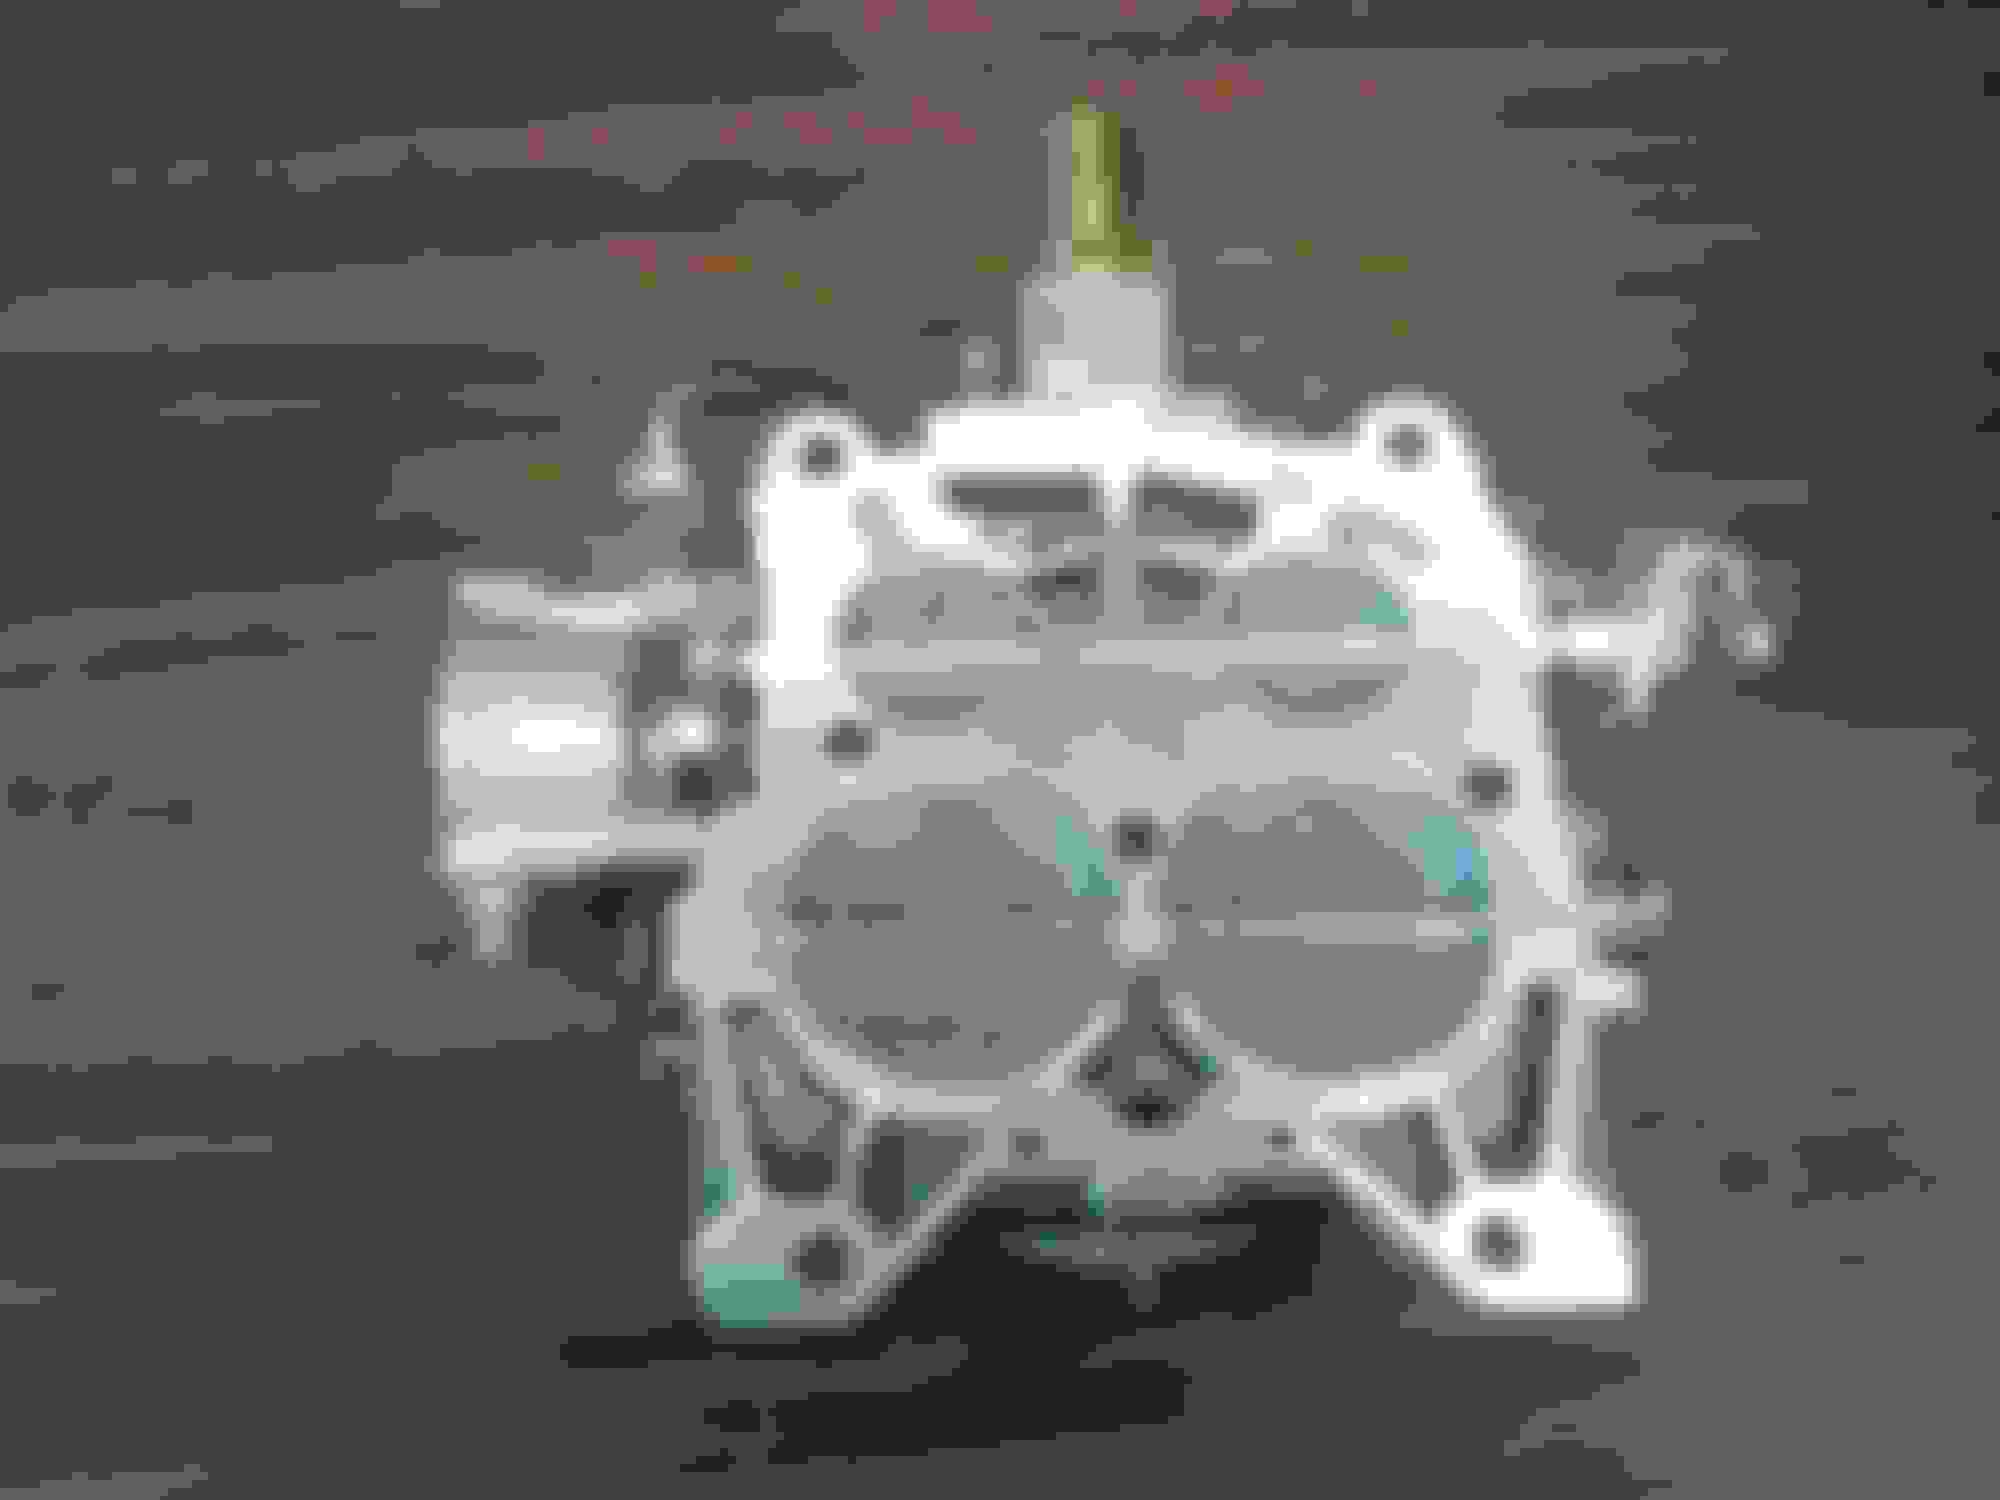
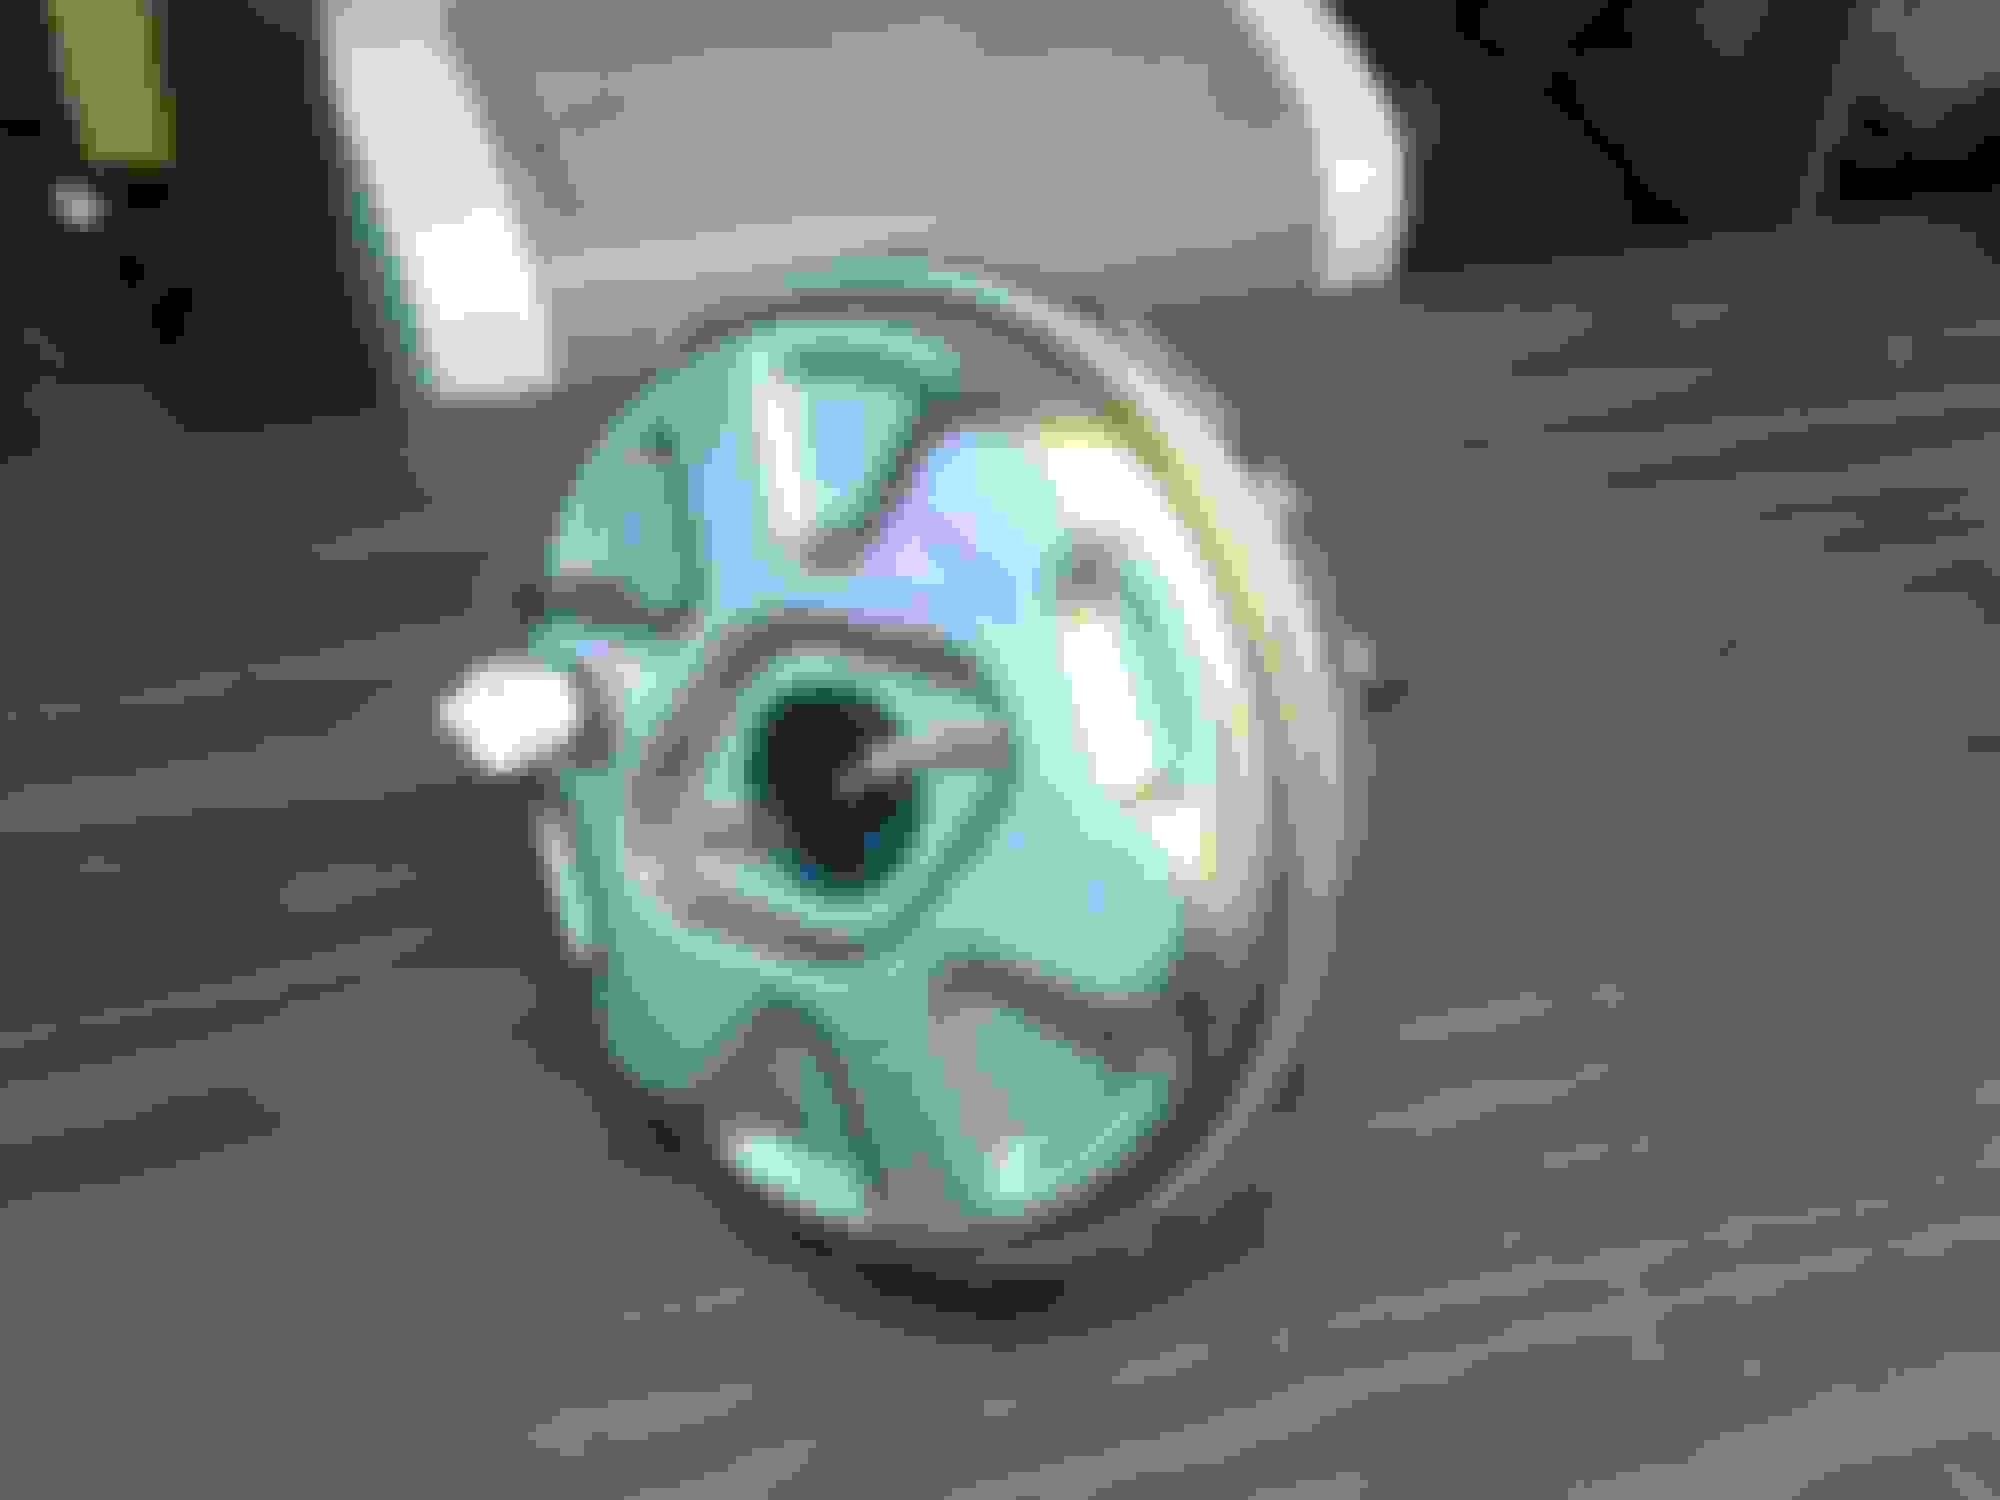
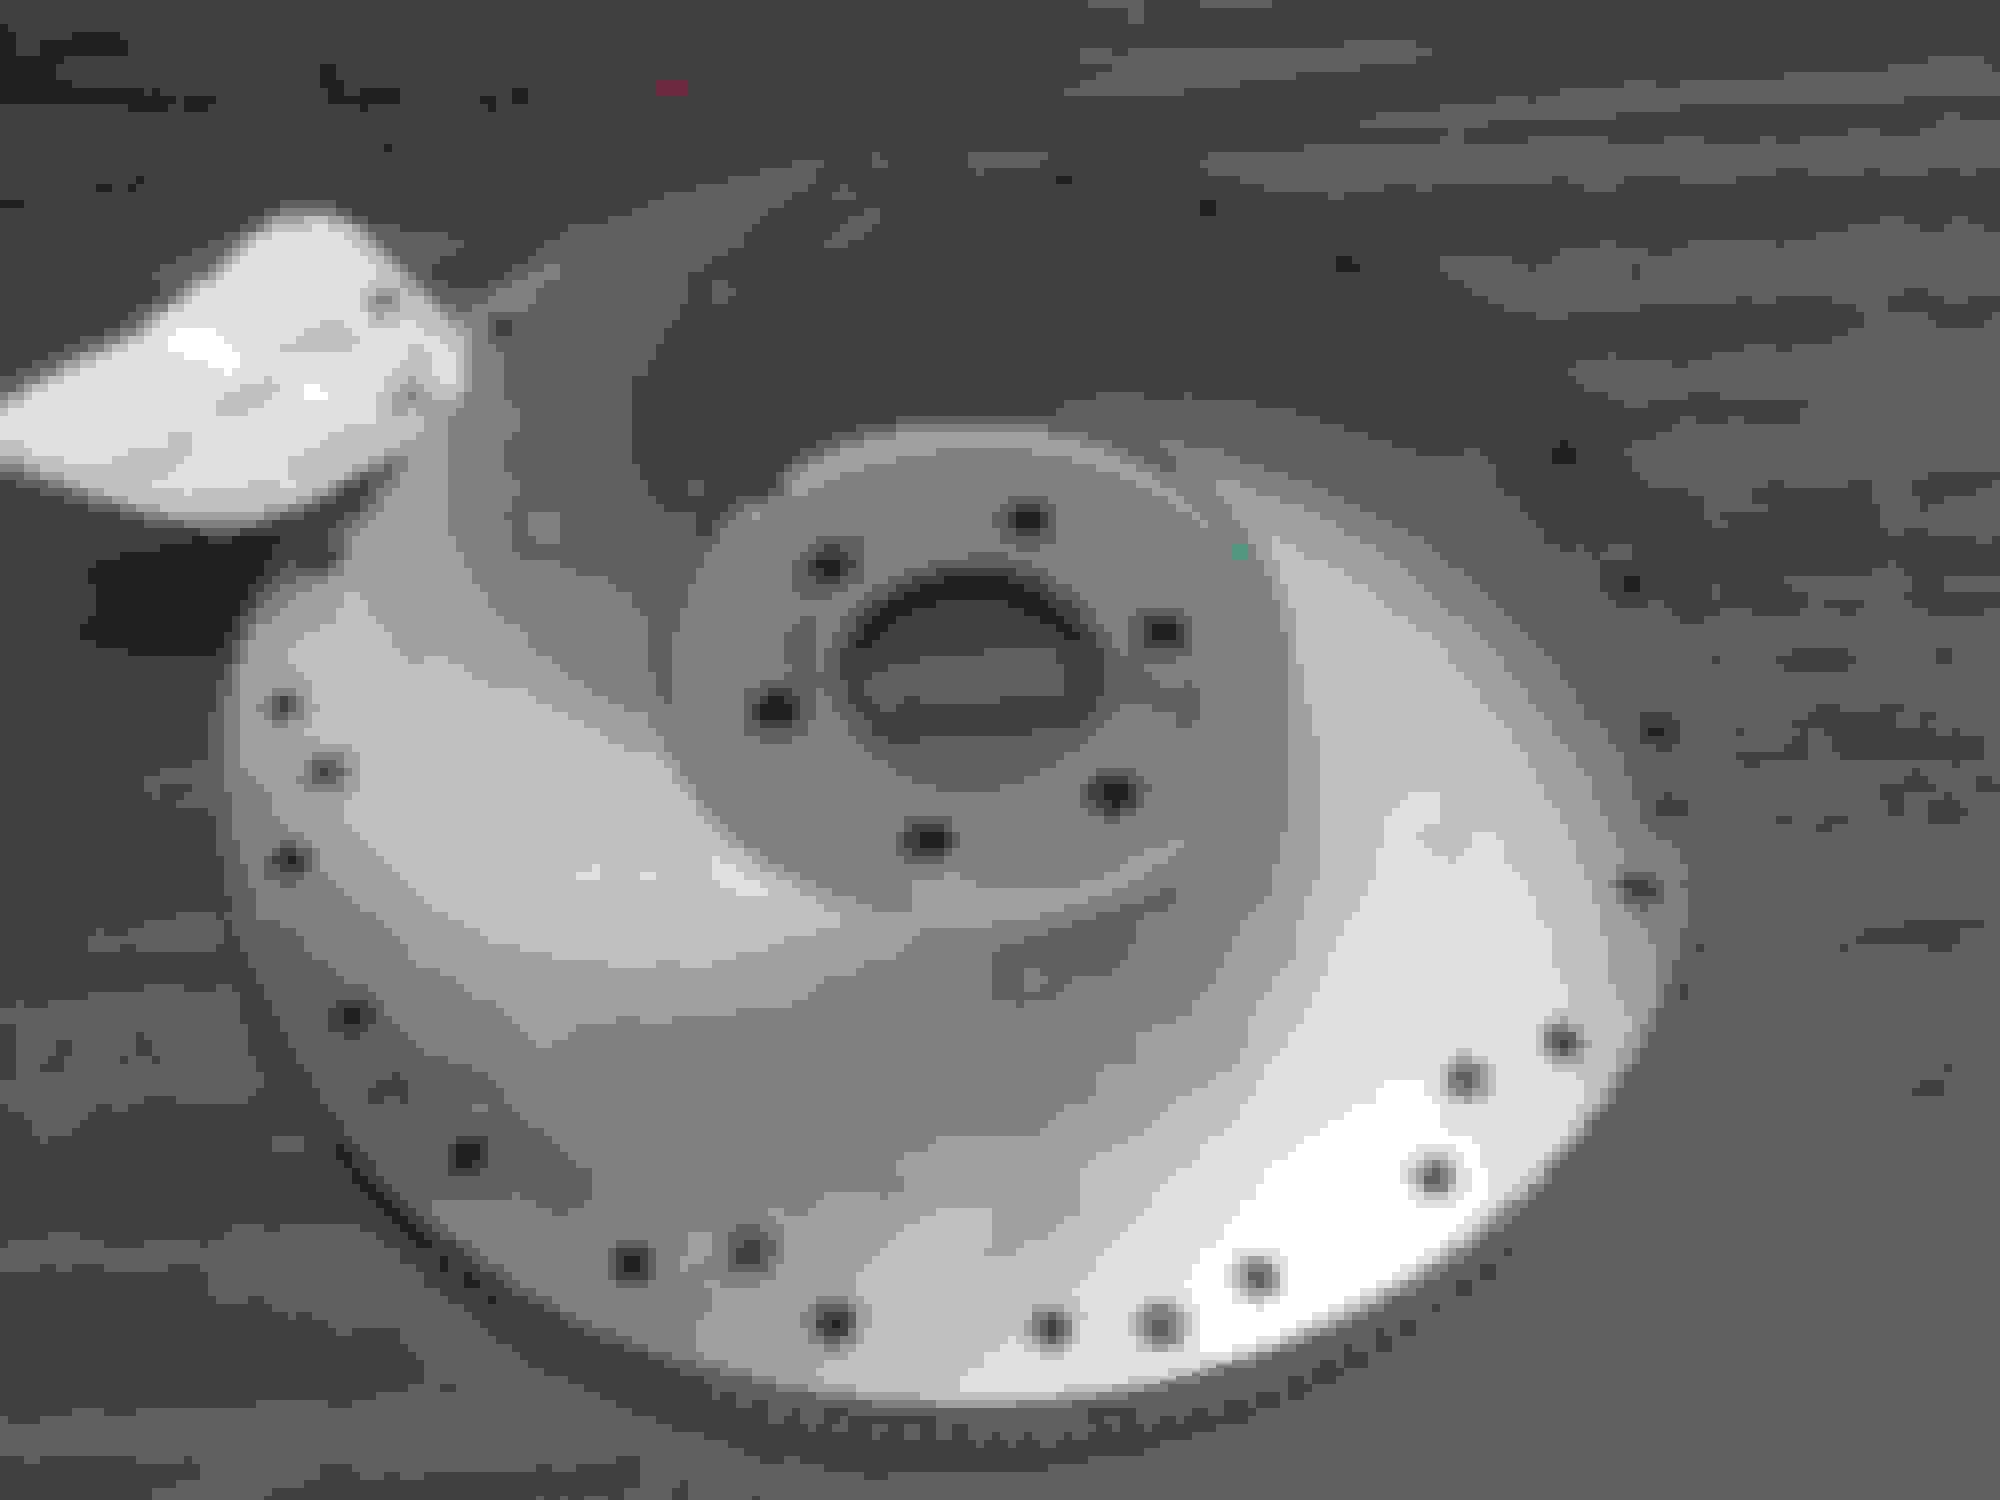
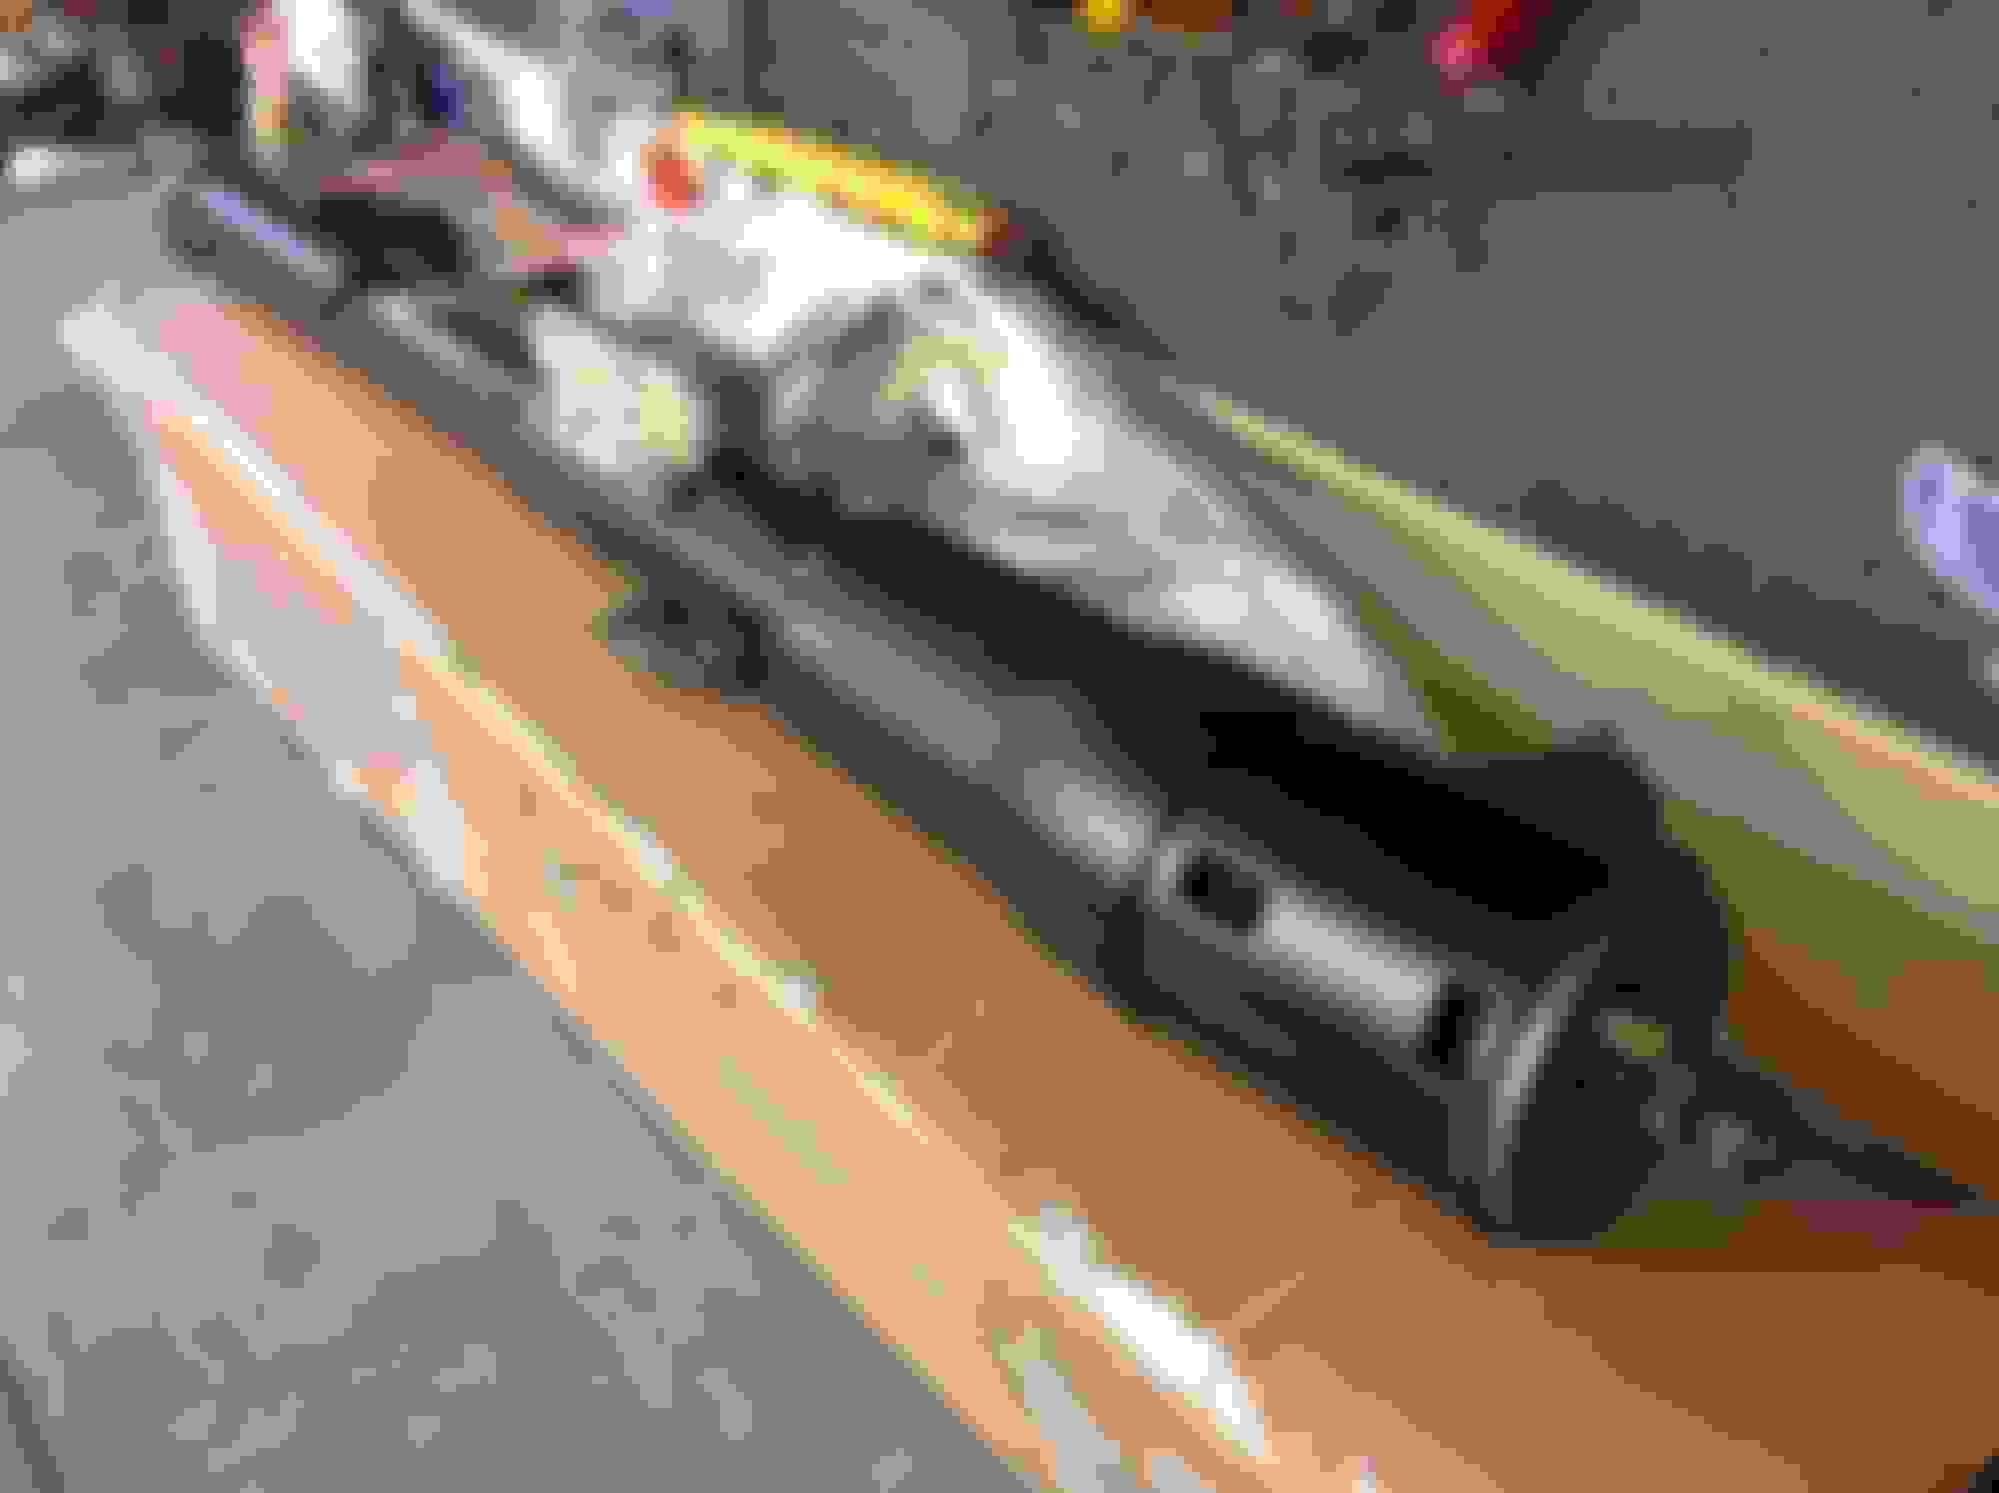
Received in the resurfaced flywheel with new ring gear installed. Pics of it, carb and booster below. This booster had to be polished so most of the Delco Moraine stamping is gone, but a little remains in the upside down inboard position.
Rechroming and trim refinishing to Al' s Associates should be completed next week, and the AC parts to Classic Air in Florida can't be found, yet they received them - sigh...
Still Fording away. This blue ain't the same as our beloved 455 color.
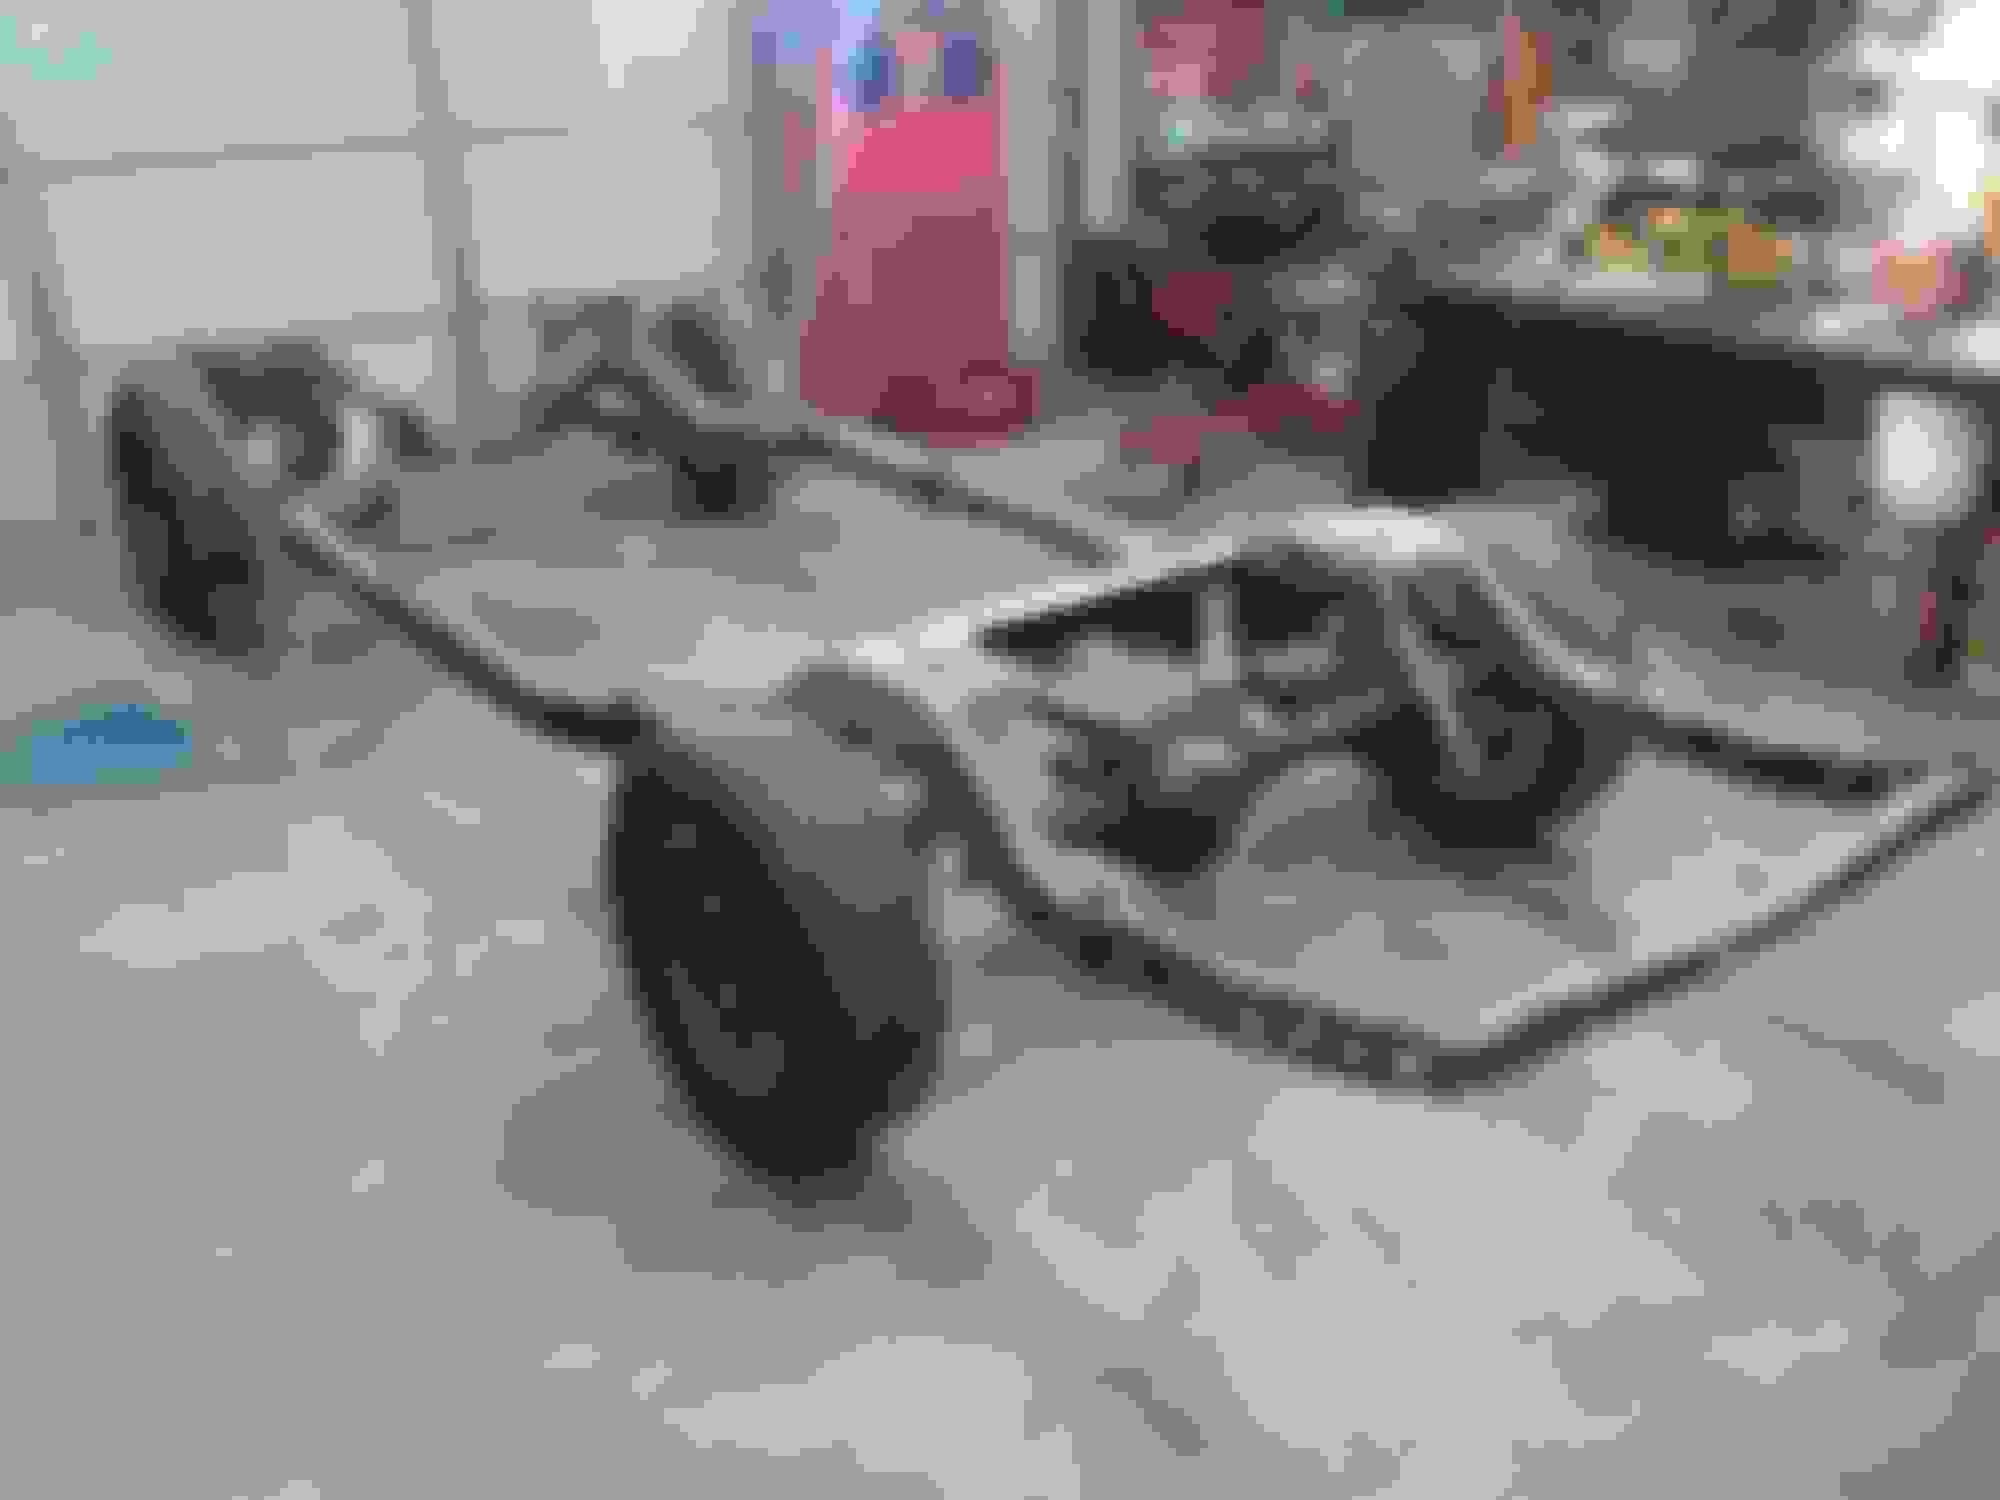
I received the rolling chassis back from the painter last Friday after he had removed the body, support, doors, fenders, trunk and hood.
I will be needing to find a package tray/upper trunk lip section of metal - this one is toast. The inside curved piece is way, way worse than it looks in this pic, holes in the package tray itself, and the trunk weatherstripping channel is rotten with lots of holes.
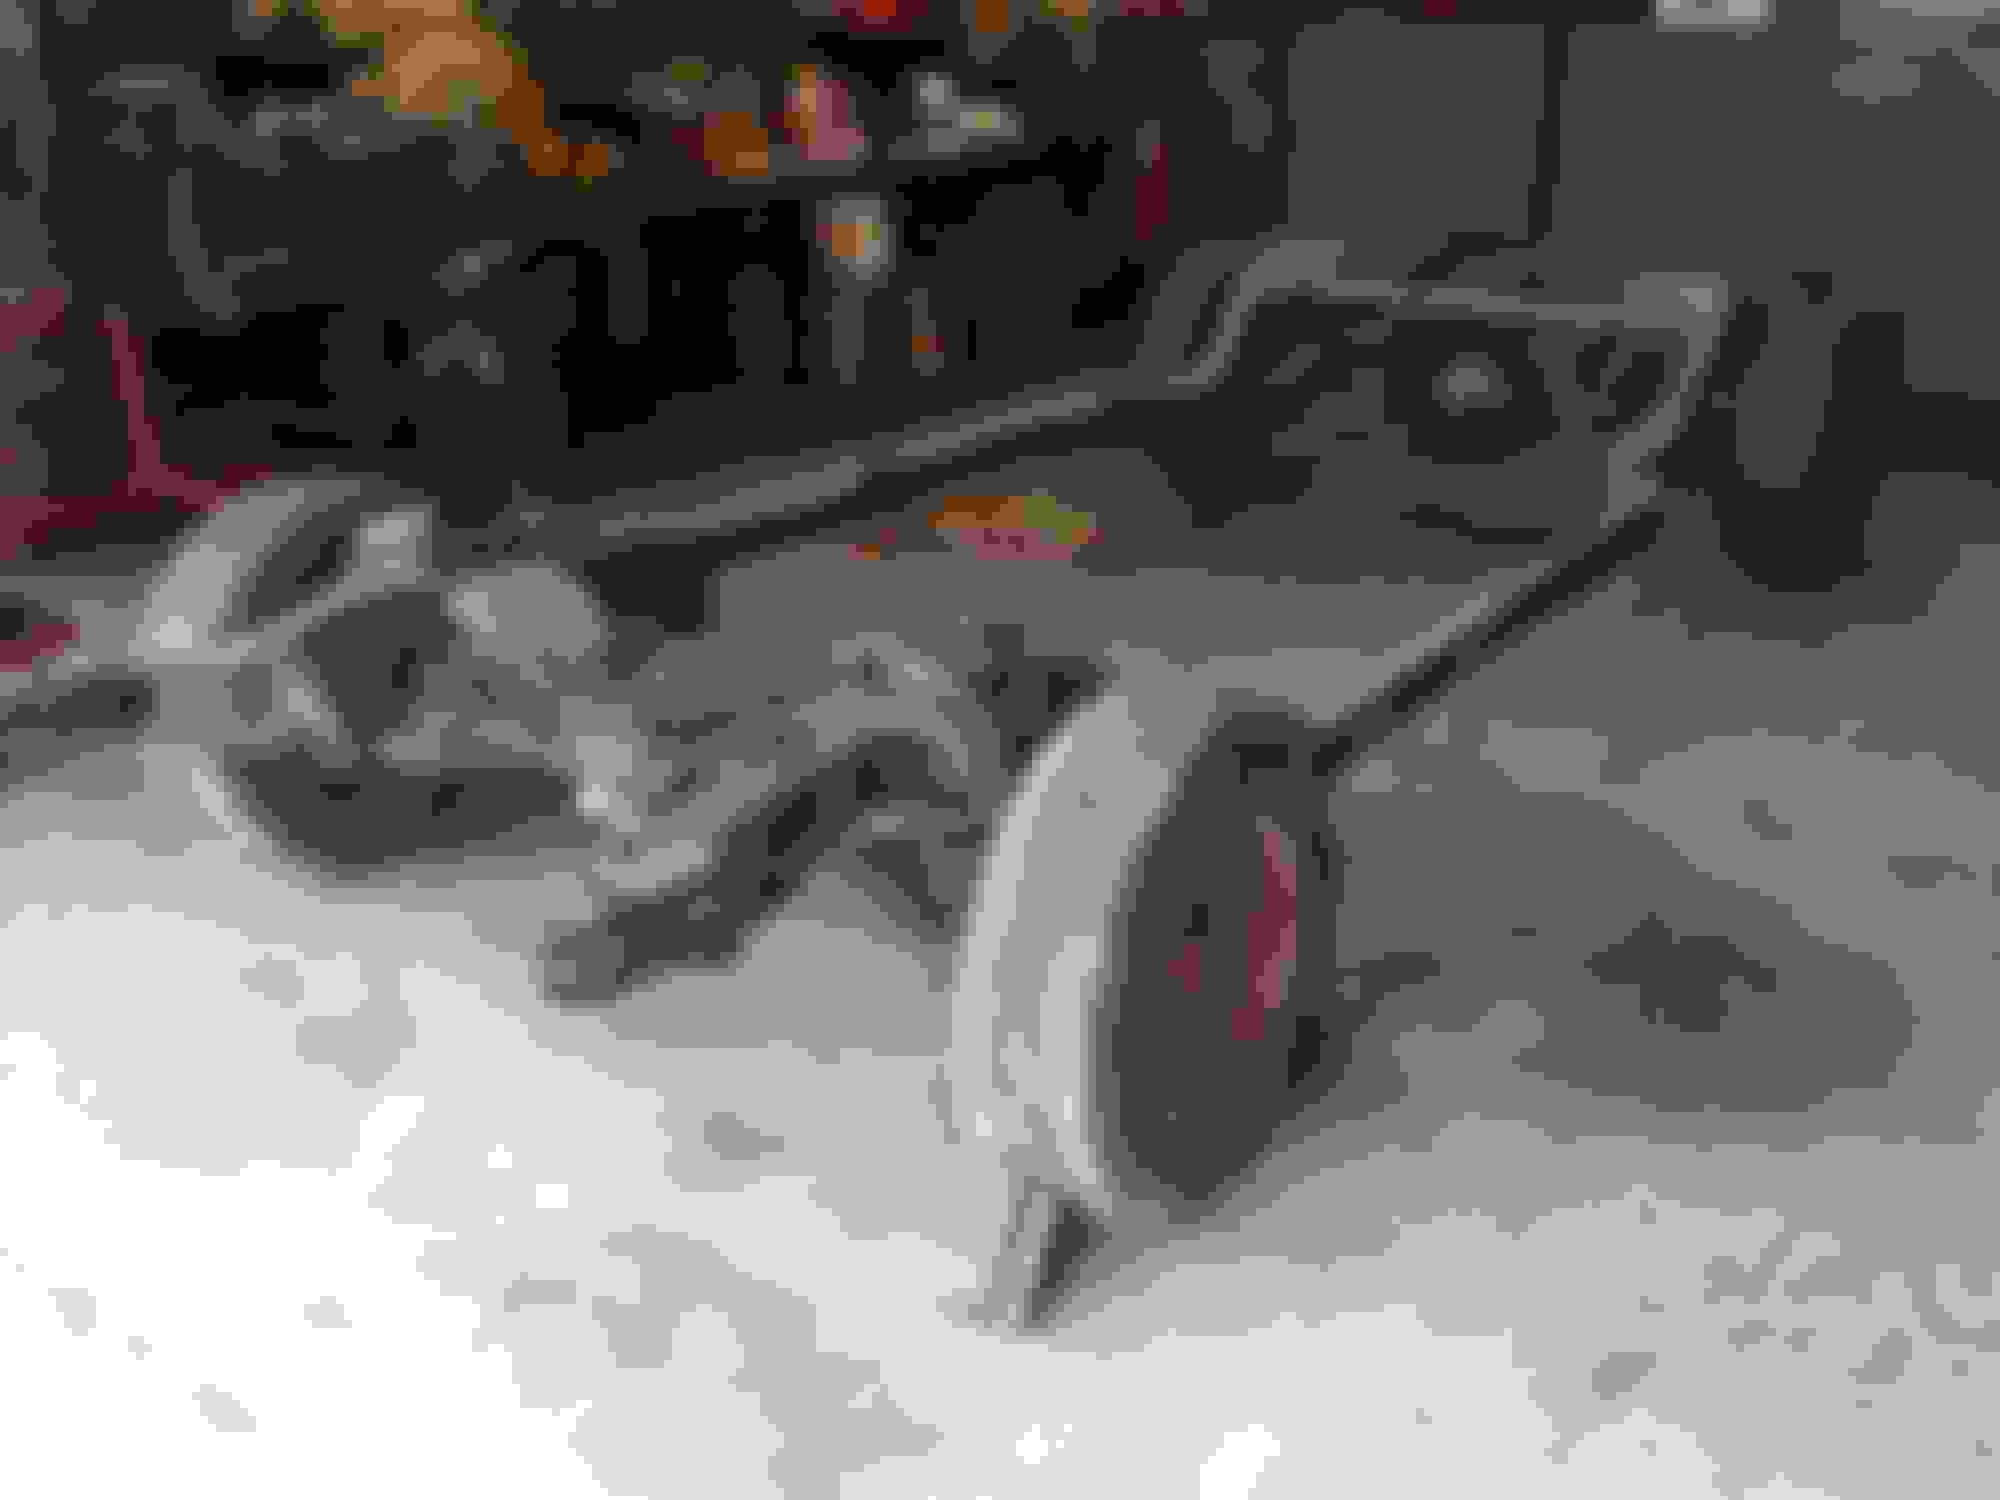
So today, I thought I would challenge myself to see how long it would take me to completely disassemble the chassis without hurting any parts or myself. The goal was, as usual, bagging and tagging all fasteners, sort and make a determination as to how each component will be refinished, and put all the tools away afterwards. Had air tools, a good cordless impact, but no lift.
Got it all done in seven hours working by myself. It all went pretty well - I started from the front and worked my way back. As always, removing the front springs are hairy, but I'm getting more and more used to it. Took lots of pictures of the brake and fuel line clamps seeing as this is a New Jersey car - they somehow look different than the Lansing ones.
Items I was not able to save - main brake line from dist. block to rear hose, one of the steering arm to spindle bolts, and several rear control arm bolts. (threads damaged during disassembly) Also two of the frame mount holes have significant wastage, but considering all the rust in the body itself, the frame is amazingly rust free with no scaling present.
Will be sending off the frame itself, all control arms (after removing bushings/ball joints), 442 cowl and rear axle braces, and a couple of minor pieces to get powdercoated. I have approx. two months to get this back to roller condition.
Glad to see you're back at it, Joe. Nice work on stripping the frame. Question on the reproduction inner fender wells you picked up. What do you think of the quality? How close are they to the originals?
Glad to see you're back at it, Joe. Nice work on stripping the frame. Question on the reproduction inner fender wells you picked up. What do you think of the quality? How close are they to the originals?
The set I got seem pretty good to me. They seem slightly thicker in construction, but dimensionally and in asthetic appearance they are accurate. Not looking forward to installing the A frame flaps.
Oldmobiling again (7 hours)...I received the rolling chassis back from the painter last Friday after he had removed the body, support, doors, fenders, trunk and hood.........
This is the best time to "Document & Photograph" the VIN stamping on the chassis for future reference and number matching authenticity.
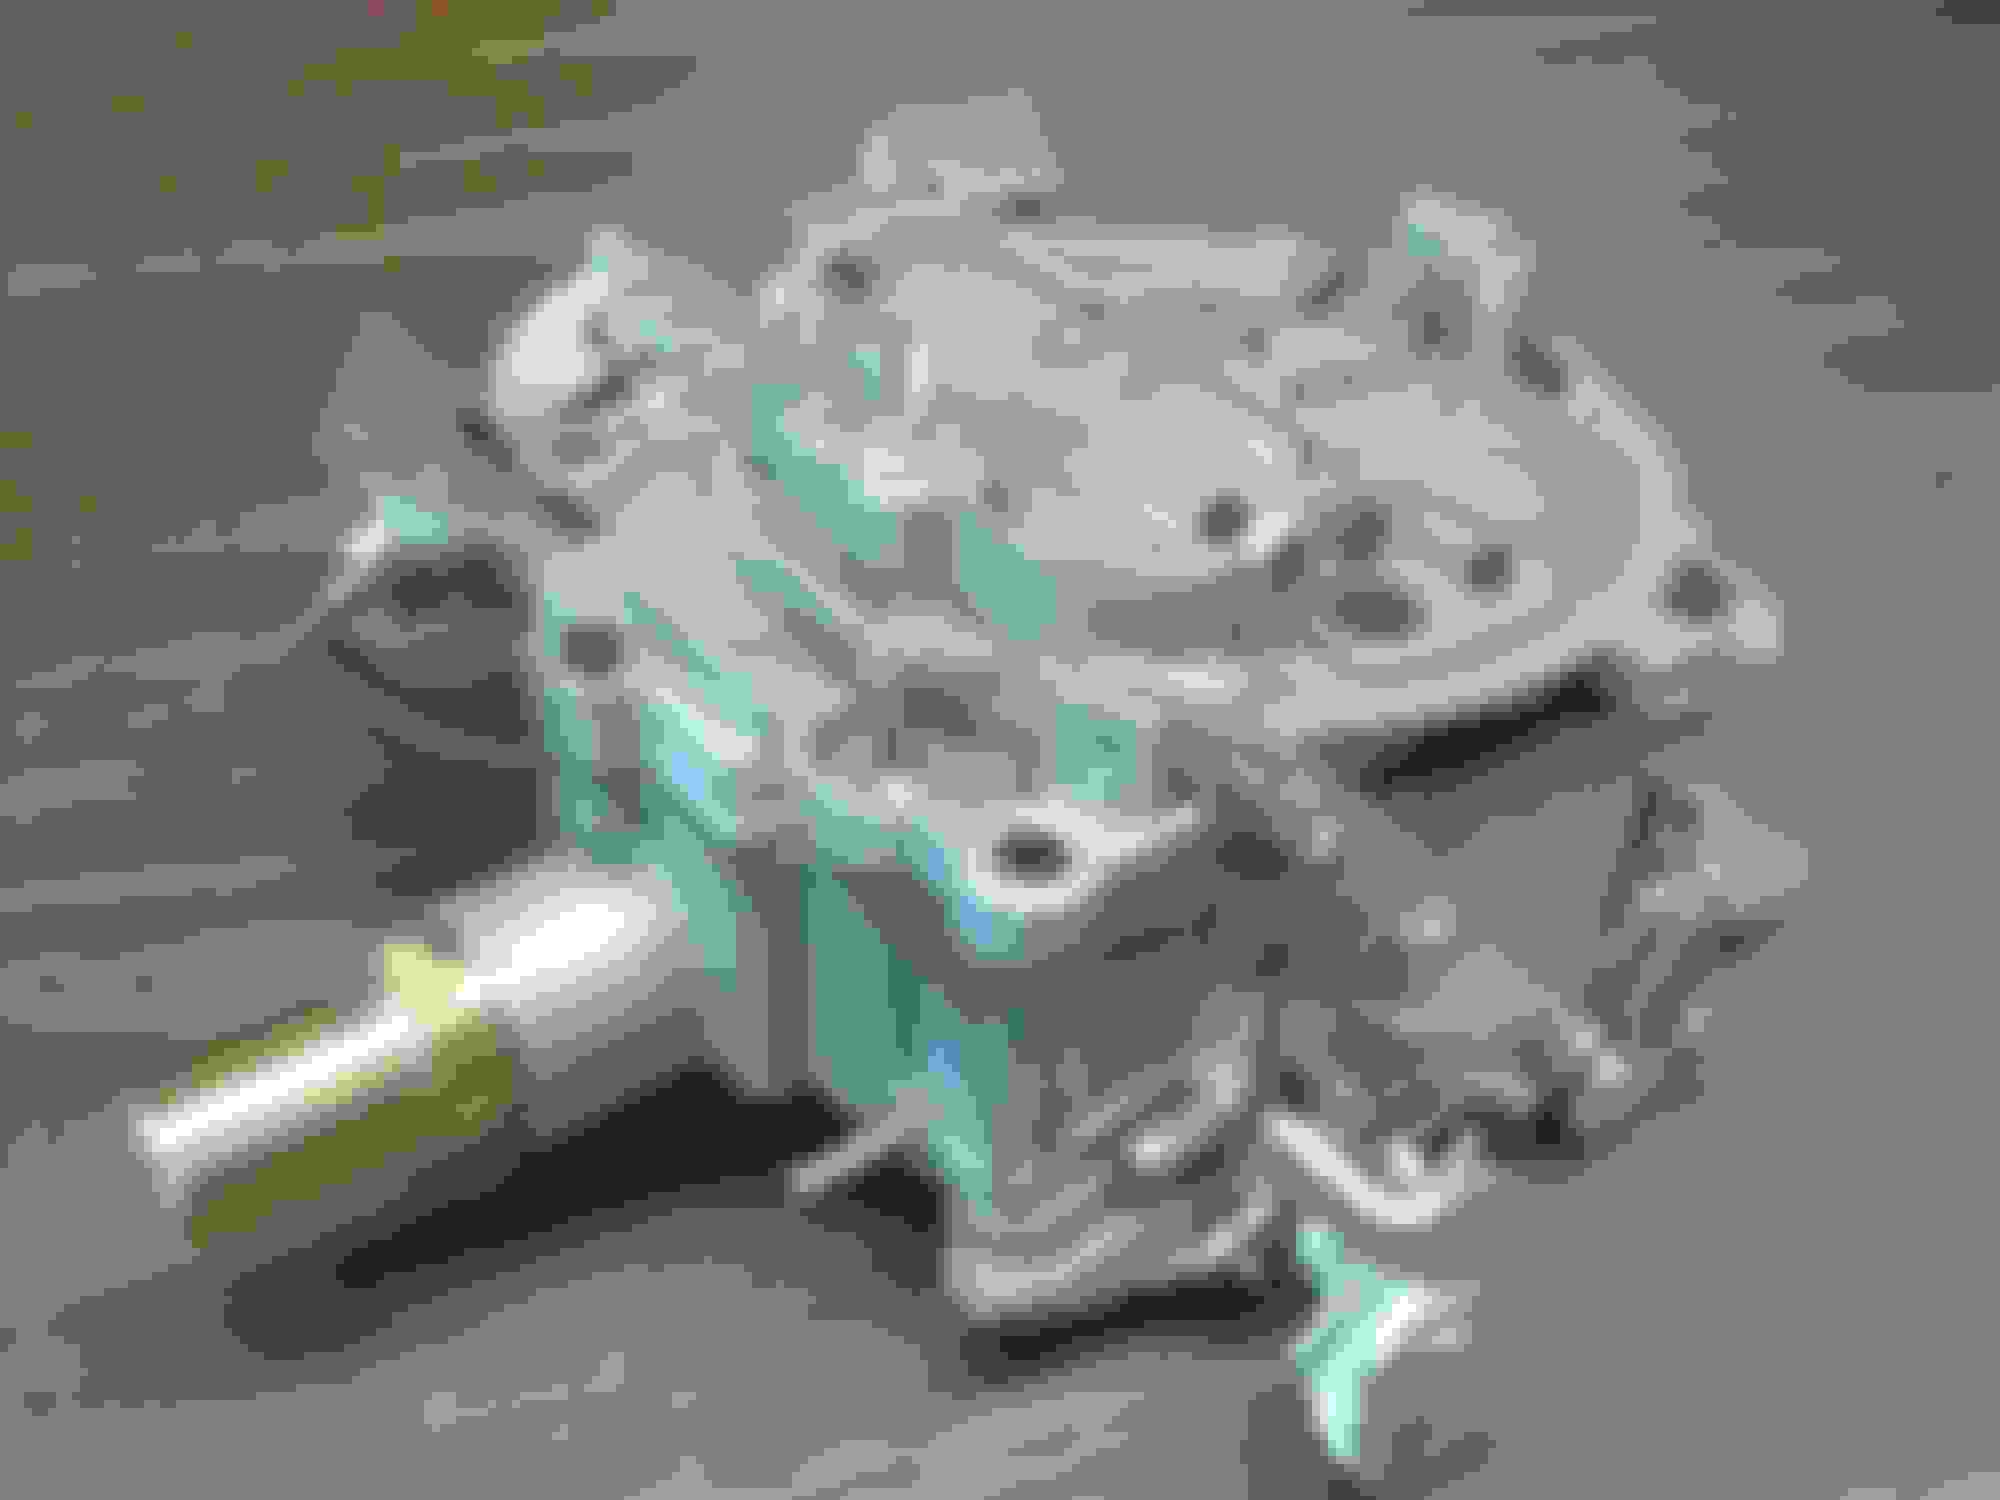
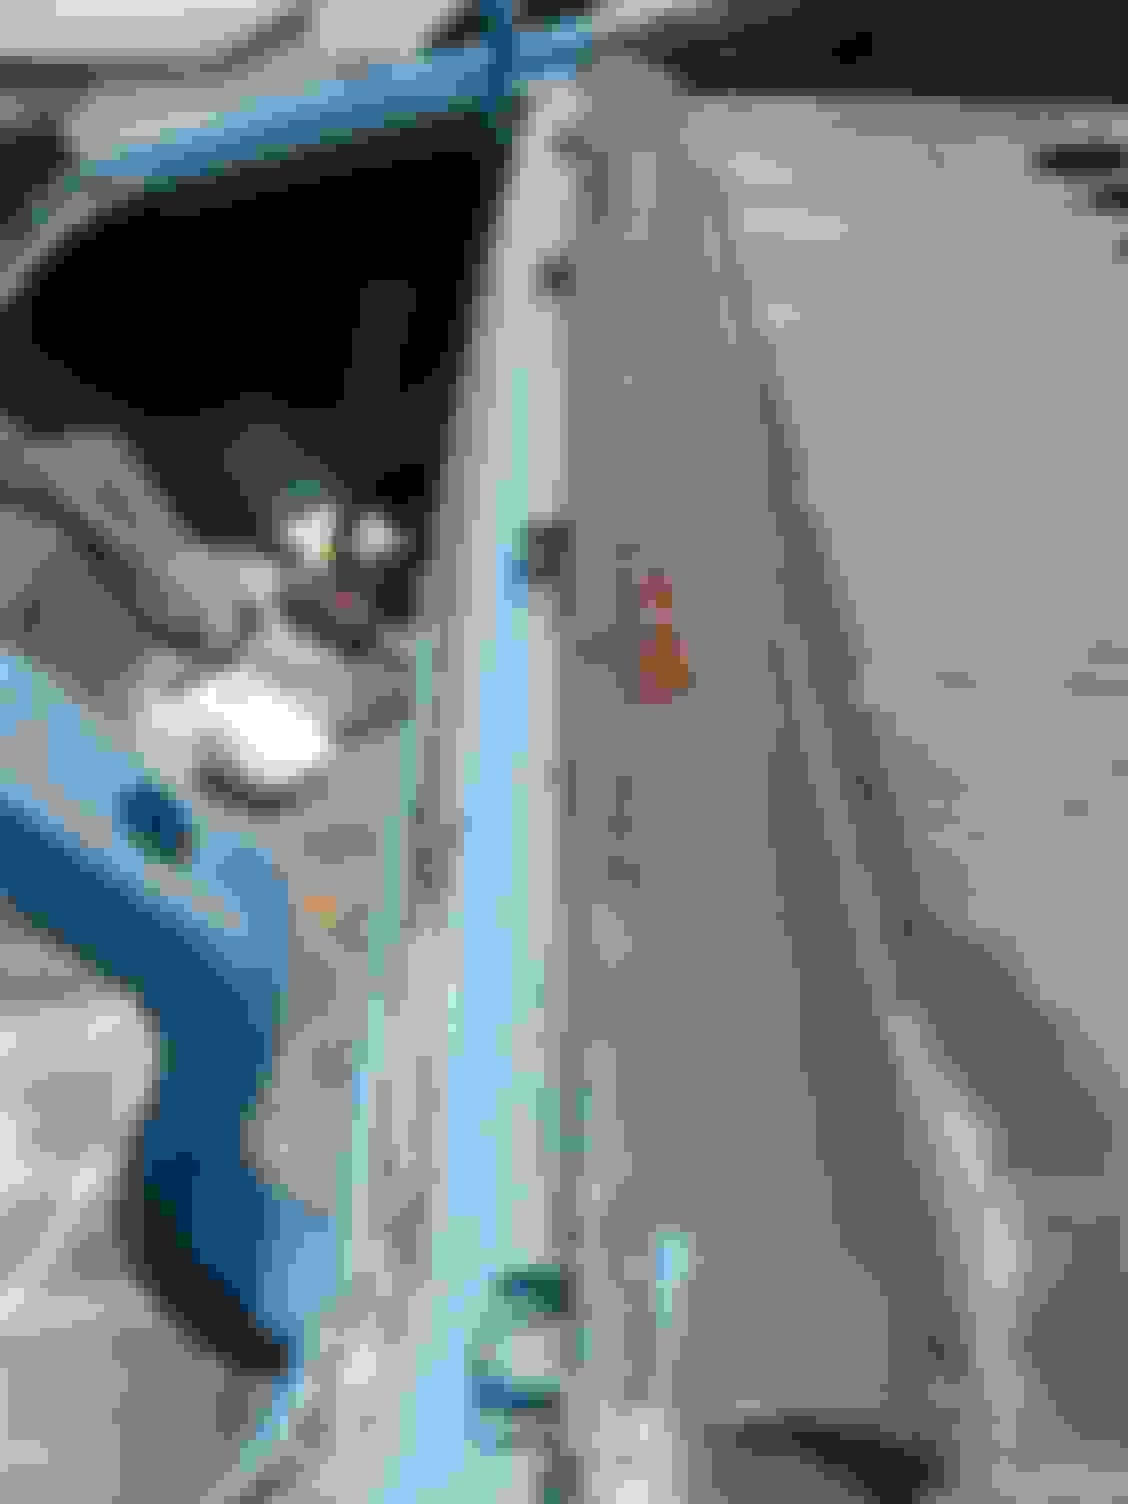
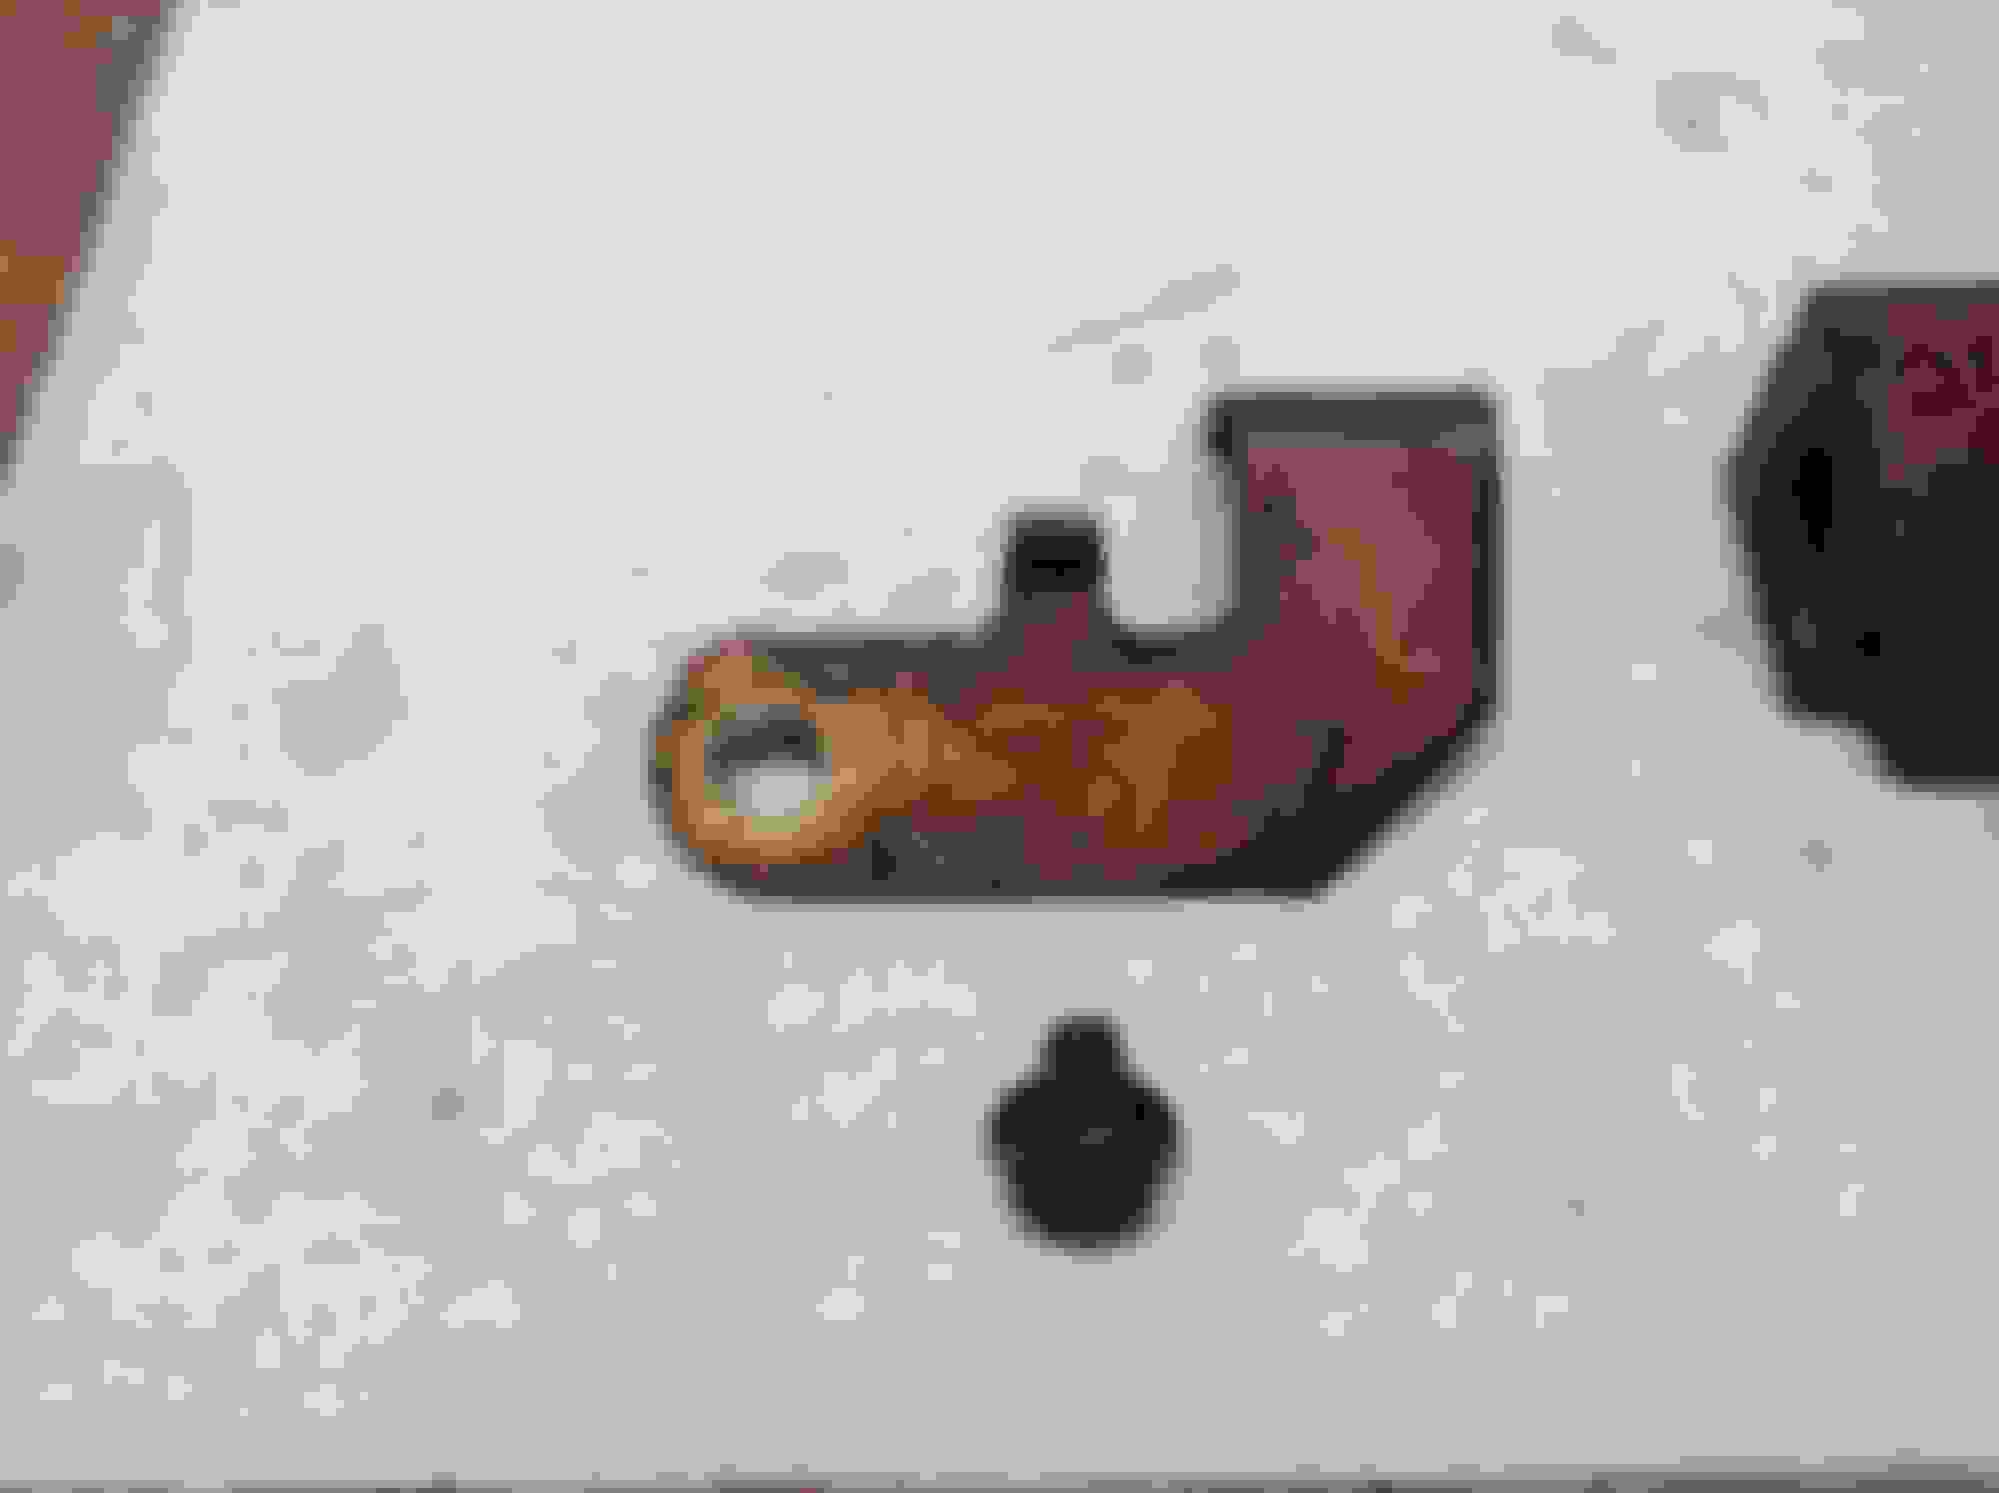
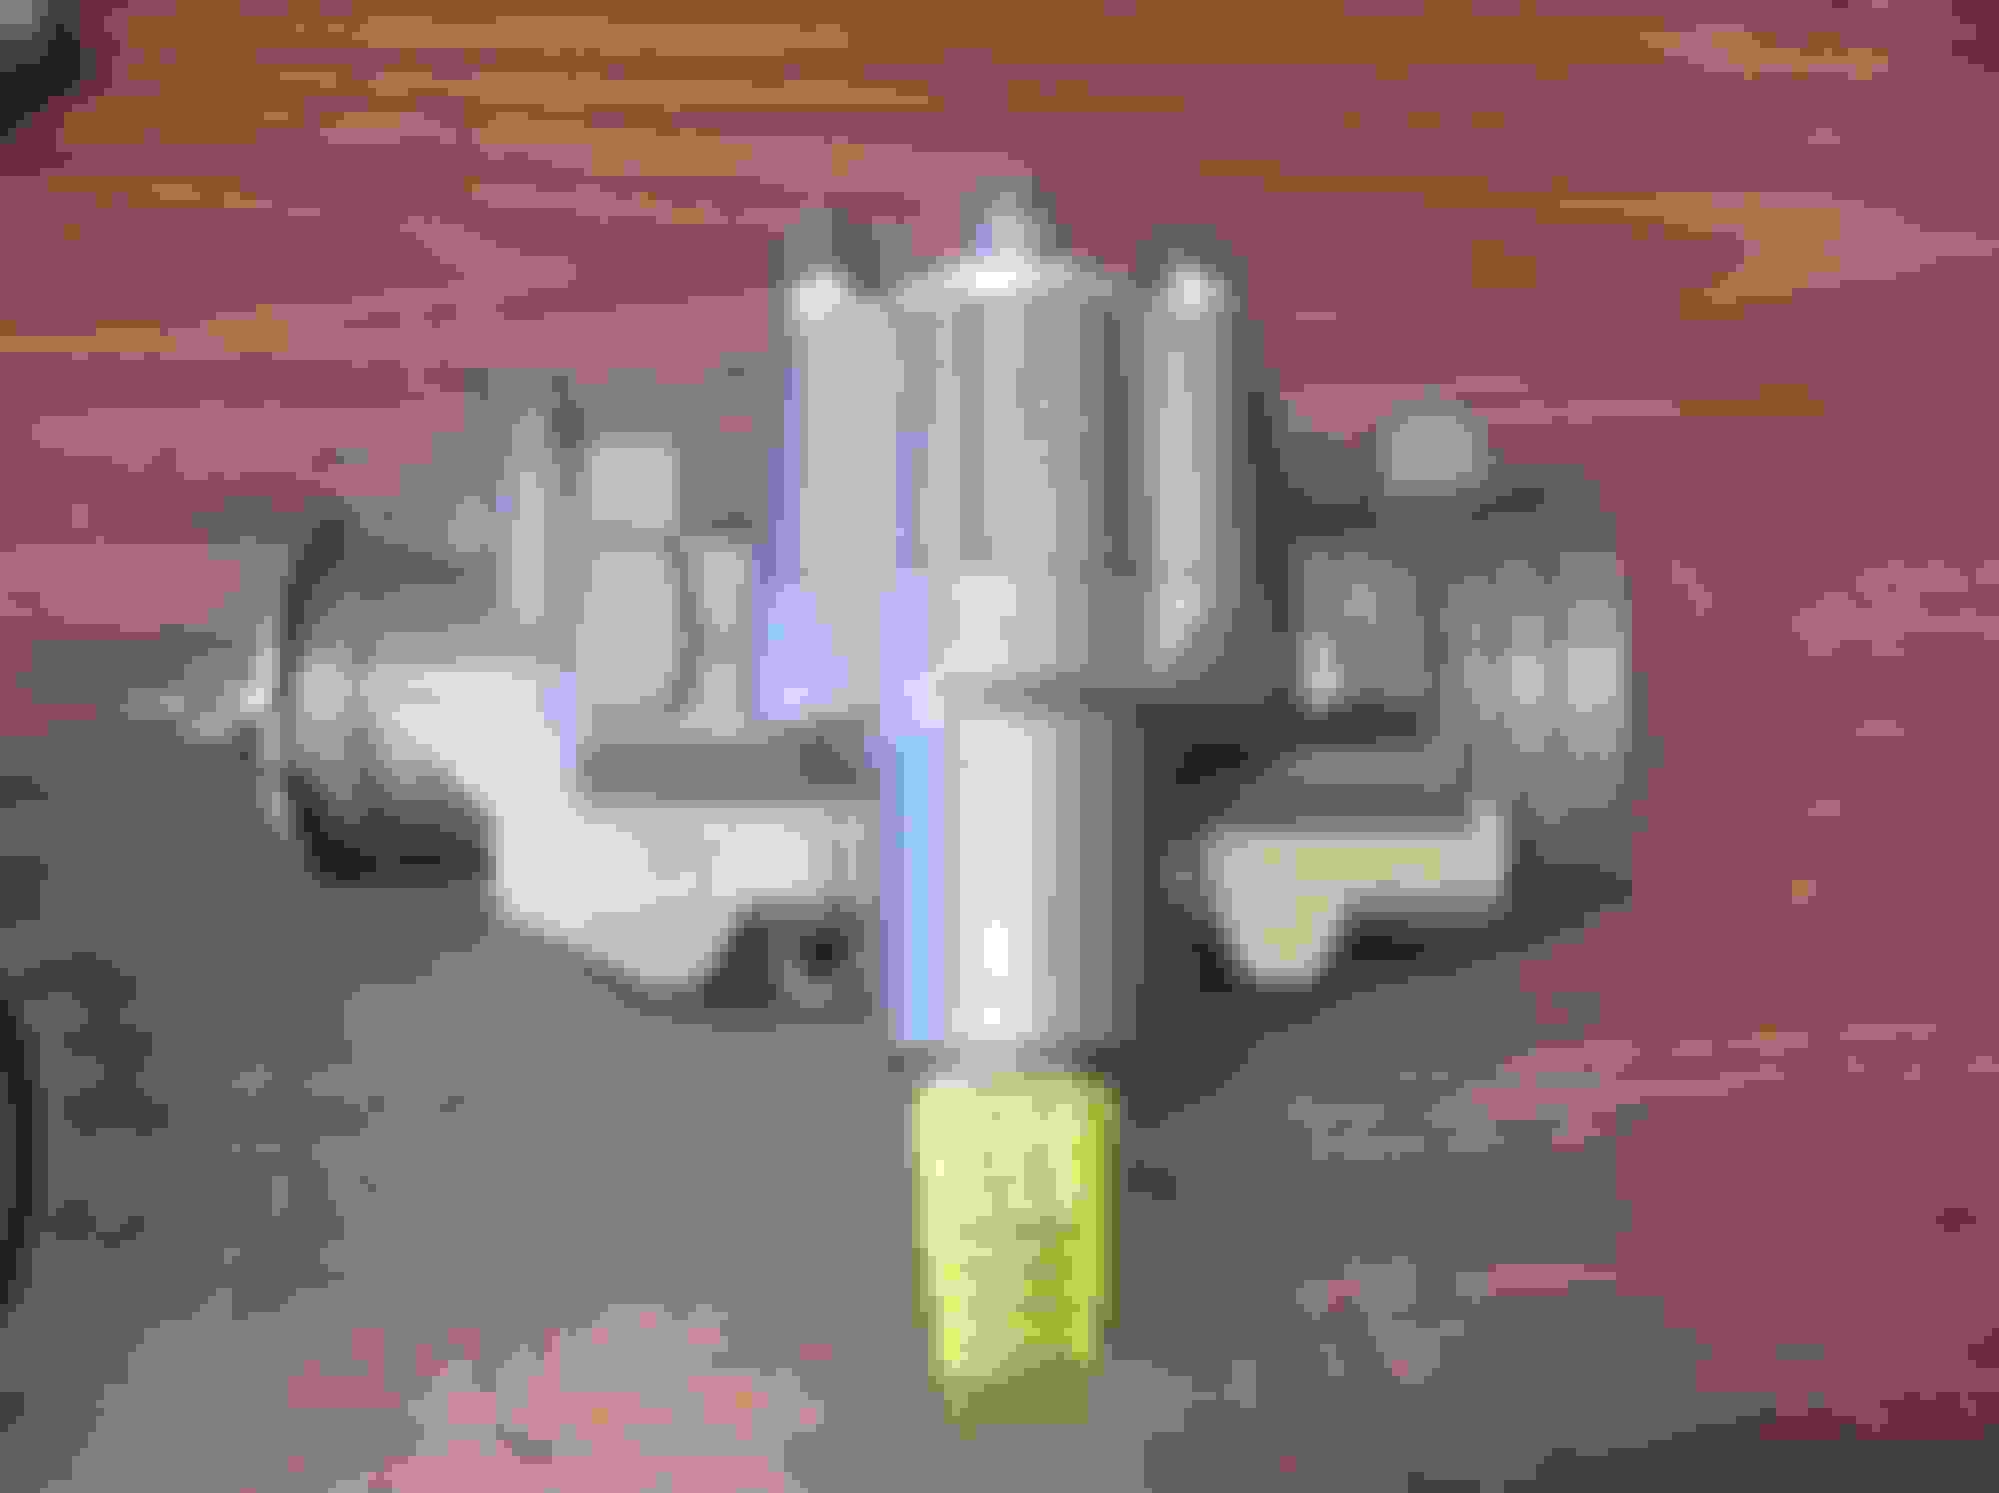
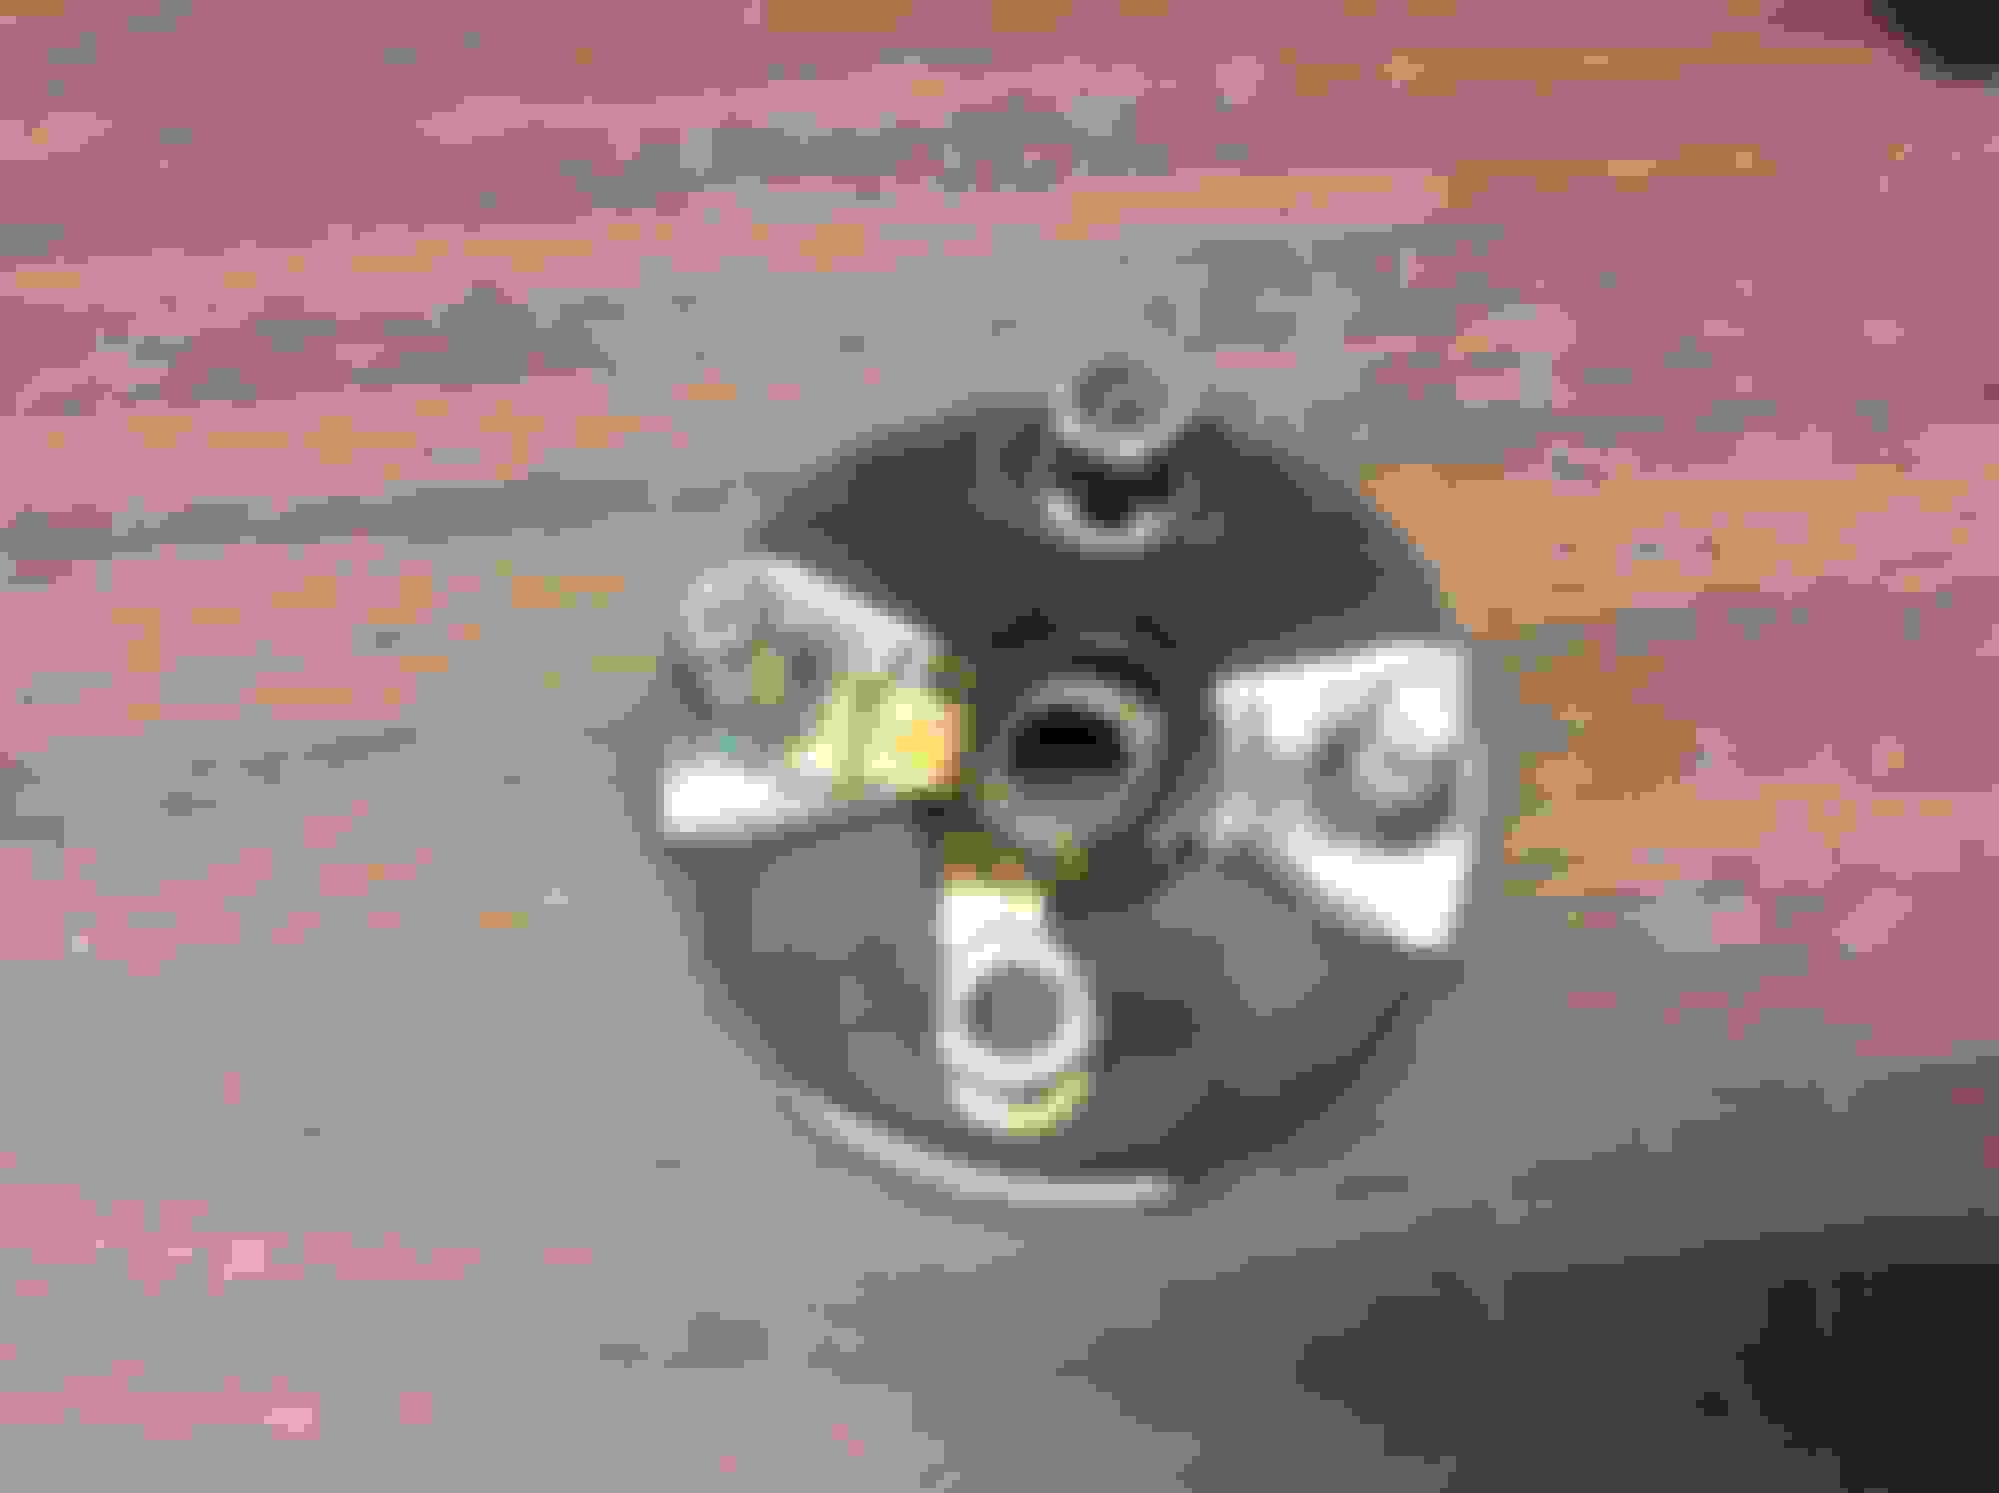
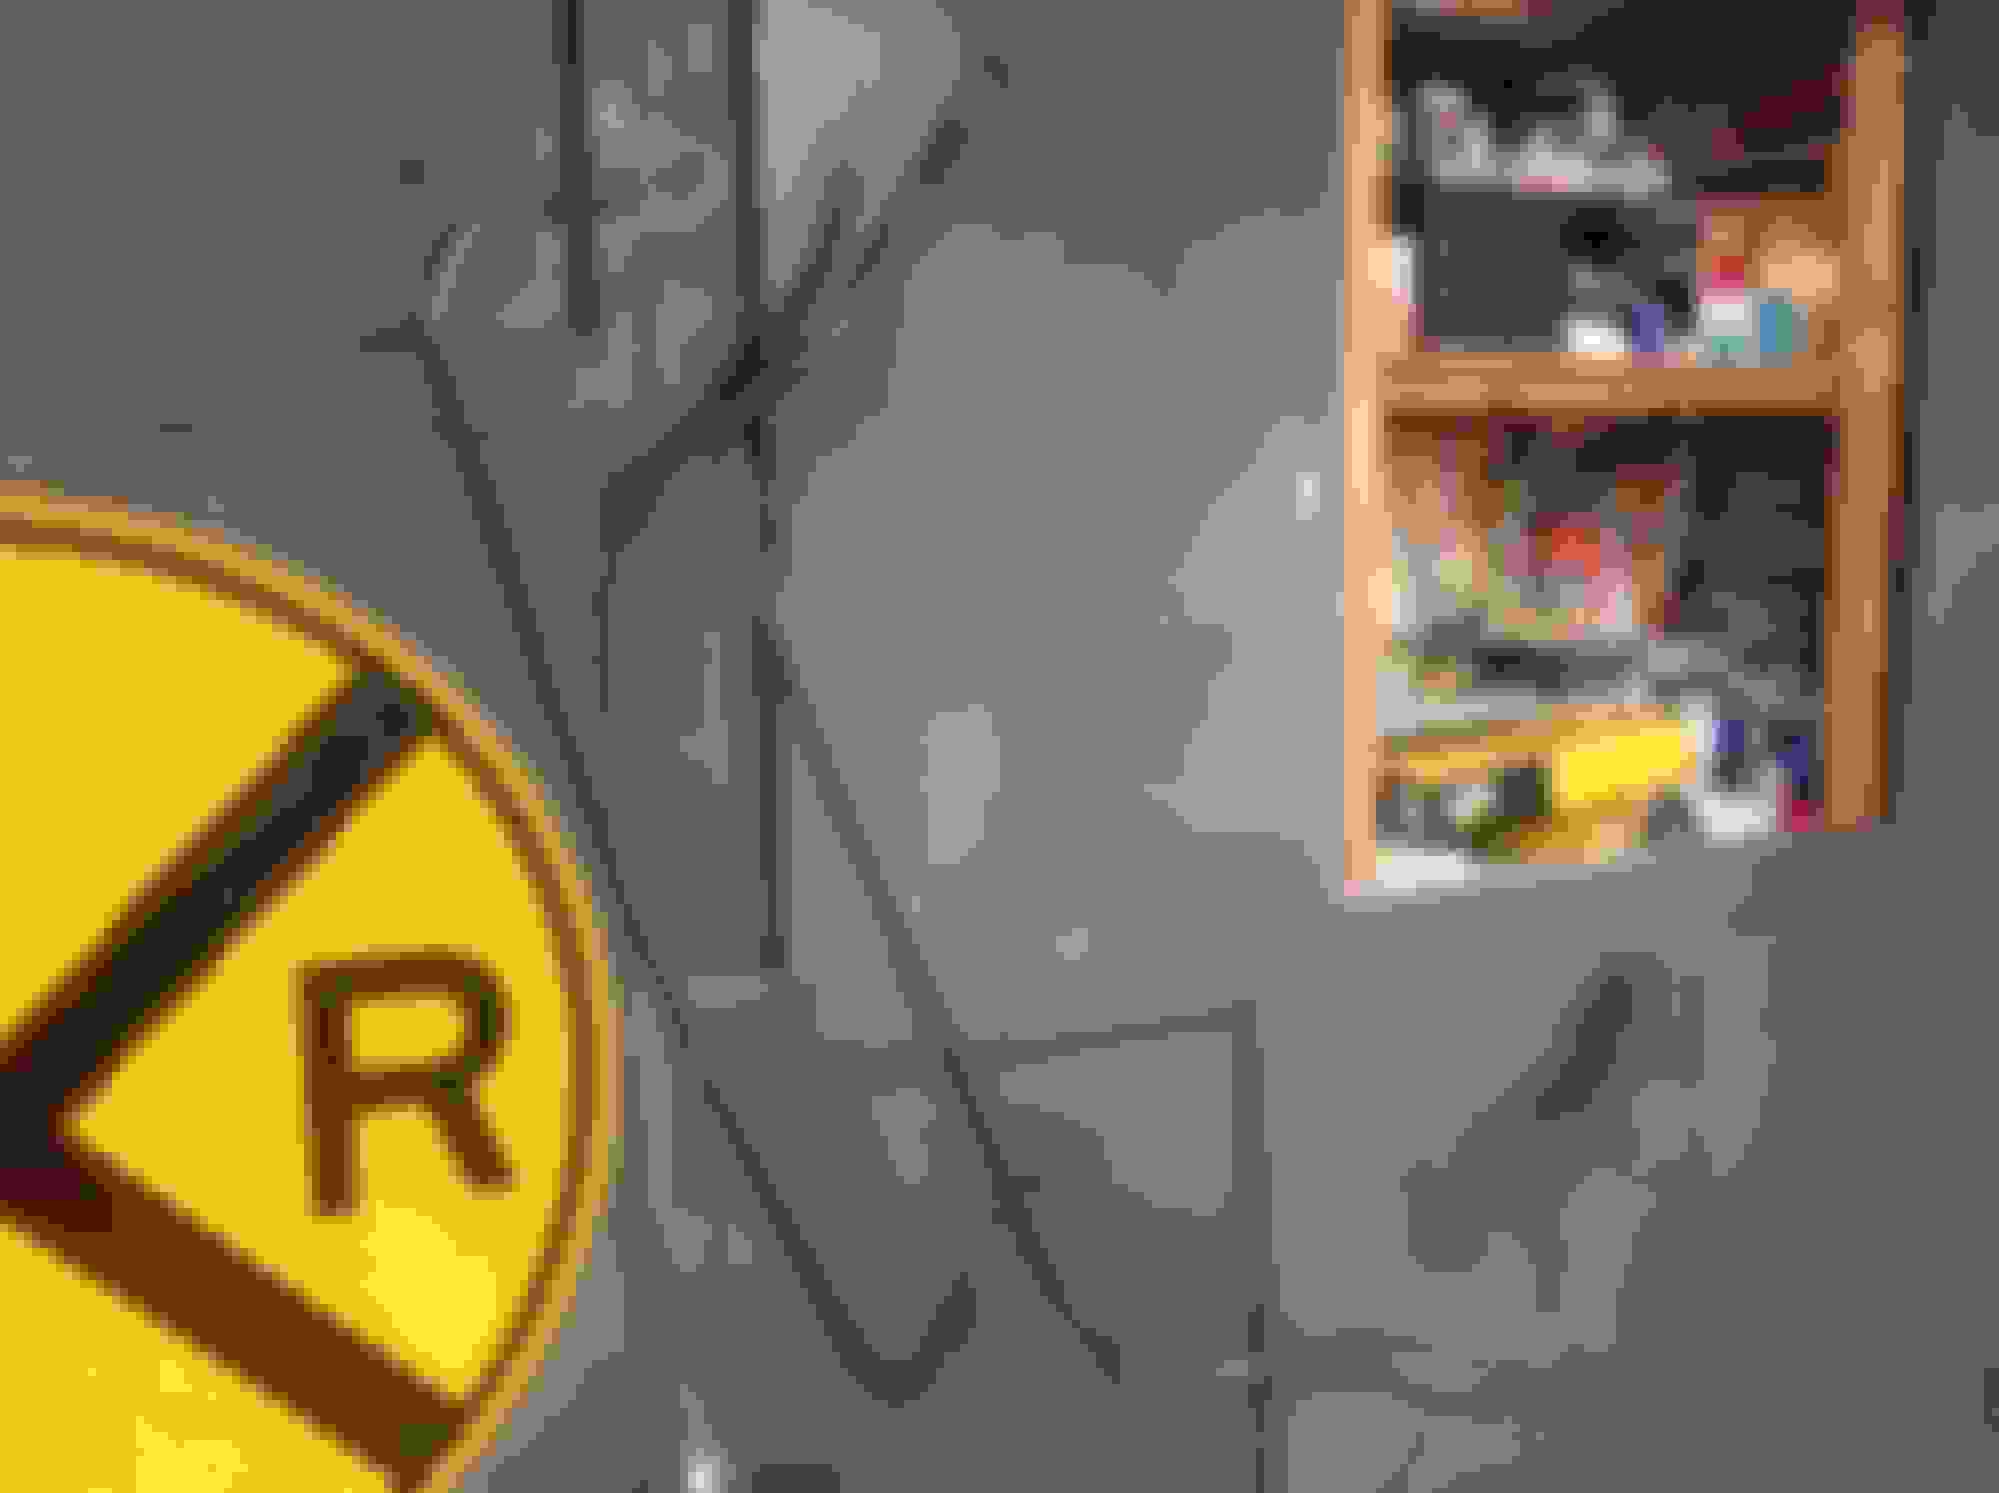
Something kind of cool. I have been looking for some idiosyncracy of a Linden built car, and I think found something - at least different from Lansing or Framingham. On that distribution block, I found some numbers I have not seen before, and the bracket has some large numbers on it as well. Finally, the bracket to block uses a small bolt, as opposed to others I've seen that has one (or two?) out of place large head slotted screws. Patton, have you see this before?
Had.
I just noticed your thread ...and what a great job you are doing....thanks for all the detail.
Your distribution block and bracket with a single bolt bracket is identical to my Linden 9A built 1970 442 numbers matching car....therefore I think it’s correct.
For reference my car has factory ac, power steering and brakes, and OAI hood that I think was added at some point, but it is a factory hood. The air cleaner base is missing the large hole in the snorkel and the lid is a reproduction. The car was painted but never disassembled as far as I can tell.
My bracket is stamped 2225757, like yours and the block is stamped 9 2130....I think that is 213th day of 1969 and the “0” is likely the shift. Bracket was staked in place like yours.
Distribution block is IRON not brass...although I painted brass color because it looks better! I’m sure the brake lines are all original to the car (except the front flex hoses). My booster is also stamped 213 like the distribution block.
I’m in the middle of changing front springs, and got a little carried away...started removing stuff that needed cleaning....you know how that goes! A previous owner painted everything flat black under the car and inside the wheel wells, which I am gradually trying to remove from brackets, lines, bolts, wiring, etc.
Hope this is helpful!
Last edited by High 11s; June 21st, 2018 at 06:36 AM.
Reason: Added pictures
The brake block comments caused me to take a look at my current project 442 convertible. It is also a Linden built car and appears to have exactly the same brake block. The date code - if that's what it is - appears to be 9 332 which I guess would be appropriate for a Jan 6, 1970 built car. Interesting difference that does appear to be unique to Linden. My other car is Fremont built and its brake block matches the Lansing style.
For those following along, I cannot stress enough the time I record on a project is only the time actually working on restoration of the parts themselves. The hours spent online chasing parts, sending things off, calling to check on progress, visiting the paint shop, checking things in when they arrive, dealing with damaged/short shipments, etc, etc, etc, is easily 2 to 3 X what I notate. Not wanting to scare anyone off potentially doing one, but after now four of these projects I have enough data to state this conclusively.
Today, the frame and two totes full of control arms, headlamp buckets, cowl braces, etc went off to powdercoating. Forgot to send the trans Xmember - will run it by tomorrow.
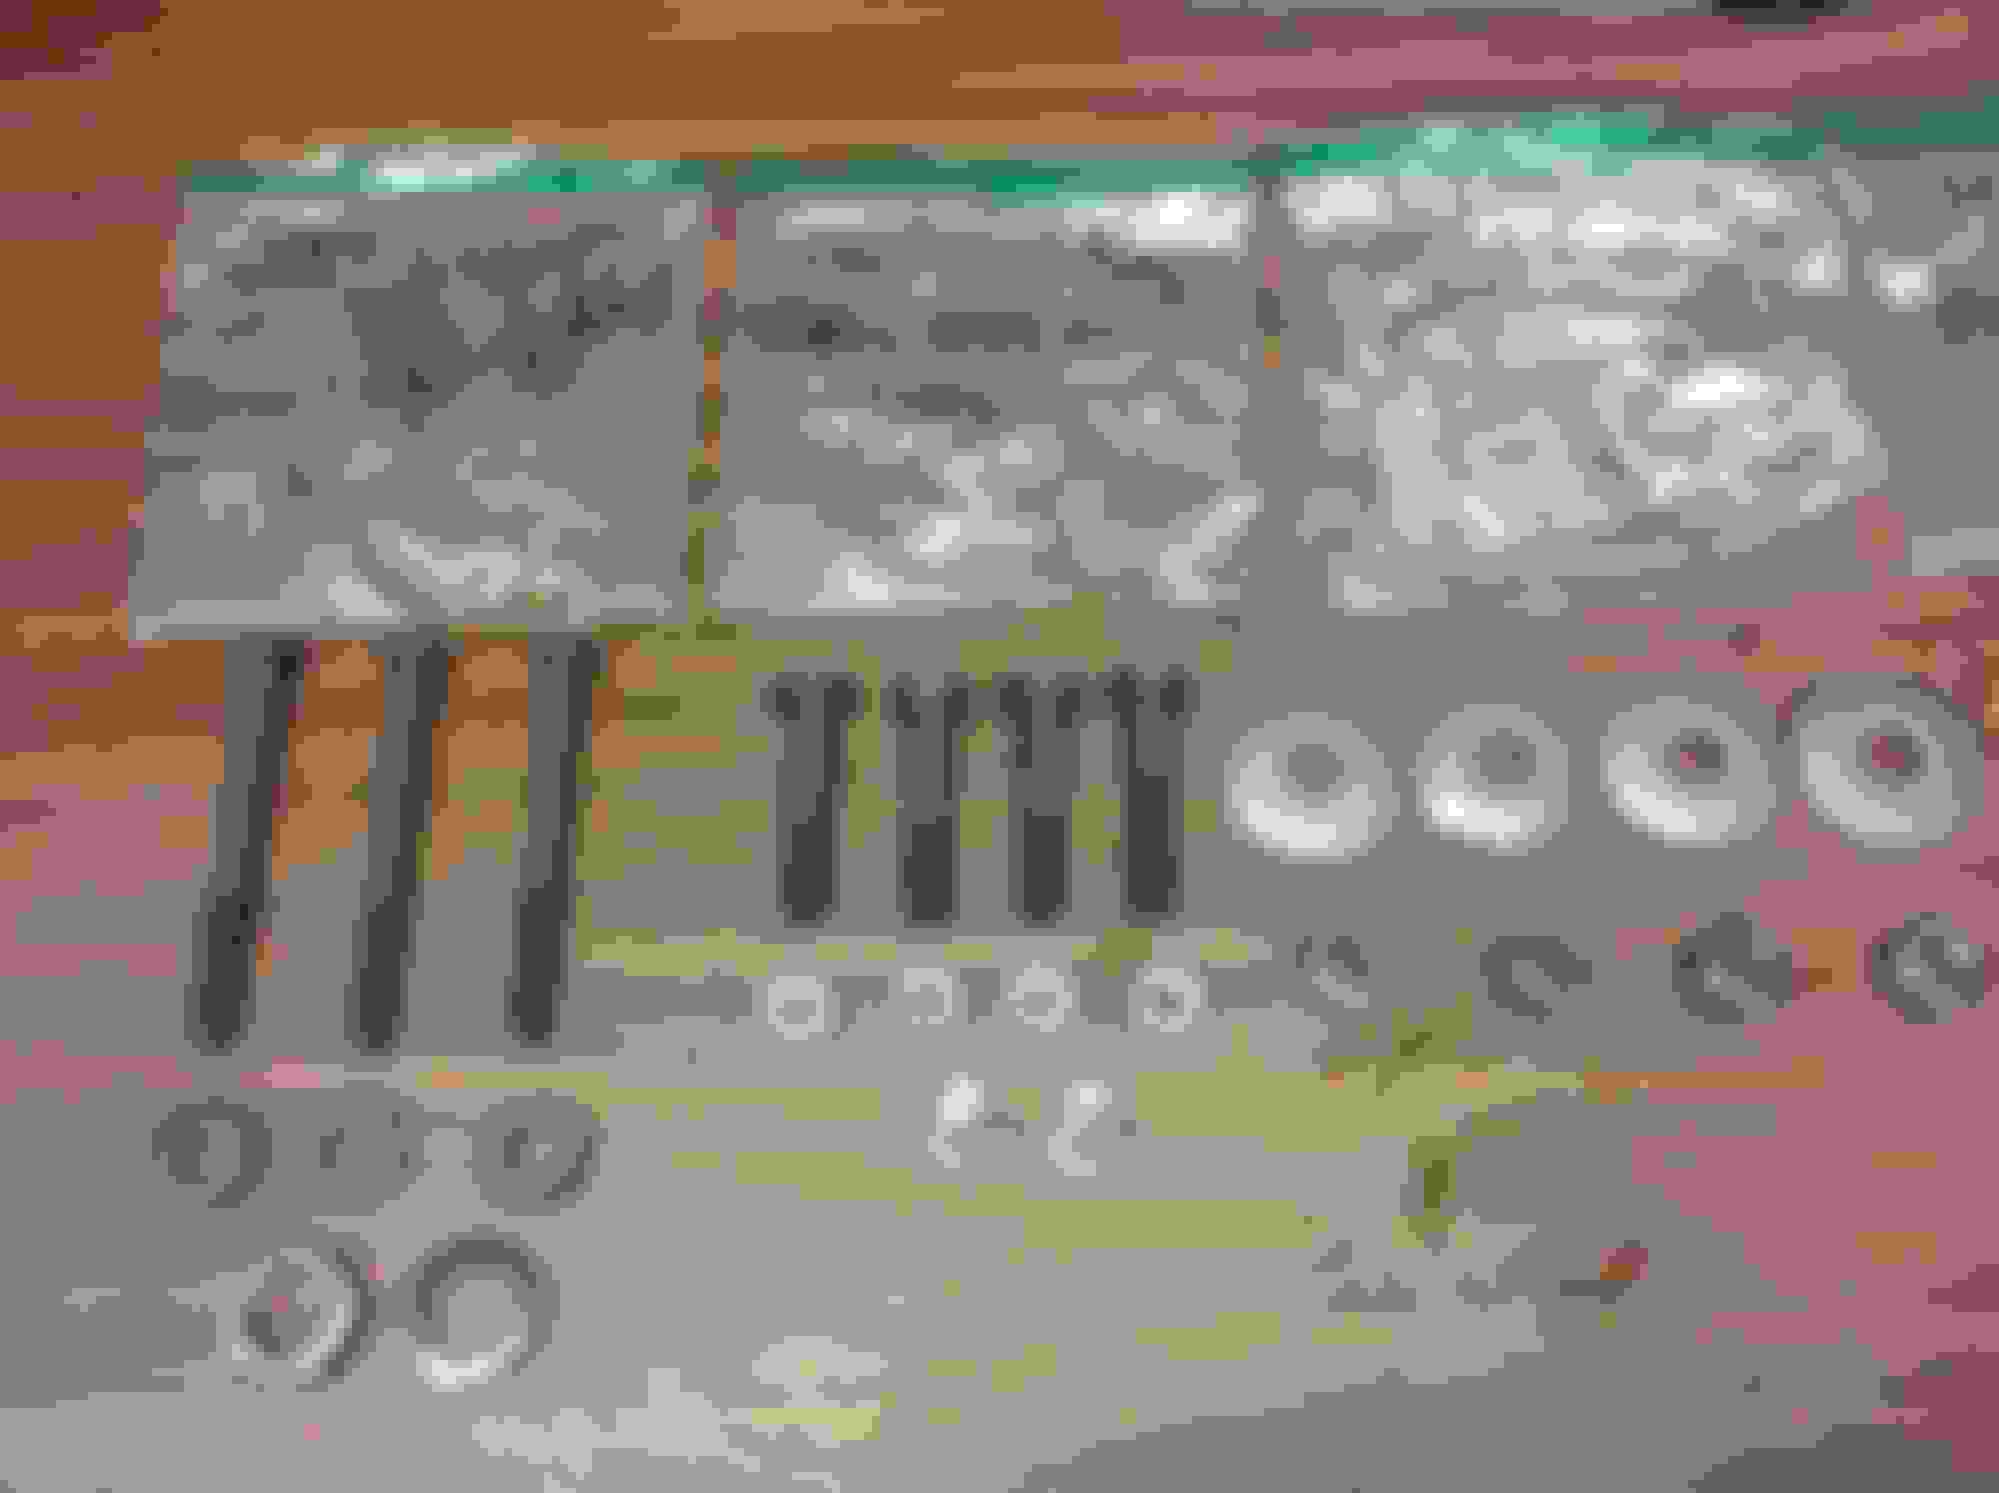
Did a series of baggies that came off the chassis at frame separation. Pic attached. These go much more quickly when you have the common stuff ready to go - thanks AMK.
Last edited by costpenn; June 29th, 2018 at 11:43 PM.
That is an extraordinary amount of detail work just in cataloging everything. Cleaning all the bolts, screws, brackets, and miscellaneous other knick-knack stuff is way beyond the level of restoration most can ever hope for. You are building a brand new car in your shop! You have overdeveloped your patience and attention to detail. I'm just happy when I don't have any bolts or screws left over when I take something apart and put it back together.
You are doing some awesome work on this car. I was wondering if you have found the "package tray/upper trunk lip section of metal" that you needed to replace, that you posted on June 13th? This is the same panel that I need to replace on my 69 cutlass and it looks exactly like the one you pictured. Thanks in advance.
Joe--after you soak the hardware in Evaporust and take the wheel to it, what type of oil or spray are you using to keep the bolts lubricated for assembly? I'm trying to decide what to use to avoid rust when I reassemble.
Joe--after you soak the hardware in Evaporust and take the wheel to it, what type of oil or spray are you using to keep the bolts lubricated for assembly? I'm trying to decide what to use to avoid rust when I reassemble.
70Post turned me on to Boesheild T9. It is good for about a year in low humidity environments. I don't use it on anything that will be painted, and for items that will be very hard to remove after reassembly, it is much better to plate or paint the component. Hope this helps and Patton jump in if you have any further comments.
Last edited by costpenn; July 2nd, 2018 at 08:31 PM.
Finishing up bolts (7 hours, 3 Saturday, 4 on Sunday)
I had to finish up the rest of the fastener baggies left from the body separation and rolling chassis tear down, but also found I still had about 15 baggies of interior stuff I had forgot to finish up. A lot of these I was able to use new fasteners from my stock, but some I had to wirewheel. Another odd bolt I found to add to my future hoarding pile are the ones that hold the A/C duct blend door things that go behind the kick panels.
Also, the stalk thing that the interior rear view mirror had a little more pitting on it than I originally surveyed, or maybe I'm just tightening up standards. Had a good used one in my used stash so out with the old...
You are doing some awesome work on this car. I was wondering if you have found the "package tray/upper trunk lip section of metal" that you needed to replace, that you posted on June 13th? This is the same panel that I need to replace on my 69 cutlass and it looks exactly like the one you pictured. Thanks in advance.
We did finally find the section needed thanks to a fellow CO member
Nickyloves442s - Thanks Nick!
Getting ready for the frame resssembly (11 hours 5 yesterday, 6 today)
The frame is due back from the powdercoater sometime this week (along with Control arms, trans crossmember, etc) so I am trying to have everything ready for reassembly of the frame.
On Friday, I tried to use my HF bead Blast cabinet to do some smaller pieces such as the steering arms, spindles, sway bar frame brackets, and more. The humidity was h�gh, and no matter what I tried, the media would not flow downhill which kept uncovering the pick up tube. After about an hour of getting nowhere, I wound up taking the items to an engine rebuilder friend who put the stuff in a steel shot cleaner used for blocks and heads. After just two minutes, the things came out beautifully, it even cleaned the disc brake backing plates without damaging the surface or warping the material. Too bad one of those cabinets would not fit in my garage.
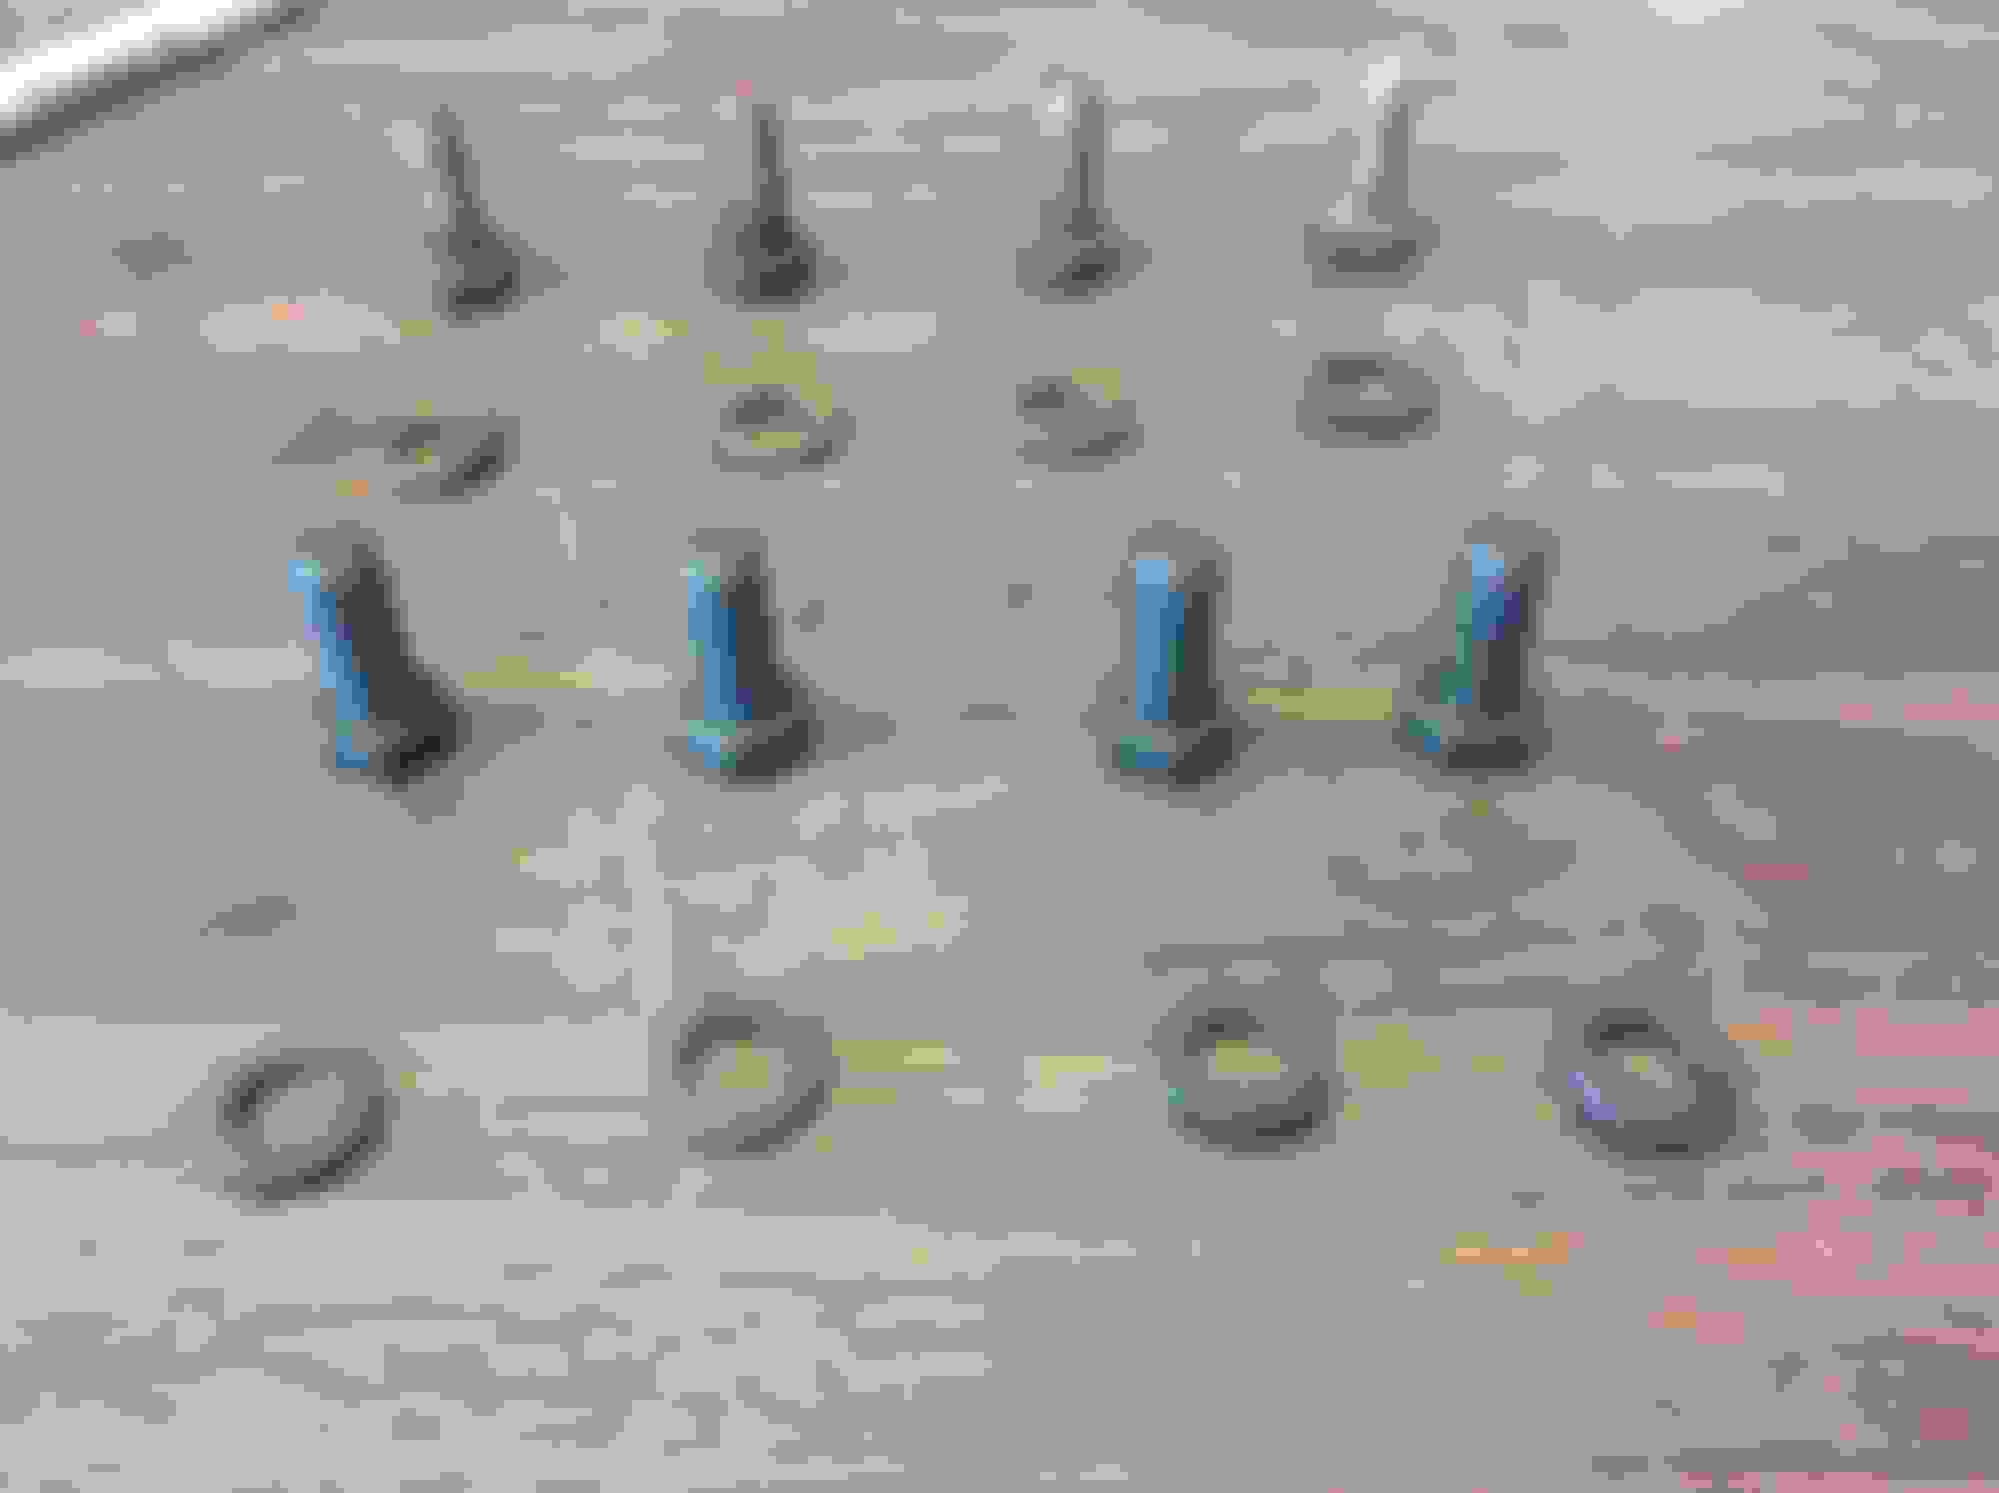
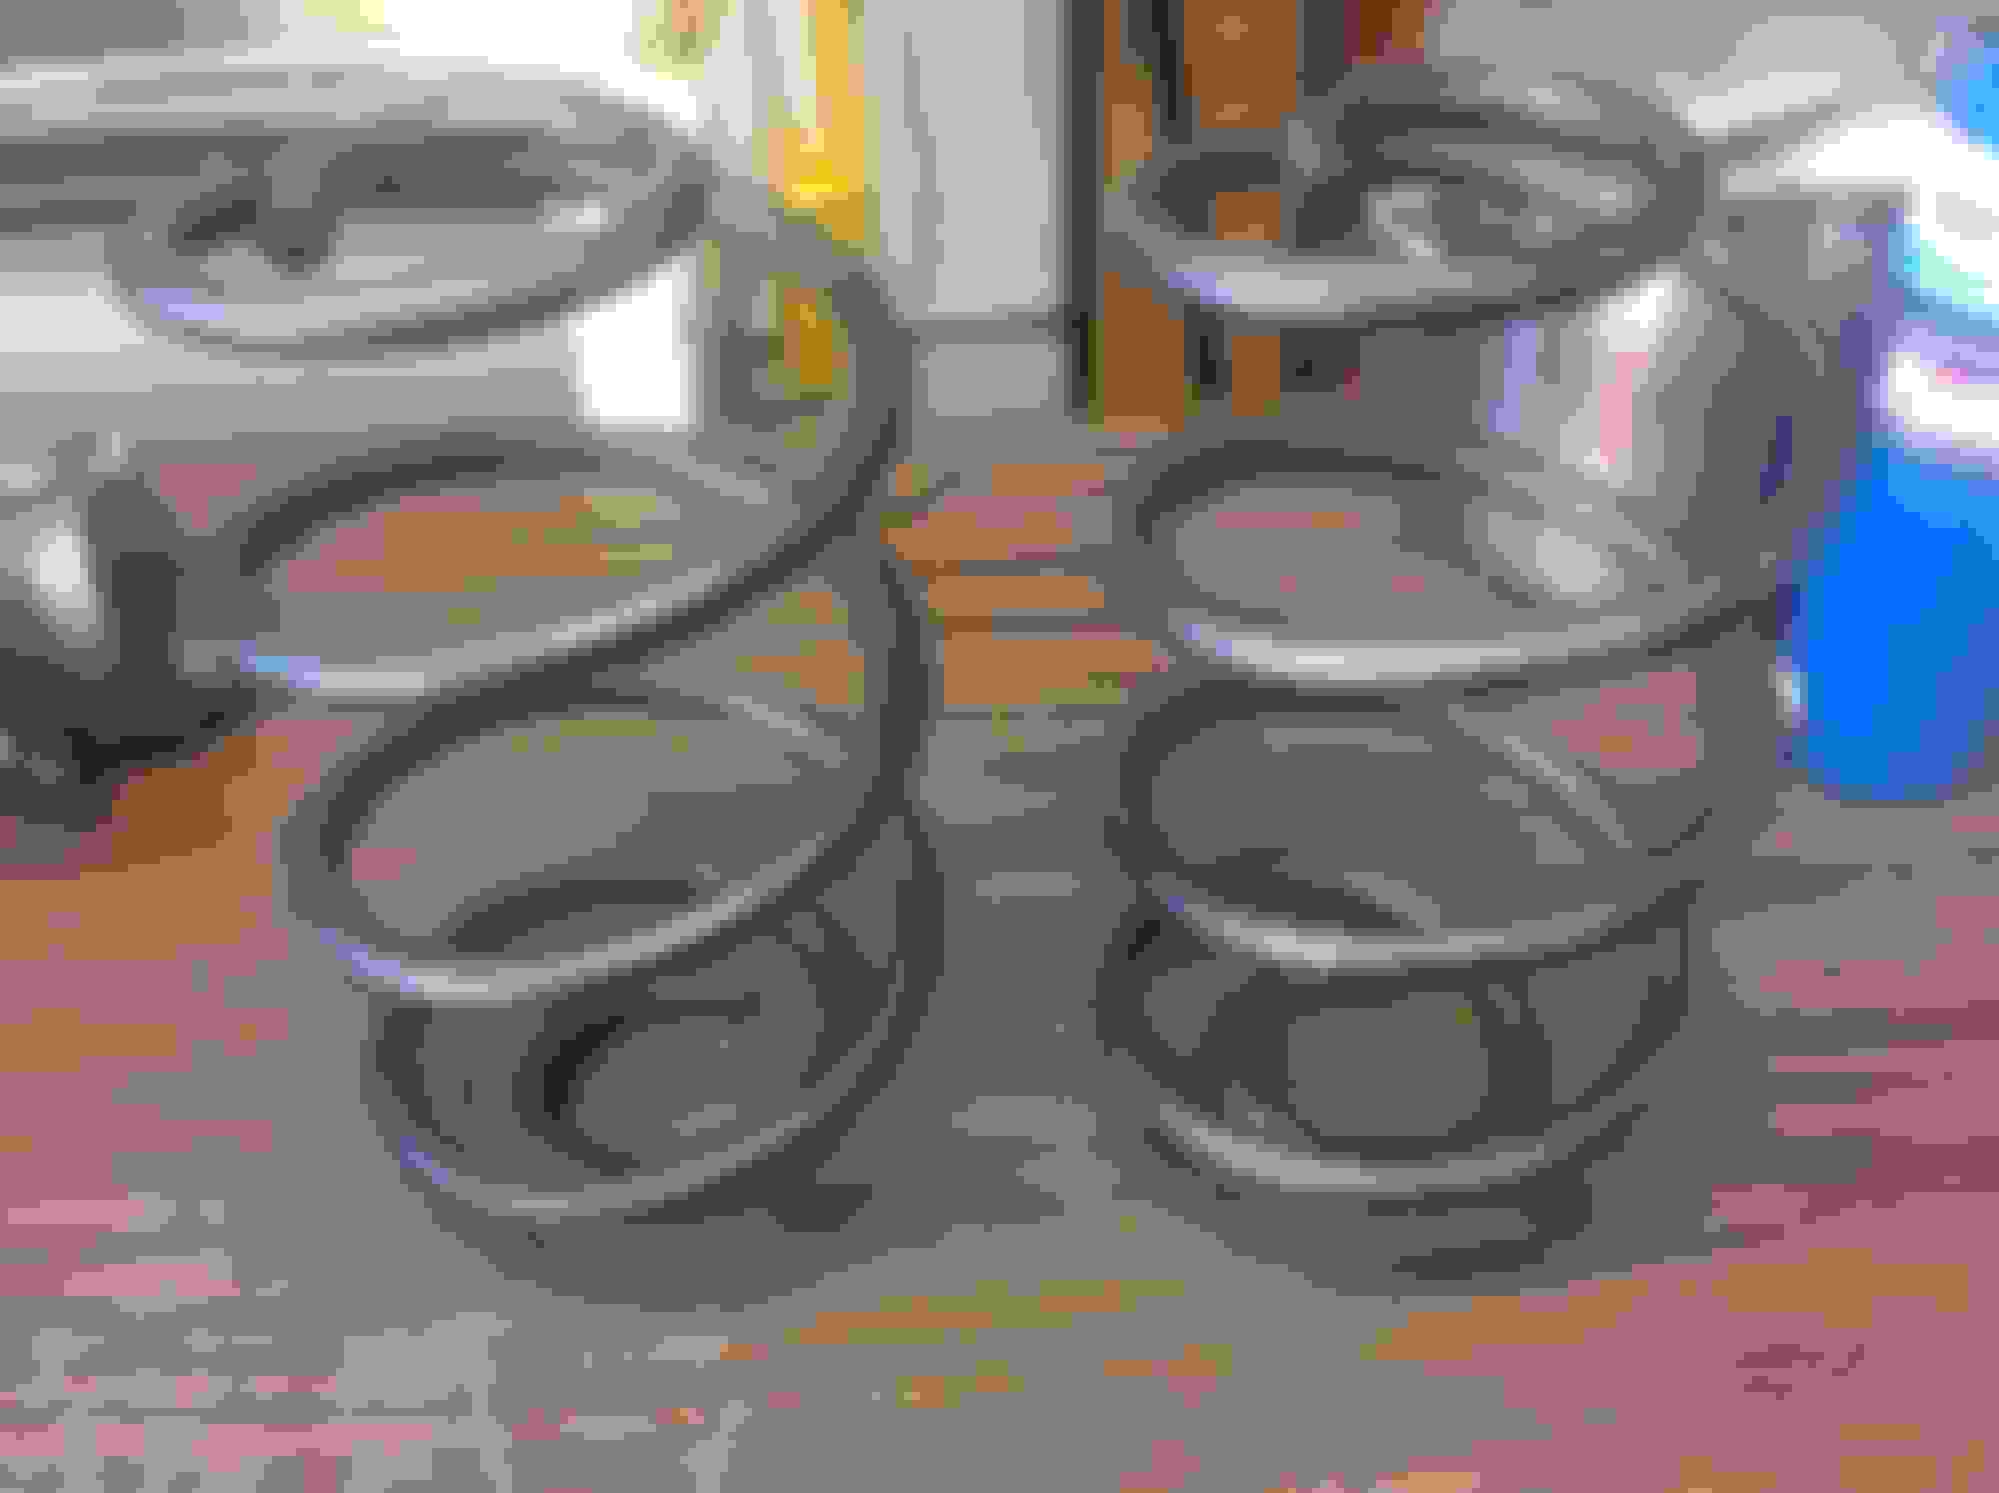
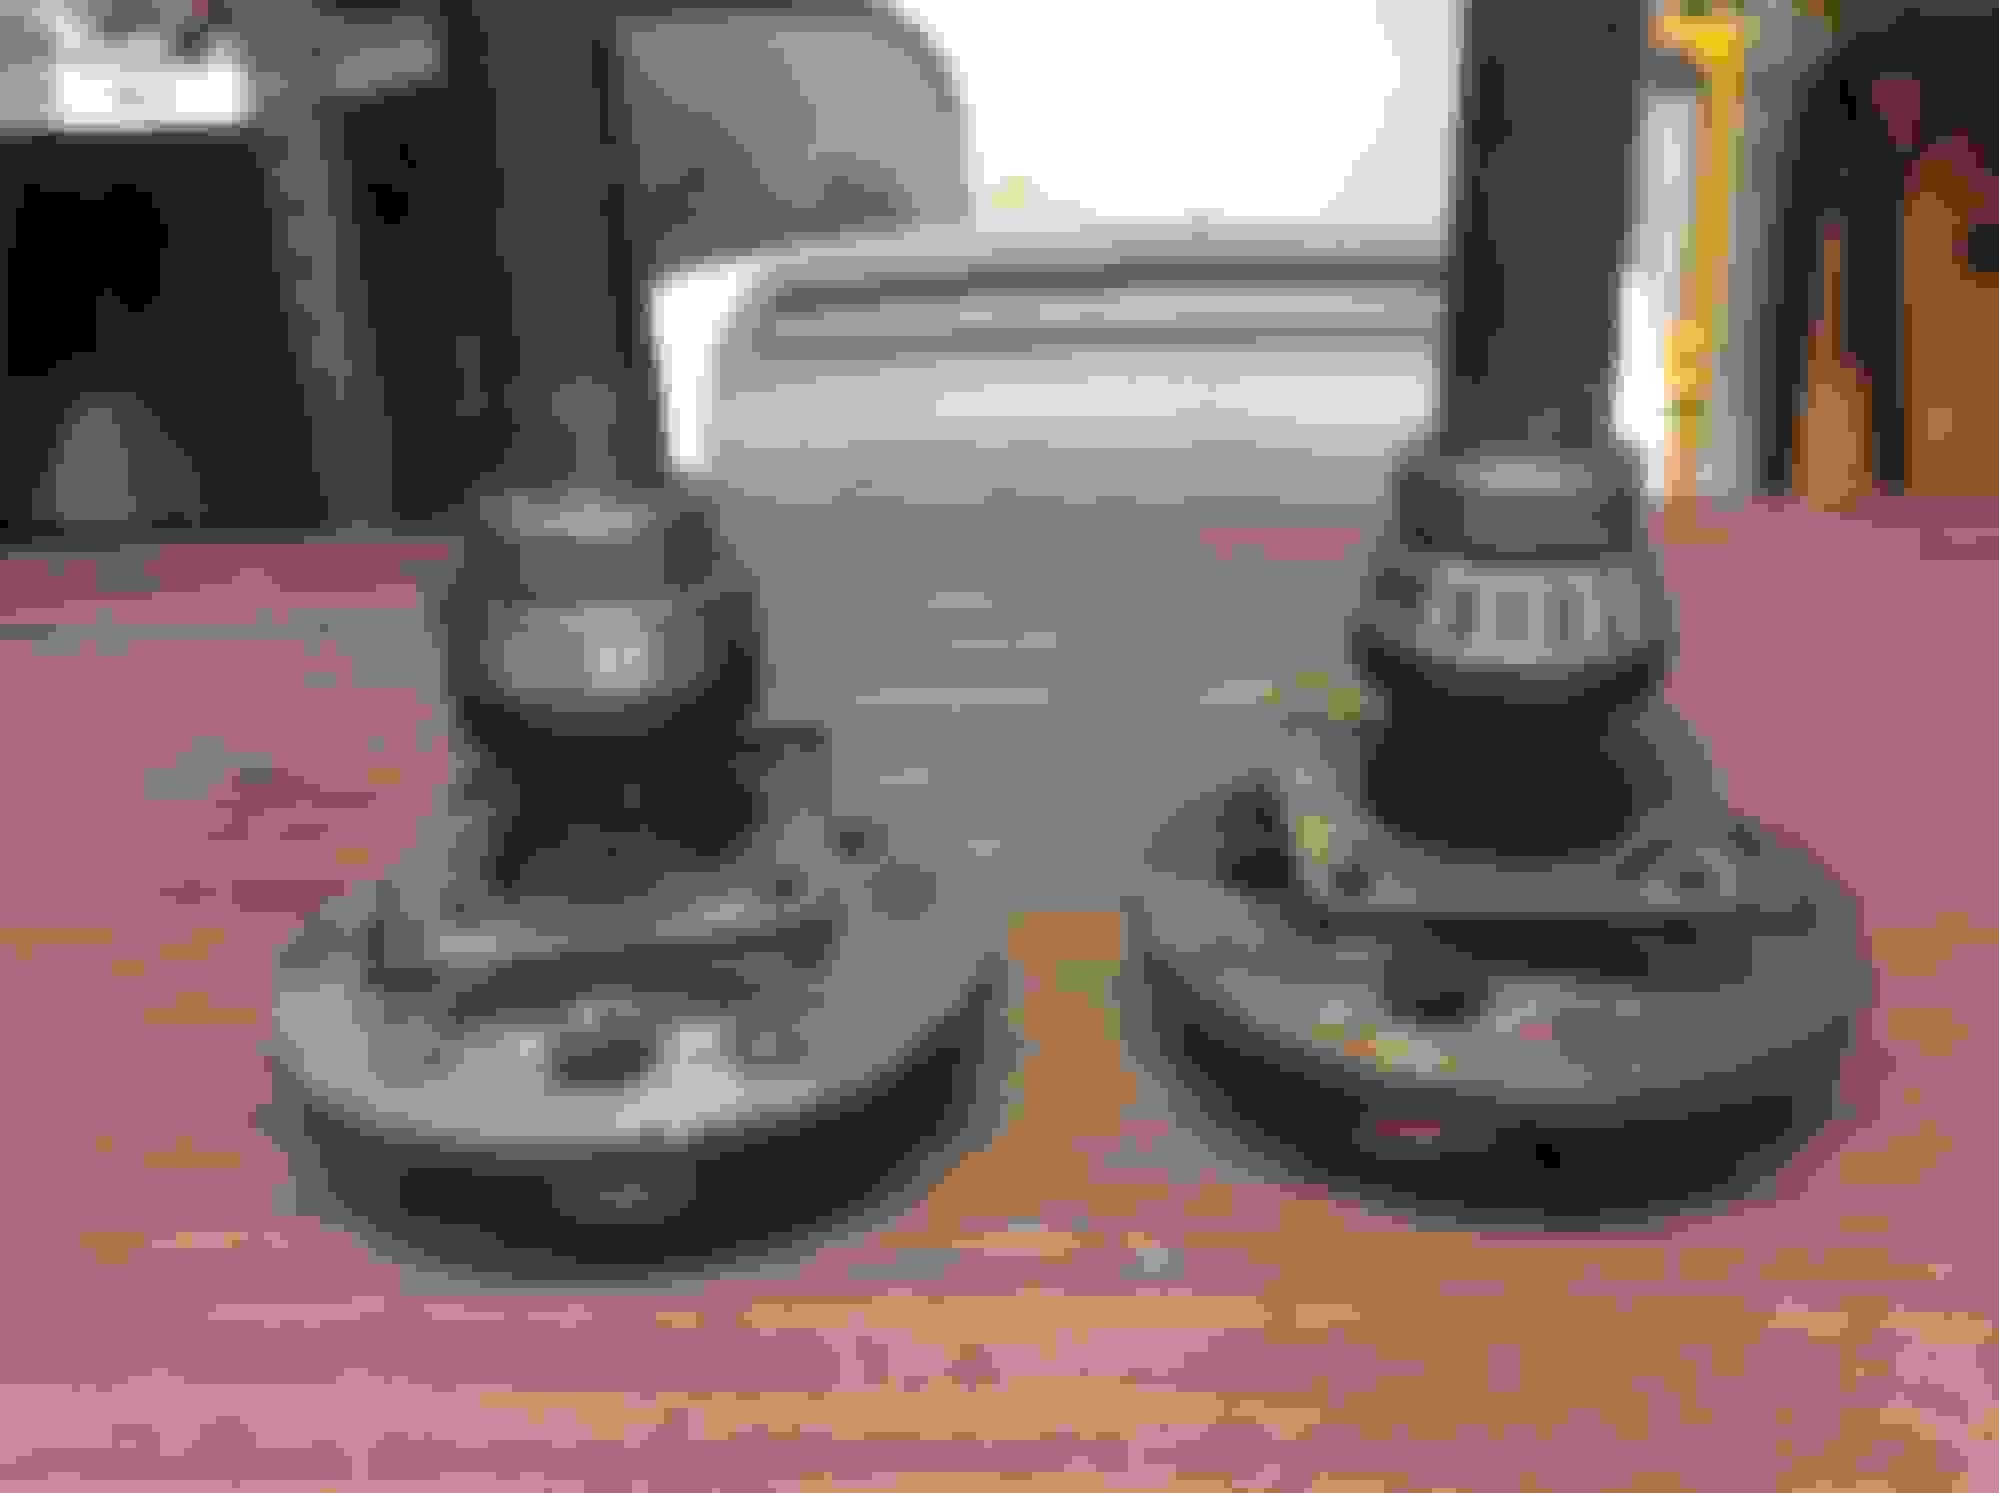
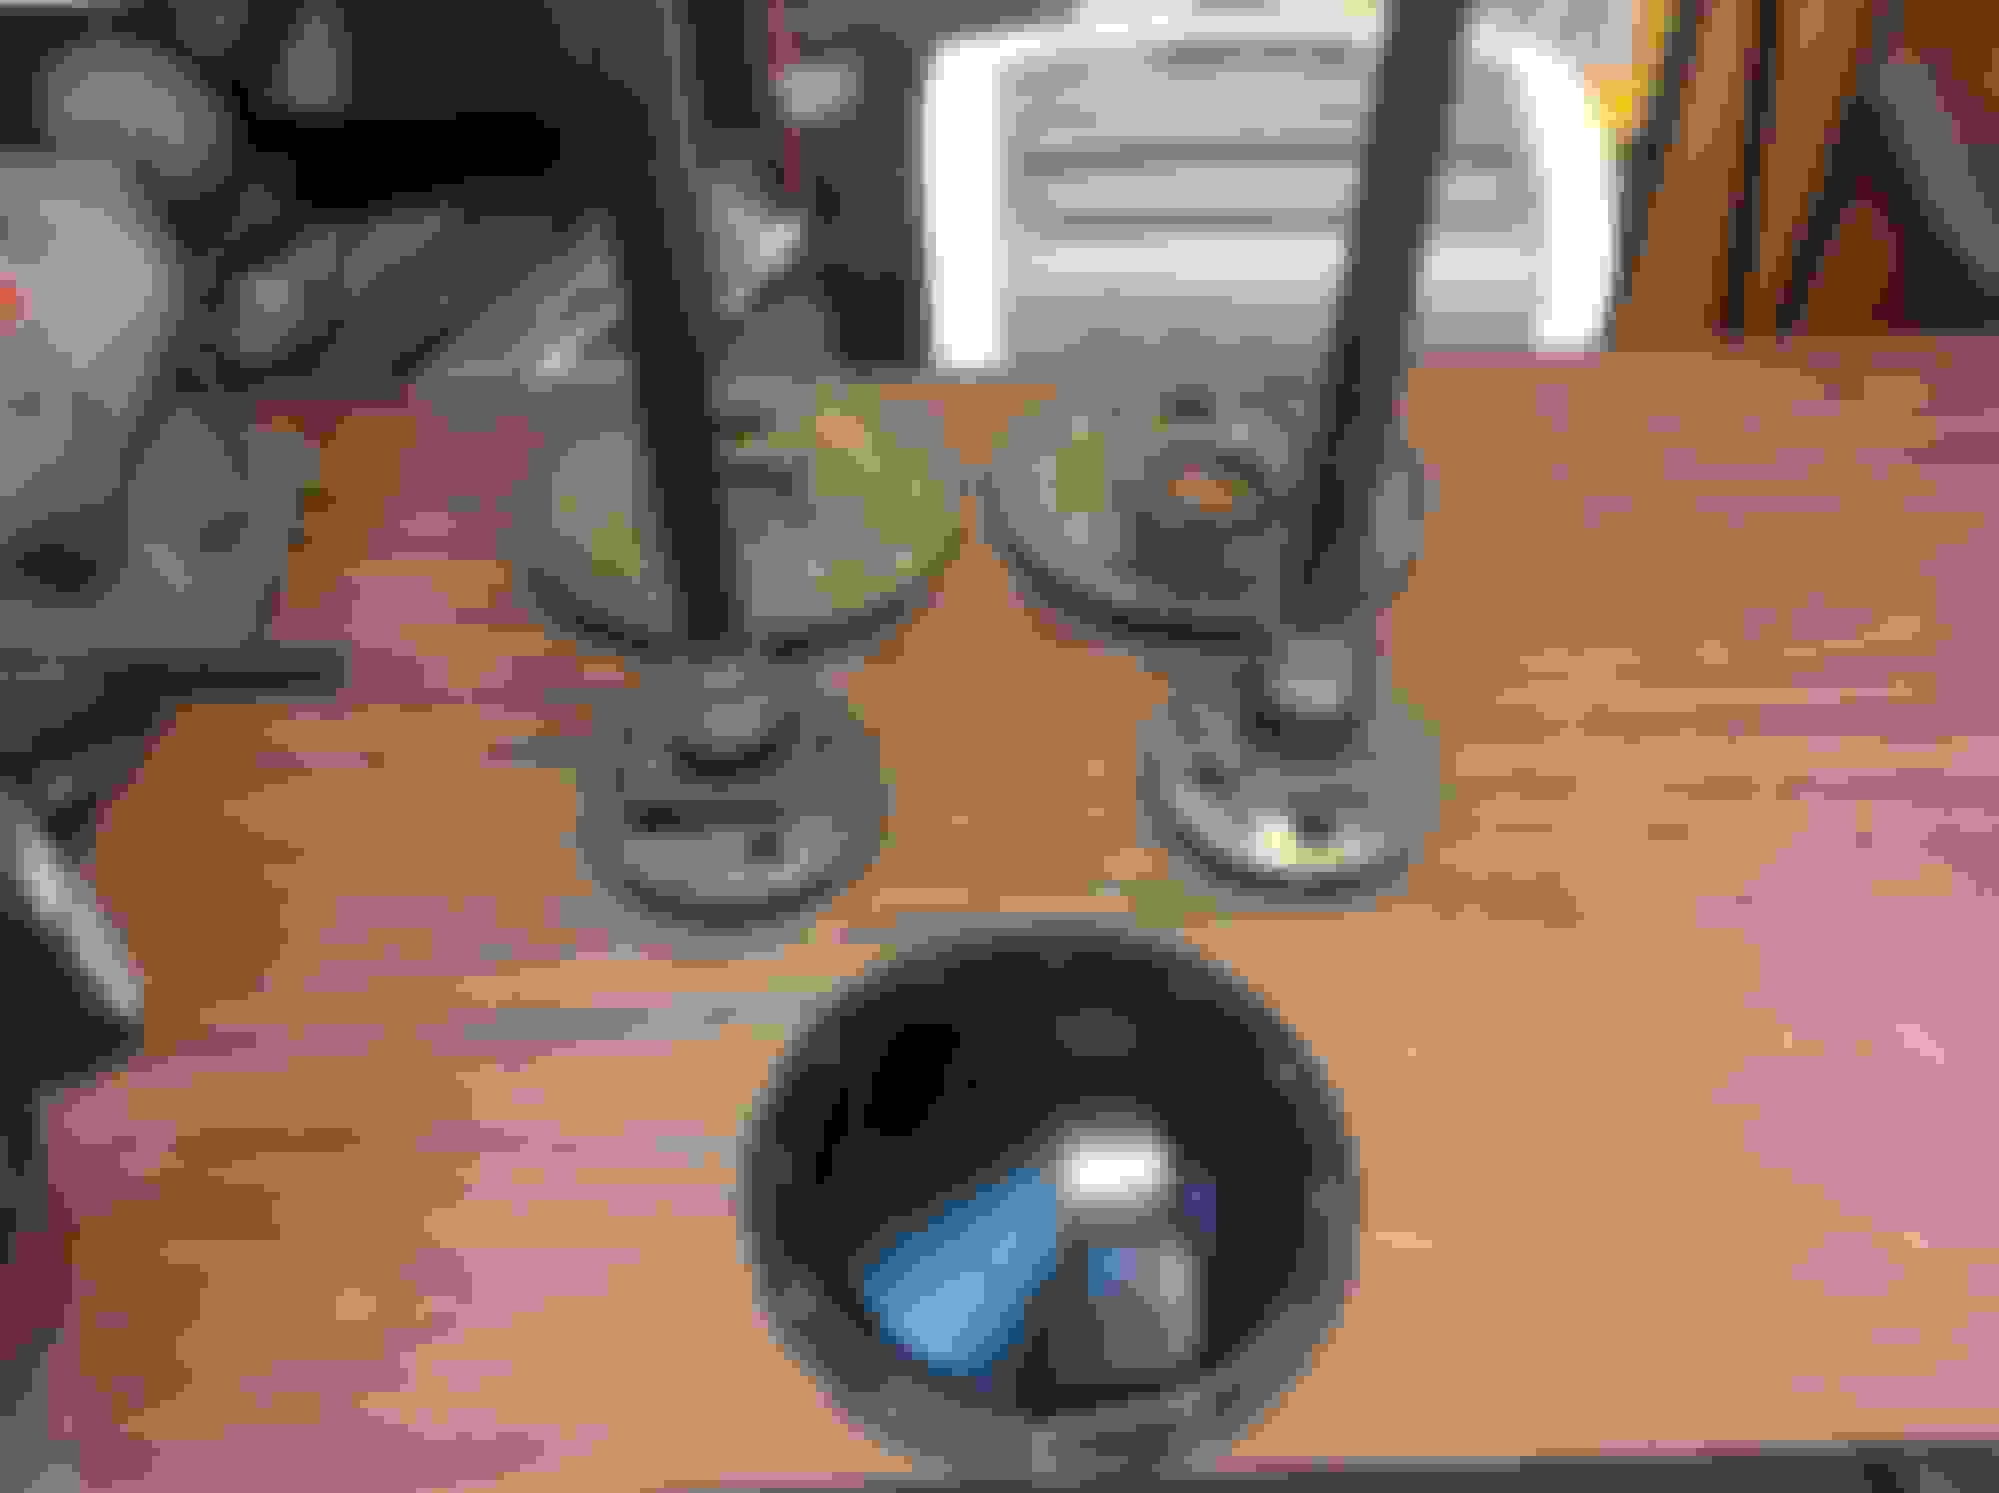
Saturday I devoted myself to refinishing the parts I had blasted that will be going on the rolling chassis. Pic below of brake hose brackets, sway bar to frame brackets, disc brake caliper brackets and backing plates, upper A arm shafts, spindles, steering arms, pitman arm and backdrive cross shaft. Used my usual assortment of specialty paints.
Today I went through various replacement parts I bought from Rock Auto and other vendors and refinished or changed out hardware to make them appear more period correct
Steering gear box - repainting with Cast Blast, polishing top cover, bolt detailing, cleaning/sanding end cover and input shaft plate
Rear coil springs (refinish of the ones that came out of the car) cleaned and sanded, then painted in Oil rubbed Bronze
Tie rod sleeves - painting clamps with VHT expos gloss black paint, changing out fasteners for more correct fasteners in phosphate
Shock absorbers - painted with a Machinery gray paint I found that exactly matches a NOS spiral shock I have. The TPP shock paint sucks butt if you can even get it to come out of the can
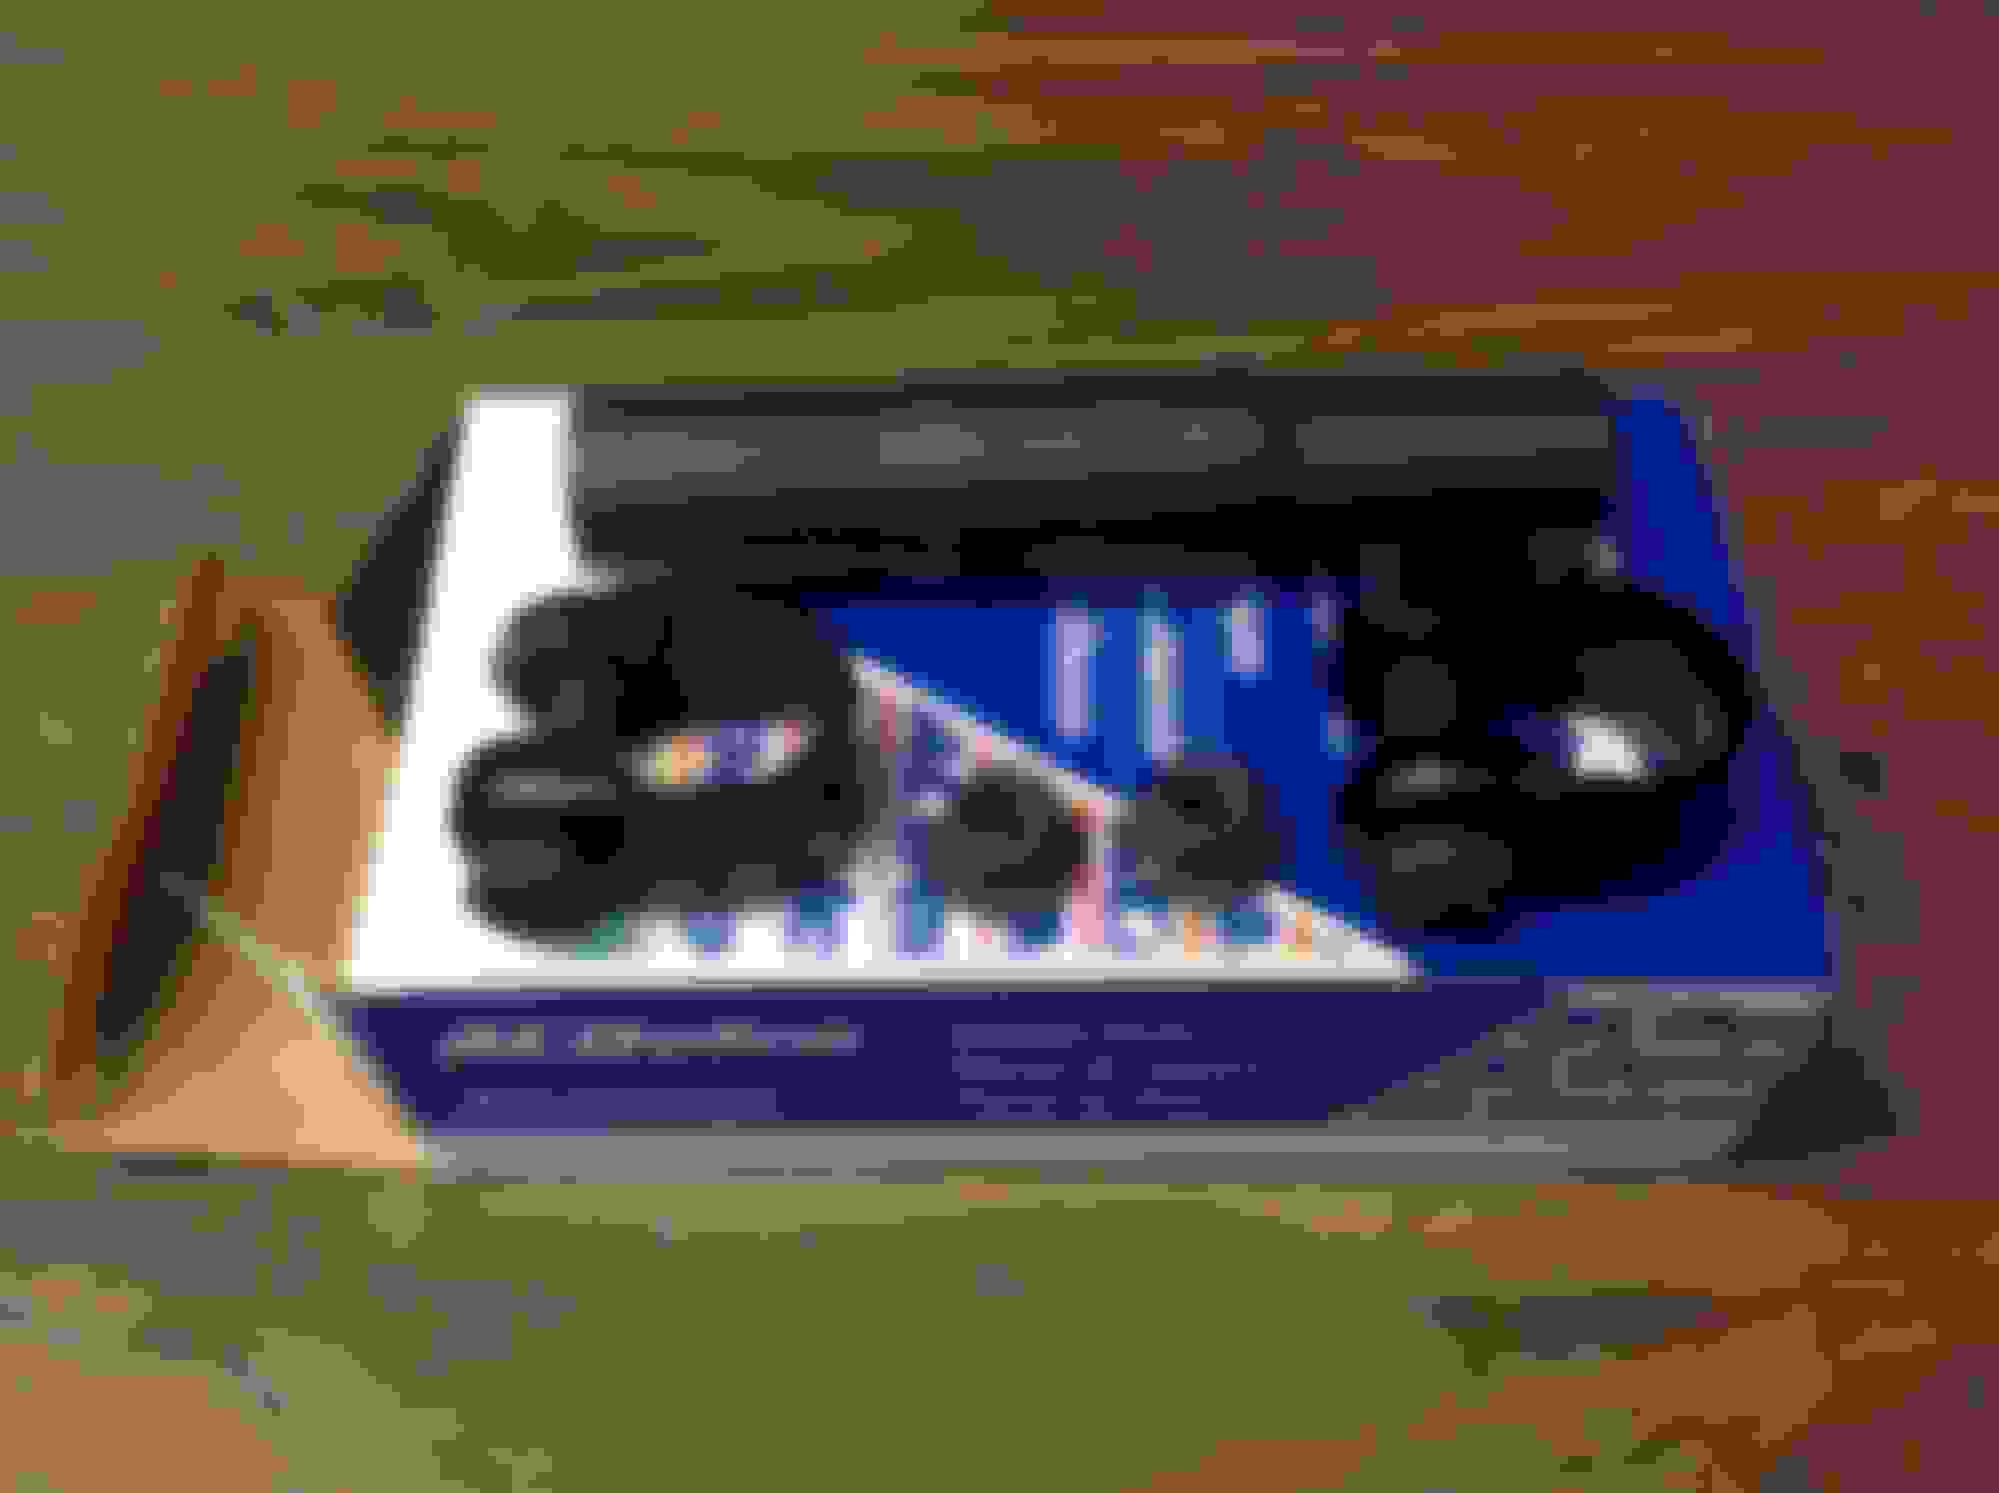
Front brake calipers - removed mounting pins/bushings, masked off the piston, seal and bleeder and painted in Cast Blast (there is a silvery high heat paint layer below the Cast Blast - I left it on to see if it acts as an insulator)
Decided to leave the front coil springs black since more research has shown not all springs were left natural at the factory, and inner and outer tie rods and the idler arm looked really good after a close inspection.
Also today I began work on the rear end. David, the car owner has made quite an investment in getting a 70 O type and adding a posi carrier along with 3.42 gears. It has been completely rebuilt internally, but it will need the usual atreatment to match the rest of the car. It will get new brake lines and hose, fasteners reconditioned, new vent, all new brake hardware and e brake cables, etc.. Not looking forward to dealing with the rust, but at least it isn't scaly. The diff cover will need some attention due to the surface pitting - shades of another Astro Blue car I've recently done.
Also,we have a tilt column. Will begin investigating it's condition, but it looks pretty good.
Last edited by costpenn; July 15th, 2018 at 08:19 PM.
I had to replace that rear window section on the 70 442 I had - it wasn't easy. I got the entire piece from desert valley and put it in as one section to the back seat
Longest session on this project so far (8 1/2 hours)
It seems I spent a long time today getting relatively little done.
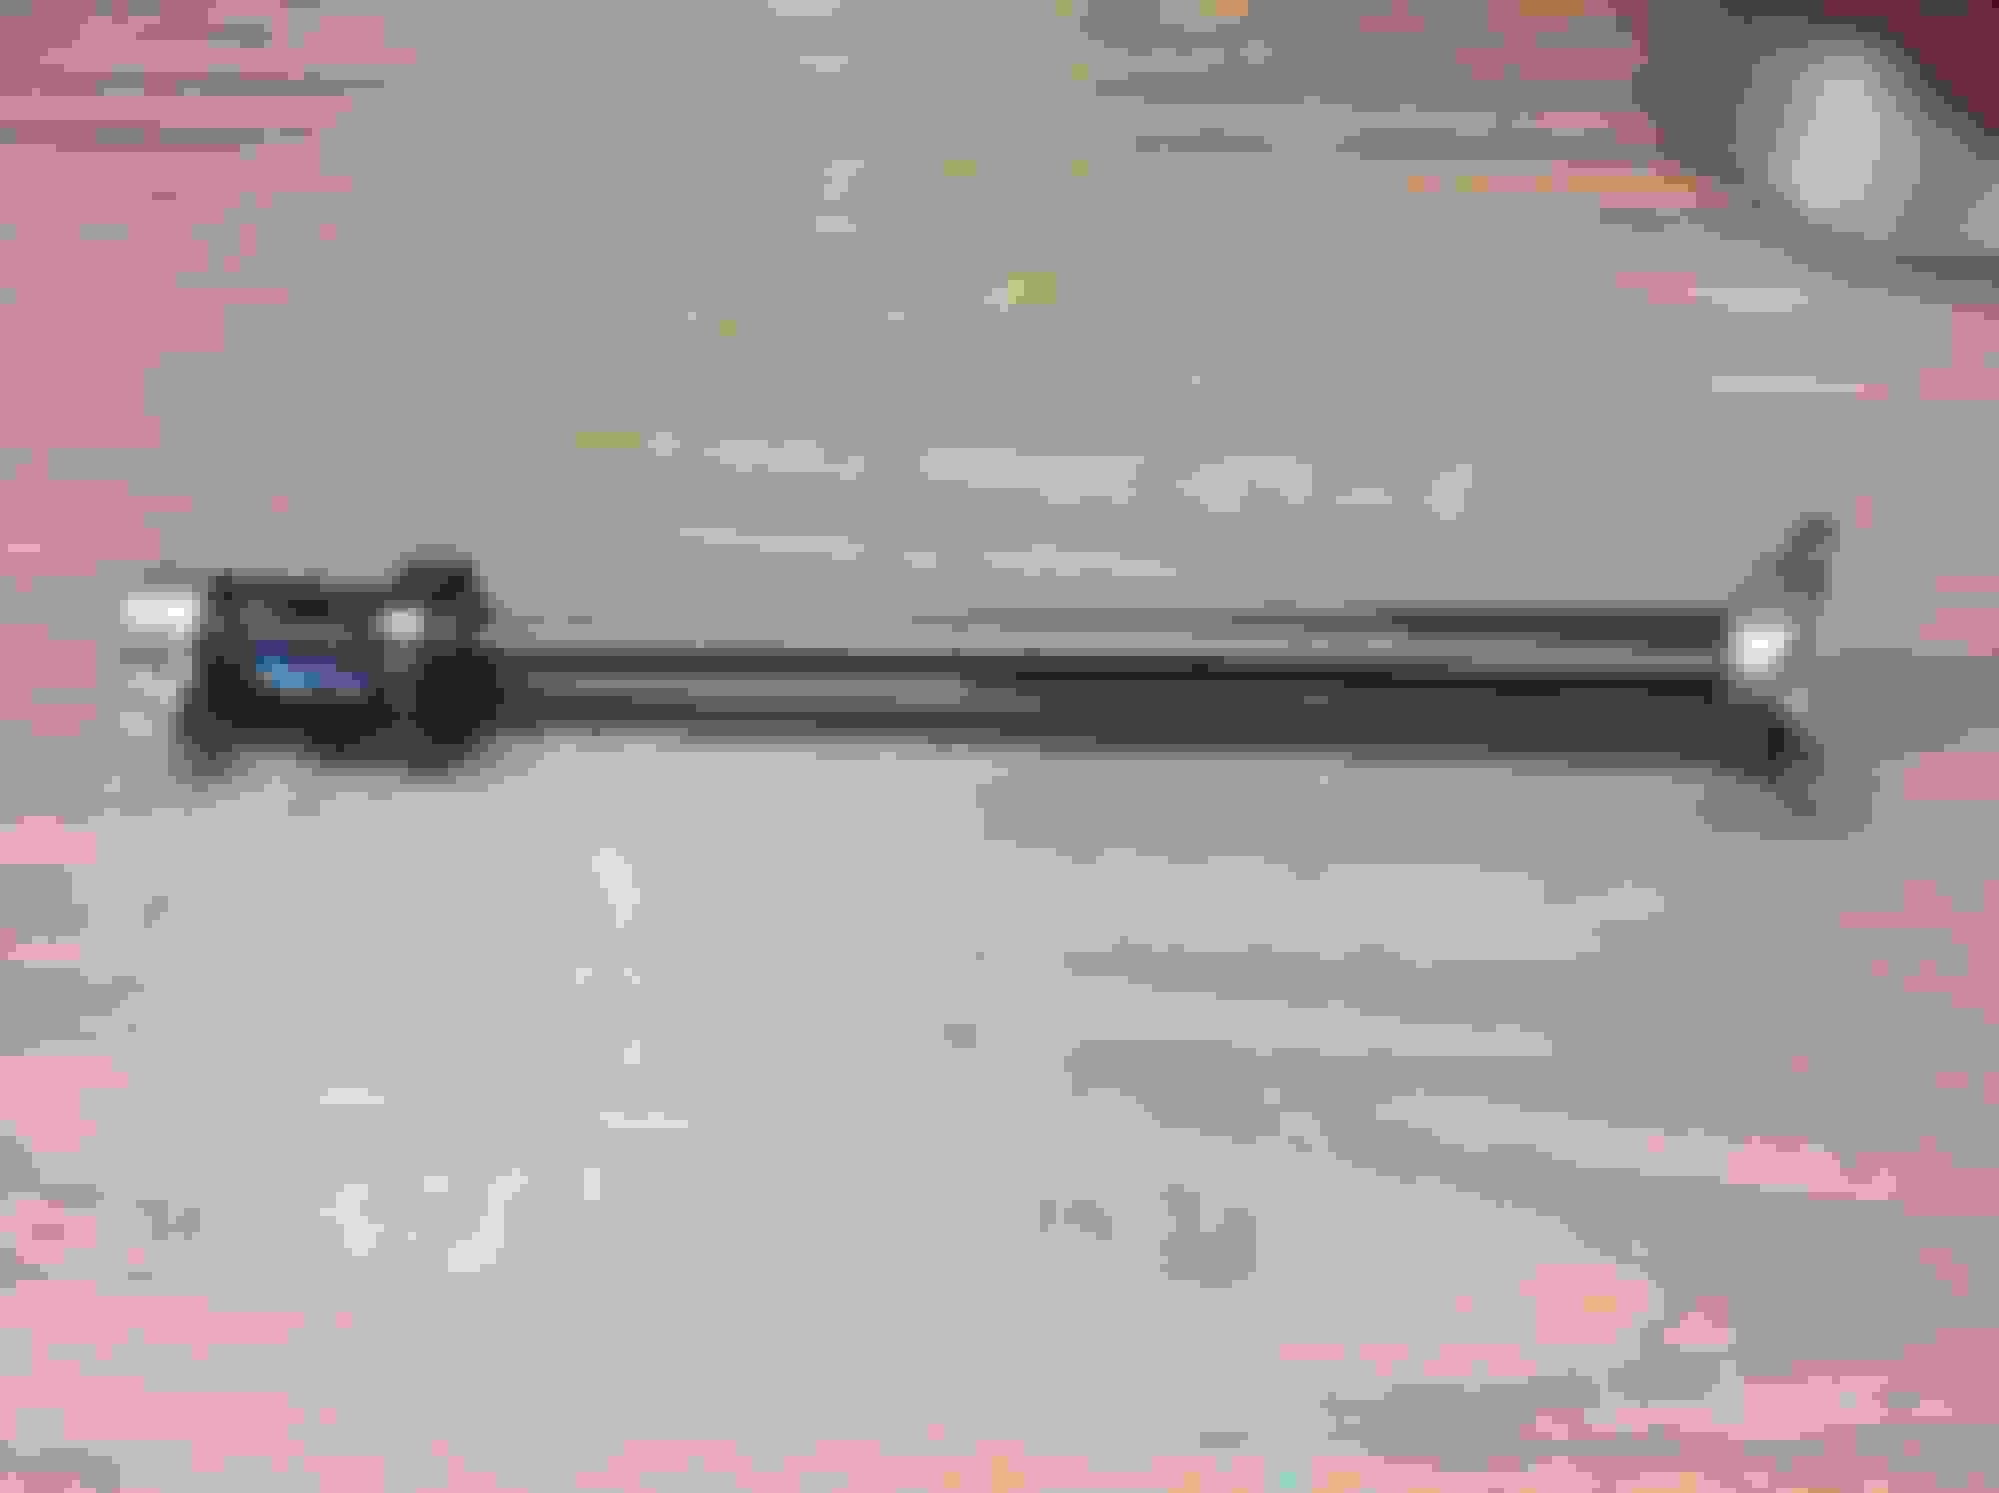
First thing was to clean up and detail the original rag joint. The repos and aftermarket replacements are not even close, so I partially diassembled it, wire wheeled where possible, cleaned the rubber really well, painted the brace in the silver cad paint, wirewheeled and phosphate painted the bolts, cleaned the special nut and replaced the other
Moved next to the lower steering shaft. Diassembled, cleaned all the old grease out of the bell, cleaned wirewheeled all the parts that go inside it, painted the main shaft semi gloss and the bell gloss, the column to shaft clamp the flat soft iron color, replanted the silver Zinc lock nut, wirewheeled the bolt and cleared it, replaced the boot, reassembled and painted the lower cast part with Cast Blast. Note I have to go back and expose the white nylon in the holes on the shaft.
Next were the sway bars. They looked OK, but got into a major time suck here with both bars having a build up of rust, primer, and black epoxy paint on at least a 1/16 of an inch thick. I could literally whittle it off, and that is what I wound up doing since wirewheeling or sanding was releasing ridiculous amounts of dust. I have no idea why the build up was so thick on the sway bars - seemingly way more than in anything else I have found. Bars painted in the Soft Cast Iron - they look really nice
Next moved onto more of the differential diassembly. Removed and wirewheeled the retainer to tube hardware, the brake block to housing bolt, the differential cover bolts, the brake parts that do not come with any of the hardware kits ( "bow tie" retainer, cylinder to shoe push bars, adjuster link, and wheel cylinder to backing plate bolts - unique bolts that there are no good accurate repos for) All the above spending the night in Evapo for good measure
Also, today put the bell drums in the evapo as well. After only a few hours already looking good with a green paint mark revealed.
Chris came over to help with removing the upper bushings in the differential housing and knock the axles out - I was worried about hitting them too hard. First was the bushings. Chris, being Chris, knew these weren't coming out without significant presuasion, brought his acetylene torch. First got the rubber soft and gooey, got the bushing housing hot enough to be able to be chisel punched inwards. They came out, but damn it was hot out there
Next, the axles did come out with a little persuading, but we are worried here. One of the bearings left the race in the bore, and it is loose in there except at the very outer edge of it. Have to measure it and make sure we don't have a problem. Kind of sad that the backing plate to tube flange was not cleaned at the rebuilding, and the gasket was not installed, nor even some Permatex smeared on there.
Lastly, cleaned off the rear diff cover and shot a guide coat of black to see how bad the pitting is. It isn't - just a crappy coat of gloss black had been shot on it right over the dirt and rust that was on it. It will be fine with a good beadblasting. Also, left to do is to clean up the rear axle hubs, blast the backing plates, clean/paint the rear axle assembly, and wirewheel/clean the frame fuel lines.
Last edited by costpenn; July 16th, 2018 at 07:41 PM.
Almost getting to the fun part (9 hours - 5 yesterday, 4 today)
No pics, just wanted to keep the logged hours accurate. Work has mostly consisted of cleaning up the rear axle fasteners, removing the lug studs, soaking the axle ends and backing plates in EvapoRust. Also I stripped the diff cover to bare metal in preparation for paint. Next wirewheeled the two long original frame fuel lines along with the two short pieces. I have done more than a few of these, but these were the absolute toughest to restore. That freaking thick red printer and black epoxy paint was really difficult to remove. Had an hour and a half apiece on the long ones on the wire wheel.
Finished the brake distribution block bracket, cleaning and removing paint from the rear axle rubber snubbers, painting the wayward shock that finally arrived from RA, and am almost finished with the bell drums.
Tomorrow, I should get the rear axle up on the work table and start stripping the rust off so I can get it painted. I really don't want all the dust flying around from the rear end after the frame arrives back on Monday from Quality Powder Coating. Also need to refinish the brake dist. block itself, backdive linkage pieces, shifter linkage, bell housing, etc...
Had some family business to tend to this morning, and then me and the wife watched Fort Apache waiting for it to cool down outside. No luck, so at 6:00 PM with the air temp at 108 went out into the garage to get started.
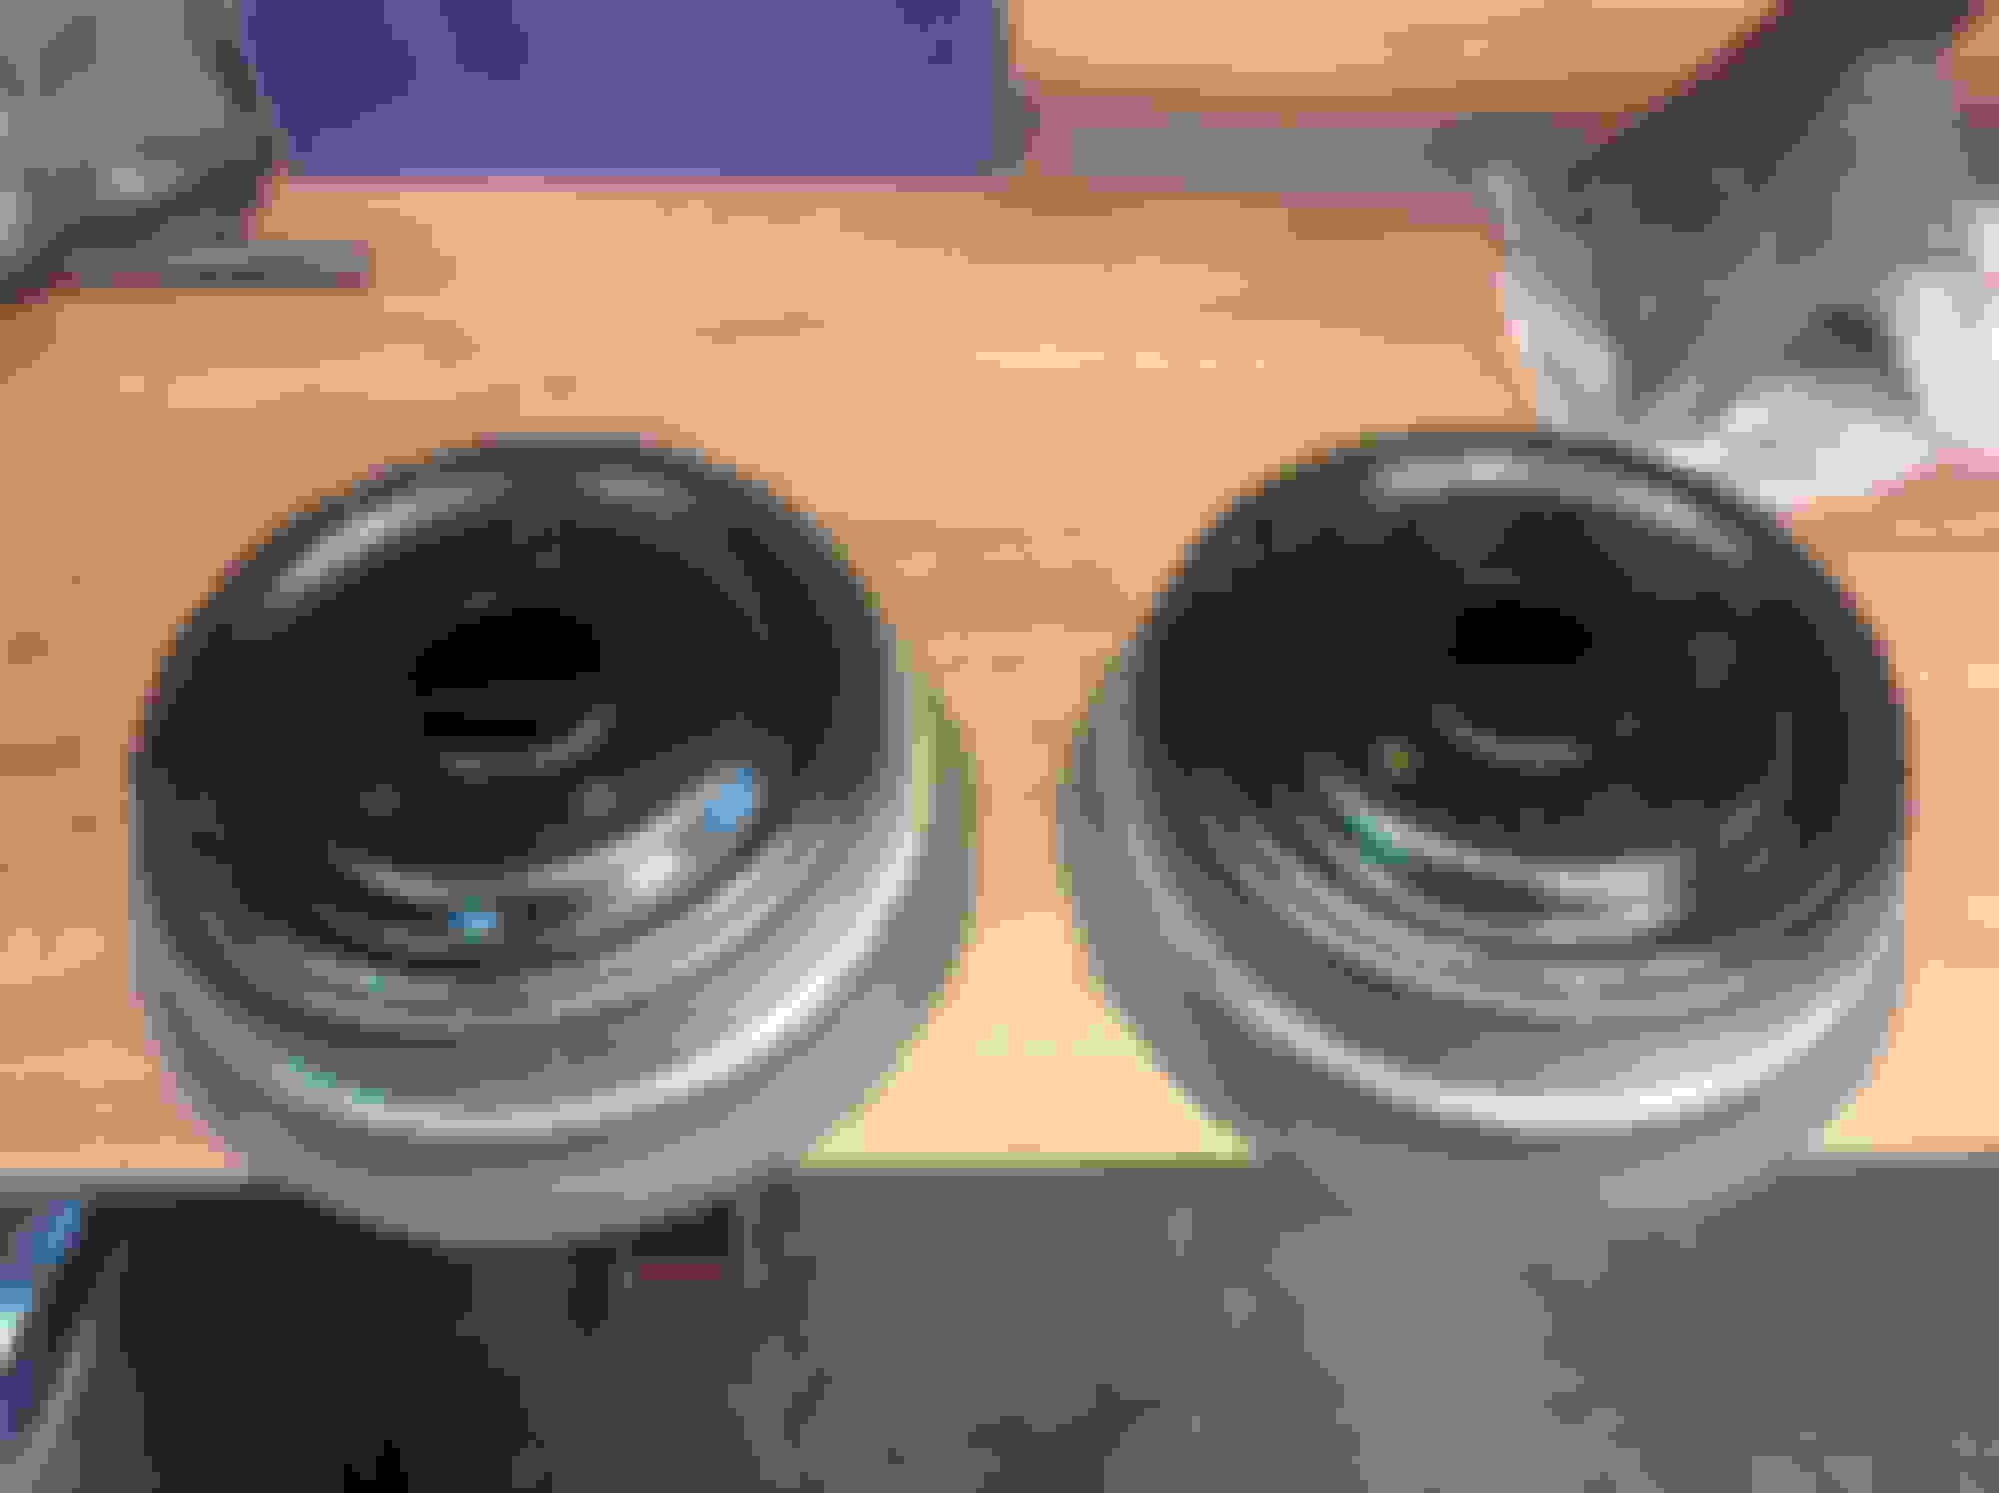
First removed the bell drums from their final Evapo soak. Wiped them off, went over them again with brake cleen, masked off the braking surface and shot with Cast Blast. I then did the specialty wheel black out of the drum face only using Ford Semi gloss black. Like the factory, no masking, just sprayed directly parallel to the drum face.
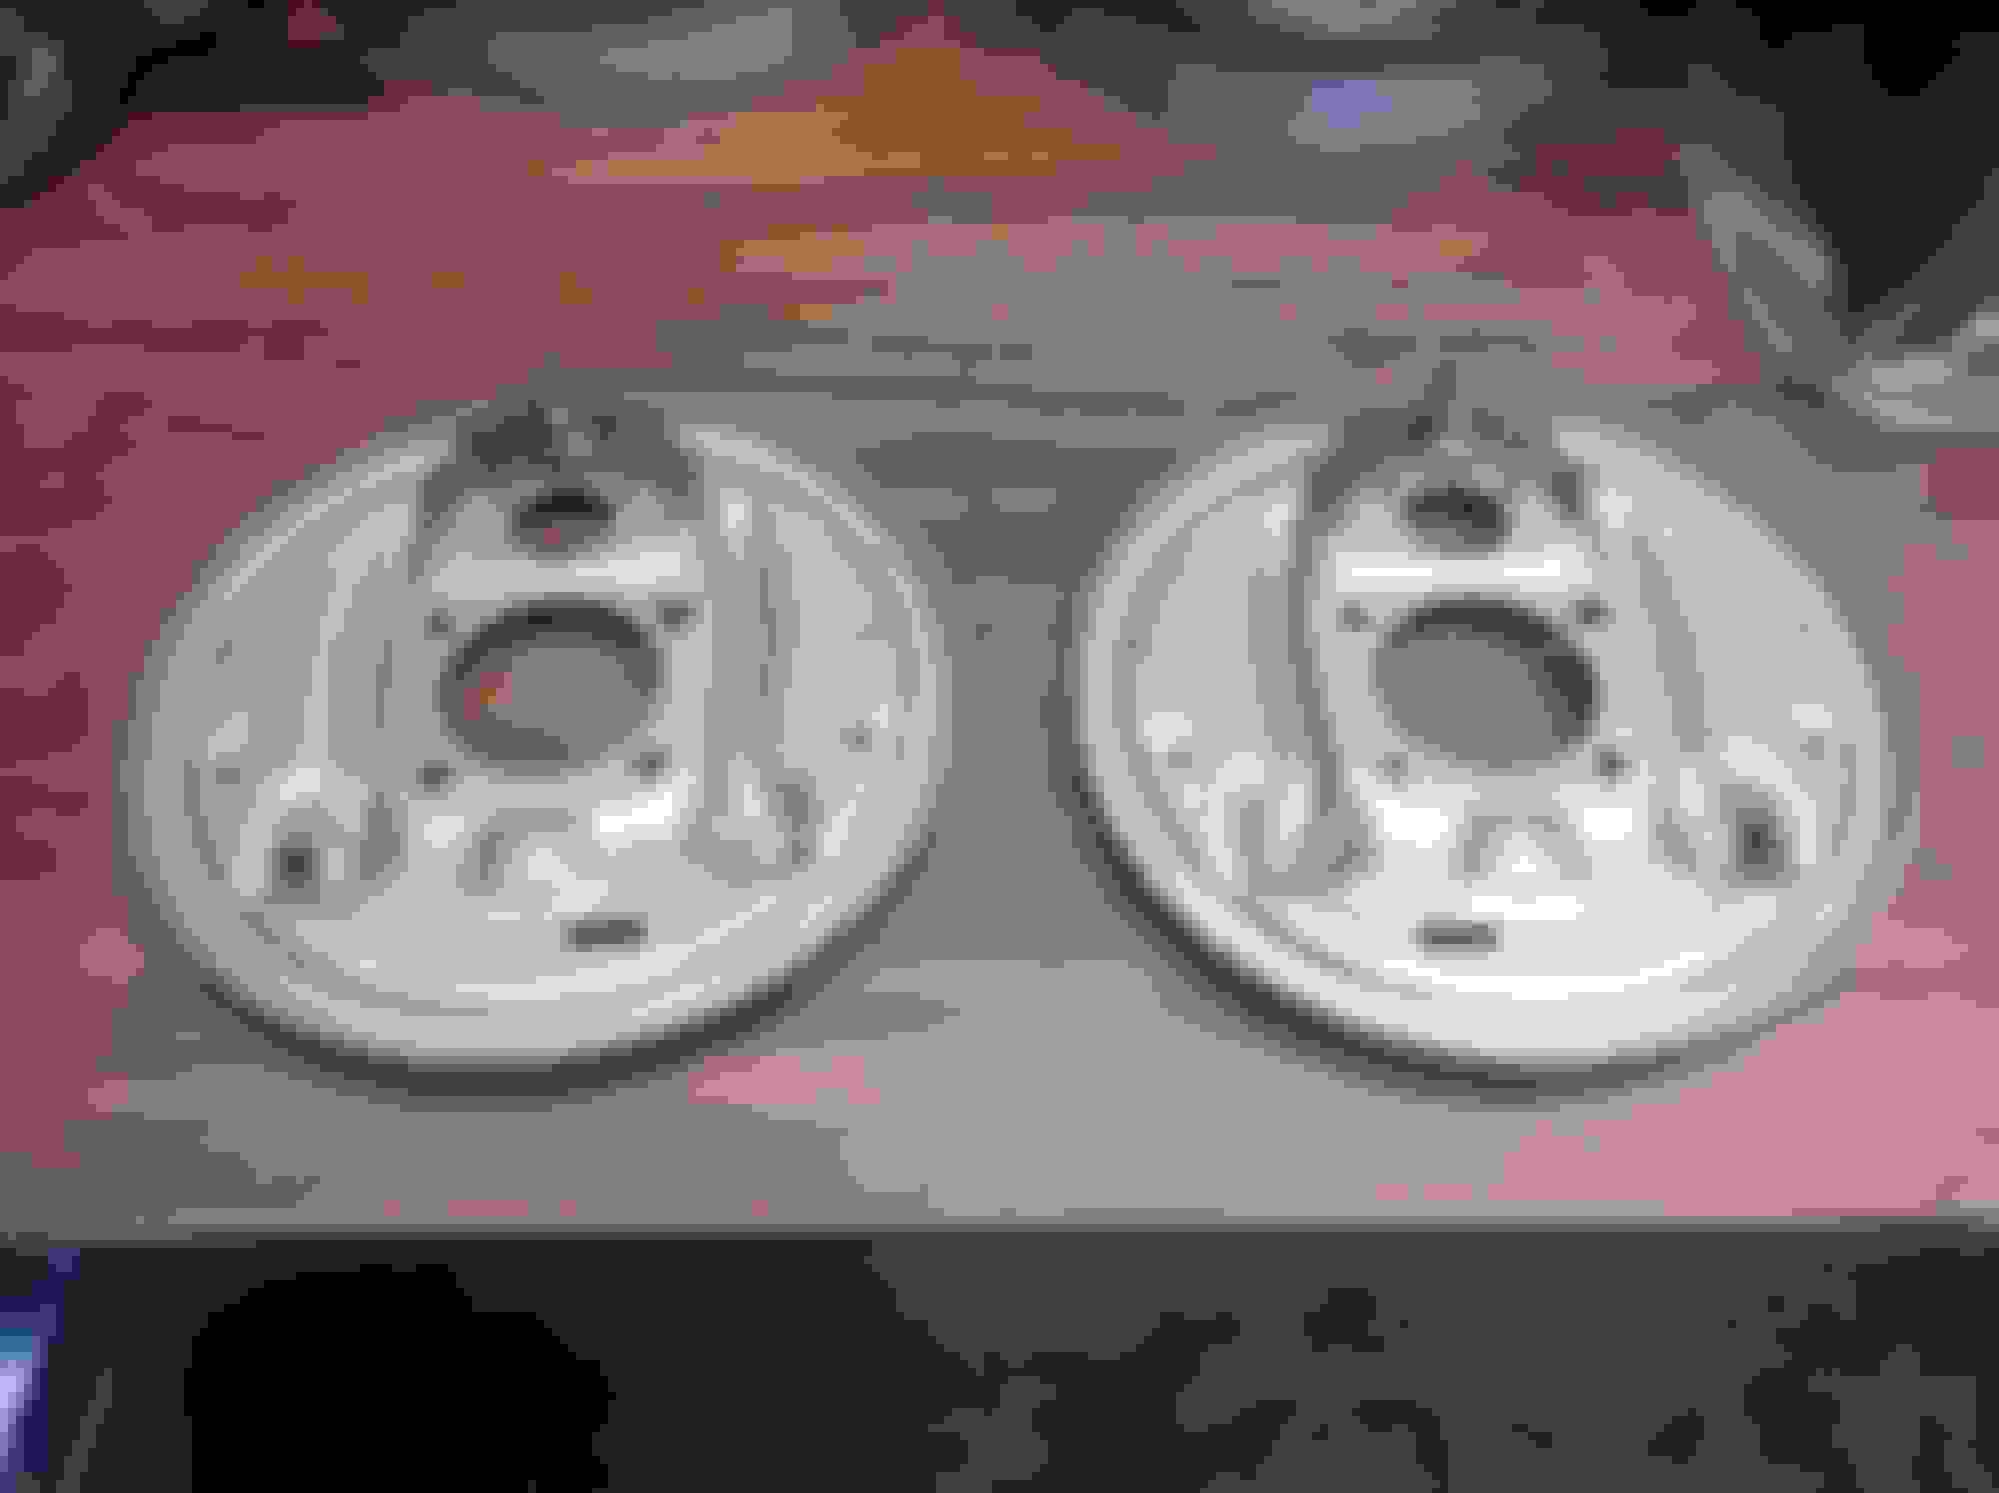
Next removed the rear axle backing plates from the Evapo and same treatment as the drums. Detailed the main anchor point and sprayed with Eastwood Detail Gray. I am not a big fan of this paint, but it seems to work well in this application
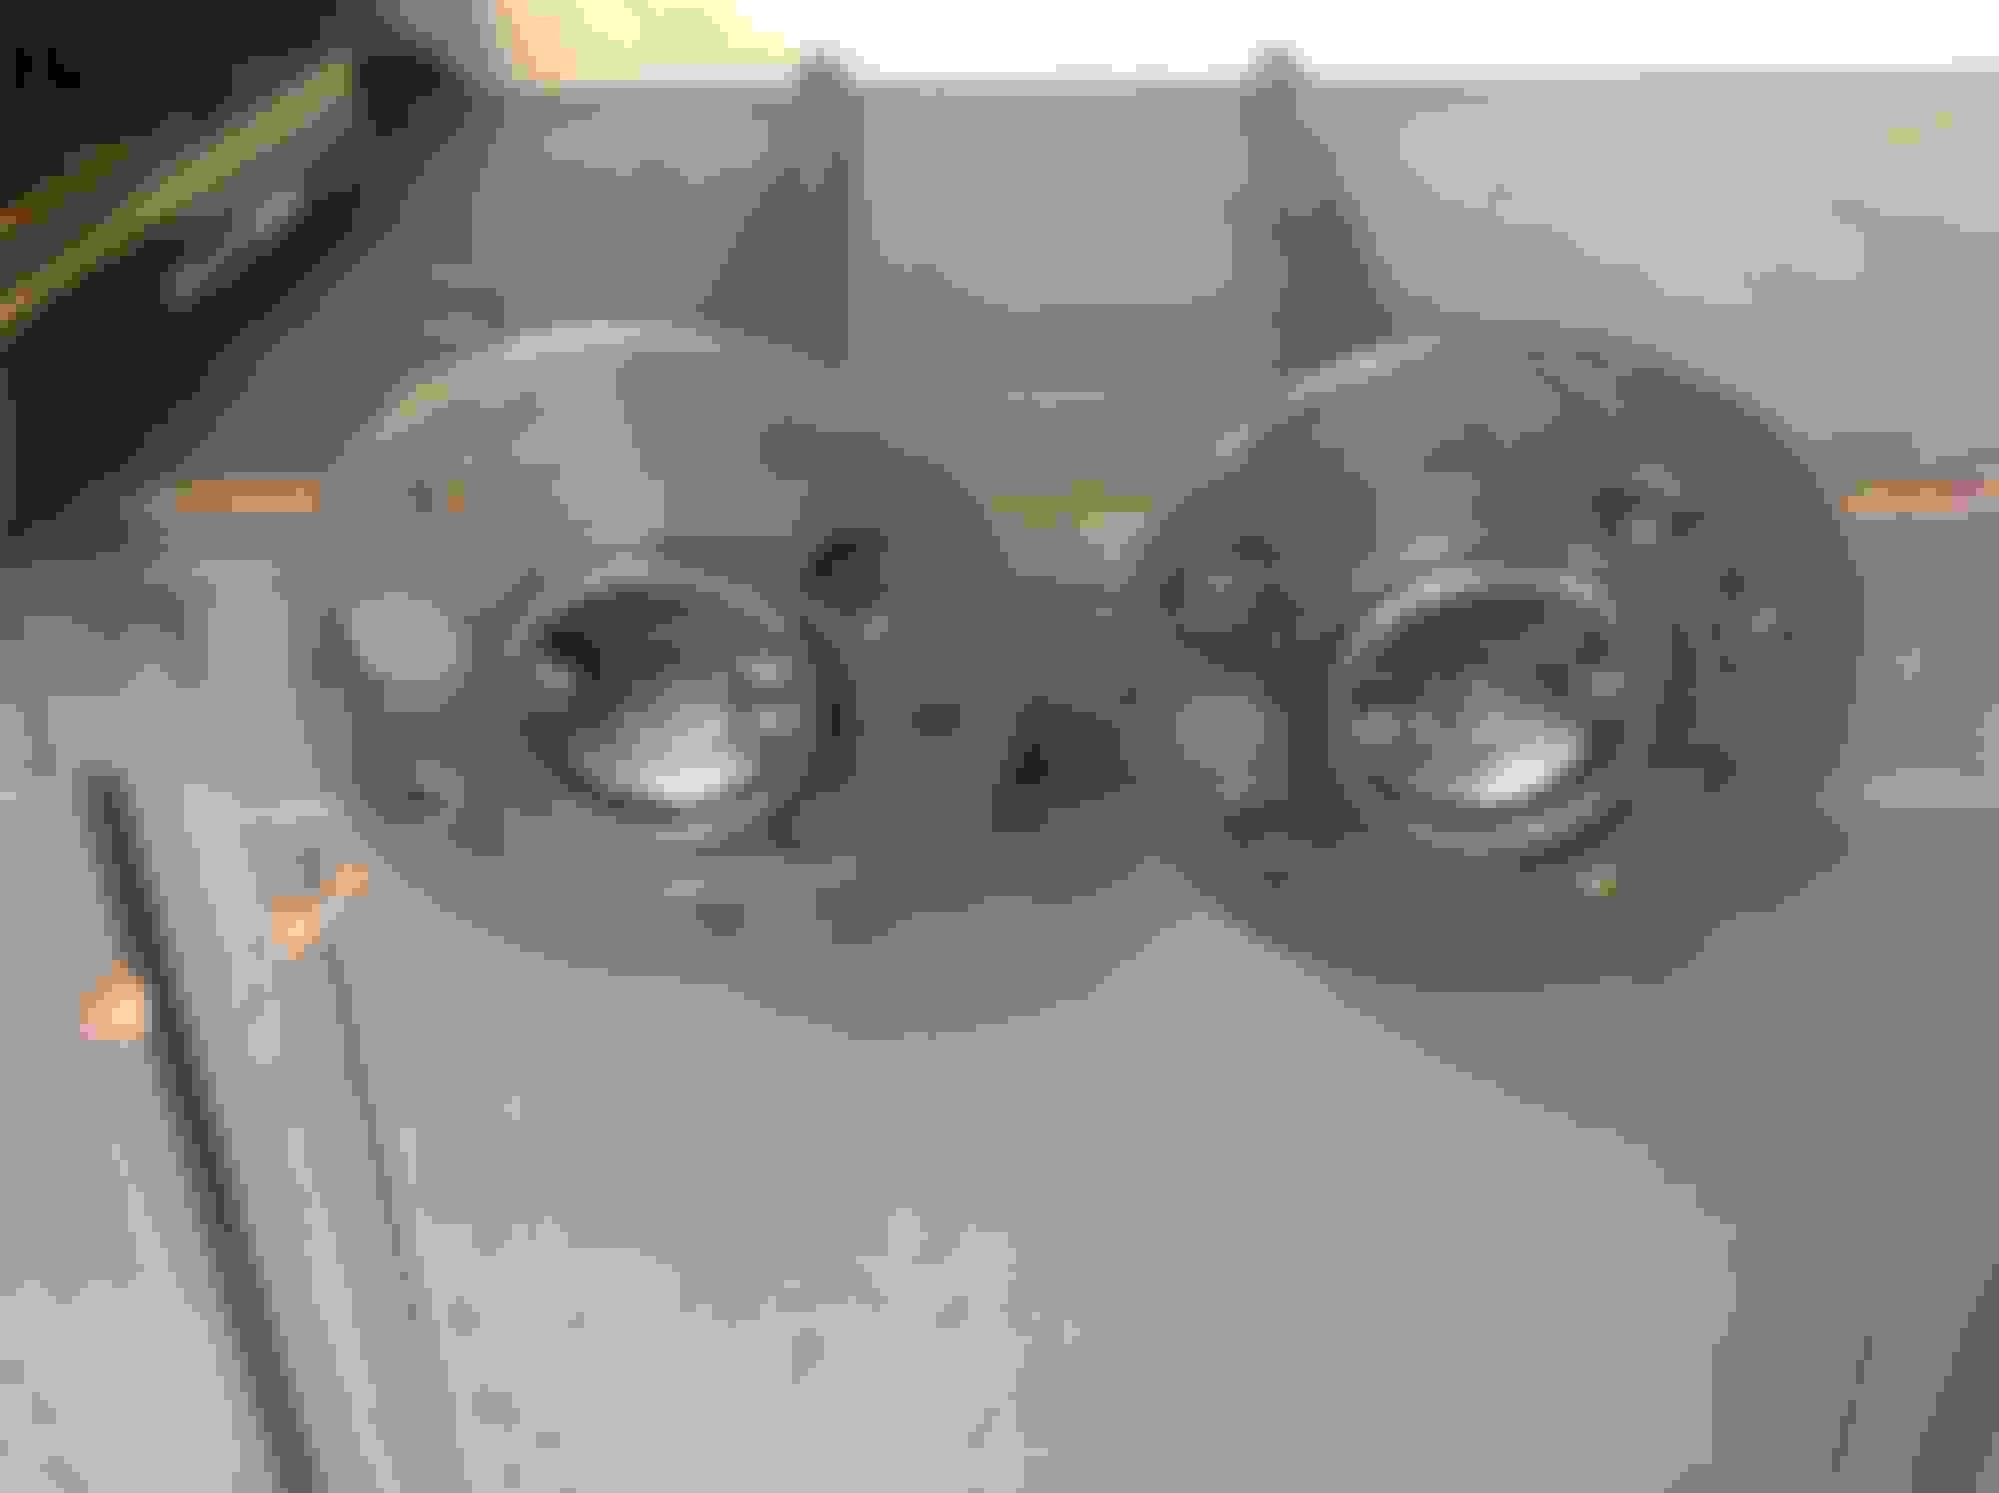
I soaked the axle ends in a shallow tray of Evapo being careful to submerge the axle flange, and the retainer plate but keep the seal and bearing dry. Came out OK - much better than the ***** of rust they were. Shot a little soft iron paint is n the hub - don't like it - will try a semi gloss black tomorrow.
And finally the big enchilada - rear axle housing. Though not scaly, this baby was one "Pig Pen" of a mess. Wirewheeled, sanded, scraped, used all the tricks of the trade to get it smooth. Found a green spoltch of paint, a white marking kind of like a stripe on the front the other side and a badly faded yellow "4" on the top of the housing. My W30 had that same "4" - wonder what it means?
Shot the rust encapsulation stuff on the tubes, painted the center section with Cast Blast after cleaning up and masking off the backing plate flanges, diff cover flange area and blocking the vent tube hole, then finally shot the tubes with satin VHT Epoxy paint. I screwed up and did the order wrong so I wound up with black overspray on the center section. Since it was a mistake, it does not look planned so it actually does resemble a factory overspray pattern. I really like it - I'm thinking of keeping it like this!
Last edited by costpenn; July 23rd, 2018 at 07:35 AM.
 March 17th, 2018, 08:59 AM