When you click on links to various merchants on this site and make a purchase, this can result in this site earning a commission. Affiliate programs and affiliations include, but are not limited to, the eBay Partner Network.
Joe, this would be a good time to raise the body to install new cushions, fairly easy job..
Lance it has has the body bushings replaces in about 2005 and they look great, but I think the front RH one is sitting on a larger than stock frame hole...
Taking advantage of perfect weather (again) (8 1/2 hours)
It has been so nice the last few days that it can't last, so I did a marathon session today (for a 54 year old guy) to get the car ready to go to the frame shop, then hopefully onto paint.
Began by pulling the door & roof rail weatherstrips. Since they were not glued in they came off with zero damage and are in perfect condition to reinstall. Next pulled the roof rail weatherstrip channels. These had never been off, but got the screws out without stripping any by hitting them hard with a hammer on the screwdriver before trying to unscrew them. Next, the outer window fuzzies came off in perfect condition and they are the good round bead repos. If I pull the windows, almost all the dynomat will have to come off the doors.
Also found a weird rust patch under the RH weatherstrip - the rest of this door looks OK
Took a short break and Chris Dreiling came by to look at the progress. We thought well no time like the present to get it done, so I spent about 45 minutes pulling the exhaust pipes off the manifolds, disconnecting the clutch linkage, removing the shifter, pulling the speedo cable, unbolting the trans x- member and mount, and pulling the driveshaft. All was ready to go until I remembered my engine stand was at my business. Hopped in the truck and 45 minutes later back with the stand. Went in my backyard to get my engine hoist and realized someone has stolen my engine hoist load leveler. Back in the truck for a HF run while Chris pulled the lower pulley and exhaust manifolds. I get back, and Chris is worried about the oversized oil pan clearing the cross member with the tranny still attached.
Well founded fear, because no matter how much we huffed and puffed and tilted the engine, there is just not enough clearance to get it out. Started to pull the oil pan, but then we decided to pull the tranny and bell housing. That did it - engine went up with a beautiful coolant fountain flowing out of the water pump.
We quickly removed the clutch, pressure plate and mounted it on the stand in less than 10 minutes - of course another problem came up when I couldn't find my engine to stand bolts. I have HUNDREDS of bolts - most ready to go and some needing refinishing - and I did not have any close to the right length. Chris finally found some in the incorrect A/C compressor mounting bolts I had bagged up off this car and with that we were done.
I will be posting several questions on different threads about a lot of what came off the car. We found some "extra machining" on the flywheel to crank bolts, whether there is any hope in trying to save the original exhaust manifolds, a question on the legitimacy of the trans VIN stamp and date code, and the 455 motor mount blues
Last edited by costpenn; January 28th, 2018 at 07:39 PM.
Wow, looks like another full restoration MAW!! Boy I know if I had just bought that car, I would be disappointed (let alone not being able to afford it) I will be following along- Your're doing a great job. Speaking of MAW's what ever happened to Rob?
Wow, looks like another full restoration MAW!! Boy I know if I had just bought that car, I would be disappointed (let alone not being able to afford it) I will be following along- Your're doing a great job. Speaking of MAW's what ever happened to Rob?
Thanks!
I haven't seen Rob post in awhile, and he lives pretty close to me. Have to give him a jangle.
That is good that the weatherstrip come out ok. Was it the originals? I am going to restore the 4 speed Jetfire eventually and hope I can get the original weatherstrip off of it without damage.
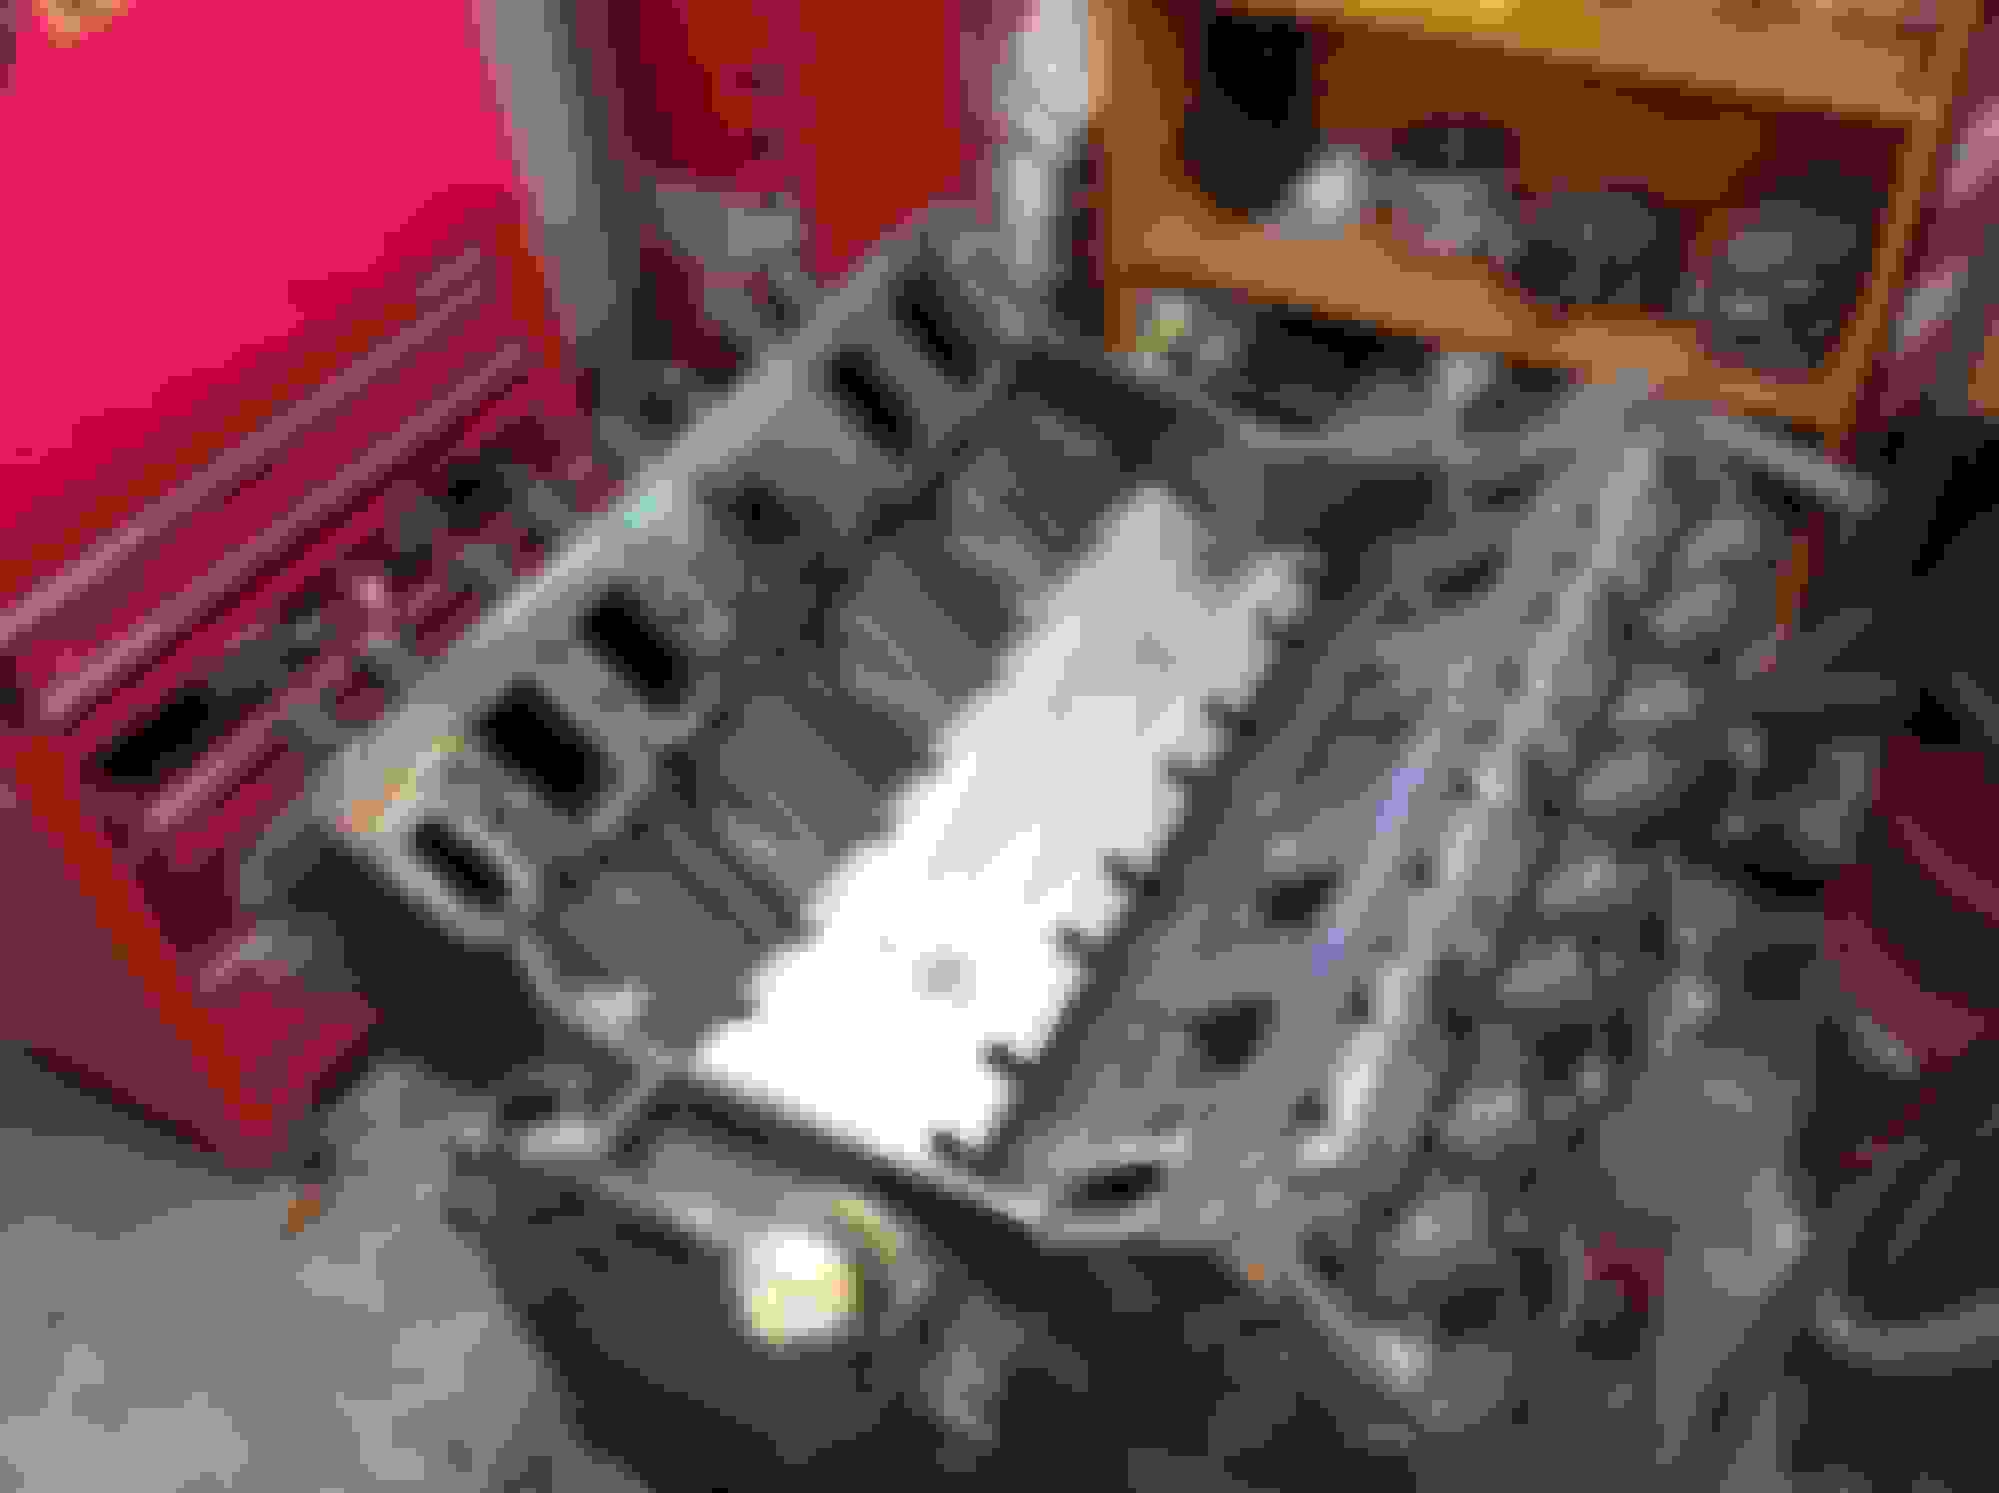
Today was engine teardown day. I have done three Oldsmotors myself over the last few years, but always to stock specs. As I have mentioned, I spoke to the owner who last rebuilt this engine, and he mentioned this motor has had a lot of hi-po upgrades. He wasn't kidding, but.....
First order was to take the intake off. The stripping went pretty easily except for the heater valve (which I got off after further PB Blaster soaking and cutting off the top of the valve so I could put the air ratchet on it) No valley pan on it so there was some coking on the bottom along the cross over passage only.
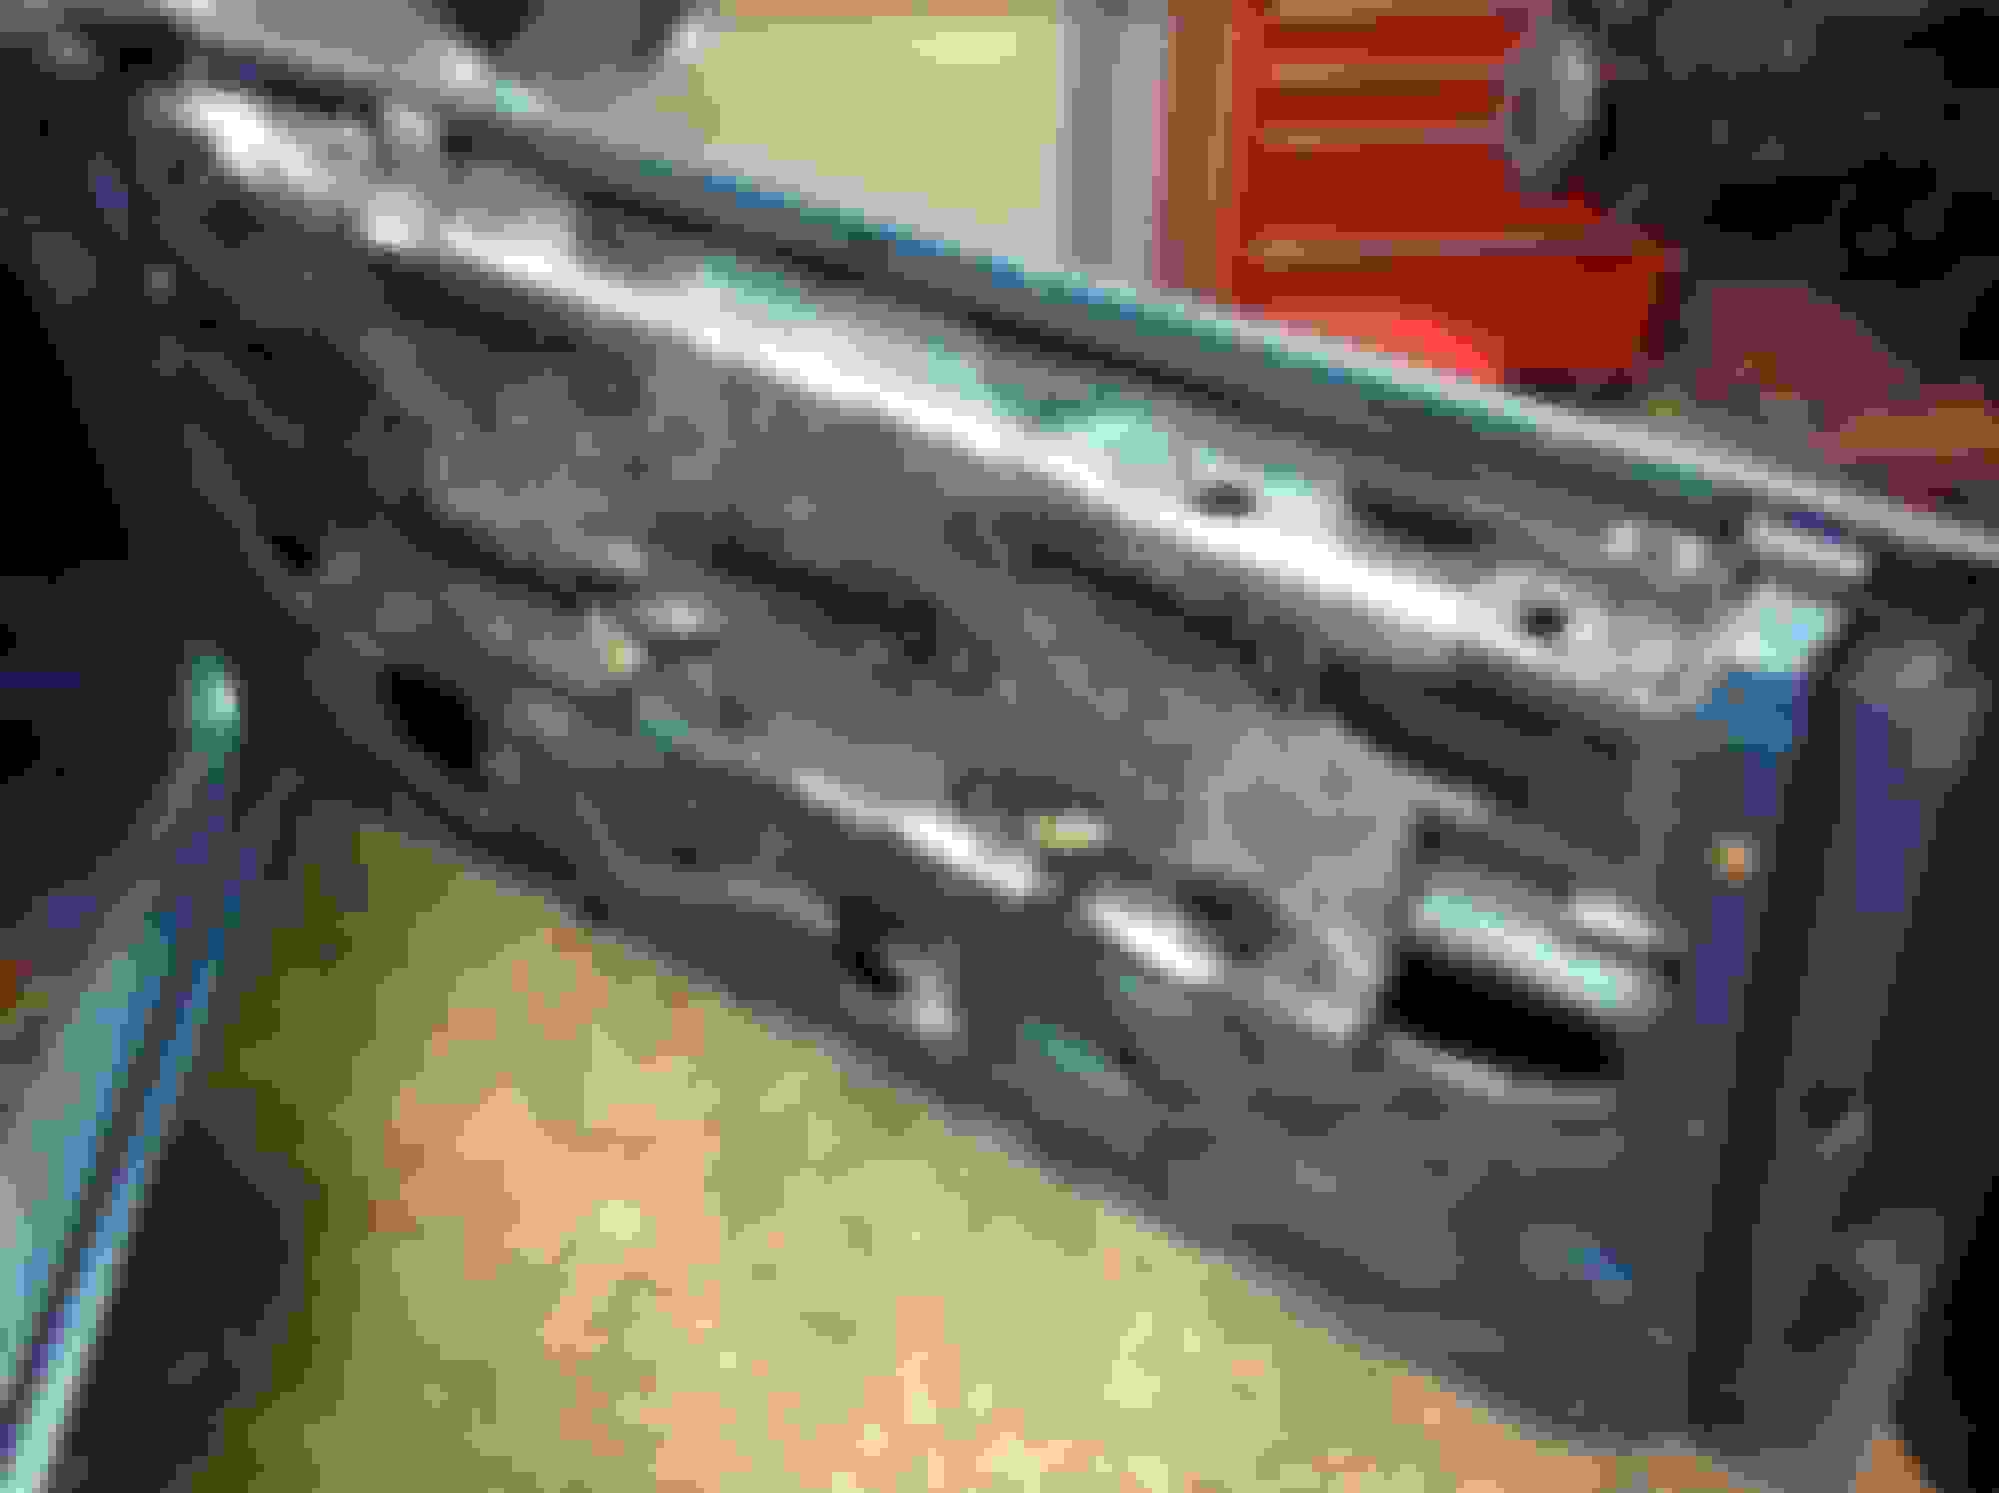
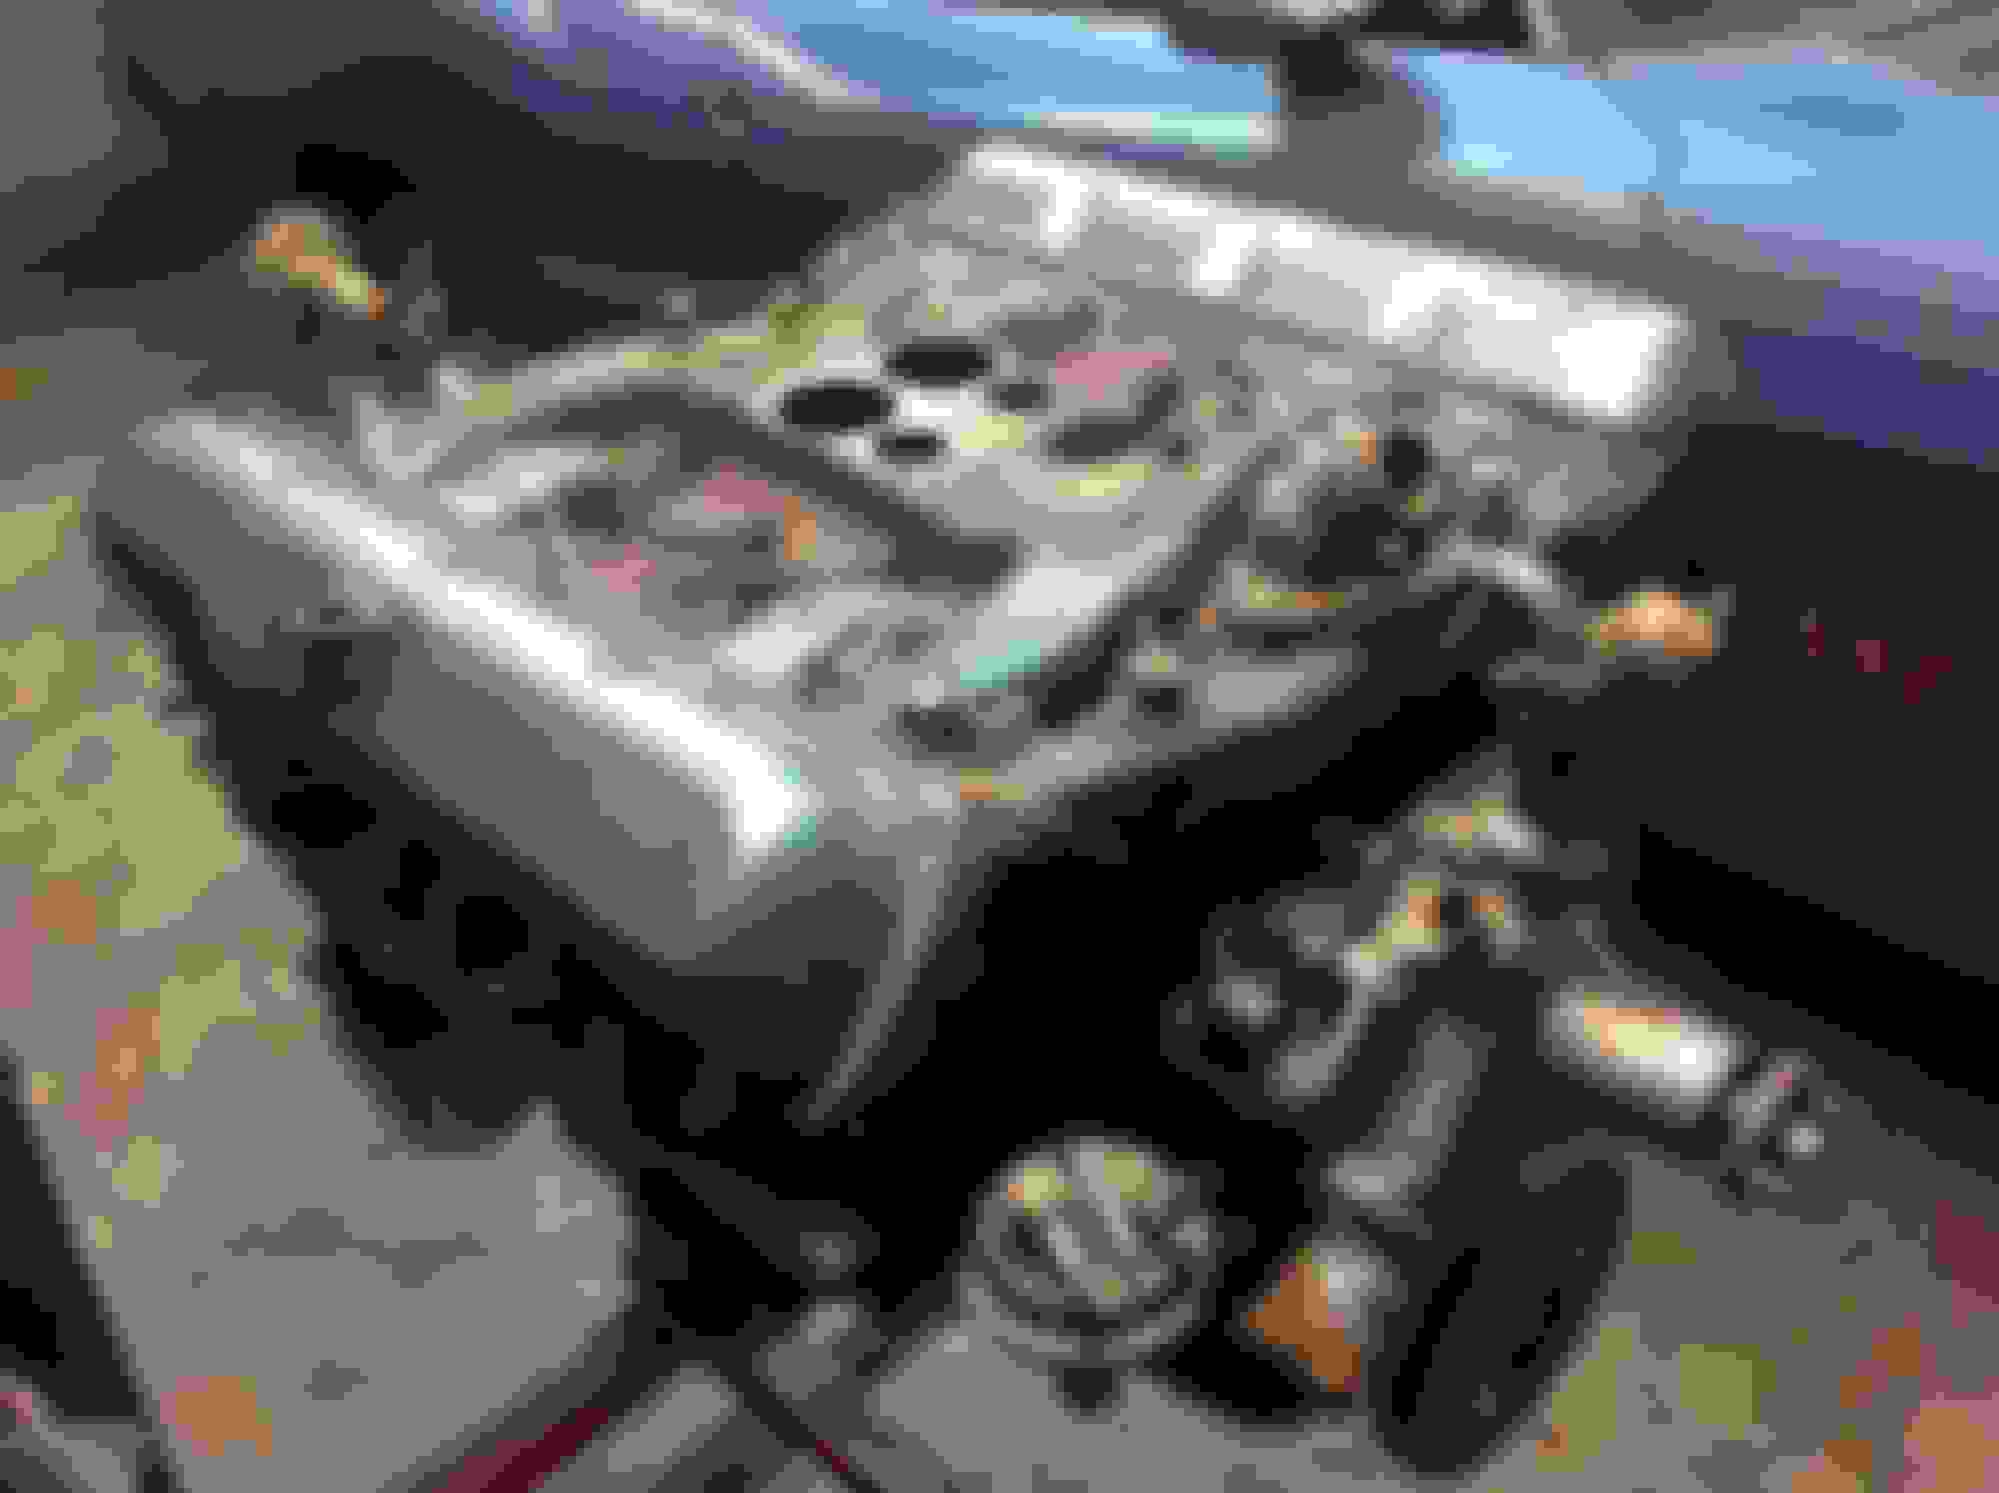
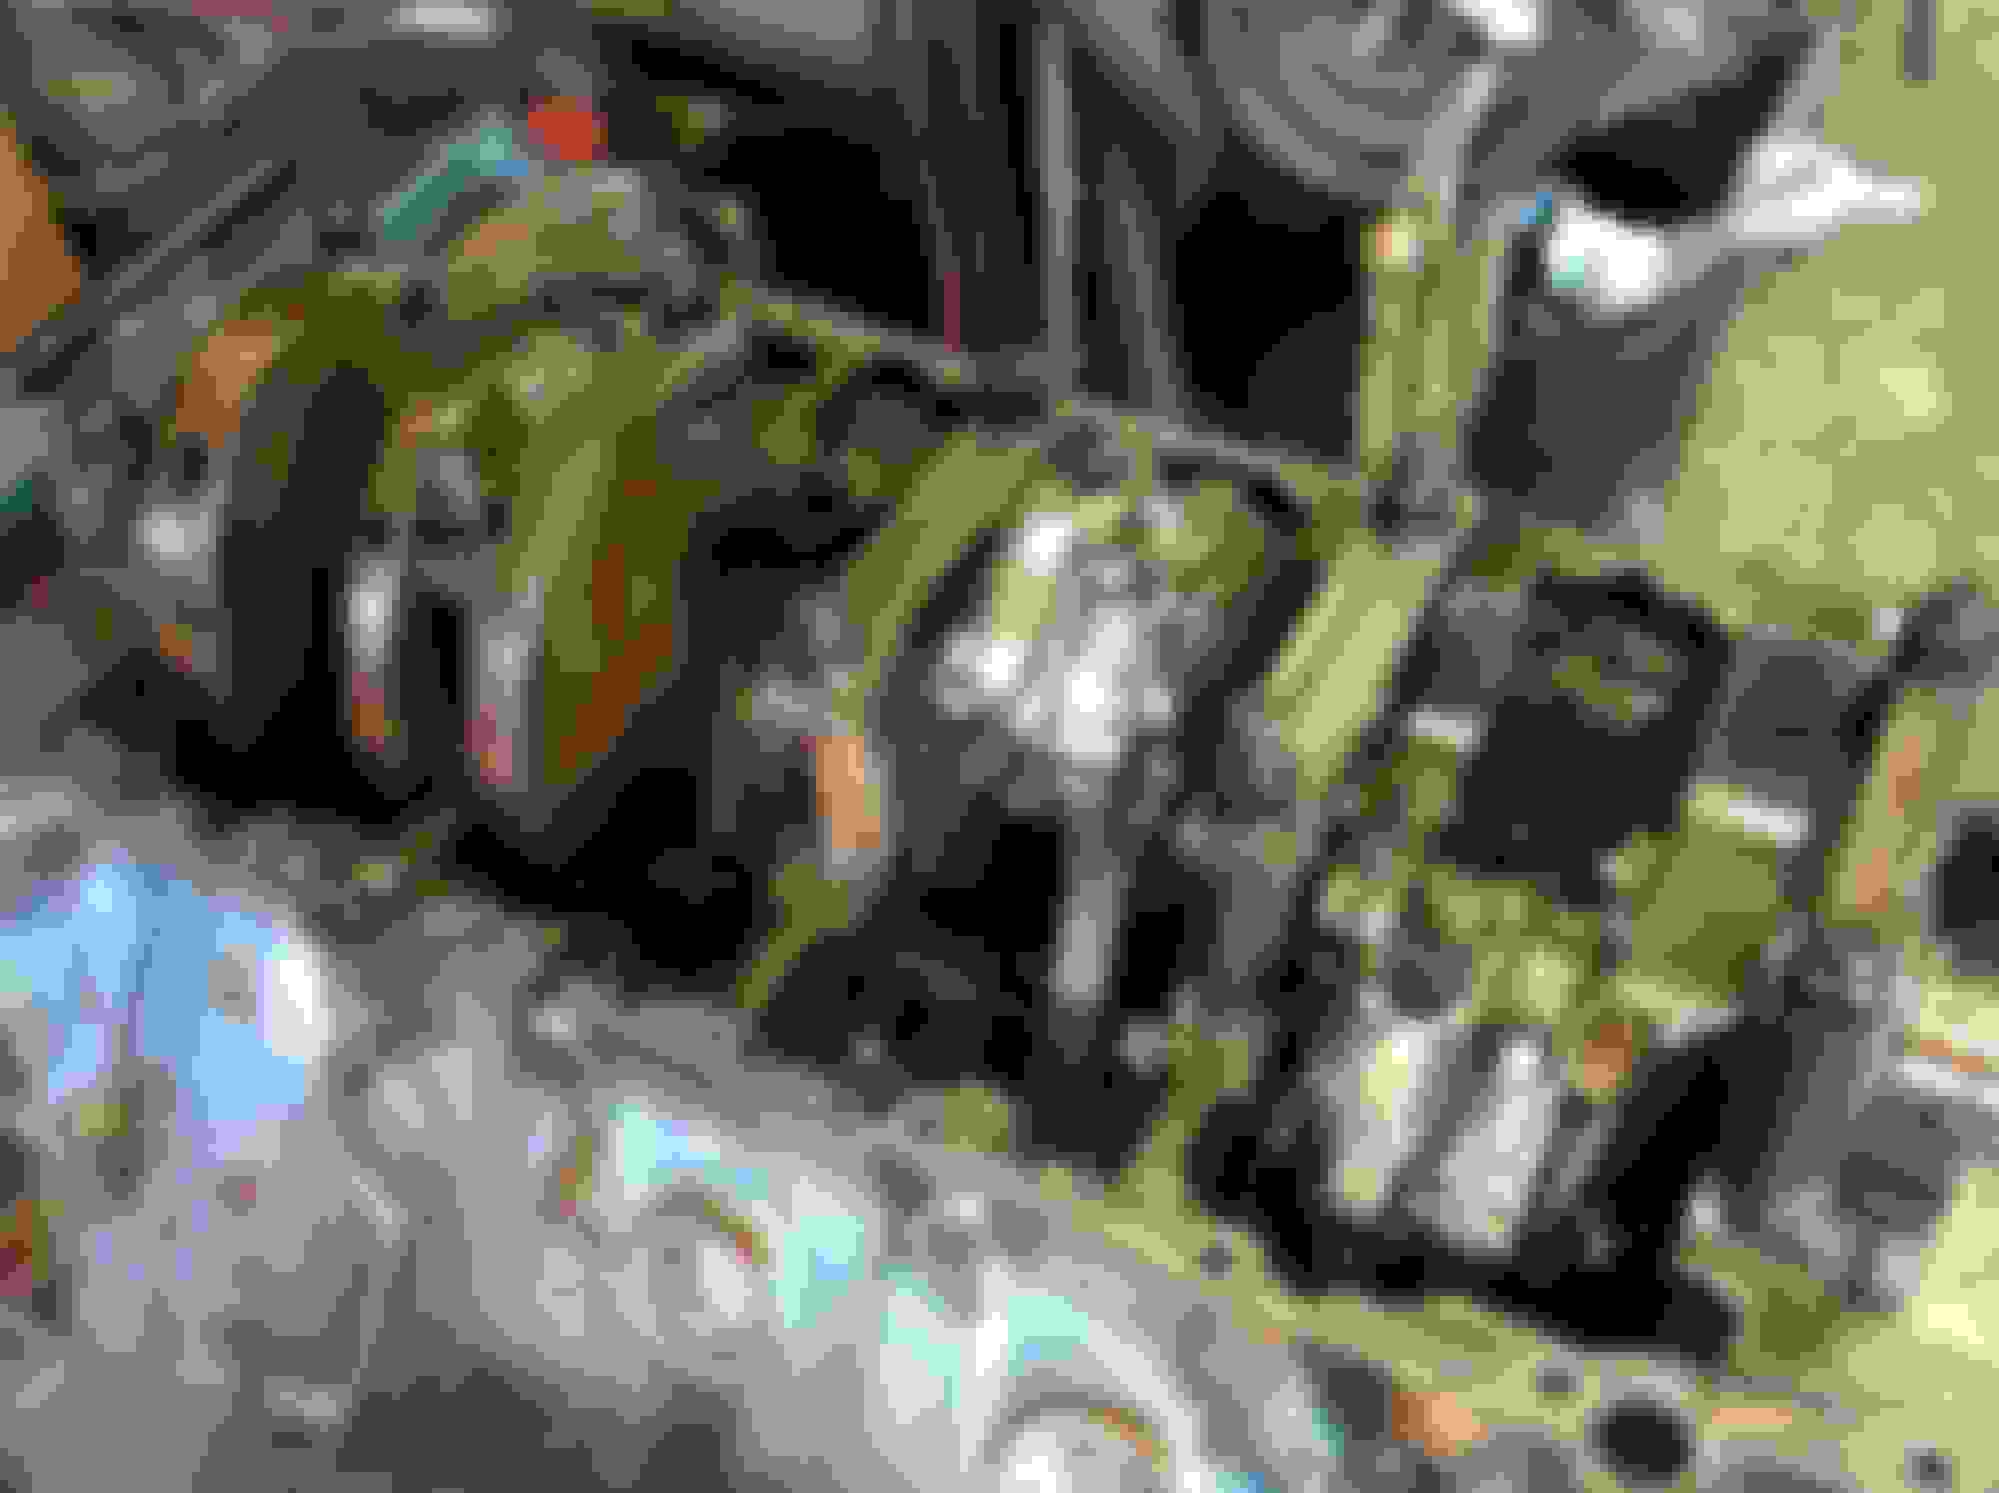
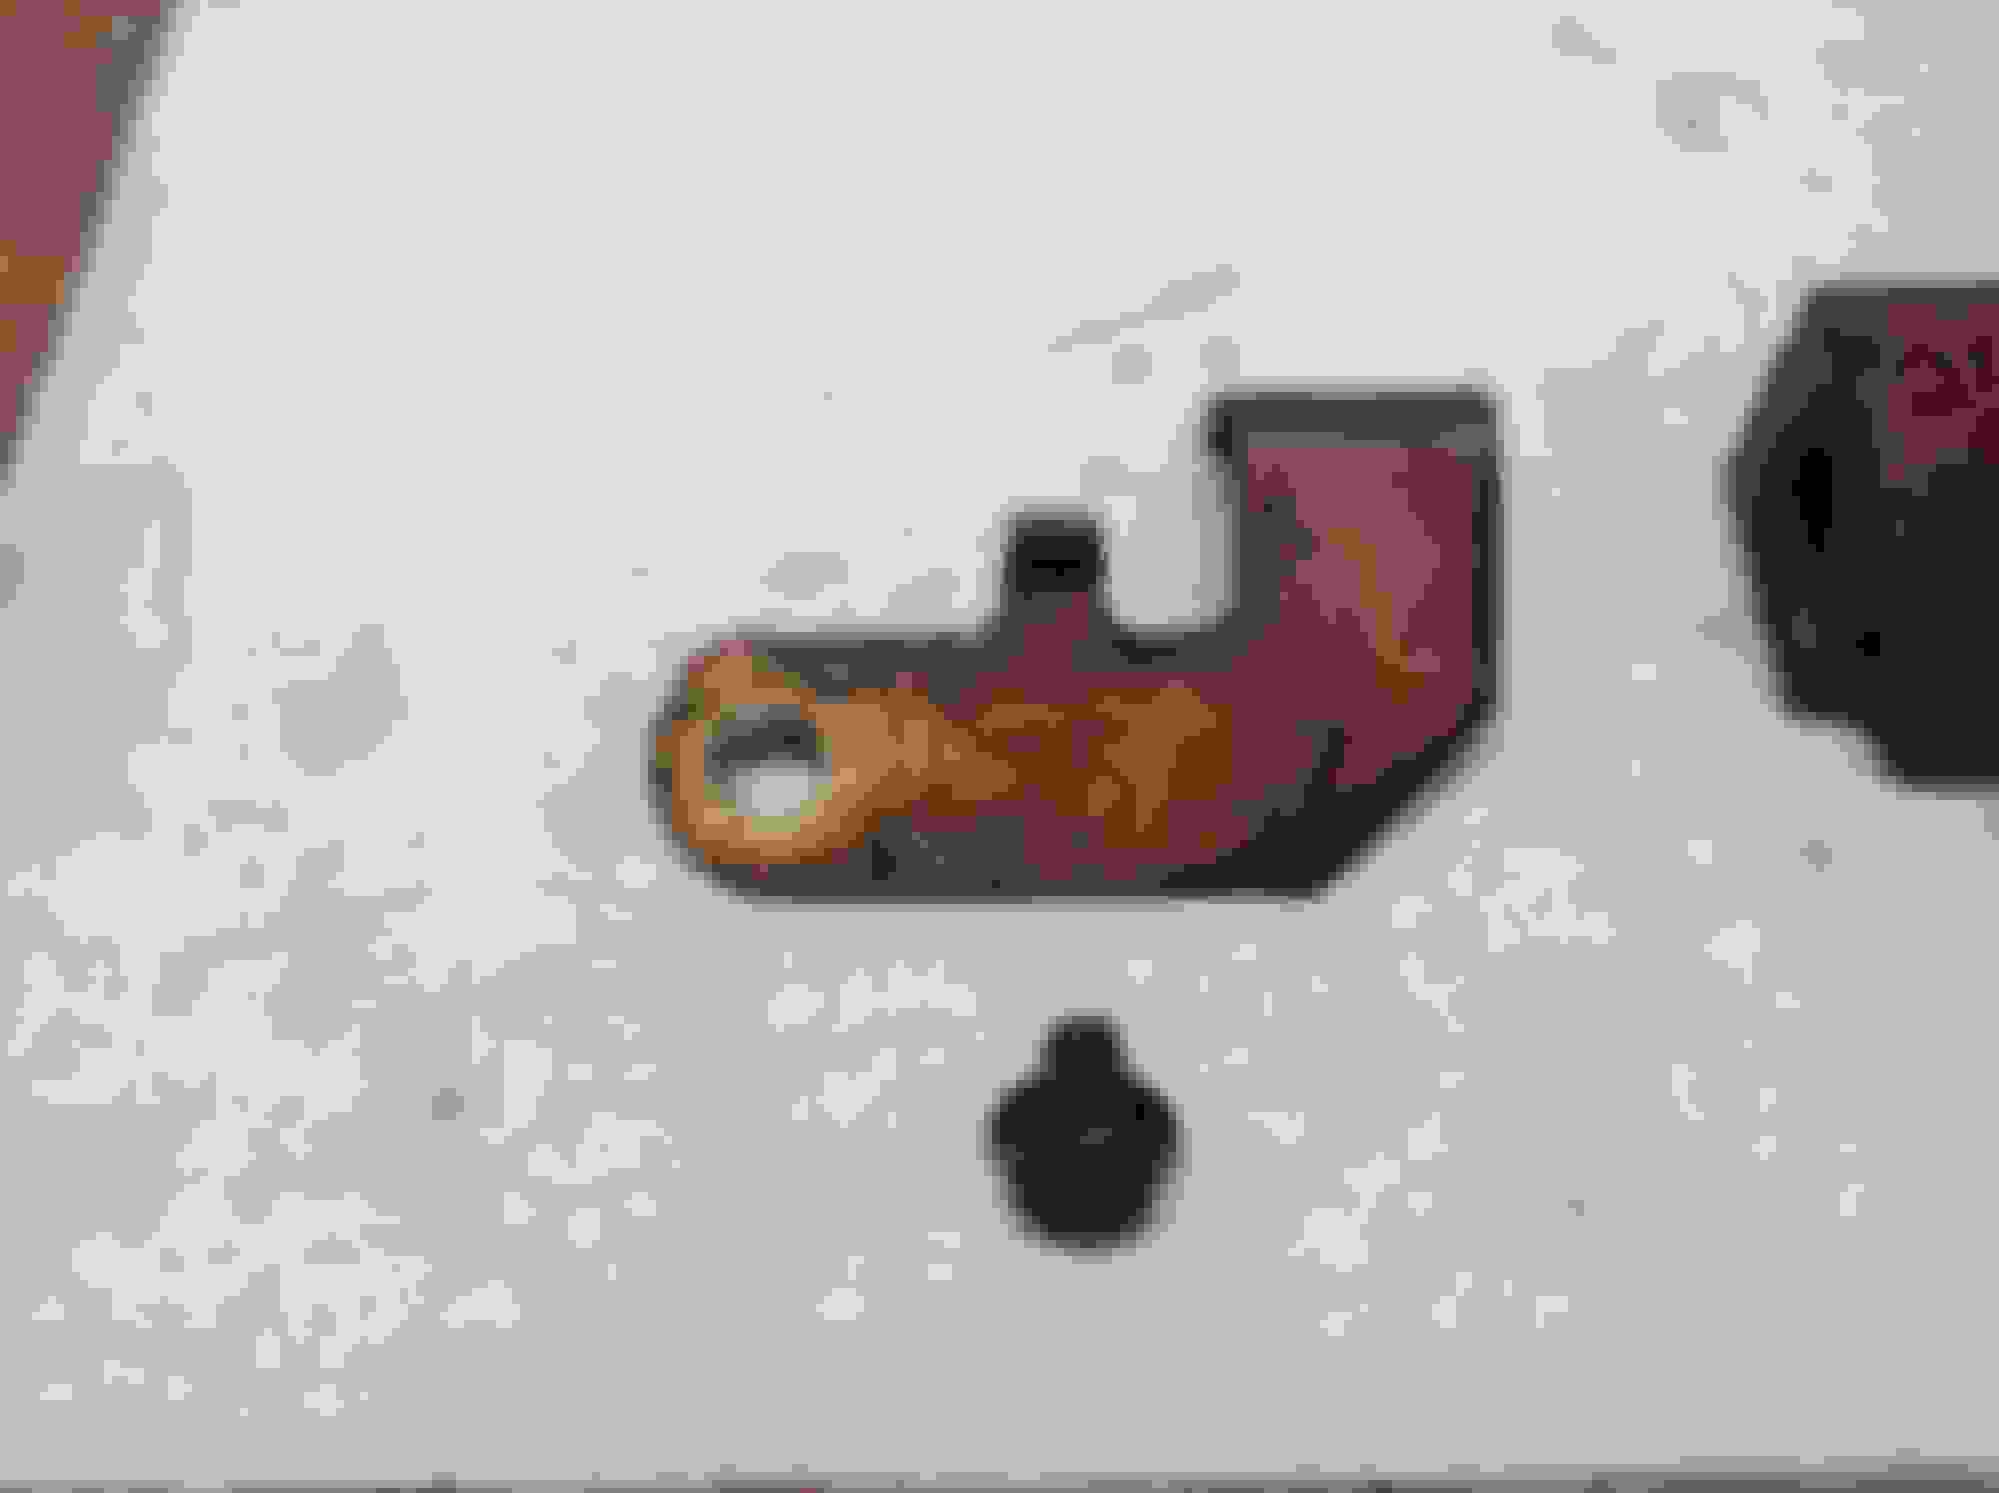
Also pulling the intake revealed this baby:
It is like a larger version of the stamped cam sheild thing that stock motors have. It has Mondello on it, but have no idea what of how it improves over the stock part and valley pan. Lifters came easily out of their bores and everything inside the block looks fresh. Next pulled the motor mounts - they work, engine sits about right are in good condition and am not opening that can of worms. Oil filter was ridiculously tight - the can stripped out when using the hex cap wrench tool so back to high school with driving a huge screwdriver driven through the center of the filter - like killing Dracula - and it finally came off.
Heads came off next, and this is where it gets weird. As you will see, someone put some time and effort into the block to get it hotroddy, but the heads are bone stock. Looks like old OE valves, etc... with no flow improvement work - no bowl blend, EGR bumps still in place, old time one piece rocker arm fulcrums. Also, these heads certainly have way, way more miles than the block does. They are crusty, but by all indications the born on this car heads as previously detailed
They were held on by ARP head studs - sign of things to come
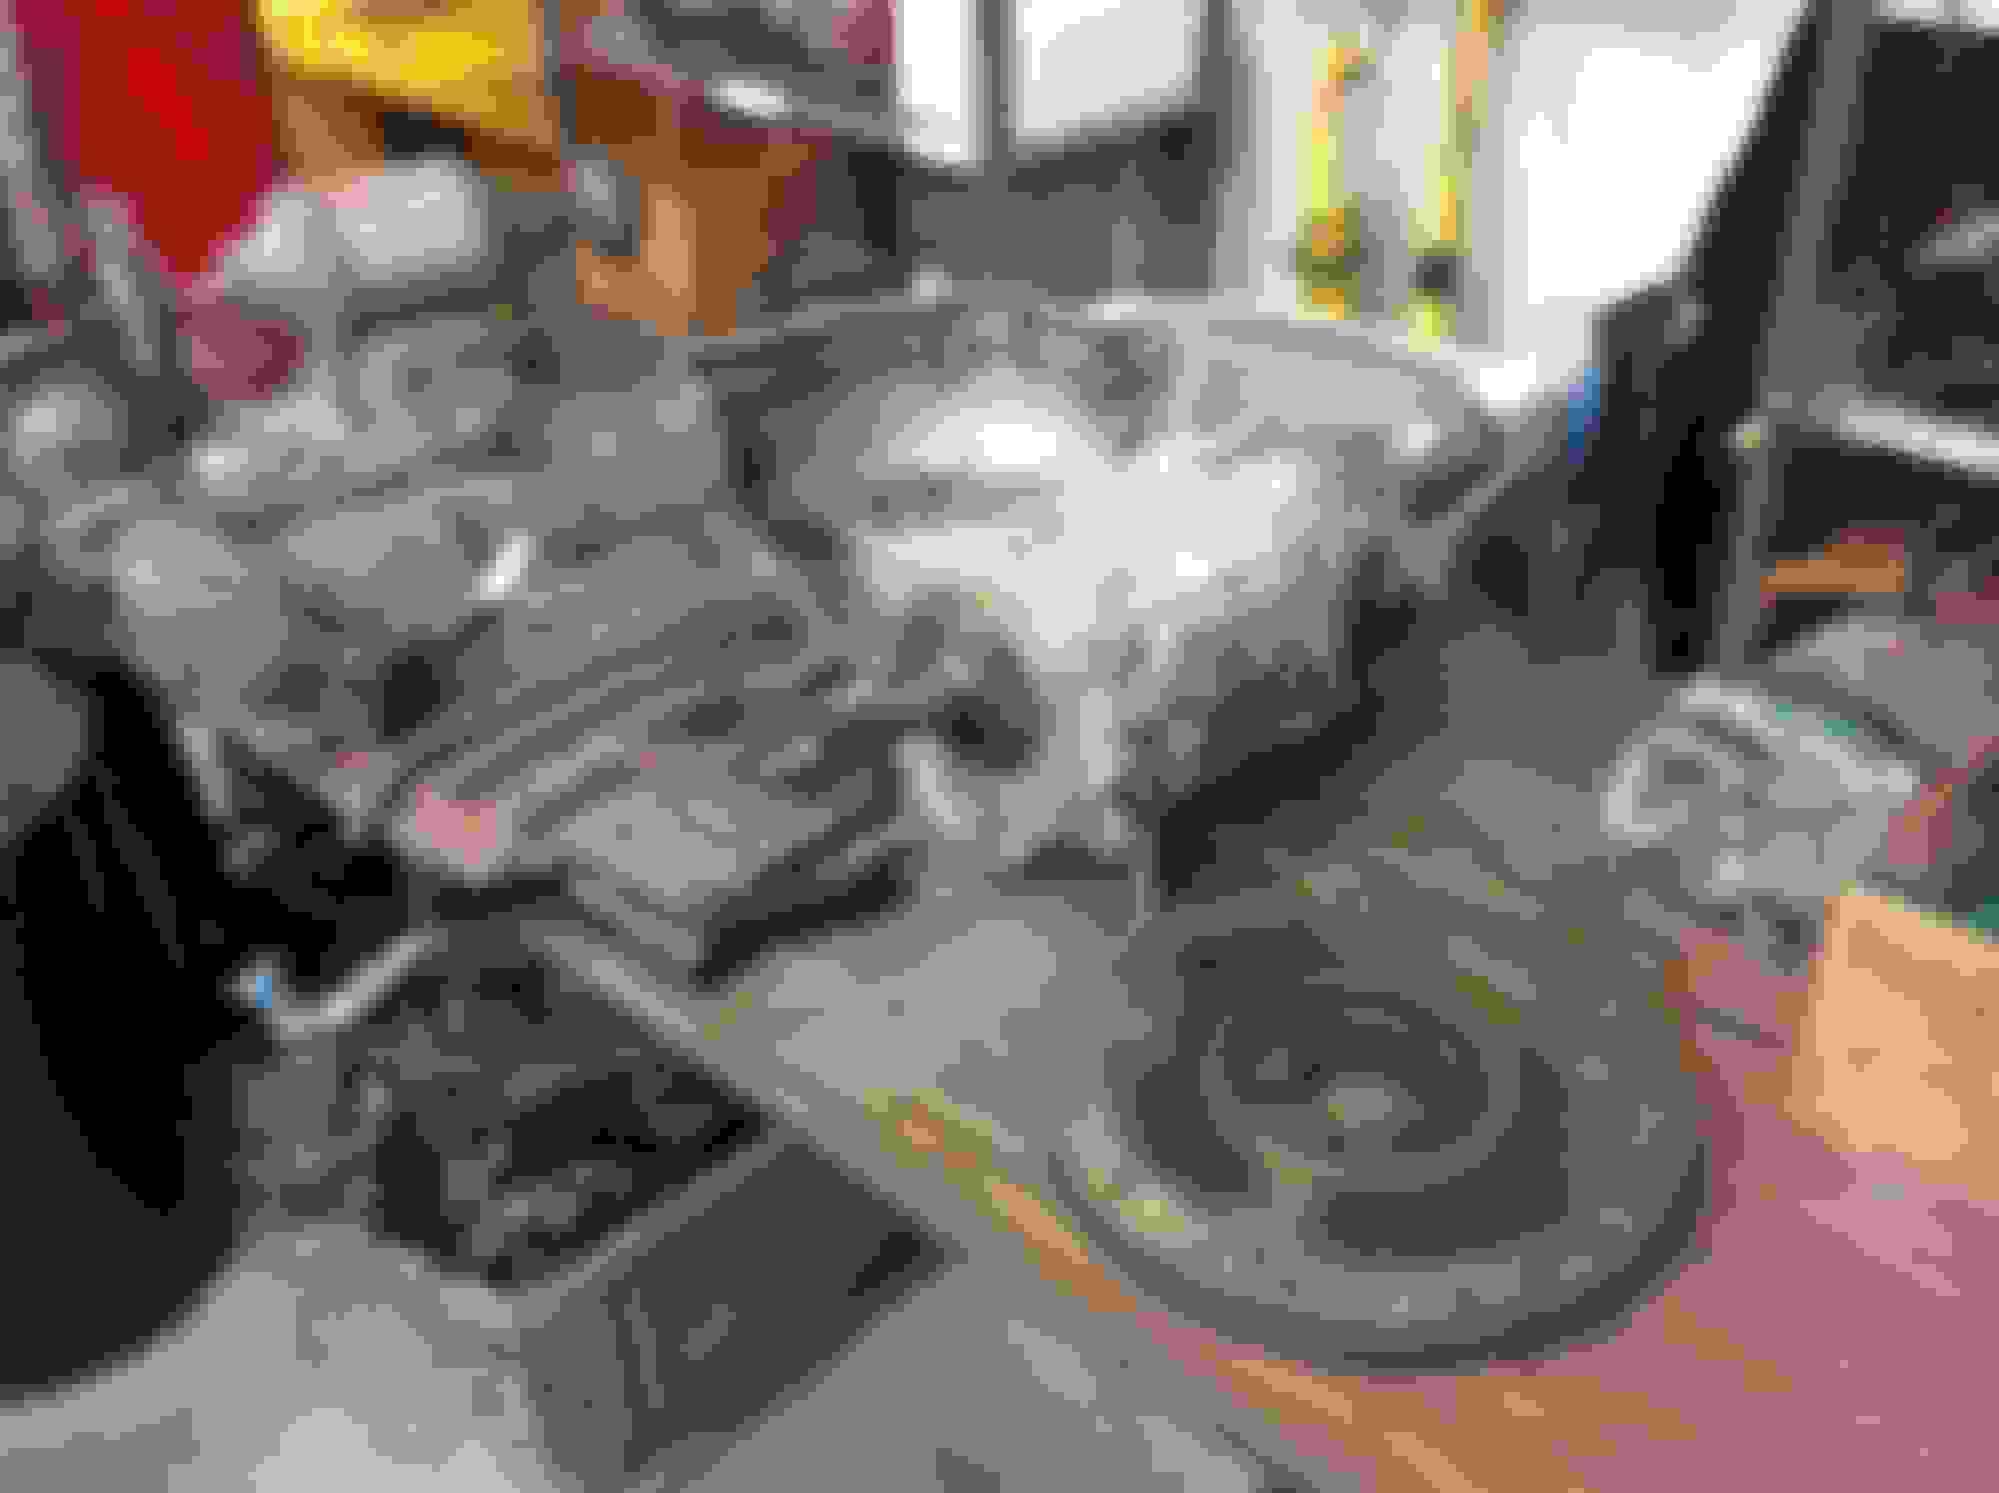
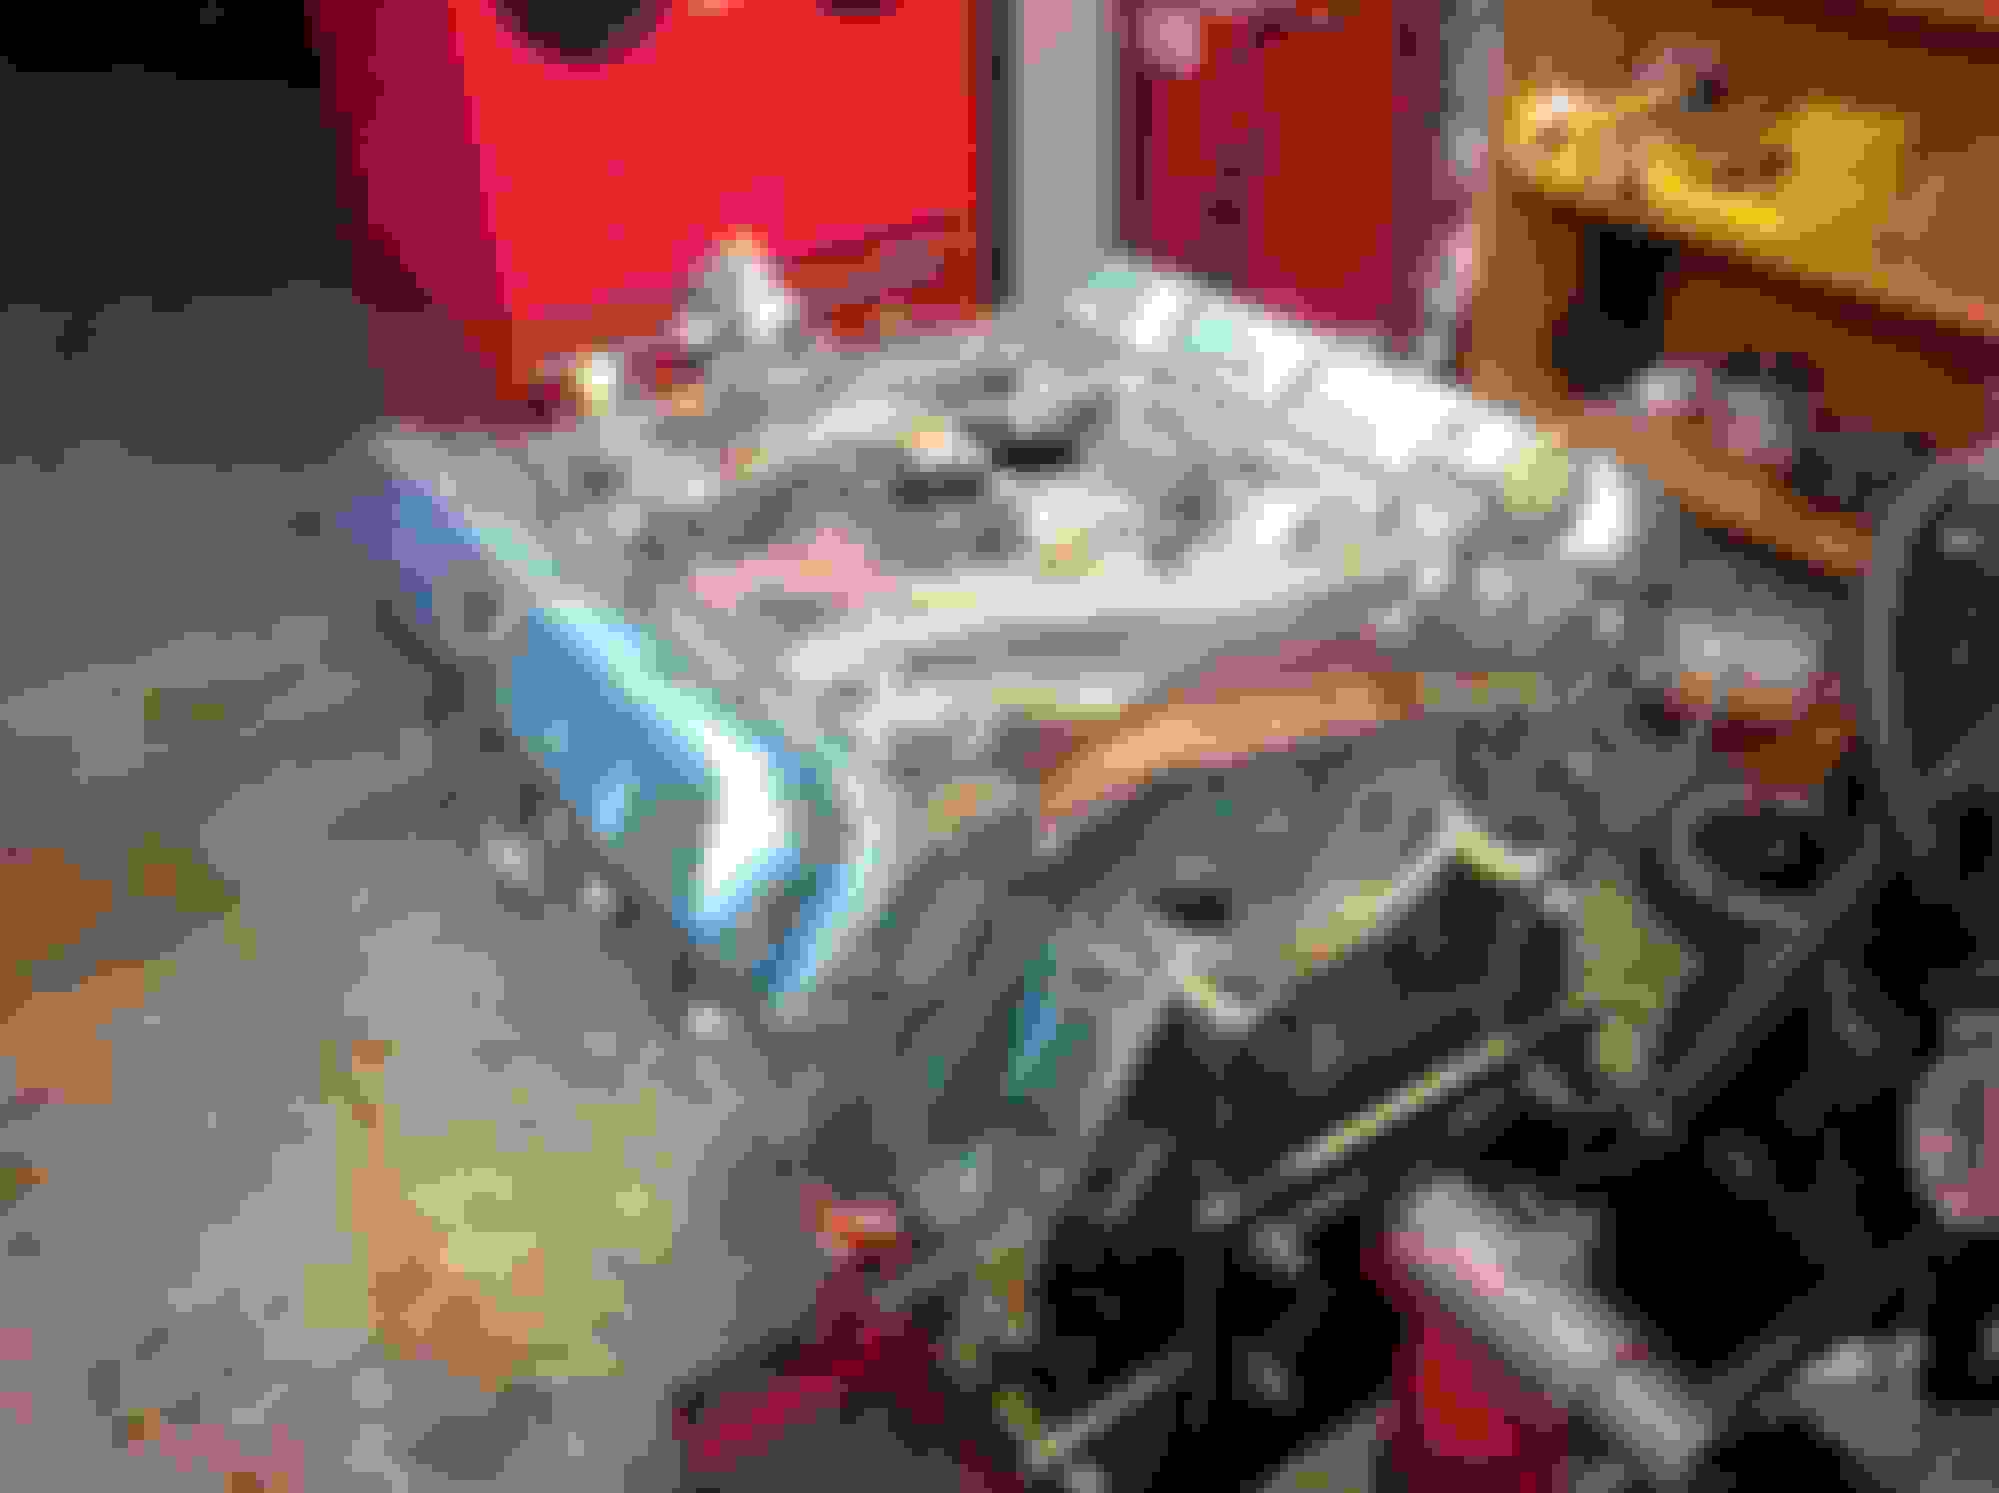
Next pulled the pan - the cause of much cursing yesterday
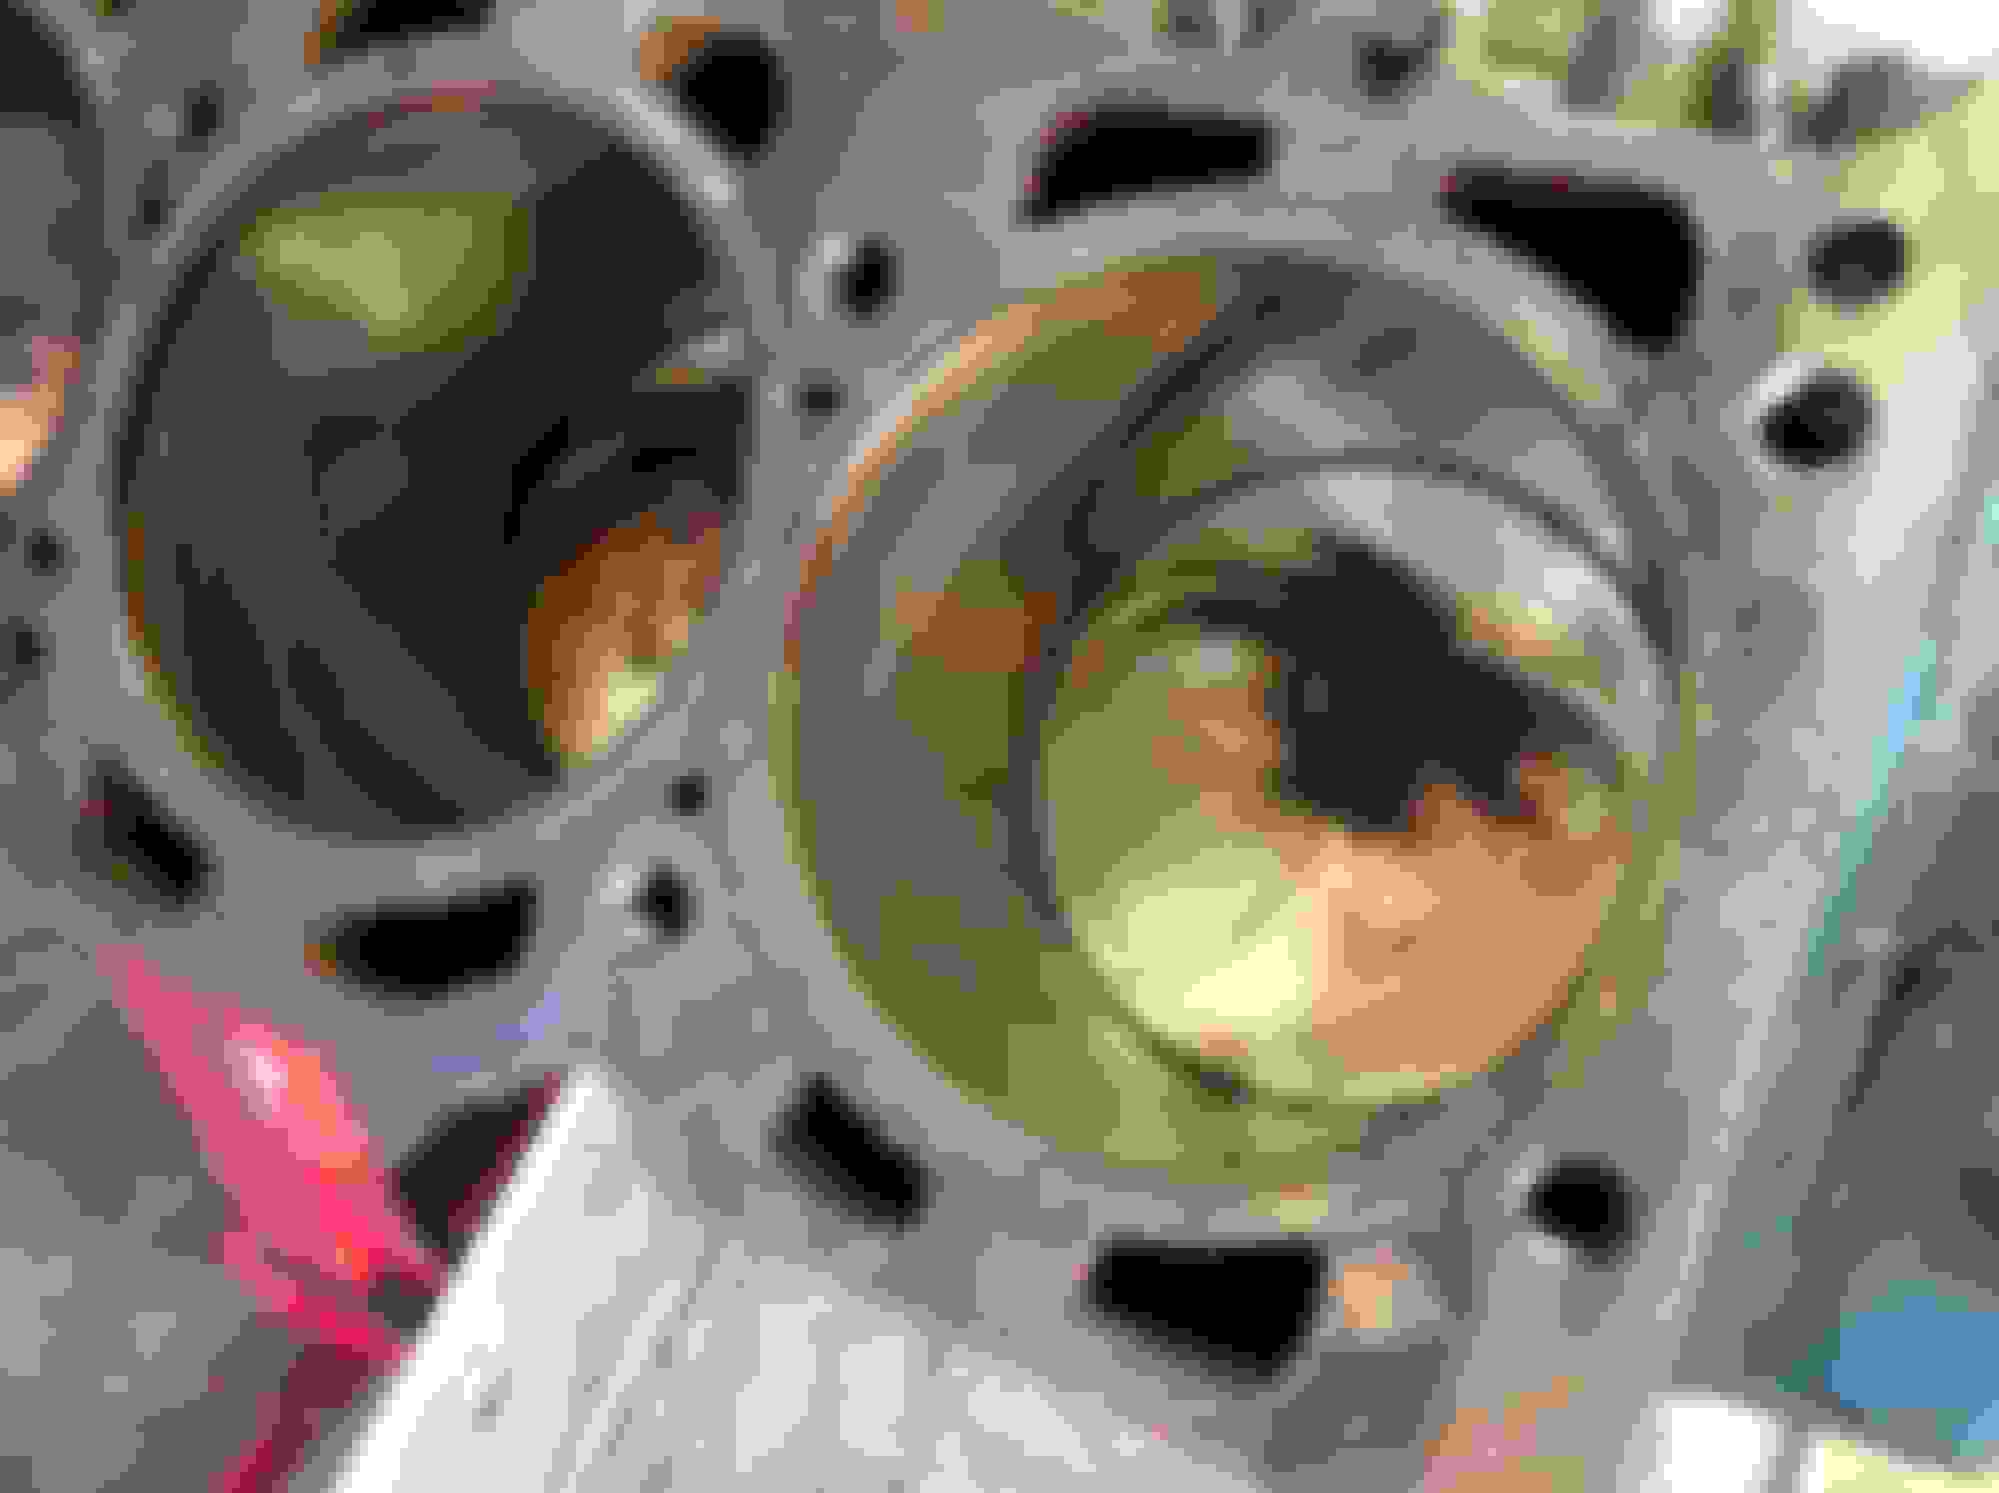
It has some pretty serious dents, but underneath was this
A windage tray, main bearing stud kit, main cap girdles, aftermarket rods, Melling hi volume pump with a wild looking pick up and a tree trunk sized oil pump drive shaft, and high compression lightweight aftermarket pistons. Looks like it was obviously balanced along with a little crank work as well
Next pulled timing & camshaft. More hi po stuff with a multi index cam sprocket, double row chain (was still very tight) and crank sprocket with a thrust washer behind it. Camshaft is a Mondello piece with a thrust washer on it as well. Will start a separate thread in trying to ID this camshaft.
All of this is to say we will probably only be reusing the rods and pistons of all these hi po replacement parts (and then only on the pistons if we can figure out what the actual compression ratio calculates out to be). We're putting it back all stock in keeping with the theme of this resto - especially since I have the right cam for it.
That is good that the weatherstrip come out ok. Was it the originals? I am going to restore the 4 speed Jetfire eventually and hope I can get the original weatherstrip off of it without damage.
Eric, they are repros, but in really nice shape - best I have ever encountered on a car.
Someone spent a ton of money on the bottom end, nice stress relieving job on the rods, why not keep the rotating assembly as is, too nice not to. I’m guessing at least 5k just in the short block..
Someone spent a ton of money on the bottom end, nice stress relieving job on the rods, why not keep the rotating assembly as is, too nice not to. I�m guessing at least 5k just in the short block..
Lance, thinking about doing just that, but I'm pretty sure the windage tray, girdles, main studs and oil pump pick up will have to go to get a stock pan to fit - is this correct?
That cam is a Mondelo Pro Drag racing cam JM 3-4 with 110 degree lobe separation - that is pretty radical. I have have a JM 22-25-10 and thought that was leaning stout for a street driven car
Lance, thinking about doing just that, but I'm pretty sure the windage tray, girdles, main studs and oil pump pick up will have to go to get a stock pan to fit - is this correct?
The studs clear my 7qt Milodon pan which has a stock profile, also, someone produces a stock looking 6qt pan. I wonder if that motor was built with different heads, no one would build a stout shortblock and run stock heads, but those heads do bring the compression down a bit..
I think the straps, and studs will clear a stock pan with maybe a thick gasket, and a shorter oil pump pickup.
Today had a short session - removed the dome lamp assembly, and successfully removed the power trunk switch from the dash without damaging it. After more closely inspecting the glass, we decided to remove all the glass since the quarter glasses are good with no scratches, and we will probably wind up needing to replace the door glasses since they have scratches deep enough to catch a fingernail. Unfortunately, the previous owner had "liberally" applies dynomat to the interior door and quarter surfaces. The regular dynomat stuff came off well, but the " dynomat extreme" stuff is extremely well stuck on the surfaces. Maybe I do not know the proper way if removing it, but I wound up cutting my hands to shreds with the thin aluminum foil backing the stuff has, and and I didn't even know it till afterwards because they are like paper cuts. Another reason to remove the dynomat is that the door and quarter panels were fitting like poop - at least to my liking.
Glasses out OK - I forgot how much extra hardware has to be worked when you pull them out, but the felt rubbing blocks have to be renewed. I left the regulators in since the glasses were lining up so well - and another task I HATE is aligning windows after reinstallation.
Some guys have jokingly mentioned me doing a car for them - you would have to remove any oversized oil pans or dynomat before I would take it!
Also, thanks to Adam, W/Z manifolds on the way. One needs a little work, but still a fair deal - thank you.
Alm�st ready for paint but a reversal of fortune (4 hours)
Started this session by removing the outer window rubbing block pads from the doors. Of all the fasteners I have encountered on the diassembly (and I am 99% done) these have been the hardest to remove but still they came out intact. Lots of hammering with a very good Phillips bit into the head of the screw then using a ratchet on the bit. Next moved to removing more of the Dynamat remains from the LH quarter and RH door. Got a proper scraping tool and heavy duty gloves to prevent the cuts I got during the last session. - hate, hate, hate that stuff.
Detrimmed the SS1 wheels. They themselves are solid, but as mission creep sets in only one of the trim rings is OK to reuse. Will speak with David about whether to get these done or go repro. I can reuse a couple of the center caps with a new logo insert.
Next dropped the gas tank. As I suspected, it had been removed before and alas, no build sheet. Tank is not in too bad a shape, but has several dents so we'll go Quanta with new tank and pick up. Interestingly, the 68-70 vent piece with the original hoses was on the tank, but witness marks on the hoses show it had been off at one time. I will try to reuse the large hose - it is intact
Next moved onto cutting off the exhaust system. The whole system was welded together of 2 1/2 pipe with a chambered section, so I cut it right before the up bend.The trumpets were actually inside the tailpipes and welded in place. The hangers were very wrong - one muffler hanger had broken and someone had zip tied it back together, and the tail pipe hangers used are for the non 442 exhaust (the hanger that bolts to the topside of the frame rail) David is wanting to go Gardner - he will be so happy compared to this mess.
Special Linden only hanger:
Rest of exhaust
Removed some little item that are probably mostly forgotten such as the 70 only gas tank filler neck brace (it was still there), and the front windscreen supports that screw to the cowling. One was heavily rusted but it still came out.
Got back undeneath the car and removed the rear sway bar - had zero shims, but the boxed control arms are OE and in good shape. I also confirmed it had the W30/442 MT rear end to frame braces.
Yay, but...
Chris Dreiling was right - this is a 12 bolt Type C Chevy rear end assembly in the car. Also the code (CCW 0615B1) breaks down as a 3.31 open differential built June 15 at the Buffalo NY plant (1st shift) for a 1970 Chevelle. I had looked on the side of the diff case and saw the parallel ribs and thought it was a Type O with a funky cover. I will speak with David about what he wants to do, but first I'll check to see if it has had a posi conversion done to it.
Today will be stripping out a few more items on the front end, and then it is ready for frame work and paint.
Back on post 36 there's a pic of a transformer looking thing and actually it may have been added at some time but that is a choke (coil) that may had been on the power side of a radio to reduce ignition interference from entering the radio.
Also, and I have not seen one used but the factory AM radio equipped, early '70 SX my folks bought new had a two piece shield that covered the points and condenser inside the distributor. Dad always put it back on after a tune up!
I r�member my family's first Olds - a 71 Delta 88 Royale with a 455 2V - had those shields on it. They were in my Dad's tool box forever till I wanted them for a project.
Those pistons look like flat tops with valve reliefs? If so, compression has to be sky high for pump gas... Depends how far down from the deck they are, but they'd have to be pretty deep.
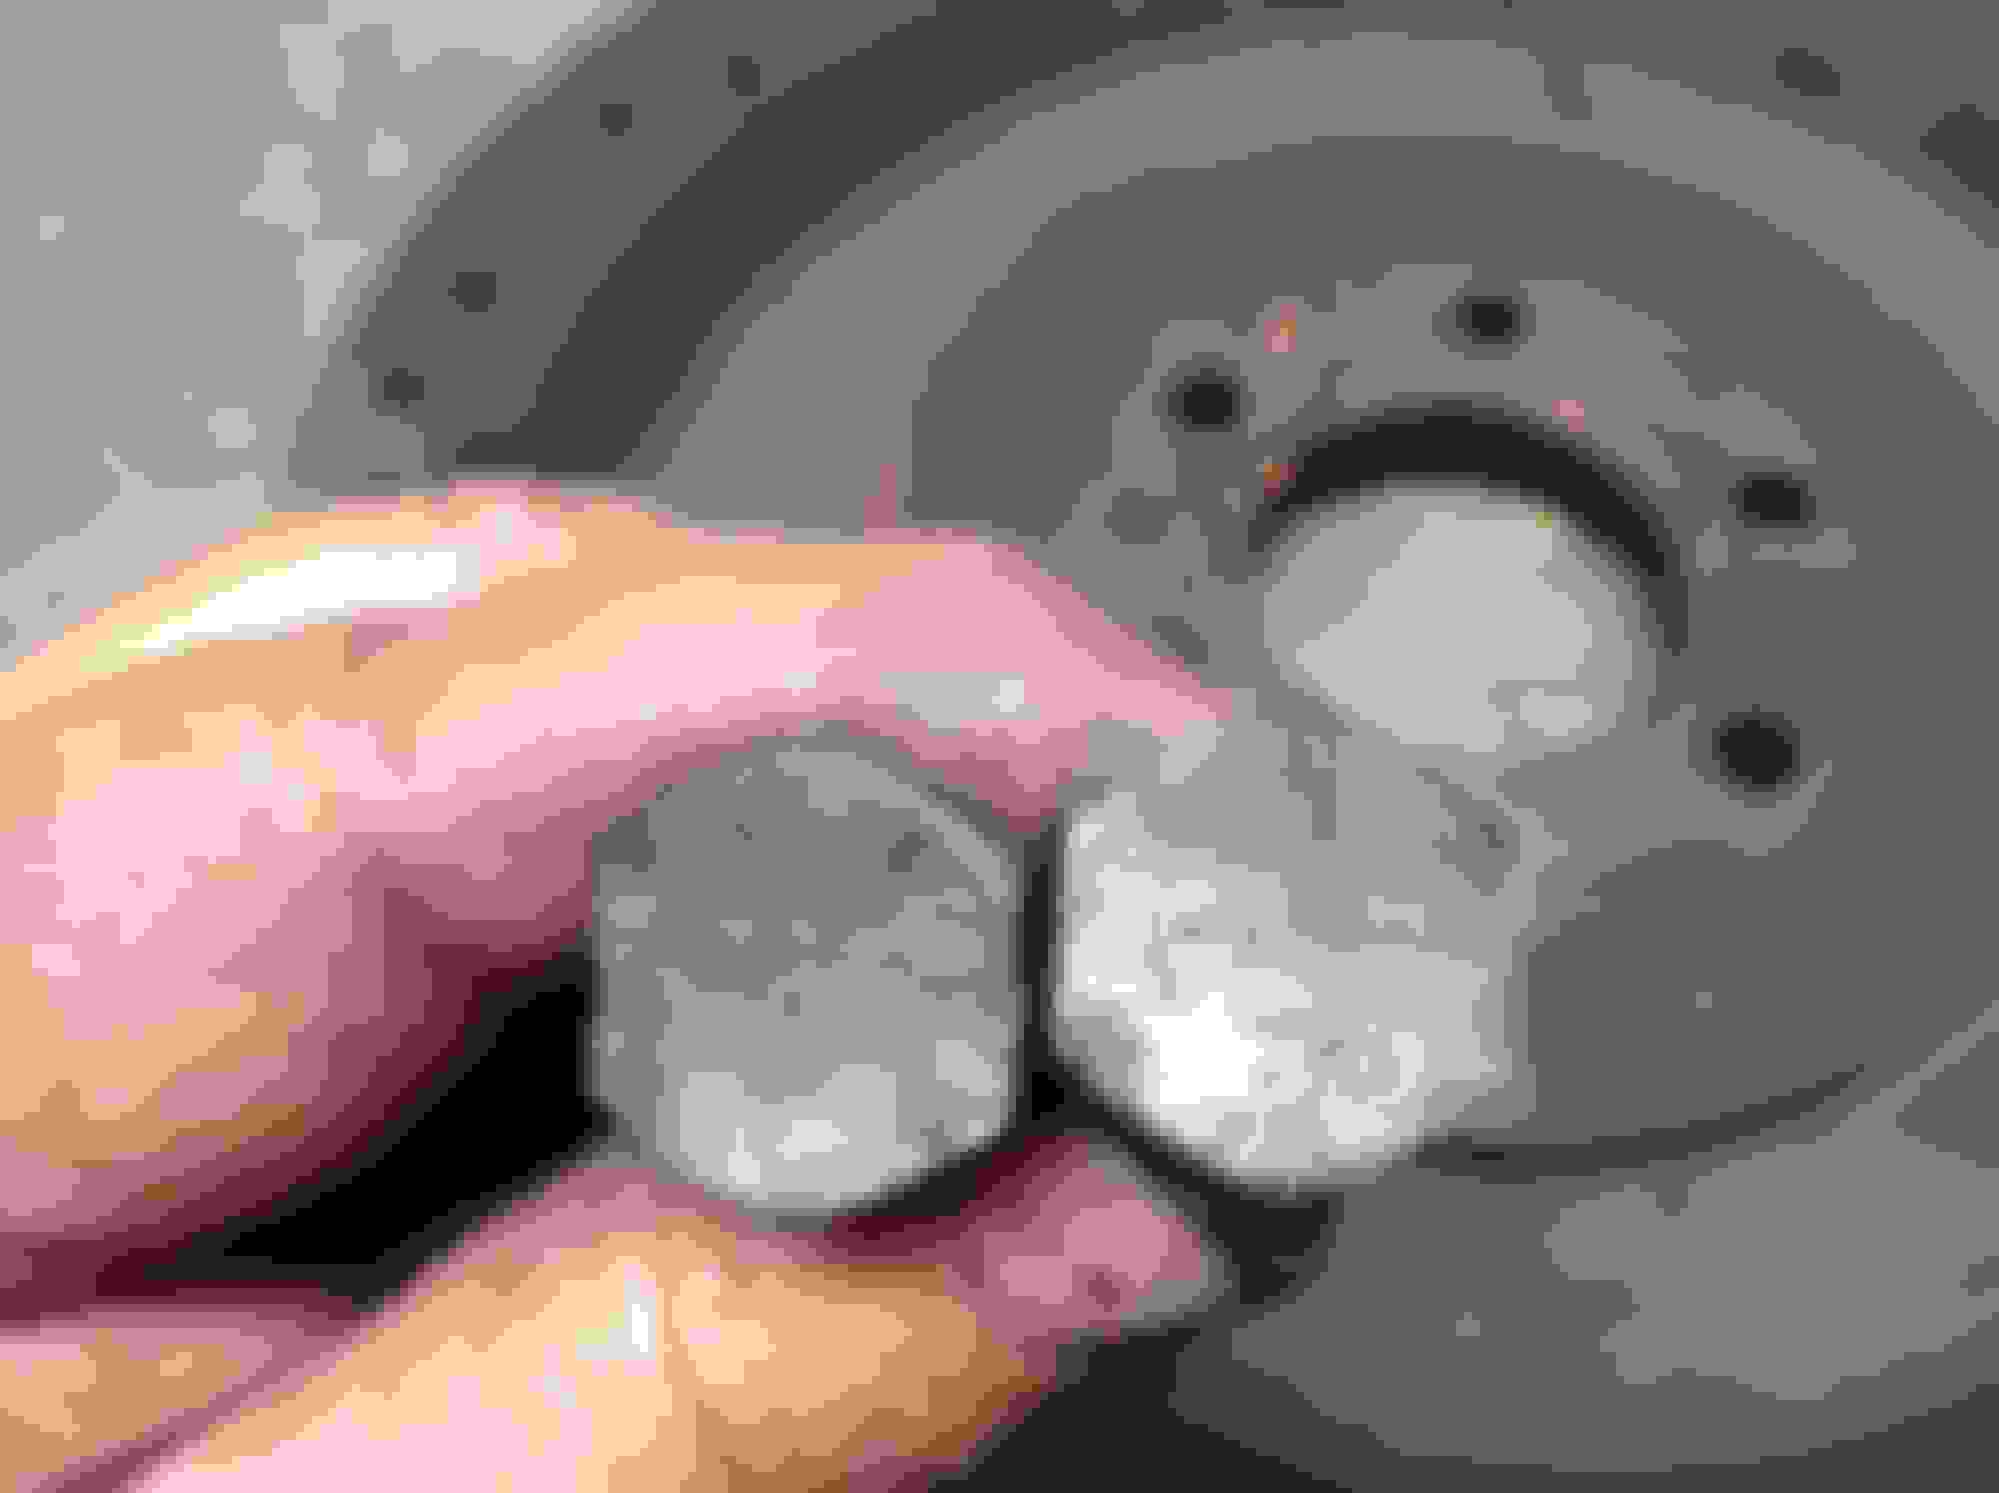
Today removed front sway bar, fender coves, fuel and return frame tubes, shocks, snubbers, rotors, front brake lines/ brackets and distribution block. In removing this stuff I found no more frame cracks - feeling much better about the condition. We decided to keep and rebuild the Chev rear end - it was in good operating condition, and the tubes/differential are pretty clean and pit free. We will convert to posi if need be, but we'll leave it at 3.31 since it is a A/C car.
Something kind of cool. I have been looking for some idiosyncracy of a Linden built car, and I think found something - at least different from Lansing or Framingham. On that distribution block, I found some numbers I have not seen before, and the bracket has some large numbers on it as well. Finally, the bracket to block uses a small bolt, as opposed to others I've seen that has one (or two?) out of place large head slotted screws. Patton, have you see this before?
Had a great meeting with David on planning out the route forward. He is going to be investigating someone to media blast a couple of tubs of parts, we decided to use powdercoating on a limited basis to certain parts, and are going to trailer the car to a couple of prospective body shops David has previewed before taking it to the frame shop. Be sending out all parts requiring service after car leaves for paint.
Last thing to do is finish removing trunk weatherstrip, remove power trunk mech, and find the LH frame stampings for frame info as well as the VIN #match below the door.
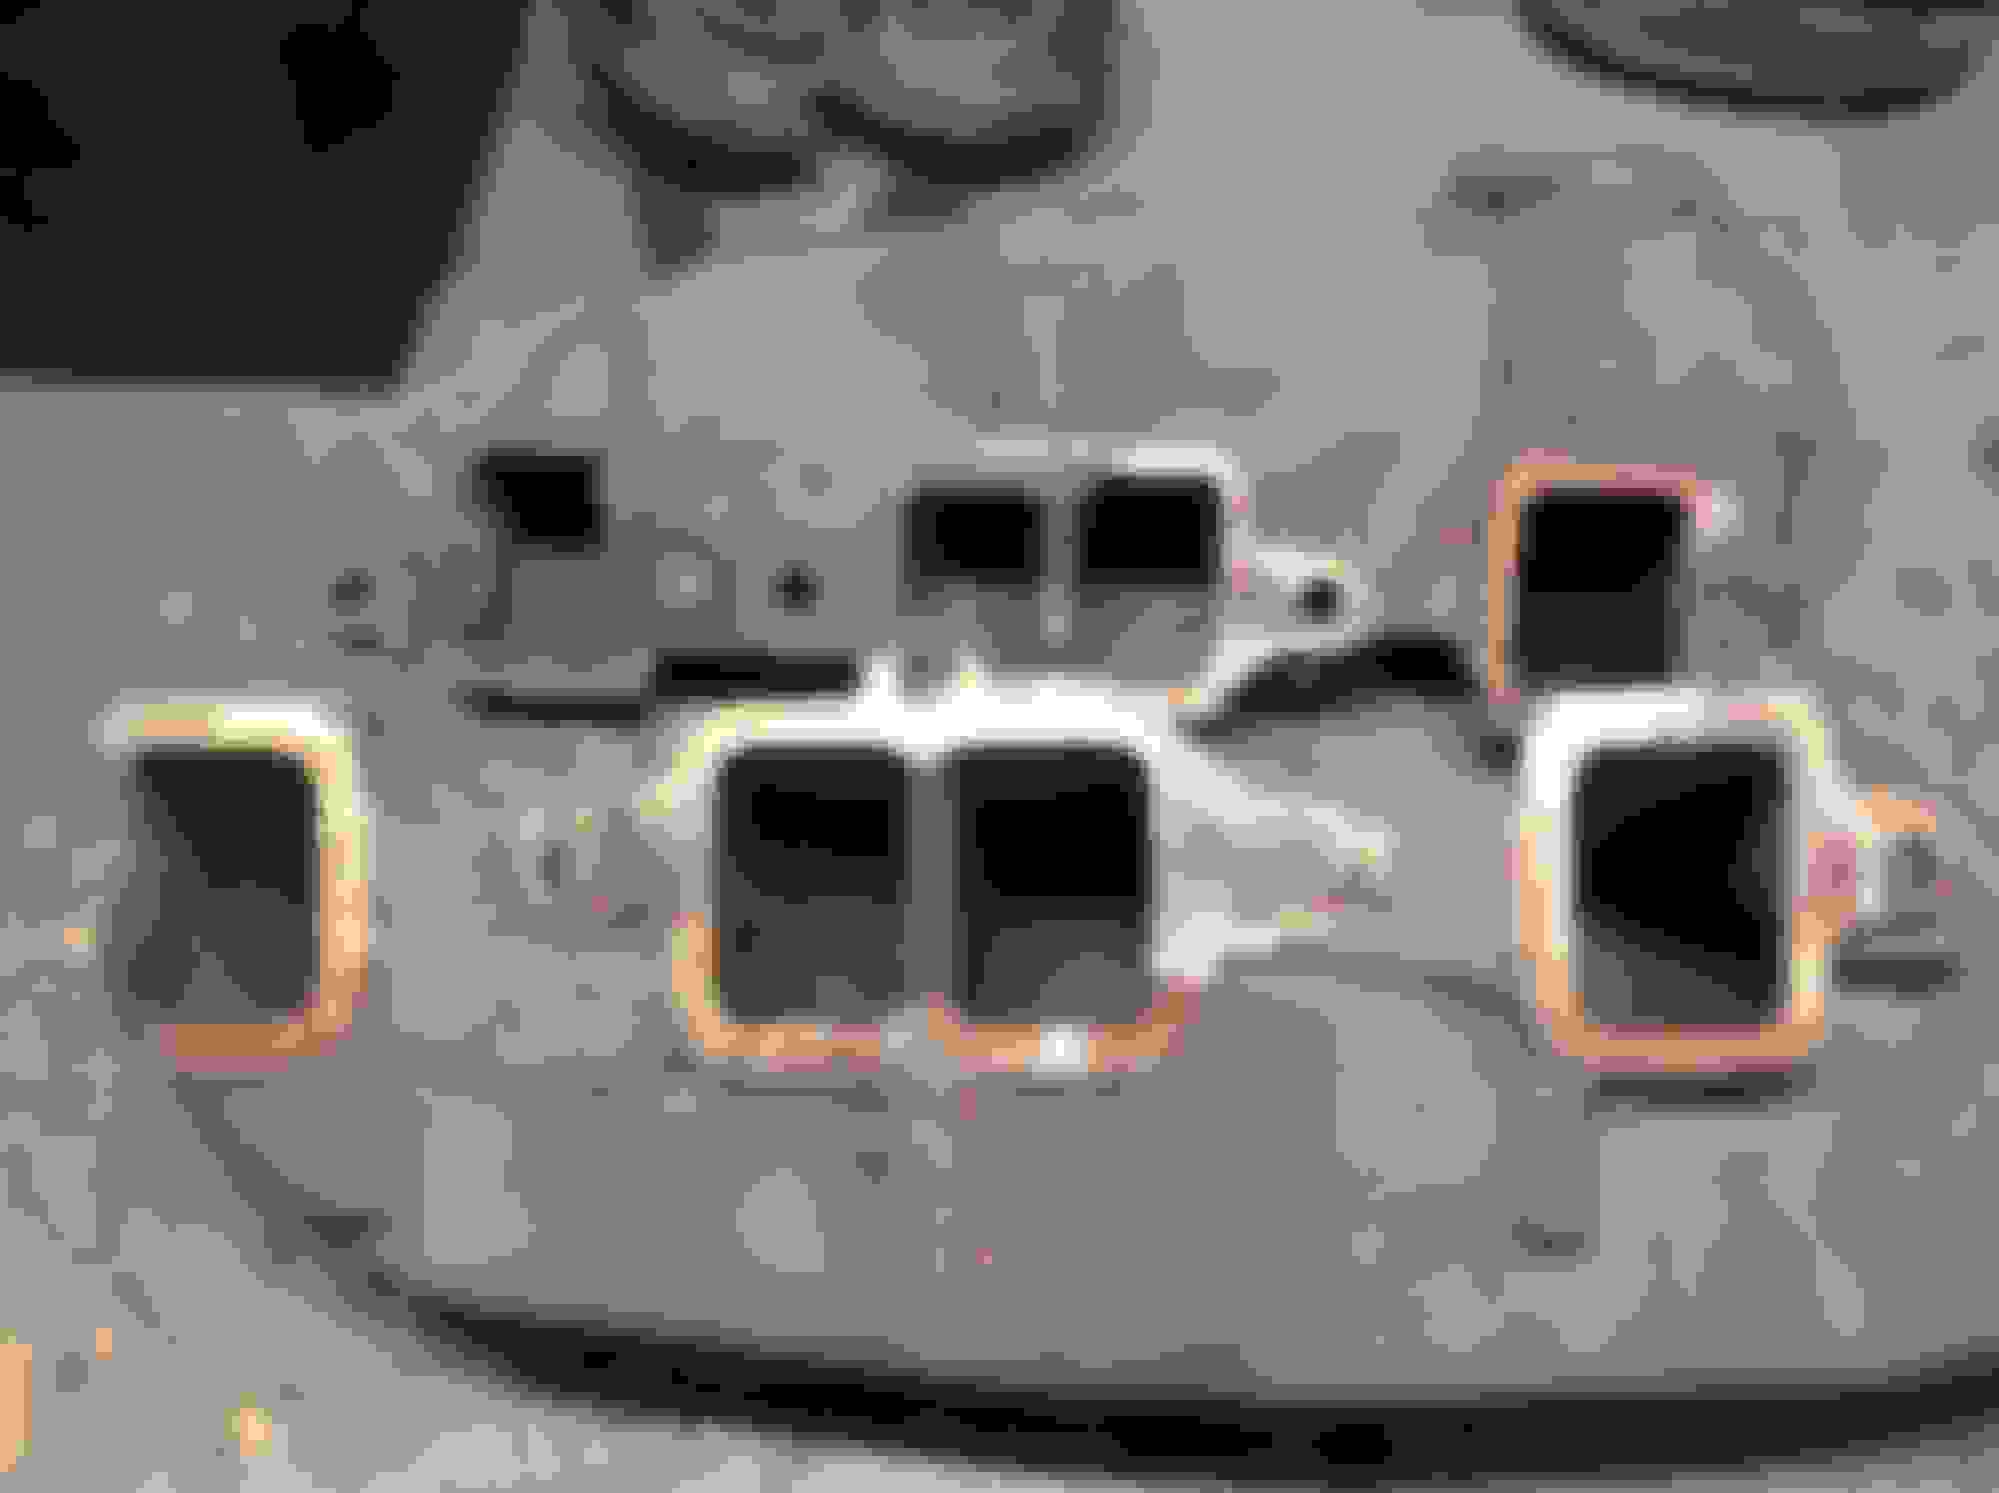
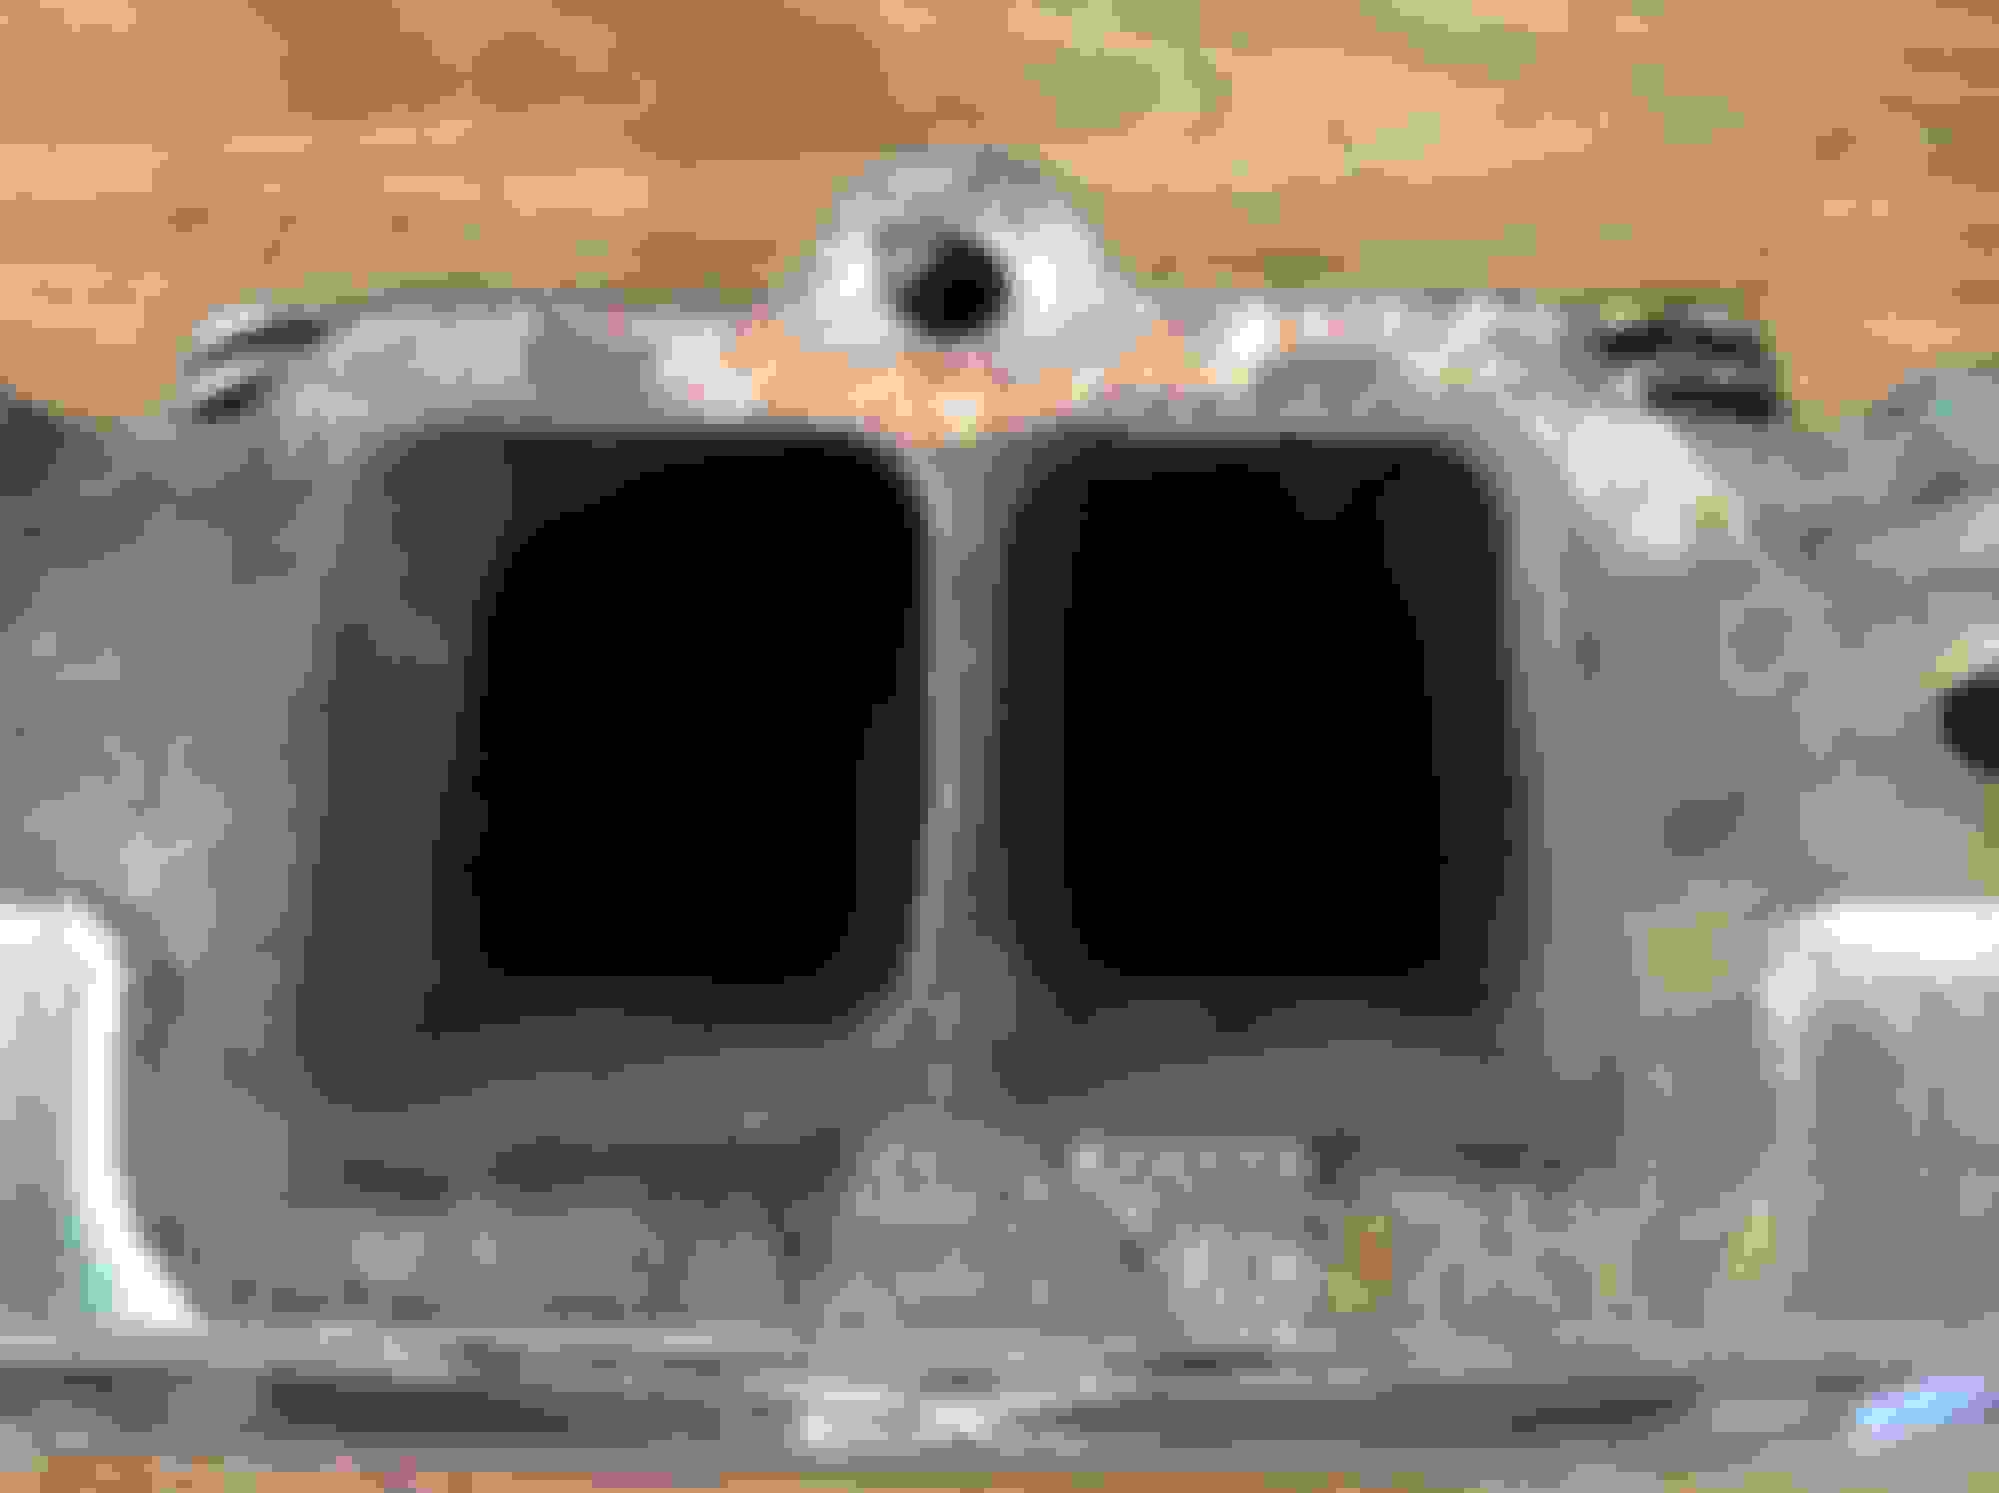
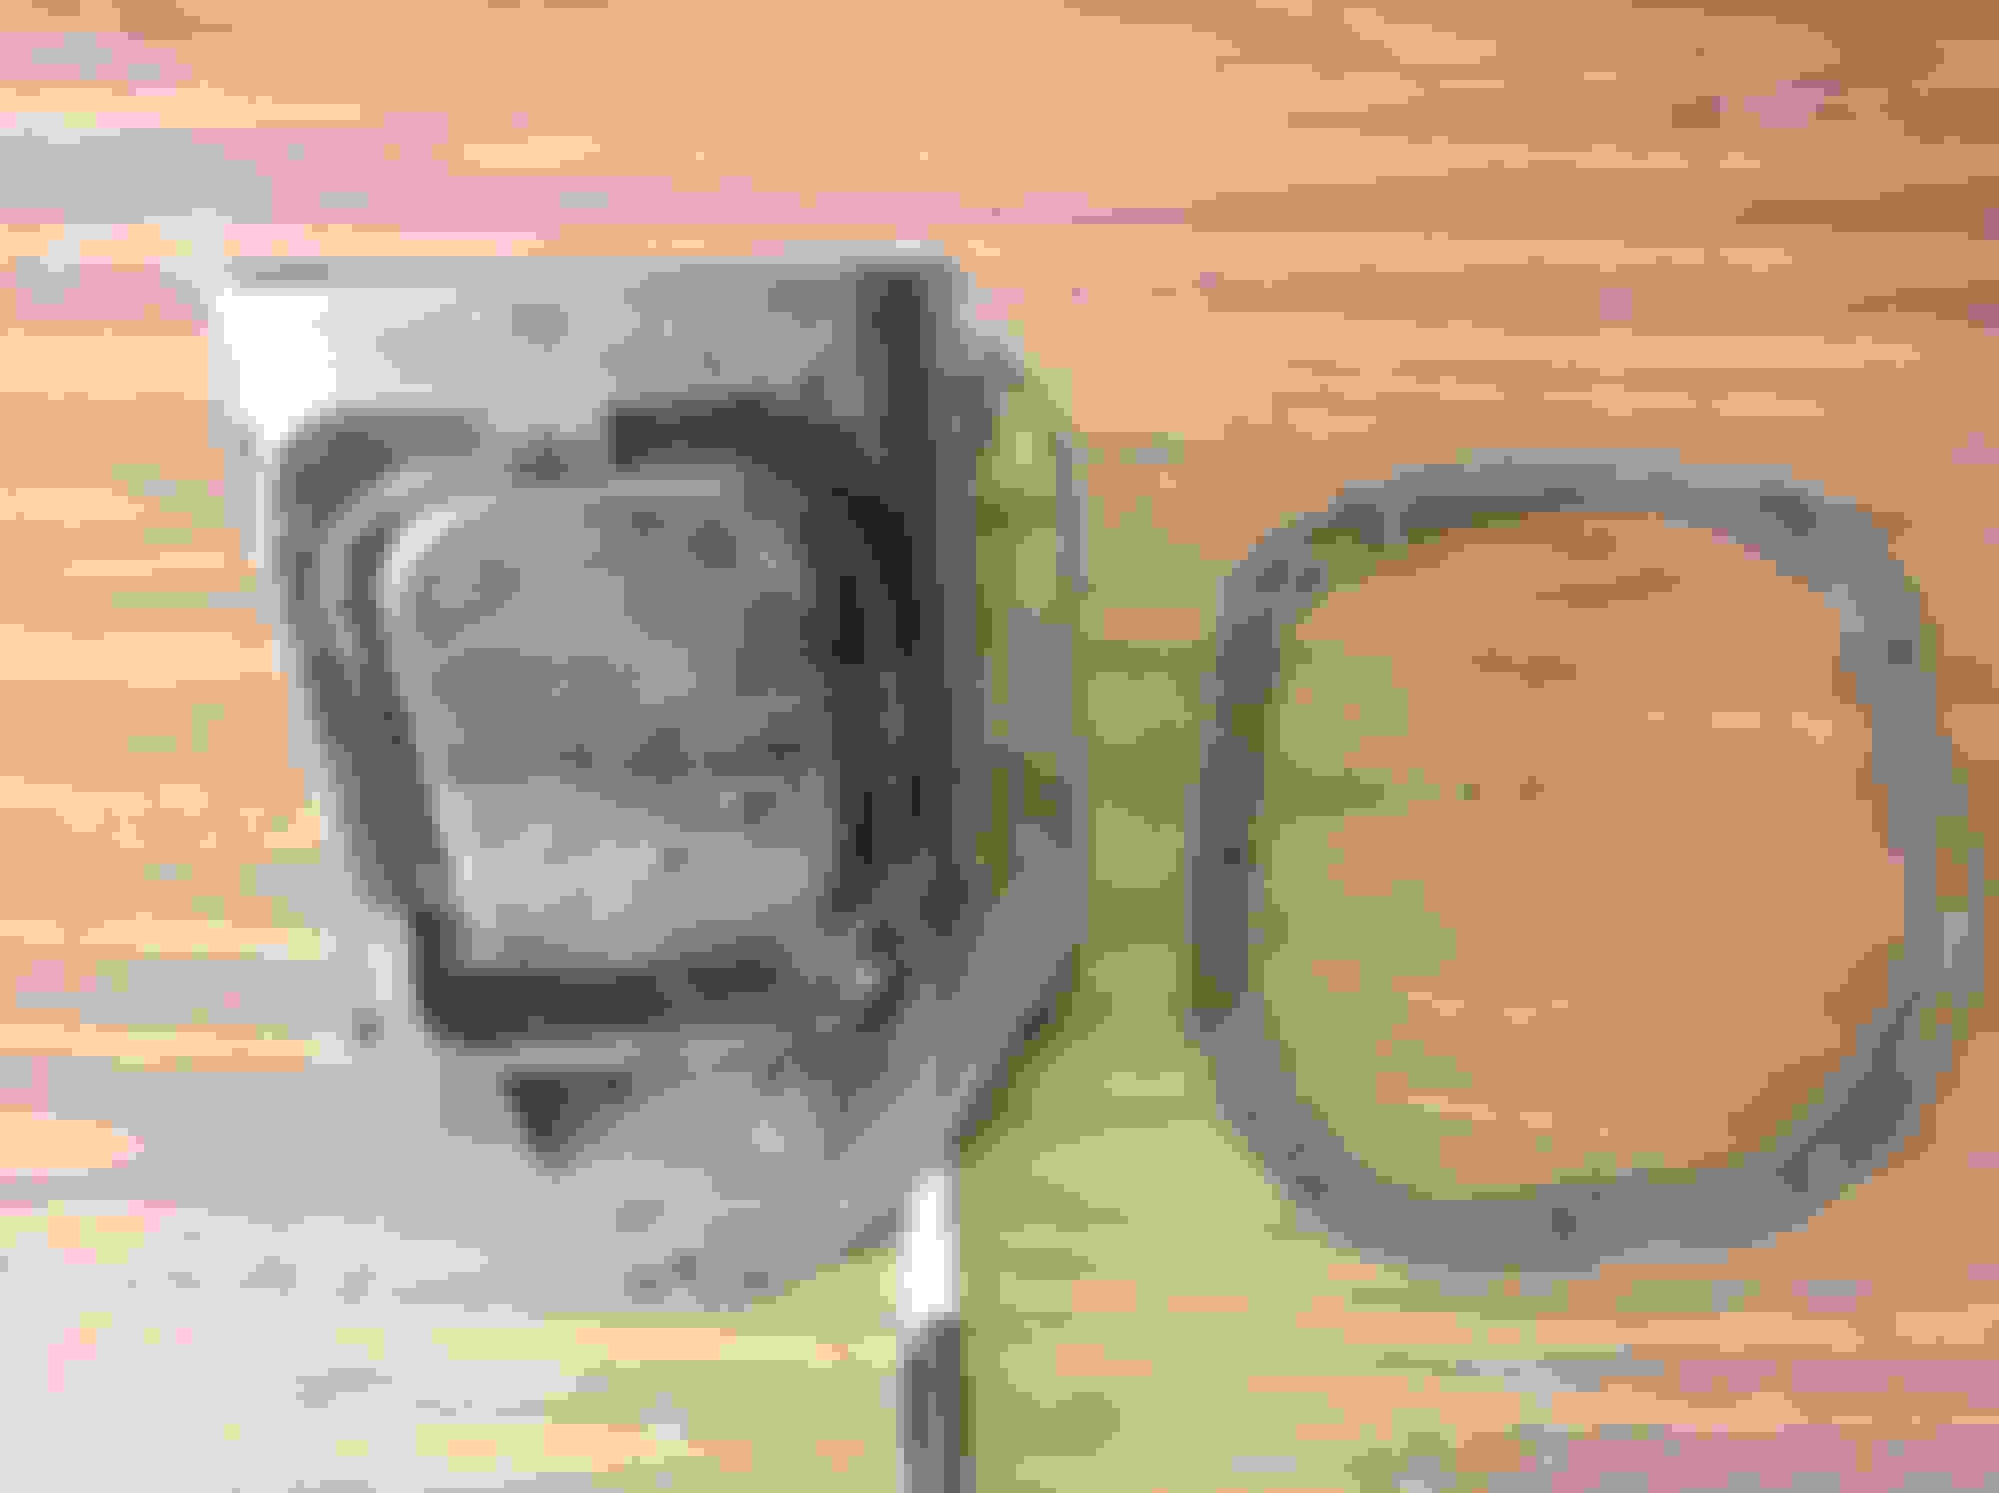
Joe - Your valve/block looks a bit different from the original '70 versions I have here from my cars (both original disc brake cars). Mine, as you can see in the pics below, is what I've always seen on '70 Cutlass/442's w/discs....just a RECTANGULAR BLOCK. No "steps", cutouts, etc in the block.
The number STAMPED into one side of one of my blocks is "9351" BUT I'm fairly sure that's a date code stamping because another block I have has "0 061". I mention this b/c I don't think it's a part number.
Other side of my blocks have what I think is the model number CAST into the surface.
No stamping/numbers, etc on my mounting brackets and they're all the double slot screw style we are familiar with.
Could yours be a slightly different style block that was used at the factory that built David's car???? Who knows??
I also have a block from a '69 Cutlass convert and it's the same "rectangular block" style as I show in the pics.
The bracket and your block appear to have PN's stamped into them....maybe you can run those down and see if you can find the application.
Mystery time.....
Last edited by 70Post; February 3rd, 2018 at 09:25 PM.
Those pistons look like flat tops with valve reliefs? If so, compression has to be sky high for pump gas... Depends how far down from the deck they are, but they'd have to be pretty deep.
Luke, the �revious owner said it was around 13 to 1. I thought it was BS, but maybe it is true. Will calculate after I figure out the piston compression height. Have you seen these pistons before?
Luke, the �revious owner said it was around 13 to 1. I thought it was BS, but maybe it is true. Will calculate after I figure out the piston compression height. Have you seen these pistons before?
I've seen similar... Mondello used Arias a lot, it might say under the piston crown.
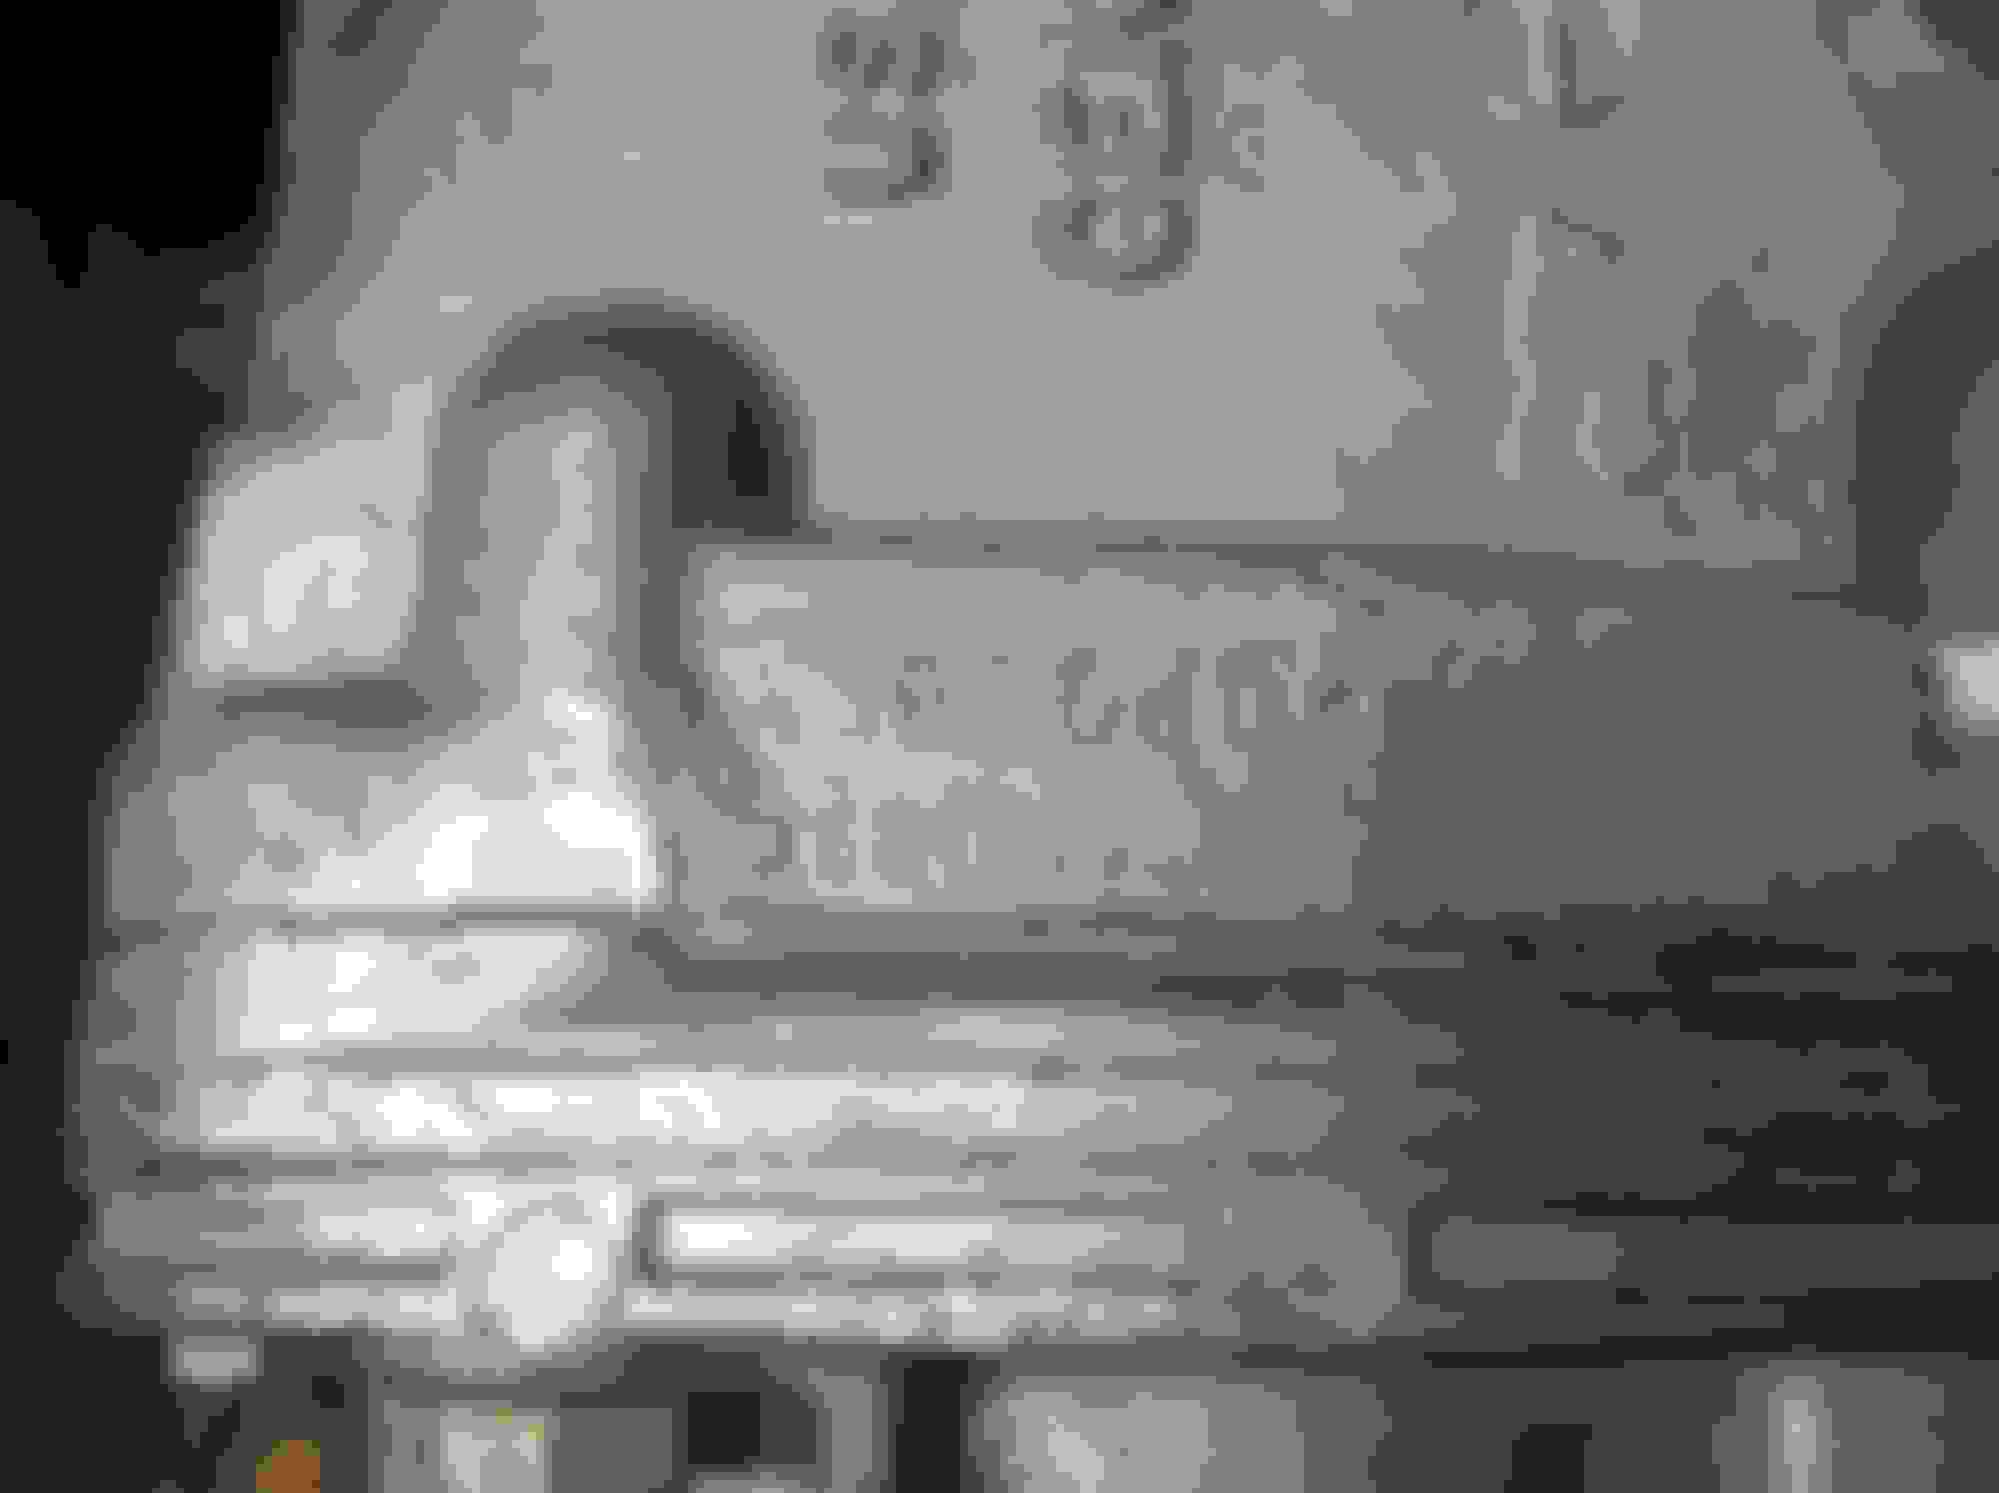
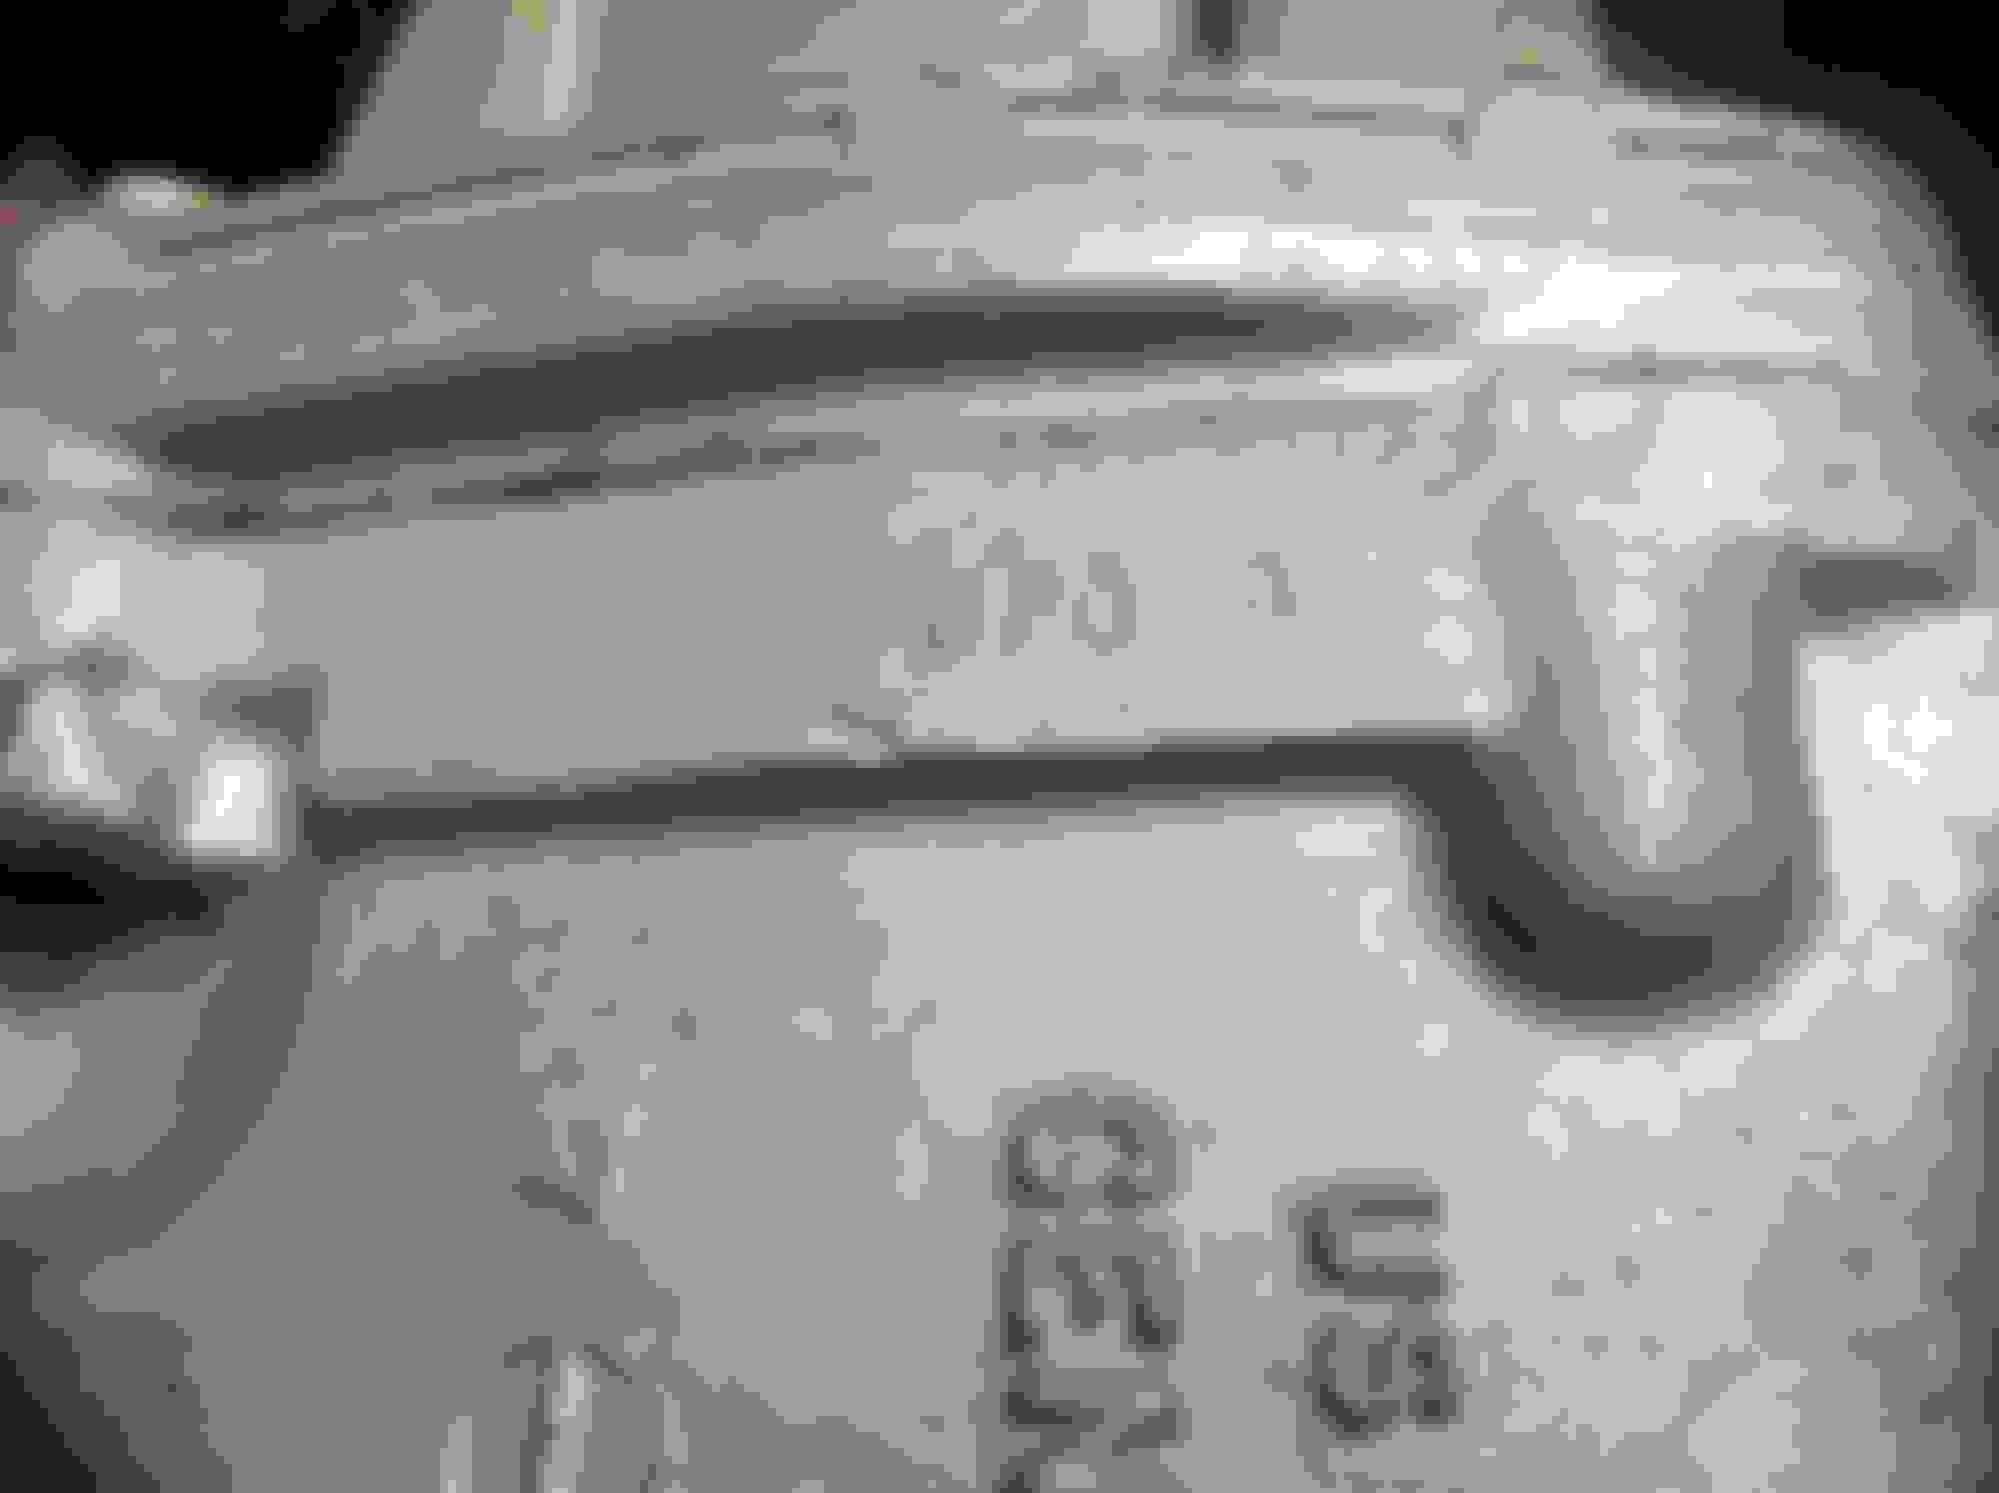
Your brake block appears to be for a 4 wheel drum car. The shape, style, bracket and bracket attachment are the same as a '70 GS Stage 1 drum brake car I had here awhile back and the brake system was all original, etc.
Somebody probably did the "disc brake conversion" to the car in the past.....at least it's a distinct possibility with the aftermarket style booster and master cylinder. If so they didn't want to mess with changing out the frame valve/block and left the original in place.
Couple pics of the 4 wheel drum block from the Buick. Notice IN THE SECOND PIC the number "2225?" with the rest of the numbers below that ("801"?).....sure look like the same numbers as shown on yours.
Last edited by 70Post; February 4th, 2018 at 10:21 AM.
Your brake block appears to be for a 4 wheel drum car. The shape, style, bracket and bracket attachment are the same as a '70 GS Stage 1 drum brake car I had here awhile back and the brake system was all original, etc.
Somebody probably did the "disc brake conversion" to the car in the past.....at least it's a distinct possibility with the aftermarket style booster and master cylinder. If so they didn't want to mess with changing out the frame valve/block and left the original in place.
Couple pics of the 4 wheel drum block from the Buick. Notice IN THE SECOND PIC the number "2225?" with the rest of the numbers below that ("801"?).....sure look like the same numbers as shown on yours.
Patton check out this link. I did a google search on 2225757 block and this came up
It is a very indepth listing this guy put together listing lots of brake/undercarriage stuff on Chevelles. The block thing is about halfway down the page - he says it was OE on Chevelles with disc brakes. Lots of good stuff, not sure how much crosses over to our cars, but impressive nonetheless. I was beginning to develop the theory after finding out it fits Chevrolet that since the rear end is Type C, that maybe the whole frame/undercarriage is from another car, but turns out I was wrong - see next post. Very possible the car originally did not have PWB since it did not have PS - is the hole in the firewall for manual brake cars the same as one for a car with power brakes? I've never had or worked on one.
Teardown finished, fun with numbers, and first reconditioning work (5 hours)
Today I finished removing the items I detailled in yesterday's post, but of course I could not leave well enough alone. When I pulled the lead going to the trunk release, I noticed it had been spliced at least three times. Looked under the package tray area, and saw the wrap on the harness is falling apart SO, even though I was not going to pull the body harness, decided it had to be done. The harness was covered by lots of sound deadener in the passenger cabin, so I had to dig it out. Glad I did because look what I found
So while I was there, might as well pull that air vent thing for the A/C that goes in the RH kick panel area. Again, problems - bottom screw is attached to nothing due to rust, and the motor is not holding vaccuum. Something more for the Oldspackrat list.
Next went to check the frame manufacturer and date. I wanted to see if maybe the frame had been changed out at one point.
Good news here it is a Parish unit (I have only worked on A.O. Smith ones) with a Oct 2 69 date - good for this car's build date.
Next went to see if I might luck out on the VIN frame stamping below the LH door. I looked around where I found it on my W30 and nothing. I was about to give up, but then glanced forward and saw something that looked promising.
This stamping is considerably larger and more towards the front of the car than what was on my Lansing cars. It reads "30E123303" It matches the VIN except for the last digit - the car is 123302. I remember - vaguely - reading something about the frame number being one off - I will keep looking for where I read that.
And reconditioning began. I was now out of space to safely store things in the garage, I thought today I'd clean the side glasses so as to store them inside my house. They are all tinted, date correct PPG units except for the driver's glass which is a August 1971 LOF piece. The back glass is correct as well and I think salvagable, but the windscreen is a junk replacement unit. Hit them with the usual - first carb cleaner to remove the previous paint job overspray and quarter seal trim adhesive, 00 followed by 0000 steel wool and then finally a Windex super duper scrubbing and leaning. It will be up to David to decide whether to reuse, but I think they are acceptable.
Sounds like you're "good to go" with the frame-mounted brake block then.
One less item to worry about.
Just for grins, put a magnet on the block....is it brass?
I'm pretty sure it is cast - will check in the AM. Thanks - as always - for your help.
I started thinking after I reread your post. The brakes on this car felt kind of strange - they worked but needed a lot of pedal effort. I did not pay attention to which hole in the brake pedal the the pin was attached to the clevis on the boisterous pushrods. If this was a PDB conversion, maybe someone used the wrong hole. I'll see if I can find any marks on the pedal in the morning as well.
Joe, I am finally in. I would agree with cc the heads, even if they do look stock. I cannot fathom 13:1 running on pump gas. Maybe, 11:1 with cast heads but that is a stretch. As far as the pistons, and it�s hard to tell from the pics; they do not look that much more aggressive than my Racetec pistons. I ended up with 10.22:1. However, my aluminum heads cc�d at 88. Block was decked, and the pistons are 5 in the hole.
Here is my 70 442 disk brake dist block. It�s a Fremont late production build.
Wow, your engine looks great. I will have to investigate the Racetec pistons - 10.25 would be ideal, but I'm pretty sure my E heads are at about 80 cc's. What head gasket did you use, and do you remember how much was removed on your block? Also, Patton and I are having great fun with distribution blocks - is yours cast or brass, and if you look at the bottom, is the bracket swaged, bolted (single bolt) or screwed (2 screws) to the block? Lastly, have you found any Fremont car peculiarities?
This car had a bunch of extra fasteners in various tubs and bags in the trunk. Those I spotted that could be used "as is" I had already separated and marked for use, but a couple of days ago I went back and sorted out any other OE fasteners from the pile and combined them with some more I had and dunked 'em in EvapoRust. Today I pulled them out, wiped them off and got some decent parts out of the junk. Some will need a second pass to remove paint, but doing this will make the AMK bill go down and leave me some extras for future projects.
Last edited by costpenn; February 8th, 2018 at 10:39 PM.
Earlier today, I dunked my final batch of my old OE fasteners that might be reusable in the EvapoRust. The more I can set up to be ready to start refurbing parts the faster it will go.
To that end, I spent most of my time today going through my stash of various parts that are:
A) missing or
B) in better shape than those that came off the car or
C) more correct than those that came off the car.
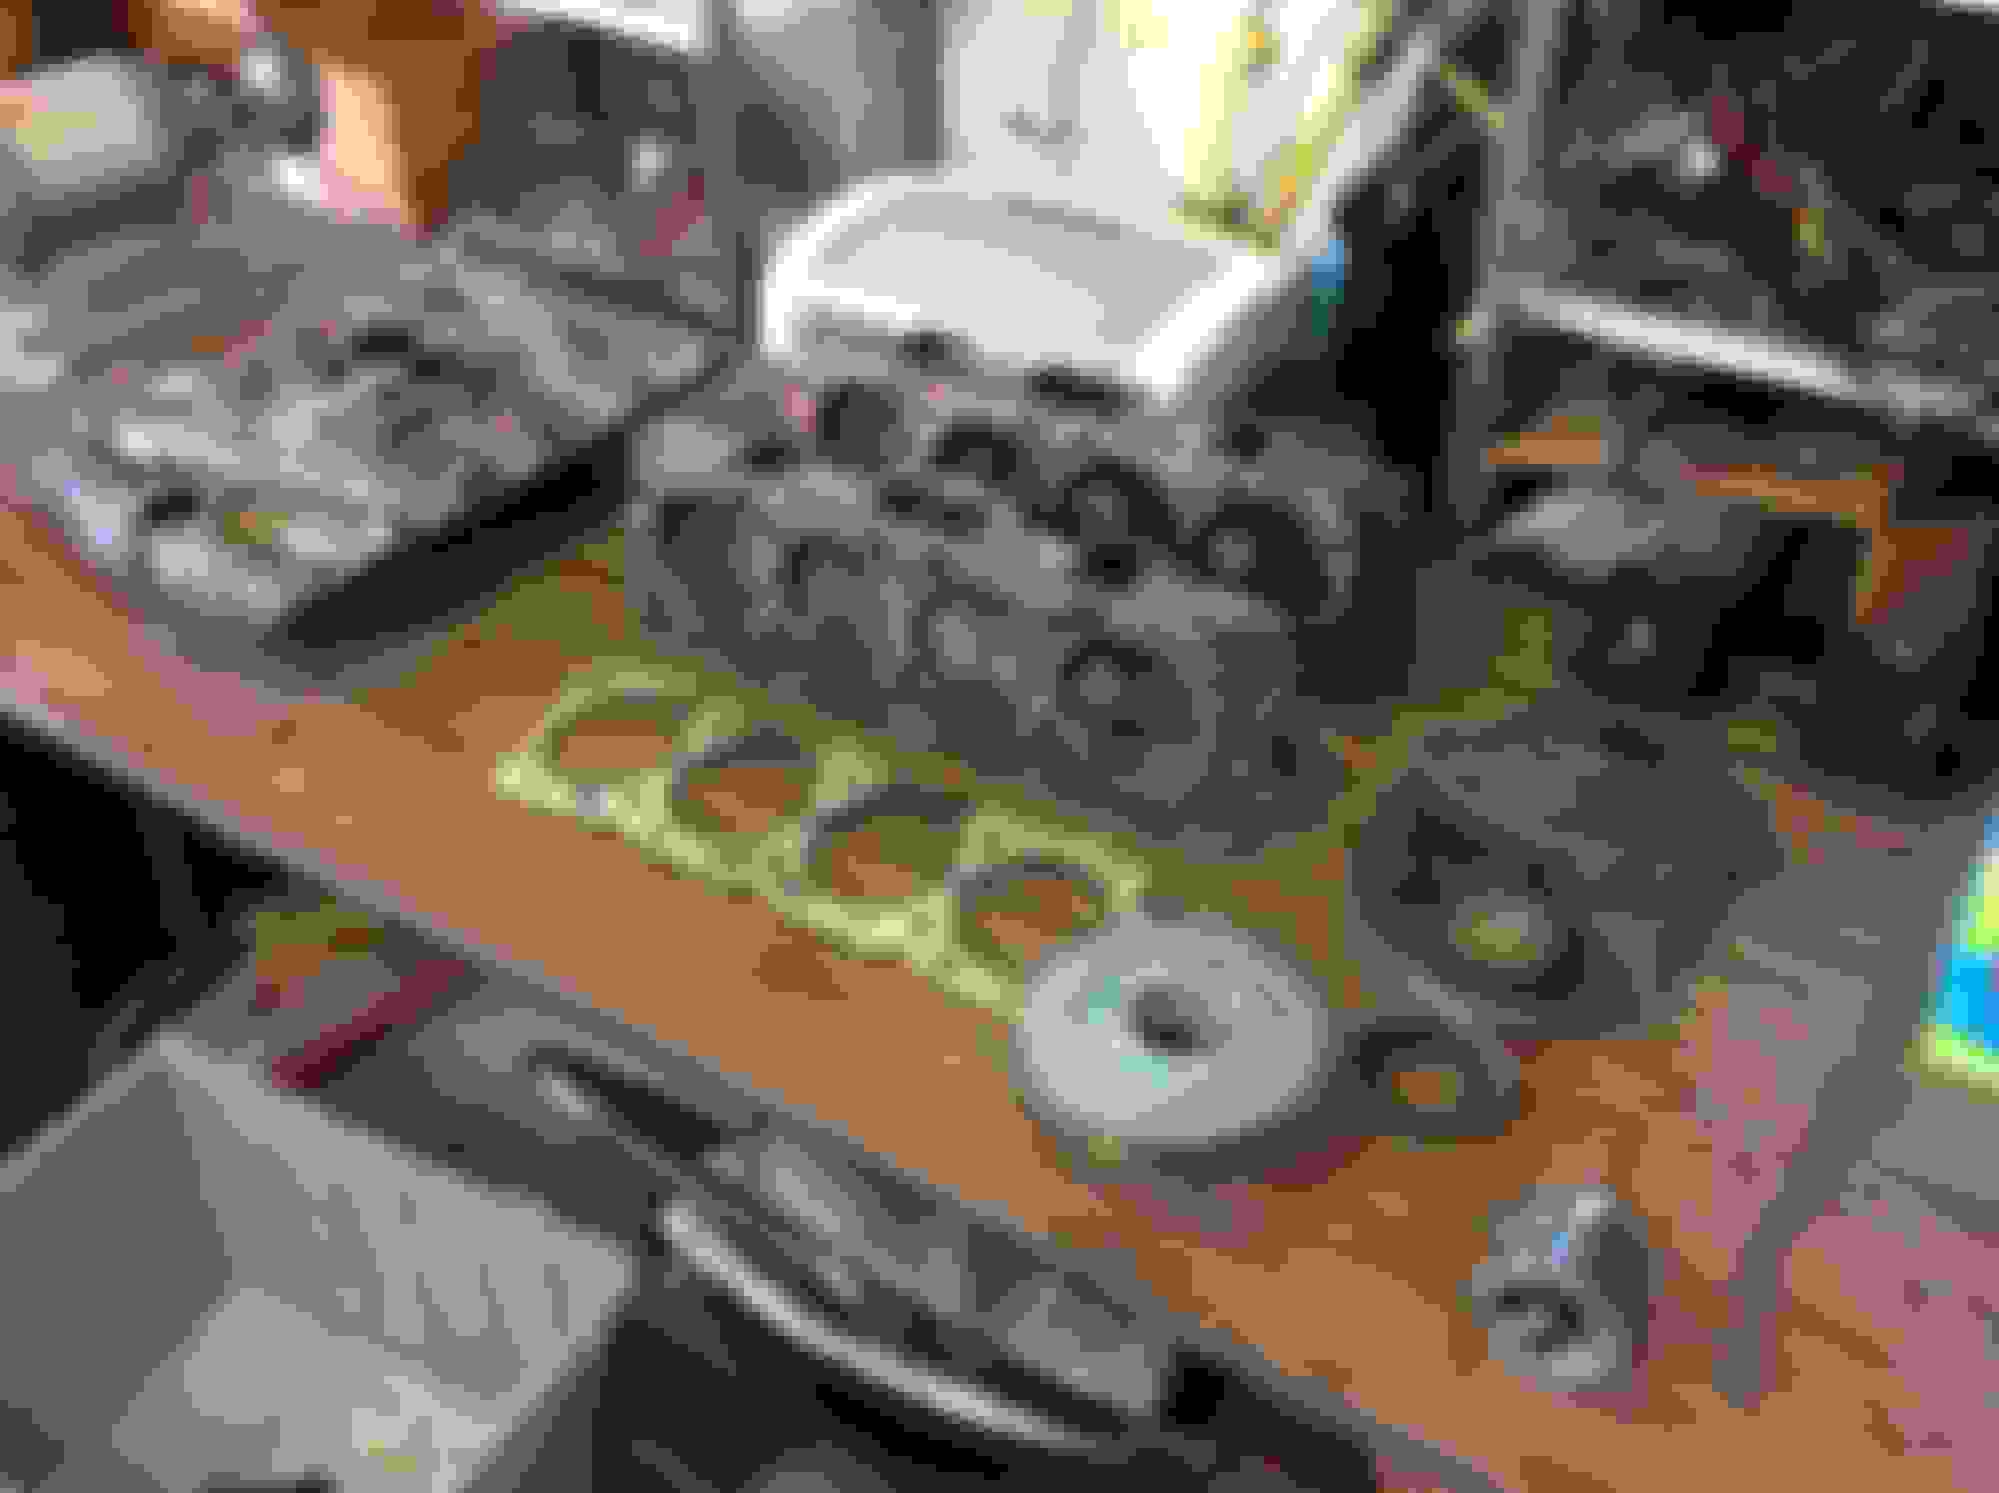
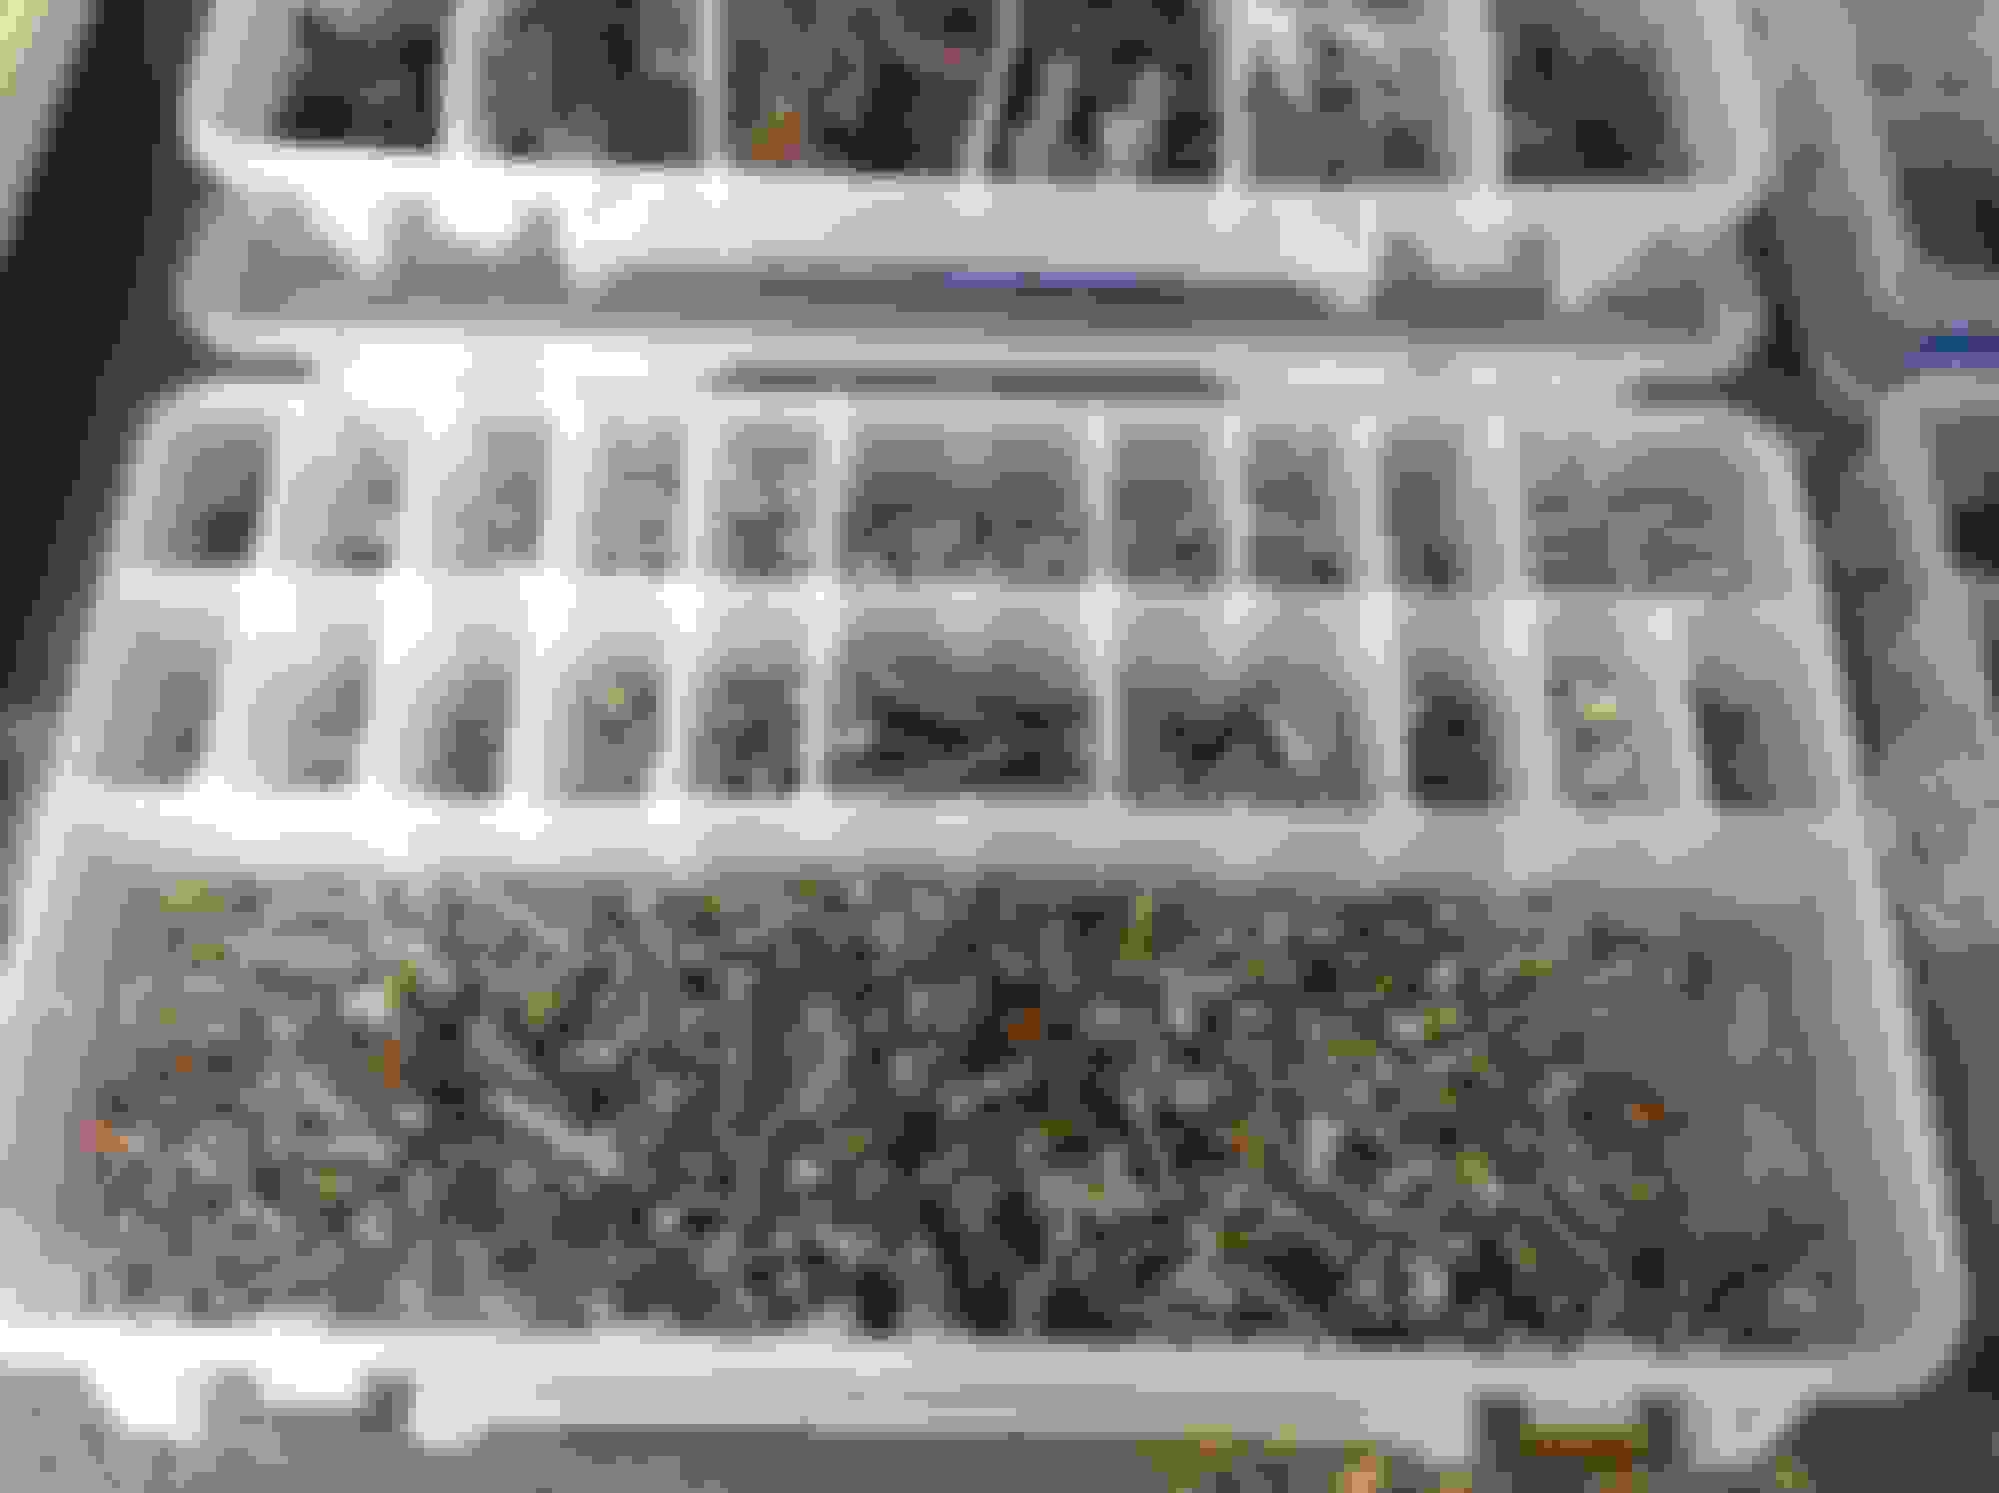
Below in the pic are all that met that requirement. Also included a few new bolt kits I have a lot of extras on. I had a lot more in stock than I thought I had!
Today I pulled out some parts I had dropped in the EvapoRust rank. I wiped them off - it still is amazing how this stuff works. Some items are ready to go, some needs a Boesheild treatment, and some needs a little further work. I should if taken a picture of how that e-brake assy. looked before I dunked it
Also, I have a AMK bulk shipment on the way, so I thought I'd go through and redo my storage system for fasteners and misc. small parts used in a 68-72 A body resto. I also went through all my fasteners I had not yet cleaned and accommodated them. See if you can pick out various "hard to find" items in the trays. I really enjoy finding these neat little pieces.

 January 28th, 2018, 06:37 PM