When you click on links to various merchants on this site and make a purchase, this can result in this site earning a commission. Affiliate programs and affiliations include, but are not limited to, the eBay Partner Network.
Since my 63 Dynamic didn't come with an engine, I needed one.
Fellow classicolds member Lansing was parting out a 63 Starfire , that had a rusted frame .
I had Fastenal deliver it to me from Missouri .
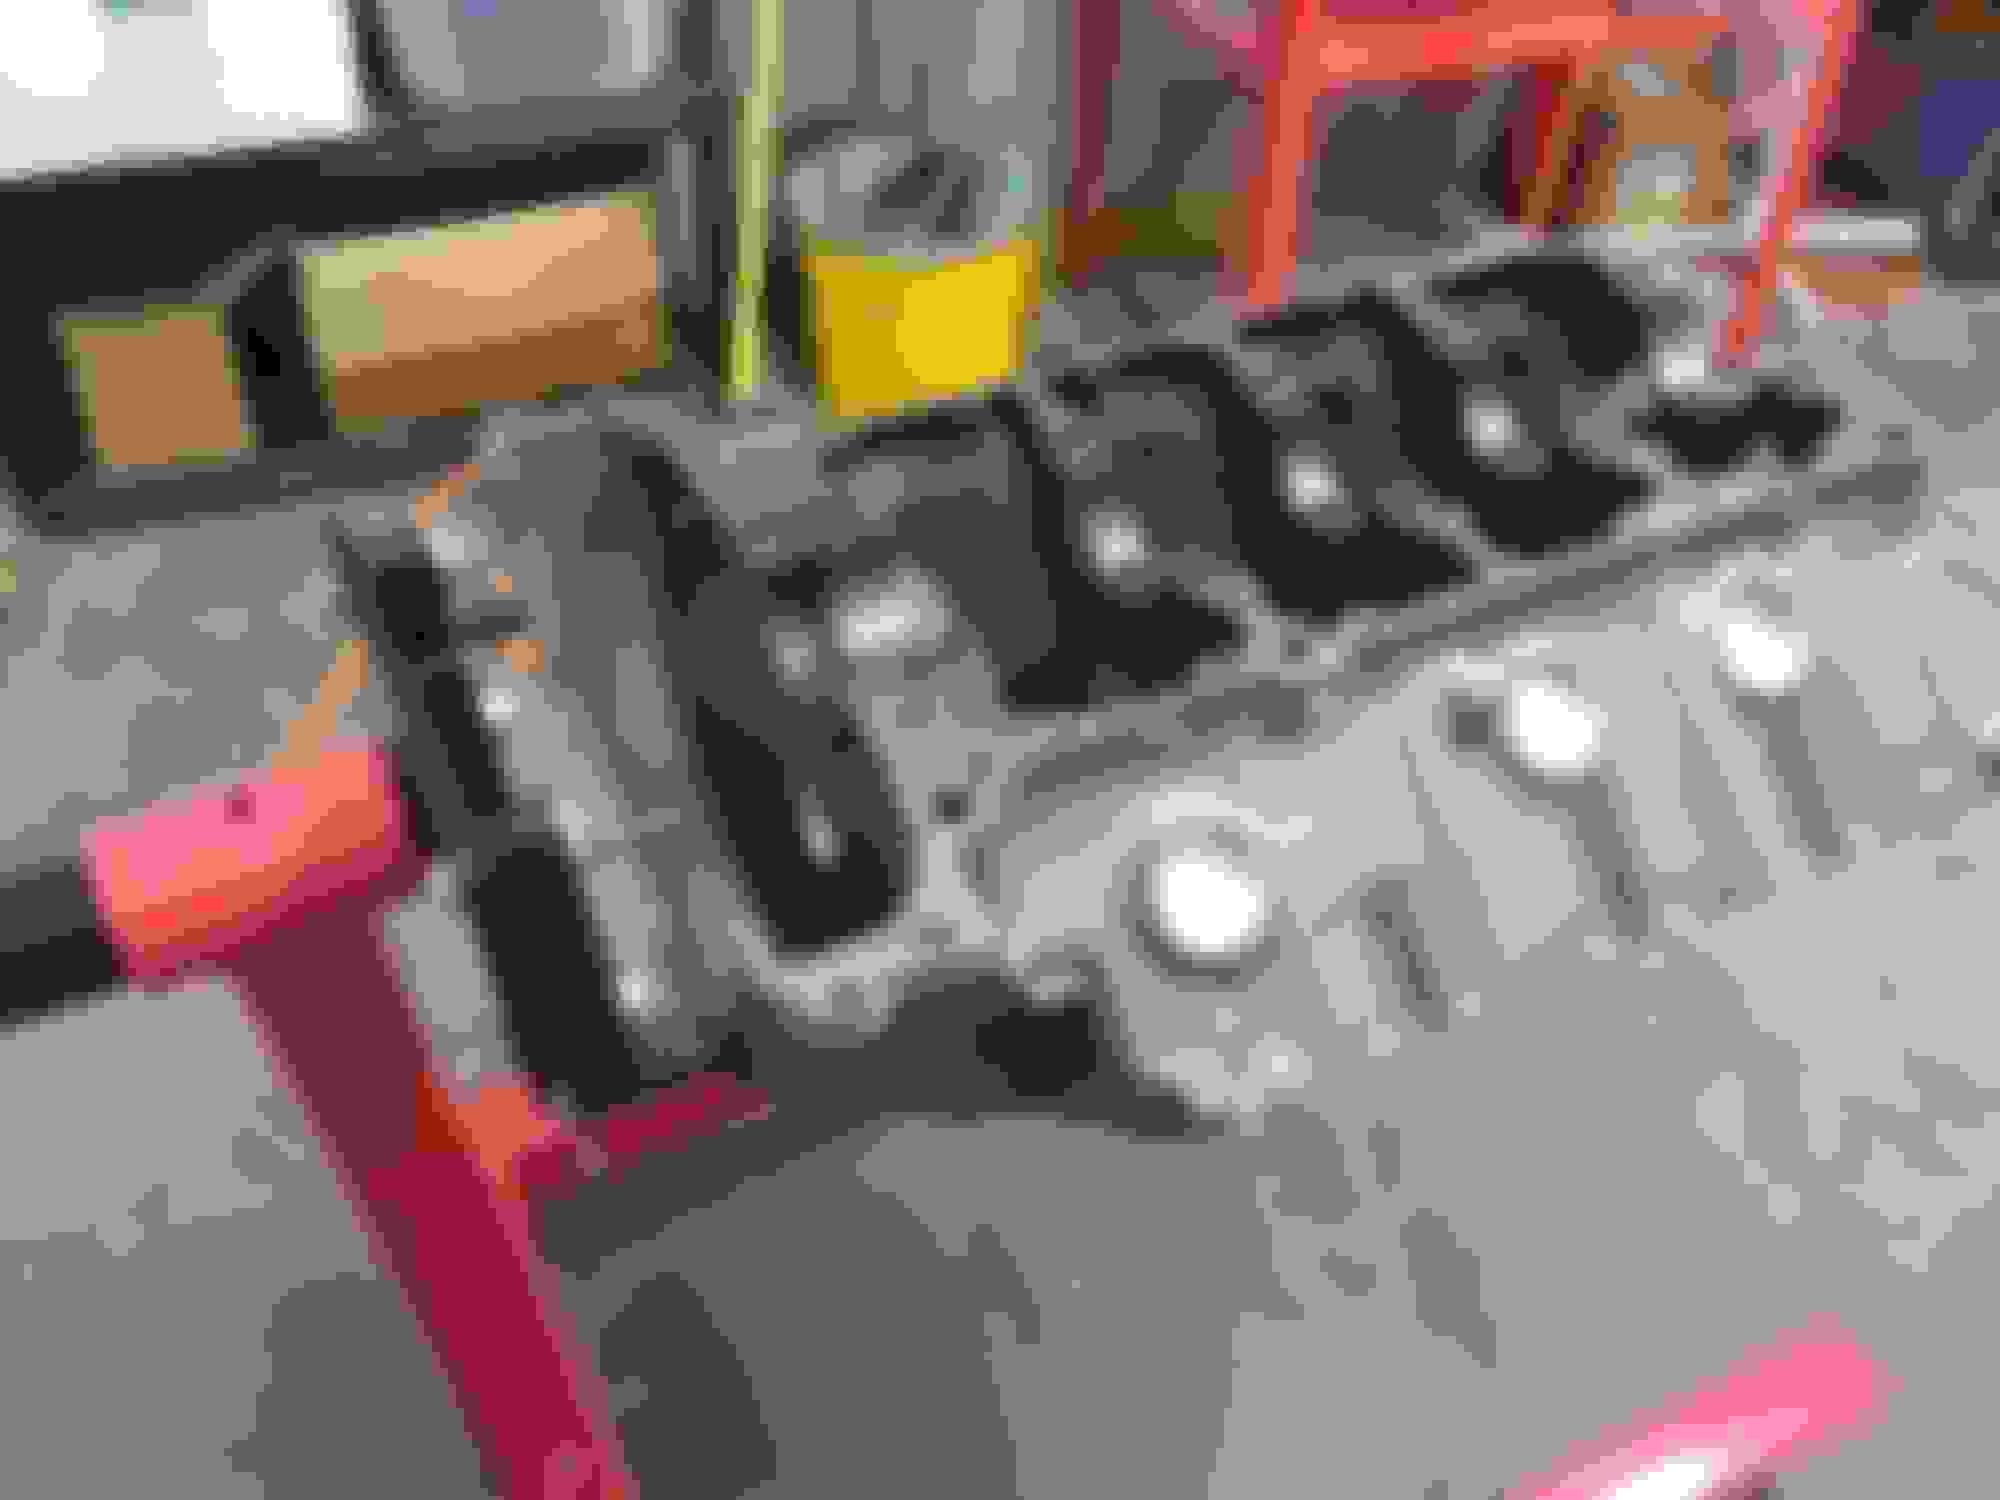
This was a very worn , but re-buildable engine . At least it wasn't "frozen solid" by rust . As many of the 394's I had seen were .
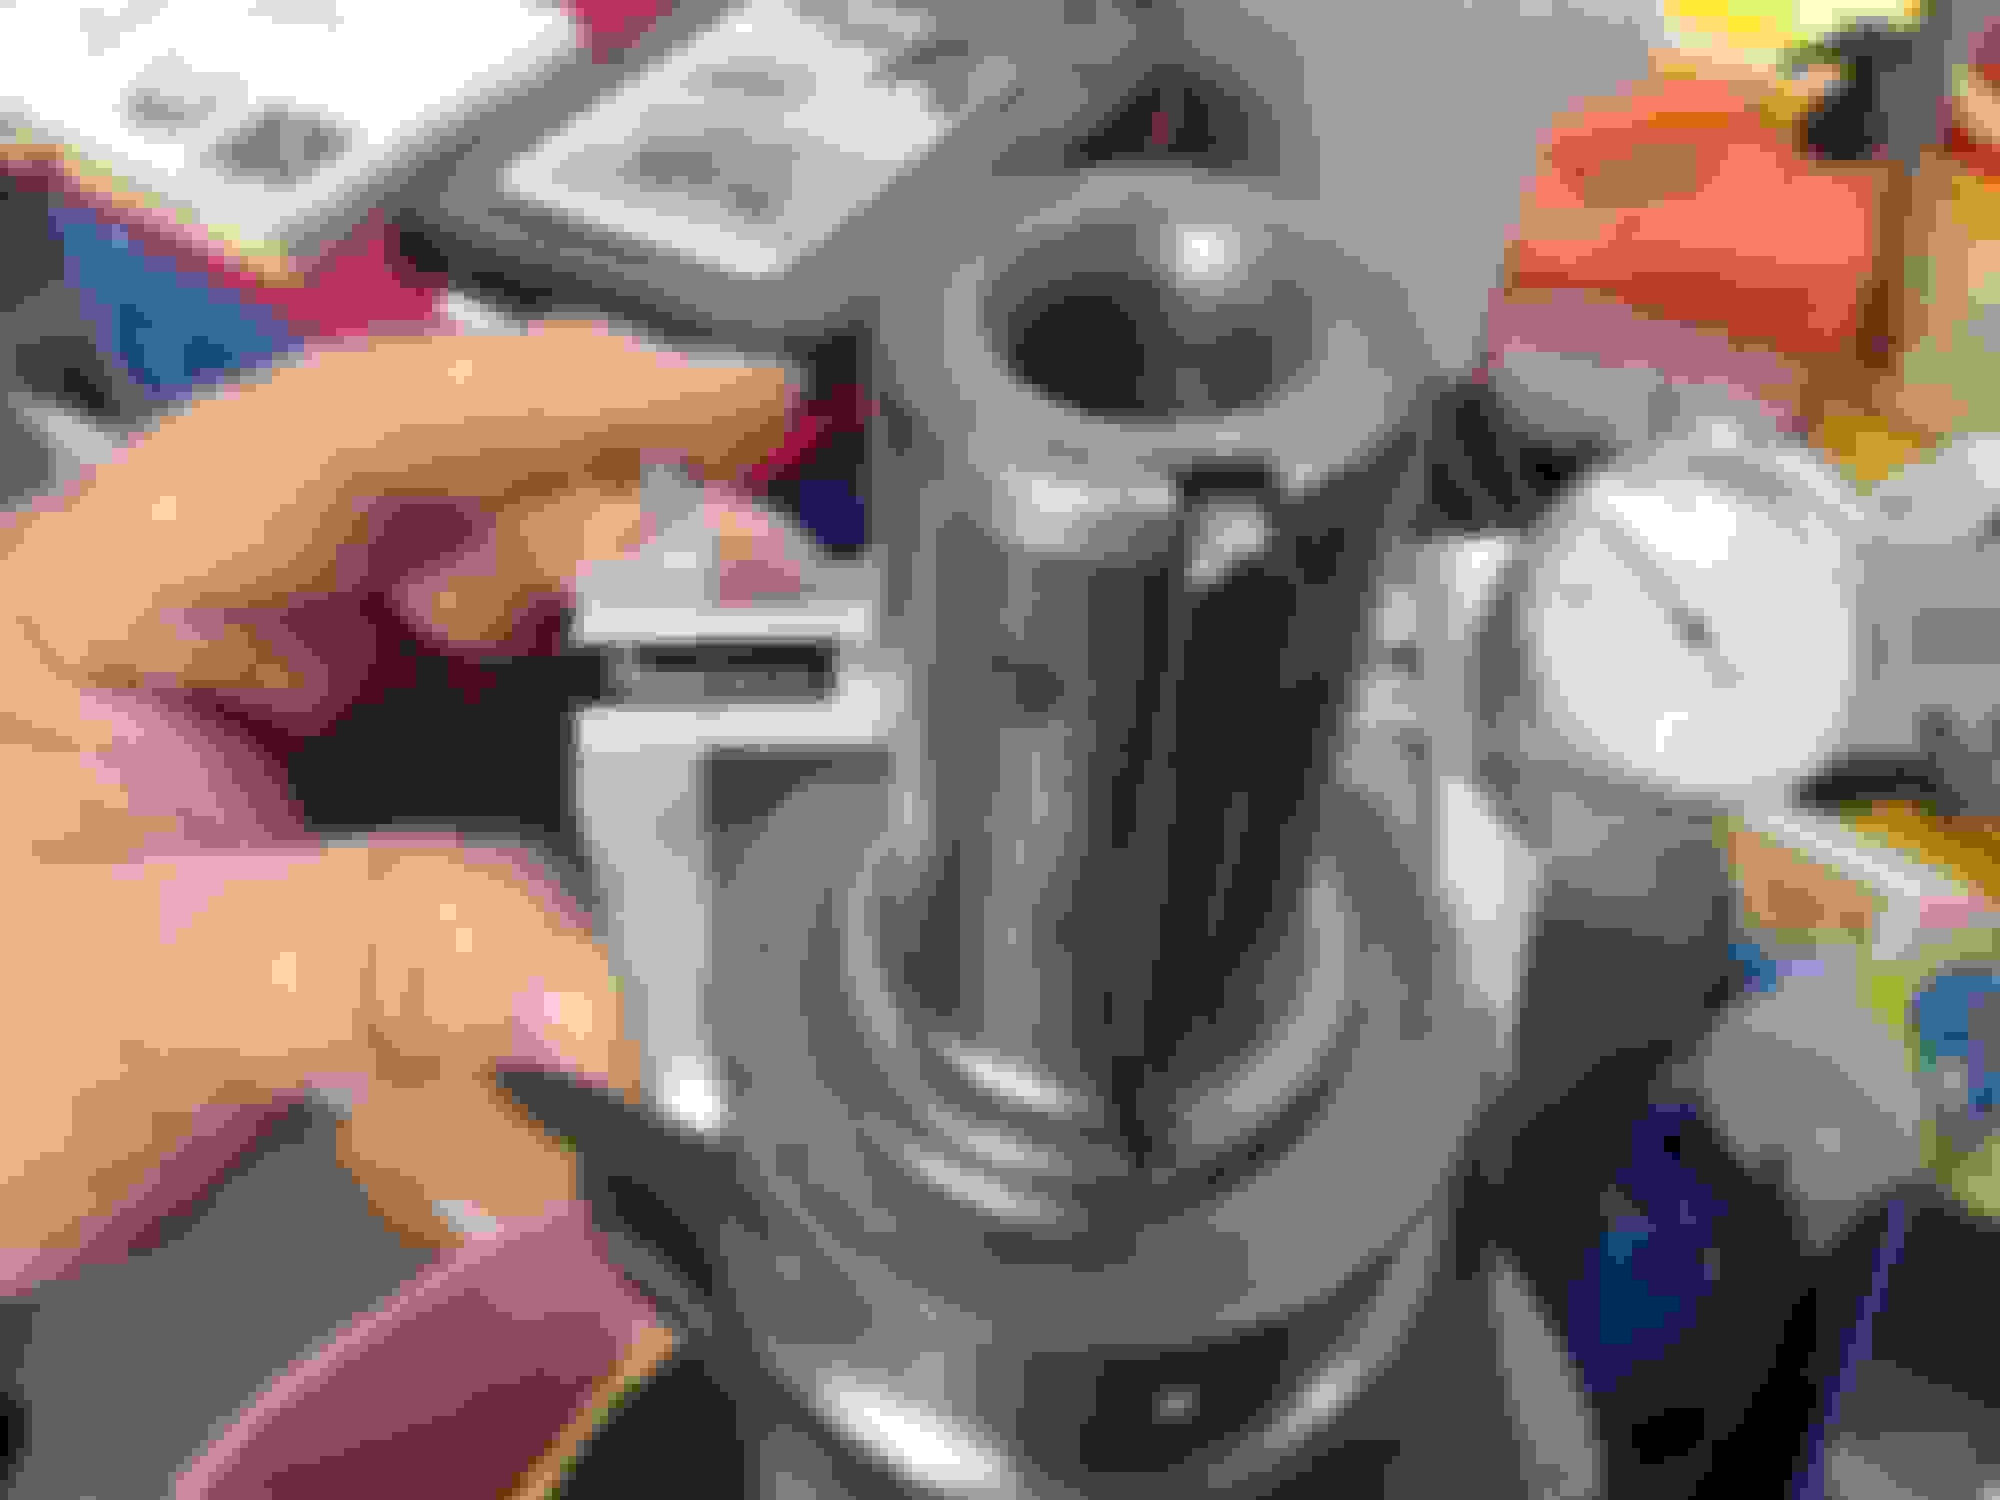
The first step (after removing the heads ) was to cut the cylinder "ridge" .
The cylinders seemed to have more than one ridge .
When i removed the piston , I discovered why.
The top ring was broken , and the engine was run that way long enough for the second ring to make it's own ridge . Probably thousands of miles .
All eight cylinders were that way . My guess was that someone may have run regular gas in it and destroyed the rings .
Last edited by Charlie Jones; October 16th, 2017 at 10:34 PM.
Charlie, I experienced this when I rebuilt the 394 in my 64 Olds 98 years ago. It had broken ring lands and broken skirts on a few of the pistons. I actually kept the worst of the bunch and still have it in my shop.
I'm subscribed, hope I never have to do this but education is always good. The ring situation is a great example of how durable these old iron motors were.
Yes, the more information we have on these dinosaurs the better for all of us! Good luck with your build Charlie. Looking forward to your documentation of the progress.
Looks good, When you buy new pistons make sure the groove matches the ring width, The original top ring is no longer available. You can buy new pistons from Terrell and he cuts the two top grooves to fit the rings now available.
Steve
Mostly stock , however I'm using forged pistons from Ross Racing Engines . About 10 to 1 compression .
I'm also using a cam that Tony @ Ross selected for me . Lift is .493 and duration is 230 degrees at .050 . On both intake & exhaust .
I'm shooting for 365 - 370 HP with a 4 GC . Maybe close to 400 with an "Offy" manifold and three 2GC's .
I'll have to wait 'till it's on the dyno to see what it really does .
Looks good, When you buy new pistons make sure the groove matches the ring width, The original top ring is no longer available. You can buy new pistons from Terrell and he cuts the two top grooves to fit the rings now available.
Steve
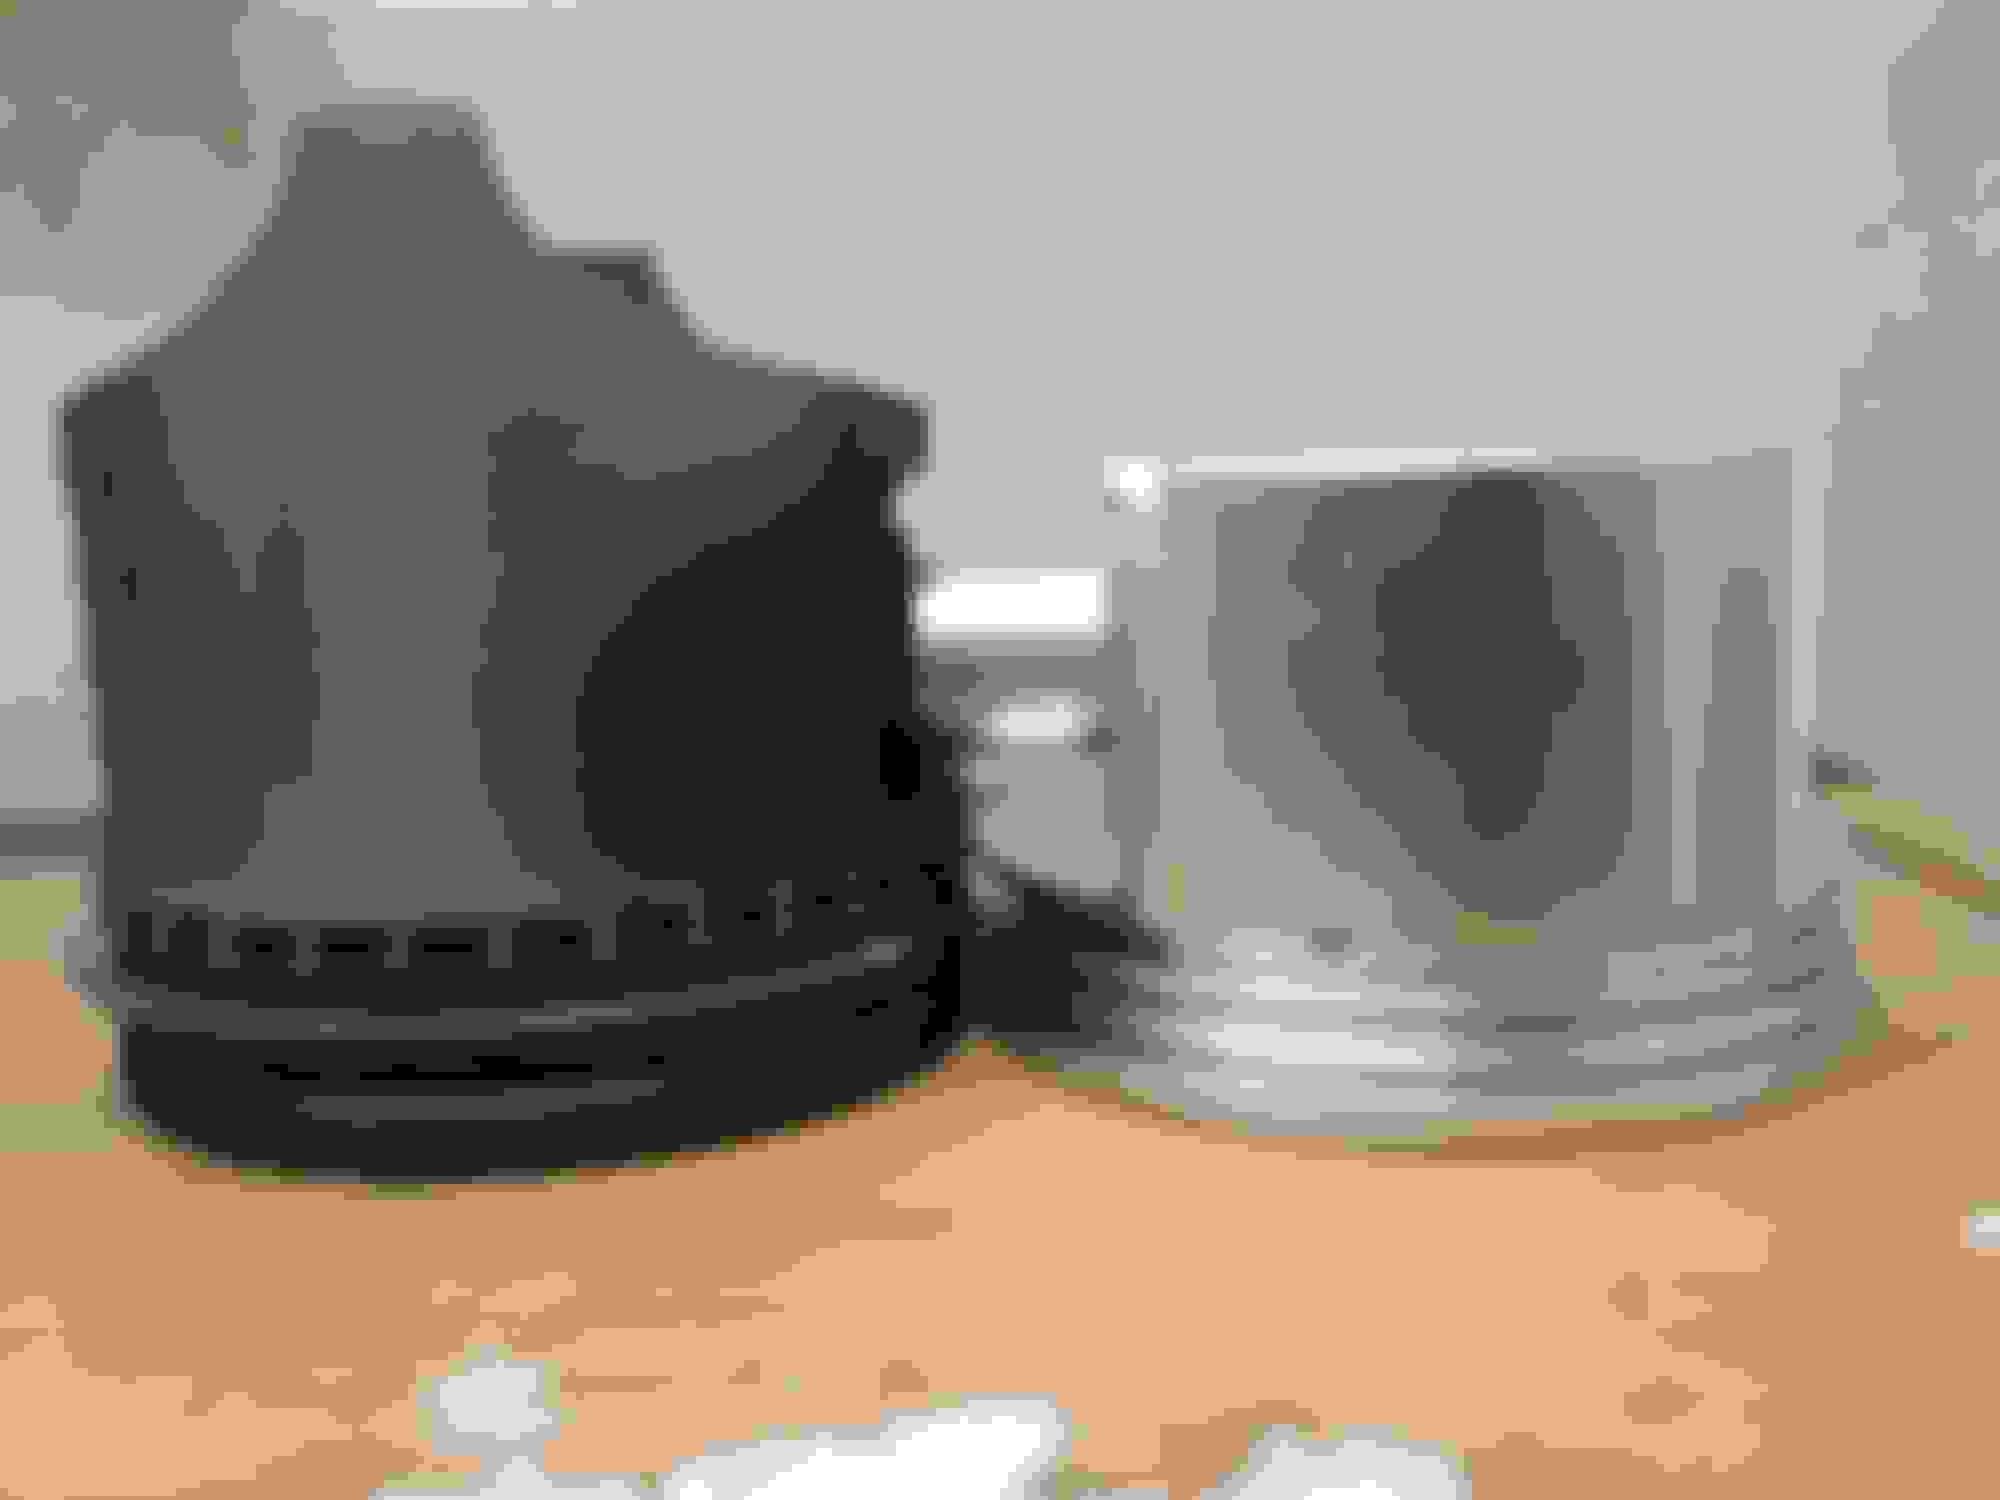
Steve , I'm going with forged pistons from Ross Racing Engines .
With the questionable reliability of cast pistons of late (especially off-shore ones) . and a price difference of $500 vs $700 . To me , it was a "no brainer".
Besides , if I get a little crazy and decide to feed her "laughing gas " . I know she will handle it .
I will need to re-balance the crankshaft . A step necessary anyway for any engine build you plan to "lean on ".
Last edited by Charlie Jones; October 17th, 2017 at 09:58 PM.
Reason: add pics
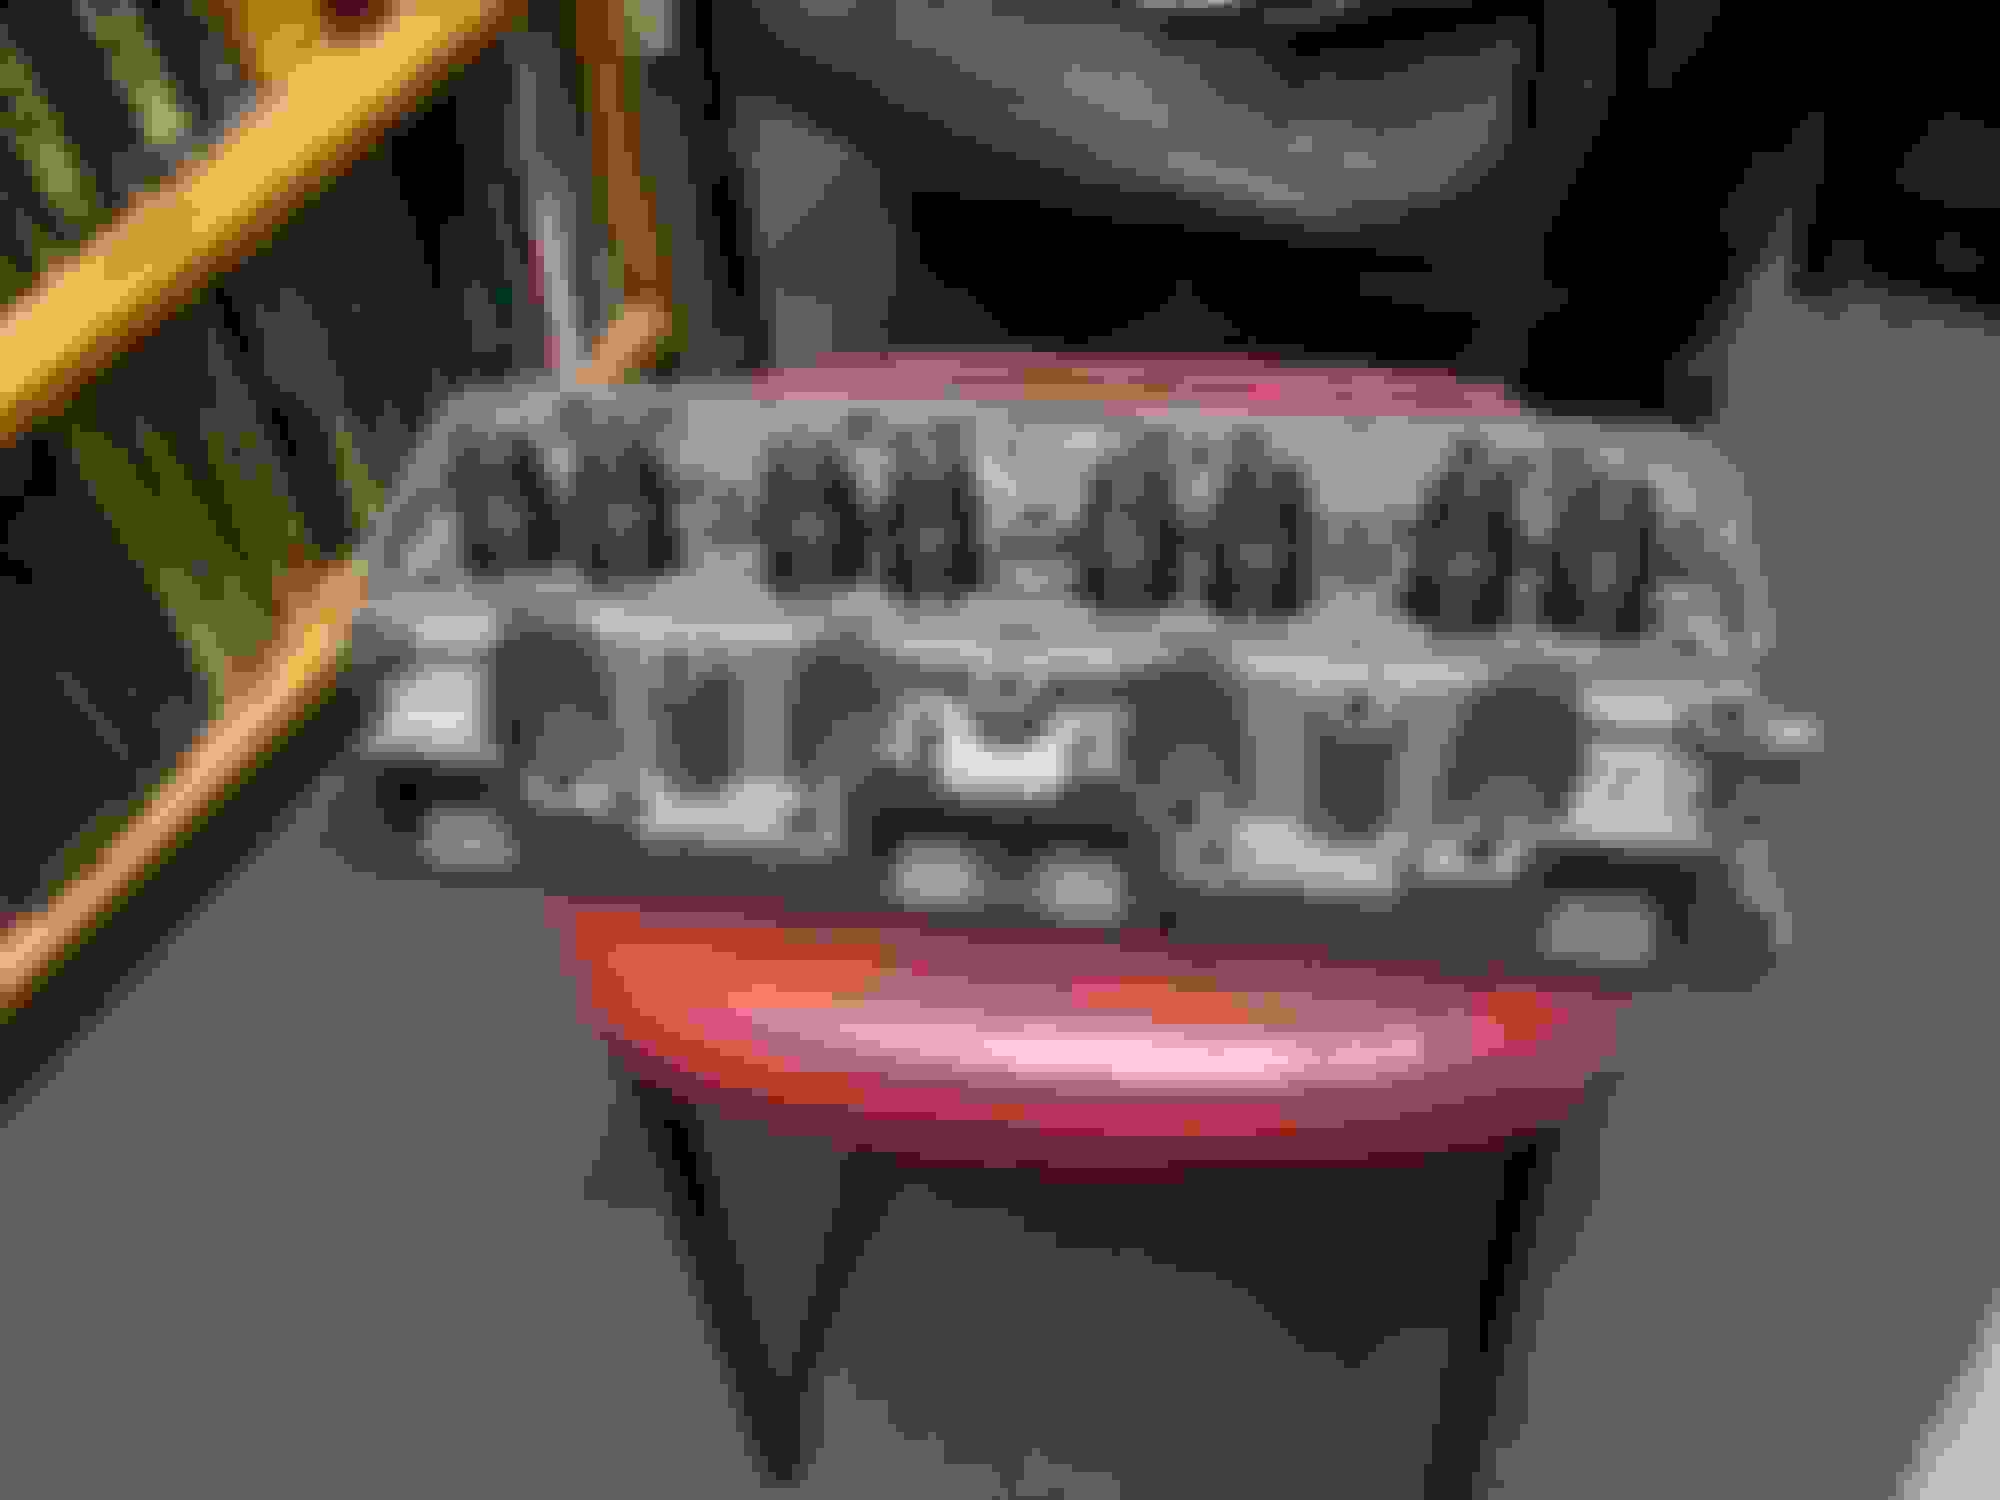
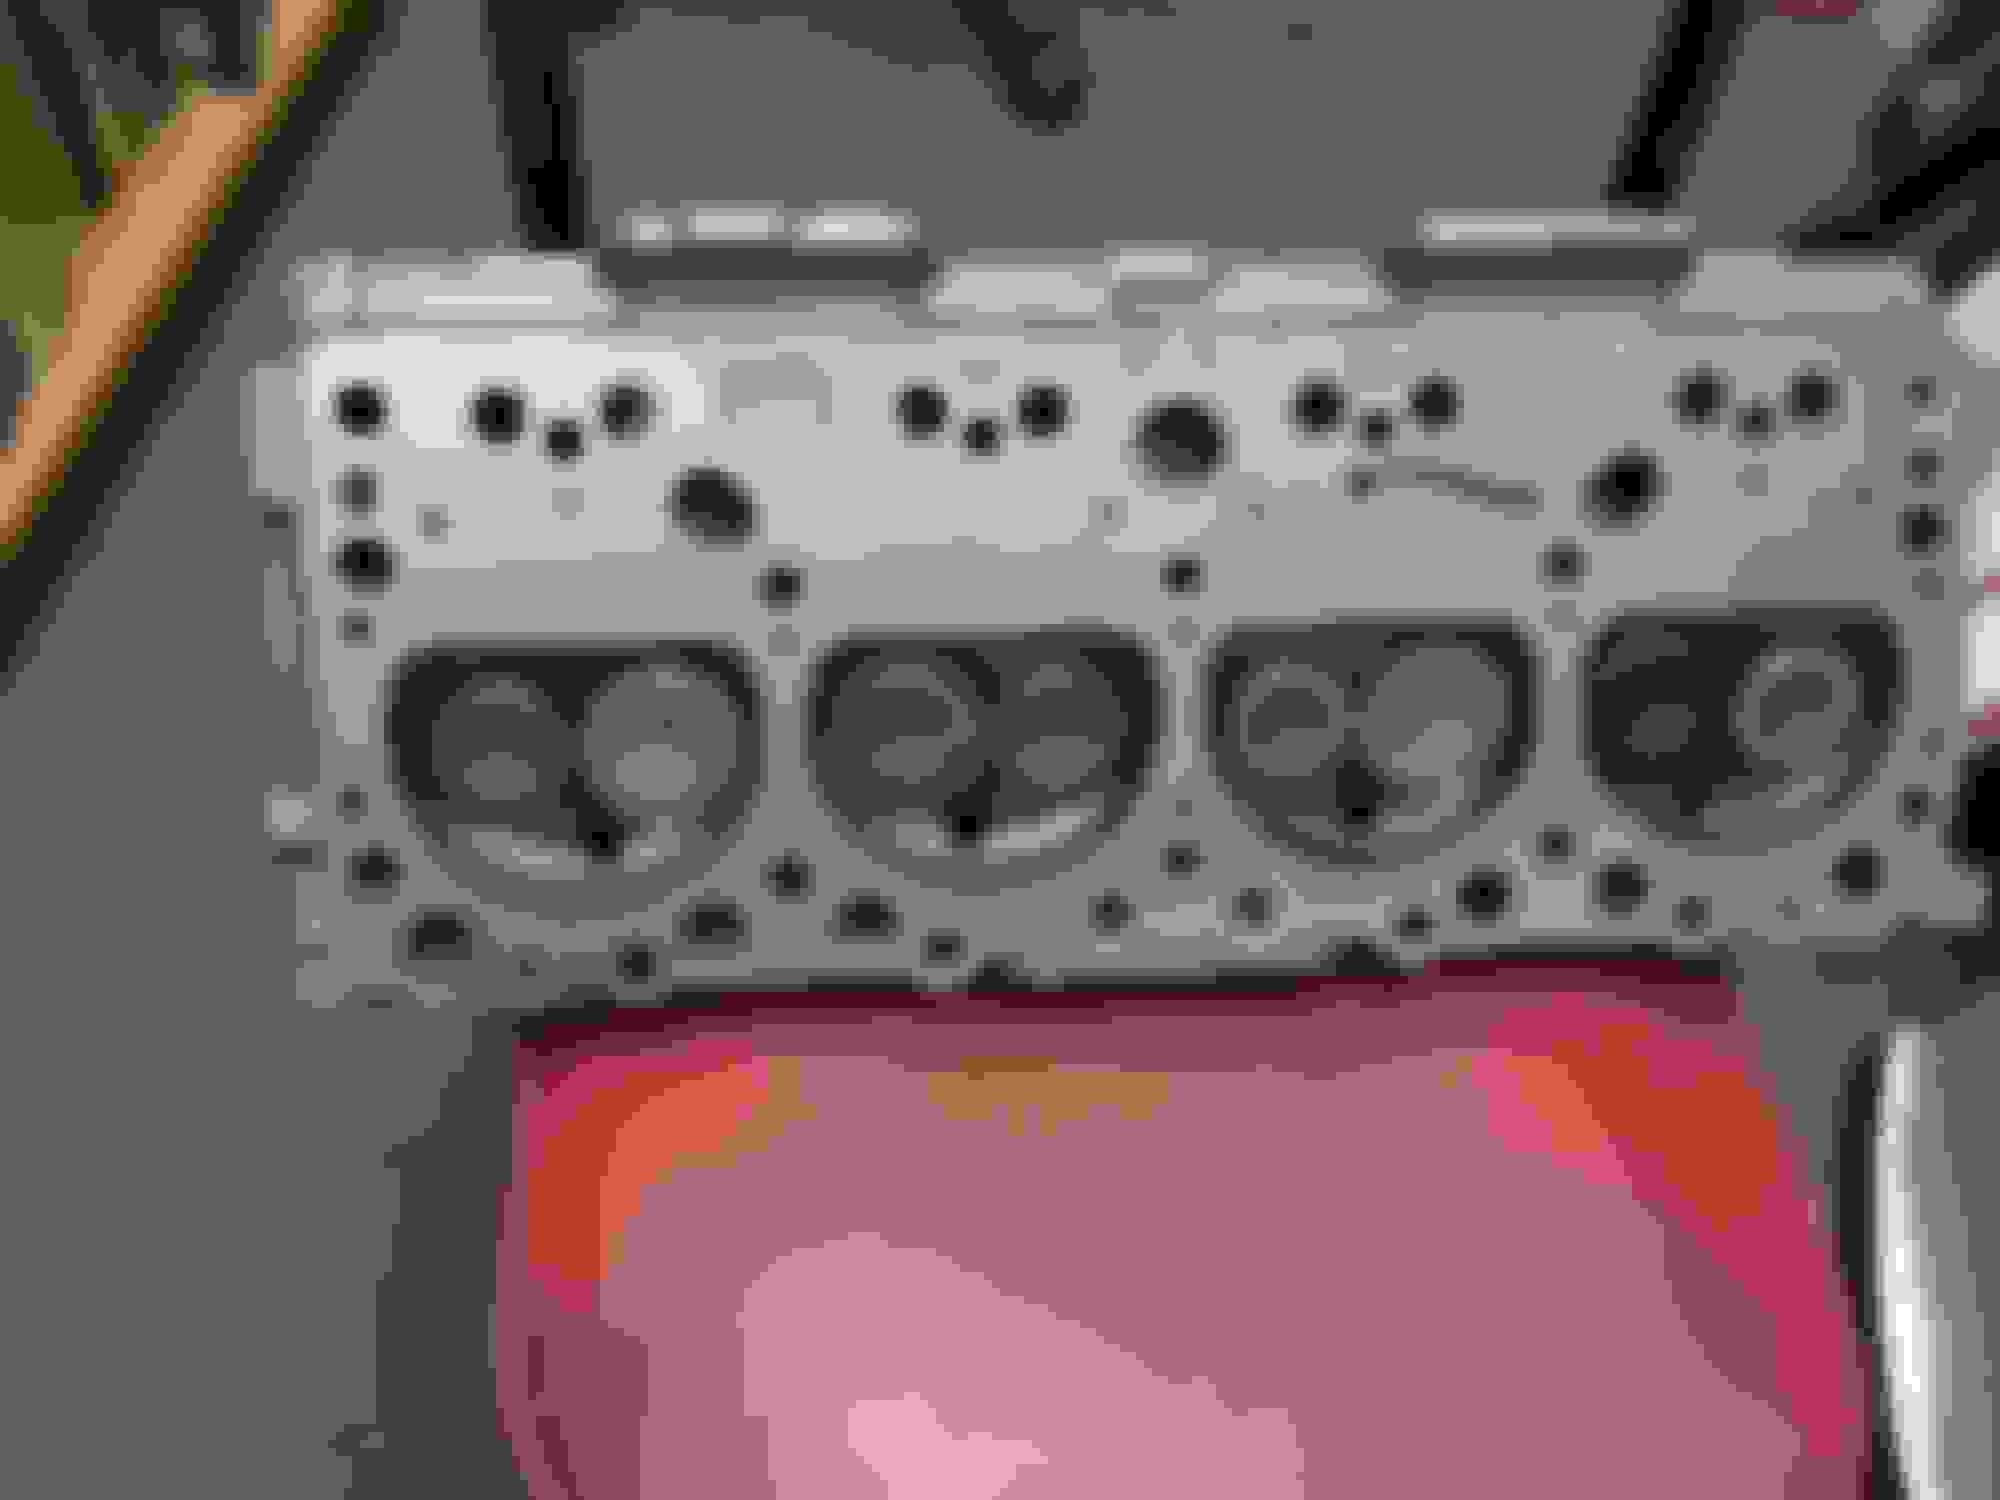
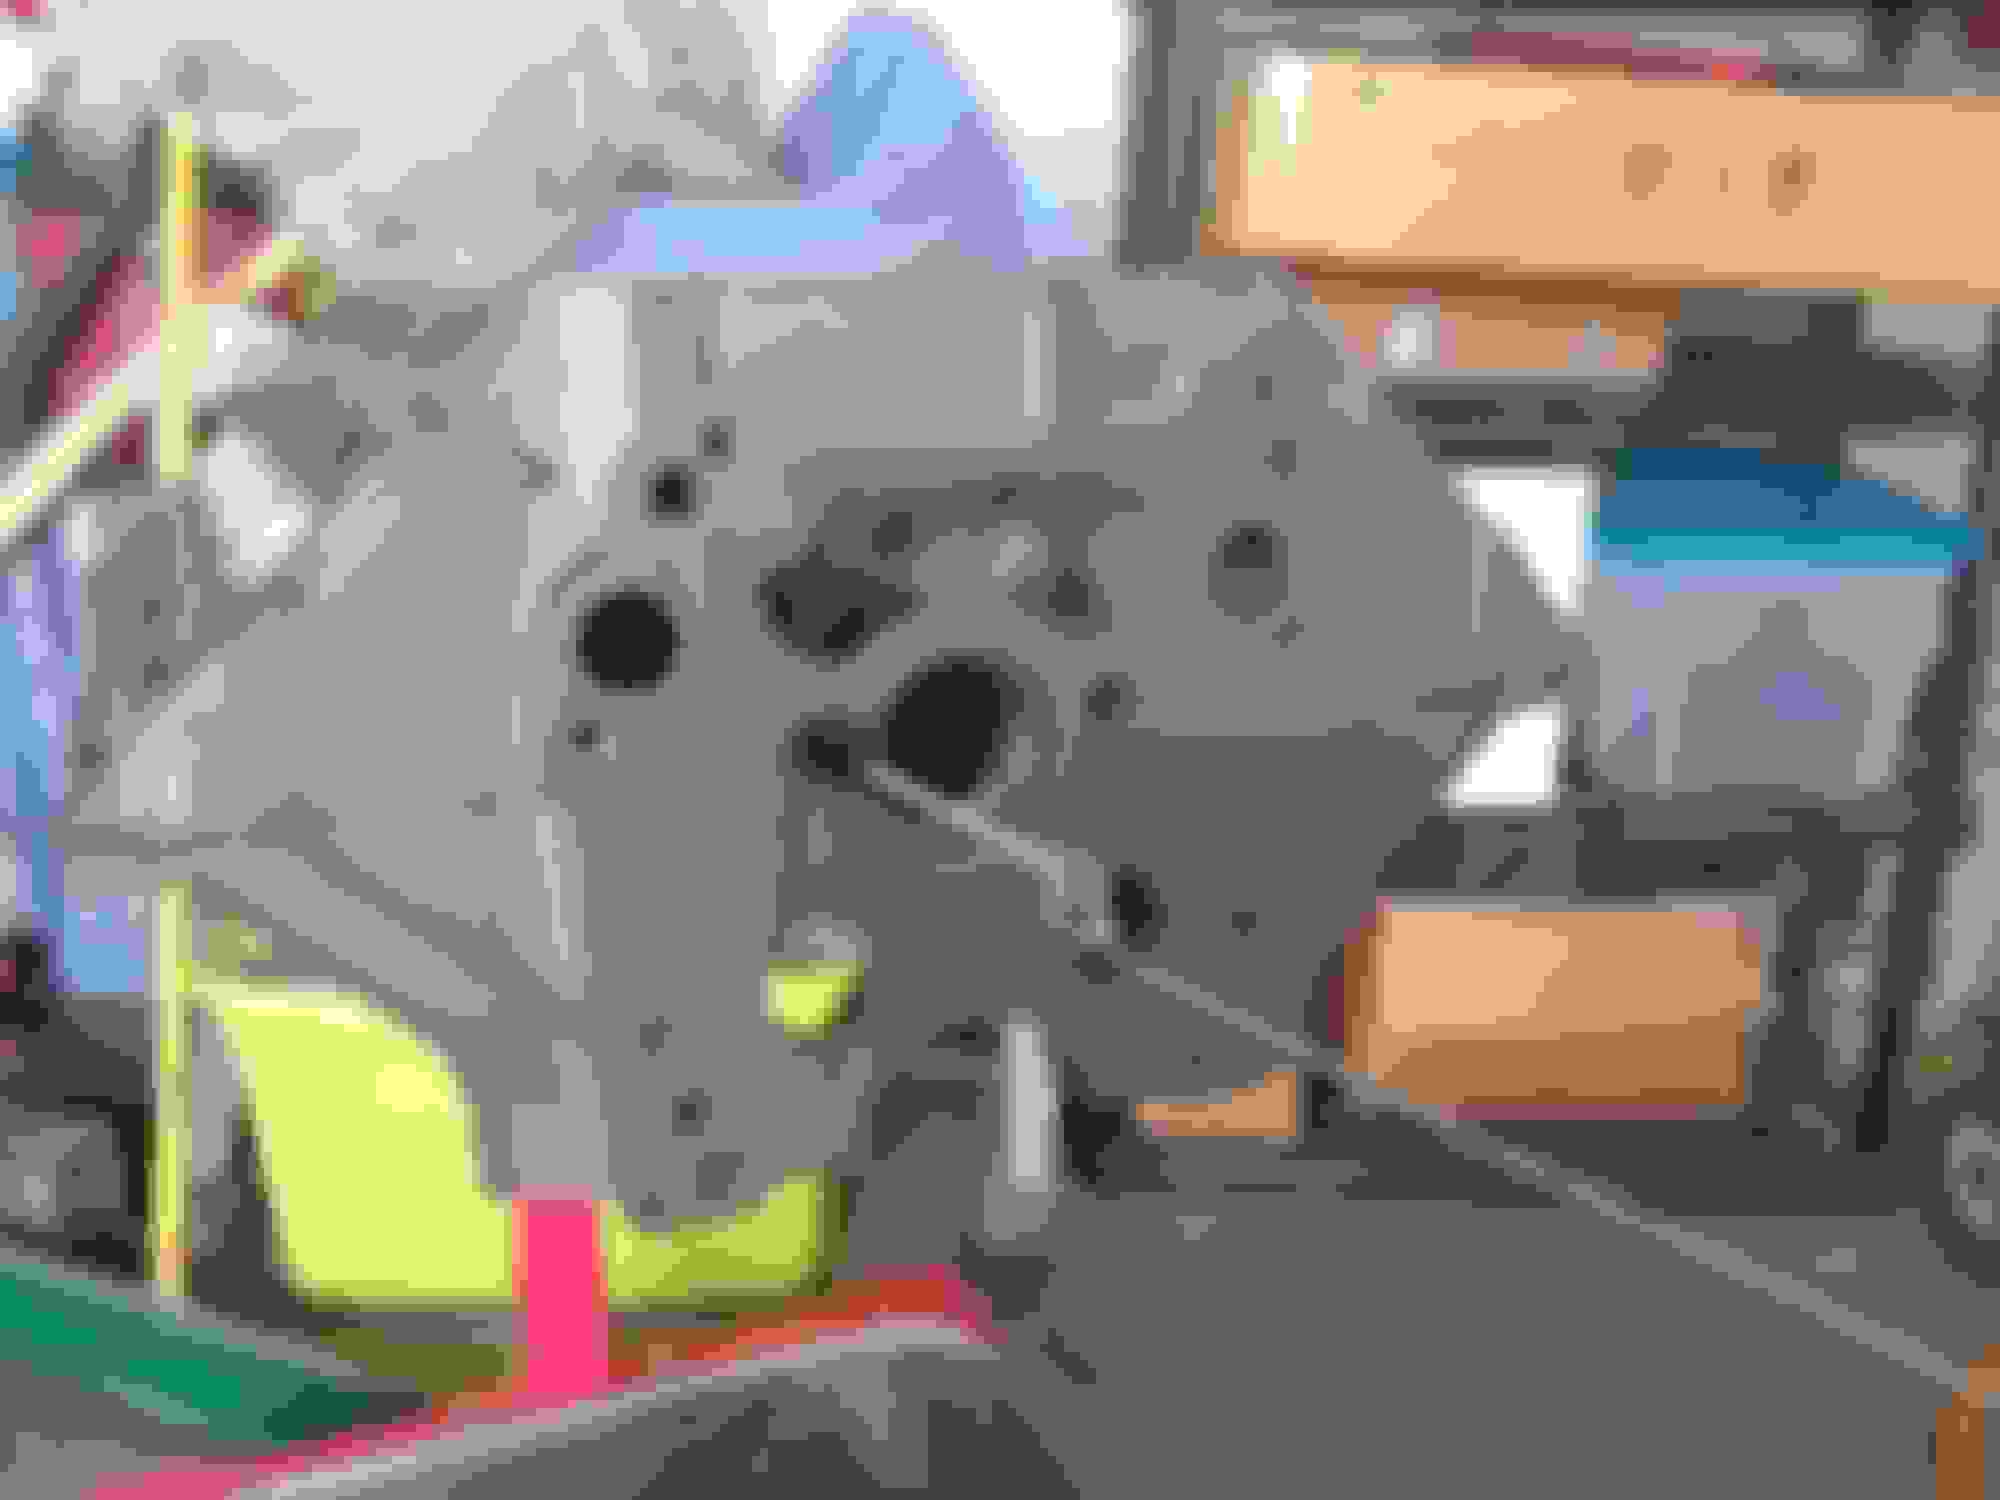
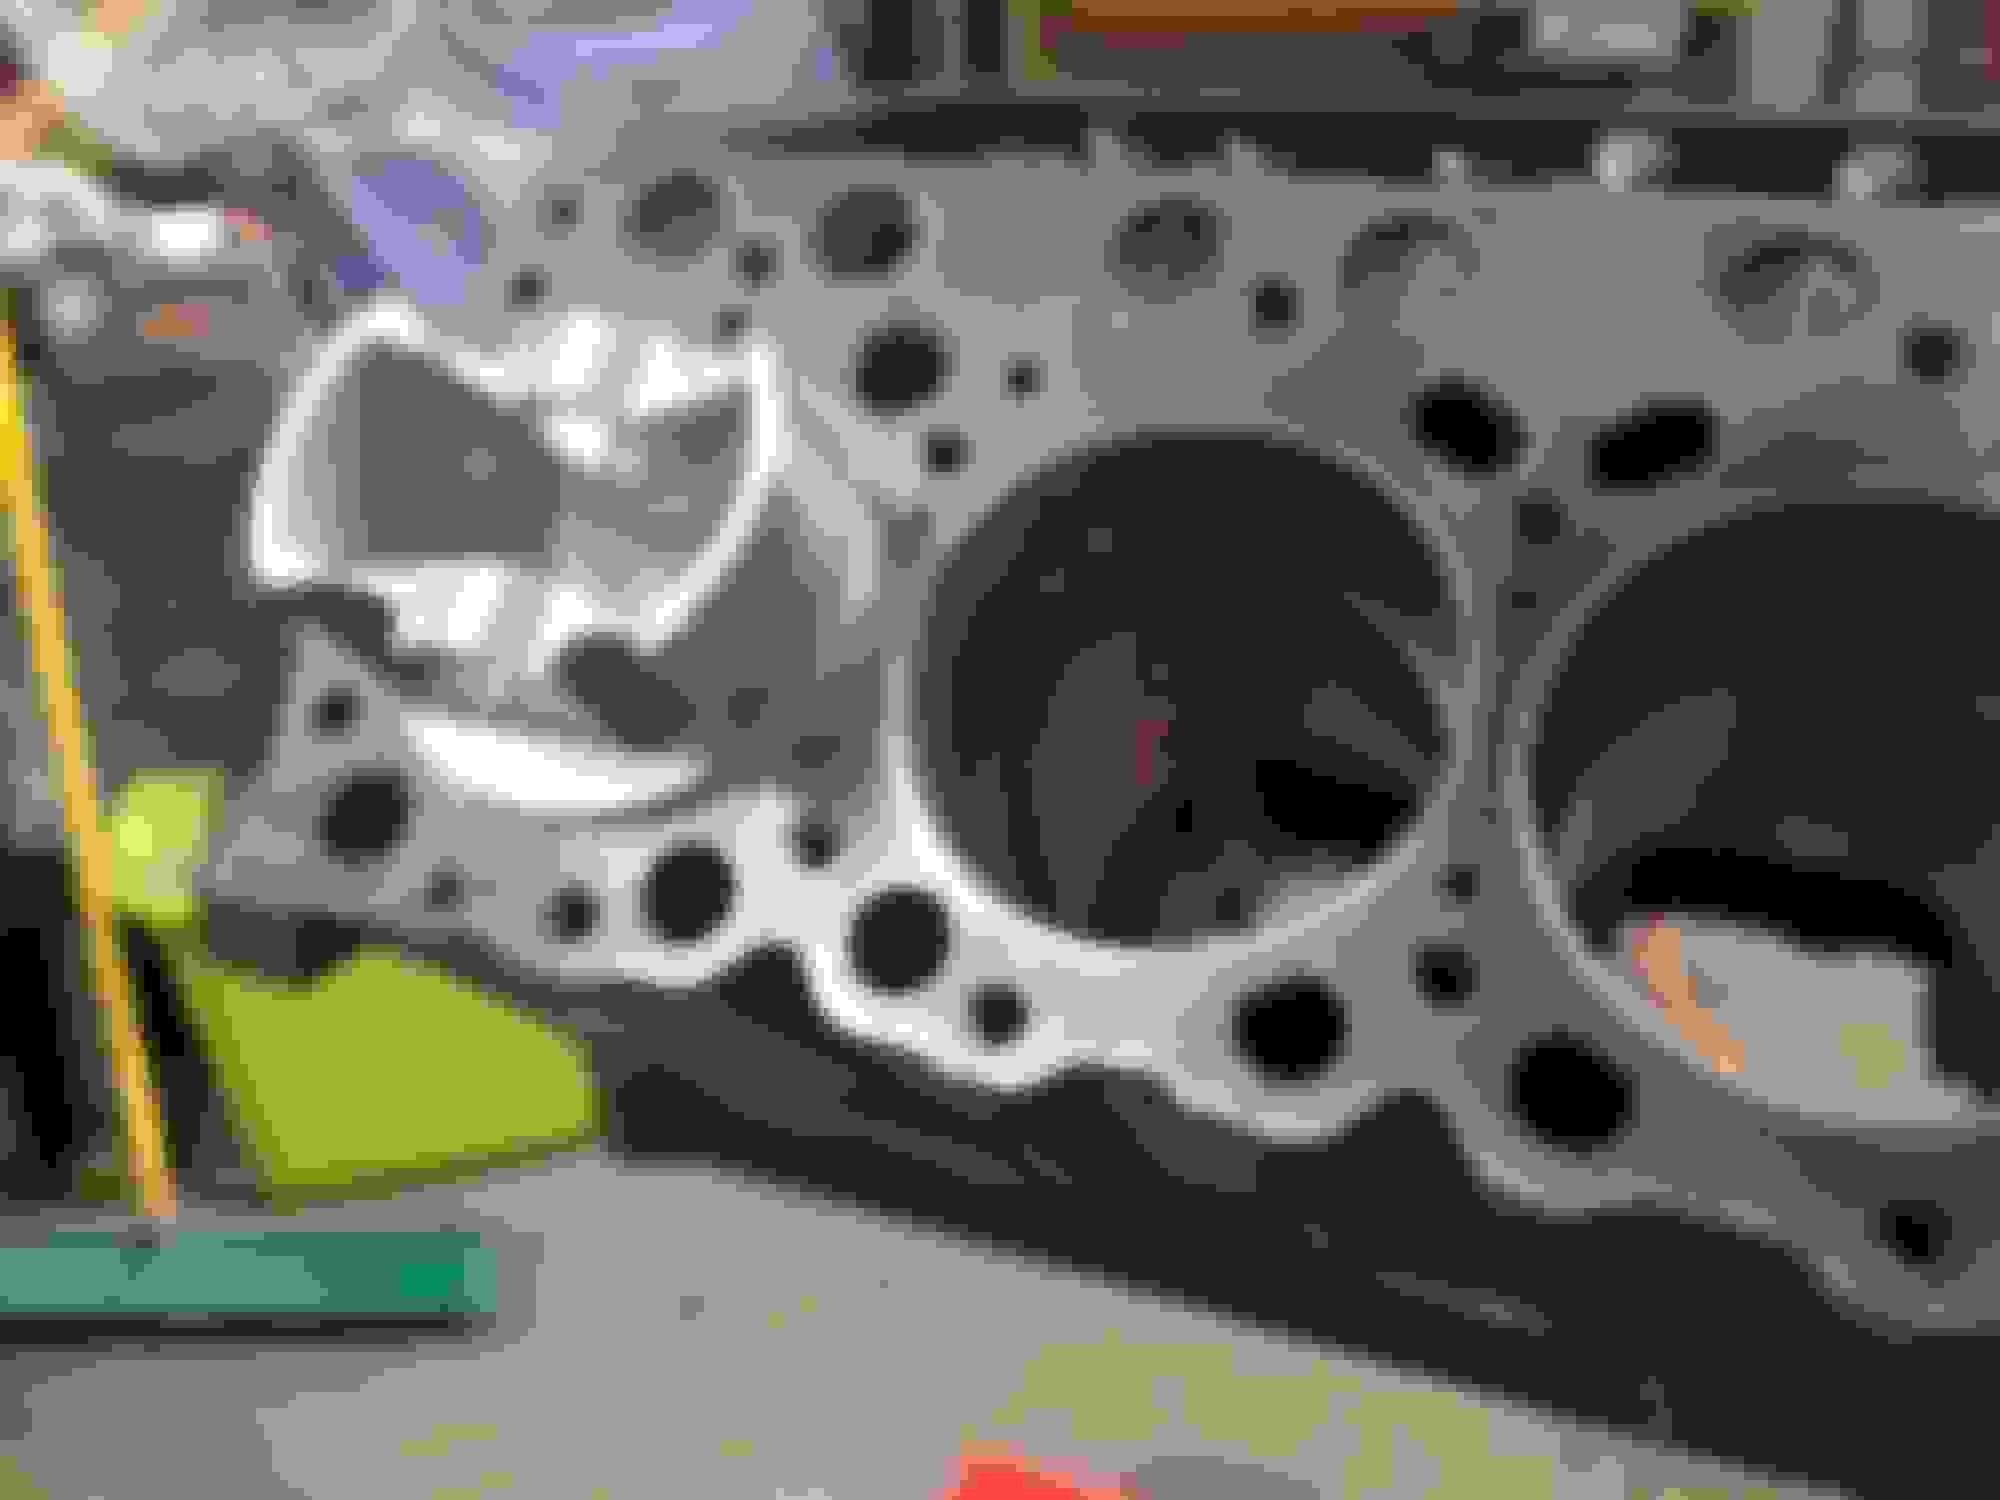
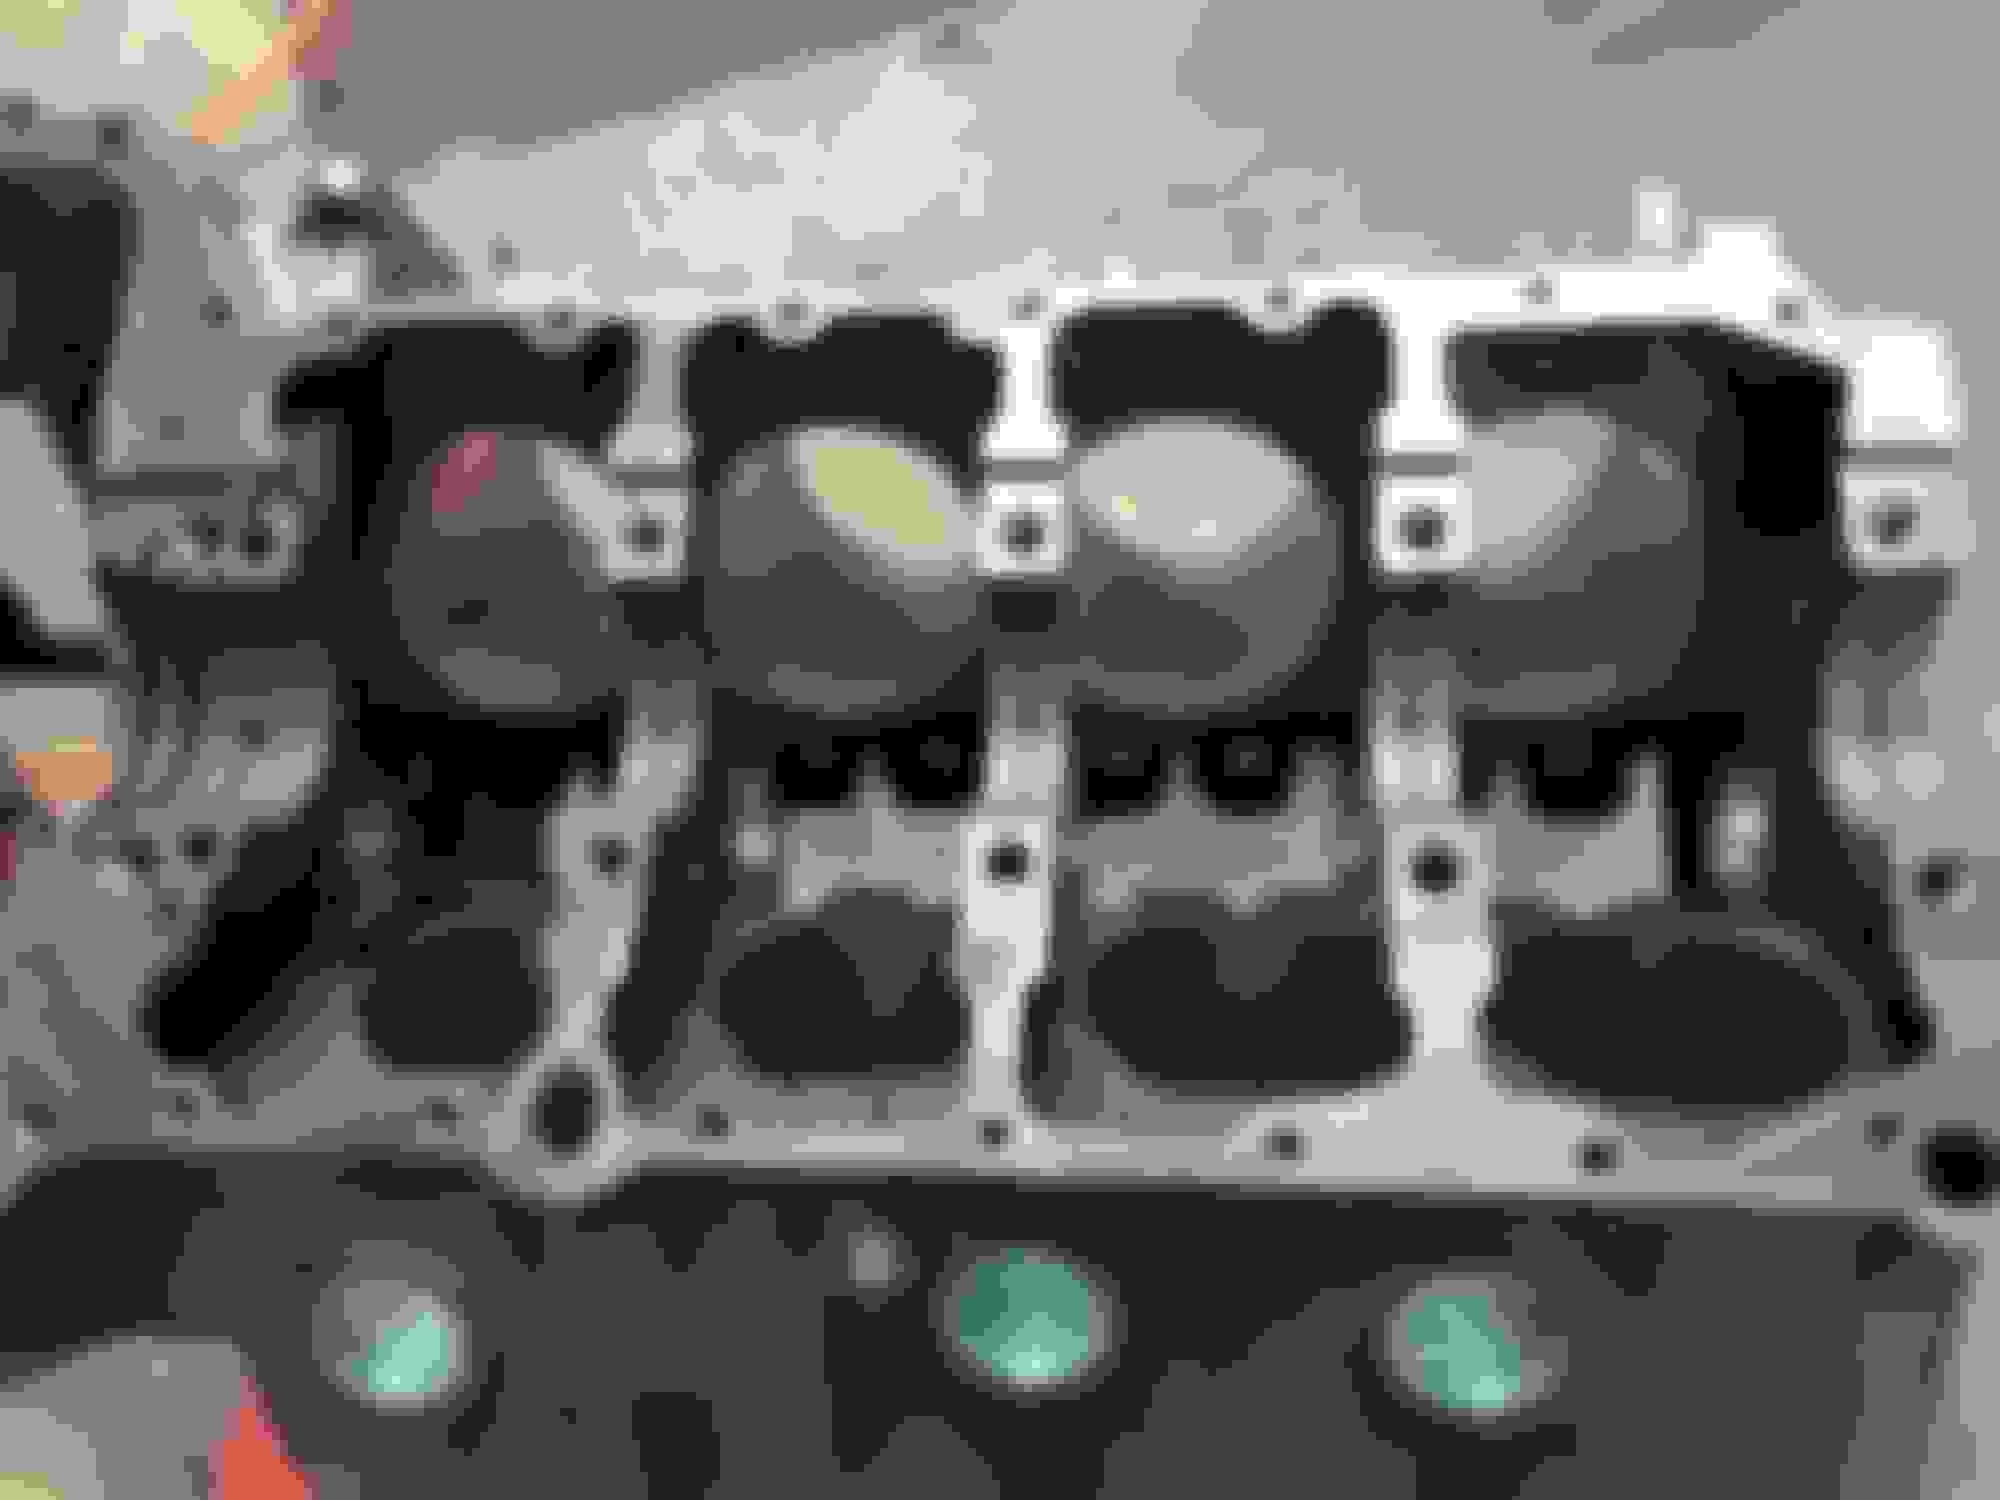
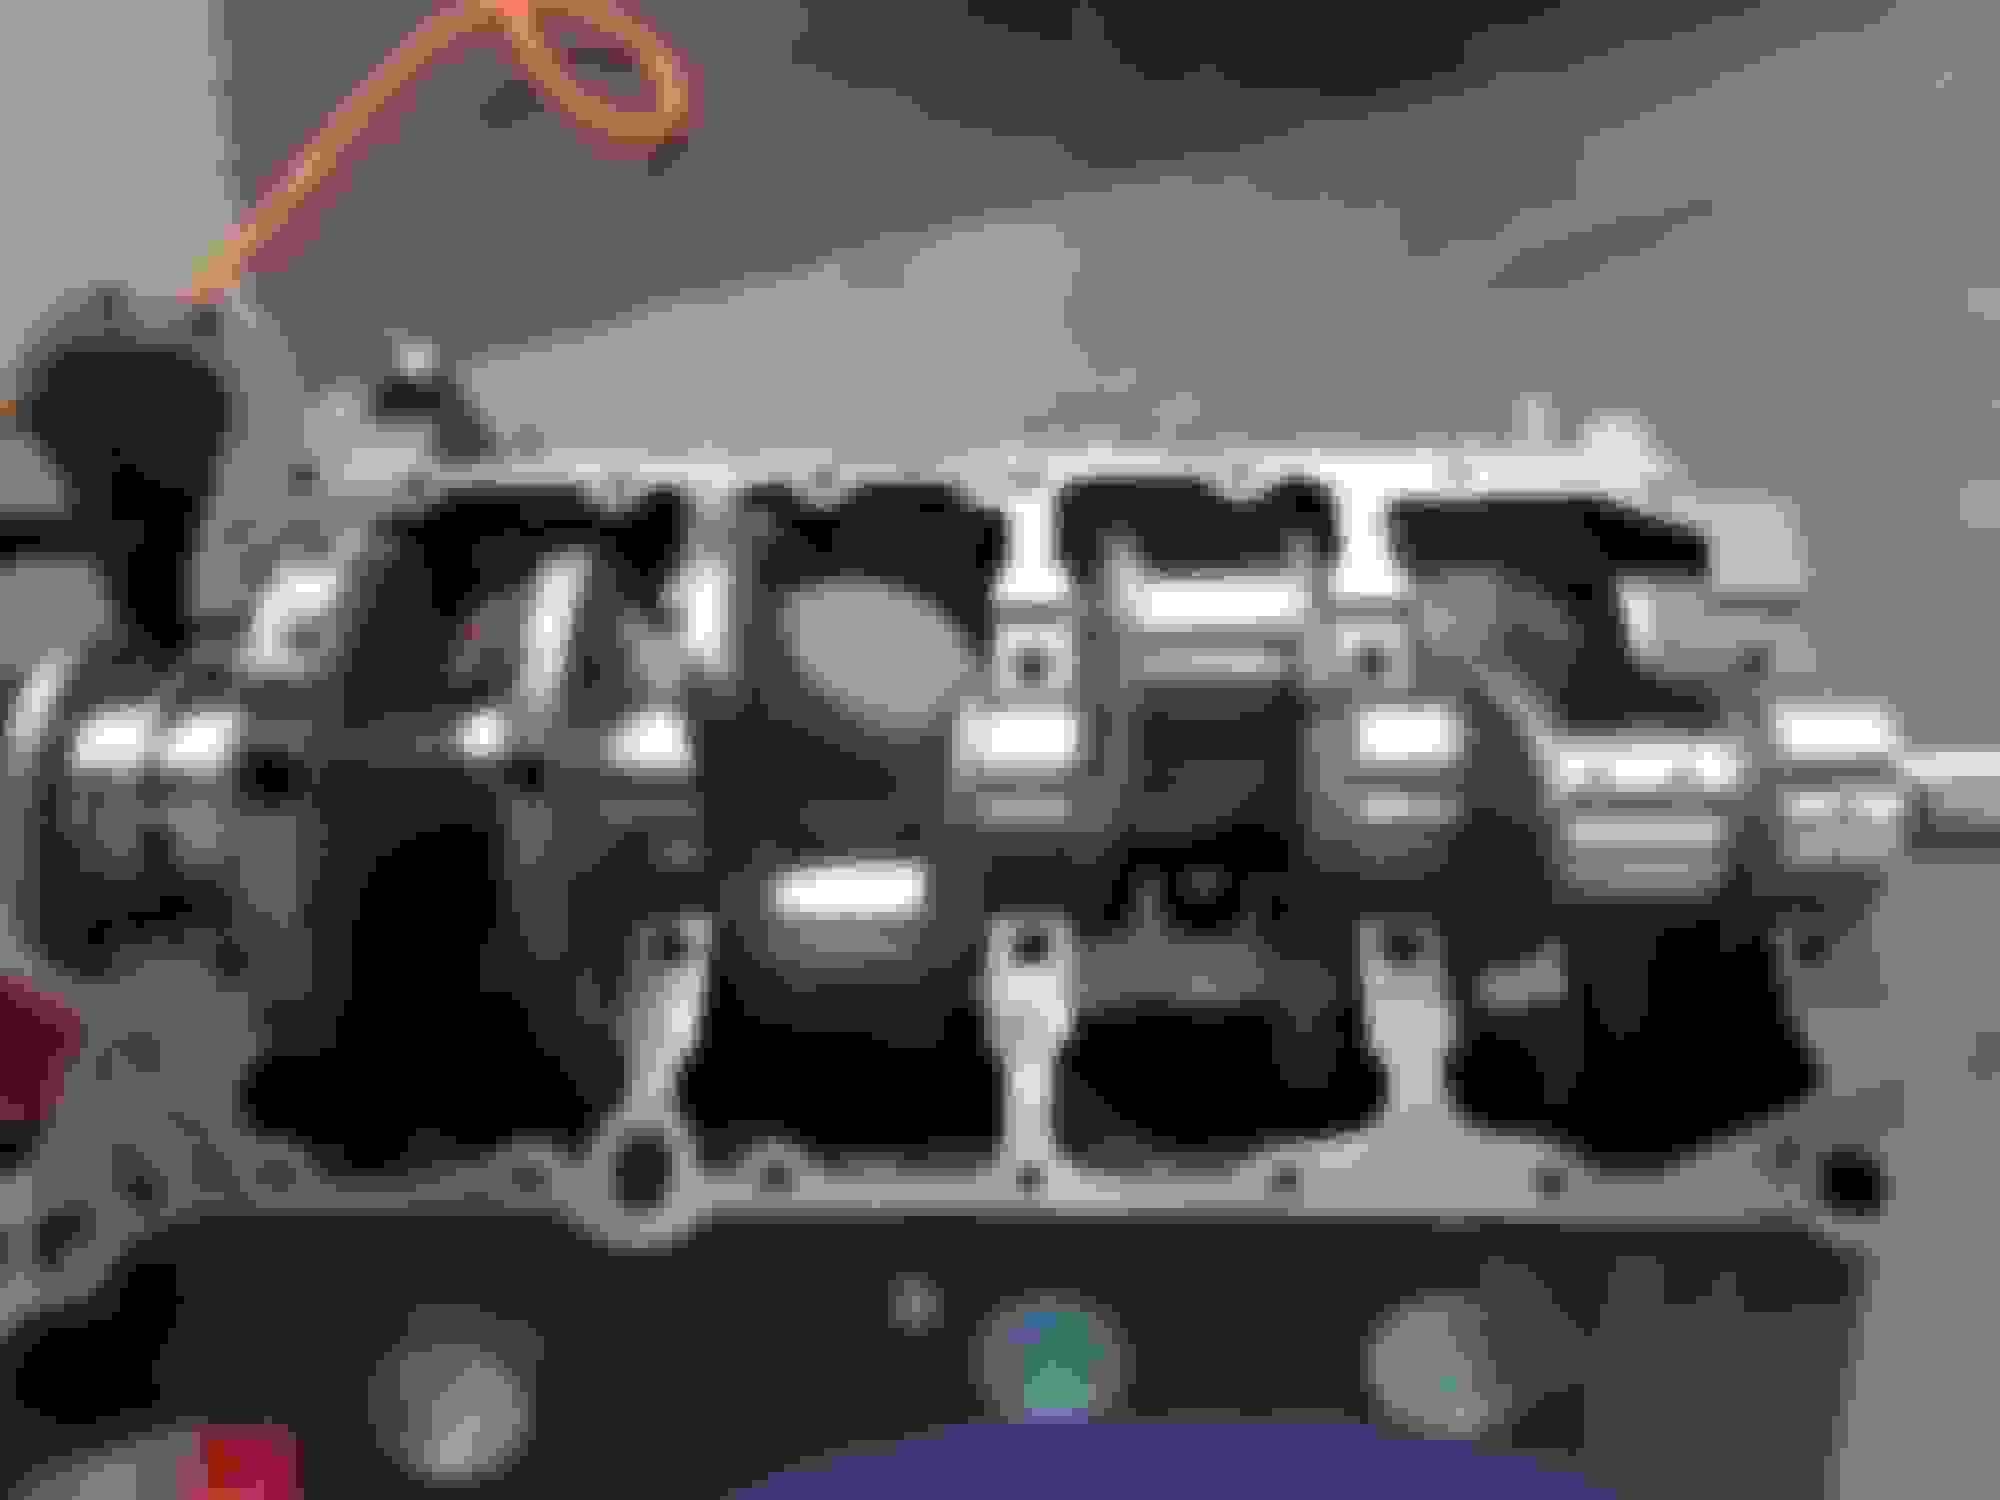
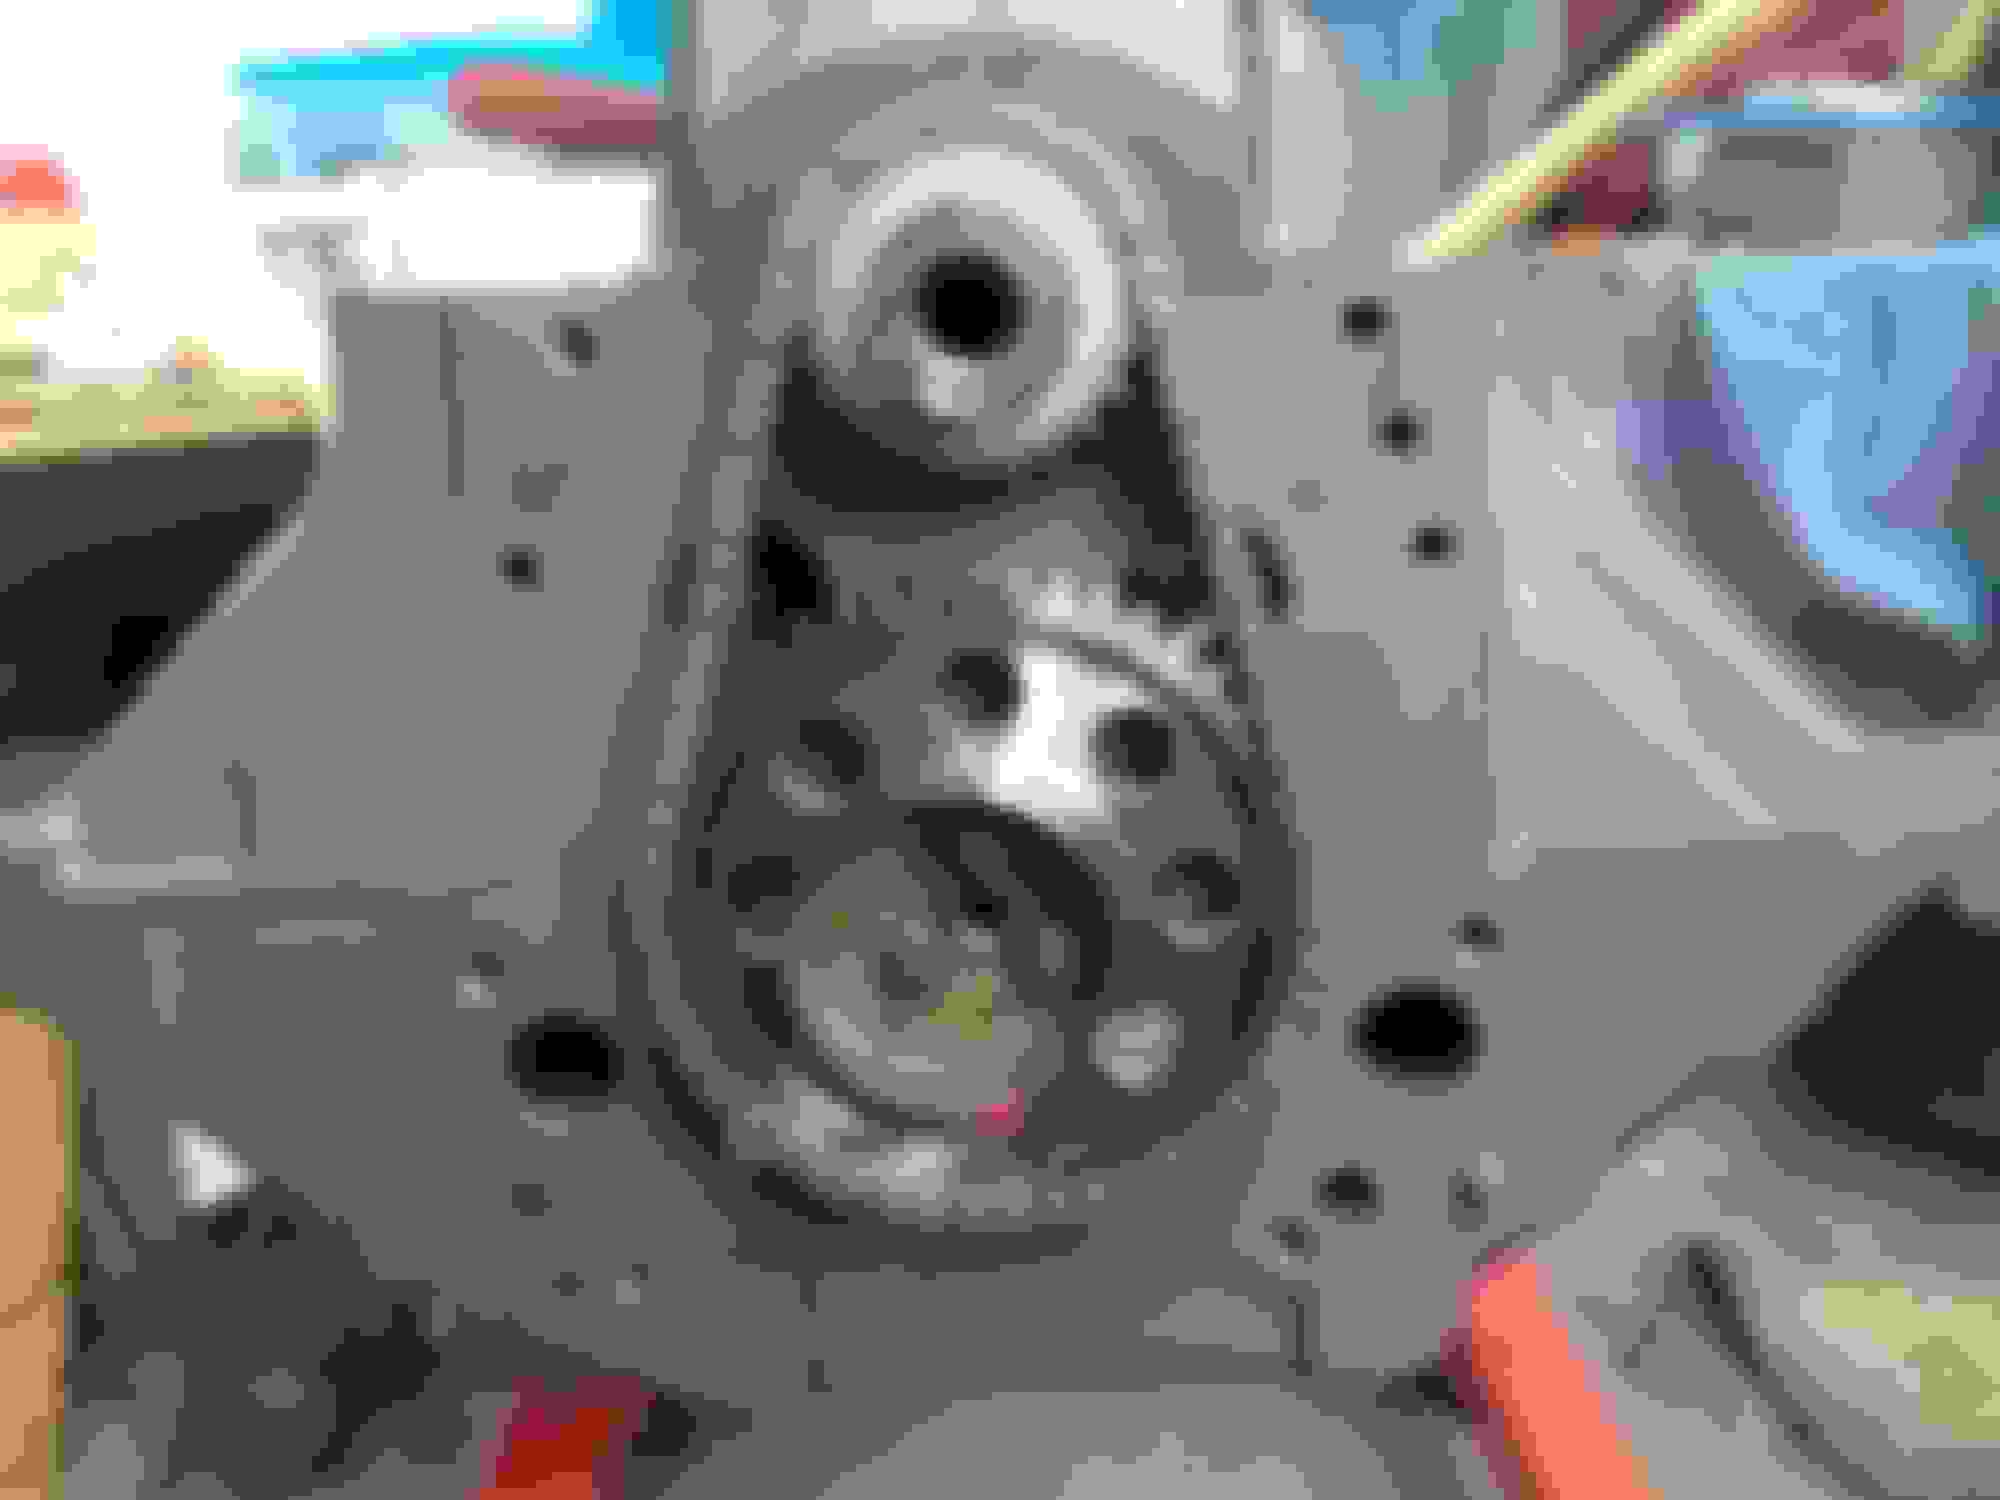
The heads and block are back from Central Automotive Machine in Tavares . And they are beautiful ;
Mrs. Jones was with me when I picked them up . And she asked me " Is that new ? "
I told her , " No honey , but it sure looks like it ! "
The heads had hardened seats installed on the exhaust . Plus sixteen NOS valves and guides .
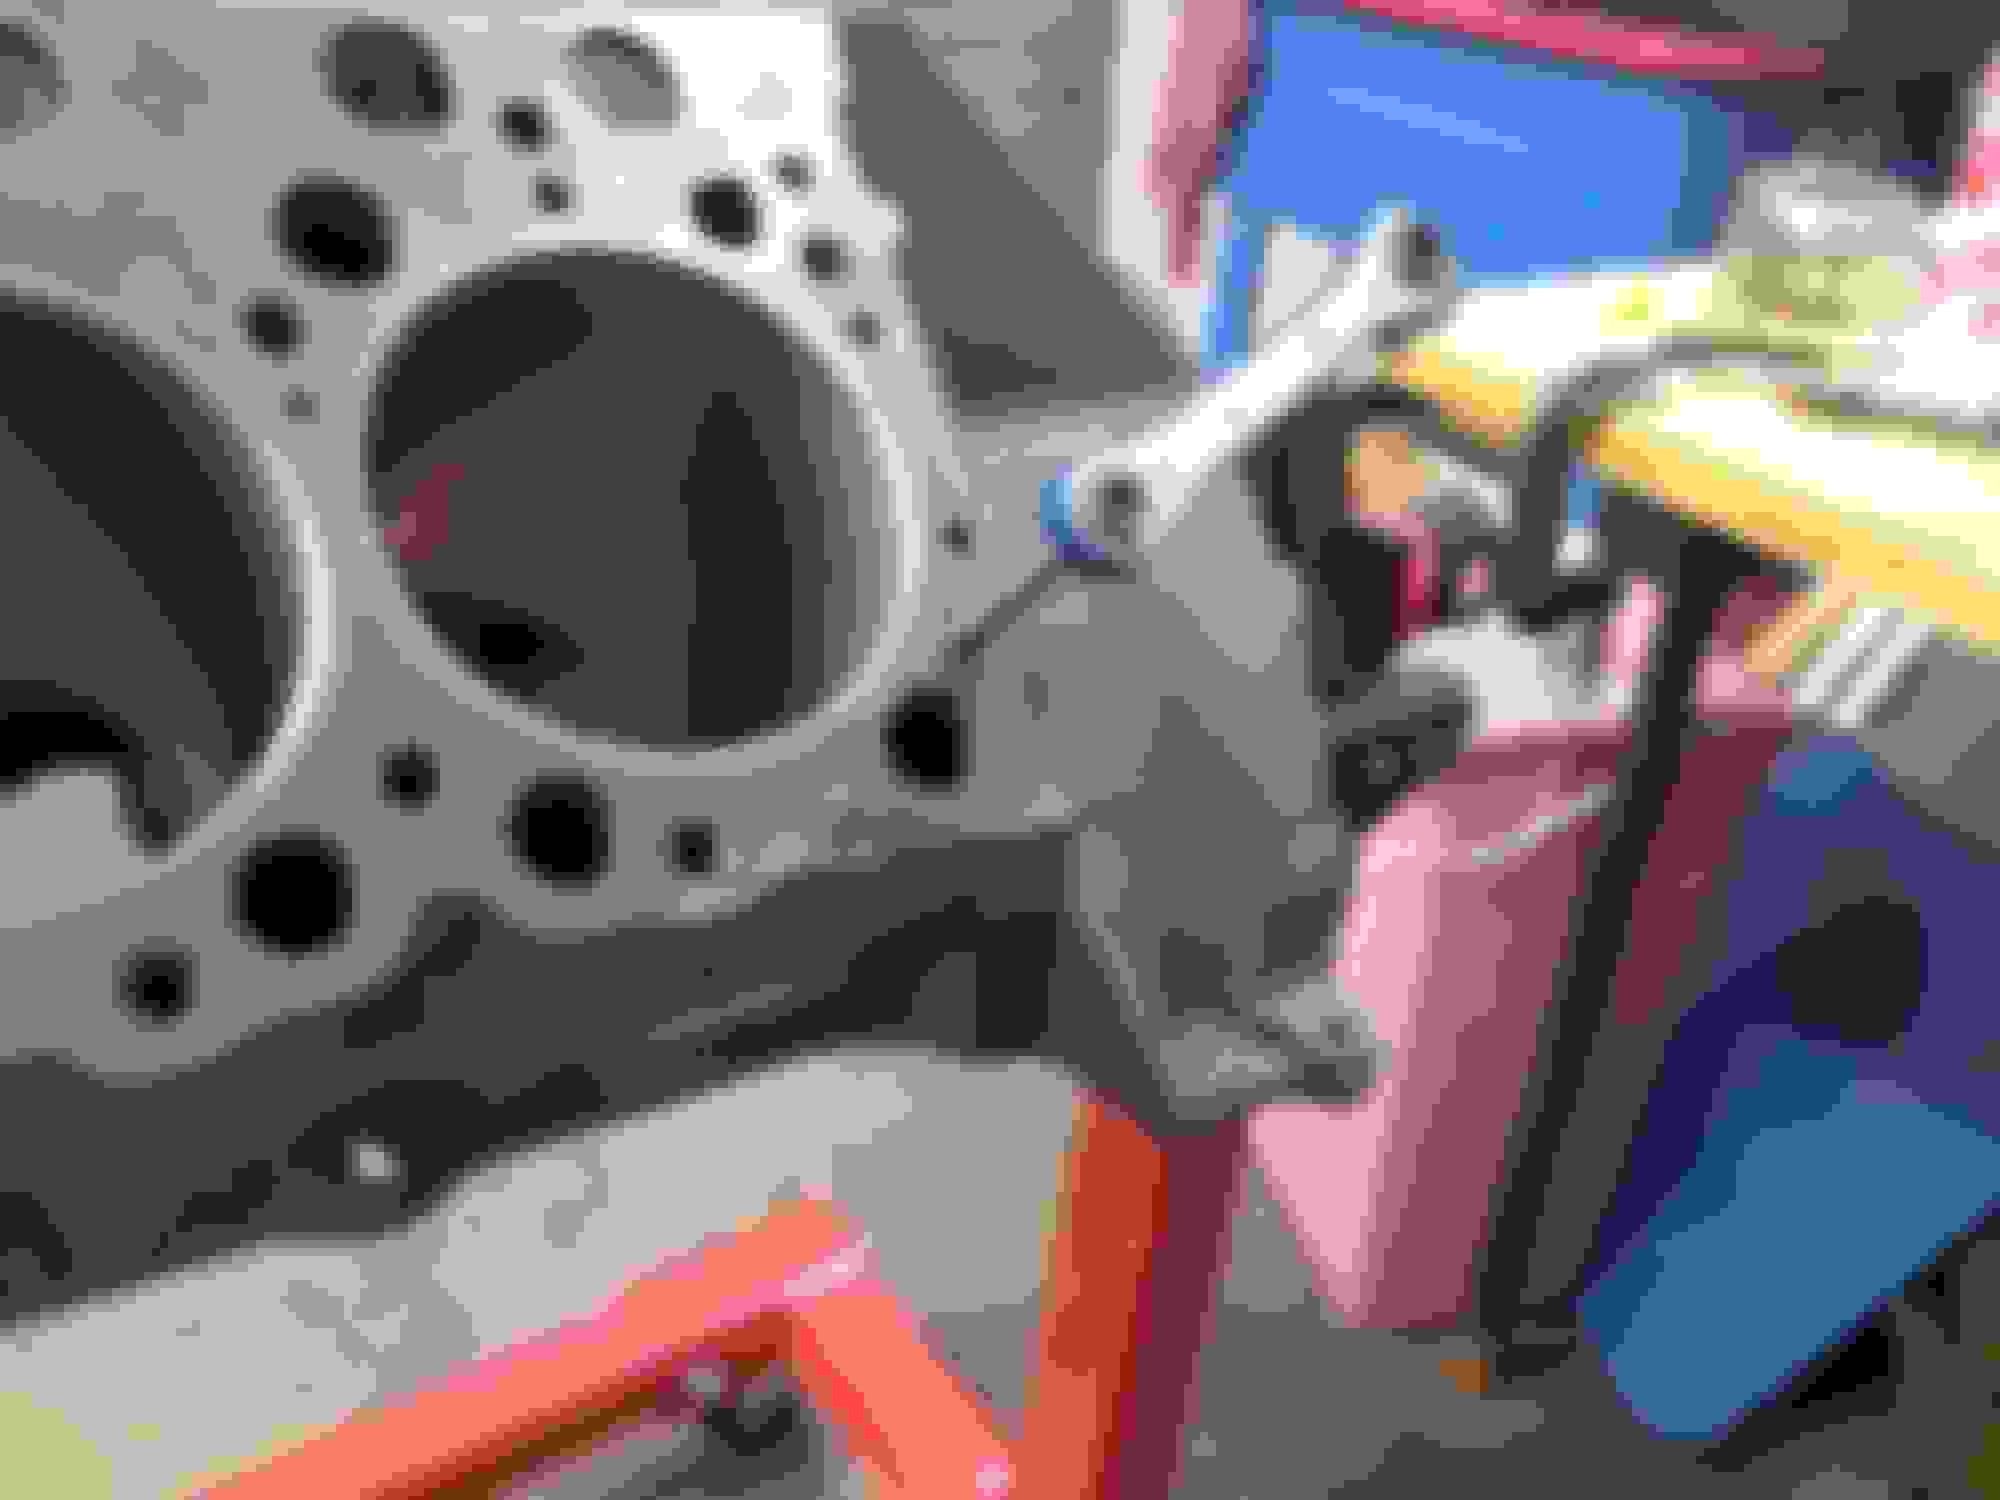
The block was bored and honed .040 . I no longer have a 394 . It's now a 402 .
Piston to wall clearance was set at the recommended .006 in.
New cam bearings and freeze plugs were installed .
The first step was to re-tap all the bolt holes to make sure there was no rust or dirt in them which might interfere with the proper torque of the bolts.
Lookin' good! Are you going to paint the engine while it's disassembled, or are you going to assemble it and paint the entire thing?
No, I'm going to paint everything together except the rocker covers (chrome), and the intake manifold . The intake will be painted separately to get better coverage on the bottom .
No, I'm going to paint everything together except the rocker covers (chrome), and the intake manifold . The intake will be painted separately to get better coverage on the bottom .
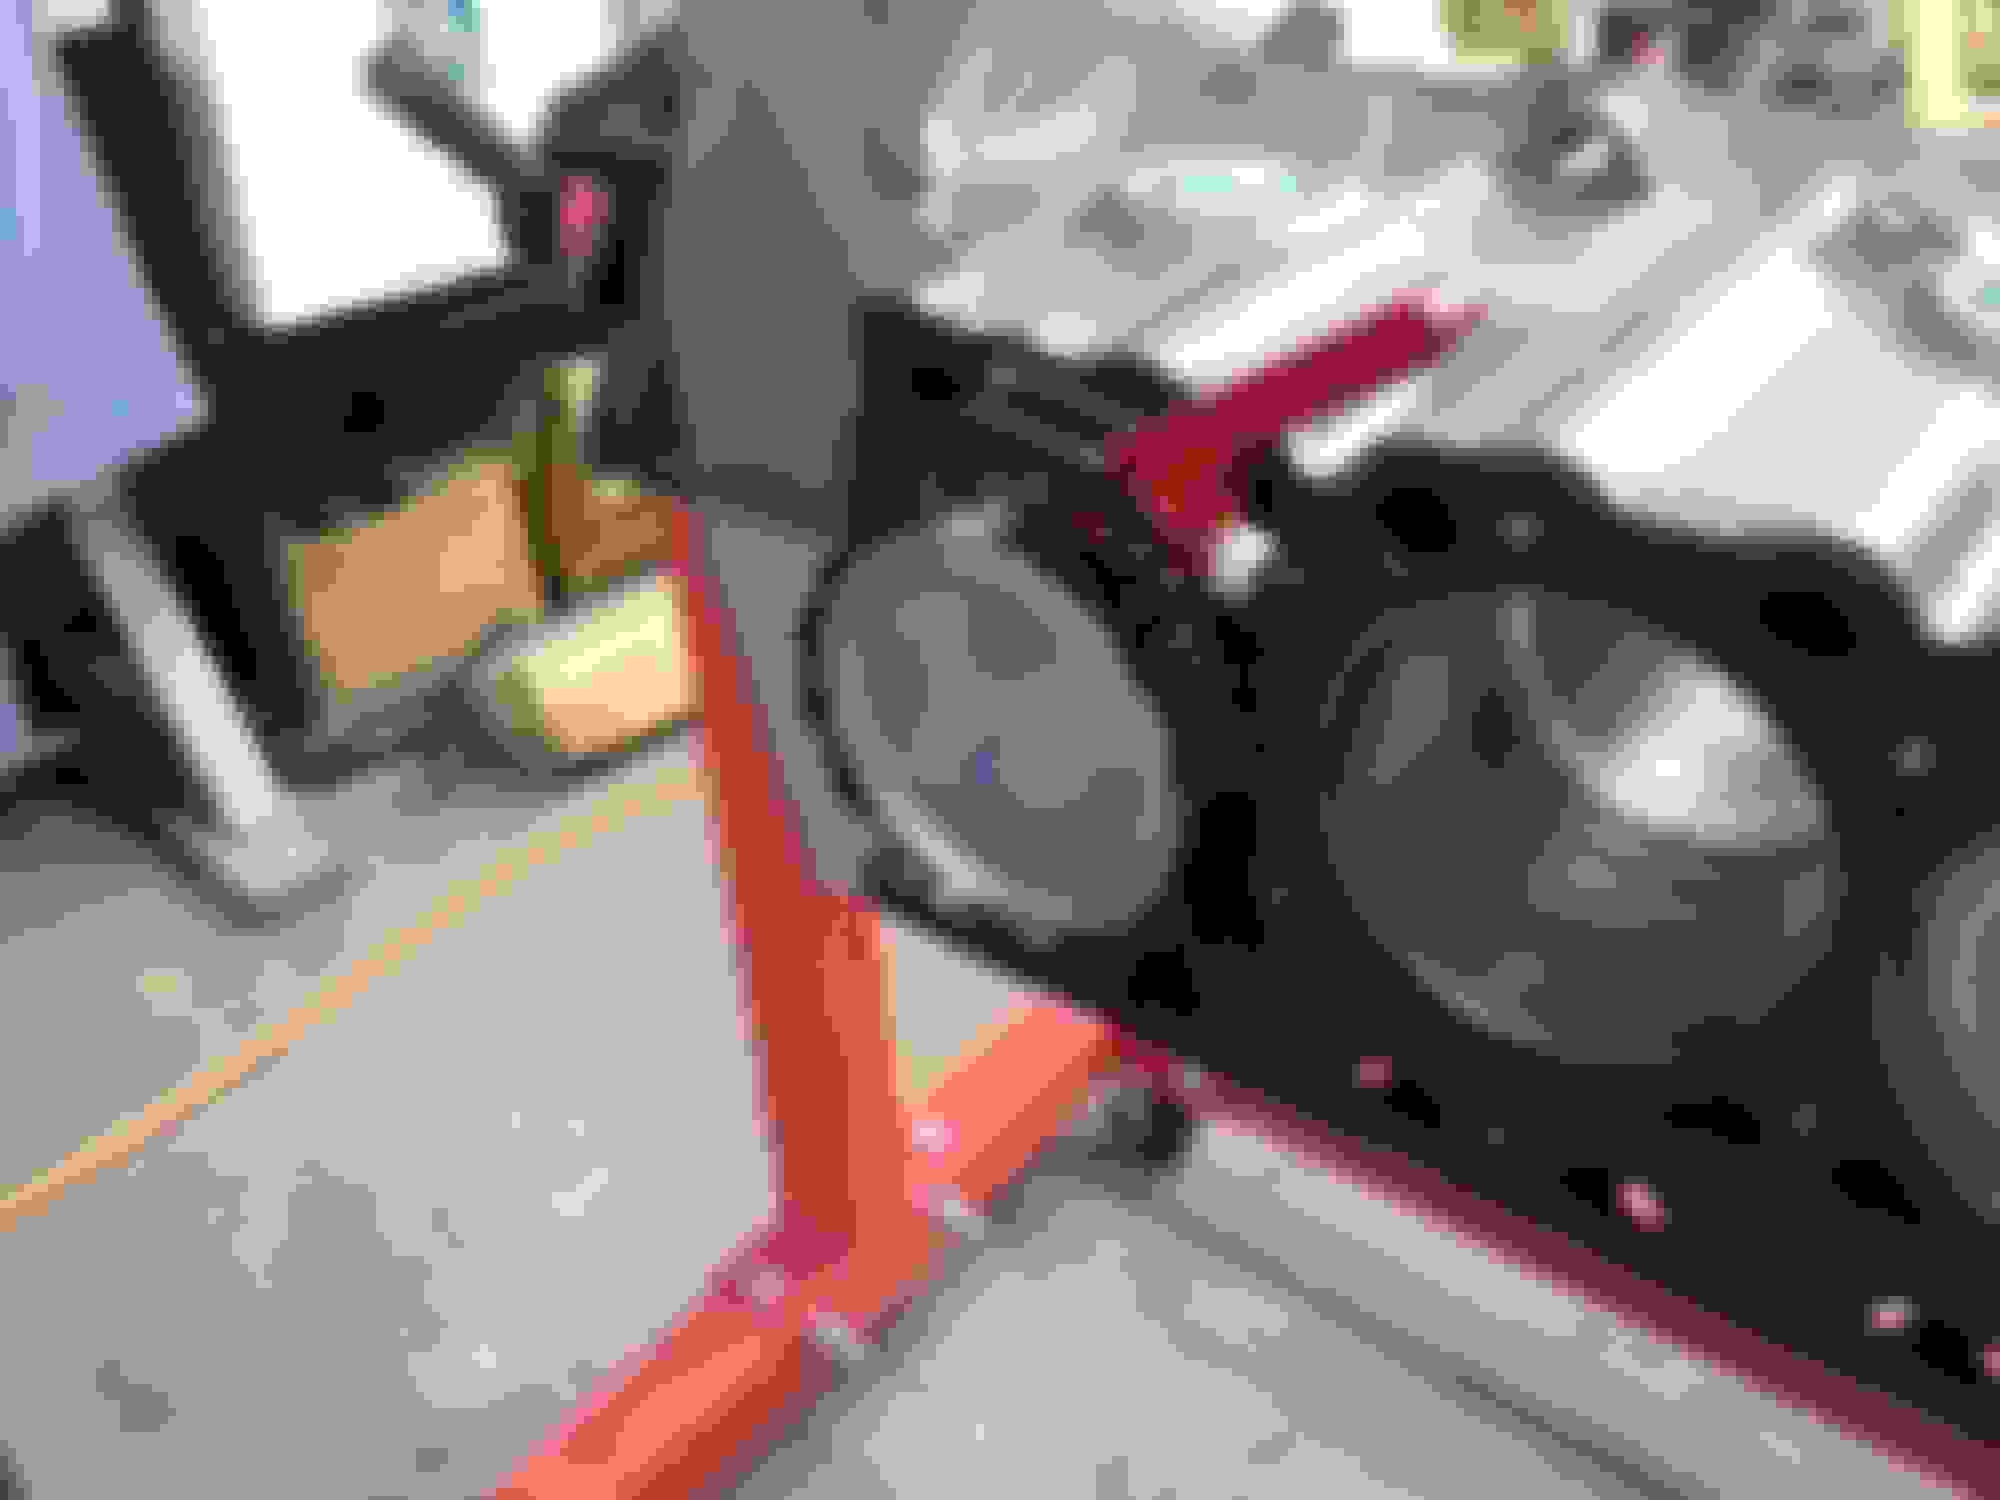
Been a long time since I built a 394. I remember being worried about the stand I had it on with the bellhousing putting the weight so much farther out. Mine held up good but while I was not working on it I had a 2x4 wedged under the end of it to relieve some of the weight.
Looks good and the pistons are going to be much better.
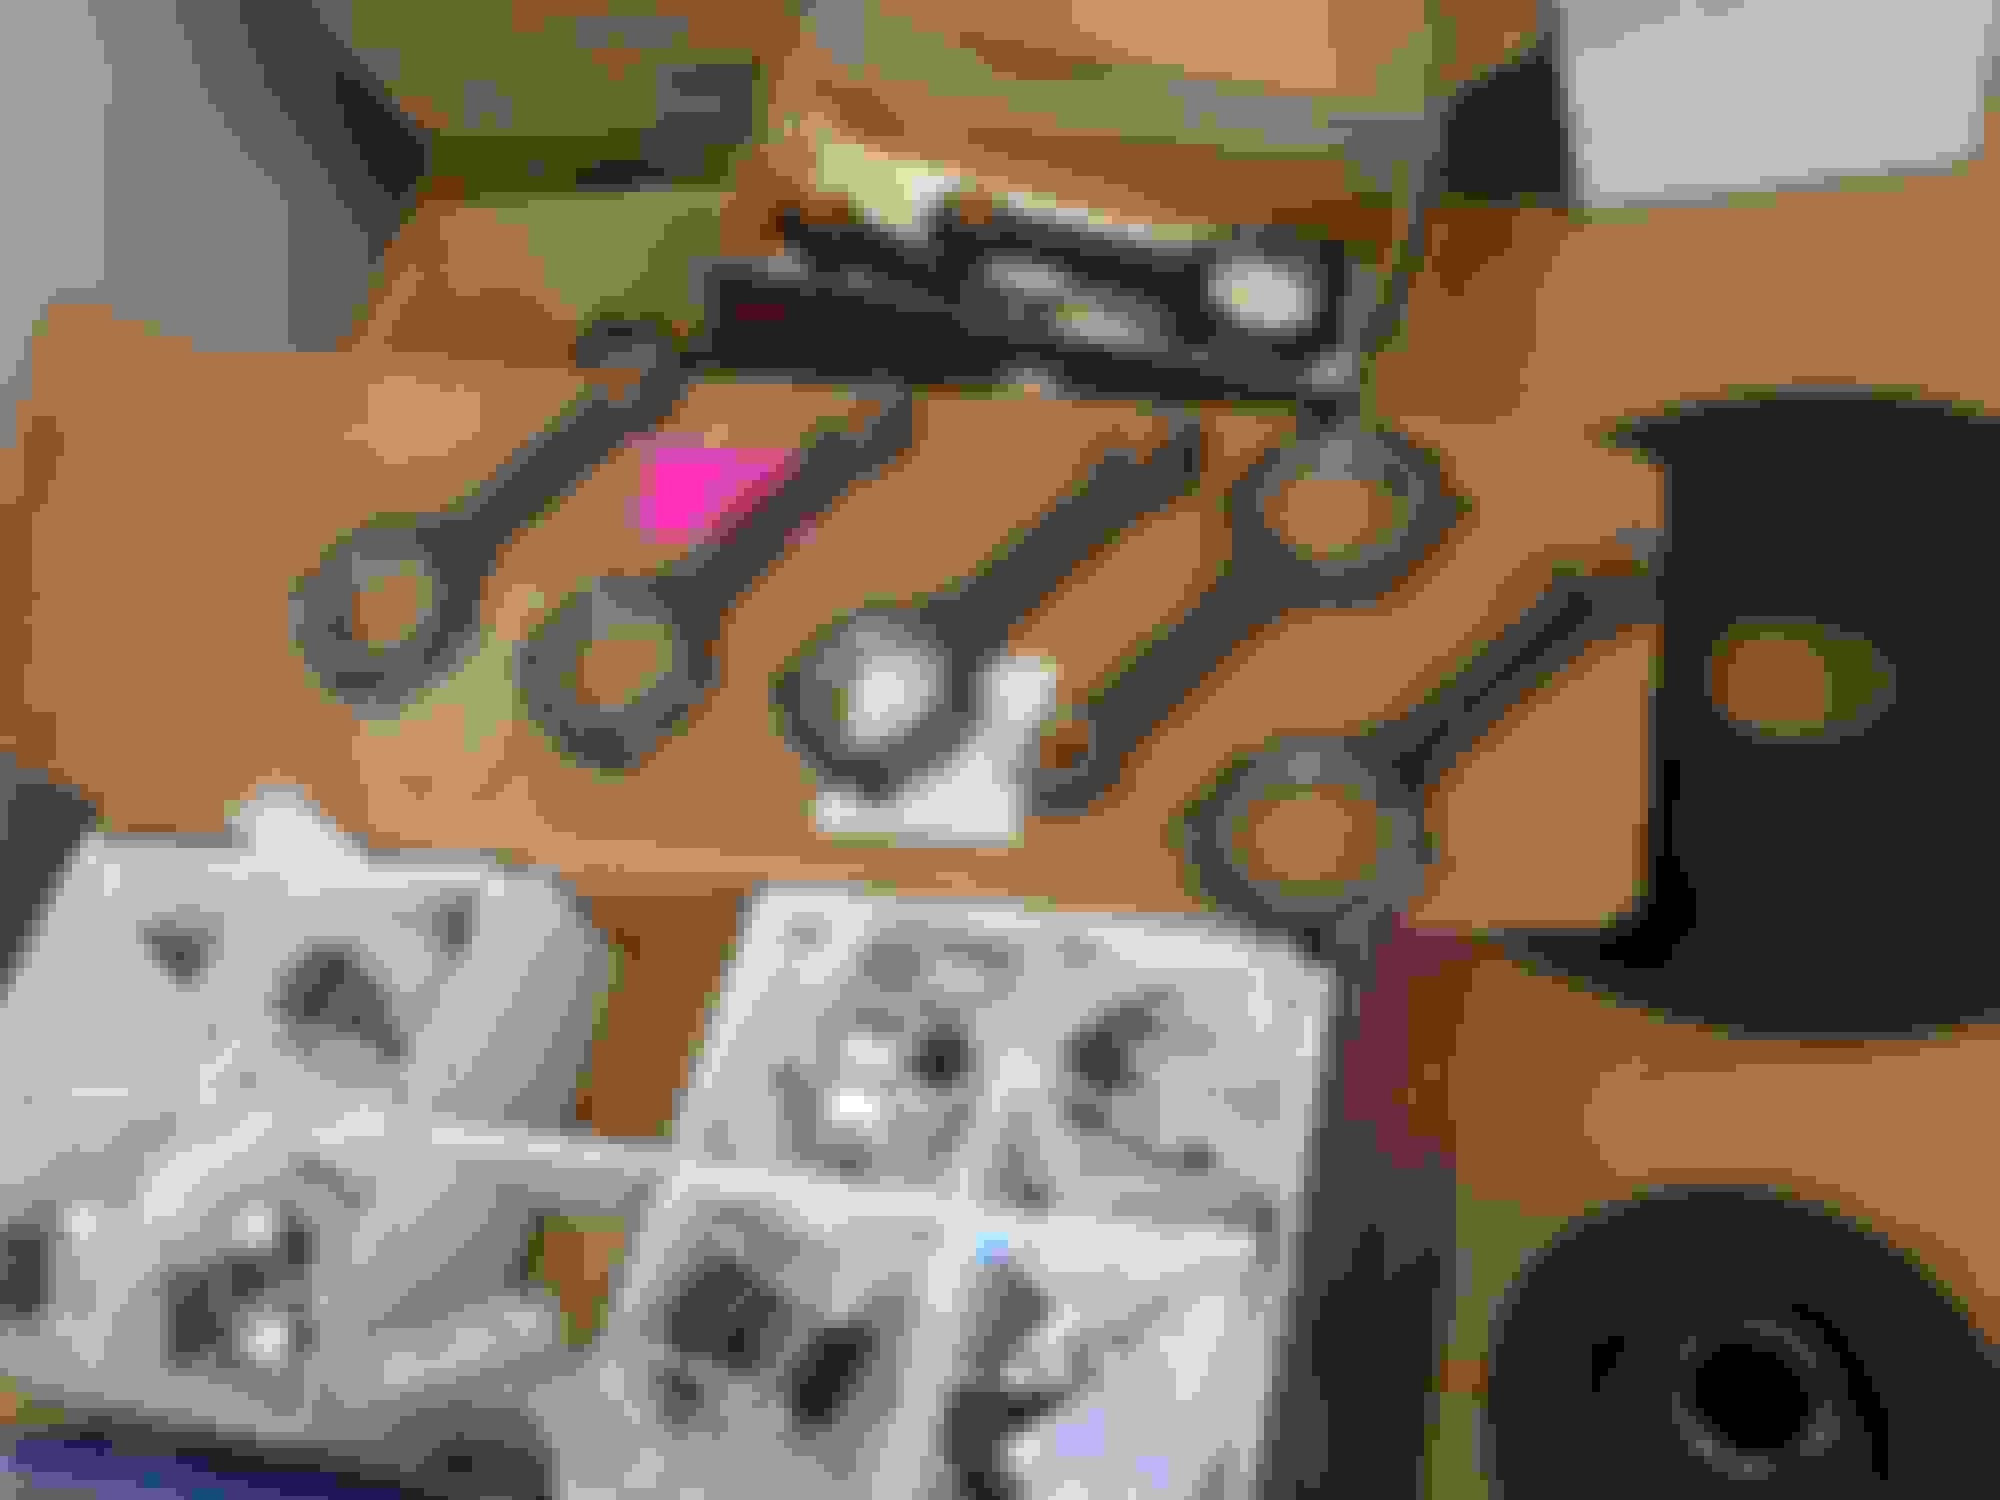
I finally got my rings from Tony .
I took them , along with pistons , rods , flywheel , crank , and damper to Revmaster Machine in Orlando for balancing .
Been a long time since I built a 394. I remember being worried about the stand I had it on with the bellhousing putting the weight so much farther out. Mine held up good but while I was not working on it I had a 2x4 wedged under the end of it to relieve some of the weight.
Looks good and the pistons are going to be much better.
I got a 1250# engine stand from Jegs;
I would not recommend anything less for an early "Rocket" Olds.
I was talking to Tony@Ross about the differences in his pistons and stock ones .
He described the stock pistons as "Old farm tractor technology ."
I got my crankshaft and rotating assembly parts back from Revmaster Machine in Orlando .
Crank was ground .010-.010 and was balanced . 200 grams of steel was removed from the counterweights . Because of the lighter forged pistons .
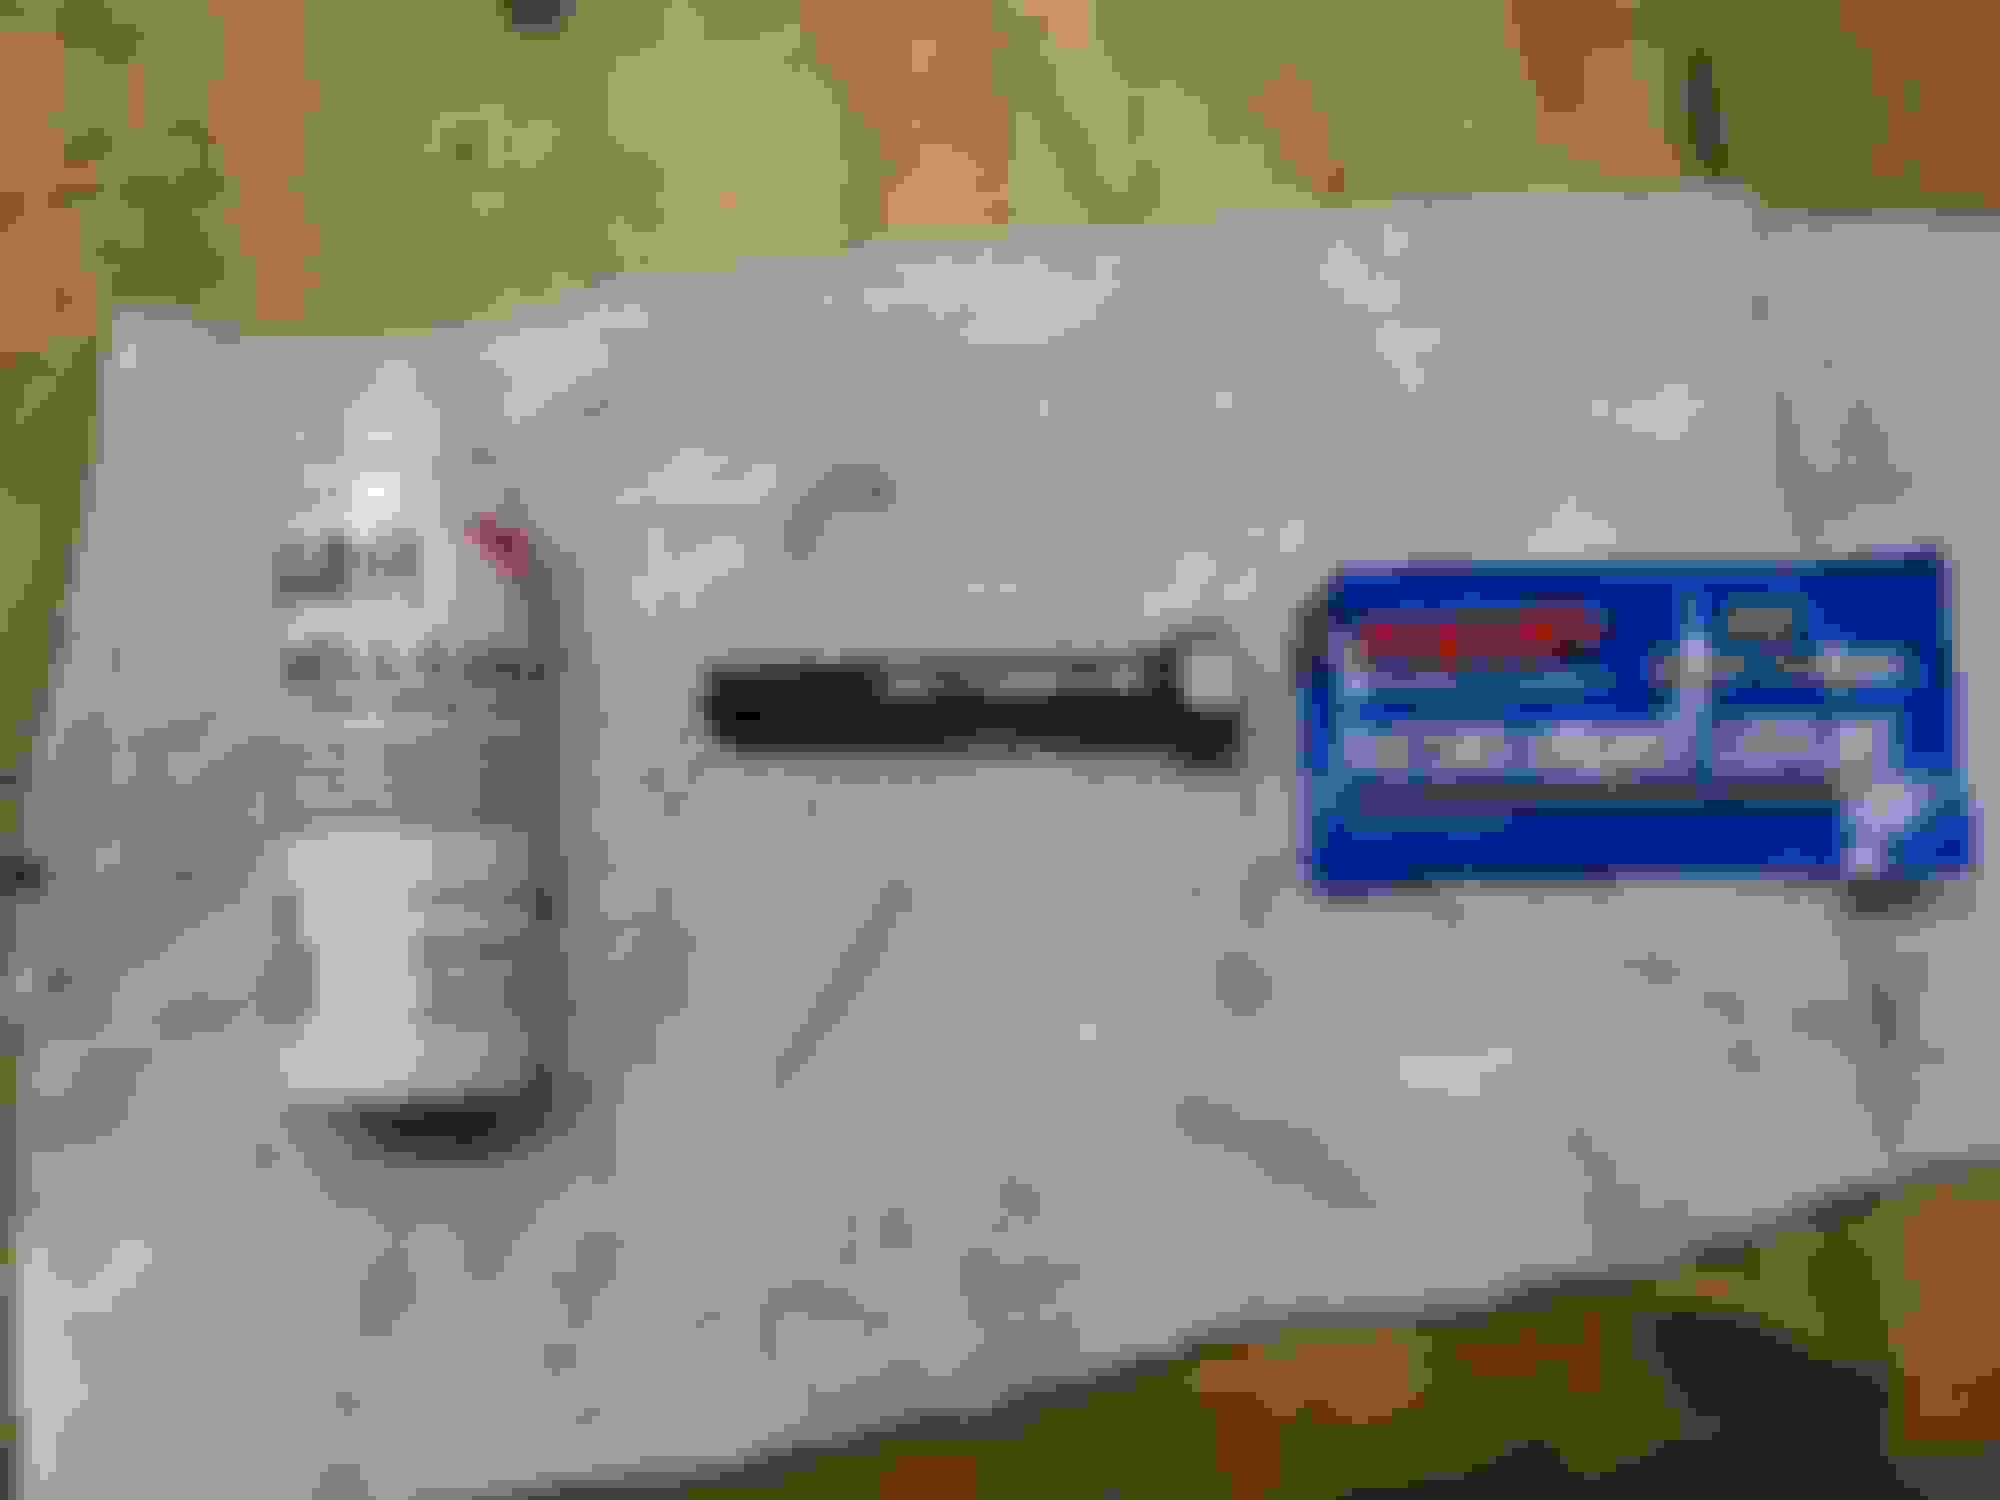
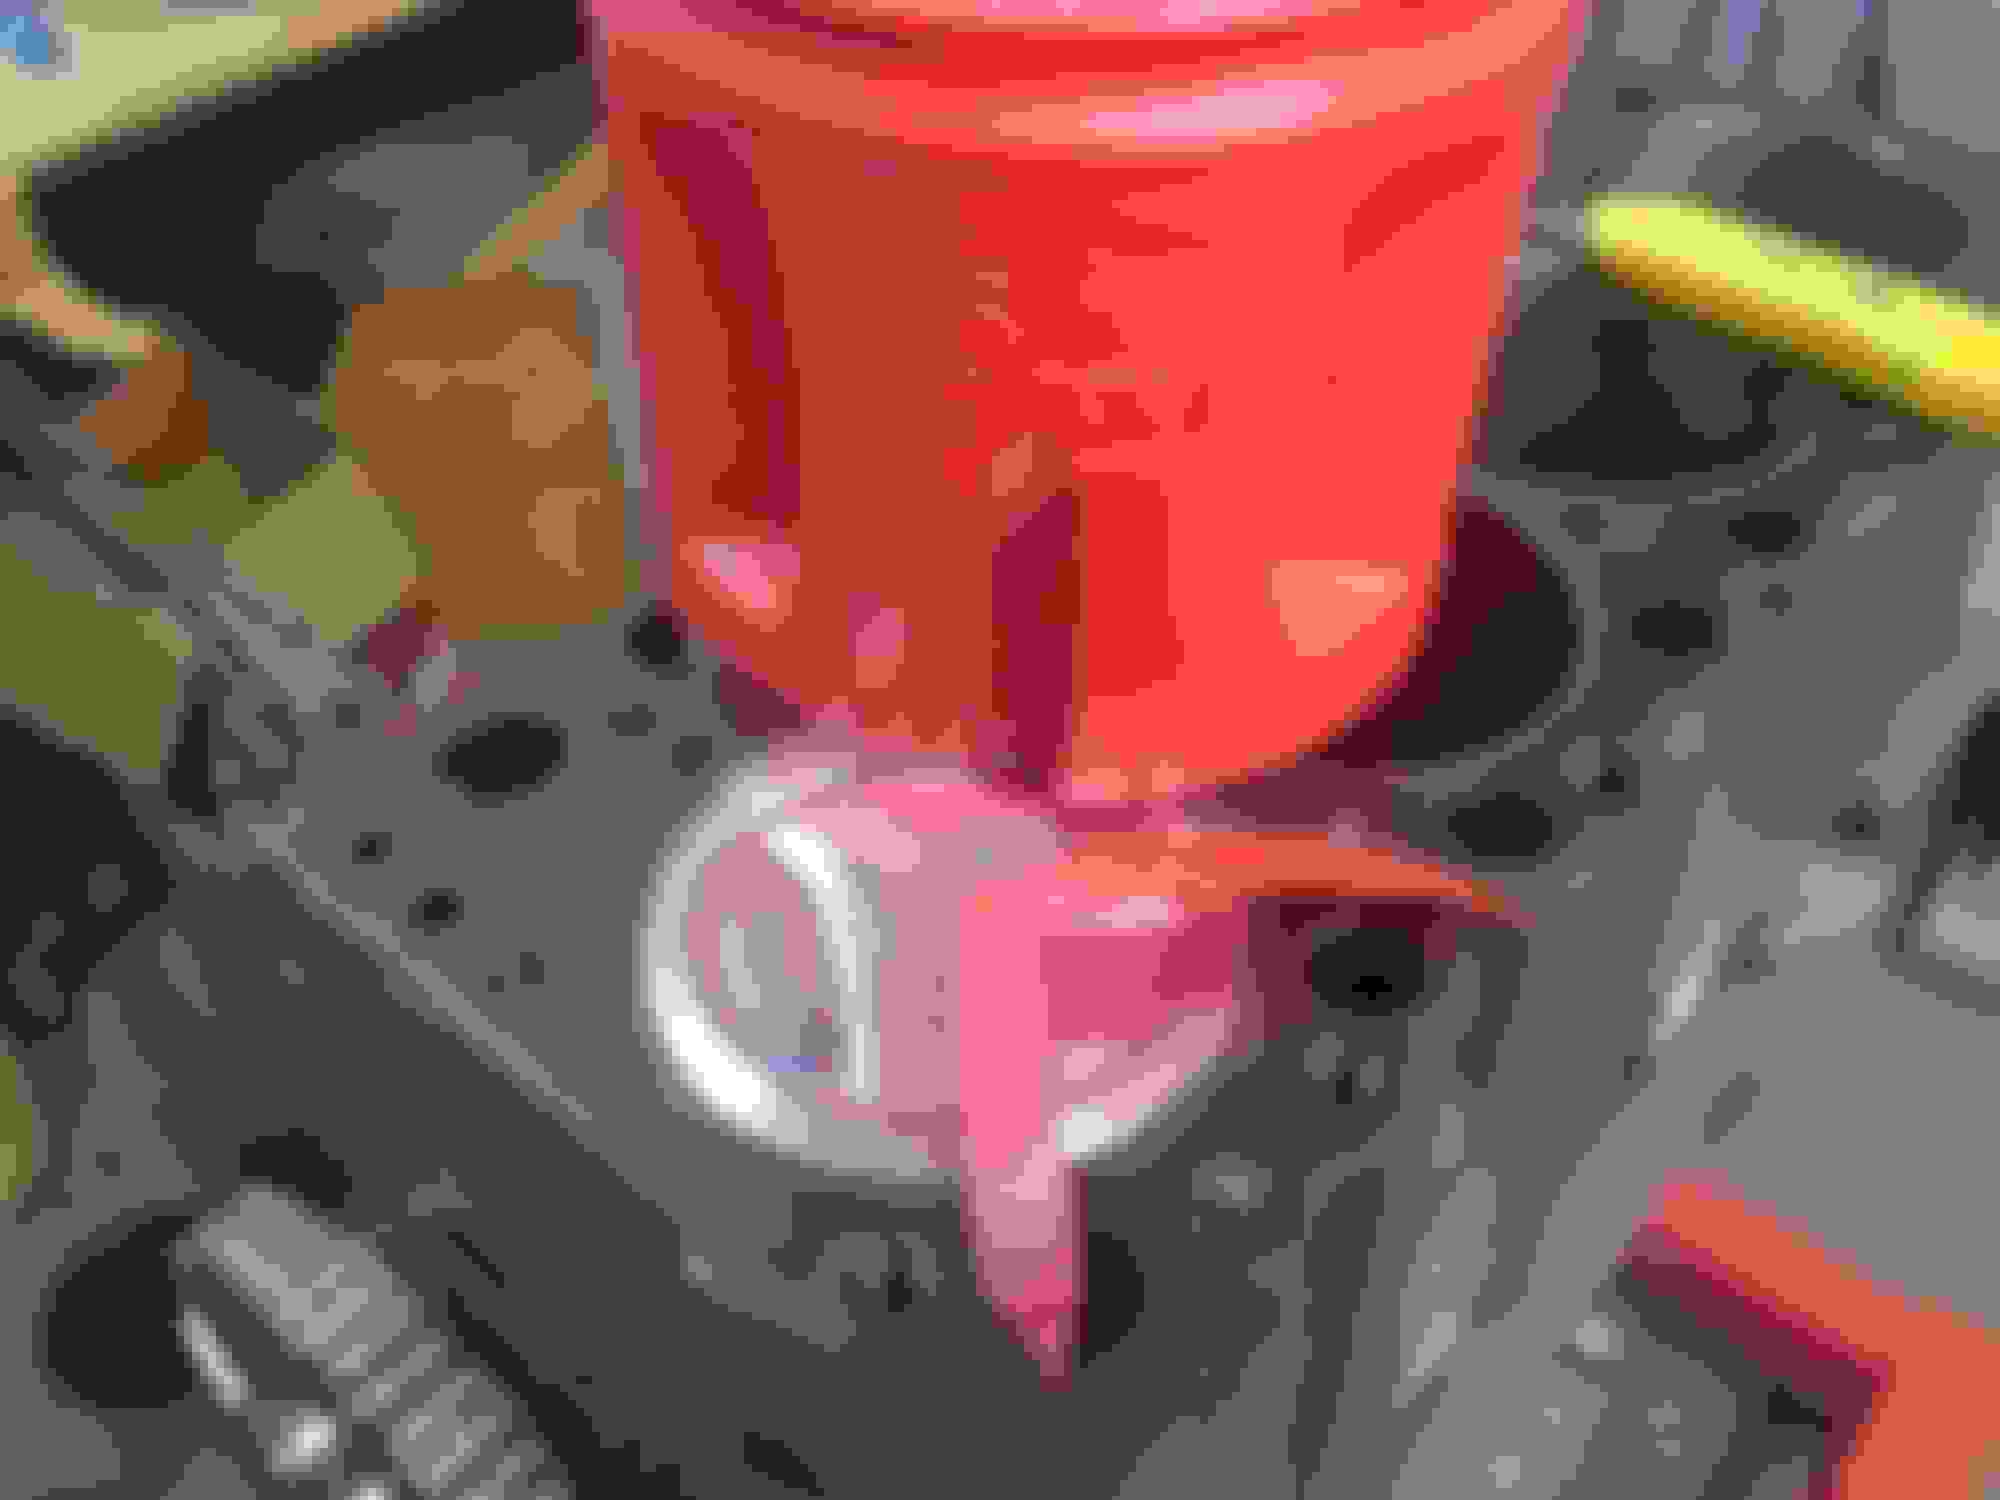
I am a stickler about everything being clean when assembling an engine .
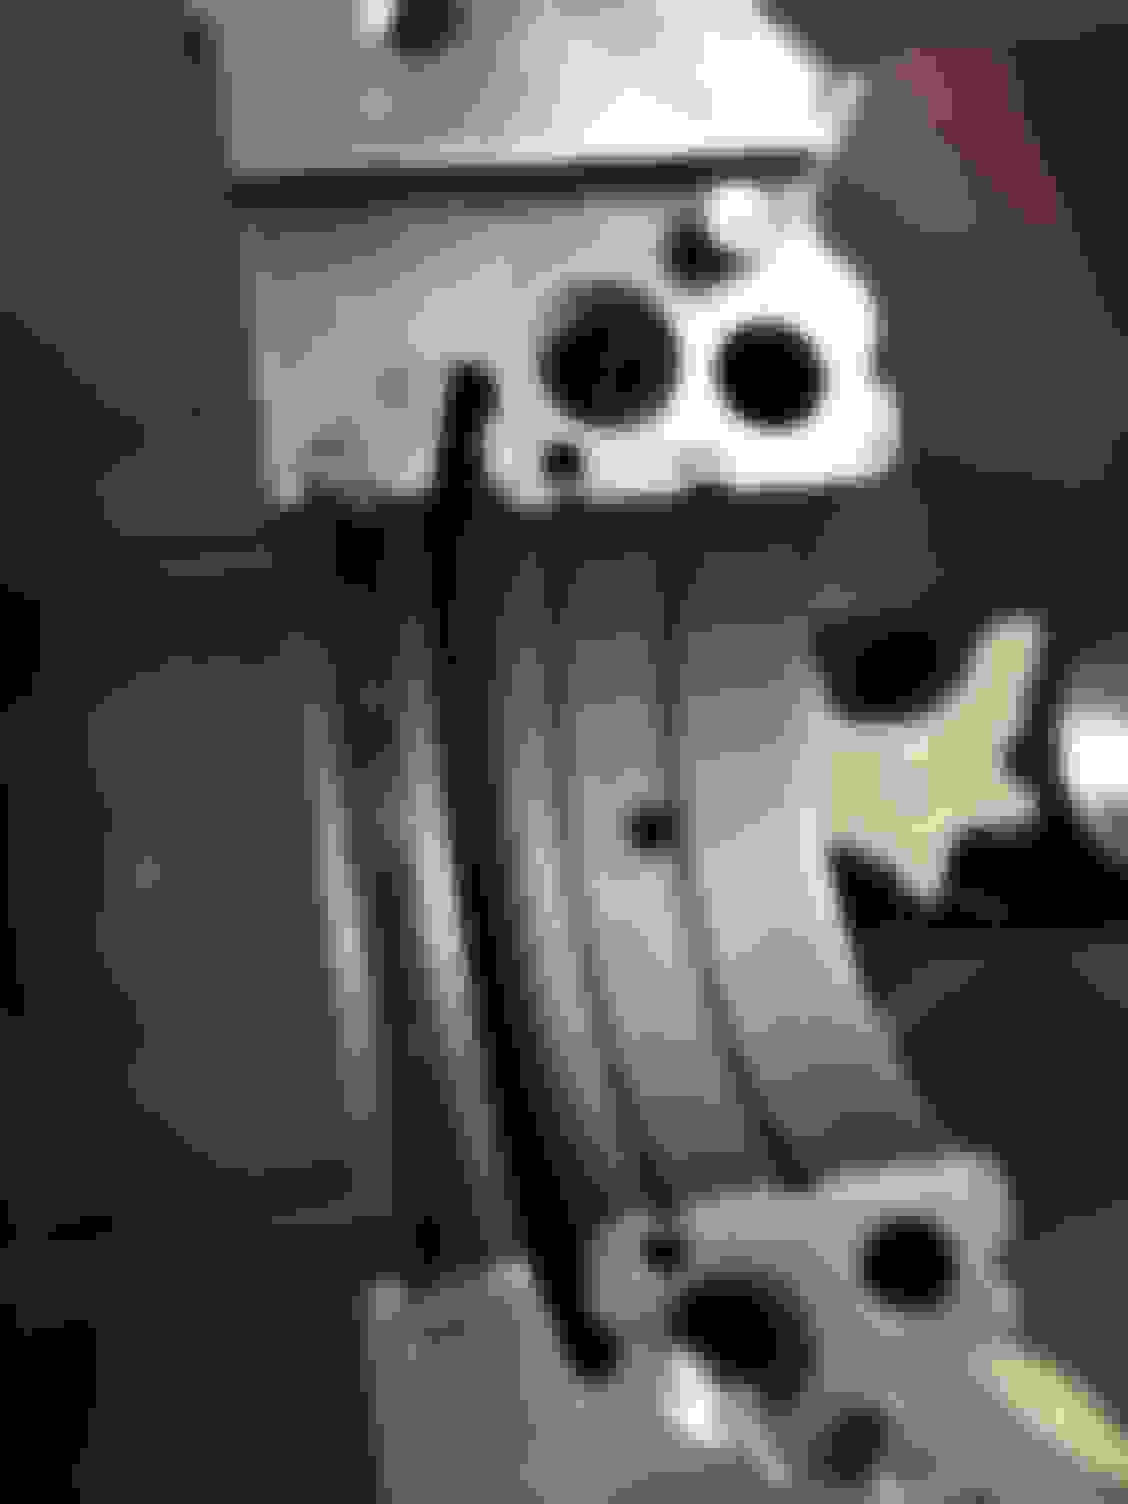
I got these brushes to clean all the oil passages in the block and heads .
That's an old radio antenna , bent in a loop , used to push and pull brushes through long passages.
There are two passages that carry oil to the heads and rocker arms that must be cleaned .
More passages on the bottom end .
All passages were flushed with mineral spirits , and then blown dry.
If anybody doubts the necessity of doing this , just take a look at this cloth i placed under the block while cleaning . It was pure white when I started .
The next step was to check the end gap on the rings .
The rings were installed one at a time in the cylinder they will run in .
Then they were "squared in" with a piston .
Thanks for the tip TripDeuces .
The filing has already been done . The one ring that needed any filing , was a second ring .
I think only the top rings in this set are moly .
Steve , I'm going with forged pistons from Ross Racing Engines .
With the questionable reliability of cast pistons of late (especially off-shore ones) . and a price difference of $500 vs $700 . To me , it was a "no brainer".
Besides , if I get a little crazy and decide to feed her "laughing gas " . I know she will handle it .
I will need to re-balance the crankshaft . A step necessary anyway for any engine build you plan to "lean on ".
Did you decide to lower compression? I see you went with dished pistons like the low compression engine.
I have several questions from this thread:
Charlie,
1. Why Fastenal to ship the motor ? Is this the same company that sells industrial products ?
2. Have you tried using gun cleaning brushes (they make different sizes). They also make something called "Bore Snakes" that are pulled through. Just asking.
3. Nice work, and you are paying attention to detail. Thanks for the progress pics.
Ralph
Did you decide to lower compression? I see you went with dished pistons like the low compression engine.
The pistons were spec'd by Tony @ Ross Racing Engines .
I told him what I wanted to do with the engine and let him pick the pistons.
They have a very shallow dish and according to Tony are " at least 10 to 1 " (depending on heads , gasket , deck , etc ) .
I told him I wanted to run 93 octane gas , without using any octane booster .
I have several questions from this thread:
Charlie,
1. Why Fastenal to ship the motor ? Is this the same company that sells industrial products ?
2. Have you tried using gun cleaning brushes (they make different sizes). They also make something called "Bore Snakes" that are pulled through. Just asking.
3. Nice work, and you are paying attention to detail. Thanks for the progress pics.
Ralph
1. Fastenal is the cheapest way to ship large items like engines .
Yes it is the nut and bolt company . You have to take it to the nearest Fastenal store and they will ship it on their own trucks to the store nearest to the consignee .
2. I considered gun brushes , but they are pricey . These came from Harbor Freight and cost a small fraction of gun brushes .
3. More to come soon . I just finished with the chassis and will now turn my attention toward the engine . Then the body .
1. Fastenal is the cheapest way to ship large items like engines .
Yes it is the nut and bolt company . You have to take it to the nearest Fastenal store and they will ship it on their own trucks to the store nearest to the consignee .
2. I considered gun brushes , but they are pricey . These came from Harbor Freight and cost a small fraction of gun brushes.
1. Charlie, I never knew that, thanks.
2. I just wondered. I have a surplus of gun cleaning kits/brushes here.
Back at it again . Now it's time to start assembly .
First the crankshaft was mic'd to make sure the crankshaft grinder did his job right .
Mains were 2.989 and rod journals were 2.489 . Indeed a ".010 under " crank .
Then the bearing shells were slipped in the block , making sure the oil holes were aligned .
The front main bearing shell is slightly wider than 2 , 3 , or 4 .
then the crank was laid in place .
I then placed a piece of Plastigage across each main journal .
I installed the bearing shells in the main caps , then installed and torqued the main caps to spec .
I then removed all the main caps to observe how much the Plastigage had "flattened" .
Using the scale on the Plastigage envelope , I measured oil clearance at .002 .
The Plastigage must then be removed . A fingernail works good for this . Won't scratch crank .
I then installed a Best Gaskets rubber rear main seal .
Then the cam was liberally coated with "engine assembly lube and slid carefully into place , taking care not to nick the cam bearings .
The long bolt on the front of the cam will aid in doing this .
After that , the main caps were re-installed and torqued to spec .
Charlie,
What brand, grind number did you use ? What duration, lift and overlap ? Keep up the good work.
Ralph
Ralph ,
Here is my cam card ;
I told Tony what I wanted , and let him select the cam .
I told him I wanted 365-375 HP with a (more or less ) stock Starfire motor .
Hope is for 400+ HP when I install triple carburation later up the road . We'll see .
Time to update this thread again .
I coated the crank journals and bearing shells with assembly lube ;
Then I set the crank in place ;
And put the main caps on and torqued them .
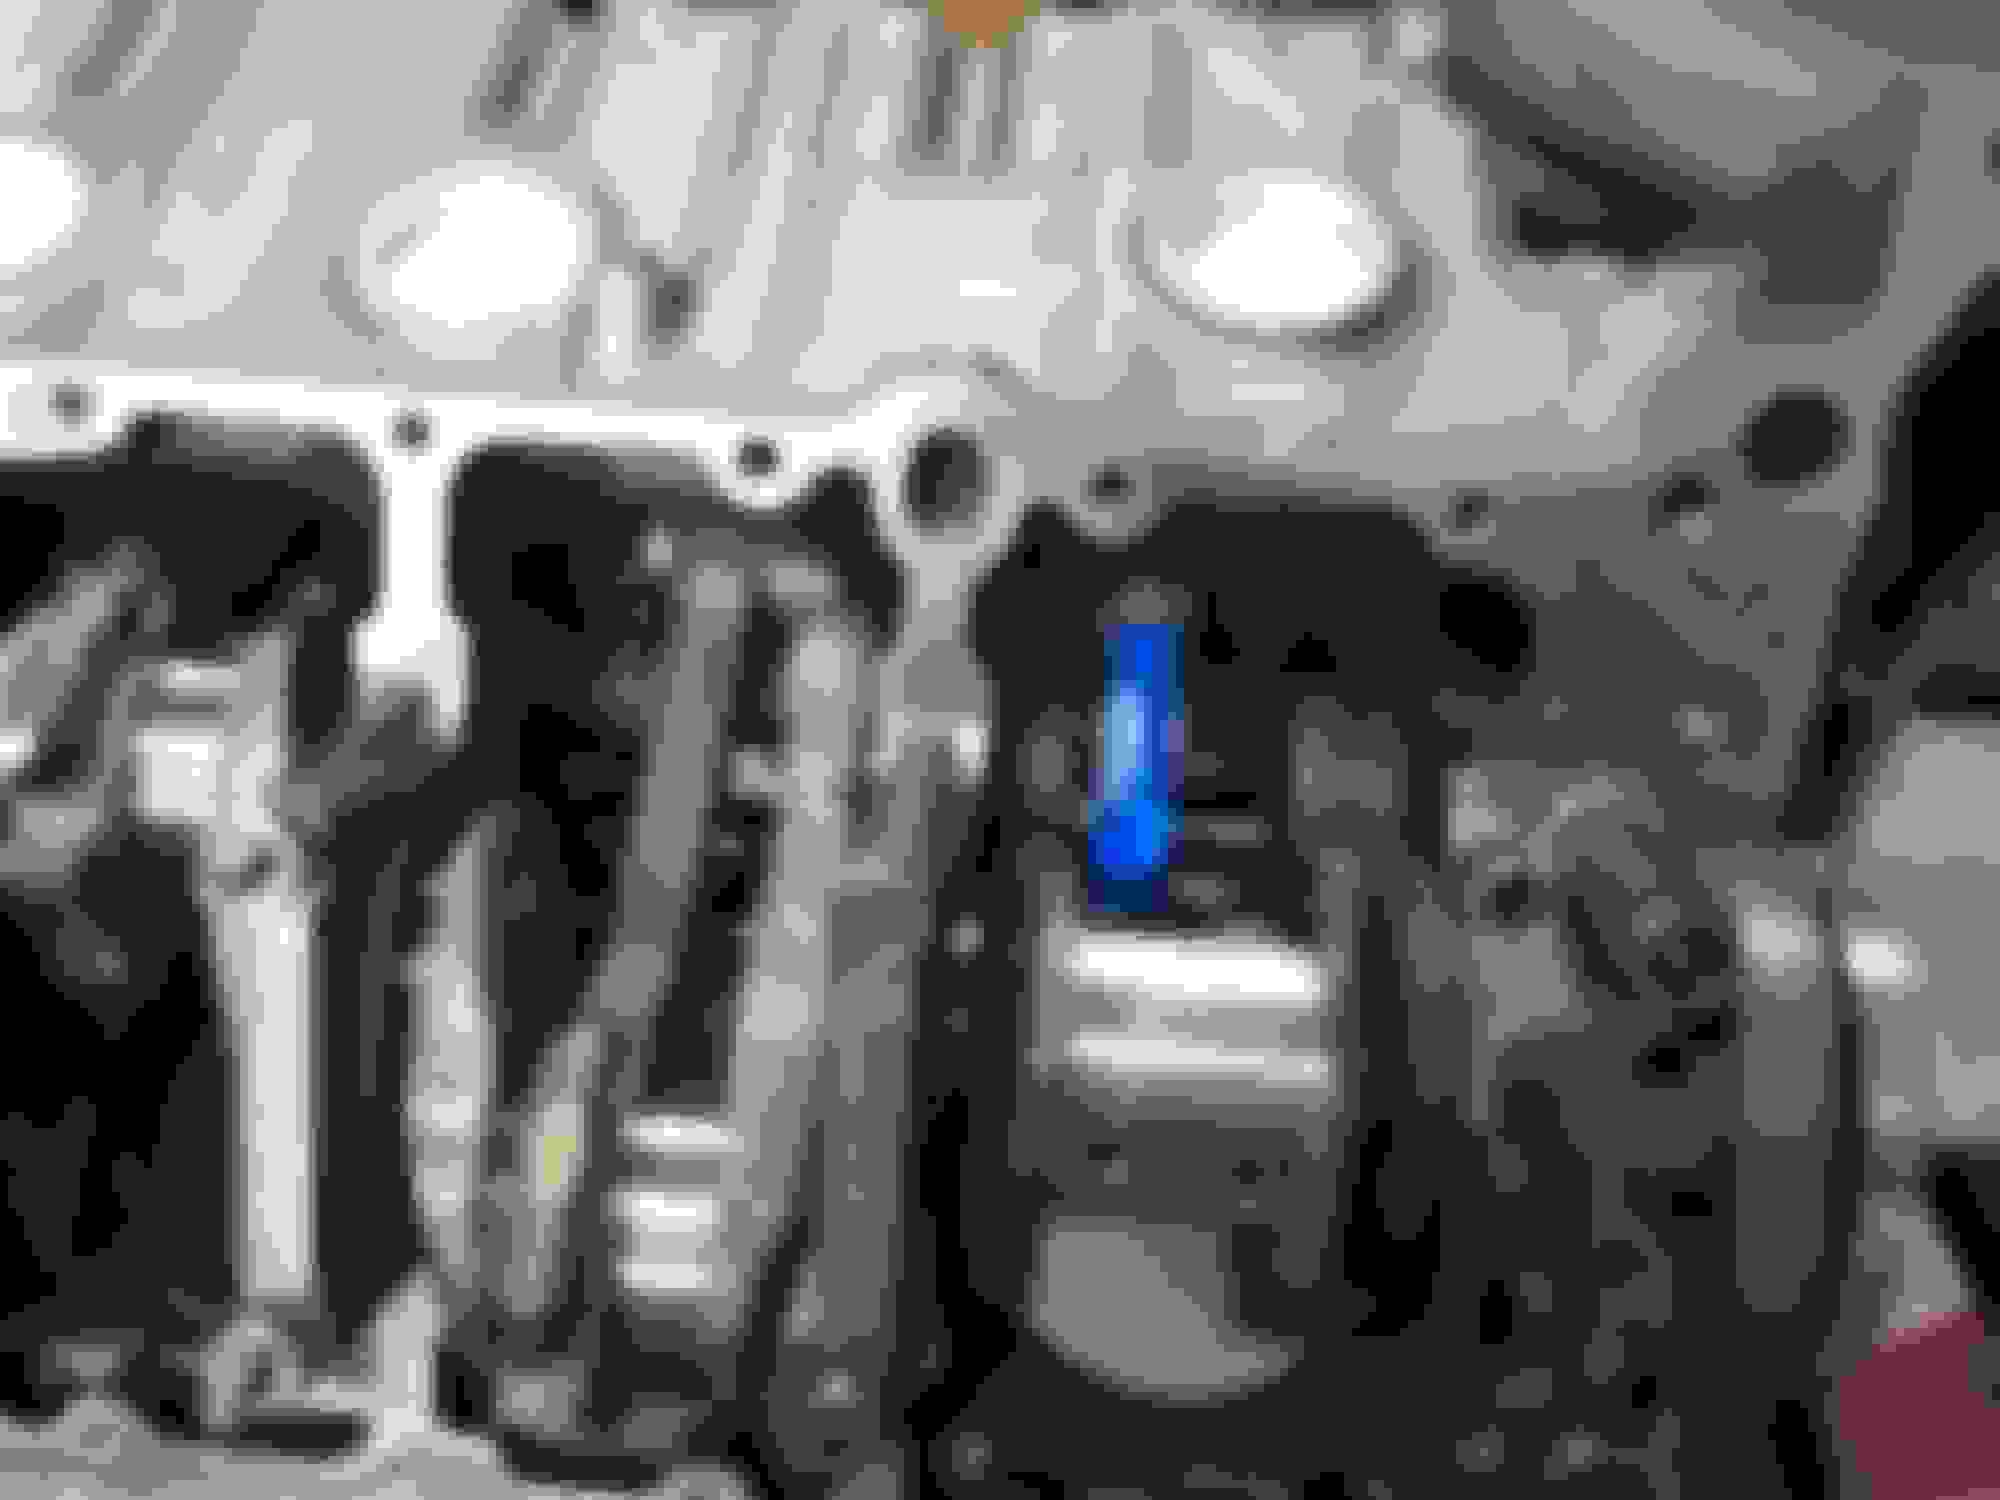
Before installing the timing chain and gears , there is one detail that must be done that will insure their well being .
There are two oil gallery plugs on the front of the block . These must be installed in the following fashion . The plug with a small hole drilled in the head must be installed on the passenger side of the block. This hole provides a spray of oil to the "slack" side of the timing chain. These plugs go right behind the timing gear , so they must be installed first .
Then the timing chain , gears , and fuel pump eccentric were installed .
I used a roller chain set from Ross . It has 9 keyways to advance or retard the cam , but for now I'm setting it "straight up " .
Last edited by Charlie Jones; February 24th, 2018 at 09:30 PM.
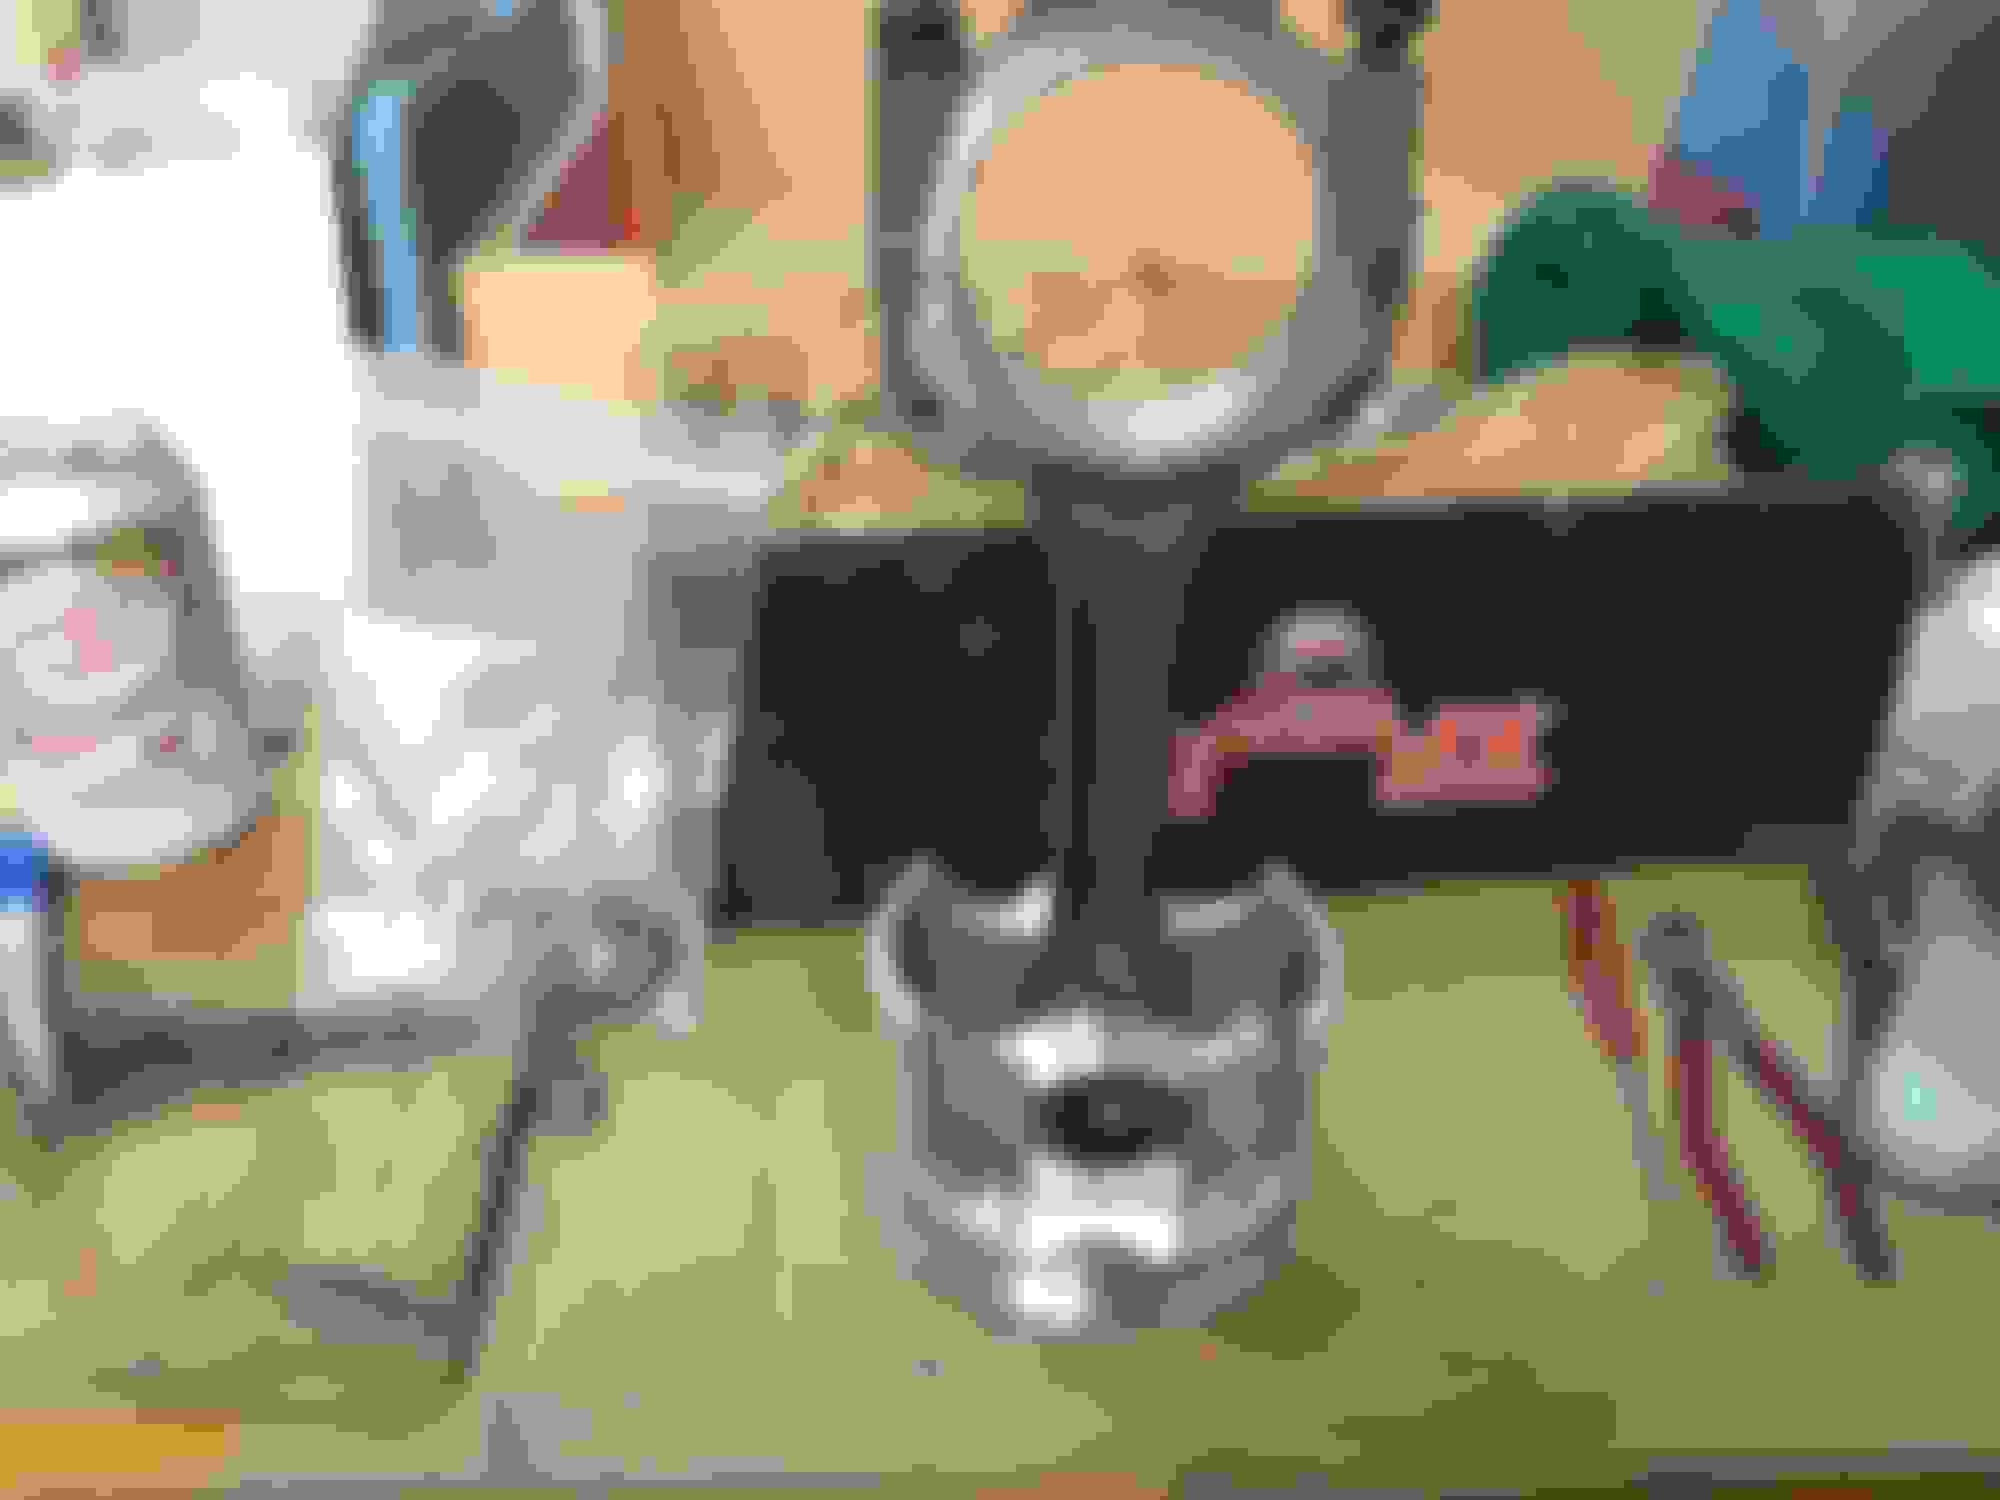
Well , I ran into my first snag . The top of the rods interfered with the inside of the piston . Notice the sharp corners on the top of the rod above the pin boss .
When I tried to assemble it , the pin only went about half way in and the rod and piston were not able to move .
I called Tony @ Ross and explained my problem . He asked , " Are you using stock rods ? " Well yeah ,this is a (more or less ) stock re-build .
" Well , you gotta have the rods clearanced . " " You can get a machine shop to do it " I said , well maybe if they knew what to do , can you handle it ?
He said "yes ". so I sent the rods to him . He trimmed off the sharp corners and took a few thousandths off the pin boss .
So now , what about balance ? I took the rods back to my crankshaft guy , and had him re-check the weight . He told me that it was "right on the bubble " between re-balancing or not . I told him that it was a hydraulic lifter engine that would not see more than 6000 RPM . He told me that in that case I would be OK .
The rods were assembled to the pistons .
Don't you already have a balance issue due to drastic change in piston size?
I had the engine previously balanced . I had them check to make sure that the amount taken off the rods wouldn't affect the balance .
Should have checked the piston / rod fit before having it balanced .
Last edited by Charlie Jones; March 8th, 2018 at 04:42 PM.
If you're following along and plan on doing your own 394 build , then the next step may or may not be necessary .
If you have a timing set with multiple keyways on the crank gear then this step should be followed .
If you have a stock timng set with only 1 keyway , then just put it together with the timing marks lined up . And skip to the next post .
The first step was setting up a dial indicator and finding the true top dead center. These instructions on an old "Isky" degree wheel explain it all .
I got a degree wheel off flea bay , but I needed a pointer .
I made one from an old coffee can .
After absolute TDC is found , then the cam timing can be checked .
I had to get a 5" extension for my dial indicator .
 October 16th, 2017, 10:30 PM