When you click on links to various merchants on this site and make a purchase, this can result in this site earning a commission. Affiliate programs and affiliations include, but are not limited to, the eBay Partner Network.
I figured it was about time for me to start a Restoration post on my Rallye 350 F85 Sports Coupe.
This is a bench seat car with a M20 wide Ratio 4 speed transmission, chrome side window trim, tinted windshield and windows, deluxe pushbutton radio with rear speaker, along with the other required W45 options. At some point in the past the floor mats were replaced with carpet. Also, the original front fenders were replaced with the 71-72 fenders at some point in the past.
I bought this car about a year and a half ago, and decided to just enjoy driving it for awhile before taking it down to the frame. The car actually does not look bad from about 20 feet, but up close you can see a lot of paint cracks and there are a few spots where it is very apparent body filler was used. Sometime before I bought it, the car was repainted and the black strips were painted on, instead of using decals, and they are now cracking and chipping out. There is bare metal showing in the black strip above the rear window where the paint has chipped and it is beginning to rust.
Here is a picture of the car right after I bought it:
Anyways for the past few months I have been slowly taking the car apart, and last Sunday I finally removed the body from the frame.
I am sure this is no surprise to a lot of people who have done a restoration, but it is amazing how many things you will find wrong with a car once you start taking it apart. (Missing hardware, and incorrect parts) The core support was actually missing one mount. With that being said I actually feel pretty good about the condition of the car.
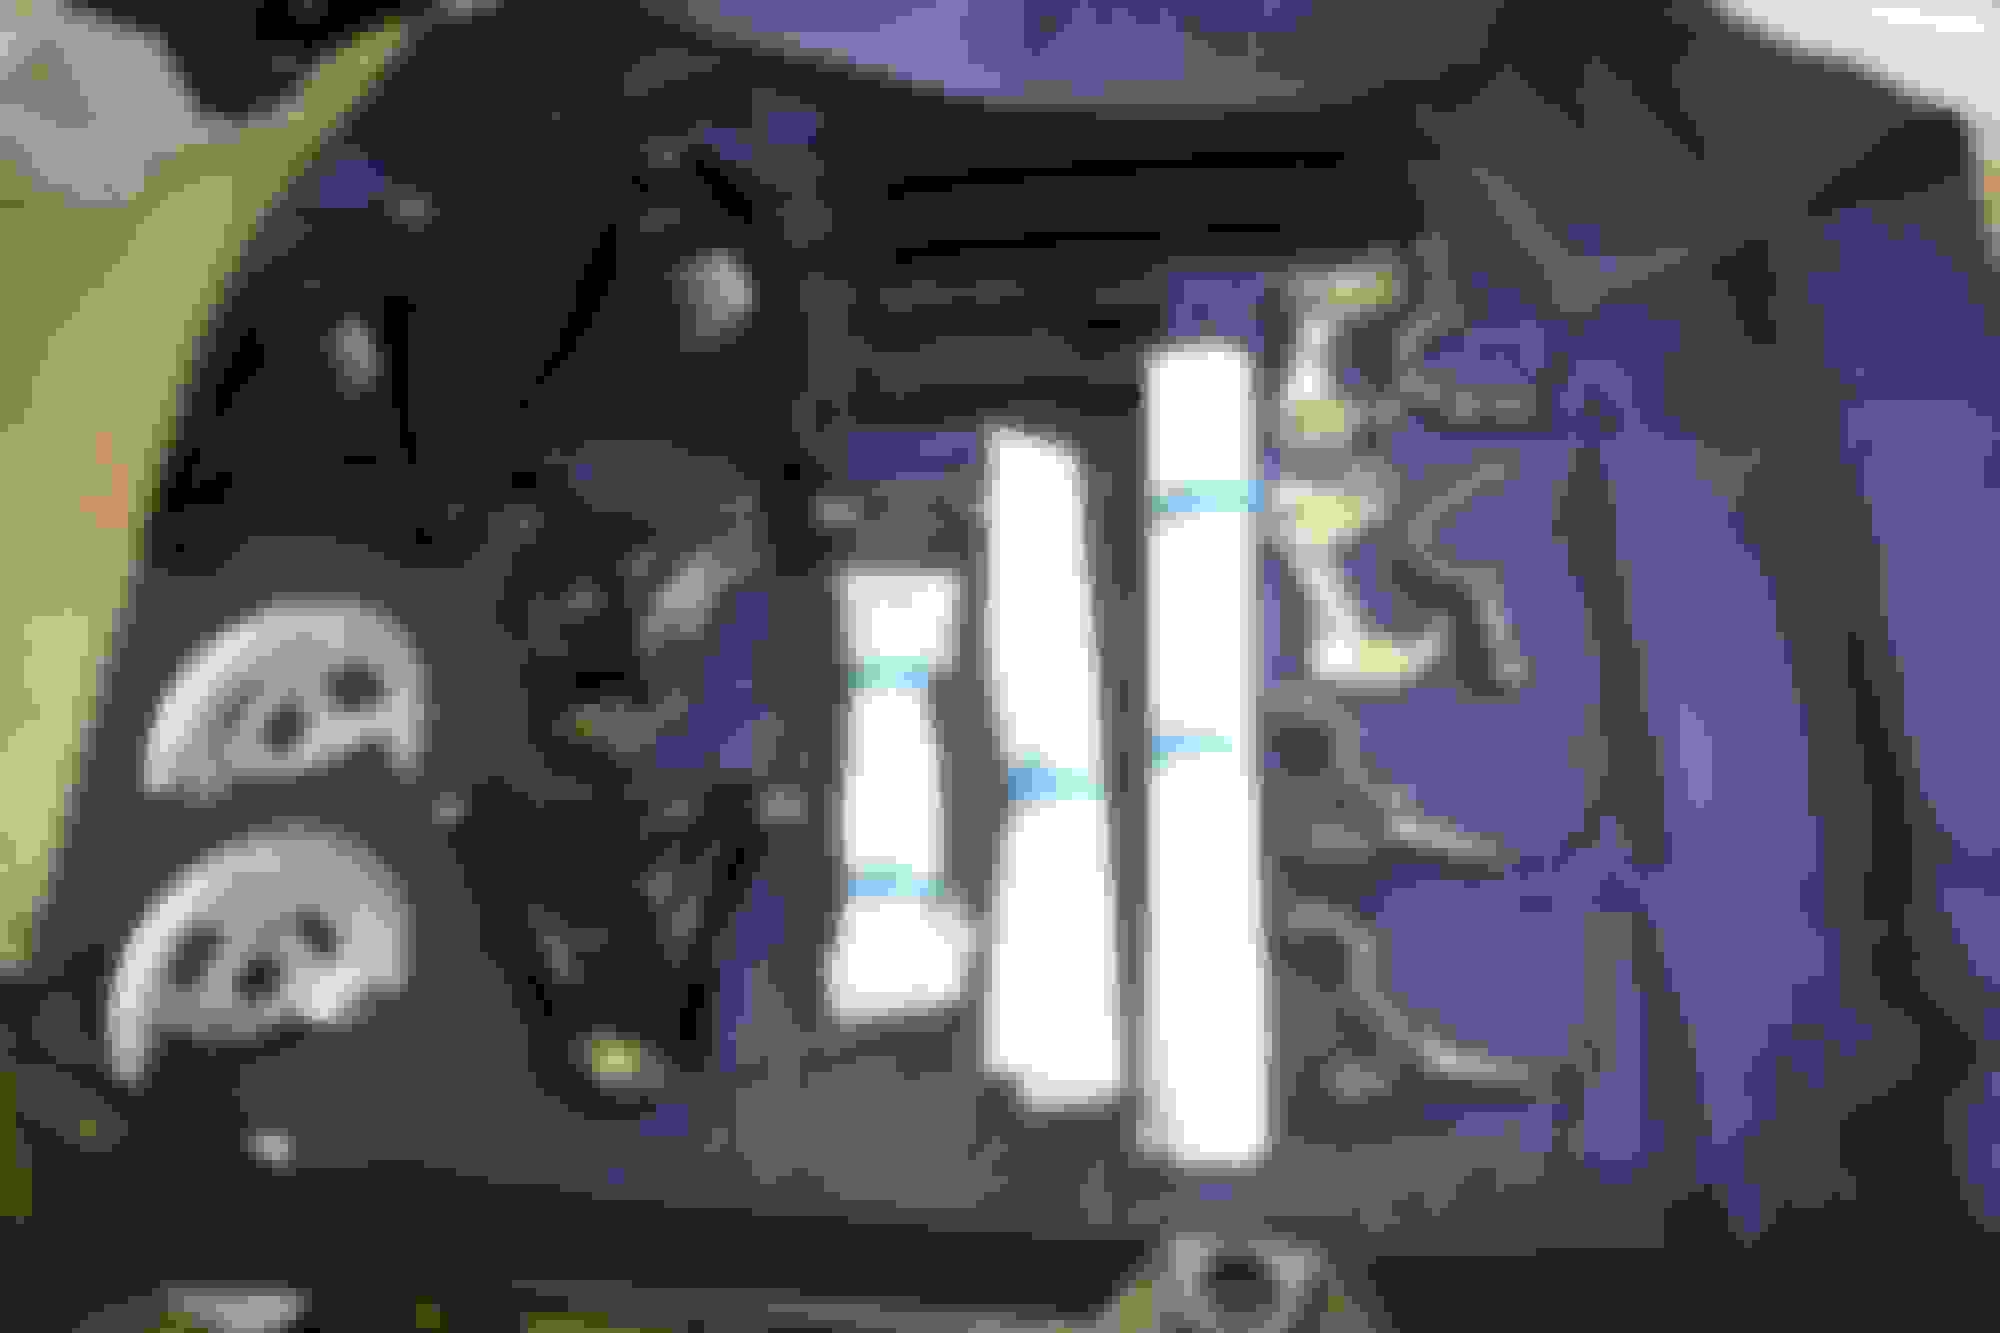
Here are a few pictures of where I am now.
Left Rear Bolt Mount Nut snapped off so I had to cut the bolt. I guess this is a common issue.
The body mount location under the left side of the trunk was so rusted that the mount just fell out.
I was amazed that the paint code on the body mounts was so easy to see.
Body is off the frame and ready for pickup by the body shop.
Actually it was a lot easier than I excepted it to be. I used my Engine Hoist. For the front I hooked a 4000lb racket strap to some grade 8 bolts just above the body mount locations. For the rear, I removed the plugs in the trunk and ran the strap down through one and up the other. I did this alone so the key was not to raise it to high at one end before doing the other. Once I got it as high as I was comfortable with, I pulled the rear tires and put the back on a small dolly so the frame could be pulled out.
My original plan was to build a cart to set it on but the body shop is bring one Thursday so no need.
Thanks for the info .I am going to have to be doing the same thing .I wasnt sure how to do it, but your way seems like a great way to seperate the two. Good luck with the restoration. Will be following your thread.
Last week the body was delivered to the body shop. As soon as it arrived, they pulled the windshield and rear glass. It was apparent that the glass had been removed sometime in the cars history. They were held in with some type of black goo (for a lack of a better word). This stuff was a thick tar like substance, that ended up everywhere by time the glass was removed. I have no idea what it was, I just hope there are no surprises under it.
He sanded a few spots on the body down to the metal and at first glance it looks good over all. The floor pan was a different story. It had been replaced at some point in the cars history and from the inside of the car it looks good, but from the underside it is basically a hack job. Here is a picture, there is about a quarter inch gap where the floor pan and tunnel meet, that was filled with seam sealer. Something else we noticed was there were no cross braces on the floor pan. I went ahead and ordered a new floor pan and the plan is to replace it after the body gets blasted.
This weekend I finished removing all the components from the frame. Next week I have to go out of country for a week or so, but once I return it will be taken to the body shop for blasting, body mount hole repairs, and painting.
Not much to update this week. This weekend I began disassembling the front suspension. Managed to get the upper and lower ball joints off with no issues. Tried using a loaner upper control arm bushing tool to remove the bushing. Managed to get them part of the way out, but in the end the bushing sleeves started expanding. I guess these 47 year old bushing just couldn't take the pressure. Time to try drilling the rubber out and collapsing the sleeve with a Hammer and punch.
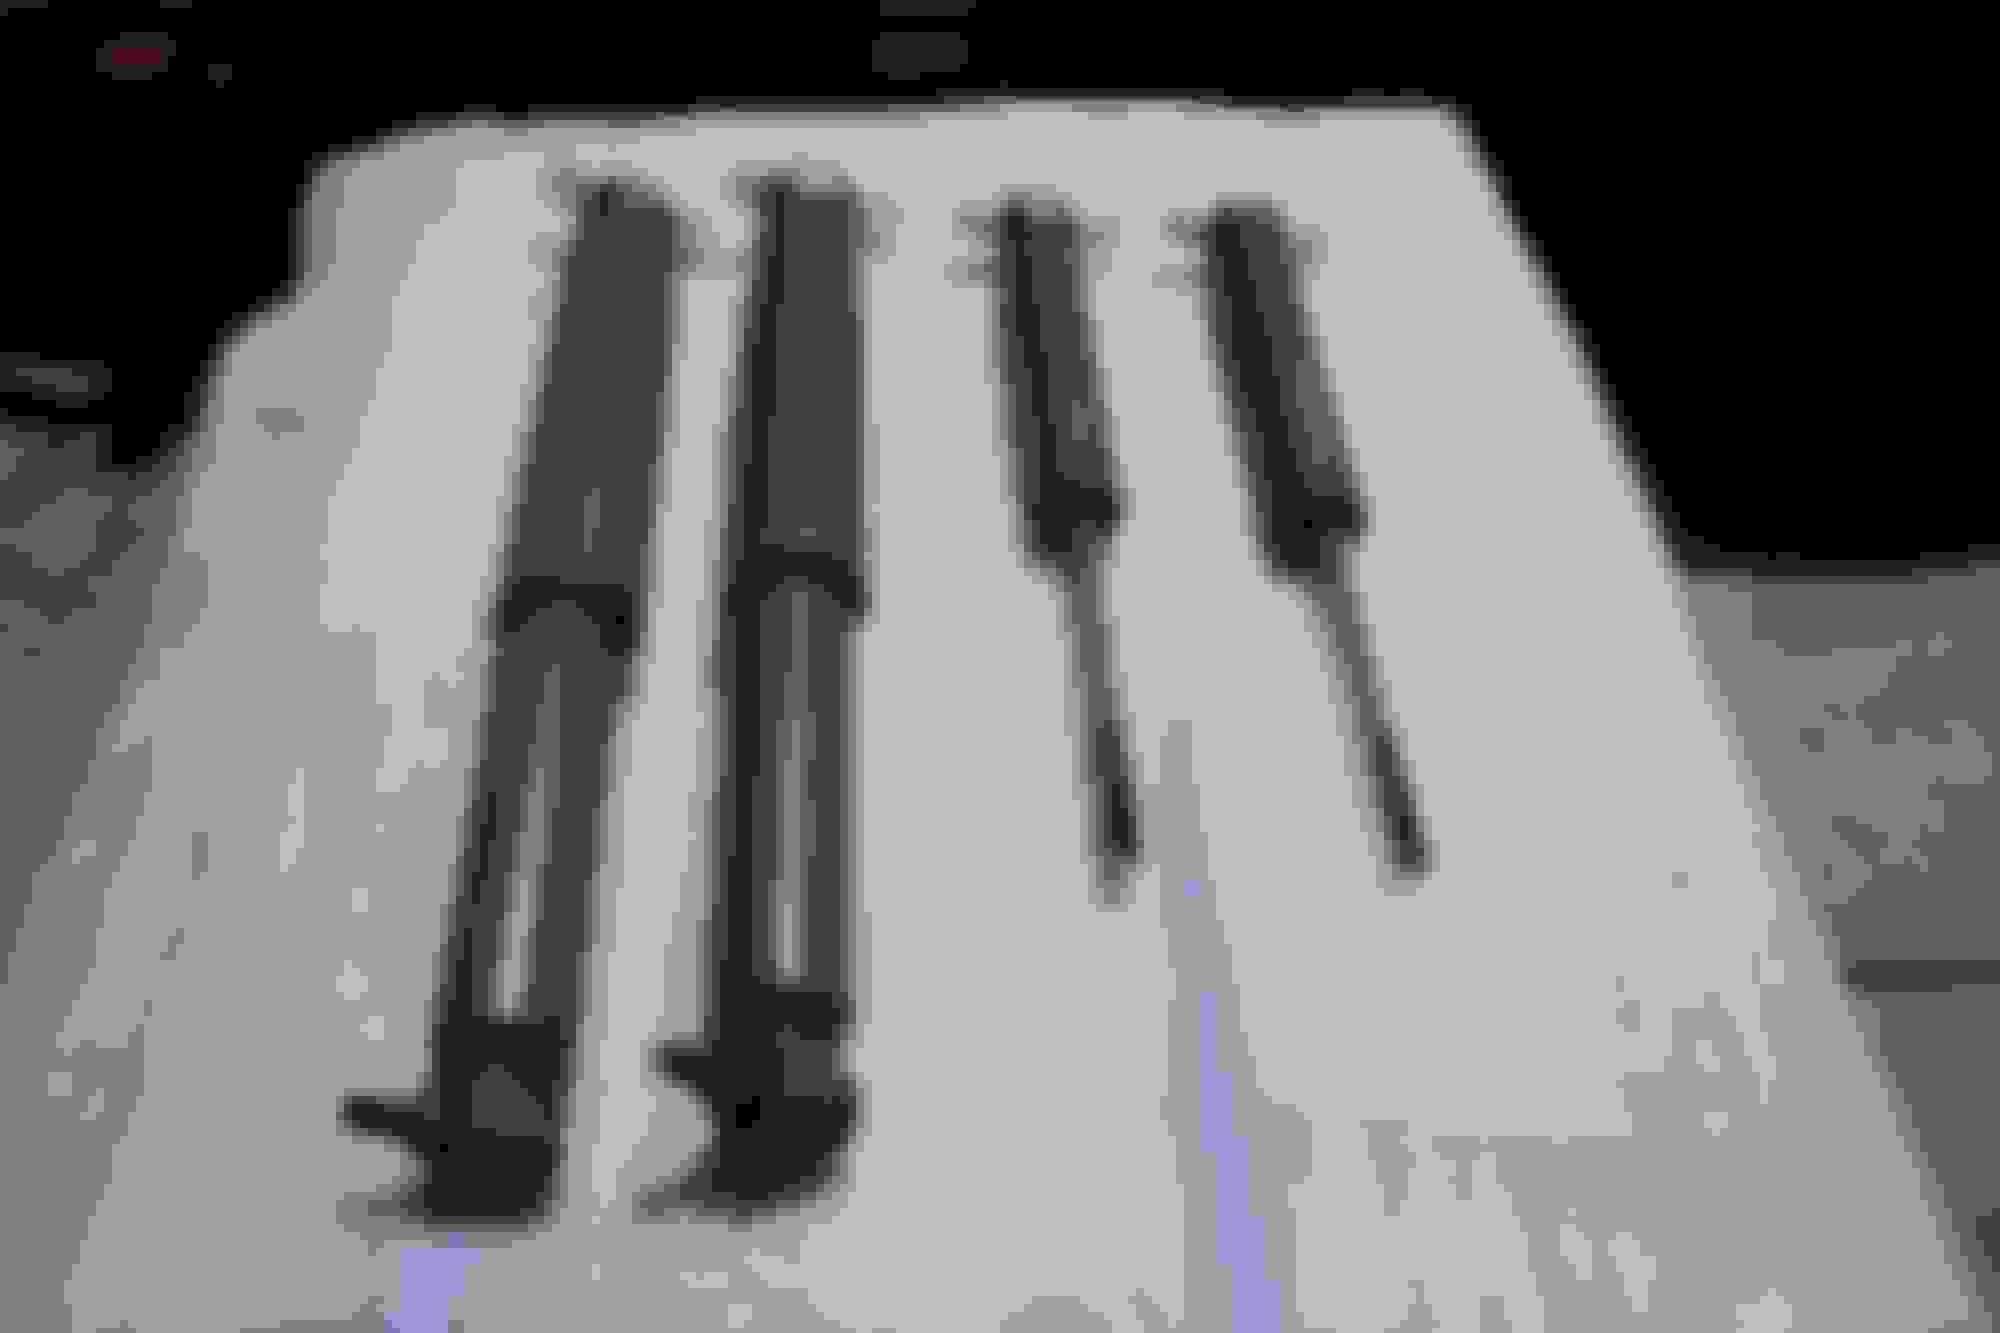
Also ordered a set of MOOG Front and Rear Springs along with Bilstein Shocks. Plan to order the remaining suspension parts once I get it totally disassembled.
The goal this week is to get the Frame to the Body shop for Body Mount repairs, blasting, and paint.
Not much to update this week. This weekend I began disassembling the front suspension. Managed to get the upper and lower ball joints off with no issues. Tried using a loaner upper control arm bushing tool to remove the bushing. Managed to get them part of the way out, but in the end the bushing sleeves started expanding. I guess these 47 year old bushing just couldn't take the pressure. Time to try drilling the rubber out and collapsing the sleeve with a Hammer and punch.
Also ordered a set of MOOG Front and Rear Springs along with Bilstein Shocks. Plan to order the remaining suspension parts once I get it totally disassembled.
The goal this week is to get the Frame to the Body shop for Body Mount repairs, blasting, and paint.
Keep the updates and pictures coming, your Rallye appears to be in very similar condition to what I started with. Glad to see another Rallye 350 being brought back to life!
Well, I know it has been a while but things have been a little slow for the last few months on the build. I have been doing a lot of traveling and the Body shop I am using closed for the month of December to move to a new location. I was finally able to get the frame to the shop, the plan is to have several of the body mount locations repaired, then blasted and painted. I hope to have the frame back in a few weeks so I can start putting it back together. The body is a different story. The body was sent to be media blasted a weeks ago and that is where I got the bad news. I knew that there had been some bondo used at some point in the cars past but I did not expect what I was shown. It was a total mess. Both rear quarter panels had been repaired at some point and it was a total Sh*t job. I guess I have no one to blame but myself. I should have caught this when I was buying the car, if I had simply used a magnet. All I can do now is have it repaired the right way this time. Here is a picture of what I was shown:
Man that blows. Brings back bad memories of when my car was stripped. I hope there aren't any other hidden gems lurking under the paint. Keep us posted on the chassis build.
Sorry to see what you found on the quarters. I am restoring a Rallye myself and came into the same issue. Someone else had replaced the quarters and did a crap job. I knew that going in though and planned on replacing them. I have my wheelhouses replaced and will be welding in the quarters shortly. My goal is to do them so you cannot tell they were done.
Unfortunately I am sure you know that full quarters are not available. I am pretty sure all of the skins are made by the same manufacturer. I got mine from Summit and they are Goodmark. The metal is not quite as thick as OEM. They are decent but require a lot more work than a full quarter. If you use these make sure they do a butt seam, not a lap or you will see the seam in the sun later ( I learned that years ago the hard way).
There is also only one manufacturer of the trunk floor drop offs.
The goodmark wheel houses are good quality, avoid the inner partial patch panels, they are terrible.
Best of luck to you. look forward to more updates.
Finally got some time last week to do some work on the frame. Was able to media blast and paint some of the front suspension parts. I think they came out pretty good.
Also painted my new shocks. I am hoping the gray paint will last on the rear BILSTEIN shocks.
Frame looks great.What kind of paint after media blast? Are those new control arms?
Everything is original with the exception of the Rotors and Calipers.
I used Eastwood Black Rust Encapsulator and then Chassis Black on the frame. Same for the Front and Rear Control Arms.
Okay, I was thinking you had coated the rotors themselves too. They look great, but will rust in short order without some coating, wax or oil.
Pat
Pat,
Sorry, Now I understand. They came new with some type of coating on them. I cleaned them up before I put the Disc Brakes on. I am actually thinking about taking the Disc back off and coating the rotors with something, because it is going to be sometime before the body is done. What do you guys thing, should I ? and if so, what should I use?
Wow, I have not posted to this in some time. The Body is going slowly, but is coming forward just at a turtles pace. They finally got the floor pan in with the exception of the part where the floor pan and firewall meet. I thought he had ordered a full floor panel but apparently that was not the case. Hopefully the last pieces will be installed soon. The Rear Quarter Panels are also being finished up and hopefully will be done soon.
I have been spending any available weekend time I have trying to get the frame completed. Got the rear end completed several weeks ago. Since this picture was taken I have installed the rear brake system, shocks, and all the brake and fuel lines.
This past weekend I continued my effort at rebuilding my Power Steering Box. I will say if you have never tried these it is a must. It will certainly test your patience's. I watched all the youtube videos I could find before digging in and learned a few lessons during the rebuild. I ended up having to buy two rebuild kits because the first attempt did not go so well. In all the videos I watched they where putting the Pitman shaft bushing in with a socket and mallet. This bushing contains a set of needle roller bearing, and it does not take much to collapse the bushing and lock the roller bearings up. On my second attempt I simply used a press and it went in much cleaner, with no issues. Besides the one bushing the only other real issue I had was getting the 24 ball bearings to stay seated while installing the worm shaft. It only took me three attempts. Here is a few pictures to include the end result. Seems to work really smooth, I guess the final test will be when it gets installed in the car.
Before Picture:
The Tool I used to hold the bearing in place, Once I used these it was easy to hold the ball bearings:
The final result:
Last edited by jharsh; October 1st, 2018 at 07:09 AM.
Reason: Replaced last image
Looks great Jim! You are a few steps ahead of my project. I will be putting my second coat of primer on the shell tonight. My floor pans are in good shape but need a minor patch here and there. That is next on the list.
I have not opened up a steering gear for decades myself. I was going to have someone, not sure who yet upgrade mine internally to a quicker ratio.
Nice job on this Jim. I'm glad I came across this thread. It looks like you are really into it. I like these Rallye cars and the story behind them also.
I figured it was about time to update the progress of my car, as with most car restorations there is always the good and the bad. For the bad, the body has not been touched in almost a year. To keep it short, The body shop my car was at has been closed down and the owner is now in jail for theft of property. The good news is, I was able to get my car out of the shop before the doors were locked. I am hoping to have a new body shop take my car by the end of this year. More to follow.
I figured it was about time to update the progress of my car, as with most car restorations there is always the good and the bad. For the bad, the body has not been touched in almost a year. To keep it short, The body shop my car was at has been closed down and the owner is now in jail for theft of property. The good news is, I was able to get my car out of the shop before the doors were locked. I am hoping to have a new body shop take my car by the end of this year. More to follow.
Welcome back stranger. WTH! Glad you were able to get your car back. That guy sounds like a real gem. Did you find a local place to finish the car or are you still looking?
 September 12th, 2017, 02:01 PM


 Keep us posted on the chassis build.


") The Rear Quarter Panels are also being finished up and hopefully will be done soon.
The Rear Quarter Panels are also being finished up and hopefully will be done soon.


 It will certainly test your patience's. I watched all the youtube videos I could find before digging in and learned a few lessons during the rebuild. I ended up having to buy two rebuild kits because the first attempt did not go so well. In all the videos I watched they where putting the Pitman shaft bushing in with a socket and mallet. This bushing contains a set of needle roller bearing, and it does not take much to collapse the bushing and lock the roller bearings up. On my second attempt I simply used a press and it went in much cleaner, with no issues. Besides the one bushing the only other real issue I had was getting the 24 ball bearings to stay seated while installing the worm shaft. It only took me three attempts. Here is a few pictures to include the end result. Seems to work really smooth, I guess the final test will be when it gets installed in the car.