When you click on links to various merchants on this site and make a purchase, this can result in this site earning a commission. Affiliate programs and affiliations include, but are not limited to, the eBay Partner Network.
This has had always been a dream of mine, and I absolutely love the car. It's my first car and I've had it for just about a year now. Although the engine is extremely weak, it is such a blast to drive. But I've got something in store for her, and I think you all will enjoy it.
Bags. Yep, all 4 corners. So far the parts I have are as listed:
Dual Viaair 444c compressors
4 bags and brackets
heavy duty valves
What I need:
Tank
Air line
Shock relocation kit for front(maybe)
I am going to keep this thread updated and the thread will continue in this form:
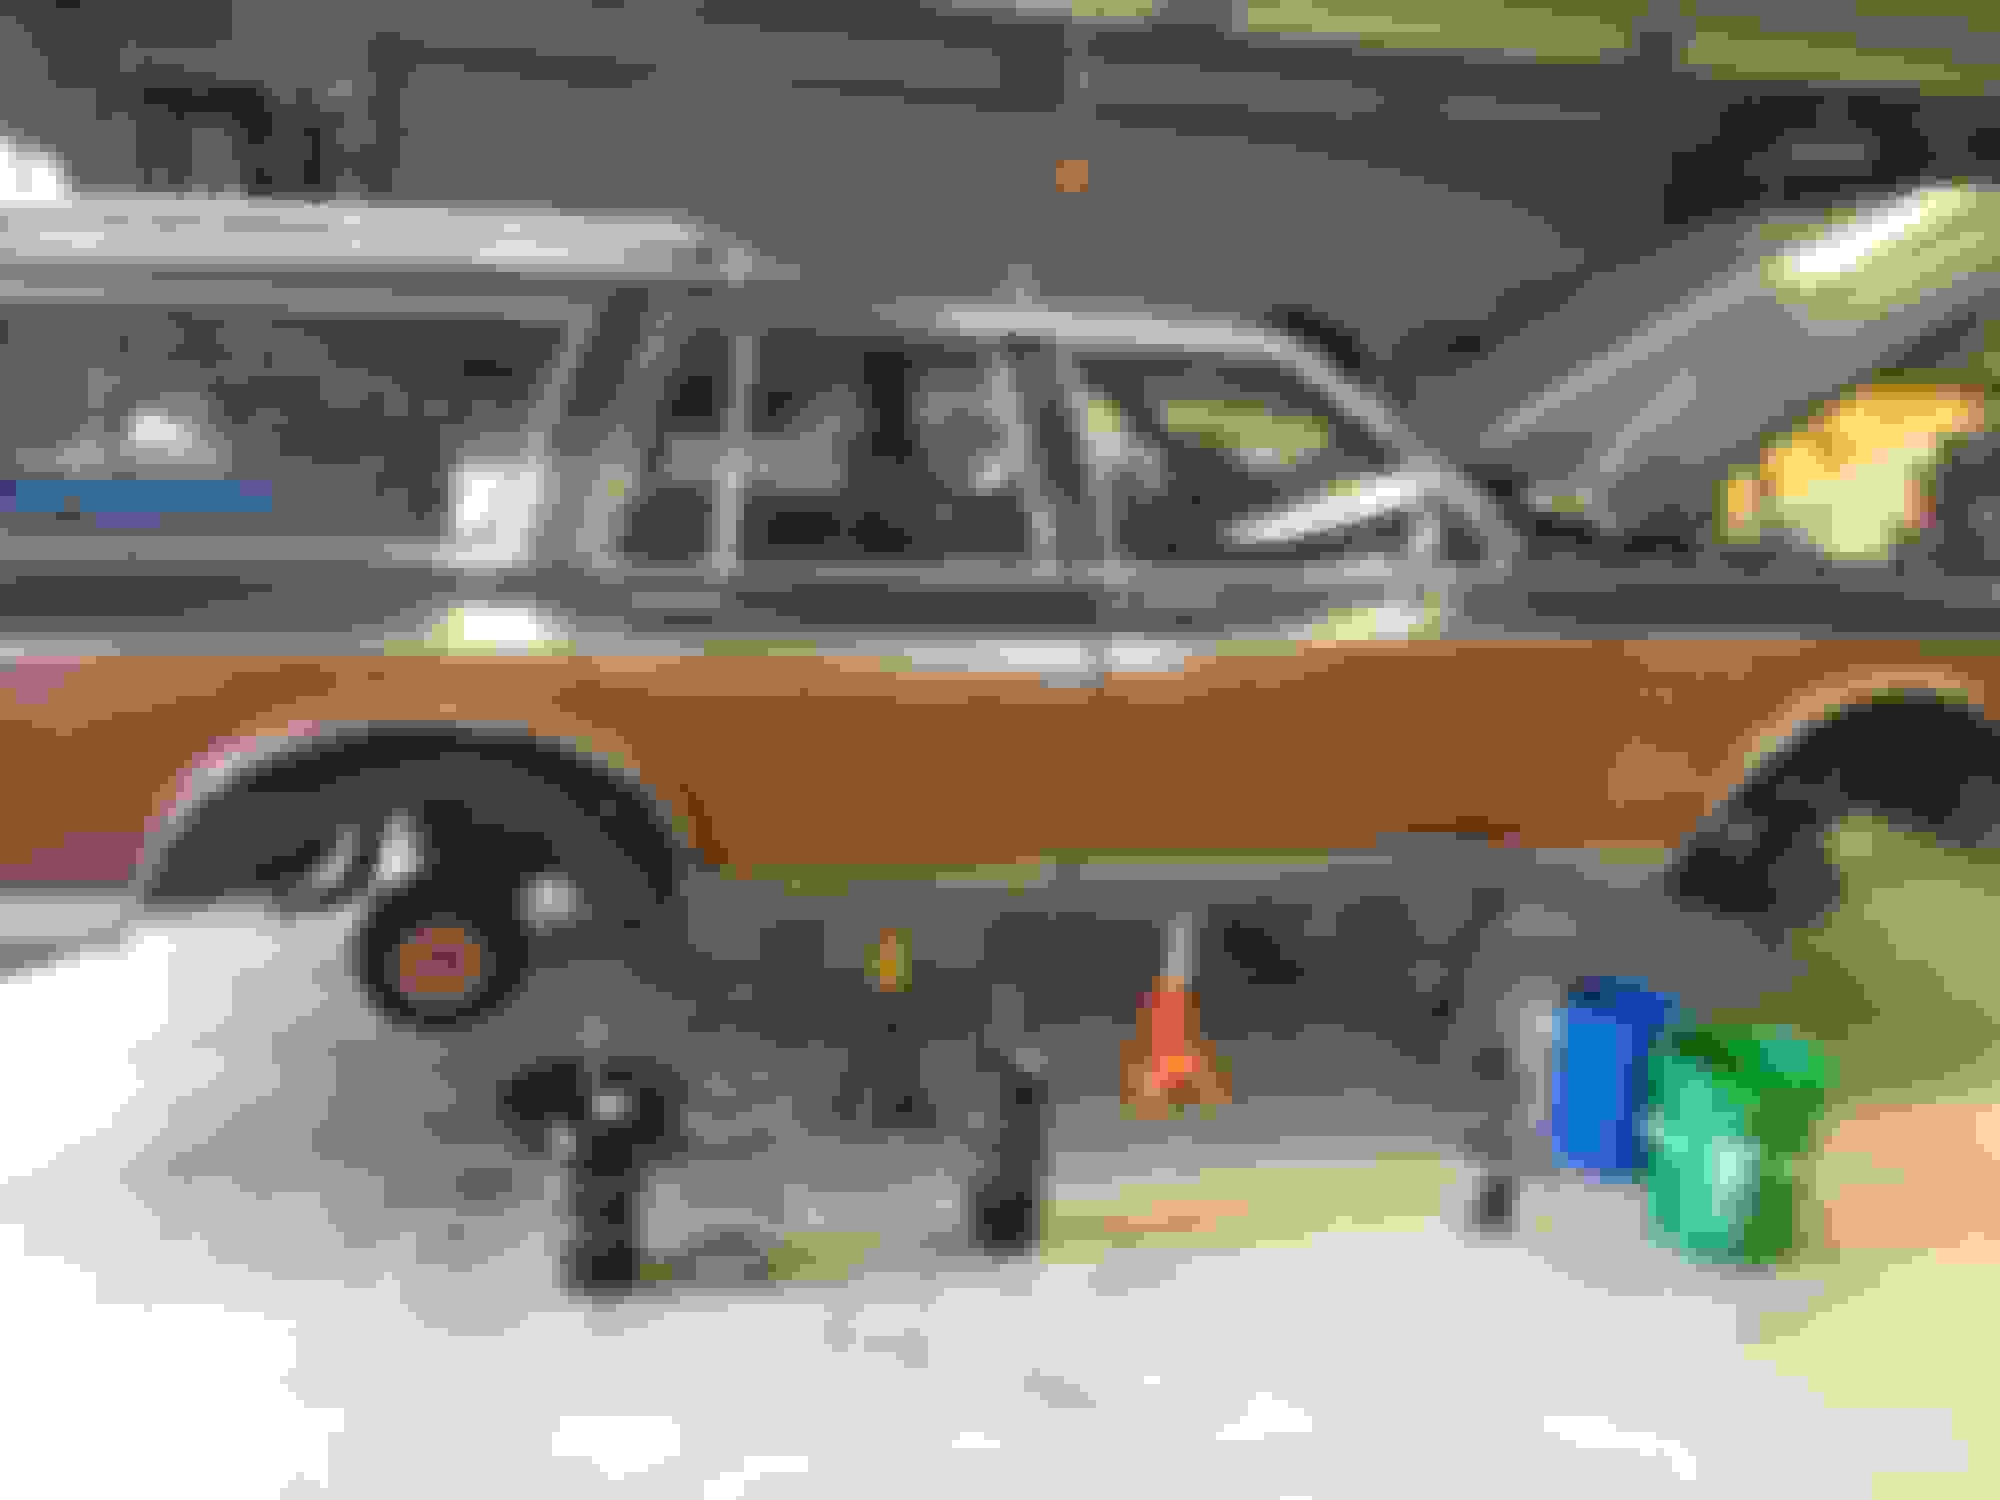
Day 1: Teardown
So, not much progress today but I've gotten the stock suspension torn out and test fitted the rear bags. I'm shocked that all that was holding the rear springs in was the weight of the car! Once the bags were test fitted in the rear, I was surprised to find theat there is a lot more clearance in the wheel wells than I originally anticipated. Could I fit 20s? What wheel and tire combo do you think would work? 30 years of driving and sitting left the parts a challenge to get apart, so the daylight was gone real quick. Anyways, I can't wait to continue! Thanks for reading.
Last edited by TylerTJ; January 30th, 2017 at 08:12 PM.
That's a cool project! I bet that car is a blast to drive. I used to own a 1990 Buick Estate Wagon and it was a good car.
If you want to go to 20 inch rims then all you need to do is ensure that the total O.D. of the new tire and rim matches the O.D. of the stock tire and rim. Here is a tire size calculator you can use:
Do you plan to replace the other suspension components when you do this project? You MAW replace the ball joints, control arm bushings, tie rods, etc. If you are going to larger wheels then you definitely want to replace the wheel bearings.
When we test fitted the bags to see how low the rear would be, there were still serveral inches of clearance on all sides of the tire. Ball joints are on the way, haven't thought about wheel bearings
Not much progress today, but I did manage to get the old ball joints knocked out and the new ones installed. The upper ones were surprisingly diffeicult to get out. I had to grind down the rivets and knock them out with an air hammer. Just the ball joints took quite a few hours in itself, so I didn't have much time to get anything else done.
But, we did figure out that we are going to mount the compressors behind the headlights. Some things will have to be rearranged in order for the valves to fit nicely, but that's easy.
Also, I tested out the rear to see how low it would go
 January 30th, 2017, 08:06 PM