When you click on links to various merchants on this site and make a purchase, this can result in this site earning a commission. Affiliate programs and affiliations include, but are not limited to, the eBay Partner Network.
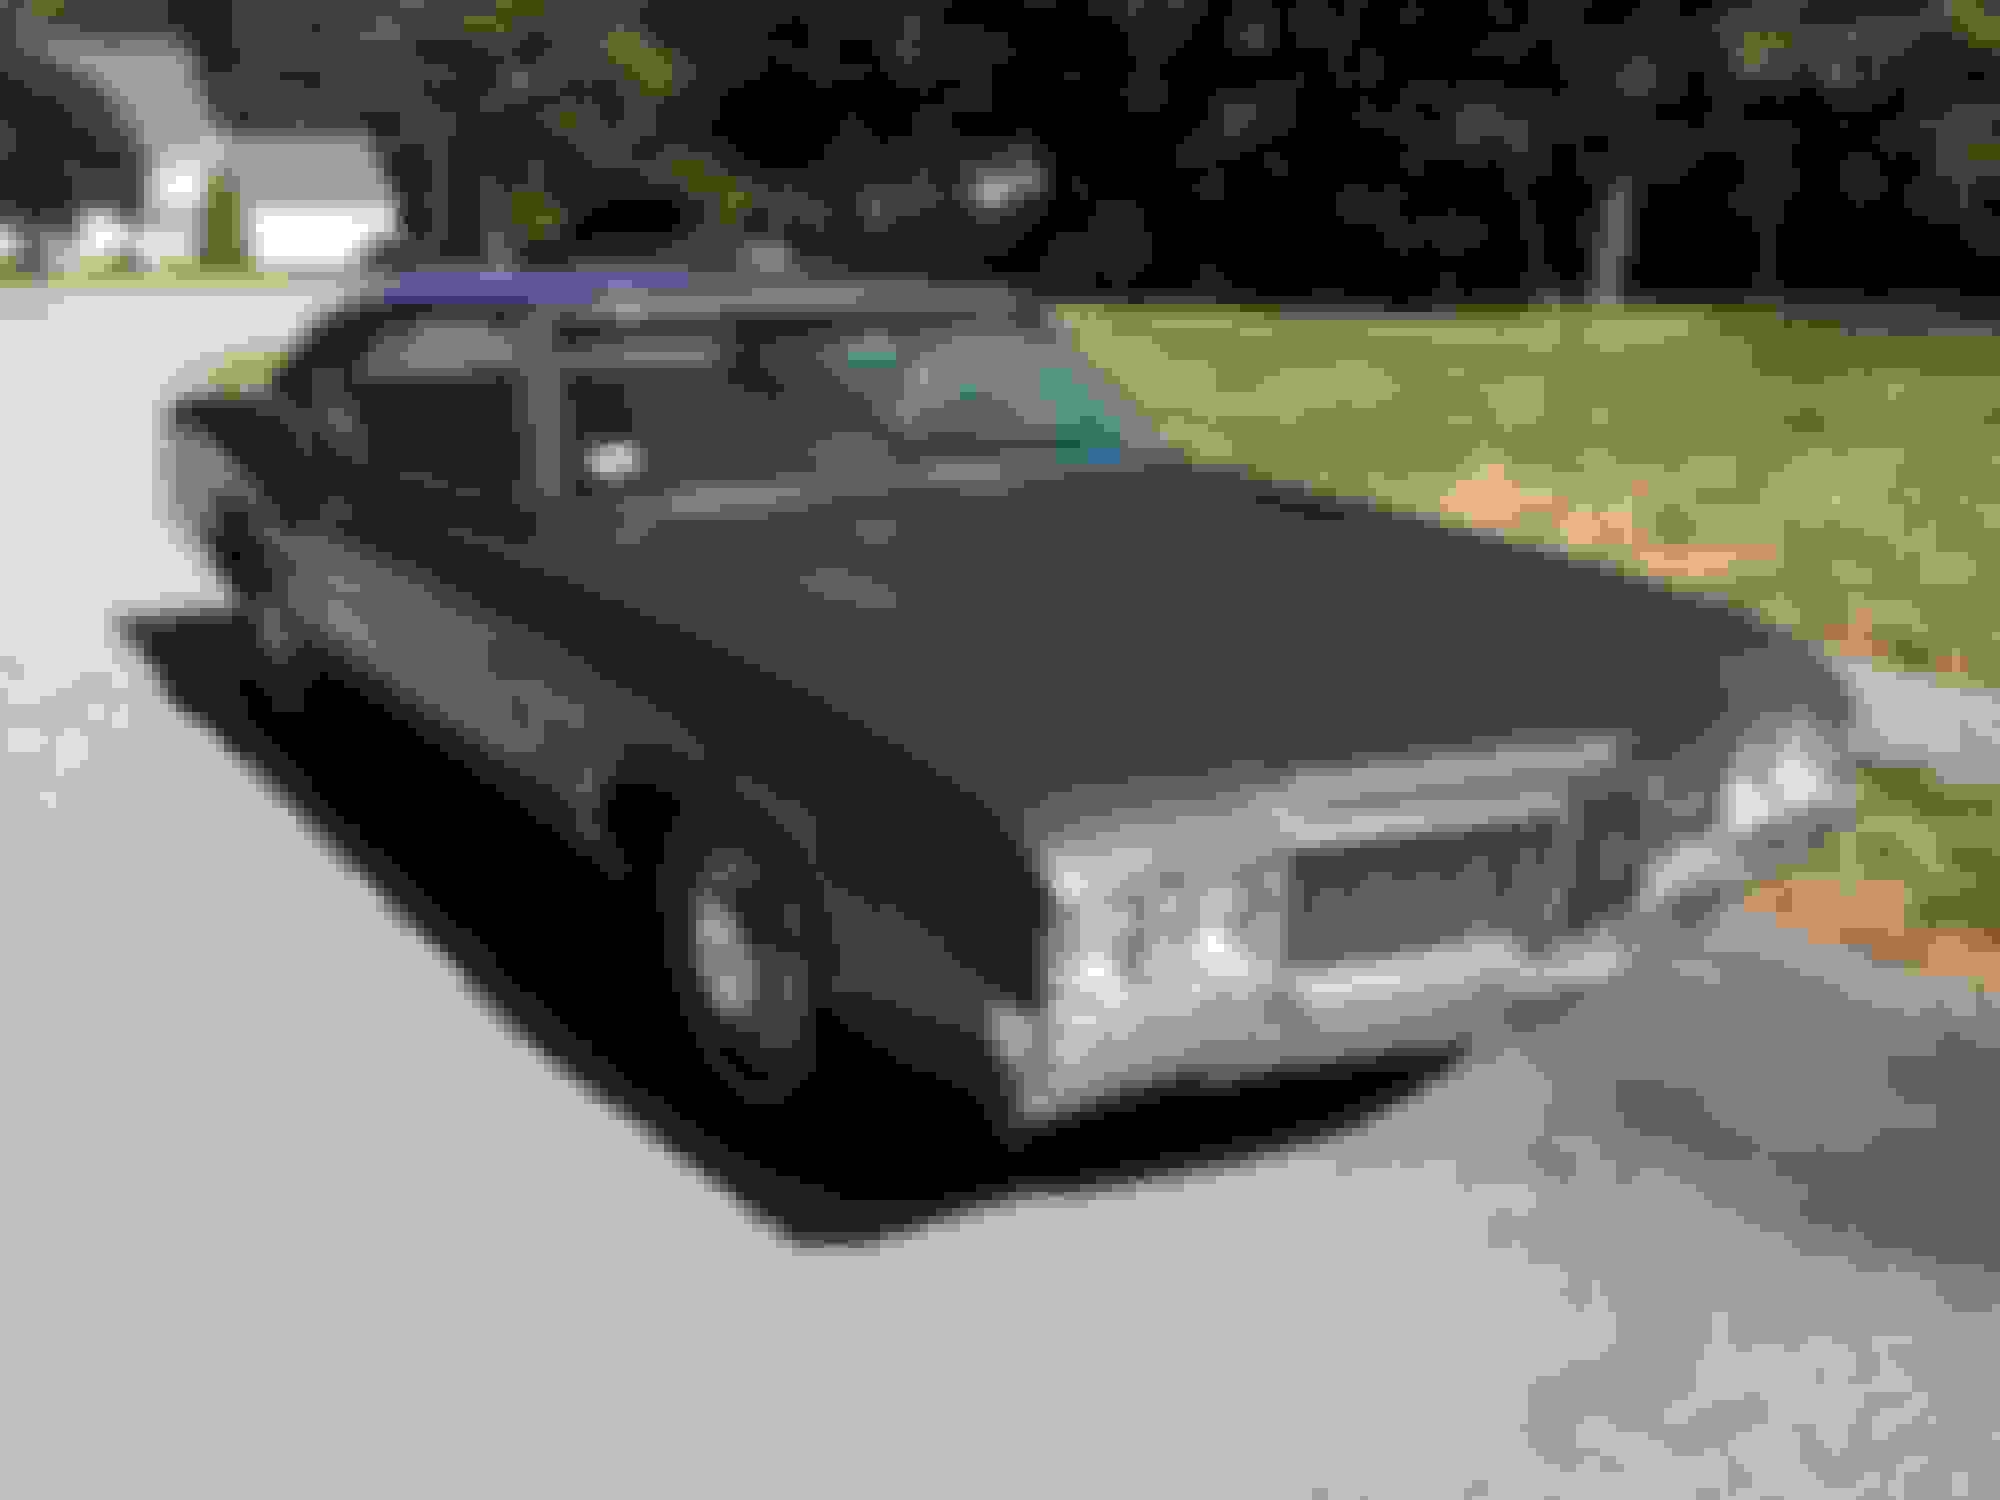
1970 Cutlass Supreme, Engine 350 2bbl, Gross HP 250.
Rear axial, 12-Bolt with Posi-Traction (2.78 differential).
Millage 133k, Oil changed 80+ times during the first 90k miles.
It's the quietest v8 I have ever heard.
Model: Cutlass Supreme
Body: 2dr Hardtop Coupe
Plant: Framingham, Massachusetts
This car is a striped down Granny car. The only options the car has are Power Front disk brakes and a 12-Bolt Anti-spin axel.
Parts of the car are in good condition and some parts are not. The Front fenders are rotted, Rear quarter and wheel wells are also holy. The Trunk floor and cabin floor are in good shape.
The Trunk lid, Roof, Hood and doors are all in great good shape.
The Rear window deck has only surface rust and a water leak.
The front windshield and air box area section are rust free and a water leak.
I have only had the car for a few days.
The engine starts on the first try and the car is much faster than my 1971 350 4-bbl. The car is fully registered, so I have the ability to drive it to the shop to handle the stuff that are beyond my still set and tools.
Restoration Goals:
Make the car Safe and reliable.
Keep the car looking mostly original.
Cleanup Engine compartment, Interior and Suspension.
Evaluate the body work and do the body and paint last. Most likely, have a shop do all of the hard stuff quickly. I do not want the car sitting on blocks for a year.
Since this is not a 442 or SX, the body budget will be very limited.
The car lives near Lowell Massachusetts. This winter I may shop around for paint and body work.
For now, it's something to keep me busy on not-to-cold winter nights. It looks good from a Distance.
October:
Both Front and Rear windows leak. The gutter rust is minimal. There is no Rot-through in the window gutter channels. Just surface rust. I had a window shop remove the front and rear windows.
I wire brushed all of rust and old glue from the frame and painted with "rust encapsulate".
The shop guy, shaved off the Window antenna cable. The insurance covered a new replacement front window.
Engine area:
The car was garaged for the first 30 years and well maintained. The next 10 years it lived outside in the summer and did get basic maintenance. The engine area is rusty, but mostly original. The carburetor was replaced with an Oldsmobile 1973 dated 2-bbl Rochester Q-Jet carburetor. The Timing gears and chain were already replaced and the 350 transmission rebuilt.
I started the engine Tune-up process.
I tackled the Distributor and points first, but forgot to the check the distributor vacuum advance first.
After installing the new points, I went back and checked the vacuum.
I used a hand vacuum pump on the distributor vacuum line and verified the Distributor vacuum advance was bad.
No sense in rebuilding a 45-year-old distributor, so I just happened to have a new spare distributor in a box.
The new distributor installation went fine. I used the fixed metal brake vacuum line to make distributor alignment marks. It worked, but my GM mechanic told me it's much better to put masking tape on the firewall and point the cap lead at the firewall and mark it.
The new All-in-one "points plus attached capacitor", would not make a spark or show up on the dwell meter. The two of us spent an hour trying adjust the points to get a spark out of the new Duralast points.
We gave up and I cleaned and re-installed the old points.
The engine started first try. A short time later we had the rest of the settings dialed into the Service Manual and to the satisfaction of my GM mechanic named "Candy".
Dwell = 30, Timing at 1,100 RPM = 10 BDC, Idle RPM set, Drive RPM set.
The Short road trip was good. Instant start. And with a little effort, the 2.78 posi-traction will spin both of the old tires. There is No smoke from the exhaust or from the PVC hose.
I still have more work on the engine, however I am satisfied the engine / transmission and drive system are in good working order.
Engine Cleanup:
A few items under the hood have been replaced by previous owners. A cheap replacement radiator 2-Core, Master Brake Cylinder, Timing gears and chain and Carburetor changed from 1970 to a 1973. The owner said, the fuel filter broke off while changing the filter.
The battery box had disintegrated. All that was left were a thin skeleton and 4 bolts. I ordered a new "matching" replacement battery tray did not match "any" of the existing bolt hole. Also, the new tray did not come with a battery hold-down bolt and clamp. A few days after installing the new battery tray, the battery fell out and was damaged beyond repair.
Window Frames:
I took out the Front and Rear windows to clean up the rust and re-sealed the original windows.
There were many layers of extra glue applied to the windows to stop the leaks. They were not successful.
The glue was removed and a wire wheel was used to remove most of the paint to metal.
A few coats of rust encapsulator finished off the frame.
Lets hope this stops the leaks. The rain did cause the carpets to rot and some floor rusting issues.
The window installer cut off the antenna wire by accident. The insurance covered a free new windshield.
Both windows are now in place, but I have an intermittent antenna signal issue that needs to be debugged.
Its too snowy to test to see if the leaks are gone.
Cleaned and primed, after a few days of drying, the new windows were installed.
The windows are back in, so I took it to a frame shop to patch a few holes in the frame.
The shop specializes in Hondas and Toyotas. The owner of the shop does like Oldsmobile's.
He has been rebuilding (full body off restoration) a 1972 Hurst Olds Convertible for the past 5 years.
Maybe this year, he will get it on the road.
When I bring in my cutlasses for work, he uses them a guides for how to put his Hurst-Olds back together.
There were three frame holes that needed to be fixed. It looks like he did good work. The patches were later covered with POR-15.
Goals.
Replace front bench seat covers.
Replace Carpet.
Hose down everything else and try to get rid of 46 years of dirt.
Overall the Interior is in good shape. The Perl vinyl is dirty and some parts have turned yellow.
Any tips for getting rid of the Yellow will be helpful.
I want to keep the Headliner, but it needs a good cleaning.
The Front bench seat is ripped. The rest of the vinyl is intact.
I looked everywhere and did not find a Build sheet.
You might check on SEM Vinyl Spray Dye for the yellowing in the seat vinyl. Just follow their instructions and it should come out great.Some colors can be purchased in "Rattle Can" ,but the Pearl white might need to be custom mixed and be sprayed in a spray gun. I've seen cars that the whole interior color had been changed by spraying with SEM, and they still took trophies home with them. Larry
Depending on what caused the yellowing (nicotine, road grime, body oils, sun-induced plastic decomposition...), sometimes a strong detergent (Fantastik, Formula 409, Oil Eater, etc.) can help.
Sometimes bleach can help.
Sometimes a combination of the two (Clorox spray cleaner) can help.
Test on a small area, as any of the above can damage interior fabrics and threads.
That's a really cool car. I love the 1970 CS cars as well as the plain Jane look with the hub caps and all. Posi-trac and disc brakes! Wow! That would make an awesome sleeper.
Most of the Yellow is Sun-induced. There is one spot on the rear seat-back that is some type of oil spot (5 inches in diameter). Some of the Front window plastic trim came-in-contact with a black Window-adhesive. Where the black stuff touched the white rubber trim, it soaked into the white rubber material.
#1 Garden hose to remove the easy stuff and mouse nests, etc.
#2 Lots of Windex
#3 Spick and Span, with a two-sided sponge (soft and mild bristles).
This got rid of the basic top dirt and grime.
#4 Goo-Gone on many areas. This did remove most of the grease spots.
#5 A car-bleach style cleaner. Not sure of the brand, used it sparingly to avoid damage to the vinyl.
This stuff did make the threads on the Peral seats look less "Gray". I did not want to leave the Bleach on for too long.
#6 A heavy dose of Armor All on all vinyl and plastic. A friend with a few pristine BMW's, said to soak the bad parts in Armor-all for a full week before removing excess. I will try this strategy on a few parts soon.
All of this stuff did help.
However, I still have some bad yellow spots on the rear seat back and on the top of the door-cards. I will send pictures later.
Some of the Rubber-Trim is still yellow.
For the Soft vinyl-material, I applied minimal amounts of car-bleach.
And several doses of Armor-All, without much improvement (the soft dirt comes off, the Yellow stays).
For the Hard-plastic rubber (window trim and door trim), I applied many coatings of car-bleach and Armor-All, without much improvement.
The only sections I have not cleaned are the Headliner (only Windex) and the Rear window upper side panels.
I do not want to replace the headliner, I would prefer to clean it in place.
Build Sheet:
This car has had 2 Owners and the car has been re-painted. There is evidence the carpets were taken out at least once.
I have the build sheet for my 1971 CS from Framingham. Not sure where it was hidden.
On this car 1970 CS Framingham, I have looked everywhere except above the gas tank.
I searched every crevasse of the Trunk, Removed all seats and look inside the seat backs, Removed carpet, Removed door cards, etc.
Any suggestion from other Framingham CS owners would be helpful.
As for existing car paper work, I have all documents "After" the First Oil change (about 90+ oil change receipts). I do not have any documents or other paperwork from this car.
Plastic Paint:
I have never tried to paint the soft vinyl material yet.
I have had some success with painting the interior metal trim and plastic parts such as the Arm-rests and plastic bucket seat-backs. My 1971-CS, also has a Pearl interior.
Here is my Formula for a good "SEM" Pearl hack.
2-3 coats of SEM Ivory shaker-can and let dry.
2 coats of SEM Super White shaker-can and let dry.
The Result is bright White with a little yellow-ish-brown tint.
Sleeper:
Hi Olds4442redberet:
I agree completely. It can be an awesome sleeper.
I am planning on keeping the steel wheels and cleaning up the original hub caps.
The 1970 factory 2-bbl has 9.5 to 1 compression. With a published 250 Gross Horsepower.
I have not driven this car much, but it is definitely faster, smoother and quieter-engine than my 1971 4-bbl, dual exhaust and theoretical 200 Net Horsepower.
The 1970 also appears to have better gas mileage too, than my 71.
The suspension was shot. The car wandered all over the road.
There was no visible accident damage, just worn springs and bushings.
I researched the parts I needed and compiled my list, including suspension parts and springs. Every company has different prices and shipping costs.
It is hard to compare one company another with so many variables.
There was a big price difference in Front Bench seat covers (company-A $280, company-B $350).
Overall, I need about $1,000 in parts.
Since company-B had more of the parts I needed than company-A, I called company-B and spoke to a "Human".
I prefer to do business with Humans with an American Accent, rather than computers in a foreign country.
We cross checked each part for a match to my 1970-CS.
When we got to the Bench seat cover, I told him the price a company-A was less than his price.
Company-B, did match the price.
A computer would never Price Match.
I handed the Suspension kit and set of springs to my Honda-Hurst shop and let them do most of the hard stuff.
The 90 Lub-Jobs did protect the Ball-joints. The Ball-joints did not need to be replaced. However, the Grease cover on top of the ball-joint had split open from being lubed 90 times and had covers had to be replaced.
The shop had to remove a few pounds of old-grease from the front suspension system.
I did get scolded by my Olds-Mechanic friend, he said I should only buy springs from Moog directly.
The front springs from company-B fit perfectly.
The rear springs were a full coil too short.
Fortunately, the shop contacted Moog and got the correct new set of rear springs delivered the next day.
The ride Hight of the car is perfect and the handling seems better.
The new catalog spring was a full coil too shot. The Rusty spring is the factory original rear spring.
Last edited by Miles71; January 13th, 2017 at 08:26 AM.
Great find. A good friend of mine had a '70 C/S back in the day, it was his wife's car (his was a '72 S). It had the 4-bbl 350 and was quite quick and was light yellow, almost vanilla color. I'll never forget the night it met its demise in the mid '80s: We were both at a party and had our Cutlasses parked along the road (my '68 behind his '70), and a drunk sideswiped his car, somehow completely missing mine.
Originally Posted by Miles71
I am planning on keeping the steel wheels and cleaning up the original hub caps.
Those are the same style hub-caps that my '68 wore when it was new. I still have them, although my originals said "Oldsmobile" around the perimeter instead of having the rocket in the center like yours. Although, I think I lost one years and picked up another that had the rocket before I swapped them for SSIs. Let me know if you need any, I'd be glad to donate them for your project for the cost of shipping.
…if the battery tray was rusted and or destroyed from a past leaking battery, then you might want to check the radiator core support bushing and rad core structure just below The core at the bushing might have rusted through and the bushing in the rubber mount will be rusted, the frame might be rusted…....
Last edited by Del70; January 13th, 2017 at 09:45 AM.
Hi Del70: That is a very good point and one worth pointing out to others.
A neglected battery and battery tray, can lead to very expensive repairs to the "Radiator Core Support" structure. The Battery tray is usually made from thick metal. The radiator core support is made from "thin" metal.
OPGI Part C241184, $389.79
When acid and water collect in the "Thick-Metal" battery tray, it will then pour through the drain holes in the bottom of the tray onto the thin metal radiator supports.
The battery and tray will hide visible damage which is being caused by the acid underneath the battery tray.
Fortunately, when I was inspecting this car, I noticed the battery tray was toast. I moved the battery to one side and I did check the radiator supports.
I got lucky, only the tray was destroyed, the radiator support was rusted with some pitting, but no Holes.
All 4 of the battery tray bolts had to be drilled out, to remove the tray fragments.
I then wire brushed the radiator frame and painted, before installing a new battery tray.
I am glad you brought up that topic.
Before buying a CS, take the battery out and look very closely all around the battery tray.
If you own a CS, you should remove the battery tray every 2 years and perform radiator support maintenance.
In the attached picture, you can see the heavily rusted battery tray. Parts of the tray have evaporated. Fortunately, the car was garaged for 30 years.
The batteries were well maintained and there was minimal leakage. If you look closely you can see several areas related for radiator and headlight support structures.
The metal under the tray was in similar good shape with minimal erosion.
You can also see all-of the metal filings I made while drilling out the 4 screws.
Rotted Battery tray. Held in by 4 bolts. Radiator frame under the tray was in good shape.
Last edited by Miles71; February 27th, 2017 at 05:58 AM.
Most of the Interior has been removed. The small rust spots have been patched with a new Bondo that has metal imbedded into the mixture. The stuff is expensive and looks Gray when dry.
The floors were brush painted with Rustoleum flat black. Since it is winter and I am working in an Unventilated Garage, it is not possible to even consider POR-15.
The fumes from POR-15 at too strong and should only be applied "Outside".
The Doors are all in good shape.
The bottoms of the doors were full of pine-needles and junk. However, after a good vacuuming, I was pleased NOT to find any rot. All of the locks and windows systems were re-greased and tested.
I think the bottoms of the doors should have a rubber water gasket at the bottom of the door, to allow water to drain out, easier. On this car the gaskets were missing and the two holes were wide open.
Maybe open holes helped keep down the humidity and allowed the doors to dry faster?
I discovered a broken spring on my driver Door "Repeater". This the device that the door Open handle is attached to.
I called a few of the big cars company's and no-one carries the Door-repeater for the 1970-1972 cars with "Chrome Back-plate Arm Rests".
It seems the Door-repeater comes in 2 different Shaft-Lengths.
The longer shaft (Approximately 35.5 millimeters) is required for CS that use the common "Chrome Back-plate Arm Rests".
The Big stores only sell the Short-shaft, for cars that do not have a back-plate behind the arm rest. Personally, I do not recall ever seeing a 70-72 without a back plate behind the arm rest.
I do not have the measurements for the Short-Shaft.
Looks like I will need to hit the Junk yards this spring.
Door Repeater. Shaft length is approximately 35.5 mm. The built-in spring will pull the door handle back down to its normal position.
Last edited by Miles71; January 16th, 2017 at 06:27 AM.
Big store car insulation is too expensive.
Dynamat cost about $10.00 per square foot for the self-sticking pads.
I used Lowes Frost King 0.125-in, which costs $1.87 Per square foot, for self-sticking.
I needed just under 60 square feet of the self-sticking for my interior.
Dynamat would have cost about $600.00
Lowes Frost King, cost $112.20
I also used Non-sticking insulation for placed such as the behind the rear seat, inside the doors and under the seats.
Reflectix 33.3-sq ft Reflective Roll Insulation (16-in W x 25-ft L), Item # 13353 Model # ST16025
Cost 16.25
My trick for installing door insulation:
Use the Non-Sticking insulation and a 2" Roll of Foil duct tape.
Make sure you have a box of disposable rubber gloves handy because the edges of the interior door holes are very sharp.
I stuffed the insulation between the outside-door skin and internal Horizontal Door beam. The gap between the skin and the door beam is about a 0.5 inches. The insulation is 0.3125 inches.
I would cut a 24" x 7" strip of insulation and fold it in-half (now 0.6250 inches thick).
Then slid the 7" folded strip into a hole near the front (Hinge side of the door), below the window crank.
I slid the strip between the Door beam and outside skin.
Once in place, I then wiggle / walk the 7" strip of insulation down to the Latching side of the door.
I repeat the process over and over again with another 6-7" strip until the whole length of the door Beam is full.
The door beam will hold the insulation in place.
The Foil Tape is Added later to keep the bottom edges flat.
This new insulation does not interfere with the Windows or latching system.
The insulation does block a lot of the road noise from echoing through the doors.
Carpet with Cinder Blocks:
I use the cinder blocks to hold the carpet in place while I trimmed the carpet.
The blocks also help re-form the carpet to fit the curves better.
Insulation:
The insulation on the back-seat cardboard is the cheap non-sticking insulation (0.50 per foot). I used a little Hot-melt glue to hold the insulation to the cardboard.
The Insulation directly below the steering wheel is made up of 2 layers of insulation (bottom later Self-sticking and top layer Non-sticking).
A few more layers of insulation were added to underneath the rear seat and the wheel-well areas.
The transmission hump is covered with the 2-layer of self-sticking insulation.
To make the insulation stick better, I carefully placed a 1500-watt space heater under the floor in the area I was working on. I would also use Foil tape to help hold down various sections of insulation.
Out of curiosity, I used a thermal temperature probe to check the temperate of the bare metal and the insulated spots. The bare metal spot near the seatbelt bolt hole was 90F.
The temperature of the single layer self-sticking insulation was 50F.
Cinder blocks help form the carpet to the curves of the floor.
Last edited by Miles71; February 27th, 2017 at 05:58 AM.
Window #1.
I hired a local glass company to remove my original front and rear windows.
Before the engineer arrived, I had already removed all of the window trim and stored the parts in the basement for safe keeping.
The glass company could not guarantee the windows would not be damaged, but they would try their best.
When the engineer arrived (a few hours late), he asked to see the window trim. I ran down to the basement and brought up the trim.
To my amazement, the engineer had already begun scraping the front window with his sharp tools.
I did not have time to warn him about the Built-in Window antenna cable.
The 4" wire, with the RCA connect, had been sliced away from the window.
There was no way to re-solder the antenna wire back onto the window.
Arrrrgggg.
Both the Front and rear windows came out without a scratch. Unfortunately, the front windows was no longer usable due to the missing antenna.
I called Hagerty Insurance and told them of the issue. They said, OK, you are covered, here is a check, get a new window.
Window #2:
A few weeks later, I had completed the repairs to the windows frames and they were ready to have the windows installed. As soon as the "New" front window was installed, I quickly plugged in the RCA cable to the firewall.
I had pre-configured the AM radio for a strong local station that could be heard in the garage.
As I leaned over the freshly glued windshield, I placed 1 hand gently at the center base of the window, while I plugged in the RCA connector with my other hand.
I heard a strong signal from the local AM station.
I thought, Great, I have a signal.
Then I took my hands off the windows and stepped back. The radio signal went away immediately.
I had assumed that when I stepped away from the car, I may have pulled at the cable, or I could have a loose rusty connection at the firewall.
I figured, I would debug the issue later. I did not want to risk putting pressure on the new windshield until it had sat for a few hours. A few weeks later, I "Got around" to debugging the bad radio connection.
The problem was caused by a missing solder connection between the glass embedded antenna wires and the small brass connection plate mounted at the base of the window.
At least 1 of the two wires needs to be connected to the brass plate.
There is also a 4-inch wire that is also soldered onto the brass plate. This wire has a RCA connect on the end of the wire that is plugged into the firewall.
Most of the brass plate in imbedded between the two window layers.
A small portion of the plate is exposed to allow the RCA wire to be connected to the brass plate.
When the window was first installed I heard a strong radio signal.
This was caused by my hand touching the brass plate, while I as plugging in the RCA connector. My body was acting as an Antenna.
I ran many different tests to verify my theory including:
Driving around listening for known strong stations (with window antenna).
Driving around with a 35" wire taped to the windshield and attached to the firewall (worked great).
Window #3:
After complaining to the glass company and missing my 30-day warranty period, we agreed on $130 for a new window including installation.
Before installing the new windshield, I had the installer, put the window on a stand. I then plugged in a spare 1971 Olds AM/FM radio, with a custom-made coax-cable (Motorola-male at one end and RCA-male at the other end).
The new window worked first try, strong AM signals from many stations.
And it still worked after the installation too.
Always thoroughly test your AM radio after a window installation. The FM section may still work even if the window wires are not connected.
This is because the 4-inch wire with the RCA connector is not a "Coax" cable.
It is just an unshielded piece of wire. The 4-inch wire will pick up FM signals from a very close FM broad cast station and may fool you into thinking the window antenna is working.
Last edited by Miles71; February 10th, 2017 at 12:44 PM.
Seat Covers:
The front bench seat covers were worn, dirty and ripped. The Rear seats were ok and just need a lot of cleaning.
I ordered a new set of bench seat covers from a popular reseller. The kit came with Bench seat cover, Left and Right Seat back covers, buttons and an Armrest cover.
The kit does not come with any ring clips or support wires. The Re-seller also "Price Matched" a competitor, which saved me over $70.
The color (Perl) and the pattern were a perfect match to the original seats.
You need to re-use the "long-ring-support wires" that are attached to the bottom of the seat covers, from the old seats. I have never installed upholstery before.
I recommend taking more pictures than I did. Especially of where the Support wire is attached to the frame with ring clips.
I reused my original ring clips on the new seat covers. It does help if you have two people to help squeeze the springs to make the covers slide on easier.
I was solo, so I used about 20x 1-foot lengths of fishing line to tie down the springs on the bench seat to help get the cover on.
Armrest:
First, I rebuilt the Arm-Rest. Again, I did not take enough pictures during the disassembly. I also used fishing line with slip-knots to squash the material in the armrest to allow the cover to slide on.
Then a few cuts later, I was able to remove all of the fishing line.
There is a metal cover that goes around the base of the armrest to hid the hinges. The old vinyl was cracked and there was no extra material in the kit.
So, I removed a section of material from the "lower back" of a Seat-back. With a little hot melt glue, the hinge cover was looking great.
The plastic screw covers that hide the mounting bolts disintegrated. I just installed the bolts without the cosmetic covers.
Bench Seat Cover:
The main bench seat cover installing went ok. The fishing line held the springs compressed and allowed the cover to slid on easily. I started attaching the clips on the driver side (to the lower support wire) and worked my way around the front.
Then I had issues with the support wire-length and excess tension. In hindsight, I should have started in the center of the front bench seat and worked in both directions.
I only had 1 left over part, a cardboard divider.
Seat Backs:
I disassembled the passenger seat back. Then tried to install the new cover. It would not fit. I then measured the original seat and new cover. Each side of the cover was too small.
The overall circumference of the new cover was approximately 2" too small. I also visited an upholstery shop and had them verify my assumptions.
I called the reseller and provided them Pictures of the original seat and new seat covers. I also photo shopped measurement lines for 12 different measurements from the original un-molested seat.
They agreed the new seat covers were too small and the manufacture would ship me a new set soon.
That conversation was on December 23, 2016, its now February 27, 2017.
My intention is to Not bash the reseller or manufacture.
Mistakes will happen. I hope this one has a happy ending.
Last edited by Miles71; February 27th, 2017 at 05:59 AM.
I finally got around to checking the cylinder compression for all 8-cylinders.
I knew the engine was good, but just wanted to verify.
I never see any oil smoke.
The engine starts easily and it�s the quietest Cutlass engine I have ever had.
There is NO tappet noise at all.
The lowest compression value after 4-spinds was 160 PSI, and the highest 165 PSI.
I am not sure what the value would have been for a brand-new engines compression check?
Rocket 350, 1970, 9:1 CR, 2bbl, single exhaust.
Considering the car has 135,000 miles, I think these values are great.
I took the valve covers off for some quick cleaning and painting.
The old cork gaskets came off easily (these were not the original gaskets).
The inside of the passenger side cover was nice and shiny. There was no oil-sludge buildup.
The inside of the drivers cover (PVC value side), did have a thin rough-dry coating of sludge on the cover.
All 4-oil drains were clear and there was no sign of sludge buildup on the heads or rocker arms.
Theory:
The Driver side cover, with the PVC value, had a thin rough-dry coating of sludge.
The Passenger side was shiny.
This is because the PVC value sucks the oil fumes into the DS cover and then into the carburetor.
The Passenger side cover, gets fresh air through the air cleaner and oil-filter-breather screen.
The air on the driver's side will be dirtier and full of oil and crud.
When the engine is turned off, the remaining dirty air, will condense and stick to the sides of the cooler valve cover.
Here is a shot of the engine, with a few more sections painted.
I pulled off the front bumper to repair a crack in the plastic grill.
While it was off, I cleanup up the whole front section.
Repainted some of the metal with Satin Black.
Repainted Grill parts with Krylon Dull Aluminum #1403.
Chrome polished the original front bumper, it looks much better now.
Replaced the chrome bumper bolts with new bolts.
Replaced the battery tray and Negative cable.
Rear Bumper area:
I did not feel like pulling the rear bumper. I just removed a few parts for cleaning and painting.
I used the Krylon Dull Aluminum #1403, to re-paint the rear tail light assemblies.
The Rear bumper is a 10 year-old, aftermarket bumper. The chrome is not as good as the 47 year old original front bumper. It did require more cleaning and touch-up labor.
The tail-light reflectors are just bare aluminum metal color.
I painted the bare metal with white-Testors model paint.
Painted the whole script semi-gloss Testors black.
Then used brillo on the front surface to remove the black paint and reveal the chrome.
Repaired and ready for installation.
A tip for the perfectionist.
The original 1970 grills, have the Horizontal grill support bars painted flat black (I missed a few spots).
The after market grills are just painted aluminum color.
Front bumper off, and ready for cleanup.
Front bumper, grills and lights are back on.
And I did not have any extra parts.
Last edited by Miles71; March 3rd, 2017 at 05:31 AM.
 January 12th, 2017, 08:21 AM