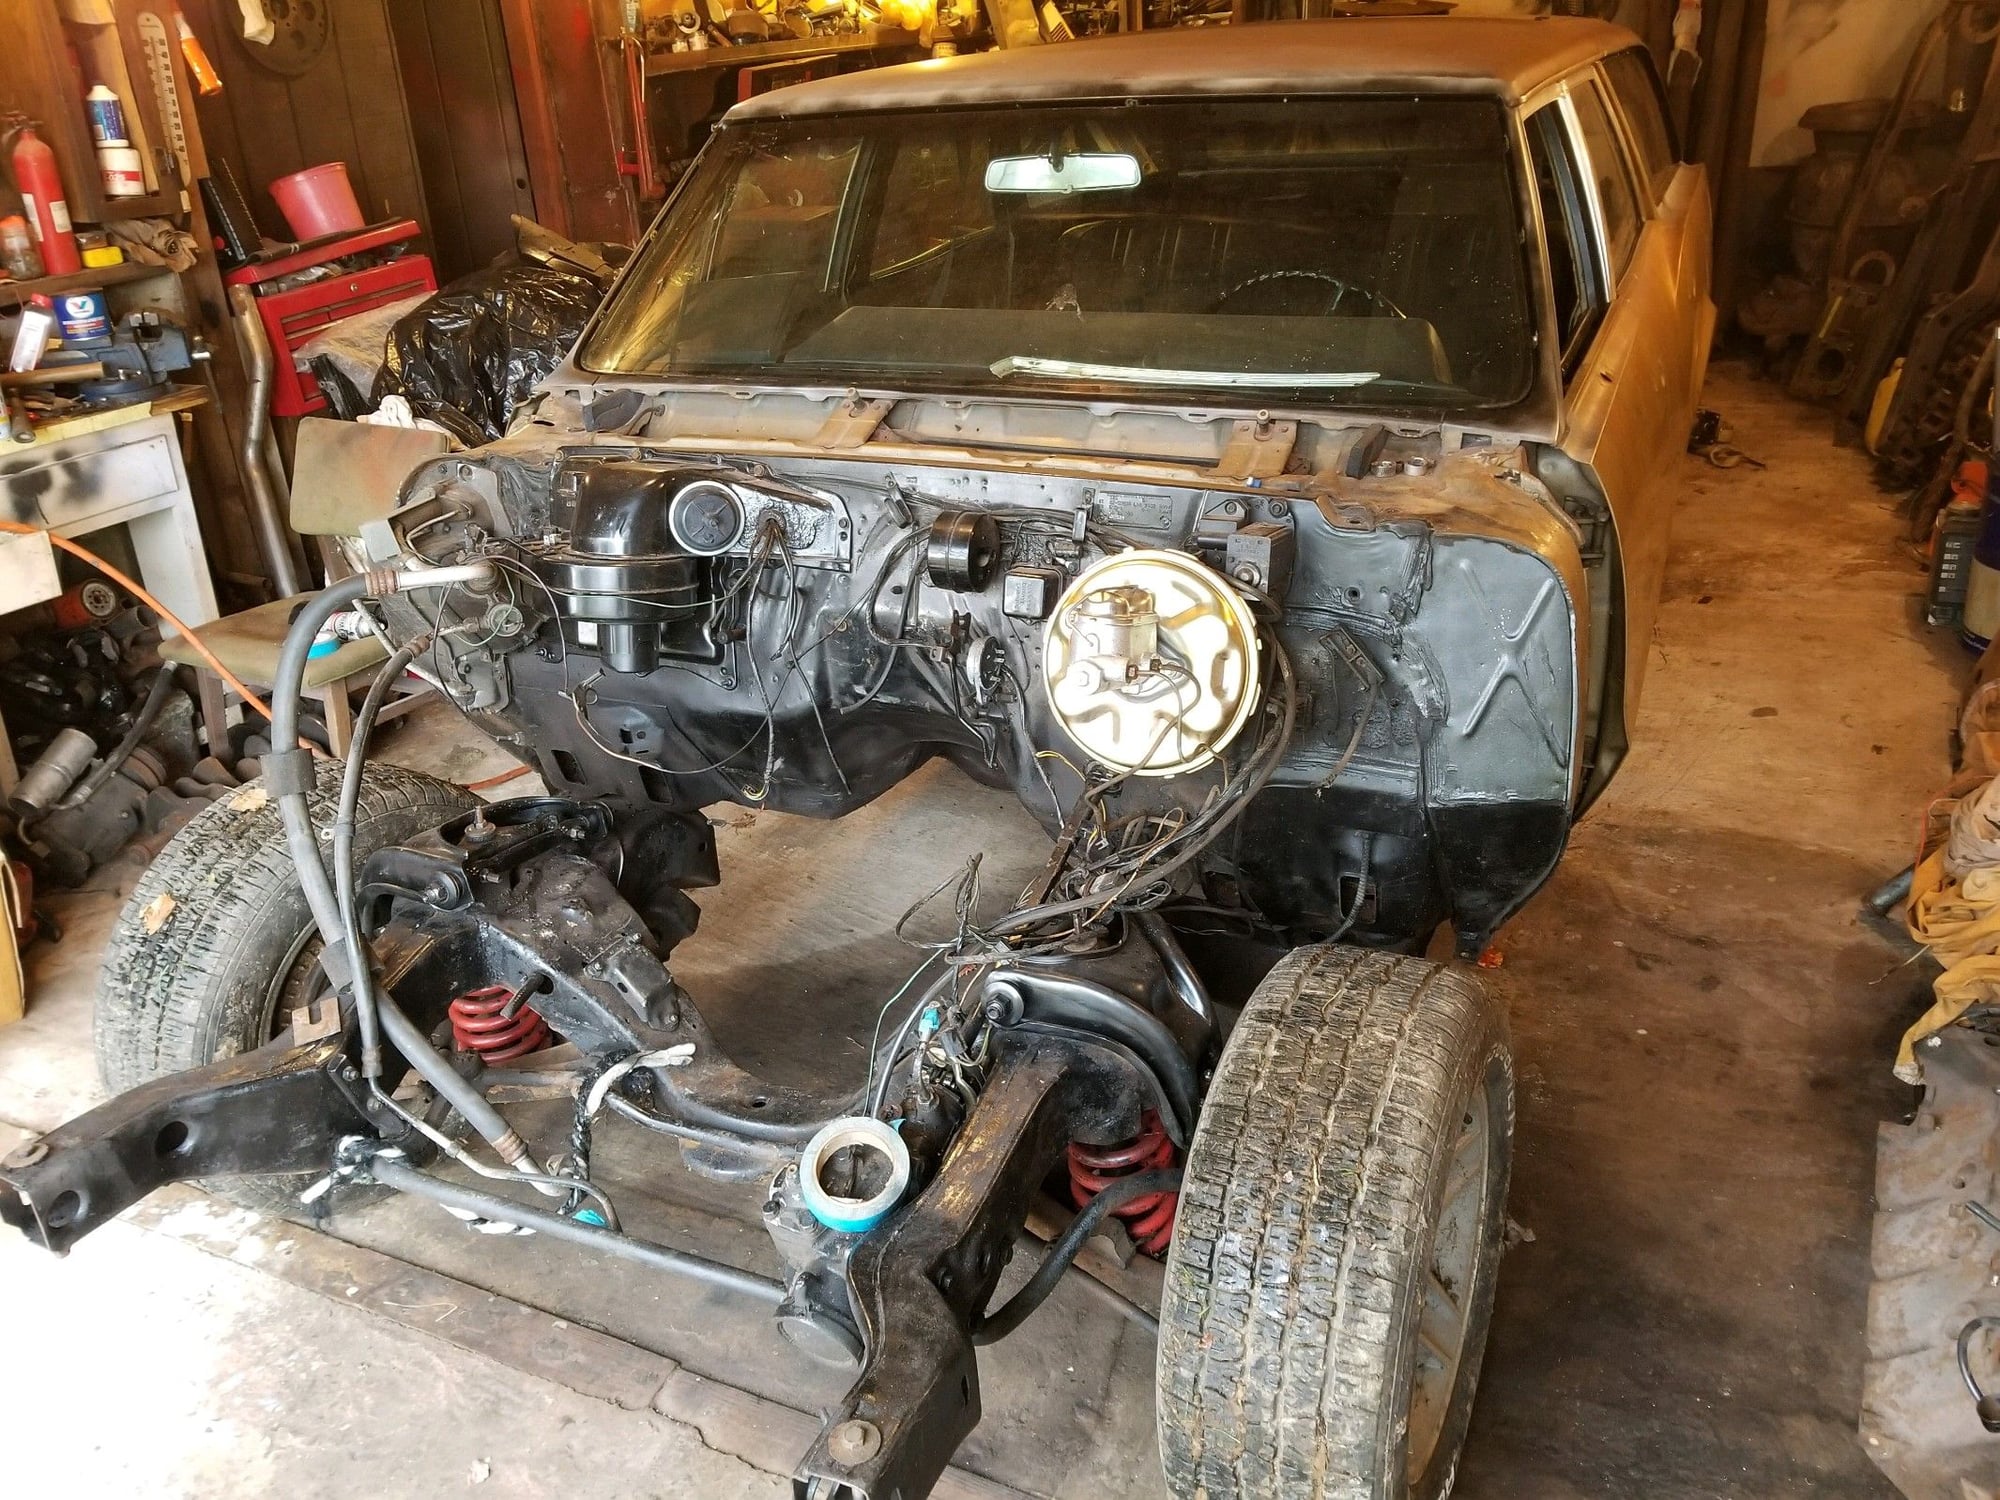
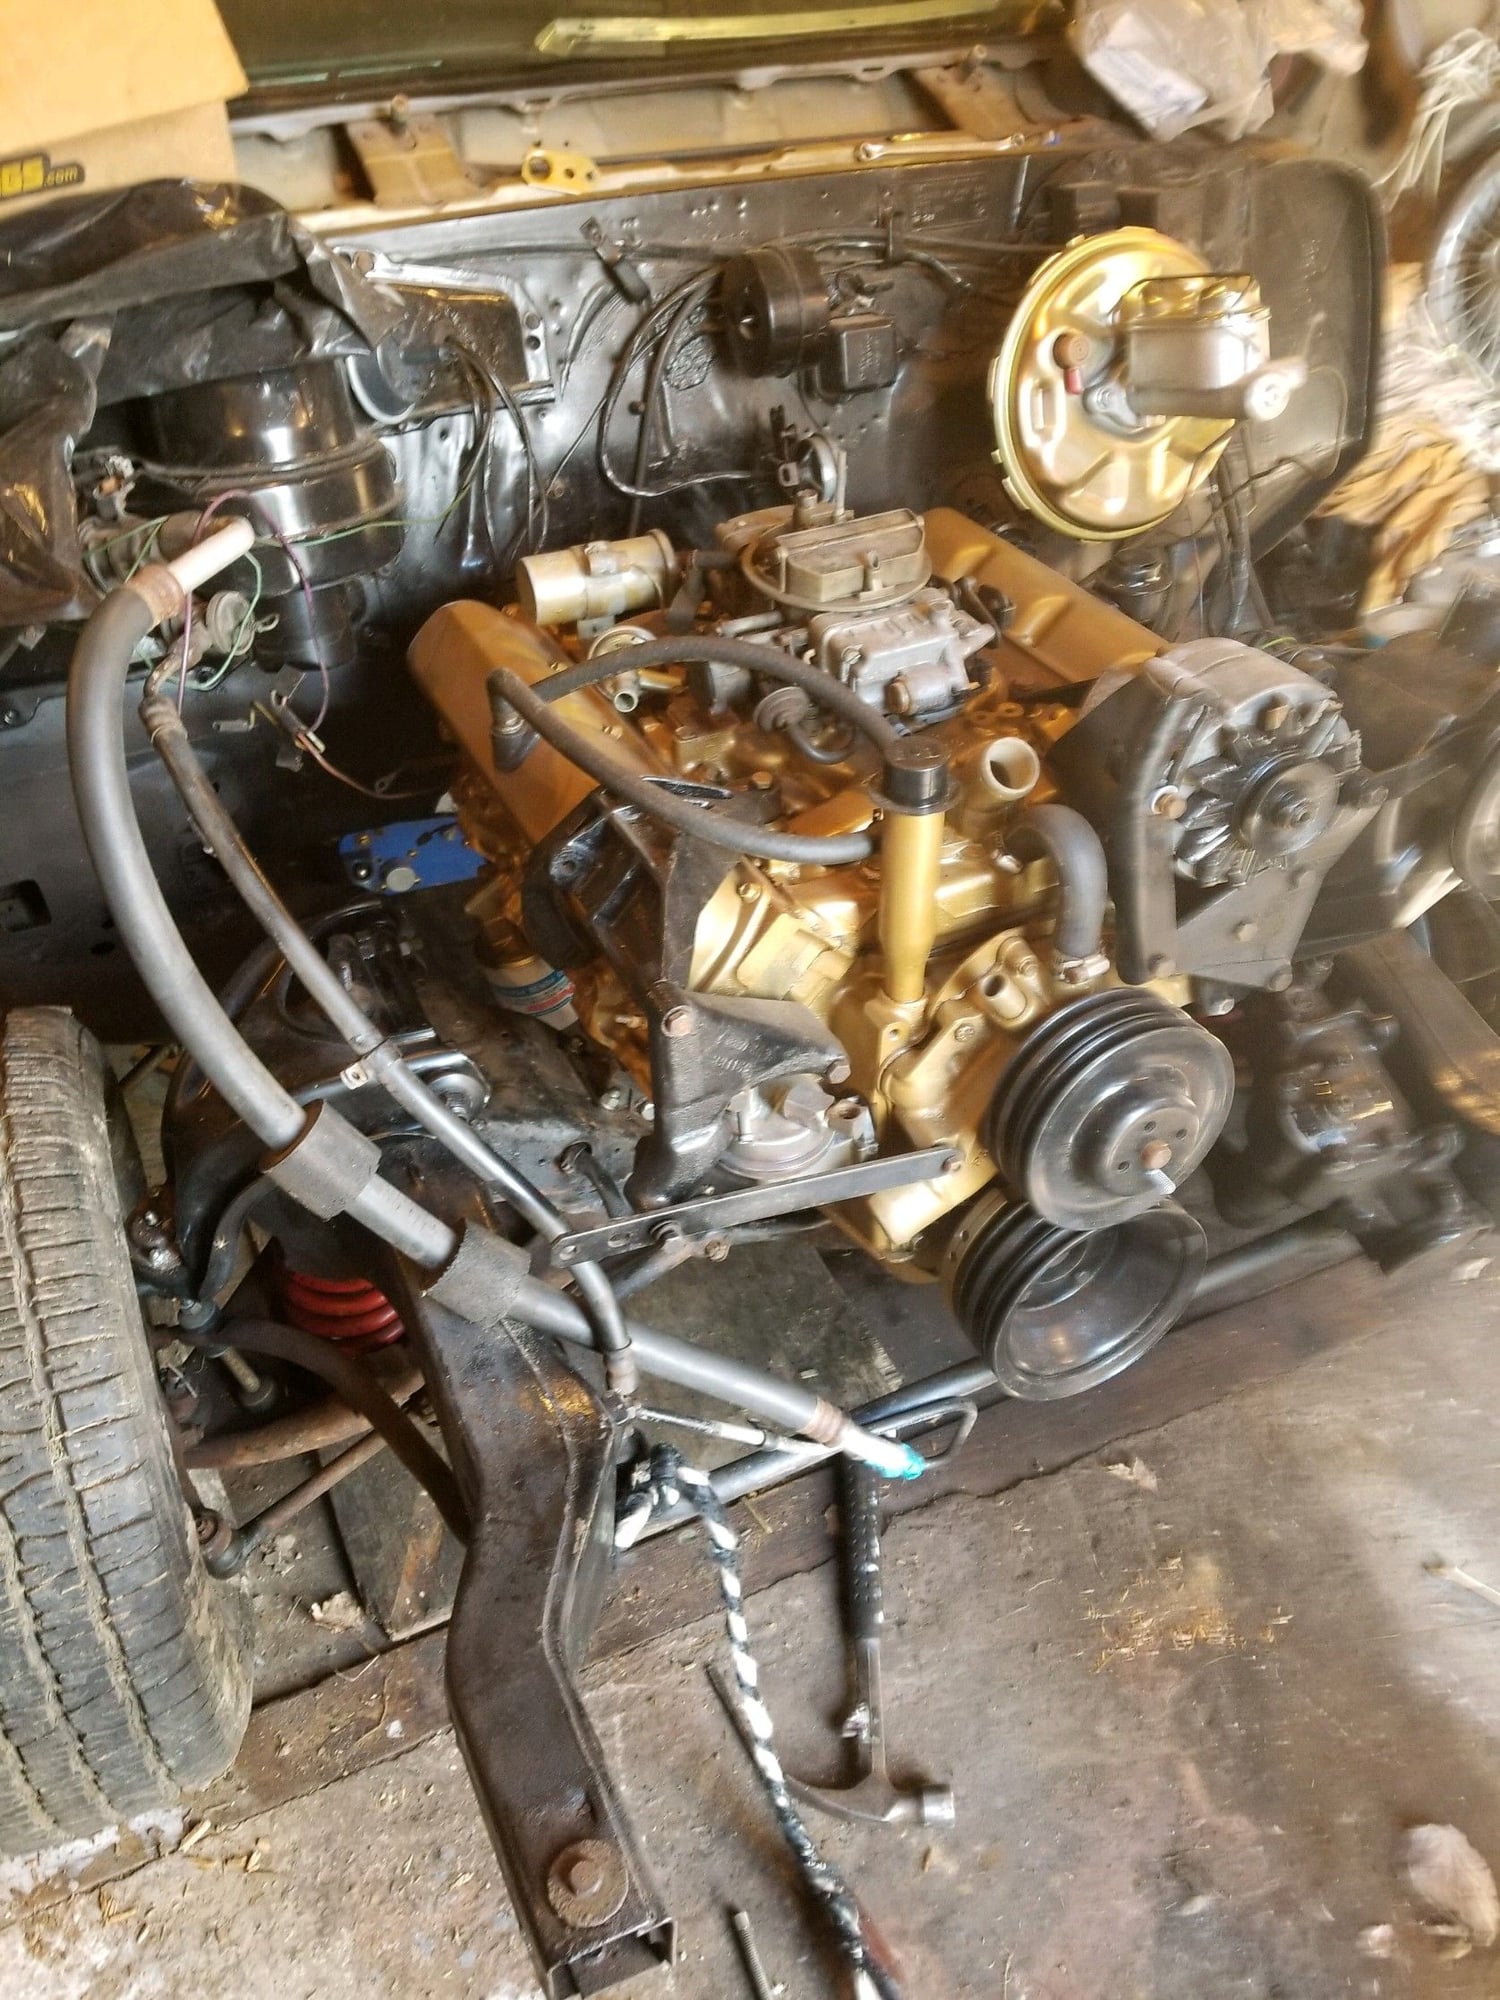
Maniac on the Loose yet Again! 67 wagon

Old January 21st, 2015, 10:53 AM
  #81  
Registered User
Thread Starter
 
Oldsmaniac's Avatar
 
Join Date: Oct 2005
Location: NJ
Posts: 7,020
I bolted on the heads with steel shim head gaskets. The cam went in, timing set, front cover and oil pan. I primered and painted what was there with Fusick gold paint. It looks like a good match. My pushrods were too rusty to use so I thought I could use the ones out of the 403 but they were shorter than the 330 ones. With trial of the stock ones the lifter preload was next too nothing. Some new ones are on order that are slightly longer than stock. This way I can shim the rocker bridges to get the lifter preload I desire. I still need to clean the intake and paint the valve covers and get the pulleys are brackets in order.
Oldsmaniac is offline  
Old January 21st, 2015, 02:56 PM
  #82  
Registered User
 
Eddie Hansen's Avatar
 
Join Date: Jan 2008
Location: South River, New Jersey
Posts: 3,515
Glad to see you made use of the thaw, snow headed your way my friend.... man your fast
Eddie Hansen is offline  
Old January 21st, 2015, 03:01 PM
  #83  
Registered User
 
klm57's Avatar
 
Join Date: Jan 2015
Location: Grand Haven Mi
Posts: 54
Thumbs down

Had one exactly like it,same color,only owner had seats redone in plain smooth black vinyl!! YUCK
klm57 is offline  
Old January 21st, 2015, 04:27 PM
  #84  
Registered User
Thread Starter
 
Oldsmaniac's Avatar
 
Join Date: Oct 2005
Location: NJ
Posts: 7,020
Originally Posted by Eddie Hansen
Glad to see you made use of the thaw, snow headed your way my friend.... man your fast
Escaped the monsoon last Sunday too!
Oldsmaniac is offline  
Old January 21st, 2015, 04:30 PM
  #85  
Registered User
Thread Starter
 
Oldsmaniac's Avatar
 
Join Date: Oct 2005
Location: NJ
Posts: 7,020
Originally Posted by klm57
Had one exactly like it,same color,only owner had seats redone in plain smooth black vinyl!! YUCK
The 66 Sfire I had, had plain black vinyl seat covers.... they werent on there long...ugly!
As for the gold paint its ok.
Oldsmaniac is offline  
Old January 21st, 2015, 05:47 PM
  #86  
Registered User
 
Eddie Hansen's Avatar
 
Join Date: Jan 2008
Location: South River, New Jersey
Posts: 3,515
Originally Posted by Oldsmaniac
Escaped the monsoon last Sunday too!
Sure rub it in... lol.
Eddie Hansen is offline  
Old January 30th, 2015, 10:26 AM
  #87  
Registered User
Thread Starter
 
Oldsmaniac's Avatar
 
Join Date: Oct 2005
Location: NJ
Posts: 7,020
Got some parts lined up to go on this weekend and I hope to grab some pictures. Turns out I had a brain fart... After looking on ebay for about an hour for pushrods that would work I found a set of 8.375 ones that are within the range I need but they were priced at 125 bucks. Seeing other sets for as low as 29 dollars I kept looking and found some 8.380 pushrods that were 3/8 diameter but the price was 50 bucks with free shipping. I did the buy now and when they arrived I see they are a set of 8 and not 16 even though the picture showed what looked like a complete set. Guess it pays to read! Well the other 8 are on the way for another $50.
Oldsmaniac is offline  
Old January 31st, 2015, 01:50 PM
  #88  
Registered User
Thread Starter
 
Oldsmaniac's Avatar
 
Join Date: Oct 2005
Location: NJ
Posts: 7,020
A few pictures, even the yard cat had to come in out of the wind and freezing temps. He's on the TC about 6 ft from the pot belly stove!
Attached Images
File Type: jpg
CIMG5016.jpg (69.1 KB, 271 views)
File Type: jpg
CIMG5017.jpg (69.5 KB, 245 views)
File Type: jpg
CIMG5006.jpg (75.7 KB, 236 views)
File Type: jpg
CIMG5015.jpg (71.7 KB, 247 views)
Oldsmaniac is offline  
Old January 31st, 2015, 02:15 PM
  #89  
Administrator
 
oldcutlass's Avatar
 
Join Date: Oct 2009
Location: Poteau, Ok
Posts: 40,519
Looking good.
oldcutlass is offline  
Old January 31st, 2015, 02:48 PM
  #90  
Connoisseur d'Junque
 
MDchanic's Avatar
 
Join Date: Sep 2010
Location: The Hudson Valley
Posts: 21,183
Hey, that looks like the yard cat my wife let in last year.

Darned thing'll sit outside on the porch at 35° in a rainstorm all day long instead of coming inside.

- Eric
MDchanic is offline  
Old January 31st, 2015, 03:17 PM
  #91  
Registered User
 
DLaz70OLDS98's Avatar
 
Join Date: Sep 2013
Location: Ft Myers Florida
Posts: 439
Looking good Joe. That cats no dummy, it damn cold out there today. I was working on the Cutlass today for a little while and cashed it in early cause I couldn't feel my finger tips. Keep up the progress.
DLaz70OLDS98 is offline  
Old January 31st, 2015, 03:43 PM
  #92  
Registered User
 
Eddie Hansen's Avatar
 
Join Date: Jan 2008
Location: South River, New Jersey
Posts: 3,515
Drew I know joe is working indoors, I hope you are too, I wouldnt be doing anything if I had to be outside brrrrrrrrrrrr its like 28 degrees before the wind chill....
Eddie Hansen is offline  
Old January 31st, 2015, 03:44 PM
  #93  
Registered User
 
Eddie Hansen's Avatar
 
Join Date: Jan 2008
Location: South River, New Jersey
Posts: 3,515
Nice work joe ...
Eddie Hansen is offline  
Old January 31st, 2015, 04:02 PM
  #94  
Registered User
 
DLaz70OLDS98's Avatar
 
Join Date: Sep 2013
Location: Ft Myers Florida
Posts: 439
Originally Posted by Eddie Hansen
Drew I know joe is working indoors, I hope you are too, I wouldnt be doing anything if I had to be outside brrrrrrrrrrrr its like 28 degrees before the wind chill....
I'm inside Eddie, but I have a very small space heater and when it's 19 degrees out it doesn't cut the mustard. Lol
DLaz70OLDS98 is offline  
Old January 31st, 2015, 04:35 PM
  #95  
Connoisseur d'Junque
 
MDchanic's Avatar
 
Join Date: Sep 2010
Location: The Hudson Valley
Posts: 21,183
Originally Posted by Eddie Hansen
... I wouldnt be doing anything if I had to be outside brrrrrrrrrrrr its like 28 degrees before the wind chill....
28°? Ha. I waited for it to be that warm a couple of weeks ago so I could change an ABS sensor.

Likely going below zero here tonight, and not going above about 15° for the next few days.
28° is like living in Miami!

- Eric
MDchanic is offline  
Old January 31st, 2015, 04:49 PM
  #96  
Registered User
 
Eddie Hansen's Avatar
 
Join Date: Jan 2008
Location: South River, New Jersey
Posts: 3,515
Originally Posted by MDchanic
28°? Ha. I waited for it to be that warm a couple of weeks ago so I could change an ABS sensor.

Likely going below zero here tonight, and not going above about 15° for the next few days.
28° is like living in Miami!

- Eric
um no thanks.... I am telling ya as soon as I retire heading south its getting cold now well below 28 but I was out in the shop had the propane heater going wasnt too bad. Thing is can only do things that doesnt involve solvents....

Joe inspired me to not waste thewinter months so workingbhard at it,,,
Eddie Hansen is offline  
Old January 31st, 2015, 06:42 PM
  #97  
Registered Luser
 
ent72olds's Avatar
 
Join Date: Aug 2006
Location: LI,NY
Posts: 3,783
I'm sure everyone out in the Northeast here does this, but when I paint in the cold I like to steal the wife's hairdryer! Works great to preheat what you are painting as well as flashing in between coats! Keep it up Joe!
ent72olds is offline  
Old January 31st, 2015, 06:44 PM
  #98  
Registered User
Thread Starter
 
Oldsmaniac's Avatar
 
Join Date: Oct 2005
Location: NJ
Posts: 7,020
Thanks guys!!
Oldsmaniac is offline  
Old January 31st, 2015, 07:23 PM
  #99  
Registered User
 
Koda's Avatar
 
Join Date: Aug 2013
Location: Evansville, IN
Posts: 10,258
Good thread. Could you comment on the various head gaskets available for the 67 engines? Worried that I won't have original shims available for my 400 when I take it apart.
Koda is offline  
Old January 31st, 2015, 07:41 PM
  #100  
Registered User
Thread Starter
 
Oldsmaniac's Avatar
 
Join Date: Oct 2005
Location: NJ
Posts: 7,020
Originally Posted by Koda
Good thread. Could you comment on the various head gaskets available for the 67 engines? Worried that I won't have original shims available for my 400 when I take it apart.
I have been lucky to grab the steel shim gaskets when I see them at swaps and on Ebay. I do not know if they are available new or a source. The ones I find are Mr Gasket old stock or GM or other old stock.
Oldsmaniac is offline  
Old February 28th, 2015, 04:47 PM
  #101  
Registered User
Thread Starter
 
Oldsmaniac's Avatar
 
Join Date: Oct 2005
Location: NJ
Posts: 7,020
Have been cleaning brackets and painting them. I rebuilt the Holley 650 spreadbore and also the alternator. There is little left to do right now on the 330. I did have to round up another distributer as the one that came with the engine fell apart when I attempted to change the vacuum advance. It was cracked and that is what was holding it together. I am anxious to get the wagon inside the workshop and start getting into it for real.
Attached Images
File Type: jpg
engw.jpg (44.0 KB, 231 views)
File Type: jpg
0228151427-1.jpg (67.8 KB, 222 views)
Oldsmaniac is offline  
Old February 28th, 2015, 05:55 PM
  #102  
Connoisseur d'Junque
 
MDchanic's Avatar
 
Join Date: Sep 2010
Location: The Hudson Valley
Posts: 21,183
Nice.

- Eric
MDchanic is offline  
Old February 28th, 2015, 06:13 PM
  #103  
Registered User
 
nj_cutlass72's Avatar
 
Join Date: Jun 2011
Posts: 715
Looks good Joe!
nj_cutlass72 is offline  
Old January 21st, 2018, 05:23 AM
  #104  
Registered User
Thread Starter
 
Oldsmaniac's Avatar
 
Join Date: Oct 2005
Location: NJ
Posts: 7,020
Well, I thought it was about time to do something on the wagon and things have freed up a bit with other projects. I moved the wagon closer to electric and tools and heat since it is still January! Unfortunately there is no room inside so I am doing what I can for now. Since the guy I got the car from had a Pontiac engine in there I had to cut off the frame pads for the motor mounts because he moved them a bit and welded them to the frame. I see too he moved the brake junction block to the fender well so I will have to put it back where it belongs and see what else there needs attention. I cut out the rotted passenger floor pan and fitted the replacement. I also need to talk to my upholstery guy to see if I should purchase retro front bench seat covers for he sport coupe and have him adapt them to a non split front bench or go some other route. I am not aware of 4dr report seat covers for the Cutlass.
Attached Images
File Type: jpg
0120181210.jpg (262.7 KB, 184 views)
File Type: jpg
0120181145.jpg (223.0 KB, 167 views)
Oldsmaniac is offline  
Old March 3rd, 2018, 03:35 PM
  #105  
Registered User
Thread Starter
 
Oldsmaniac's Avatar
 
Join Date: Oct 2005
Location: NJ
Posts: 7,020
Spent a few days welding in the two front floor pans and patched a spot on a rear pan. Since the car will be converted to stick I also enlarged the chevelle repo floor hump using an original as a guide. It came out pretty good but did not cut the floor yet for install. I removed the fenders and hood today and have better ones to put on with less dents and rot. I see the windshield will have to come out as whoever did it last time they forgot to install the rubber positioning /stop blocks and the glass has slid down. I also see a spot or two there that needs welding. Both rear side glass panels will also need to come out for rot repair. I did drop off the front seat to be redone and the turnaround was very quick. I gave the guy the repo split bench seat covers and he made them into a non split bench as they do not repro them. It came out nice.
Attached Images
File Type: jpg
CIMG5094 copy.jpg (1.13 MB, 139 views)
File Type: jpg
CIMG5086 copy.jpg (1,018.9 KB, 130 views)
File Type: jpg
CIMG5091 copy.jpg (1.14 MB, 129 views)
File Type: jpg
CIMG5103 copy.jpg (1.06 MB, 157 views)
Oldsmaniac is offline  
Old March 3rd, 2018, 06:01 PM
  #106  
Registered User
 
Greg Rogers's Avatar
 
Join Date: Jan 2009
Location: Harrison, Michigan
Posts: 4,725
Glad your're back at it. Go man, go!!!
Greg Rogers is offline  
Old March 4th, 2018, 01:22 PM
  #107  
Registered User
Thread Starter
 
Oldsmaniac's Avatar
 
Join Date: Oct 2005
Location: NJ
Posts: 7,020
Originally Posted by Greg Rogers
Glad your're back at it. Go man, go!!!
Thanks! Definitely go time!
Oldsmaniac is offline  
Old August 7th, 2018, 03:28 PM
  #108  
Registered User
Thread Starter
 
Oldsmaniac's Avatar
 
Join Date: Oct 2005
Location: NJ
Posts: 7,020
Will try and get some pictures, a little progress has been made. Windshield went back in while the left rear side window came out. All I can say it is a rusty rotted mess there. I would not think it would be this bad since the glass sits almost vertical. Well I have been at it and the rot is about all patched, I have not looked at the other side yet. A new firewall pad has been installed, swing pedals mounted, new heater core in. The Ac and Heat boxes have been de-moused, lubed, and put back. The steering column has been swapped for floor shift and dash prndl bezel swapped out too. There was a little rot on rear wheel well under molding and some at lower tailight right side which also has been repaired. The inside cargo area has been painted and carpet purchased for it. The rear seat has been redone and folding parts painted and ready. The front end has been gone over with all new ball joints and upper control arm bushings. I also have 4 new 215 75 14 whitewalls mounted on steel wheels. 67 hubcaps will be used. Hmmm, I guess I got more done then I thought... When the body patching is done I will switch back to the brake system and mechanicals. I am not sure if engine and trans will go in before Winter.

Last edited by Oldsmaniac; August 7th, 2018 at 03:29 PM. Reason: spelling
Oldsmaniac is offline  
Old August 13th, 2018, 05:20 AM
  #109  
Registered User
Thread Starter
 
Oldsmaniac's Avatar
 
Join Date: Oct 2005
Location: NJ
Posts: 7,020
A few pictures of the side glass repairs. Left side about done just a little sanding still before a put the glass back. The other side does not appear to be as bad but welding is needed.
Attached Images
File Type: jpg
sw1.jpg (464.2 KB, 142 views)
File Type: jpg
sw2.jpg (470.6 KB, 135 views)
File Type: jpg
sw3.jpg (453.3 KB, 134 views)
File Type: jpg
sw4.jpg (430.5 KB, 126 views)
File Type: jpg
sw5.jpg (446.1 KB, 128 views)
Oldsmaniac is offline  
Old September 21st, 2018, 09:28 AM
  #110  
Registered User
Thread Starter
 
Oldsmaniac's Avatar
 
Join Date: Oct 2005
Location: NJ
Posts: 7,020
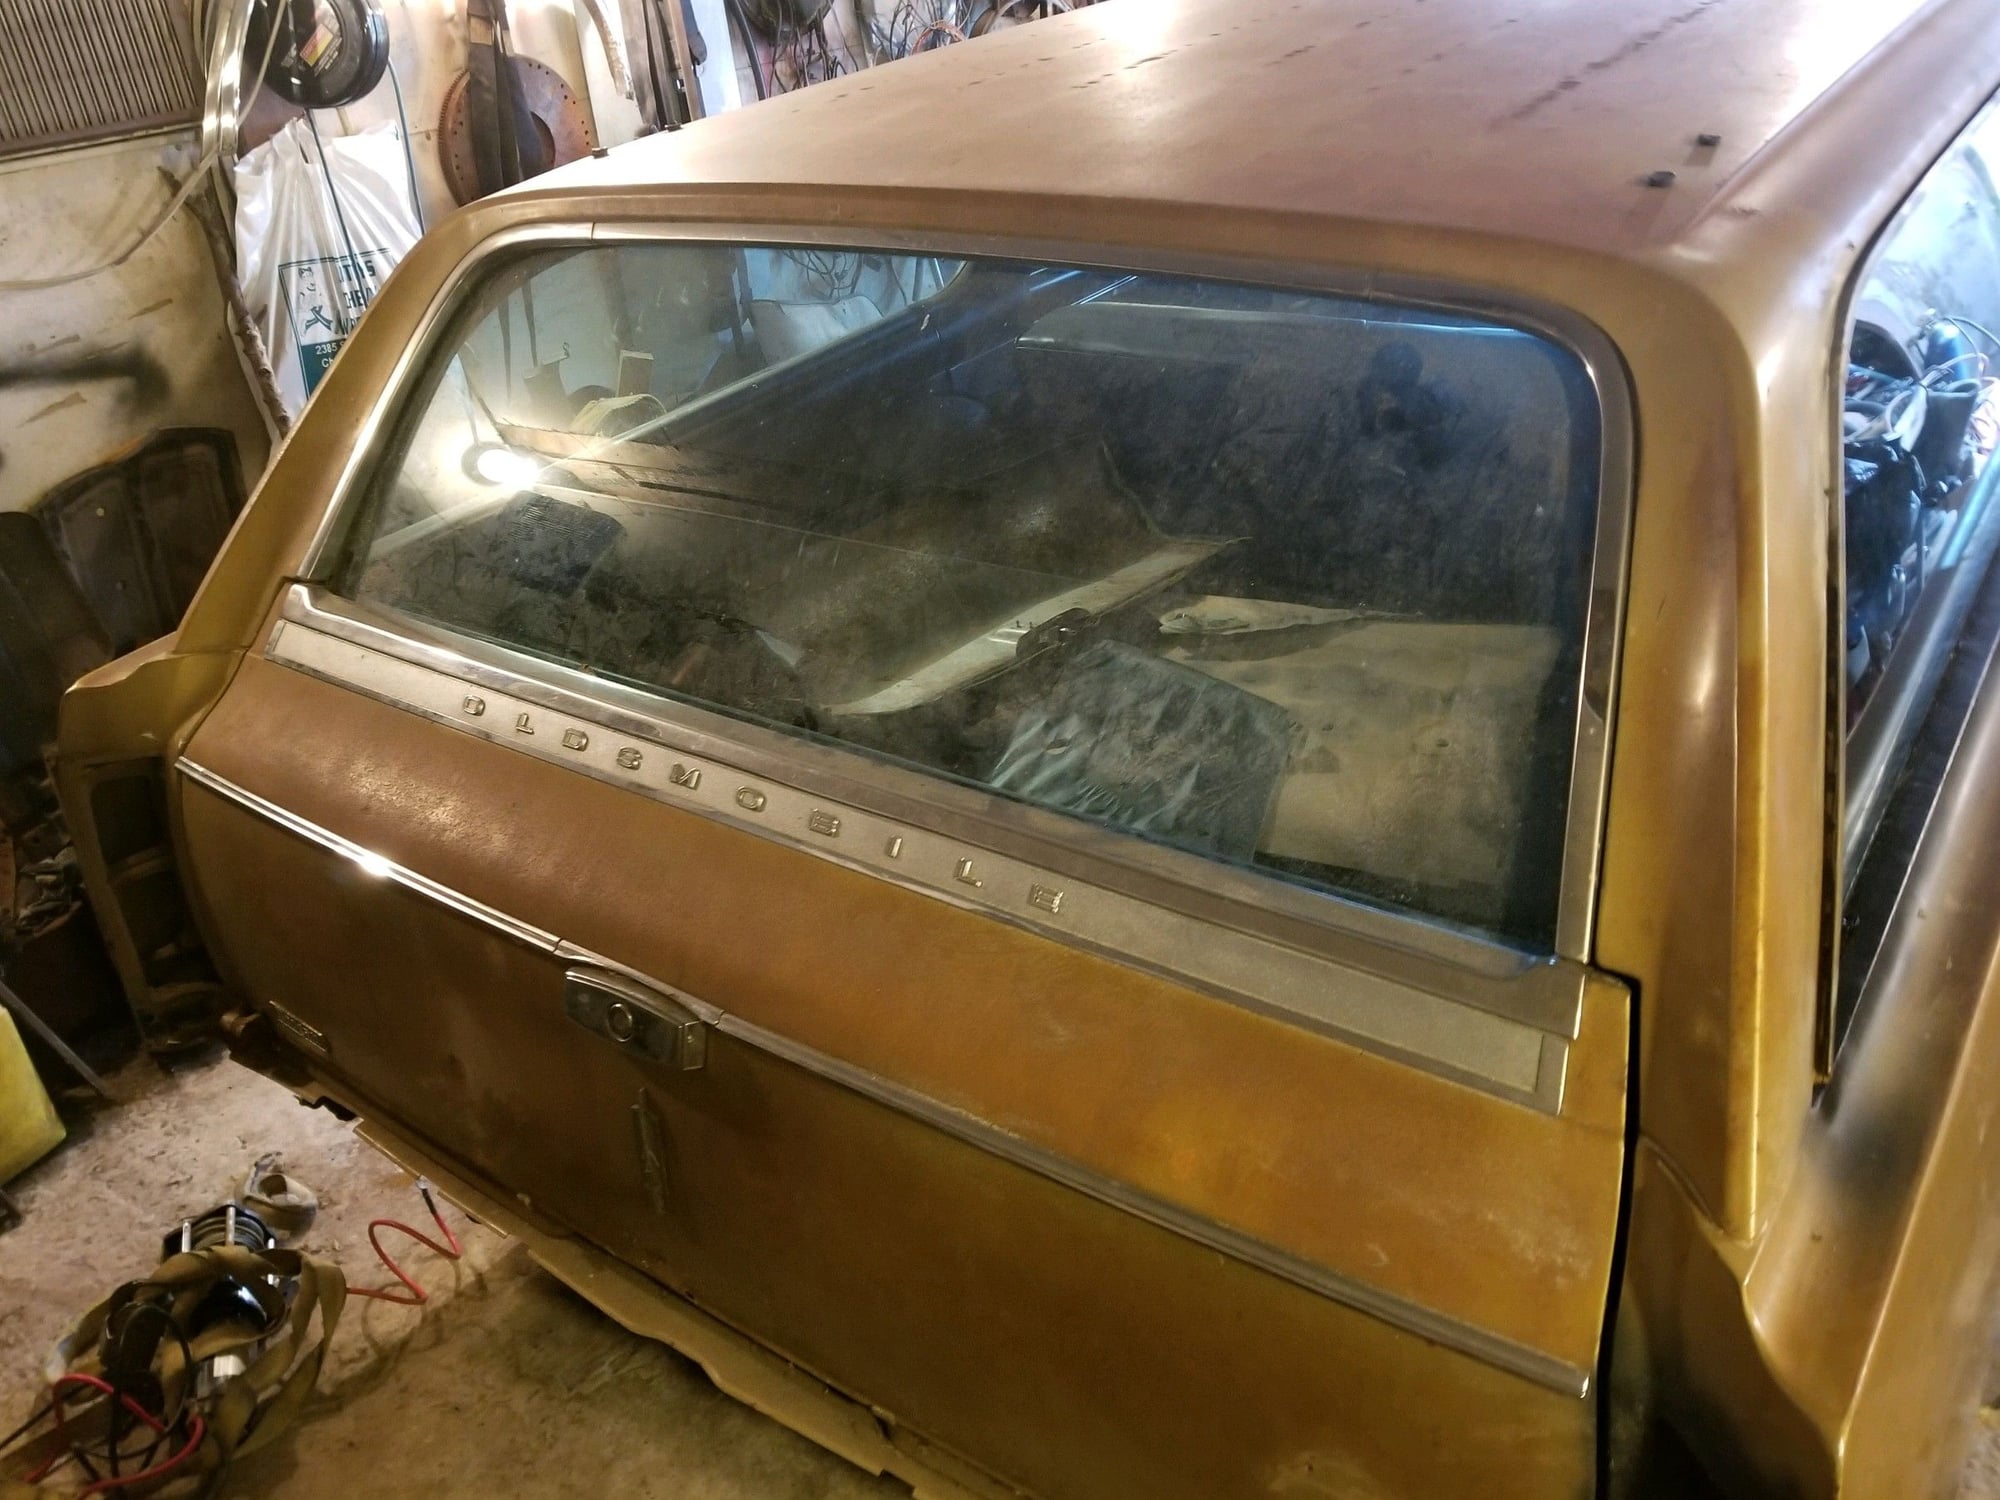
Happy to say the passenger side glass channel has been repaired and glass is back in. The moldings on the tailgate cannot come off unless the tailgate if opened and to do this the window must be lowered. I need to hook up some power and see if the motor works for the tailgate glass. Will look into having the moldings restored since replacements are pretty scarce. There is a guy close by that has a shop for stainless restoration. The tail gate rocket badge there is reproduced fortunately. I have my doubts the F-85 emblem there can be found nos.
Attached Images
File Type: jpg
rt side.jpg (448.8 KB, 122 views)
Oldsmaniac is offline  
Old September 29th, 2018, 03:34 PM
  #111  
Registered User
Thread Starter
 
Oldsmaniac's Avatar
 
Join Date: Oct 2005
Location: NJ
Posts: 7,020
Worked on installing the rear deck carpet. To do this I had to assemble the rear folding mechanism and seat. It came out pretty good.
Attached Images
File Type: jpg
20180929_160316.jpg (792.0 KB, 106 views)
File Type: jpg
20180929_160308.jpg (778.7 KB, 96 views)
File Type: jpg
20180929_160219.jpg (810.8 KB, 98 views)
Oldsmaniac is offline  
Old October 8th, 2018, 08:52 AM
  #112  
Getting There
 
Ranzan's Avatar
 
Join Date: Jul 2006
Location: Regina S.K. Canada
Posts: 1,147
looks great
Ranzan is offline  
Old November 18th, 2018, 04:48 AM
  #113  
Registered User
Thread Starter
 
Oldsmaniac's Avatar
 
Join Date: Oct 2005
Location: NJ
Posts: 7,020
Originally Posted by Ranzan
looks great
Thanks!

Moved some cars around and put the wagon inside for some wintertime work. I am going to concentrate on the engine and trans install, should be fun!


Oldsmaniac is offline  
Old November 18th, 2018, 08:09 AM
  #114  
Gary
 
VC455's Avatar
 
Join Date: Feb 2014
Location: Gillespie County Texas
Posts: 2,069
Joe, your stainless and aluminum trim look to be in great shape.

The trim piece at the base of the tailgate window is very hard to find in good condition because people often carelessly load cargo through the window and dent it.

My Vista took about 20 years--mostly for mechanicals and wiring because I enjoyed that aspect and sourced and installed unusual parts. Paint and upholstery took 4 years out of that 20.

Yours is going faster. Keep at it!
VC455 is offline  
Old November 18th, 2018, 01:17 PM
  #115  
Registered User
Thread Starter
 
Oldsmaniac's Avatar
 
Join Date: Oct 2005
Location: NJ
Posts: 7,020
Originally Posted by VC455
Joe, your stainless and aluminum trim look to be in great shape.

The trim piece at the base of the tailgate window is very hard to find in good condition because people often carelessly load cargo through the window and dent it.

Yours is going faster. Keep at it!
Thanks!! The Top tailgate piece is in nice condition to my surprise!!
Oldsmaniac is offline  
Old November 24th, 2018, 03:33 PM
  #116  
Registered User
Thread Starter
 
Oldsmaniac's Avatar
 
Join Date: Oct 2005
Location: NJ
Posts: 7,020


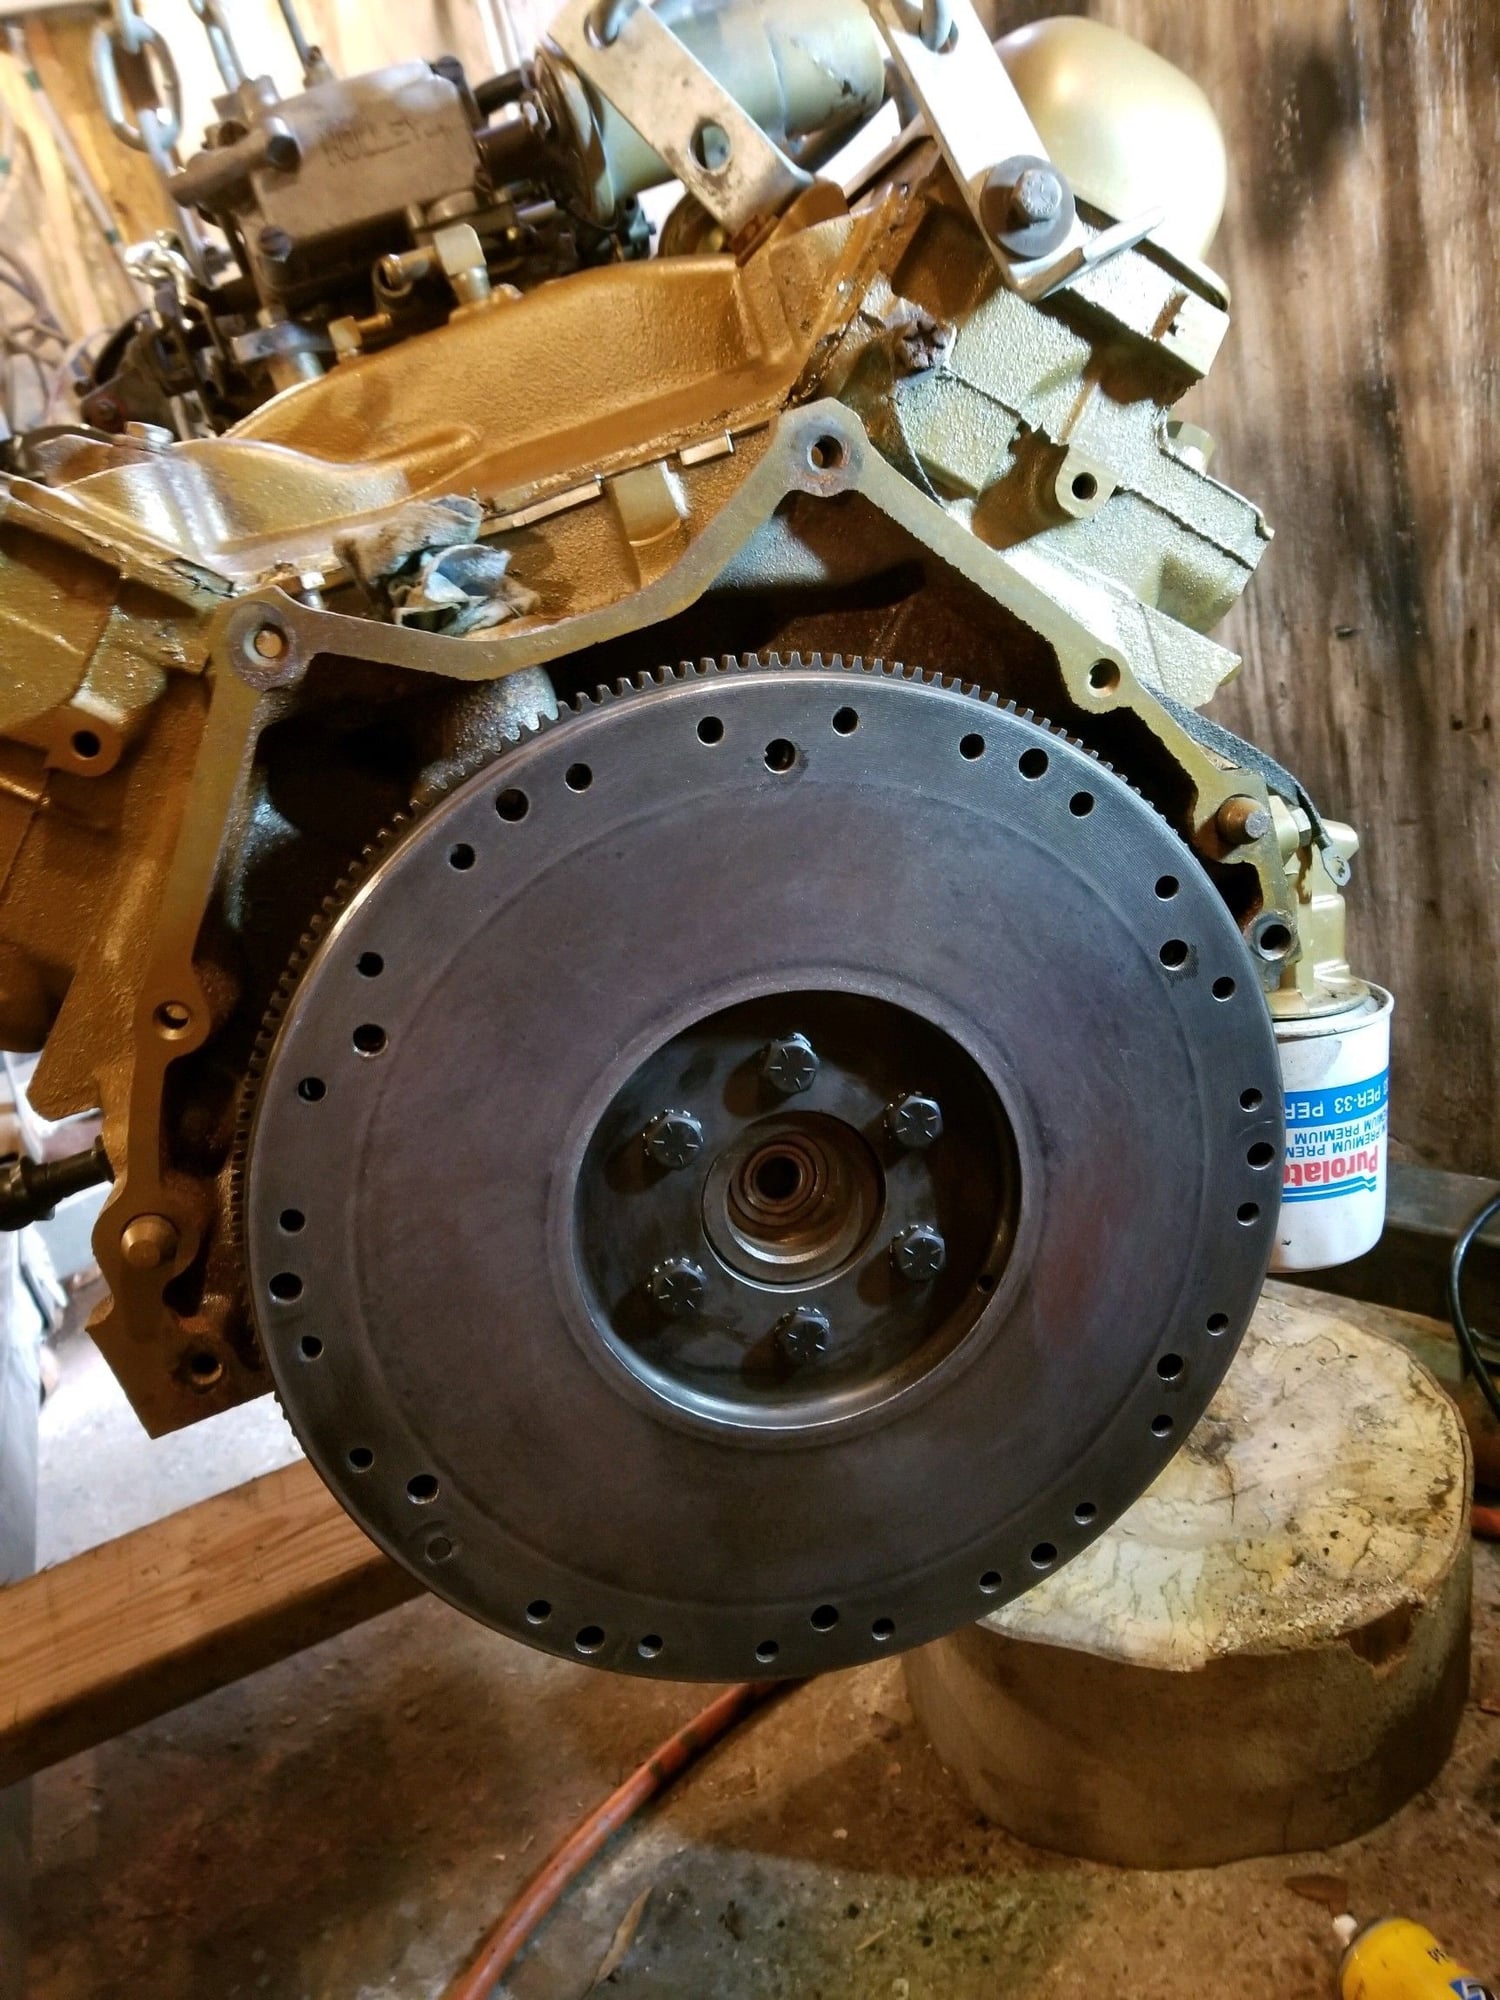
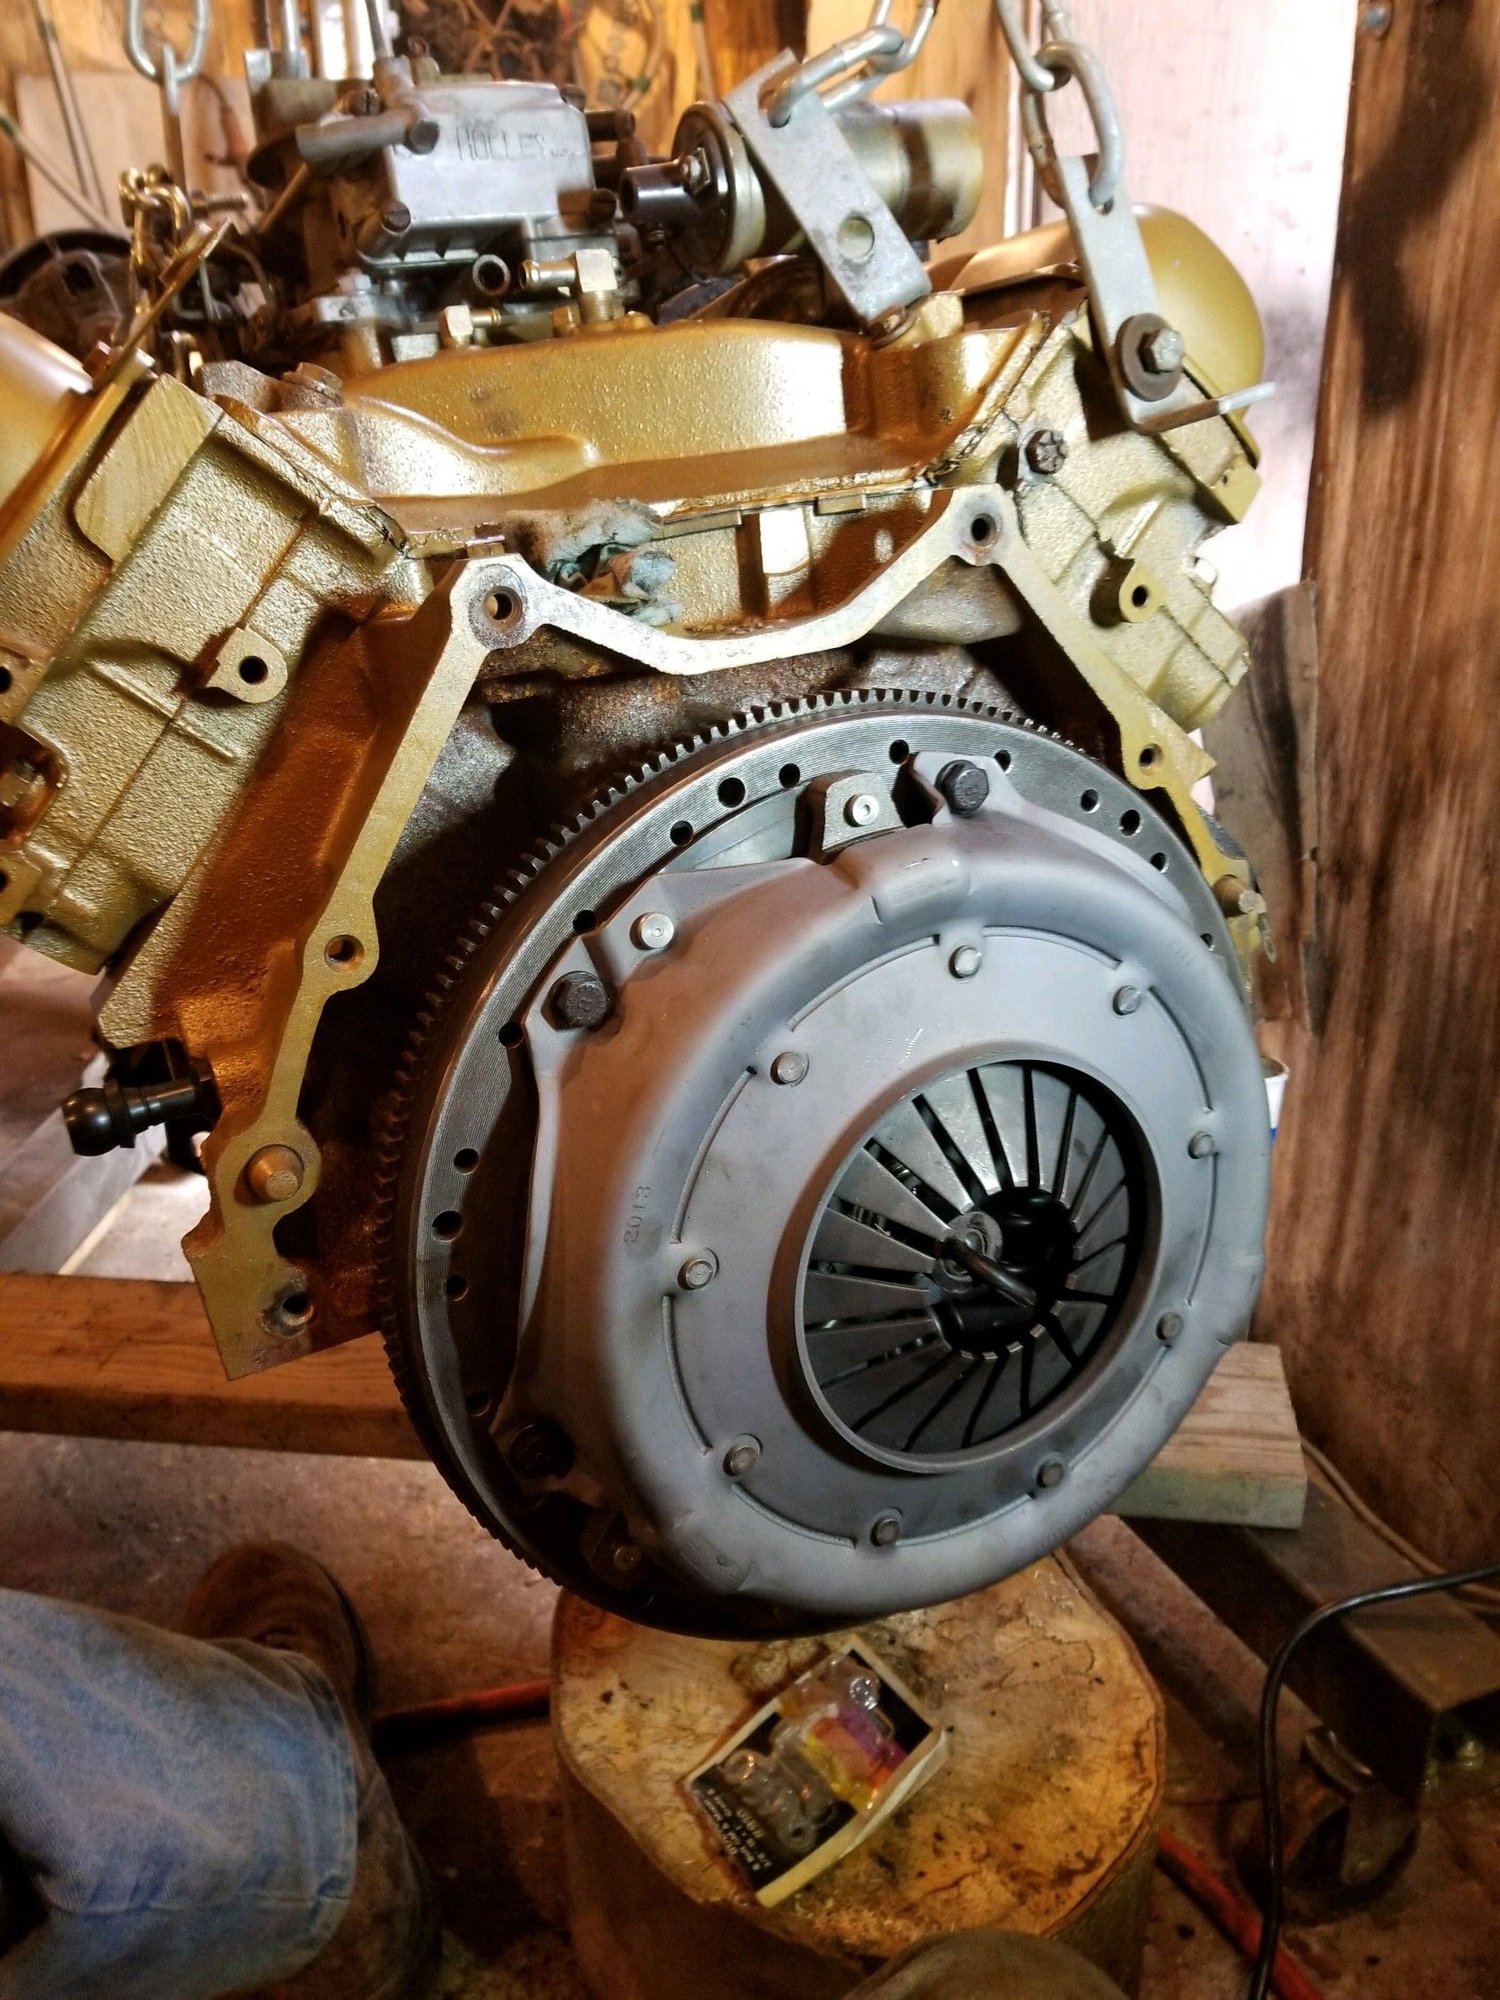
Staging things to get the 330 engine in place. I realized I did not have a throwout bearing handy but luckily Autozone had one in stock. I also need to source a dual exhaust system. Duals were not an option on the 67 Cutlass wagon but I believe the sedan system will suffice, just need to think about the tailpipe routing. I have had good results with Classic Exhaust.
Oldsmaniac is offline  
Old November 27th, 2018, 09:30 AM
  #117  
Ben
 
RAMBOW's Avatar
 
Join Date: Mar 2009
Location: Snohomish, WA
Posts: 1,823
Just wanted to say I really enjoy watching your projects in your threads!
Keep up the good work!
RAMBOW is offline  
Old November 27th, 2018, 09:58 AM
  #118  
Registered User
Thread Starter
 
Oldsmaniac's Avatar
 
Join Date: Oct 2005
Location: NJ
Posts: 7,020
Originally Posted by RAMBOW
Just wanted to say I really enjoy watching your projects in your threads!
Keep up the good work!
That's nice to know! thanks
Oldsmaniac is offline  
Old December 1st, 2018, 02:17 PM
  #119  
Registered User
Thread Starter
 
Oldsmaniac's Avatar
 
Join Date: Oct 2005
Location: NJ
Posts: 7,020
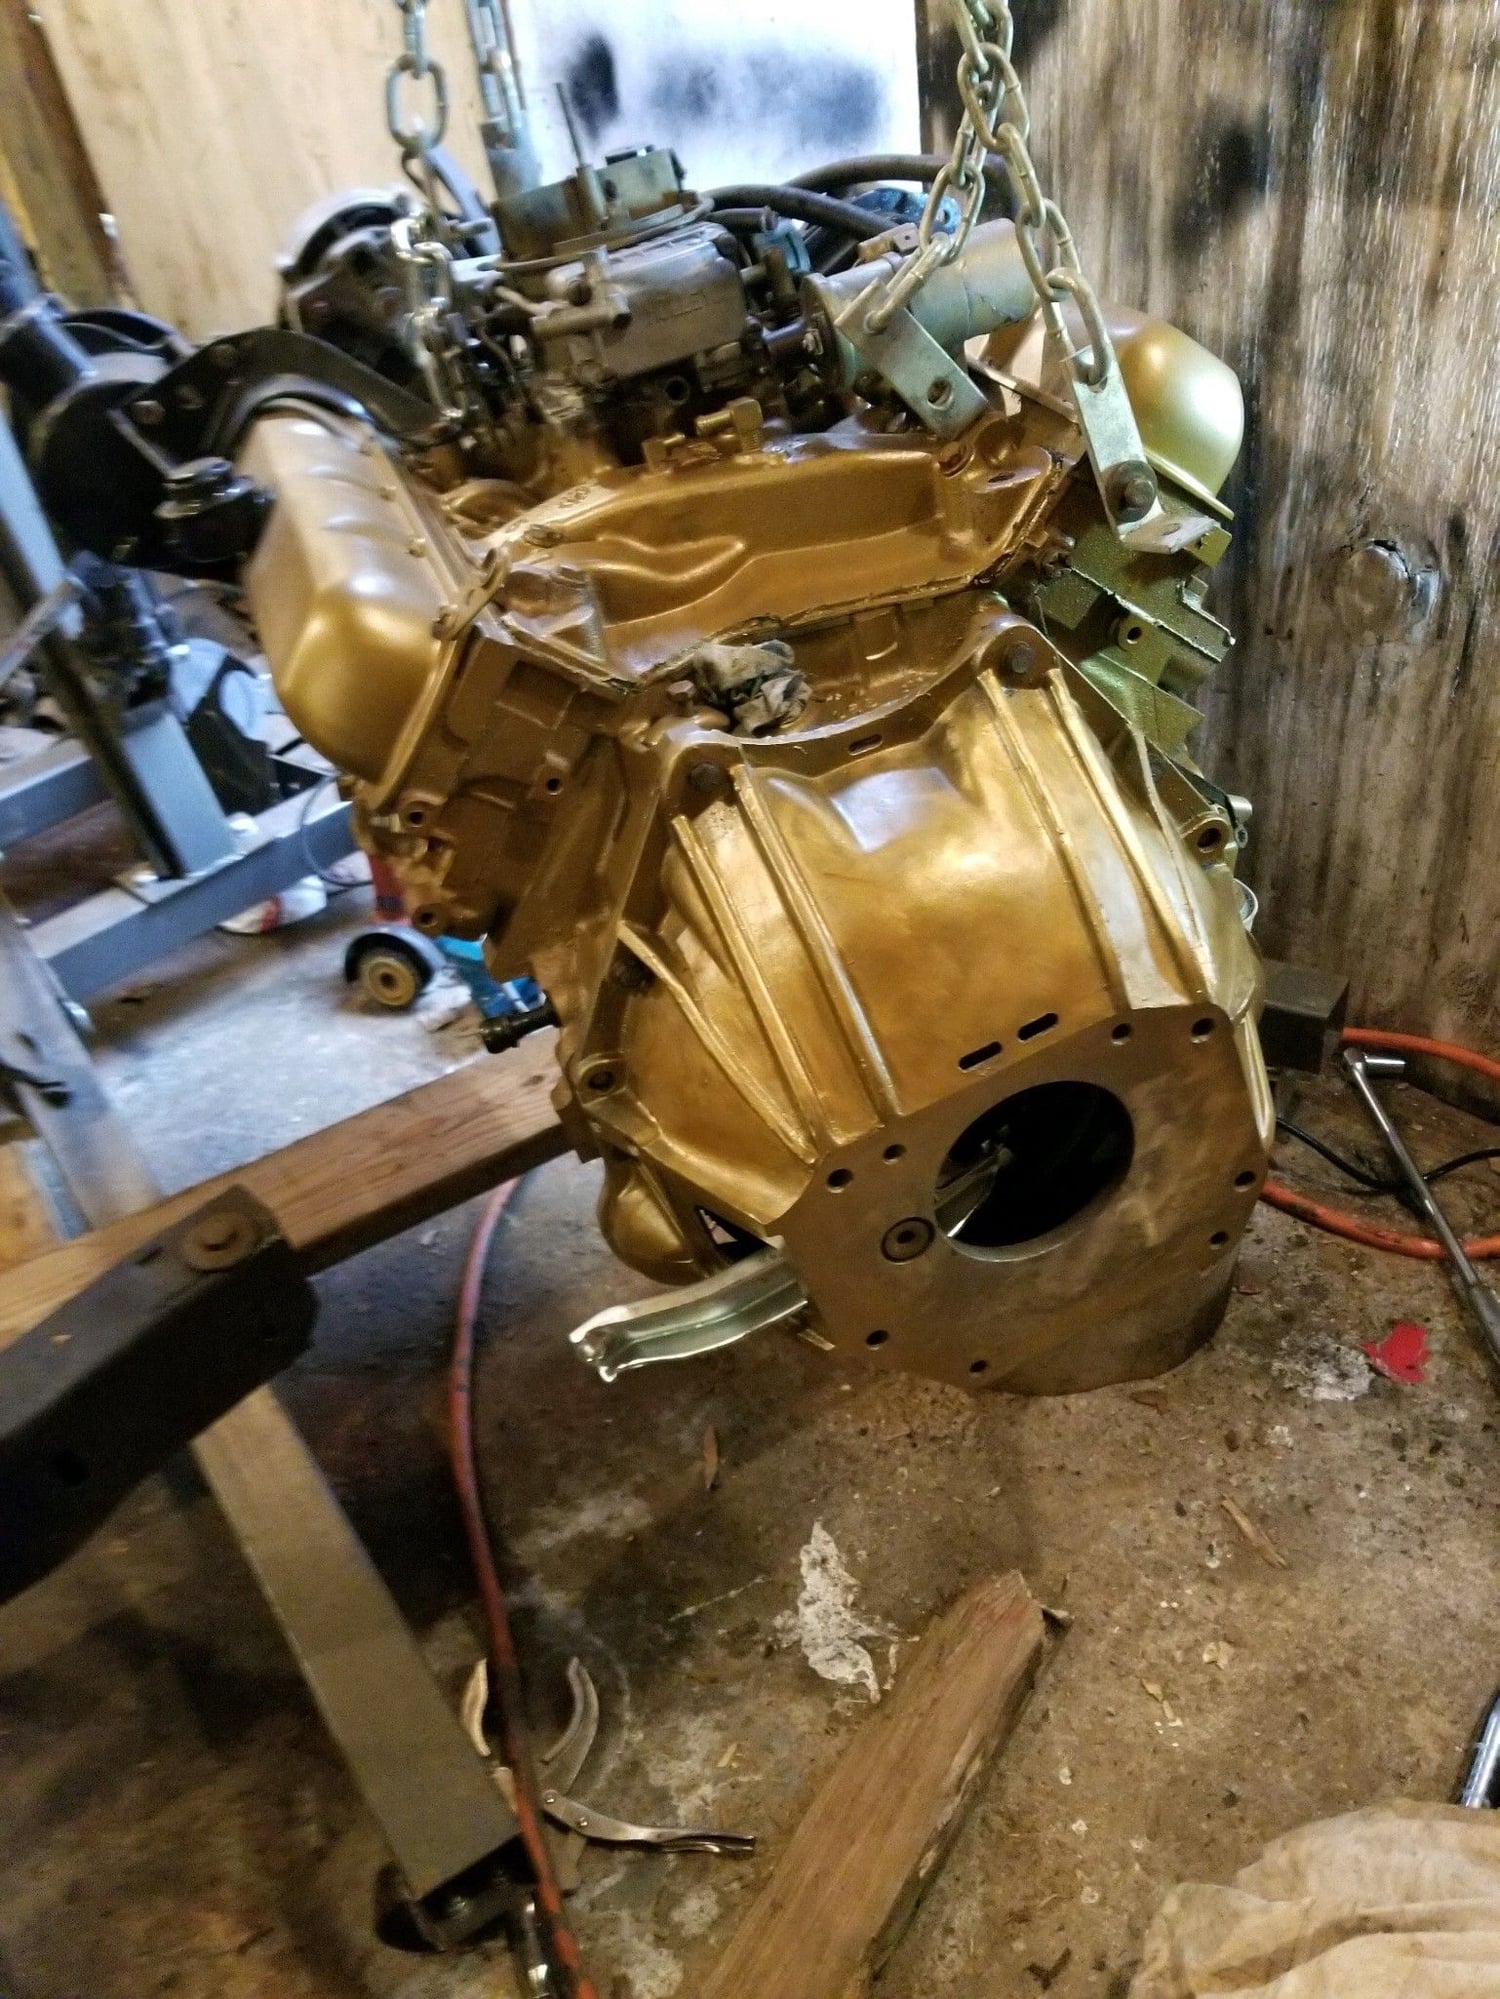
Just a picture, got the trans bolted up with some degree of difficulty getting it to slide all the way in but its there.
Oldsmaniac is offline  
Old December 8th, 2018, 05:02 PM
  #120  
Registered User
Thread Starter
 
Oldsmaniac's Avatar
 
Join Date: Oct 2005
Location: NJ
Posts: 7,020
Oldsmaniac is offline  

Thread Tools
Search this Thread
Quick Reply: Maniac on the Loose yet Again! 67 wagon


All times are GMT -7. The time now is 12:01 AM.