When you click on links to various merchants on this site and make a purchase, this can result in this site earning a commission. Affiliate programs and affiliations include, but are not limited to, the eBay Partner Network.
Well after 20 years ish the project to get the 64 going has started again.
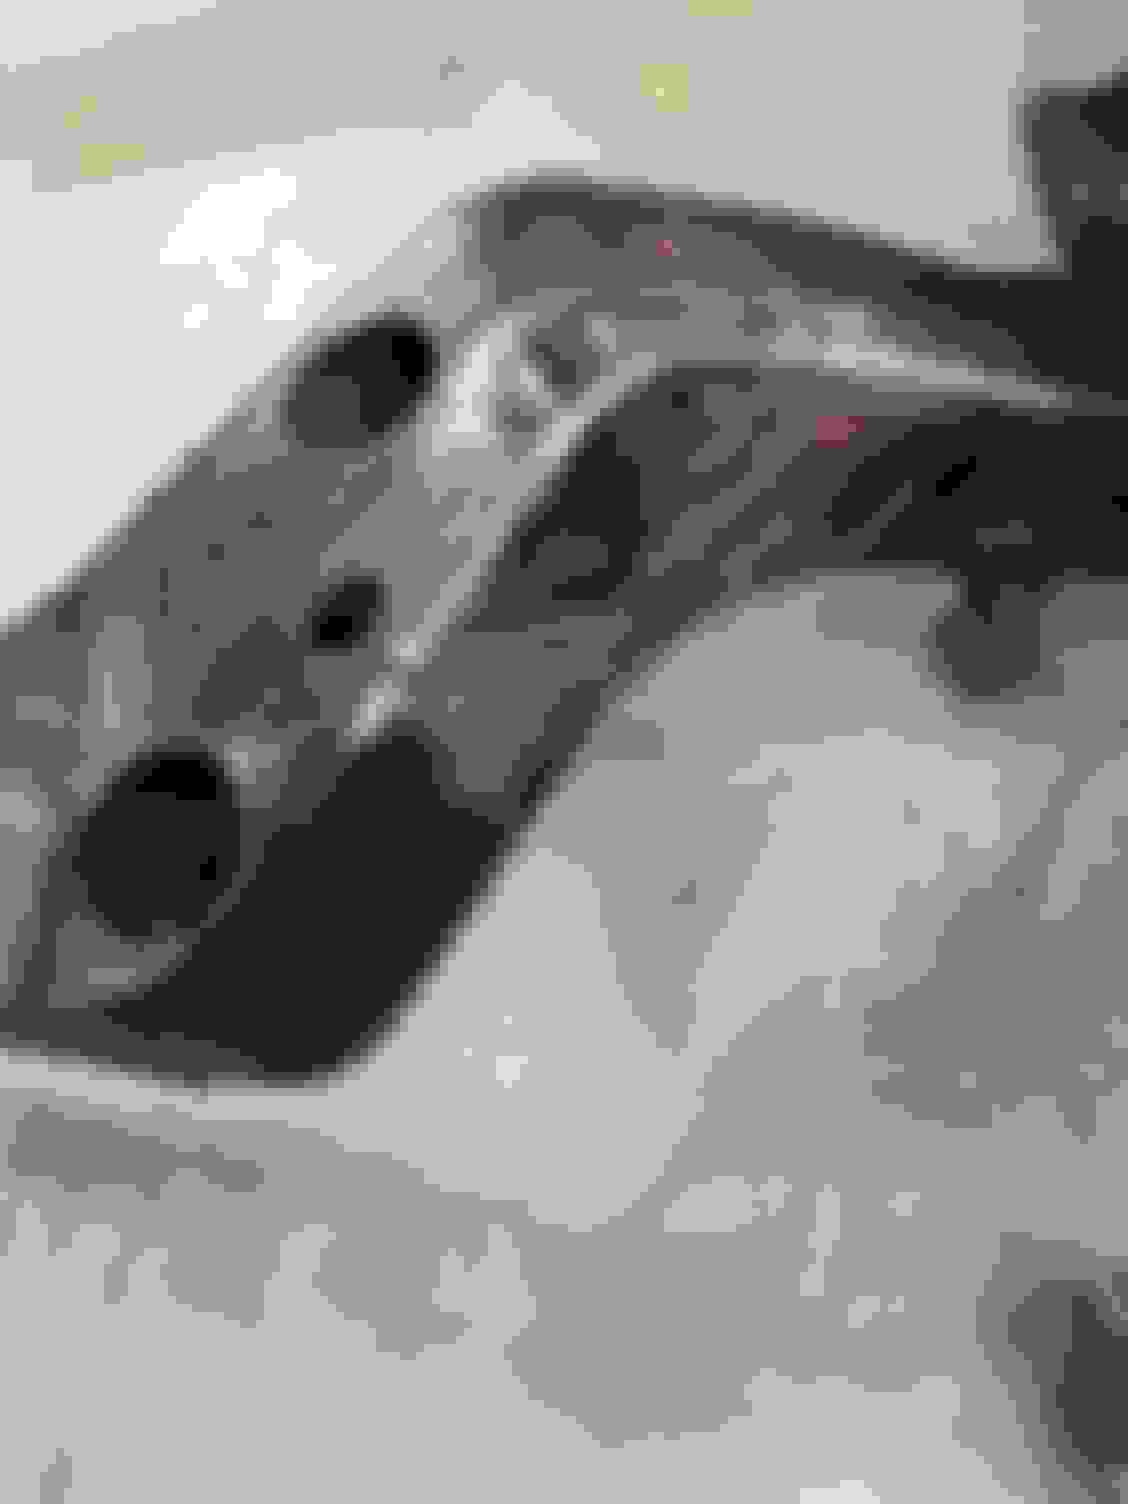
Ive sandblasted and primed the roof.
Ive got a good bumper and some dash pieces that i needed. Ive gotten an entire trunk section to repair the rot at the back.
Been doing some covid shopping and have brakes, steering and suspension. Bellhousings and so many other parts that are being delayed in shipping i had to make a spreadsheet to keep up with what company owes me what
This is the second time I've had the frame out, I wish i could remember the primer and paint I used but its been probably 18-19 years since i did it.
There's a spot of rust i need to repair and im adding some support
So step one was getting the truck to a stopping point. (cant finish one thing before you start the next)
The last time i did this was in a one car garage with just a floor jack and cinder blocks
The free 5.3 I got turned out to be a 4.8. The parts and machine work to get the 4.8 right was 1 third or more the cost of a crate motor.. So the 4.8 will get saved for another day
Anyhow, Im going to try to take pictures and update along the way...
Last edited by mattking; February 26th, 2022 at 03:43 PM.
My brother bought a 83-4 monte carlo that was "ls swapped" Worst work I've ever seen. He drove it from Chatanooga back to Memphis, and then it dumped its oil all over the ground. It was supposed to be a 5.3 but it turns out the guy was lying.... just like when he said he was a machanic... it had a quarter sized hole in the intake with a piece of plastic siliconed over it
Ive got an 02 sonoma w a 4.3 and the NV3500 5 speed. IF the 4.3 ever dies We may build the 4.8 for it
I cut out some rust from the driver's side frame and starting putting new steel in.
I'm unhappy with the previous paint job, So I may end up stripping and trying to d a better job. I've never like the glossy black anyhow.
Looks like you got a good start. I bought a different frame and have started on that while the "project" brackets for rotisserie Set It's back! in the booth
is still drivable
^^ Both of yall's frames look really nice. Im not happy with how the rustoleum has held up. it Has a weird sheen and texture....
A 90 grit flapwheel barely takes it and the primer off, except in a few spots where it just falls off.
I was thinking about using the POR top coat, so I called and spoke with POR15 tech support today. Short of sandblasting it to bare steel and starting over, the recommend just roughing it all up and going over the whole thing with regular POR15, not the top coat, or the rust encapsulater or anything except the cleaner/degreaser.
Well, I went ahead and stripped the frame back down. and used the POR prep and PO15 semi gloss.
Ive put the front suspesnion and steering on, and I have got the rear end apart and painted.
I need to assemble the rear brakes and install new bearings and seals, then I can hang the rear end
I imagine the markings on this axle mean it came from a junk yard, but is there any significance to the bottom of the diifferential having a large yellow mark on it? I started working on the radiator support, It was in way worse shape then i thought, but im going to use it for now. The brake backing plates cleaned up really nice, I pressure washed them, and then acid dipped them to get the surface rust off
Just curious whos aftermarket rad did you use and what mods were needed. The 64 core support is 1 year only, 65 changed and is about 3.5 inched deeper for the 442 400E
I used the Be Cool 35202, its setup for a LS with the steam vent connector and correct hose fitting sizes. Its a dual pass and only 260$ https://www.summitracing.com/parts/BCI-35202
I just opened up the corners a little bit and flipped the edges around 180 degrees. Im not positive it will fit height wise under the hood yet, but if it doesnt Im going to just cut the vertical channel in the mount and add an inch to it. In my test fitting it drops in pretty well.
Holley manifolds fit as expected. The stock truck manifolds would have fouled the frame by 1�1 and 1/2� These fit well I went ahead ang got the 2 1/2� colllector version. I�m not settled on the idea of not having headers but these will keep me going. They fit everything I�ve tried them on so far with the exception of a bmw ls swap I did
I got the brakes assembled (1-1/2 hours on one side 12 minutes in the other) and I messed up put axle bearings on as I forgot to put the backing plates on. New bearings are ordered but one of my axles looks like it spun a bearing. The bearing section of the axle is a bit smaller than the other axle. I�ll start looking for a decent machine shop in the memphis area if anyone knows one.
Axle is mocked up
on the upper control arm mounts which set of holes would be used on the frame side?
Last edited by mattking; November 1st, 2021 at 02:15 PM.
Matt...what the hell is that addition to the frame???
Looks sturdy. Who much weight did it add?
-peter
its the summit brand (there�s another very similar one out there too) chassis Kit
My frame is a bit tweaked here and there and I�m a hack at best so it took a little doing
next time I think I would just plate the c channels and move on
it weighs 75 pounds
edit: The kit itself was well made. Hade great welds and was obviously made on a jig by hand. There were sharpie marks that the used to measure where the bends etc start
i think a good frame to start would make this kit work great. My frame wasn�t that perfect but that�s not the fault of this setup
Last edited by mattking; November 1st, 2021 at 01:15 PM.
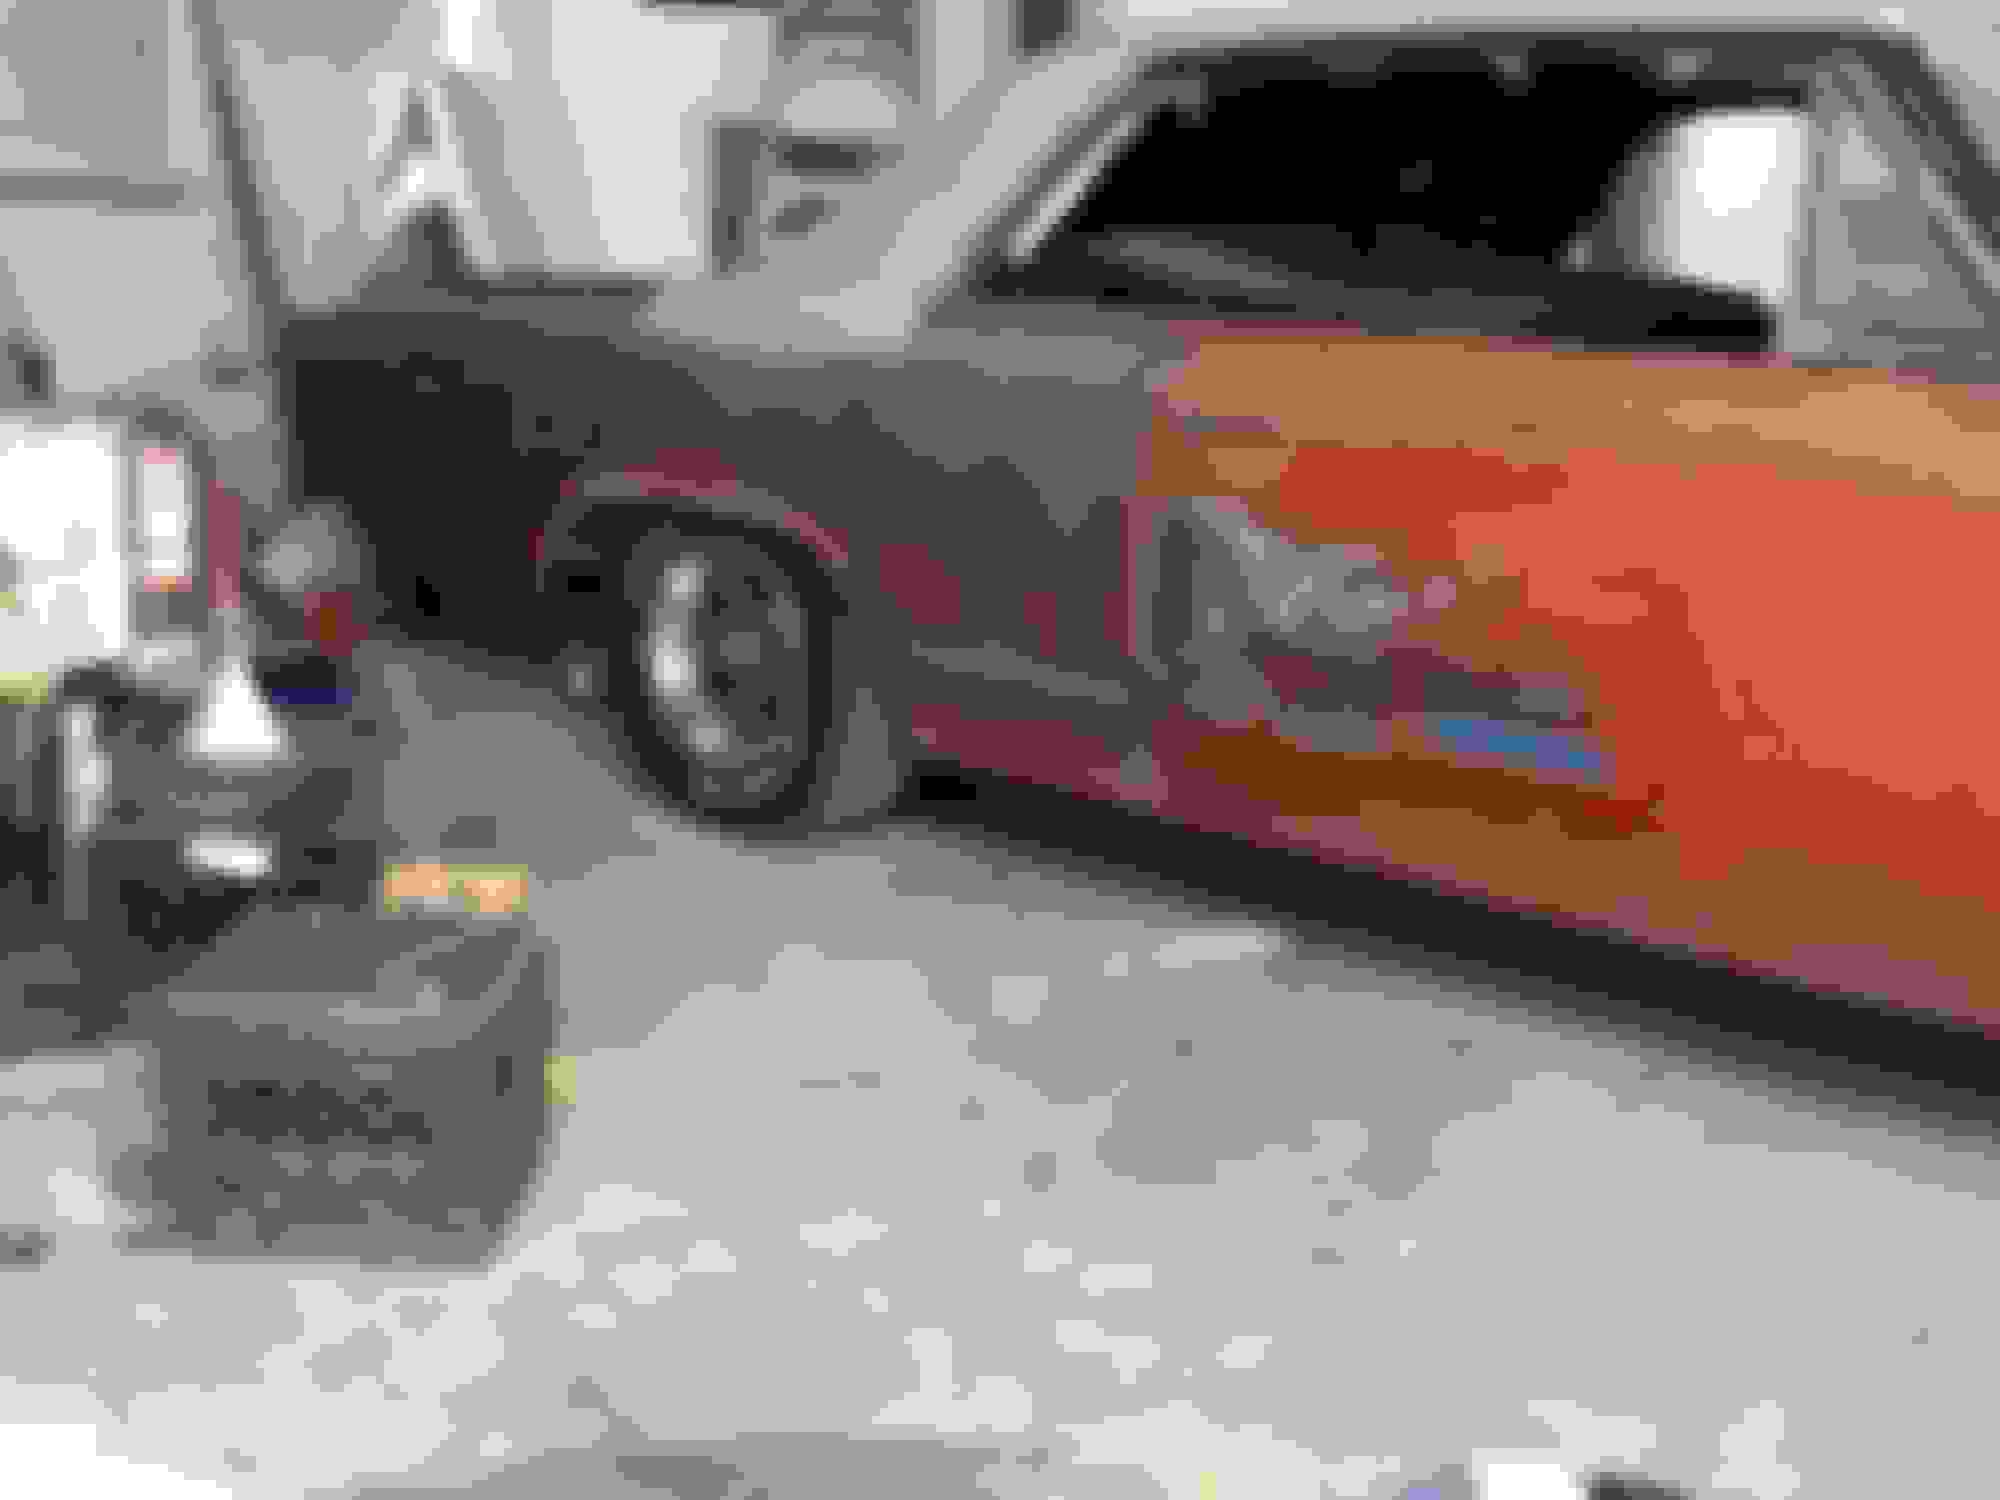
New body bushings arrived today. Got the body bolted back on.
im going to try these wheels off my Sonoma on the front as the 14� wheels rub the brakes slightly. These wheels are a weird offset. I think they�re for a 4wd. Anyhow. They�re just for shop use. I have a long way before I need to figure out what I like. But Right now I really like the steel wheel and the dog dish hubcaps. But we will see
About 10 years ago i put new drums on my car. I cleaned them up and painted them cast color, its pretty similar to the raw color. They still look very good w no evidence of rust.
I�m sure I can order one from several suppliers right!?
I know better but it would be nice
john (2blu442) parted a 64 not sure if he has the dash. It I believe he still has the firewall sections so possibly may want to reach out and see if it�s in decent shape
I�ll keep that in mind in case it�s more than I can do. But I started working on it today. I got the worst of the rust out off the bottom replaced Which is no where near as bad as the windshield area.
filled in a couple holes where there was a switch and the old gauge pack
One small patch left to replace on passenger side and then work on all the dents from peoples knees. I hadn�t noticed those until it was out. But�. In for a penny in for a pound
makes sense to do it now
theres just enough of the top left to locate everything
for me this top is pretty complicated but I�m gonna give it a shot I�ve got a plan for the defrost grill as well
Last edited by mattking; December 5th, 2021 at 04:21 PM.
Started working on a new top for the dash
I've got a buddy that does race car tin work and he’s been helping me here and there. I took the dash to his shop so we were working off carboard templates I made while it was on the car
Edit: When I say helping, I mean he is doing all the hard work while I stand back at watch
I’m currently not thrilled with my defrost vent
so I am rethinking it. Otherwise we were able to match the step in the dash pretty close
Last edited by mattking; December 21st, 2021 at 12:04 PM.
Thanks alot, We will see what it looks like. Making that step took everthing his bead roller could put out and we probaly ran it through 10 or more times. I had to stand on a block of wood and use some flanging pliers to pull up on the metal as he ran the machine and steered the panel on the line we had. It was one solid curve that tapered from 0 step to a big step in middle back to 0 step on the other side. We ended up cutting the center out to put a set of louvers in, but I wish we had not done that. They just didnt look right. The facory louvers are very thin.
Im reminding myself that it was un-usable before we started.... so..... ultimately it has to be structural, hold a defrost vent and not annoy me. I think Ill get it there.
I�m learning to quit worrying. Fully welded in new panel I got some defrost ducts from vintage air and it looks like everything g is going to fit just fine.
I need to find some body glaze. Mine has setup a bit in the jar
also. This is what happens to parts you store in a bag for two decades:
Last edited by mattking; August 31st, 2022 at 07:54 AM.
I bought the summit brace kit as well for my 64. Did you have the frame checked for squareness before having it installed? Also, did you do it yourself, or have a shop install it?
I checked it myself I think I have diagrams if I can find them.I’ll send them to you Someone on here sent them to me
my car was wrecked pretty hard and I did find a twist from corner to corner. I hung an Anvil from one side and a bunch of chain from the other.
I also used screw style rv stabalizer jacks to get it really level ($?40 on amazon for four)
I welded it just going slow. Rechecking and moving around
Originally Posted by 72cuttys
I bought the summit brace kit as well for my 64. Did you have the frame checked for squareness before having it installed? Also, did you do it yourself, or have a shop install it?
user Thirdcoast sent me this file and thats what i went off of... i thought i had another on for a 65 but cant find it right now: CO thread
Last edited by mattking; December 29th, 2021 at 05:04 AM.
Reason: add link

 August 5th, 2021, 10:04 AM