When you click on links to various merchants on this site and make a purchase, this can result in this site earning a commission. Affiliate programs and affiliations include, but are not limited to, the eBay Partner Network.
Trying to get stuff done while I await the engine's return. In my mind I had an order I was going to follow but like with a lot of things these days, schedules are out the window due to parts availability and even people availability.
Its hard to focus but Im trying to have some sort of method behind the madness. I dont want to get too ahead on some things like interior and finish items because I risk the chance of something getting scratched or blemished.
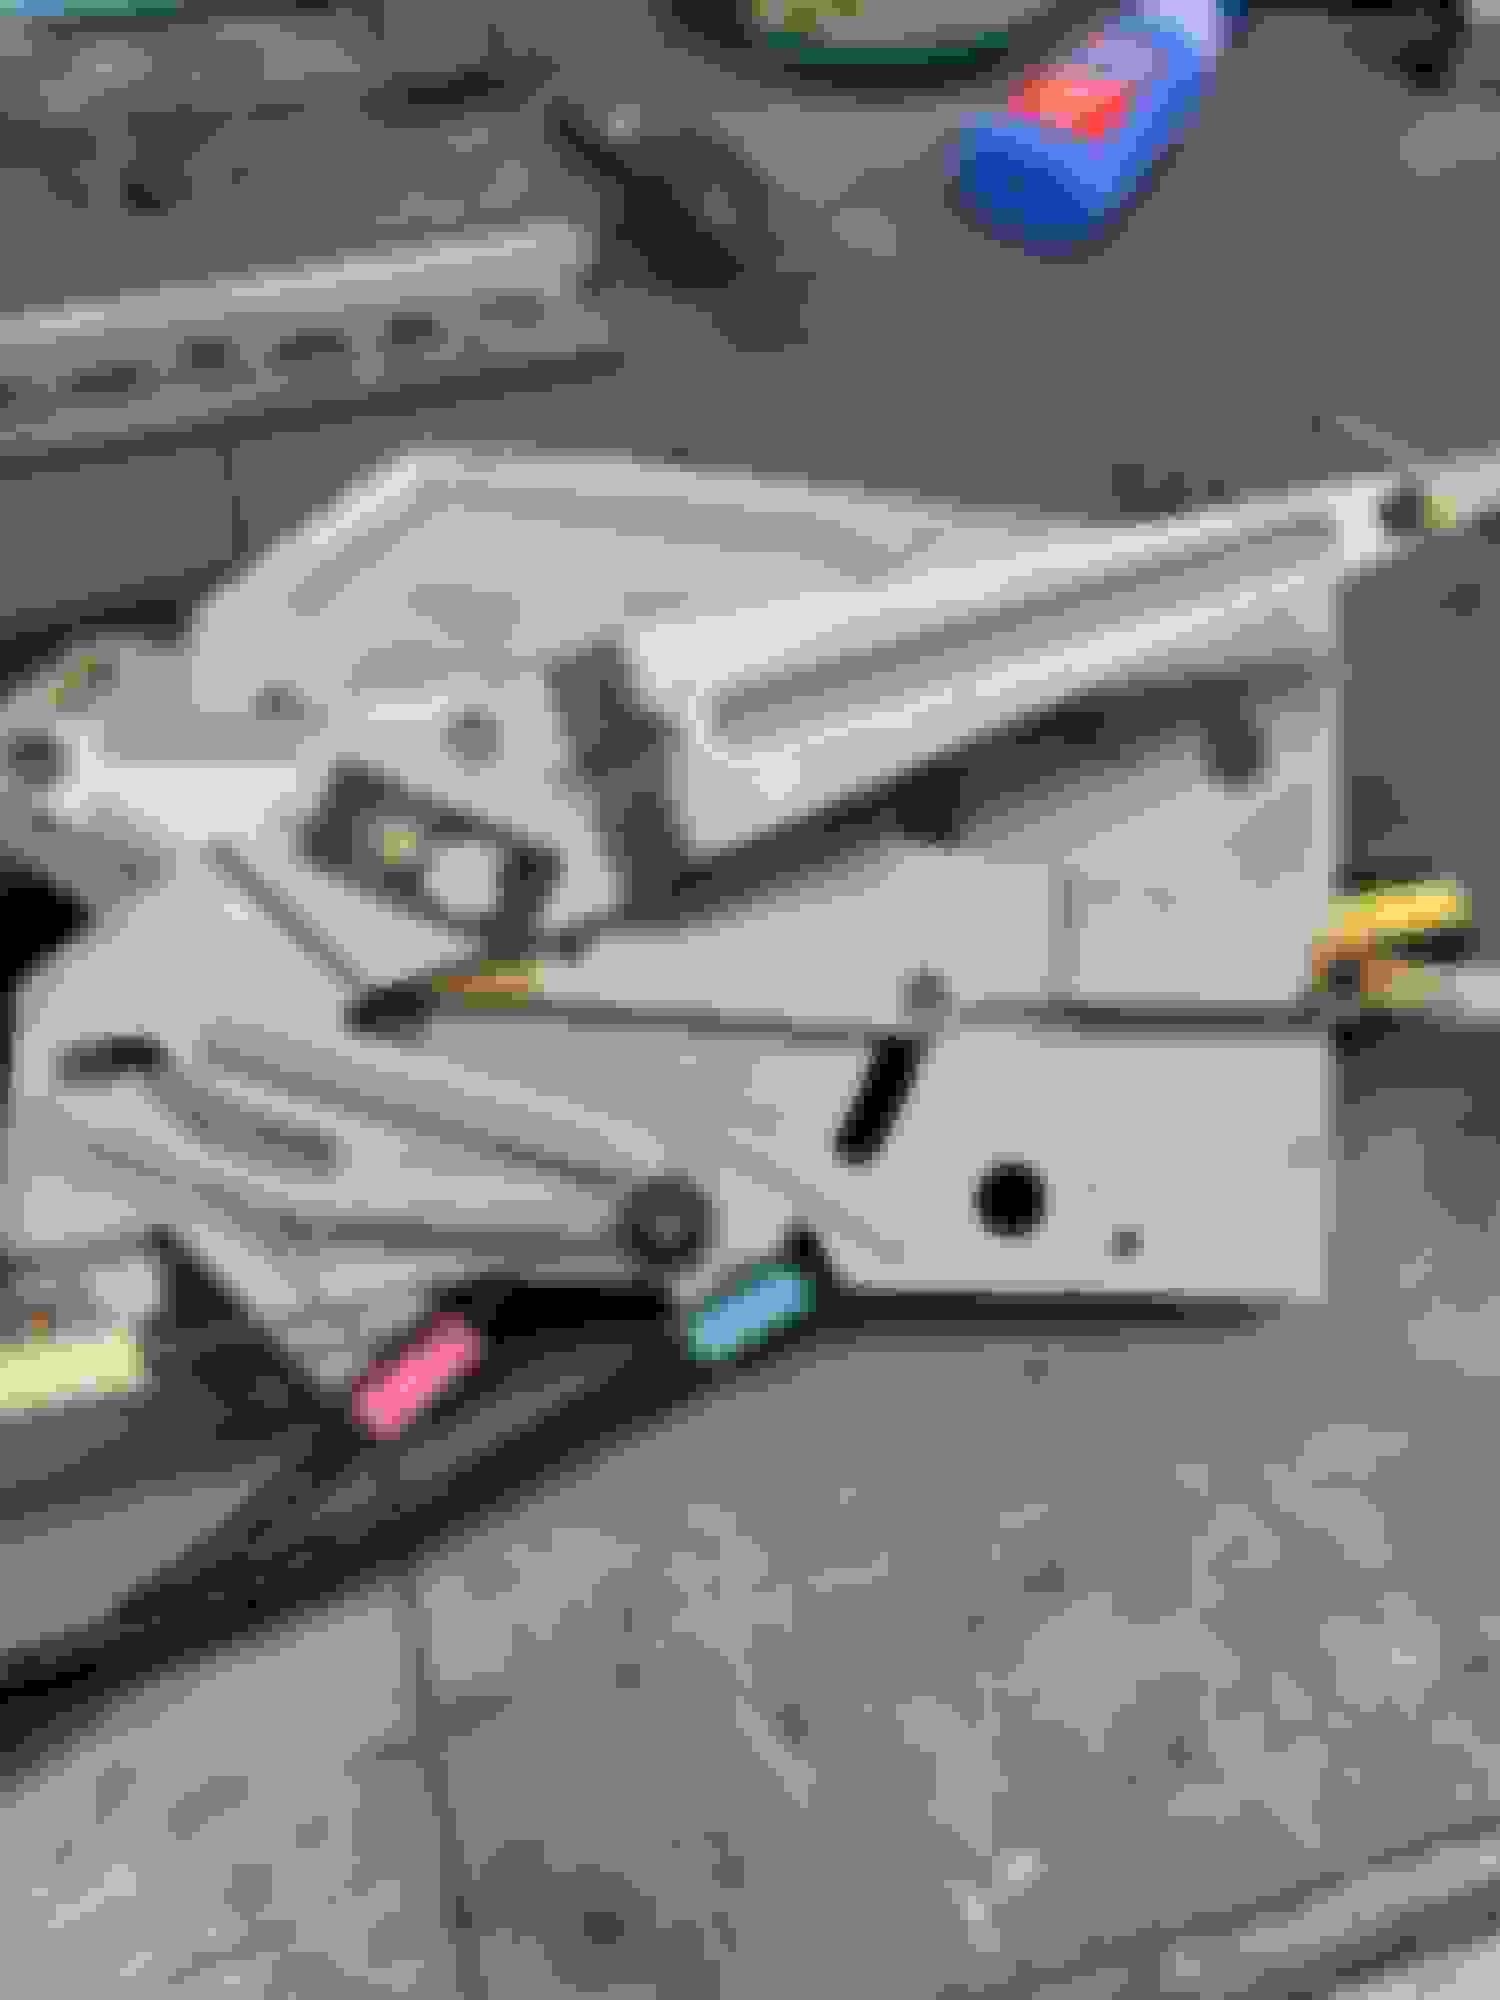
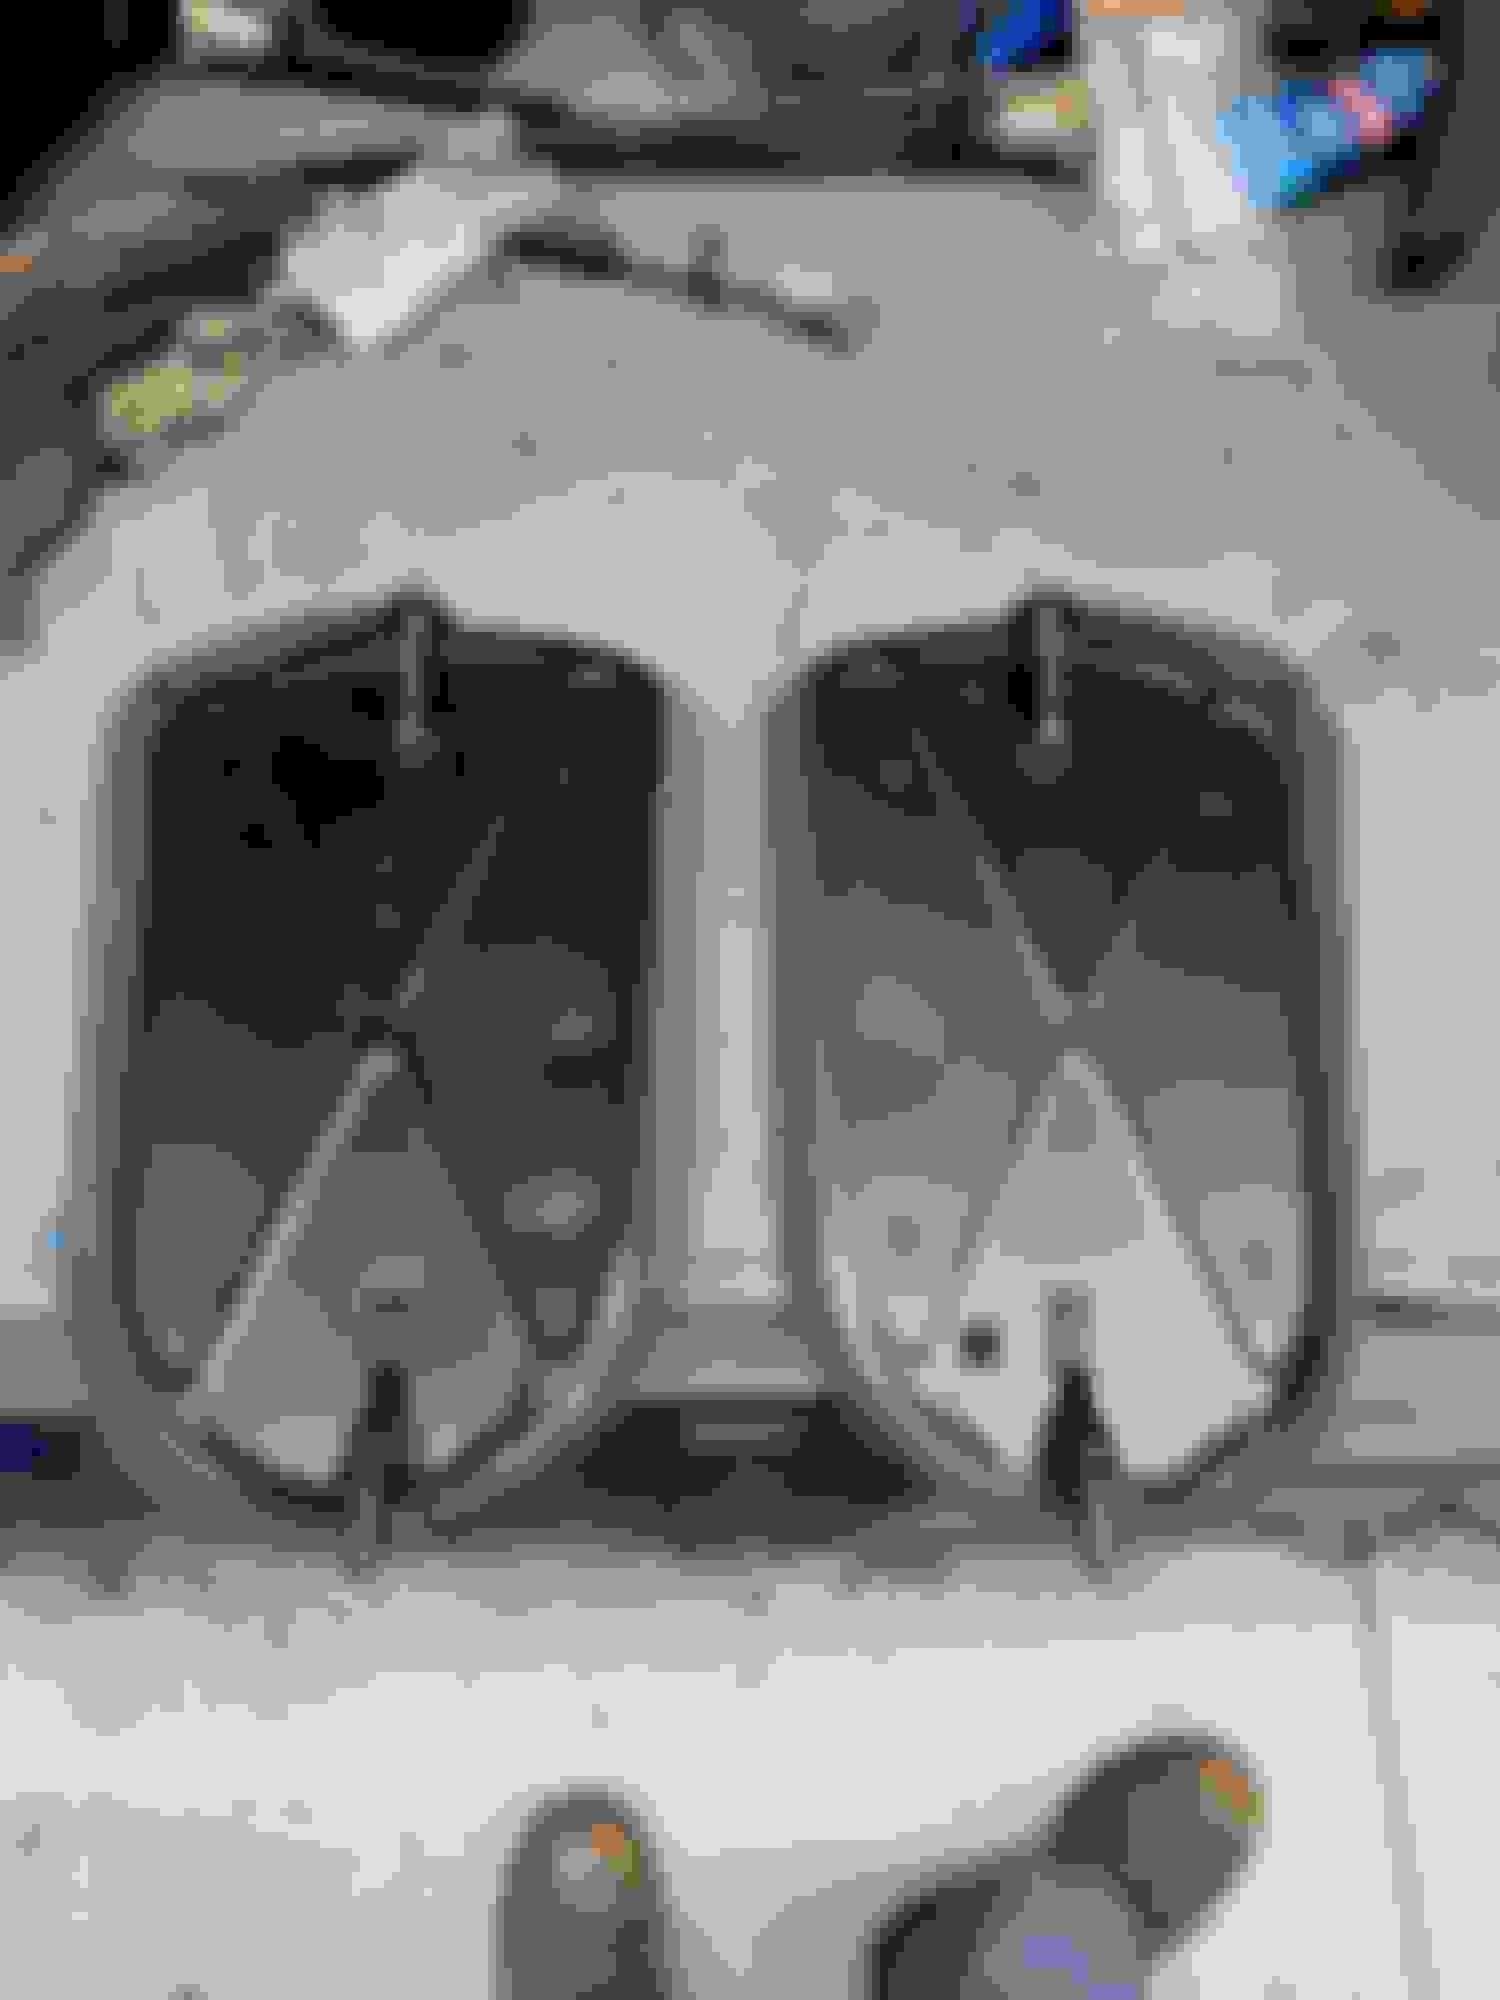
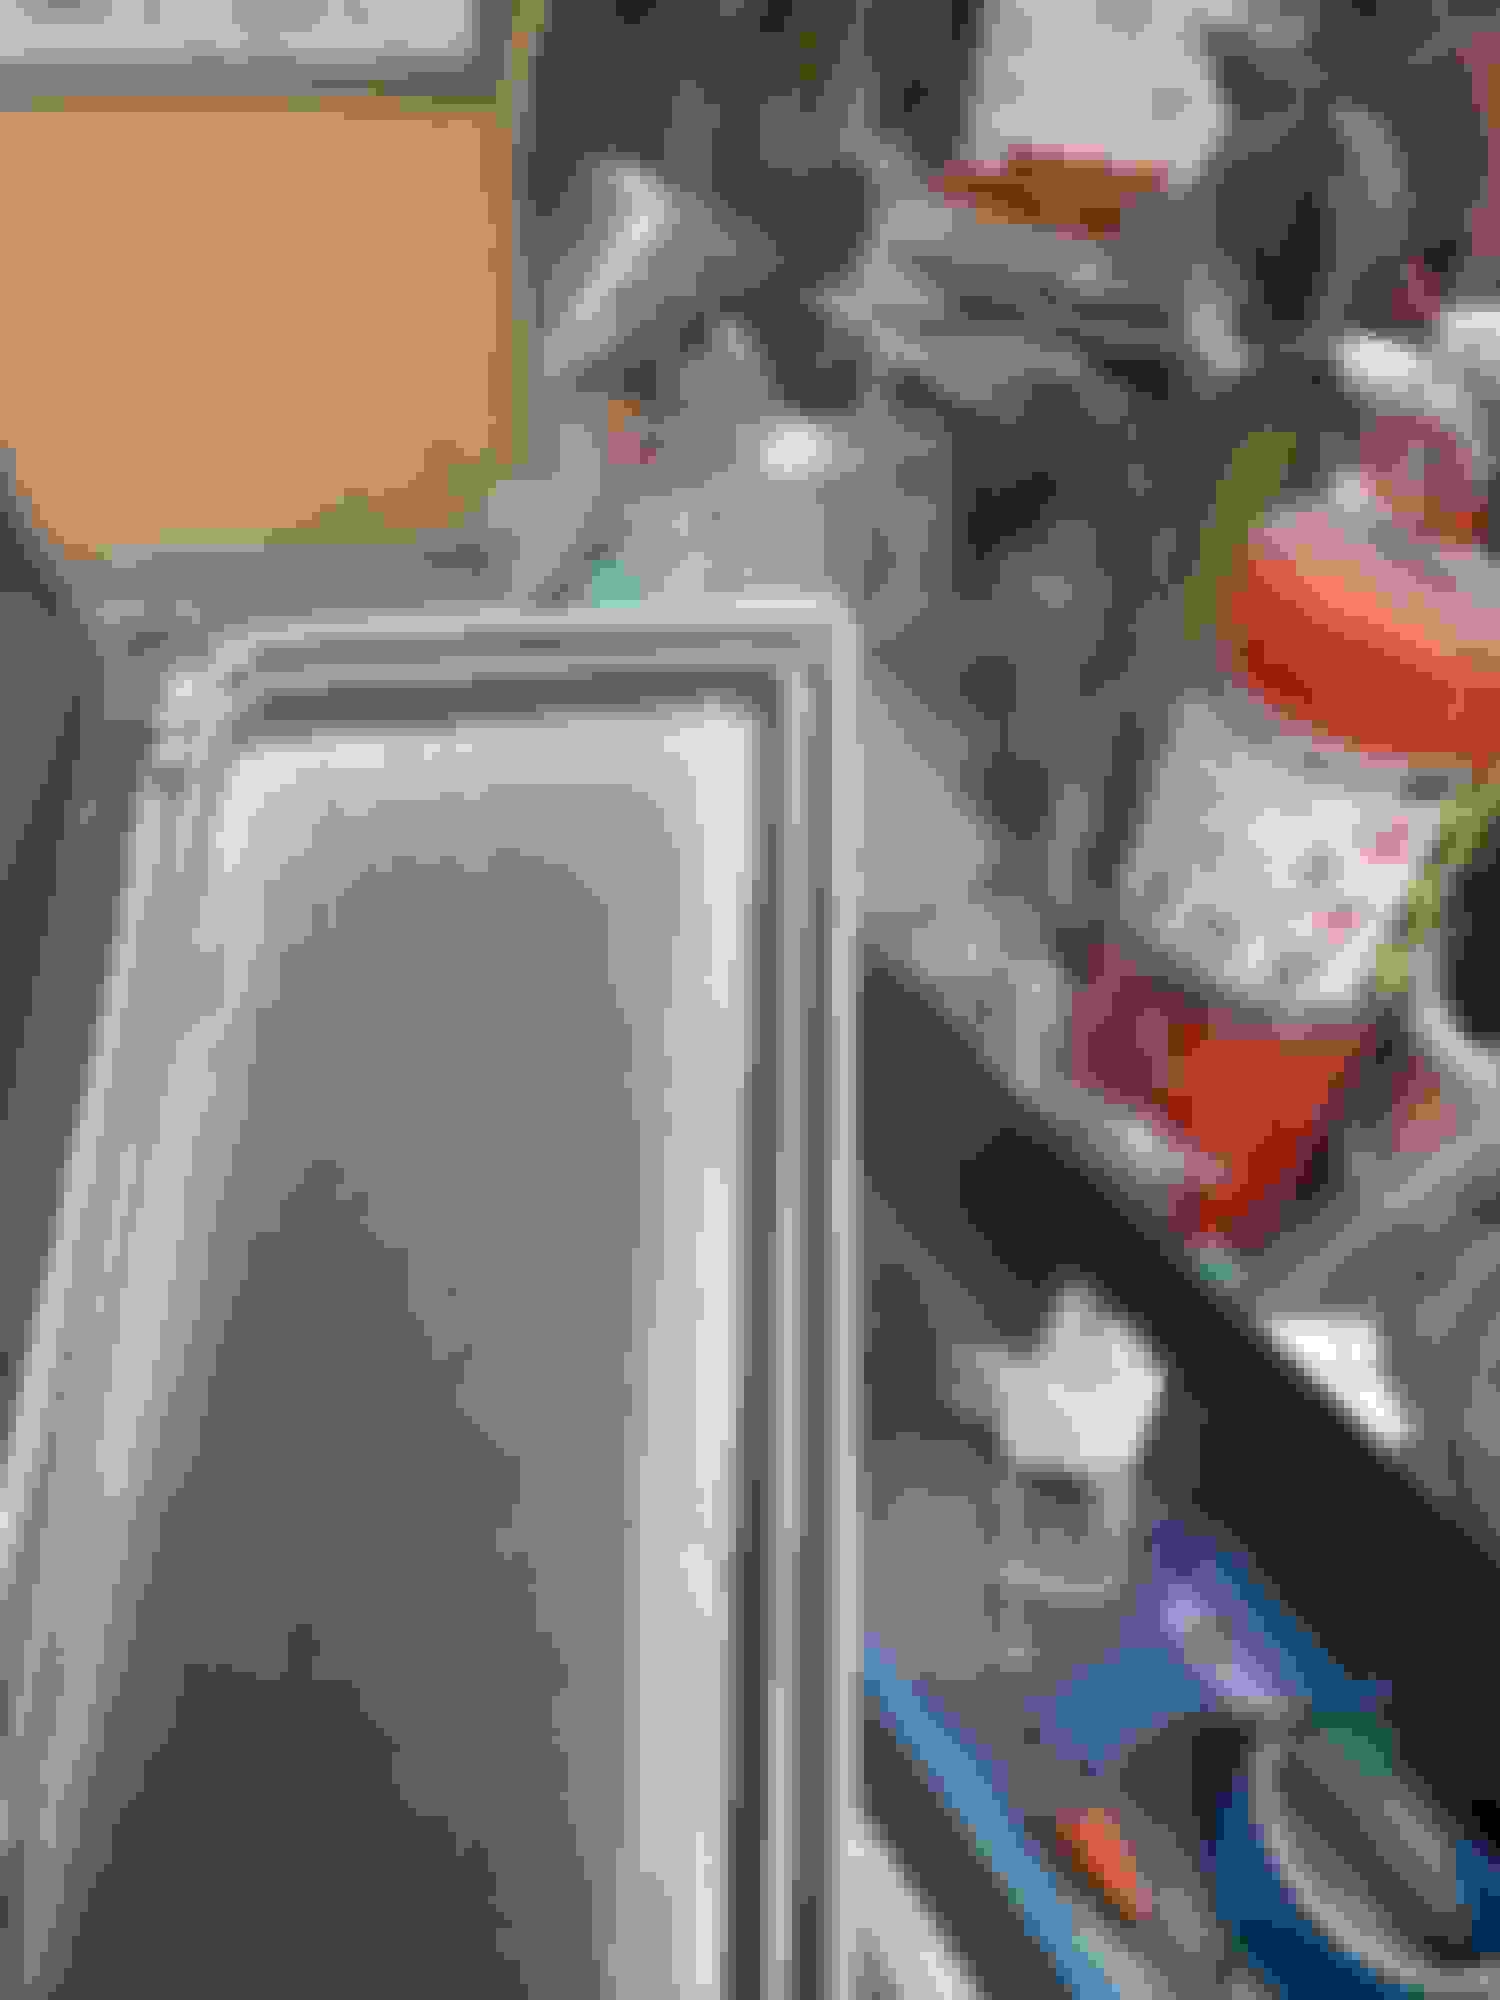
I'm prepping for the headliner and installed the headliner edge supports, dome light wiring and placed the headliner bows in position. I wanted to get the interior sail panels prepped with new headliner material but I think I could use new backing. The material is a heavy paper/cardboard about 3/32"-1/8" thick. Have any of you replaced these and if so what material did you use? I have some plastic and foam board options but want to stick to as close as original as possible. Do any suppliers reproduce these? I really haven't looked too hard but there are the inner panels which I already have but have not seen much on the interior finish panel. I dont have a lot of extra headliner material so I really have one shot at this.
I also turn my focus to the dash. I stripped the lower dash and plan on painting and redoing the chrome trim striping. I just need to find out the order of things ie.. paint then chrome striping or chrome striping then paint? I will restore all the climate controls by cleaning, greasing and remove any surface rust by soaking in evaporust along with other parts. The dash pad is in good shape.
Last edited by scrappie; March 17th, 2022 at 05:56 PM.
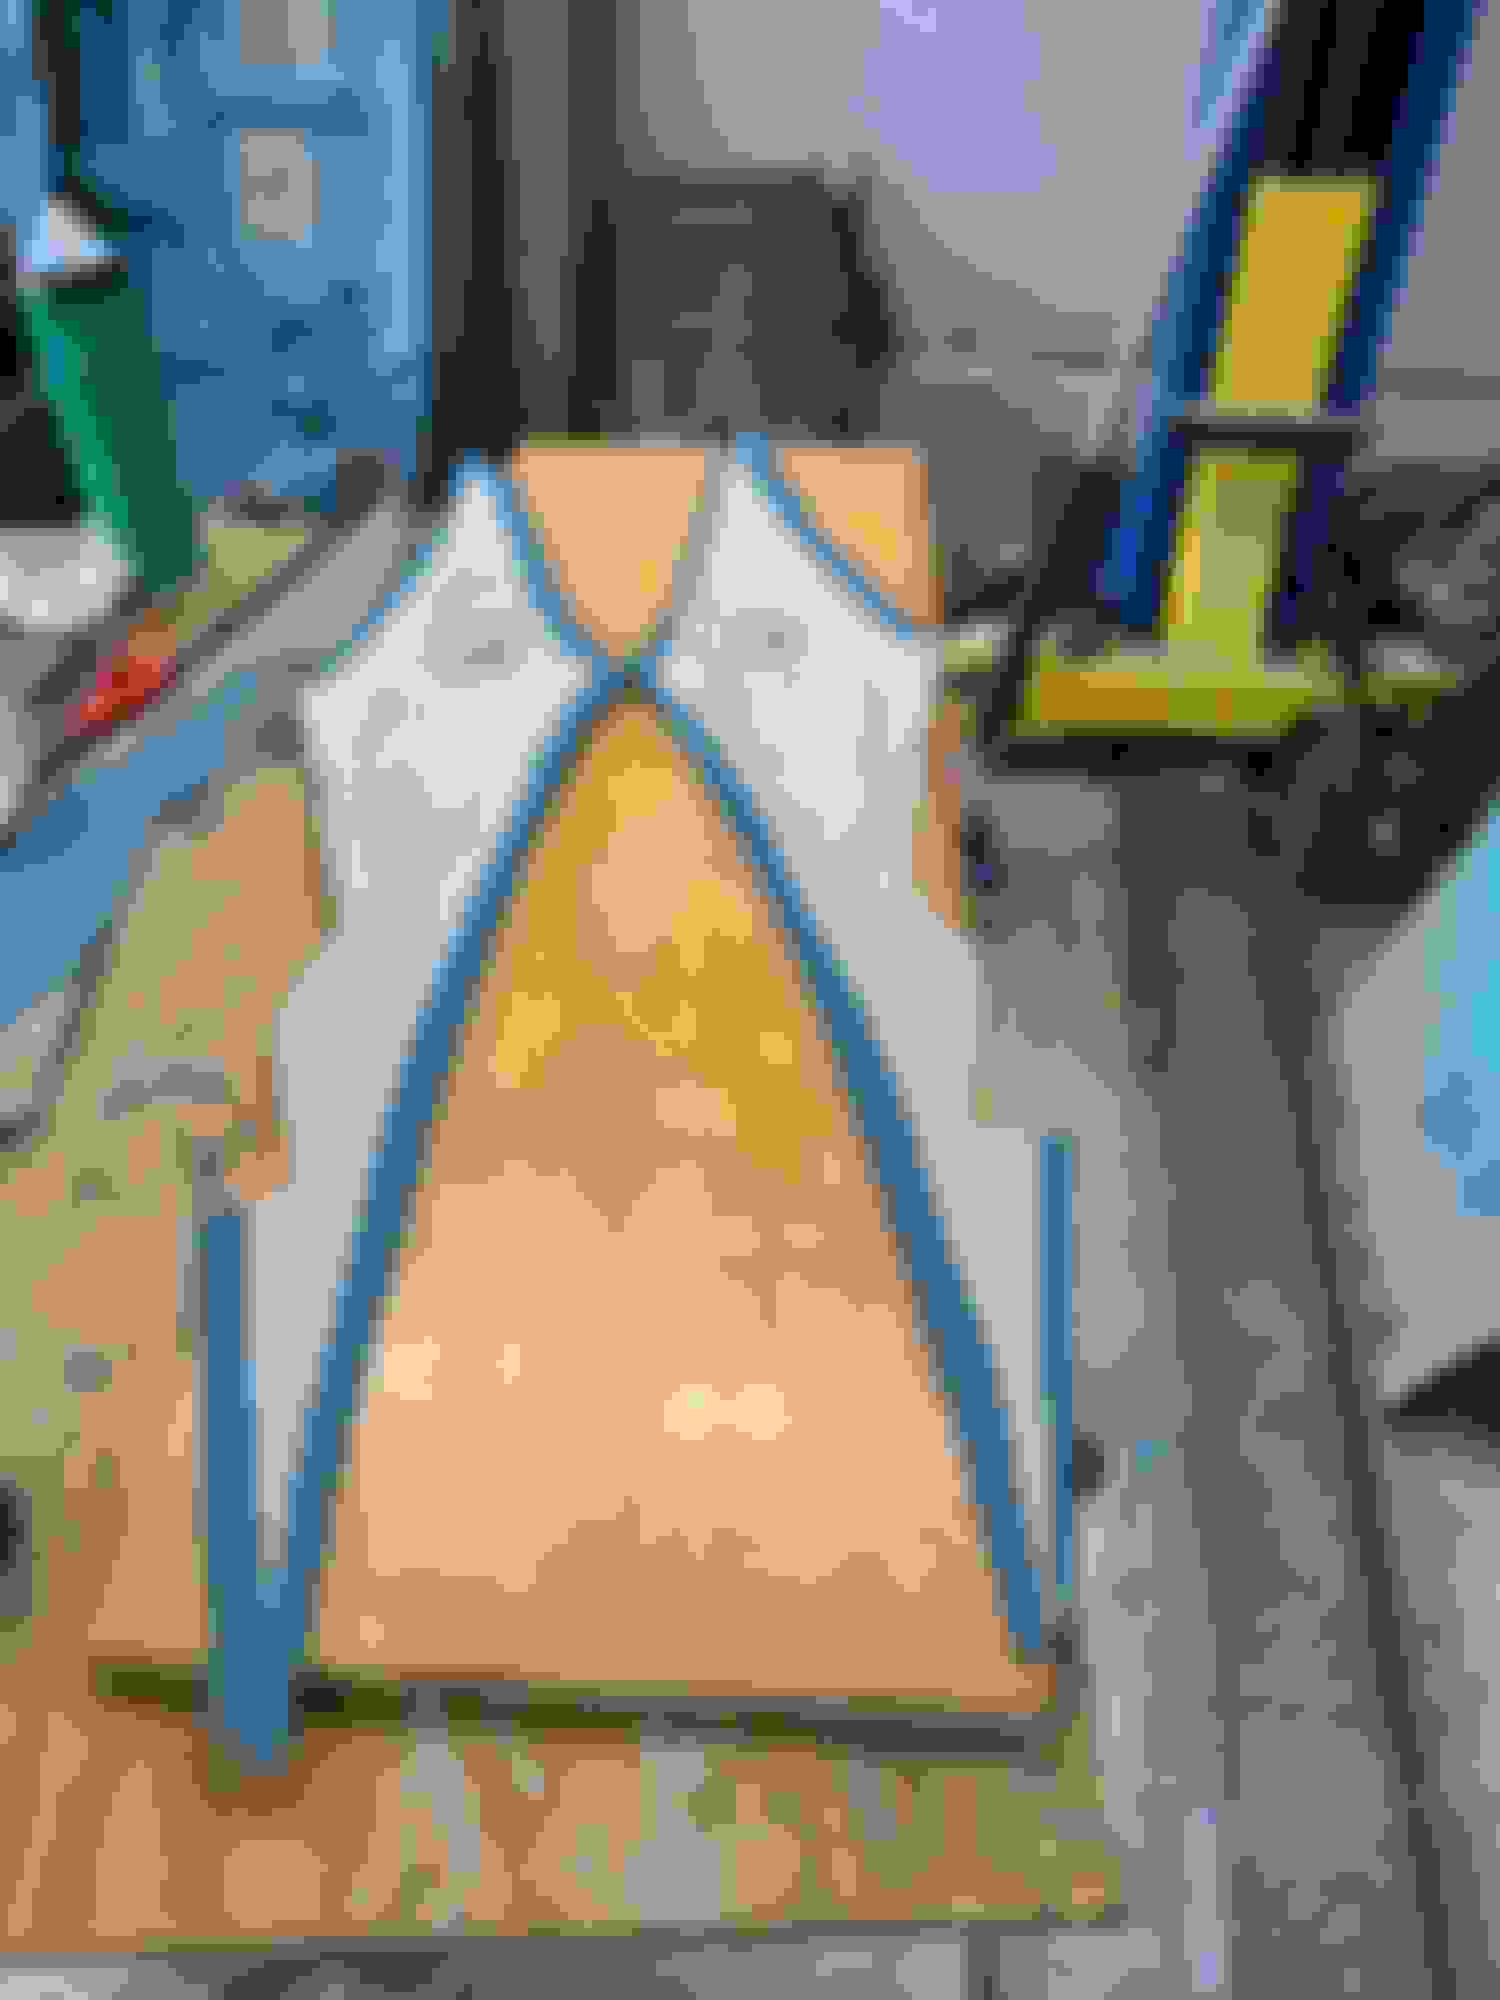
I found some material from a auto interior supplier here in MA. I had it shipped and got to work on some stuff today. It looks like the exact same material used. I took the headliner material off the original sail panels and traced the originals onto the new material. I cut the new pcs out and then took an exacto knife to the clips and cut them out and marked the location on the new pc. I attached the original clip with some glue and staples. The staples were a little long and I cut the protrusions after. I will let the clips set up overnight and attempt to put some headliner material on tomorrow. I am hoping someone comes up with one of the clips that mounts on the inside roof otherwise I will have to figure something out.
Last edited by scrappie; March 29th, 2022 at 03:17 PM.
Impressive work, How many years have you been working on this car? You have literally done a complete nut and bolt restoration, no short cuts. incredible patience and strive for perfection. Do you plan on driving it much when complete? That may be difficult, but I hope so, that's what they were made for, right.
Steve
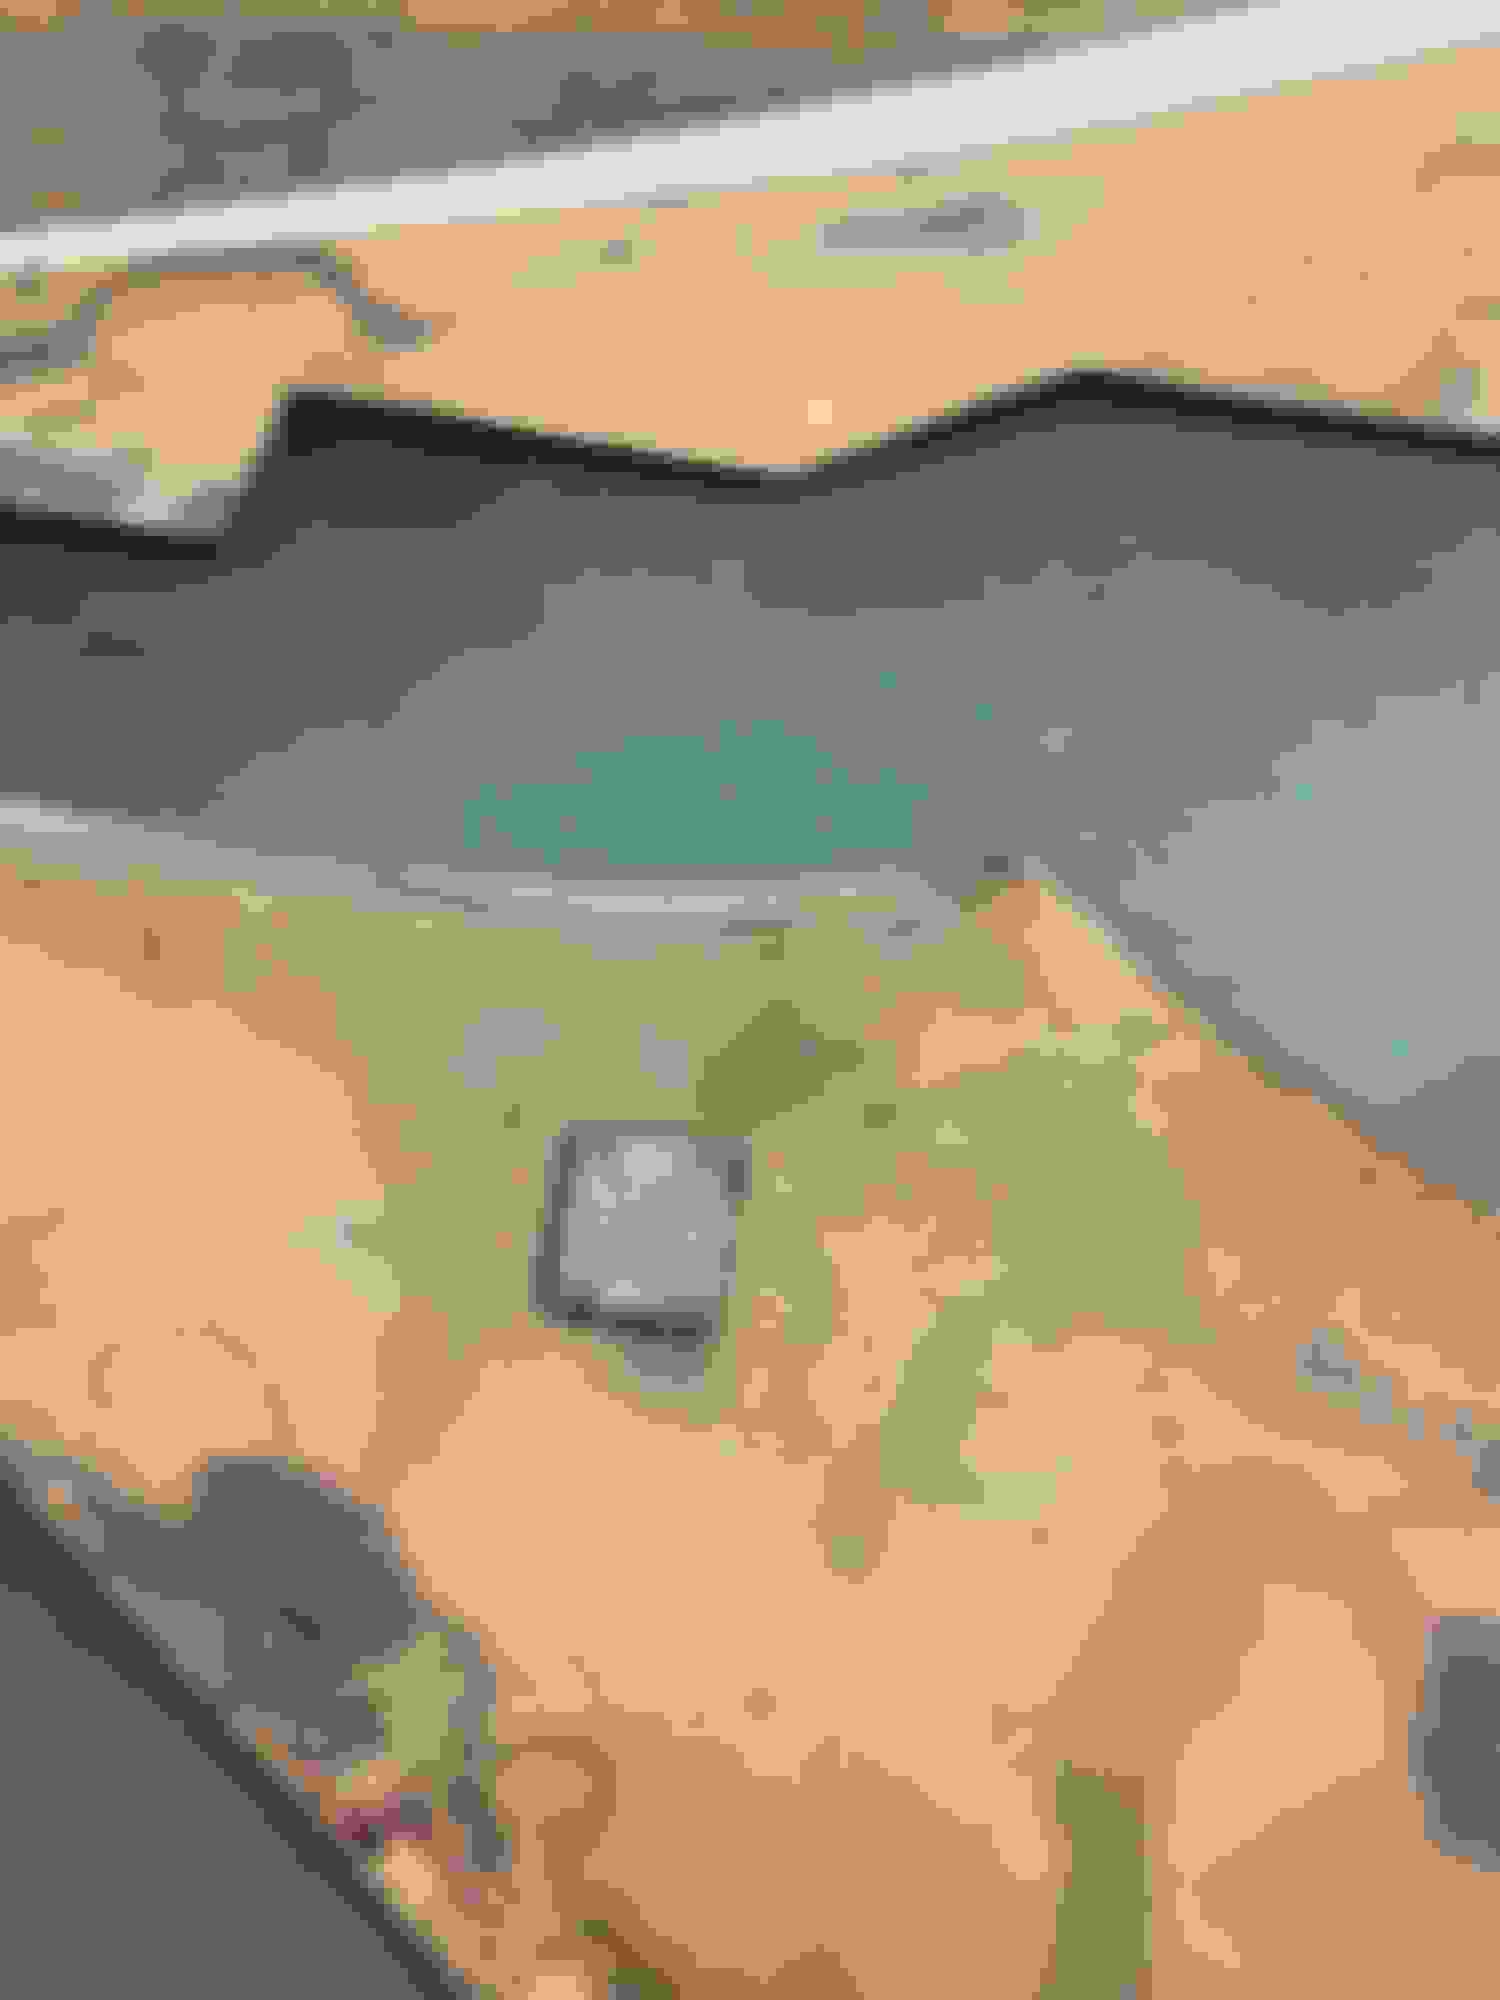
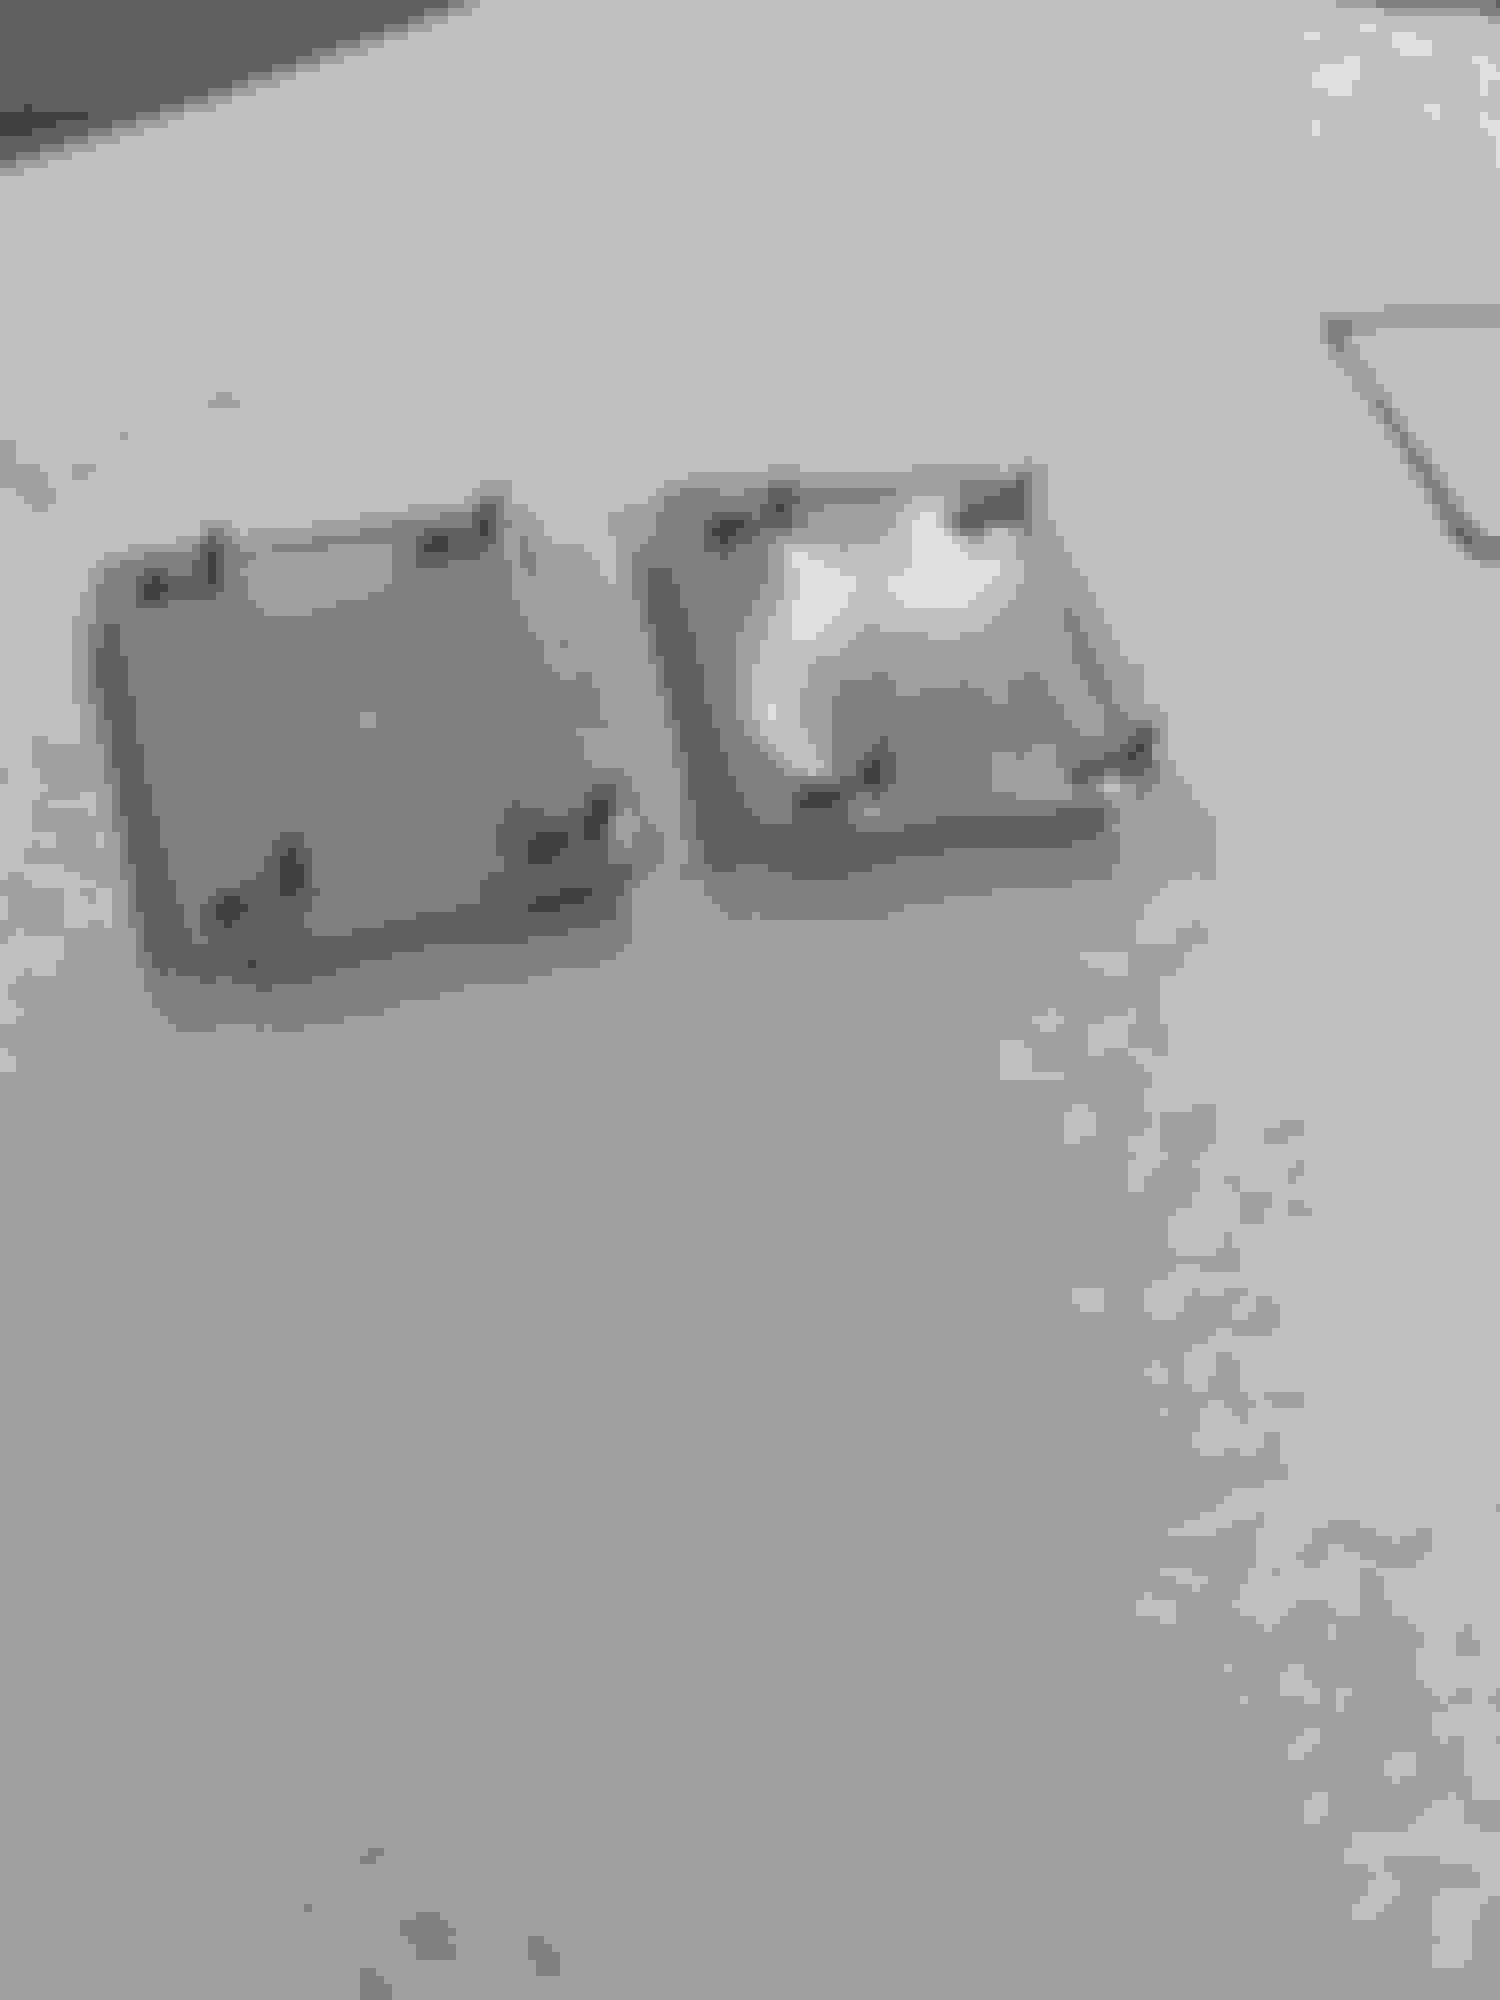
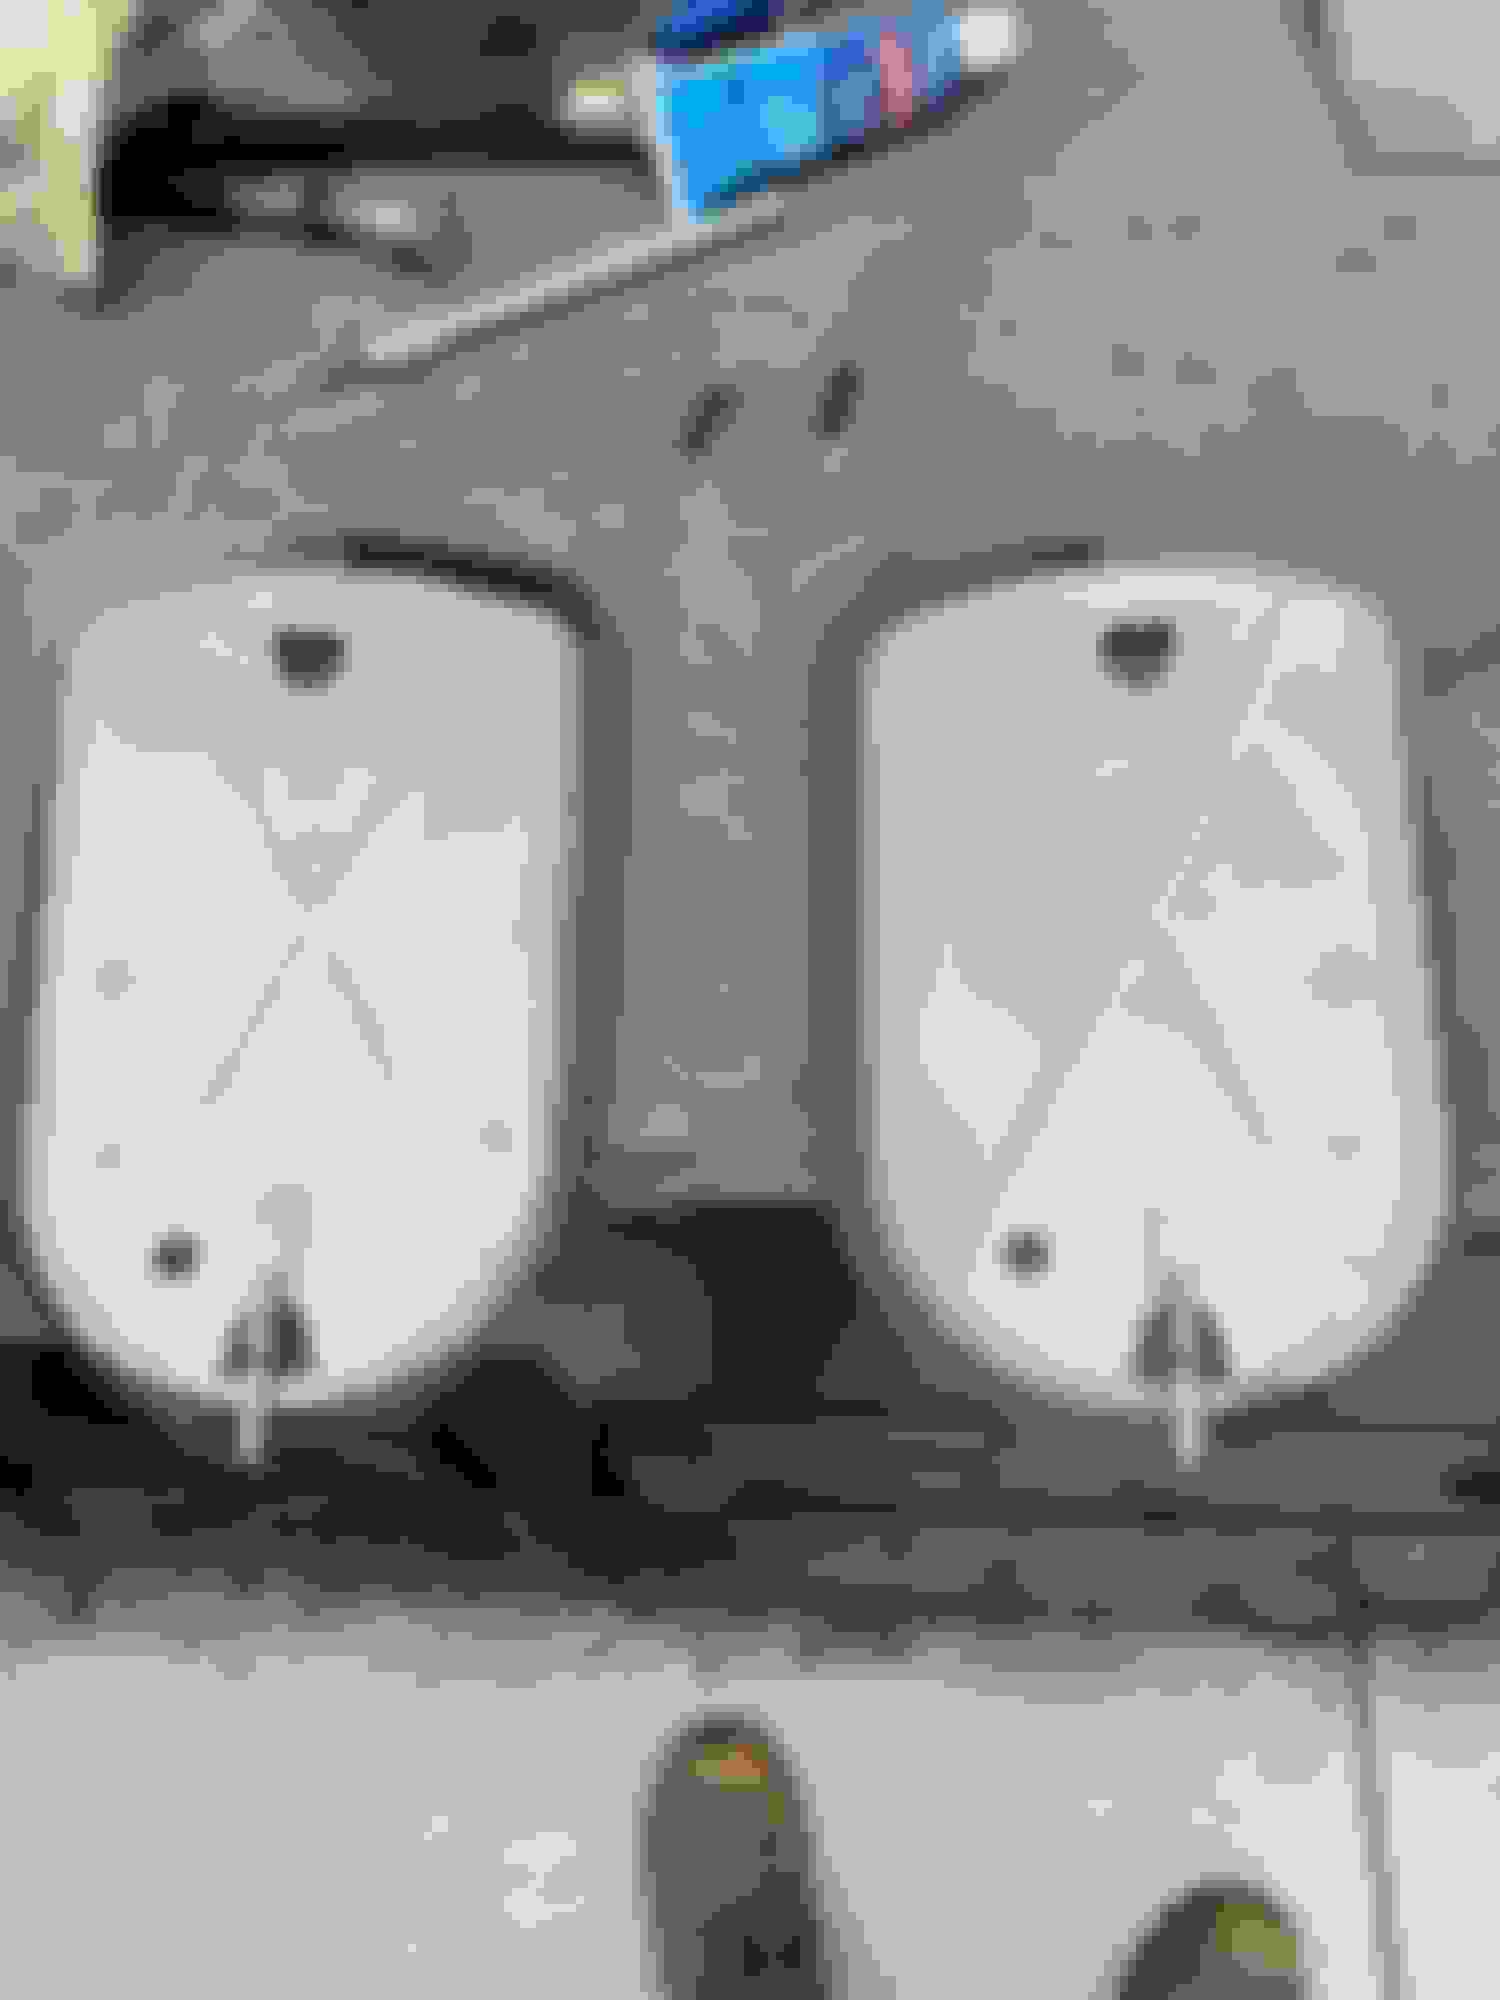
I got the headliner material on the sail panels. The material is a real good color and texture match. I still need to locate one clip. I'll give it a bit more time and if nothing comes I'll figure something out. I'm also working on restoring the kick panels. I will have to dye them so I will work on matching this week but in the meantime I restored the duct doors.
Last edited by scrappie; March 20th, 2022 at 02:58 PM.
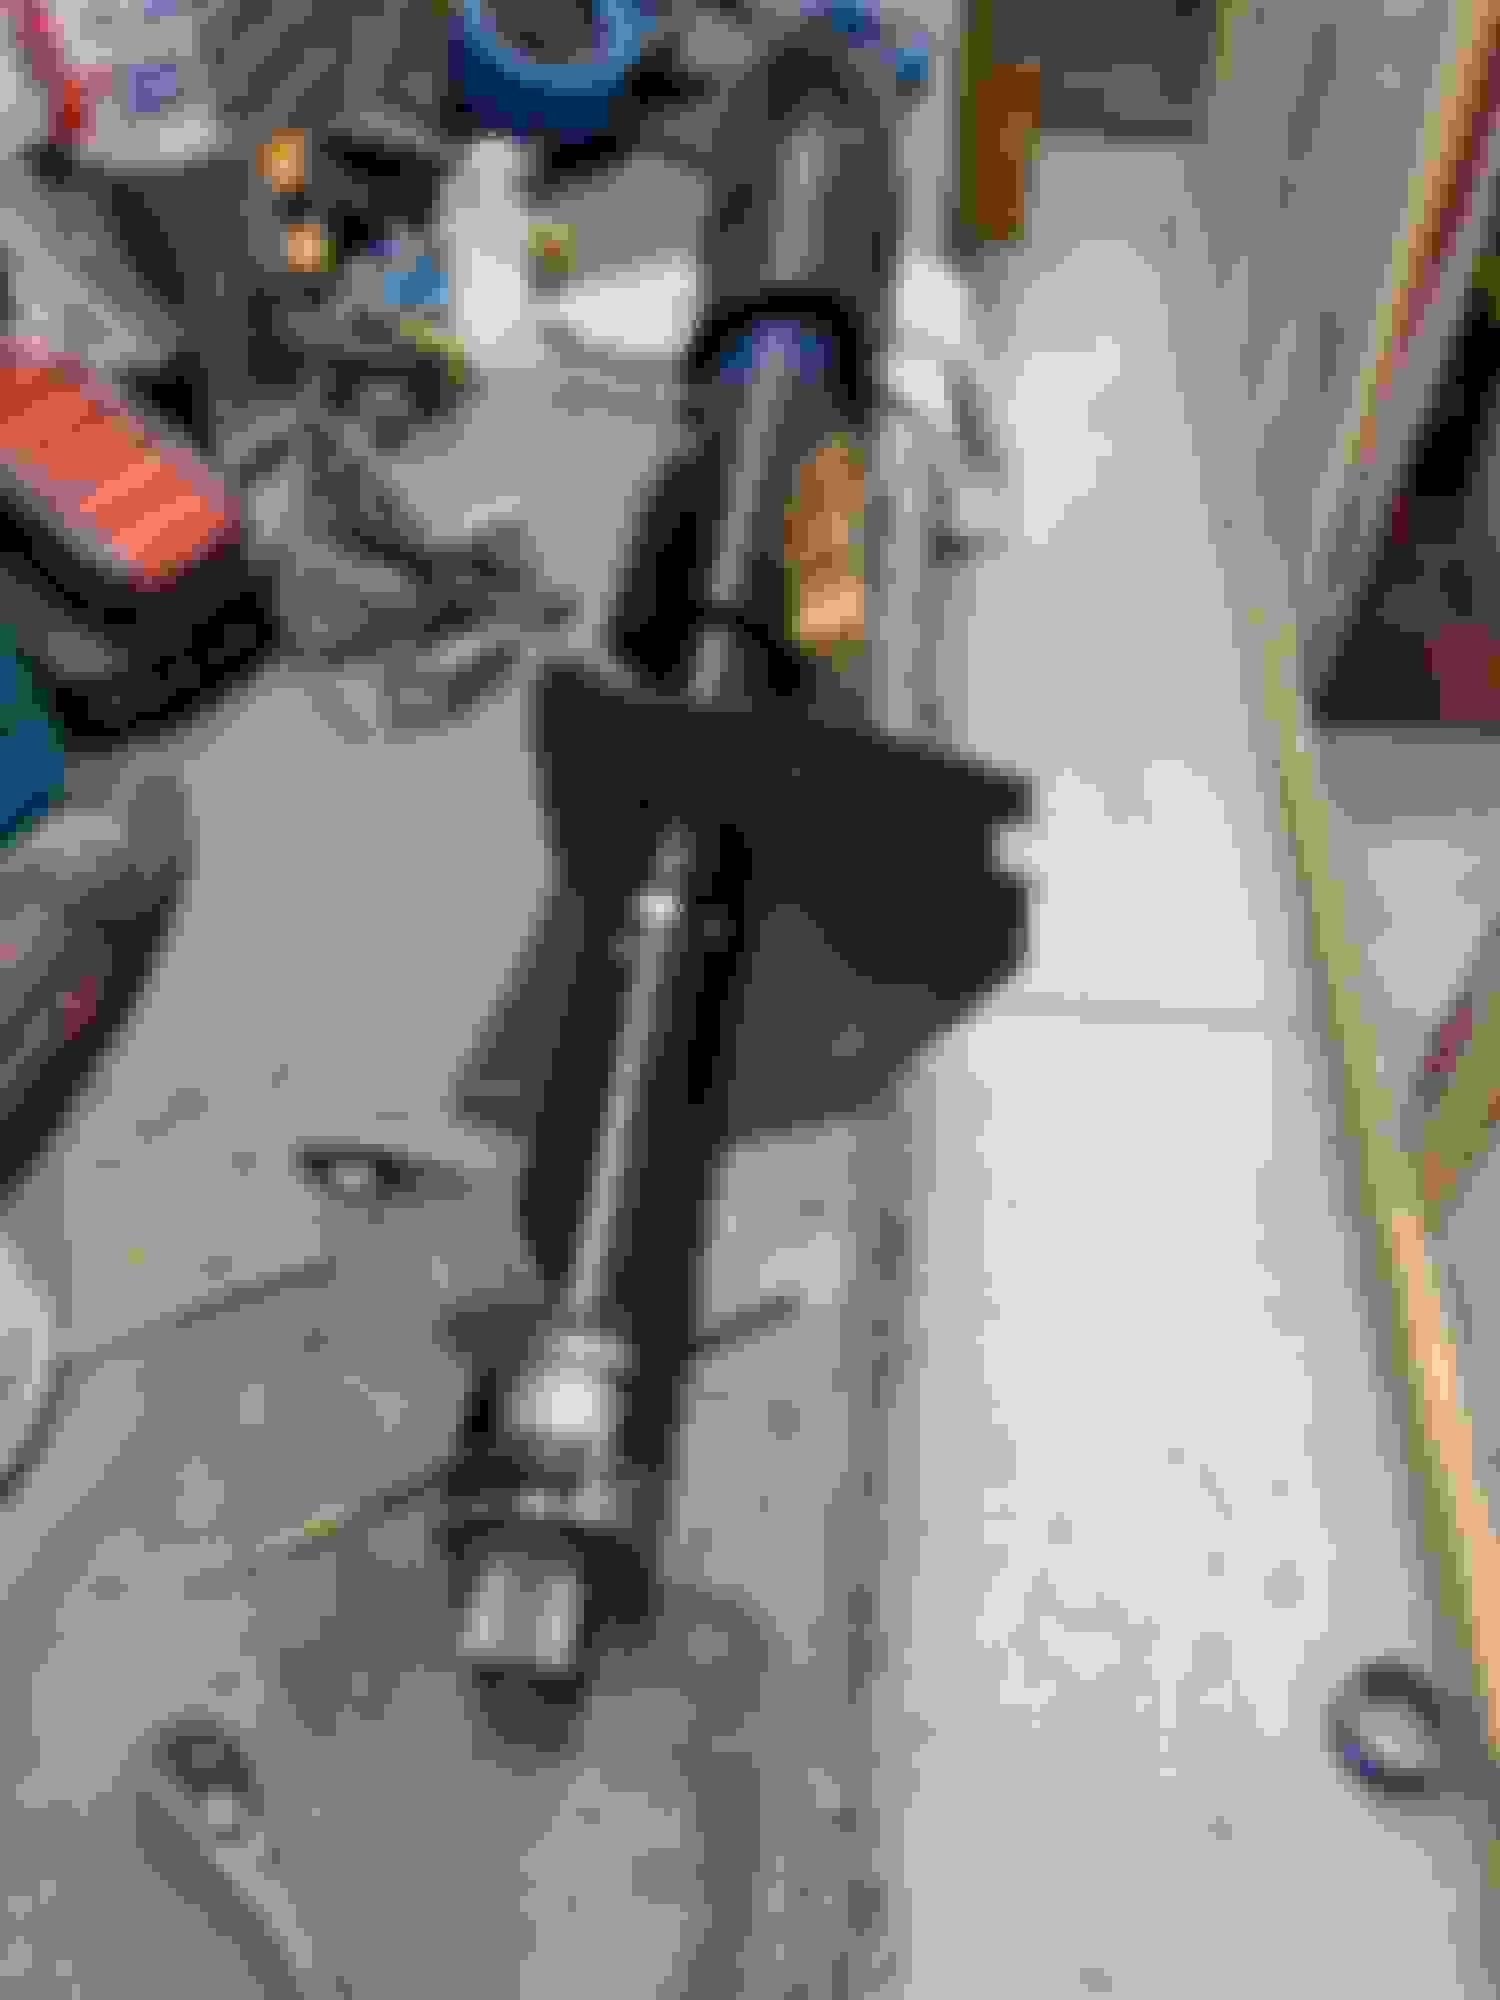
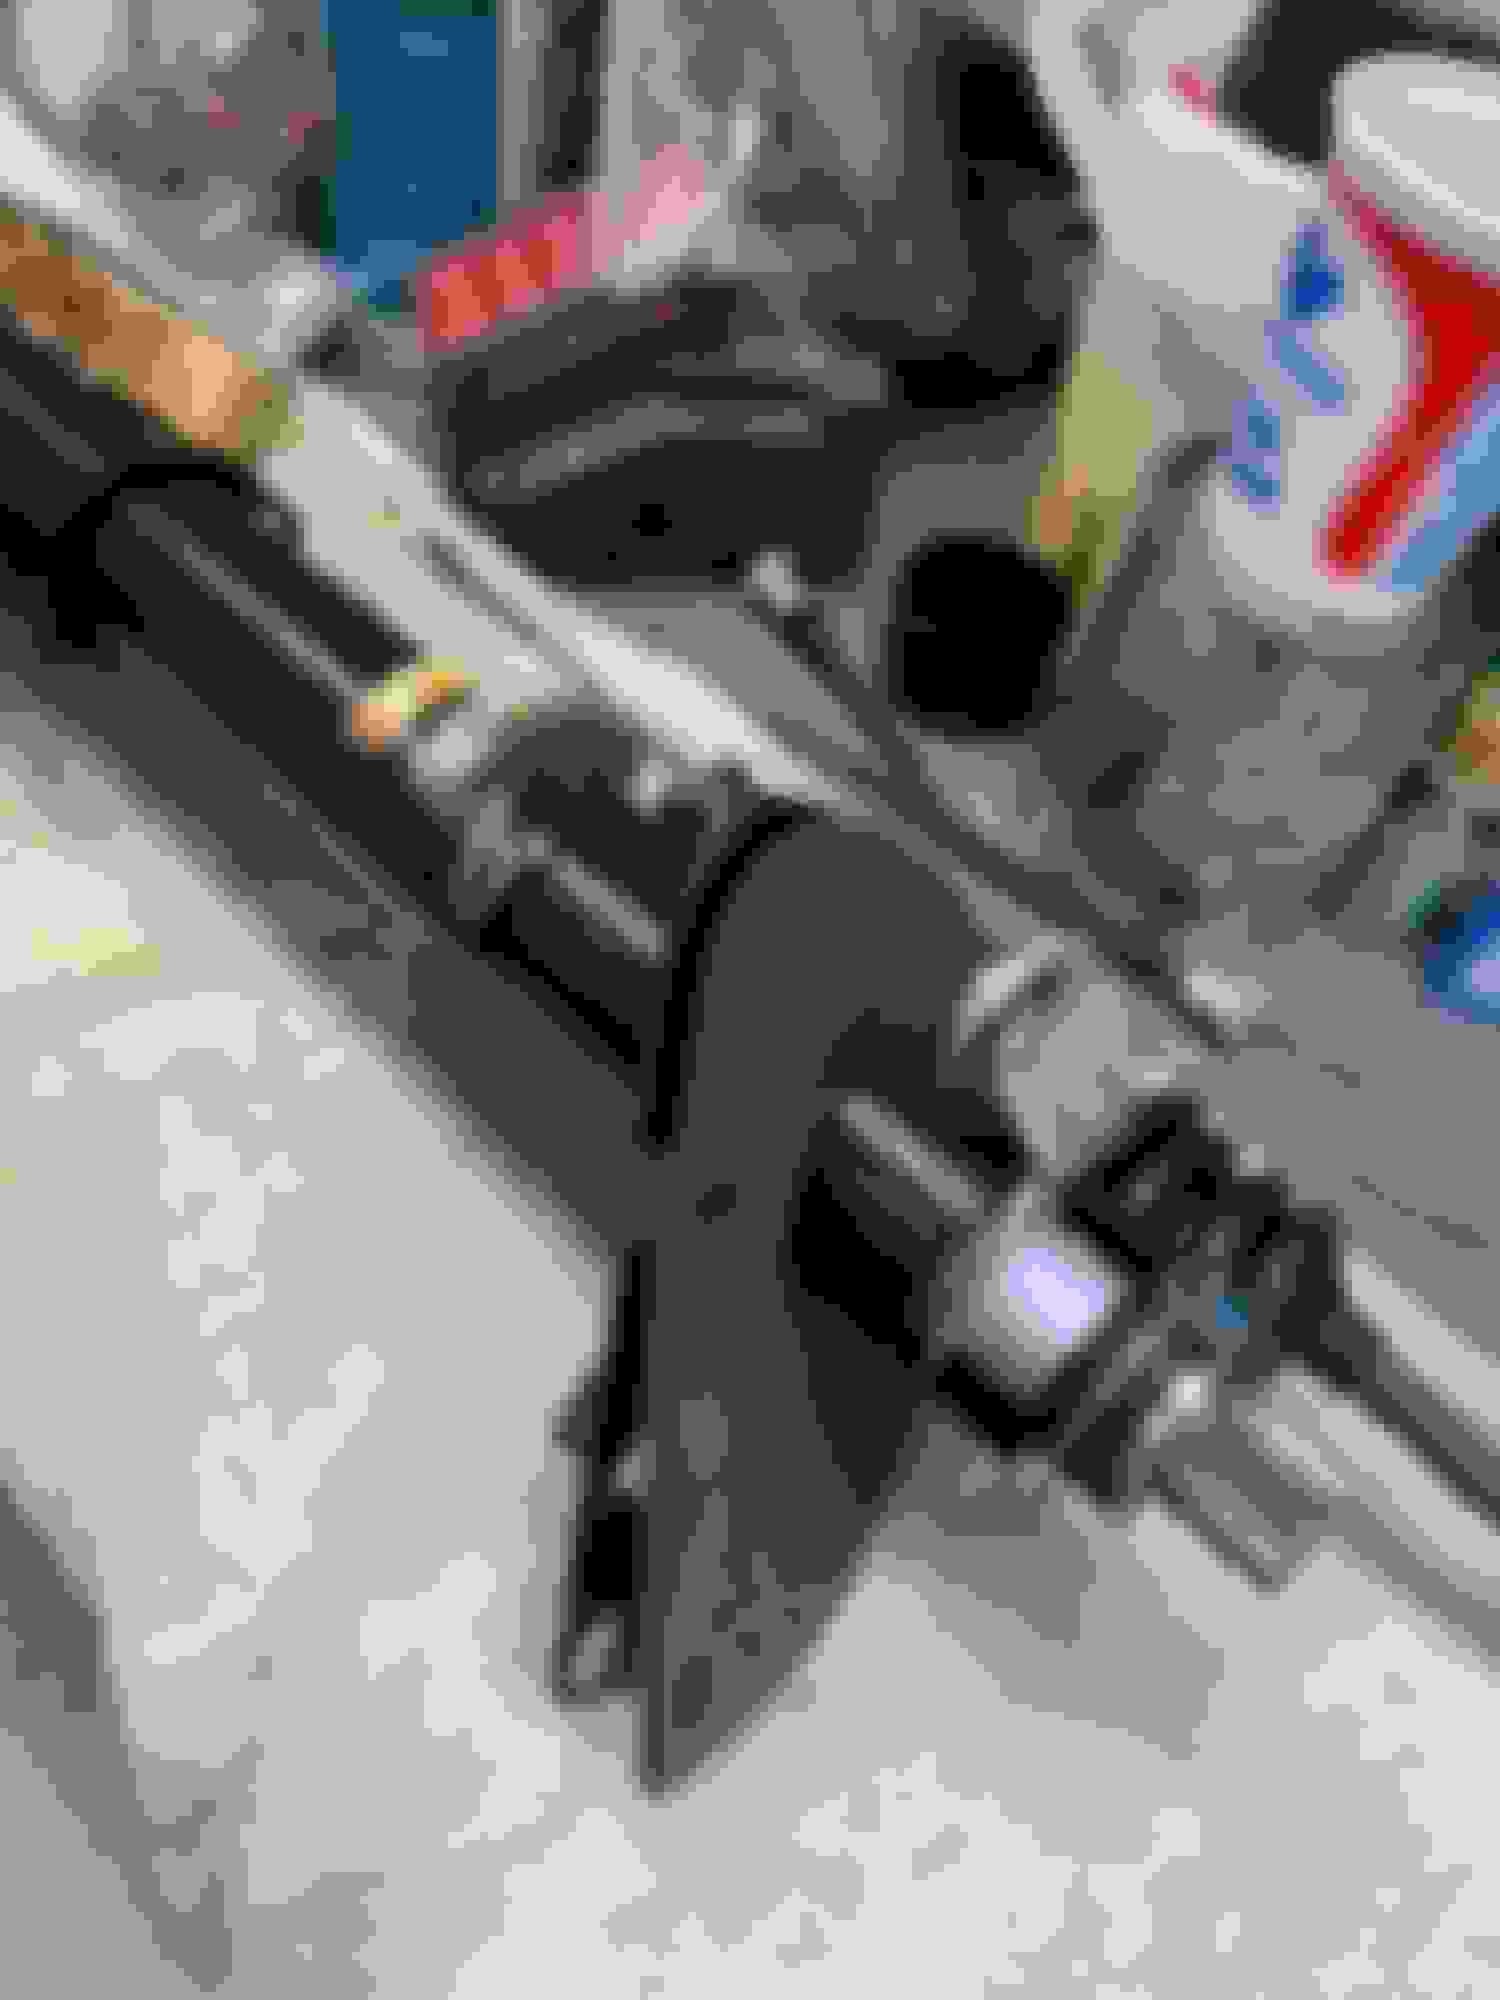
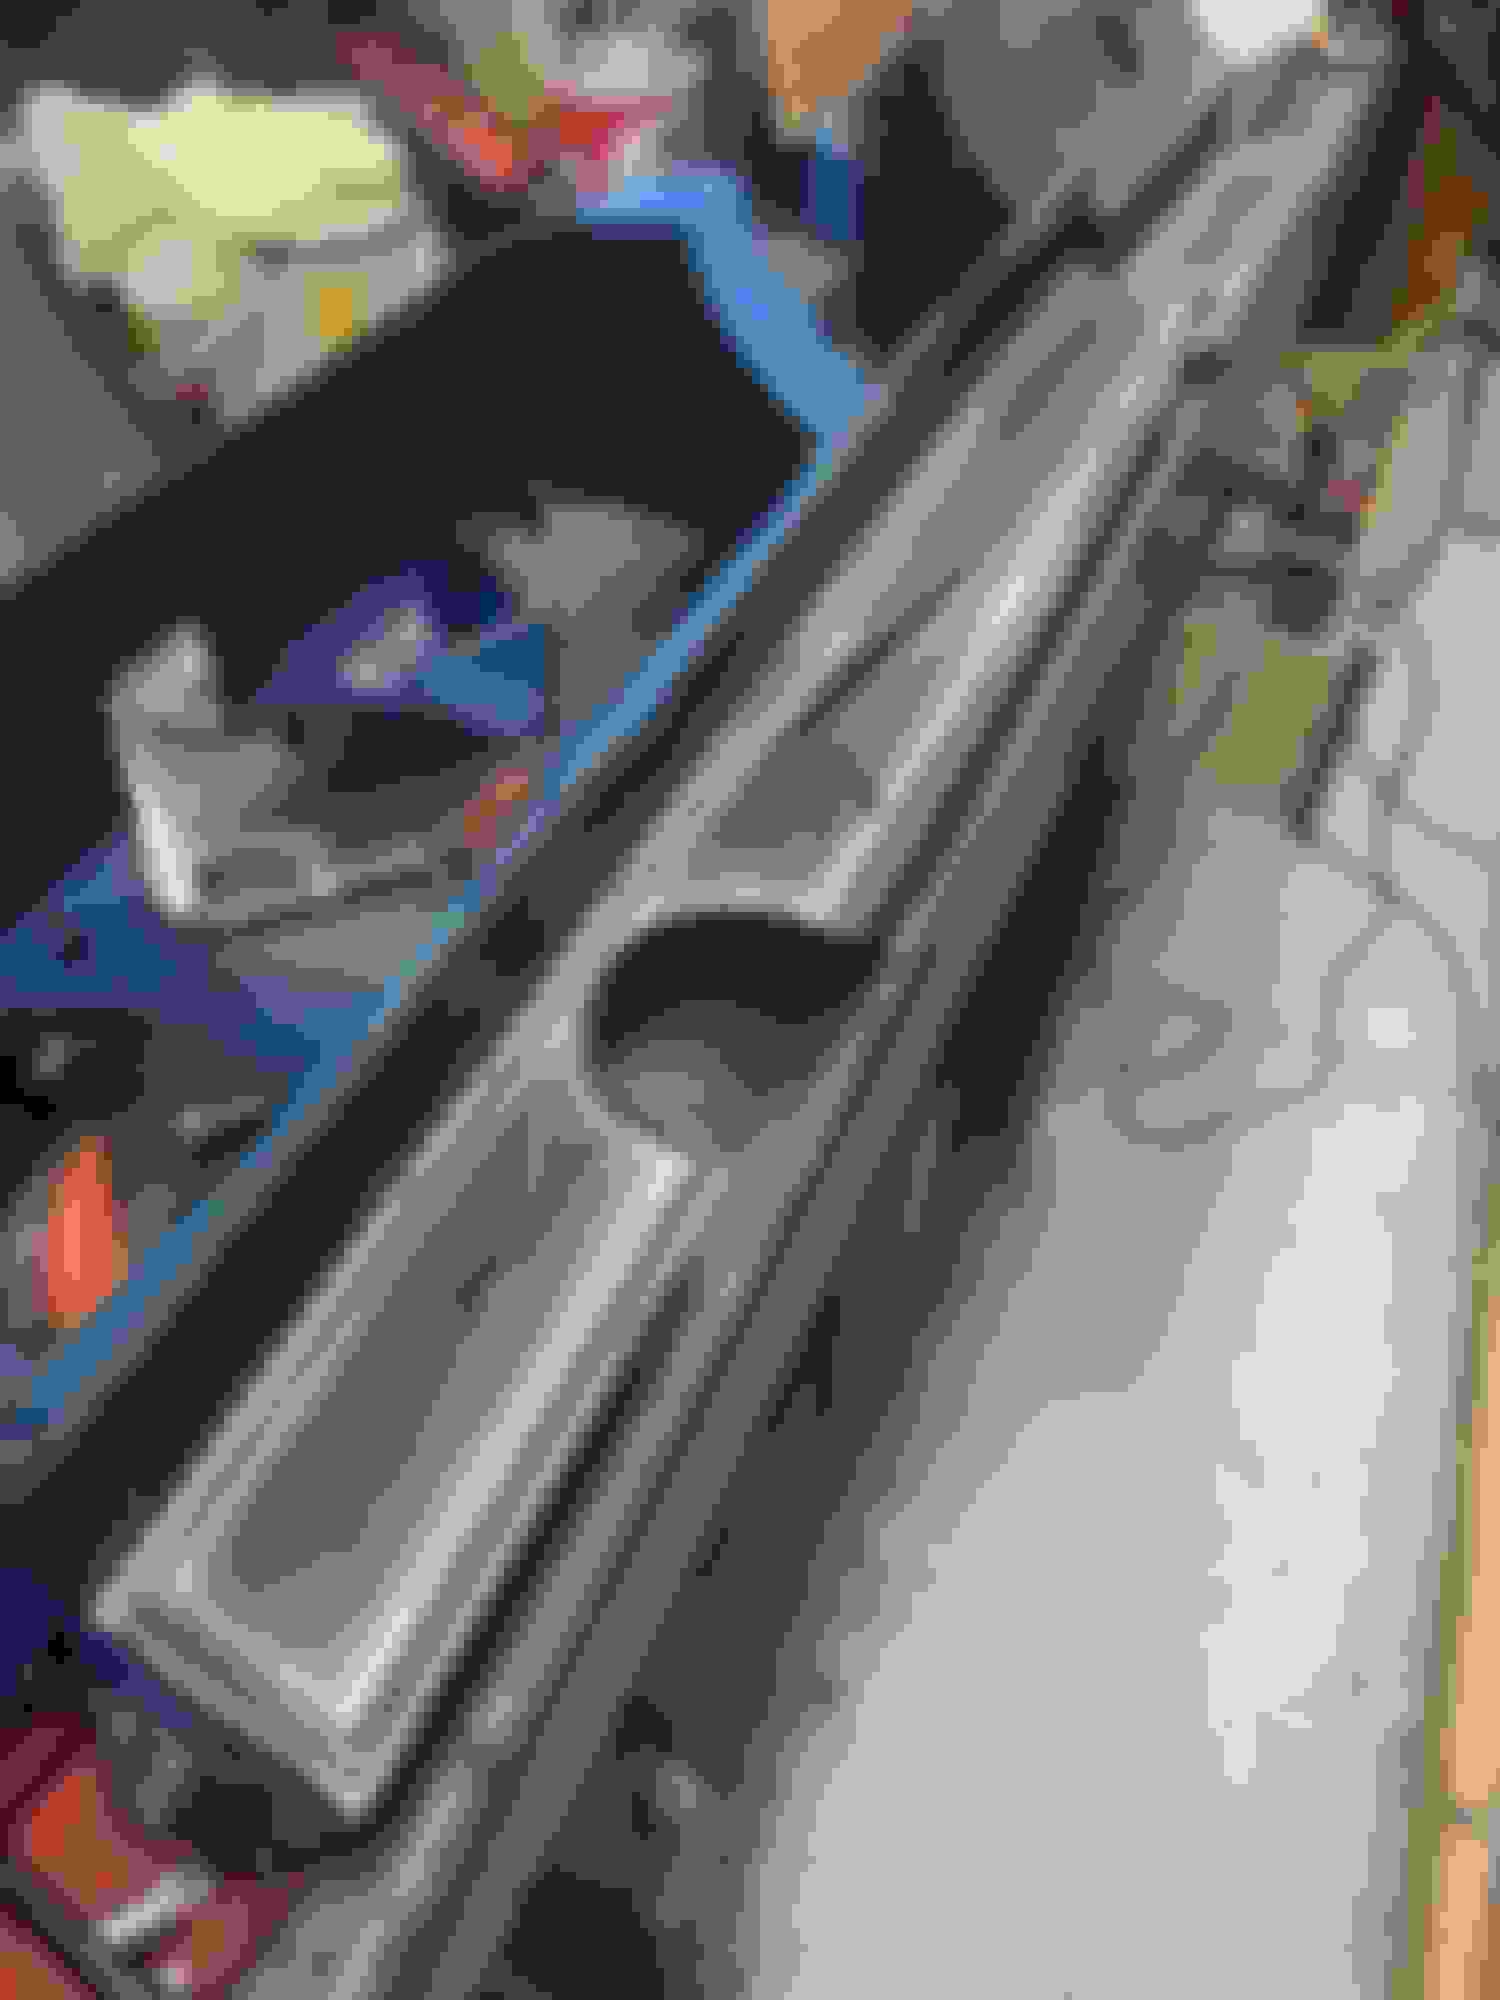
I got a surprise today in the driveway. My steering column came back from Brian Trick in PA. He shipped it on friday. I got some paint and parts on it. I can highly recommend Brian for anything he does, he's a real stand up guy. I bought parts from him probably over 20 yrs ago so he's been at it a while. Its funny because I haven't done business with Brian since and was glad to find out he's still doing his thing. What makes it more interesting is he is from Erie PA where I bought the car and he knew my car before I owned it and looked at it for the guy I bought it from. We talked a while about it and he remembered a lot of details that only he and I know about the car so we talked for a while.
I sent my steering column to him for reassembly because while I think I could have done it, I thought it better to get a second opinion on things and catch anything I may have missed. The steering column is ready to go now after a little paint and stuff. First pics are when I got it back and then after paint and stuff today. I put the sticker back on for *****? Original key cylinder
well the pain is fine still in a sling and wrap but I gotta say that separation bump is funky looking! I go back to the sawbones on Wednesday will see what he says hopefully more activity with arm lol , daylights a wasting! Thanks for asking
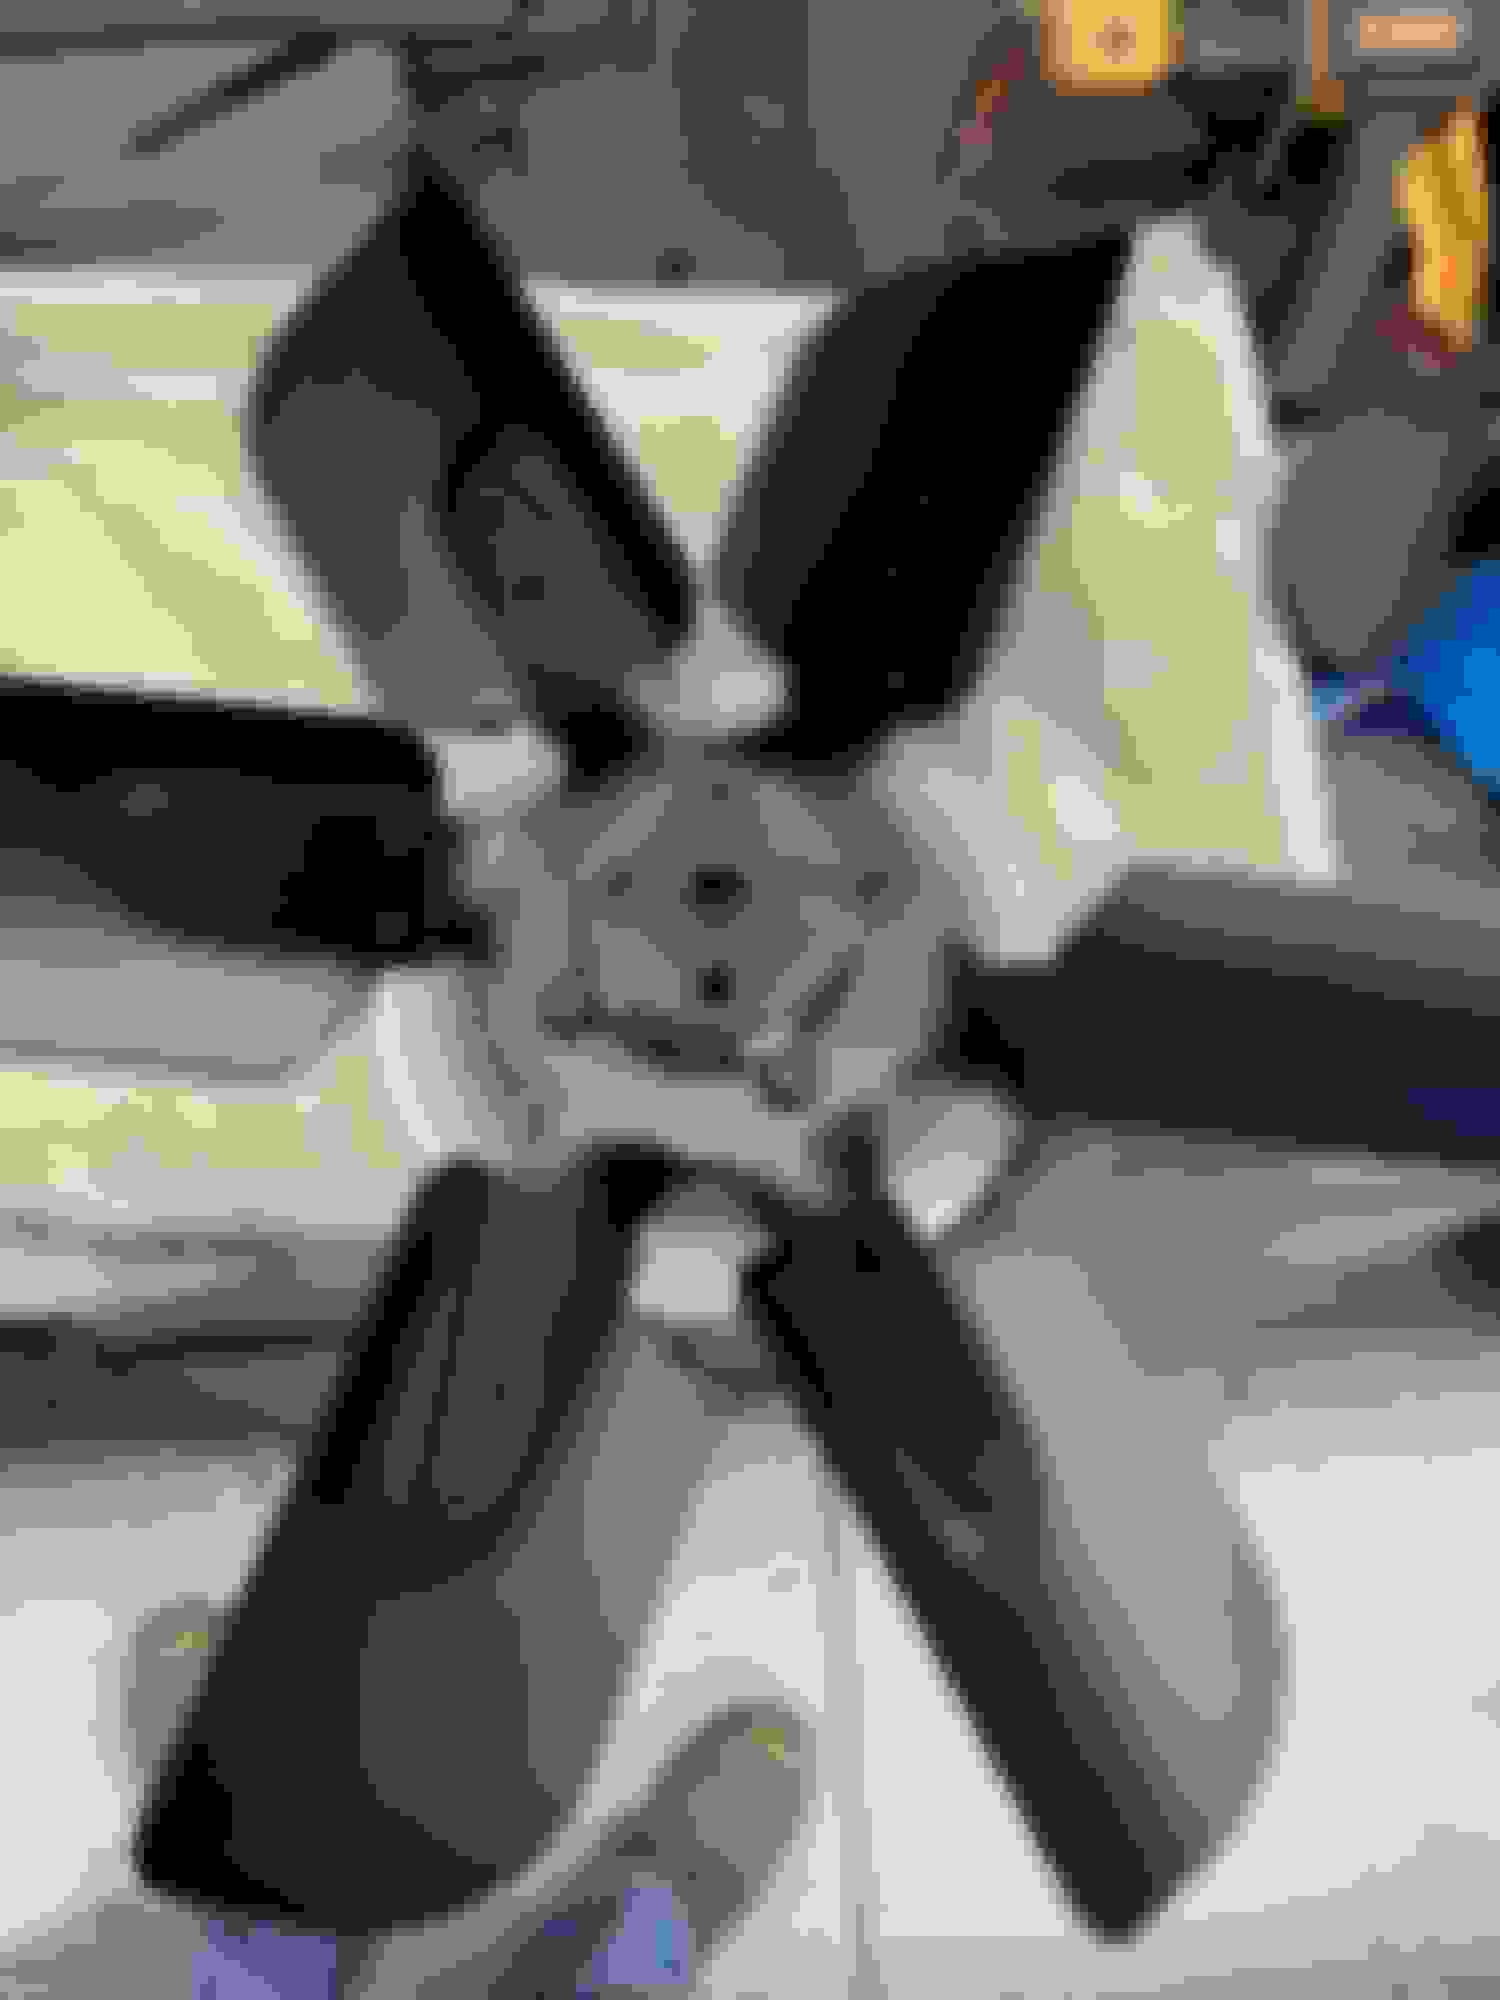
I had a fan clutch rebuilt by Kirkconnell corvettes. Took about two weeks and cost just over $300. Great service and quick turn around time. I think it looks pretty good. I had restored the fan a while ago but both are now ready to go. I hope to give an operational report soon but I just need a motor to bolt it to.
I had a fan clutch rebuilt by Kirkconnell corvettes. Took about two weeks and cost just over $300. Great service and quick turn around time. I think it looks pretty good. I had restored the fan a while ago but both are now ready to go. I hope to give an operational report soon but I just need a motor to bolt it to.
Be prepared for the fan clutch to leak. They are repairing mine for a third time. My memory is a bit rusty, but those bolts for the fan to the clutch don’t look correct.
Last edited by WTHIRTY1; March 22nd, 2022 at 05:10 PM.
Ah, all the purdy stuff you are how handling. I know that is a welcomed change and I'm so glad for you that you are now at this stage. You are gonna love it when it comes time to drive this car and go through the gears..... because these cars are just awesome!
PackRat hooked me up with the missing sail panel clip. I should be all set when it comes time to install.
I've been told by Mark R. that he should be able to start assembling my motor this week. Hopefully that goes as planned.
In the meantime, I have been staying busy with stuff.
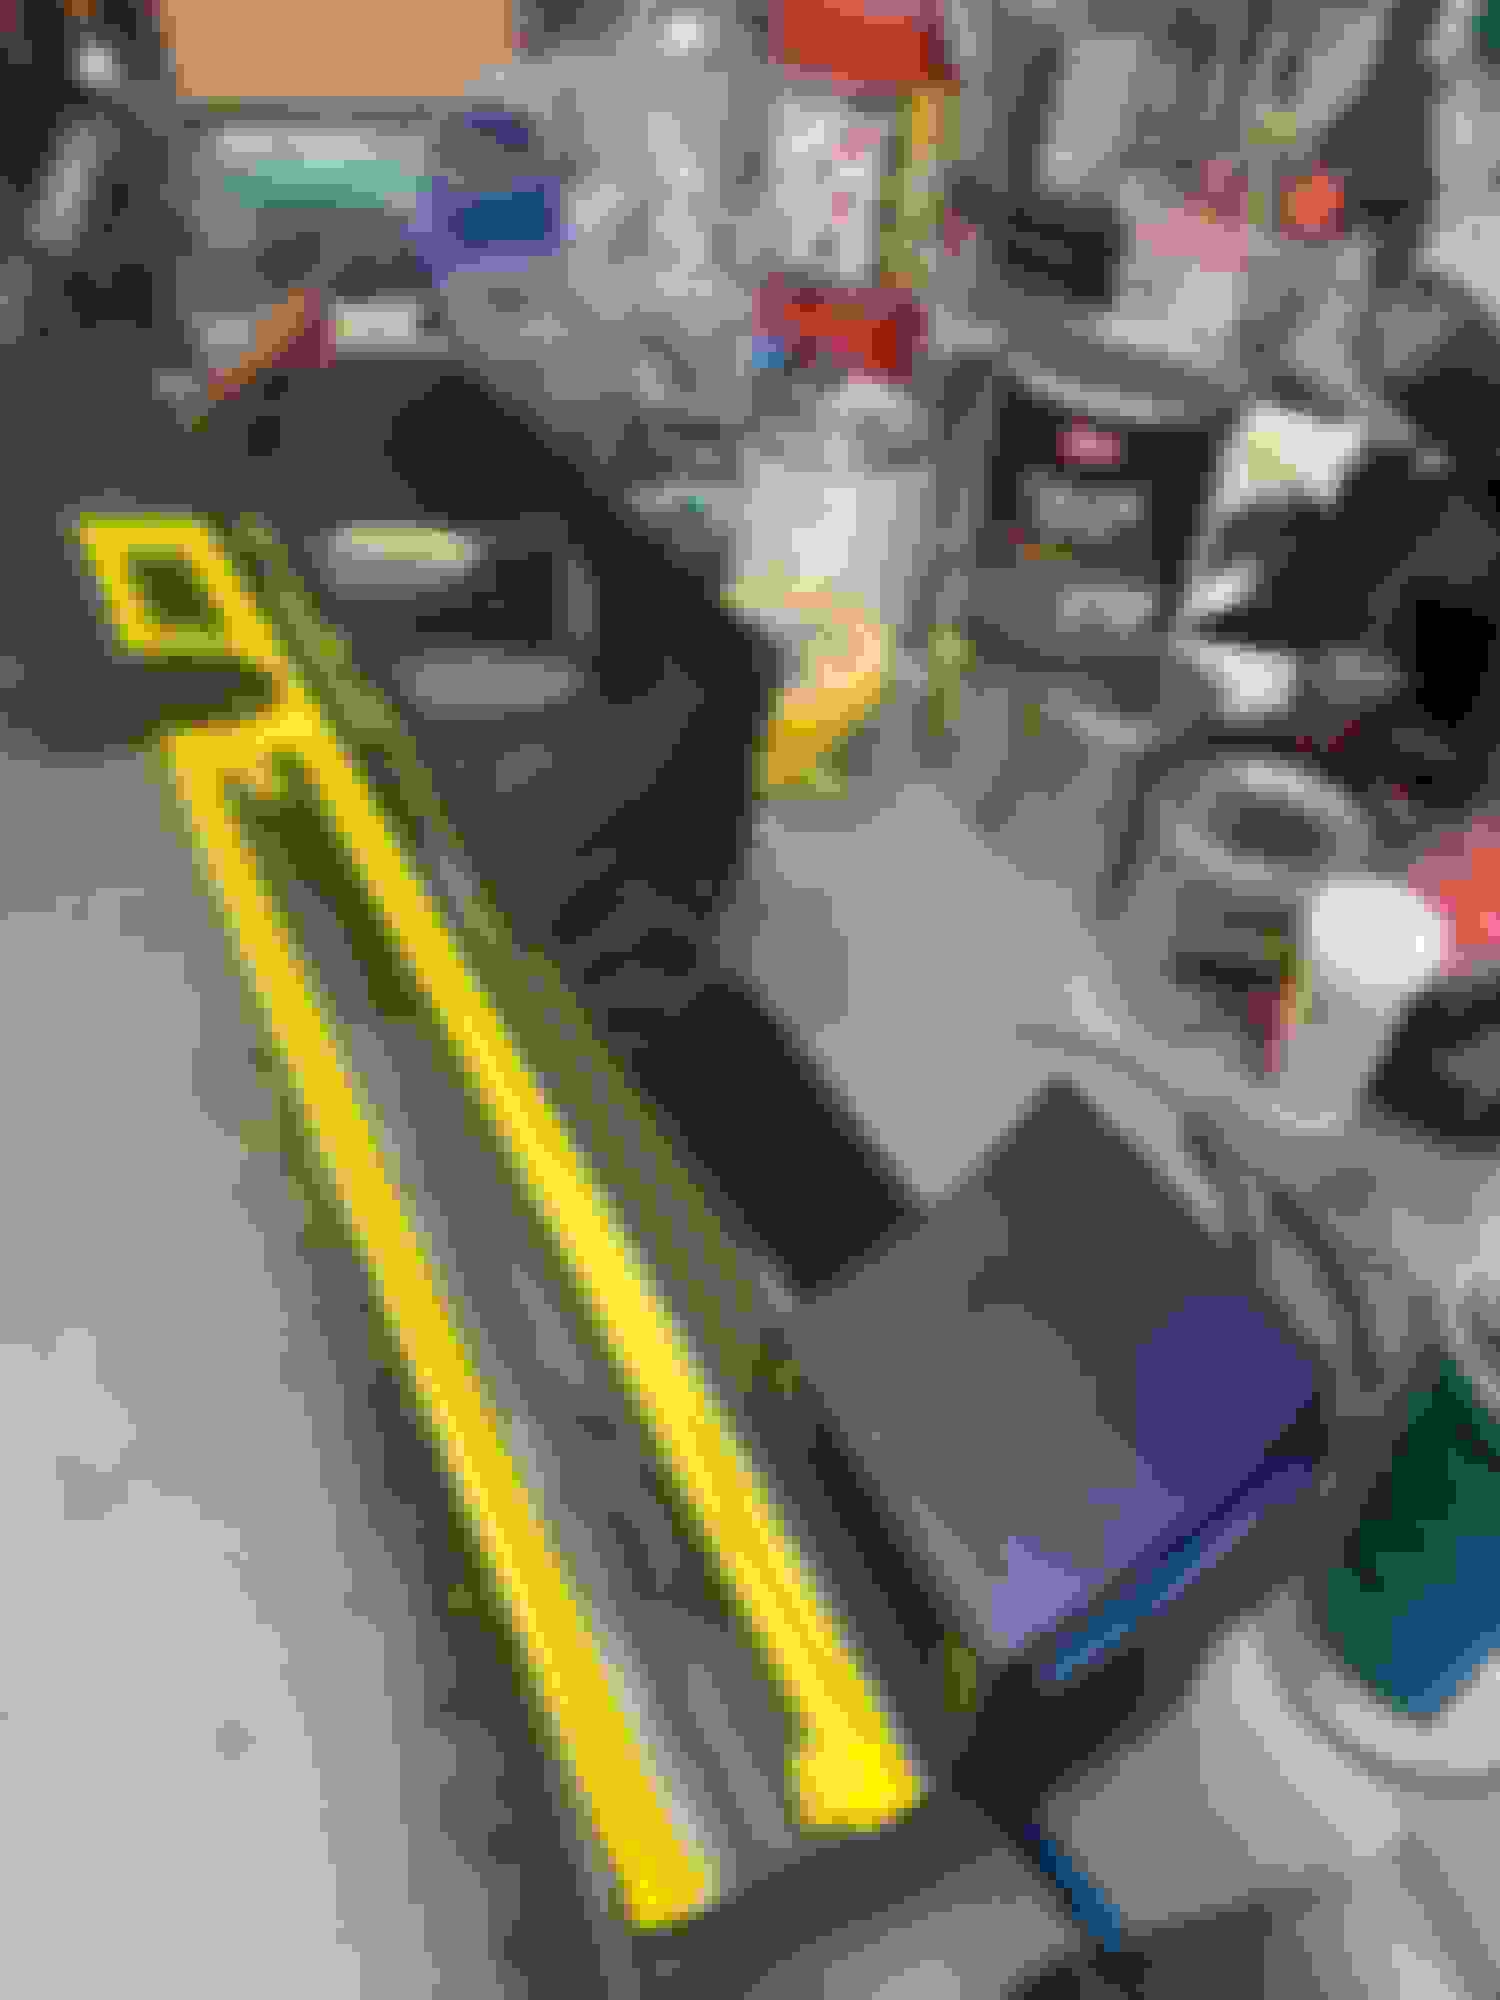
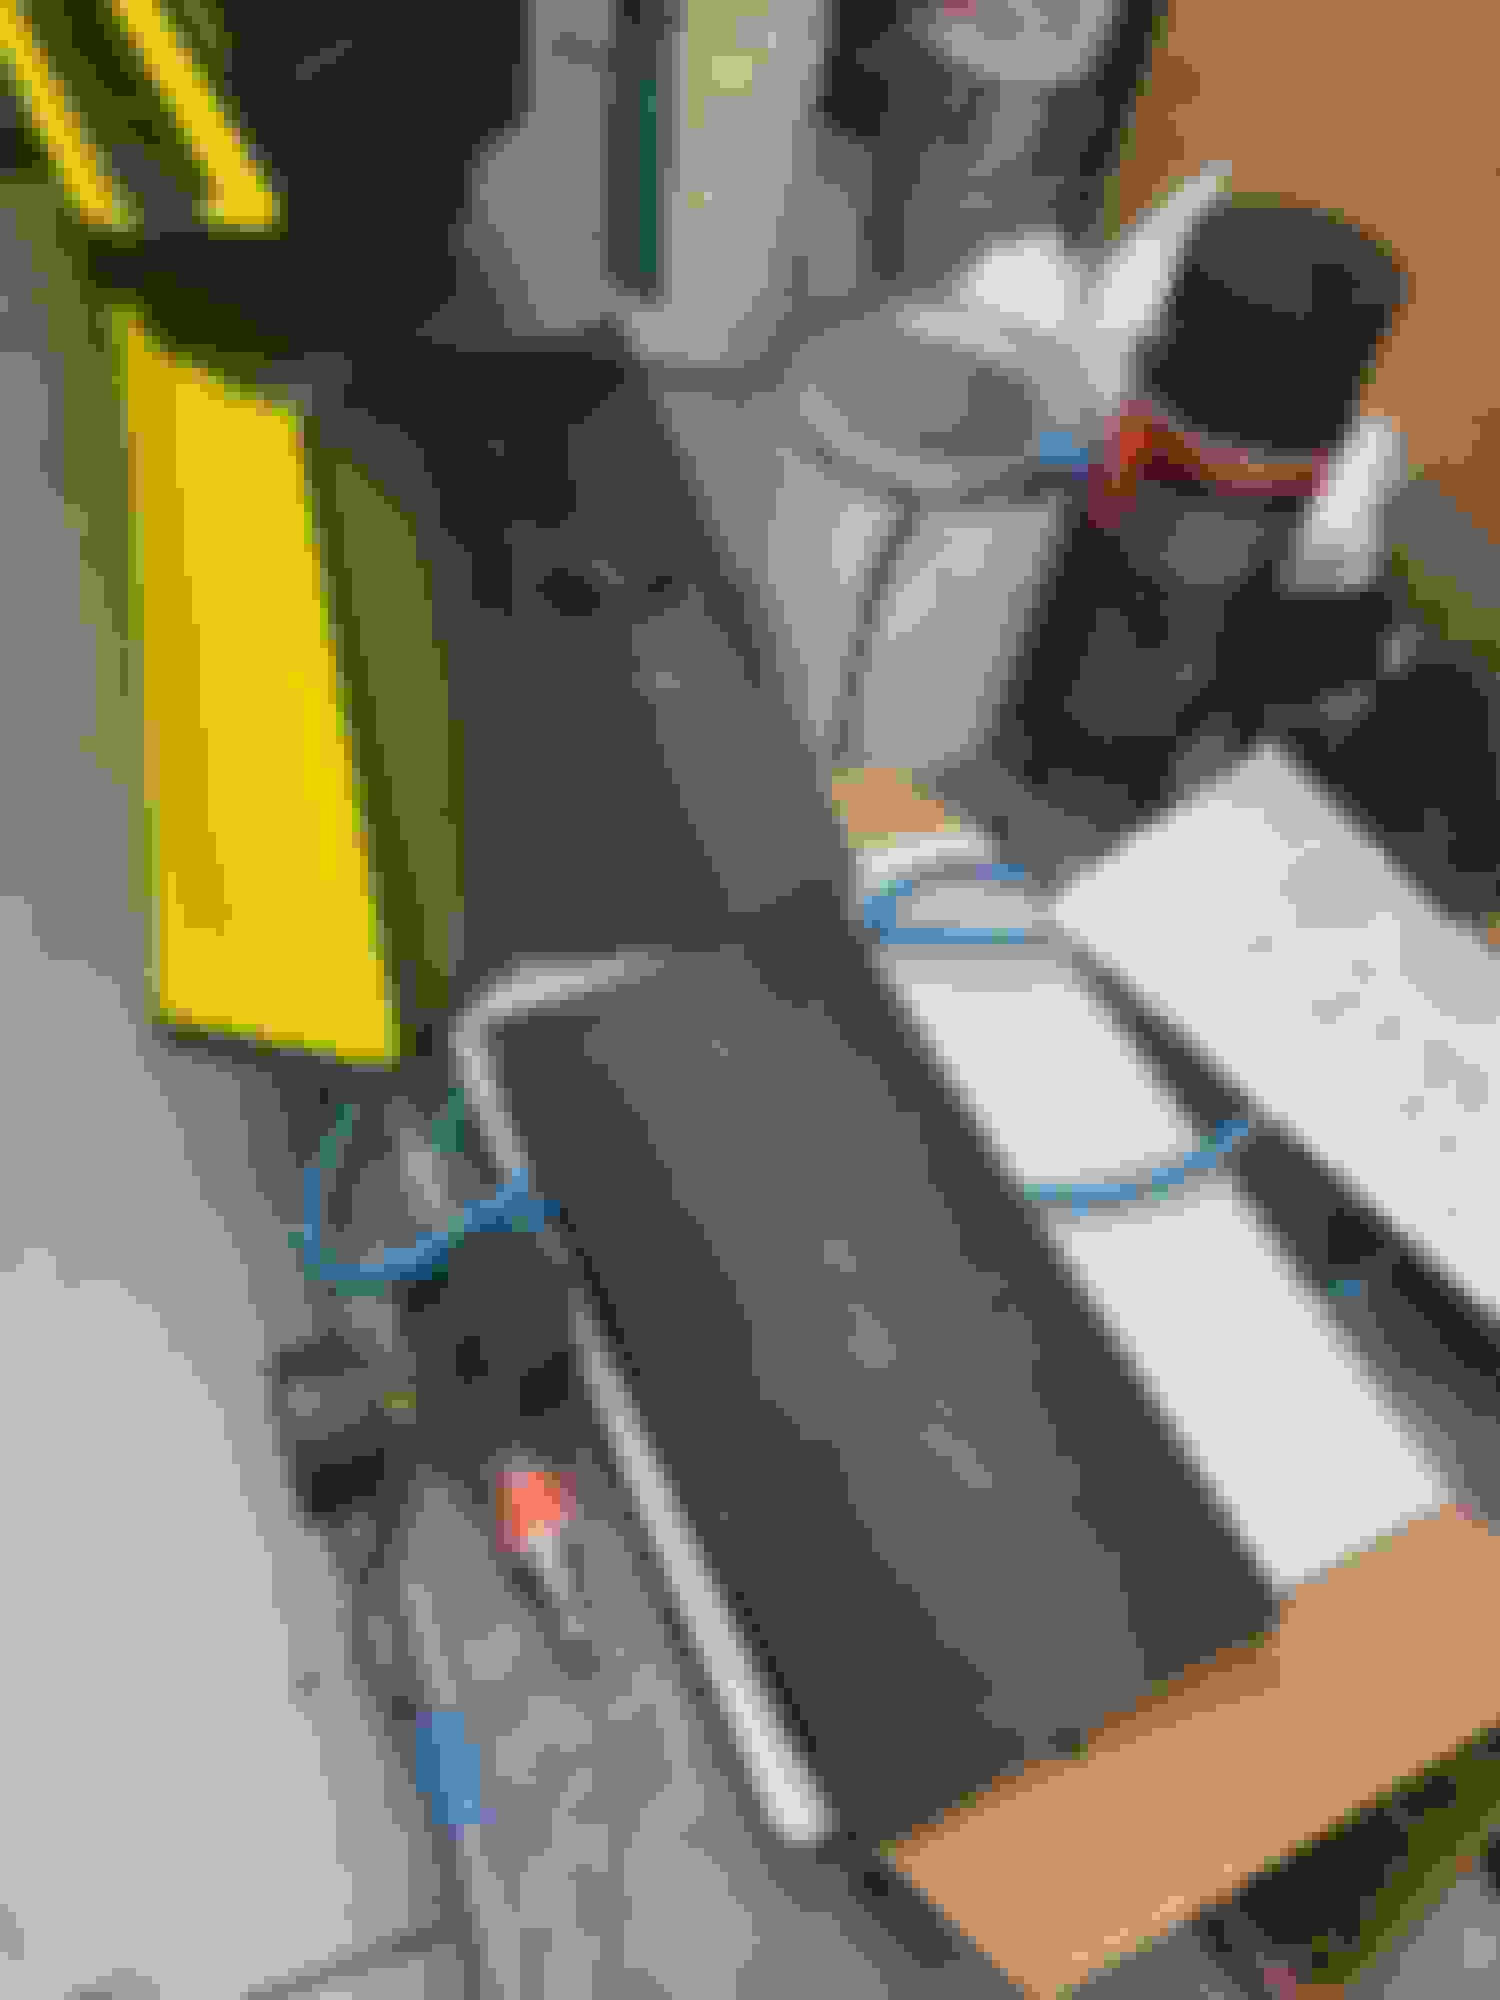
My dash was in ok condition but since I'm doing everything else, it needs to match so I decided to go through the whole thing. I think the biggest thing with the dash is replicating the chrome trim. I could just send the dash somewhere and have them go through it but thats no fun for me and it would add considerable cost. I've thought a lot about the chrome trim and different methods. I decided to give ALSA chrome paint a shot. I was gonna try and restore dash wiring harness but it just looked too corroded and would have taken a lot of time. For piece of mind and safety I decided to go with al new wiring from American auto wire. I got the dash harness, engine harness, intermediate harness and front headlight harness. The dashes in these cars can get warped from heat and a lot seem to be bent, both pads and dash. I spent some time with a heat gun and some bracing and tried straightening things.
I disassembled the whole dash, pressure washed, cleaned and prepped everything. I started out with the chrome trim paint first because I was told by instrument specialties if they were to do it, they chrome the whole dash and then paint over everything. I masked the areas to be chromed and then primed and then chrome paint. After that was done I masked the chrome off and painted dash a good blue match from my local shop.The dashes all start out black plastic and are then painted a color if needed. After that was all done I then masked off the chrome for the black in between the chrome and painted that. I was on a roll so I re-applied the original burl wood and that is about where I am at. I dyed my kick panels and put those back together but I wouldn't mind finding a pair in really nice condition but we shall see? The kick panels are a color molded plastic. Mine had a little oxidation so I painted them. They are ok but could be better. As far as the ALSA chrome paint: The video they show makes it look easy but I think it takes some practice. My dash is ok and I think I can live with it or I might try it again with a different technique or something? There are areas that are really shiney but just not consistent. Its probably me? I will keep working on dash and then I will attempt headliner install coming up.
Last edited by scrappie; March 27th, 2022 at 04:45 PM.
Just amazing, Paul! I will be curious to see how the new sail panels turn out as the originals would have had some nice “bend” to them and made for an easier install.
Dash looks killer! Similar to what you pointed out on the front kick panels, the ash tray door and glove box are molded blue plastic so you will see a variance in the blue.
On your column, don’t forget to detail the triangle on the ignition bezel.
This car is going to be nuts when it is finished! Keep it up!
Thx Jimmy, I was thinking about the curve in the sail panel. I’m gonna have a fabric steamer when it comes time for headliner so I’m thinking of putting the panels in some sort of jig to get a slight bend and applying some steam. I’ll see how that works when time comes?
Didnt think about the triangle on ignition, I’m assuming a black detail?
Thx Jimmy, I was thinking about the curve in the sail panel. I�m gonna have a fabric steamer when it comes time for headliner so I�m thinking of putting the panels in some sort of jig to get a slight bend and applying some steam. I�ll see how that works when time comes?
Didnt think about the triangle on ignition, I�m assuming a black detail?
Depends on the build date of the car. I will shoot you a text.
Thinking about the dash completion and wondering about the chrome bead that in 70 was glued on and after 70 was attached with plastic barb pins. When I got the car there was no chrome bead on dash so I wasn't planning on putting one on. In recent discussions with fellow Olds enthusiasts I've been told all w30s got the chrome bead on dash. If the car had the wood grain on dash then the chrome bead was included with that and should be there even if it was glued on. This makes sense to me but want to make sure.
I know this has come up in discussion before and curious to know any opinions on this? If I decide to put the reproduction bead on it will be with those pins and once holes are punched in dash pad there is no turning back. What do you guys think?
You definitely need the chrome bead. Even the NOS bead provided the pointy white clips. There is a service bulletin for 1970 that calls out the glue melting and not holding which prompted the switch to the clips. So, factory would have been glue, however, dealer repair would be clips. I used the clips. I�ll send you a copy of the bulletin when I�m back from Florida.
I also used the bead on my dash recently redone. In fact when I disassembled my dash there were retaining pins already on it. They must have been added due to the glue issue after factory build. I just used new pins in existing holes with a few extra pins in a few problematic places to get the chrome bead to sit in the groove better. I feel you that once you do the bead it�s no going back but it compliments the dash well.
Well looks like I�ll be doing the chrome bead. Just another thing to add to the list but thanks for all the input from all you old guys. I mean Olds guys 😁


 March 13th, 2022, 03:29 PM