When you click on links to various merchants on this site and make a purchase, this can result in this site earning a commission. Affiliate programs and affiliations include, but are not limited to, the eBay Partner Network.
Started on the LH rear door panel tonight. I put the paper water shield in place and then test fit the actual door panel. I learned a valuable lesson from the RH side that the door panel �cutouts� are a bit off. Looks like this window crank hole cutout needs to be adjusted a bit.
I can�t emphasize this enough. Send Legendary your original panels so they can use your original metal uppers! These do not fit all that great!
Finally finished the rear door panels and arm rest bases. The LH side actually went better than the RH side. I also accepted the fact that the panels weren�t going to fit perfectly no matter what I tried so maybe that ended up helping. Either way, the panels in the rear are done. Same as the RH side, I ended up drilling two new holes for the arm rest base metal to the door panel and interior metal as well as for the screw at the rear behind the sail panel. I did learn something new by studying the original rear panels. The factory apparently used a bit of cardboard on the lower edge of the door panel towards the front to eliminate the �concaveness� when the window crank is installed. I replicated the cardboard and it did the trick!
The back side of the backseat went in without problem. The seat belts went in fine. Thanks to Patton for his notes on the belts. I also made a card of my own for how my seat belts overlaid one another and their sequencing.
The problem I have right now is with the bottom of the back seat. I am about a 1/2� away from the latches in the floor for the metal to pop in to. I am thinking either the back seat back is too low or the new materials back there are causing an issue. I will retry it tomorrow and see if I can�t push the back up a bit to give the base more room to slide down. Any ideas?
This is the cardboard that was on the back of the rear panel. I pulled it off, sprayed it with headliner glue, and slapped it on the back of the new panels.
Is it possible the back seat back could be �too low� preventing the base from installing properly? I had the base almost parallel to the back as I was inserting it under the back.
Reinstalled the material that goes over the floor and wires.
Seat belts by Python.
As my friend Kevin put it, just like the factory did it!
The sketch is a little misleading. The belts overlap one another one right on top of the other.
This is the area that gave me the most fits on each side. Because the panels don�t slide far back enough, and the fact that the metal curve at the trim molding isn�t shaped properly, a little sliver of interior body metal would show through where all the panels met. I reworked the holes at the back of the metal base as well as drilled new holes for the metal up to the package tray. It worked.
Last edited by WTHIRTY1; April 3rd, 2021 at 07:48 PM.
Looks good, Jimmy. There's a possibility your belts are mounted upside down. I know on my 69 442 years ago I had a problem like that. I remember they kind of go counter-intuitive to the way you think they would mount. Like upside down. I don't know if your car is the same, my seat has like a lip that goes under the back. You follow me?
Like Frank mentioned....there's a distinct "lip" or raised rail on the rear seat bottom frame (it has vinyl covering it) that is meant to slip UNDER AND THEN UP BEHIND the bottom edge of the rear seat back. You have to "approach" the bottom of the rear seatback at a decent angle so the lip slips in below the seatback bottom edge. Once jammed in far enough you can lower the "angled up" front part of the seat bottom and deal with getting the wire rods into the two catch pedestals that are welded to the floor for the rear seat bottom forward edge.
Don't forget to install the big washer hex screws on the rear seat back lower points (2) before you slip the seat bottom into place.
I will give it another pass. I had the bottom just about parallel with the seat back to slip that �lip� in at the rear. I have the two screws with the giant washers in already. I�m thinking either the seat back is too low somehow OR something in the seat frame itself is bent from when I removed it. I am going to give it a whirl with an extra set of hands tomorrow.
Such a detailed thread and great reference for someone like myself doing similar vehicle. I appreciate you taking the time to document this project. Its really an invaluable reference (for me anyway) as you deal with issues, questions along this whole process. Thanks for all this.
BTW I think the car is pretty close to perfect.
Awesome work! I can’t wait to be putting my interior back in! You are on the home stretch! Thanks for sharing all the detail on installation.
I took a pic of my rear seatbelts before I removed them and it matches your sketch and installation. As for installing the rear seat bottom, every “A” body rear seat I ever removed and put back was a pain in the tail. In my youth I could do it alone but now I need an extra set of hands! I always had to muscle the bottom rail of the seat to get it back over the clip. This was the case without replacing the seat cover and padding. My guess is new seat padding may require a little more muscle! I’m sure you got the lower lip of the seat under the rear seat back. I’ve attached a couple of pictures of my seatbelts and seat bottom with lip for reference. Keep us posted!
I can't agree with the posts on this thread more on this thread. What a cool cool thread. I got warped at 12 when one of my brother's brought home a W-31. Your detailed posts are so so appreciated my not just me. Thank you.
For those that have no clue. An Oldsmobile 350 is not known for pulling like a small block Chevy. If you have ever been in a W-31 it will change your mind forever. W motors are a completely different ball game. That's why REAL W cars are so unique. They pull like no tomorrow. Mind opening.
Happy Easter. I took another pass at the back seat base today. I think the issue yesterday was the lack of another set of hands. I pulled the bottom out again to inspect the backside but didn’t see any issues. I redid the seat belts taped to the seat to give them a bit more slack, but I highly doubt blue painters tape was holding them in too tight. For the LH side, with the front bucket out, I got on my back using the firewall as leverage and pushed the metal frame with my legs and feet in to the latches on the floor. Click and we are in! I had my wife bounce on the seat at the same time to get the downward pressure. As for the RH side, with the bucket still in, I used a prybar and pushed the metal frame in. Talk about a pain in the *** for something that shouldn’t have been all that difficult.
I was worried about the color contrast between the rear arm rest bases and the door panels. The roll is NOS material was an exact match to the original but I was still skeptical. I was also concerned about how the angle up a bit towards the back. Check out the pic of the factory material and the contrast. Same with the angle. Kinda cool.
Here is the factory back seat before the tear down and restoration. Note the difference in the blue arm rest bases. Also note the arm rest bases relative to the line in the door panel. Perfectly recreated.
Pre-restoration.
Last edited by WTHIRTY1; May 4th, 2021 at 01:47 PM.
Pushed the car out of the bubble real quick tonight to get the LH bucket back in. Unscrewed the sill panel, pulled the carpet flaps back, placed the seat back in, and the rest is history. All that is left for the interior is the LH front door panel and then it’s on to the bumpers.
I also removed the carpet guard so I could tuck the tan wire for the e-brake back where it belongs.
I sent some pictures over to the original owner’s son this evening as well. Hoping that Andy (original owner’s son who sold me the car) and his Dad (original owner) can make it to either Auburn this summer or MCACN this fall to be reunited with the car. It would be awesome to reunite them and the car at MCACN as I know they have been following the journey every step of the way!
“Hey Dad, can you finish this car already!?”
Last edited by WTHIRTY1; May 4th, 2021 at 01:46 PM.
Saved the most fun part for last on the interior. The drivers side front panel. Just for grins, I grabbed the factory panel and popped it in to place. Of course, it fits perfectly. It’s unreal how amazing the factory panels just fit in to place and work with everything around them. The new Legendary panel, well, not so much! The quality of the panel is great just like everyone swears by. The fit leaves a bit to be desired. I measured the panels just to see what the differences were, and the new panel is a little longer. I can already tell I am going to have a problem with where the rear panel and front panel meet. Looking forward to solving that one later in the week!
On to the fun. I was very careful to measure and fit a few times before making any cuts. Since Lengendary took care of the cuts for the arm rest base, inside door handle, and window crank all I really had to do was cut for the remote mirror and of course the ‘S’ emblem. Like last time, I made a nice little paper template using one of the tabs as a guide and made my marks. Again, be prepared to scrap the cardboard around the prongs of the door panel emblem so the speed nut can actually catch the prong!
I can’t find a single picture of how the remote mirror escutcheon “hook” works with the remote itself. I get that the escutcheon angles the one way, and the two retainers go under, but I cannot remember how the hook goes. Anyone have insight or even better a picture to share as a reference? I realized tonight that the two screws for the remote mirror escutcheon were put away with the other “junk” since I thought they were extras. Oops. They should be bagged and at the top of the “original parts not being used box.”
Here is the paper template I made from the original panel. I use the tab at the top as my guide since it measures the exact same on both panels.
Here is the factory panel. The fit is just so awesome. If only...
Zoomed in view of the factory panel.
Need to drill holes for the retainers still.
It is a giant pet peeve of mine when I see cars that have this crooked. I’ll definitely be breaking out the level before I drill.
S emblem installed.
If someone can walk me through the “hook” for this that connects to the escutcheon in the panel, I would appreciate it. I don’t have a reference picture, and sadly I have forgotten after three years! Thanks!
Last edited by WTHIRTY1; May 4th, 2021 at 01:46 PM.
Jimmy as the above picture shows the hook snaps into the holes on the escutcheon and the toggle has grooves and small retainer indentions that the hook snaps into to hold the toggle in place. To remove the toggle you pry up on the hook and pull the toggle out. The snap does not snap into the toggle very far.
Spent another night working on the LH front door panel. Three hours later and I don’t have anything to really show. I think I need to adjust the two pieces at the top to lower the panel a bit. The holes are still off a bit (not surprising), but the real kicker is that the panel doesn’t even cover the front most hole for the screws at the bottom.
I accidentally let the door close further than I wanted and the rear panel put a tiny little scuff in the front panel. Hindsight, I should have had the rubber installed for the rear panel to give it a hit of “lift”. Once I put the rubber in and drilled a n�e hole for the screw to elevate it a bit, I ended up getting the spacing I needed. Damn.
I will get it eventually.
Legendary actually cut these holes. The door pull isn’t too terrible.
The window crank hole sucks. I think if I can lower the adjusters at the top, the panel will go down further and hopefully center more around the crank.
The fuzzy on the rear is angled slightly towards the ground which scuffed the front panel a bit. I’ll be having nightmares on this.
I put the rubber in which helped. I had my wife pull up a bit on the rear panel while I put the screw in through the side of the panel in to the body. The 1/8” gave me the spacing I needed.
Better...but need to keep adjusting so the panel is covering the front hole at the bottom.
Last edited by WTHIRTY1; May 4th, 2021 at 01:46 PM.
I've messed with those pre-made panels Jimmy, and they suck. I ended up putting OEM metal rails on them. A couple things, in your last pic, I don't think the door panel goes under the rear panel at the top like that. They should meet and be like even with a small space between them. So either your rear panel is too far forward, or your door panel is too far back (and low). The chrome fuzzy bead should be even across the two panels. Look at this car, I just pulled it up quick, no worries...your seats look right! lol But look at the one pic where on the pass side you can see the 2 panels meet. https://www.ebay.com/itm/1970-Oldsmo...UAAOSwyRxgT6bP
A couple things, in your last pic, I don't think the door panel goes under the rear panel at the top like that. They should meet and be like even with a small space between them. So either your rear panel is too far forward, or your door panel is too far back (and low). The chrome fuzzy bead should be even across the two panels.
Thank you for restating the obvious, Frank. The metal on the rear panel, right where it curves up in to the moulding, is the culprit. Short of taking the panels back off, and doing a mash up of the original backing with the new vinyl, there isn’t much play to be had with the new rear panel. And it is well documented that the front door panel is wider than the factory so one either ends up with a rub at the kick panel or a spacing issue at the rear. I will keep massaging the panels until the fit is better.
Last edited by WTHIRTY1; April 14th, 2021 at 06:38 AM.
Thank you for restating the obvious, Frank. The metal on the rear panel, right where it curves up in to the moulding, is the culprit. Short of taking the panels back off, and doing a mash up of the original backing with the new vinyl, there isn�t much play to be had with the new rear panel. And it is well documented that the front door panel is wider than the factory so one either ends up with a rub at the kick panel or a spacing issue at the rear. I will keep massaging the panels until the fit is better.
It�s hard to believe the fitment from Legendary is that far off! You�d think that over the years they would have adjusted them in production to be closer to the original specs?? I�m getting ready to order seat covers, carpet and headliner from them and am glad that my 48,000 mile door panels are still very nice! This restoration has been very inspiring to this old man but I�m sad that a lot of this requires you to have to rework new products to make them fit correctly! I appreciate all that you are doing and the results you are producing!
It�s hard to believe the fitment from Legendary is that far off! You�d think that over the years they would have adjusted them in production to be closer to the original specs?? I�m getting ready to order seat covers, carpet and headliner from them and am glad that my 48,000 mile door panels are still very nice! This restoration has been very inspiring to this old man but I�m sad that a lot of this requires you to have to rework new products to make them fit correctly! I appreciate all that you are doing and the results you are producing!
It is and it isn't. I'm sure there is a better method to installing repop door panels, and I'm just going about it the wrong way. Trial and error. My original panels aren't terrible...I would need to dye the carpeting on the originals and hope some of the deep stains come out. I'm not there, yet, but it may need to be an option.
They actually have improved the panels a bit. The older plastic topped ones fit really poorly. Honestly, most people aren't as fussy as us, and they just slap them on. But for anybody else fussy, you will be way better off to re-use the OEM rails and build them yourself. The overall length I can't understand why it hasn't been fixed over the years. It's sad when "the best" is not good enough!
My original panels do not fit like that, no overlap from the factory on my 70. I would be surprised if the two panels were supposed to over lap design. Just seems like a rub/squeak point. If I had this issue, I would remove the rear seats, pull the rear panel and the filler panel and install your factory part/s and document their fitment/locations, screw locations and compare/work the problem from there.
Last edited by Del70; April 14th, 2021 at 09:26 AM.
My original panels do not fit like that, no overlap from the factory on my 70. I would be surprised if the two were supposed to over lap like that by design. If I had this issue, I would remove the seats, pull the rear panel and the filler panel and install your factory part/s and document their fit/locations, screw locations and work the problem from there.
The issue doesn't really have anything to do with screws but thanks for the insight. I am aware of how the factory door panels fit, hence the post. As I previously stated, the metal curvature on the rear panel isn't shaped appropriately which creates the entire problem. That metal curve will have to be reworked.
Yea, well you betta get some insight yourself and fix that unsightly overlap. We have witnessed all this beauty coming together, and now we have to look at overlap? We expect betta outa ya
Went back at it again today with the front door panel. I pulled the Legendary panel and tossed on the original panel. As suspected, it fit wonderfully with great gap. Next step is to bring the panels to the interior shop that did my headliner and have them rebuild the factory panel with the new materials.
Hoping to install the bumpers this weekend. Looking for any pro tips on bumper installation.
Not a pro by any means but a lot of tape on edges as to not scratch and another set of hands would be best. I would also install brackets on bumper along with all bolts 75% tight then install the whole assembly so you are only bolting brackets to frame then adjust from there. I would attach the two farthest out bolts on the brackets to the frame so its hanging down and can pivot then slowly lift it into position to install other two bracket bolts. Better with two people. Ive done them myself in the past and should have waited for help. Just my $.02
Last edited by scrappie; April 16th, 2021 at 04:38 AM.
There was three of us when I done my back bumper. I had one person help get the front bumper in place and I was by myself adjusting it. The back bumper did not take long adjusting but the front took me a while to get correct. just go by the assembly manual for the correct bumper gaps. I have seen lots of poorly installed bumpers. You can use Teflon washers under the large metal washers to get it adjusted in just the right place. After it is tight you can take the bolts out one by one to remove the Teflon washers. I do the same thing on the hood and hood hinges but had better luck with hard rubber washers there.
Went back at it again today with the front door panel. I pulled the Legendary panel and tossed on the original panel. As suspected, it fit wonderfully with great gap. Next step is to bring the panels to the interior shop that did my headliner and have them rebuild the factory panel with the new materials.
Hoping to install the bumpers this weekend. Looking for any pro tips on bumper installation.
Glad I read this, I was going to order Legendary front panels today but I think I'll do the same and have the originals redone. I'm in Oswego, next town over from you. Who do you recommend for the panels?
Ughh!!
My painter put the bumpers on. Untold hours of disassemble and reassemble, finally got it right. He had rear bumper and trunk lid alignment equally as bad. Just waiting on my convertible top guy to fit me in before I do my interior.
Also notice the old rusty bolts he used, protruding obnoxiously down, that's fixed too.
As others have said, tape over any areas that the bumper may come in contact with during install. I had three of us doing mine when it came time to install my front bumper, one person on each end and one in the middle working the hardware. I highly recommend this.
The members above gave you real good tips. I like to put the brackets on first, too. The only thing I'd add will probably not be a prob for you. That's the carriage/bumper bolt thing that junglecat (Dave) was talking about before. The size of the square part of the bumper bolt that fits into the square hole in the bumper. Sometimes, it's too big and you can dent the bumper tightening it. or, the chrome is too thick. Wrong bolts, check to see how your bolts fit into the hole. Do not get under the car and tighten the bumper bolts w/o you or somebody watching them. It's really easy to over tighten them and dent the bumper. especially if the square part of the bolt doesn't fit right.
Appreciated all the replies on the bumper install. I ended up ordering the nylon washers, per Eric’s recommendation, and I will assemble a crew to assist me this week. Thanks again.
I ended up messing with the glovebox tonight as I felt like the right side was scraping the metal dash a tiny bit. I probably spent a good 45 minutes adjusting the screws. It’s a little bit better and at least it isn’t scraping the metal.
Thought I would change things up a bit and move to the back of the car. I was hesitant to install the stainless around the decklid and quarters as I have heard a few horror stories but figured what the hell. These are all original stainless pieces from the car that have been professionally polished by my local guy. The factory stainless screws were all trashed so I went with brand new screws. I did the quarter panel pieces first, and as long as your quarters are original, the trim basically reverts back to its factory position when you tighten the two screws. From there, I moved on to the two curved decklid trim pieces. I put my hand against the edge so the stainless would sit flush with the edge of the decklid and then worked my way to the curve. This ended up helping with the middle piece as the overlap positioning was perfect. I would recommend for the middle piece to start at one side and slowly work to the other side. The stainless will want to bow a bit so loosely put a screws in one side. You should be able to push it from side to side with a bit of pressure—just remember to use a rag to push with as the metal edges are pretty sharp! Mock the middle piece up as much as possible to mitigate any overhang on one side versus the other.
Also, if you’re having the stainless professionally polished, don’t forget to tell them to do the underside where the screws go as that area is just as visible as the edge of the decklid.
NOS rubbers with raised factory part number.
Tried to keep the edges flush with one another.
This reminds me that I still need to install the rocket emblem for the keyhole!
Last edited by WTHIRTY1; May 4th, 2021 at 01:45 PM.
Im looking forward to doing that kind of work someday. The kind of work where I dont have to change my clothes right after. Gentleman's kind of work. Its been a long time working on this for you so this kind of finish work is rewarding (for me anyway) and you deserve it. At this point, most problems that come up should be manageable. Car looks great.
Just absolutely beautiful to see all the eye-candy get installed back on the car. This trim has a tendency to fit snug, so going slow is certaintly the way to proceed.
Took a stab at the rear bumper today. I had my Dad help with one side, my wife help with the other side while, and I was underneath adjusting the hardware. The first time we put it up in to position, the bumper went too far on the rear quarter and cut the NOS rear fillers. Ugh. On to set number two. We were more careful the second time around. I need to take another pass at adjustments as the RH side is sitting too low, and I’m not so sure the LH side is correct. I take one of the cars out of storage next weekend so I’ll have at least one more point of reference.
The bracket bolts for the brackets aren’t all the way to the back. I’m wondering if this could maybe pull the bumper in a bit. But there isn’t much space at that point between the rear quarter and the filler.
And I referenced the measurements in the PIM. Truthfully, not all that helpful other than the spacing at the top is less than the gap towards the bottom.
NOS fillers. The factory and NOS fillers have two tiny dimples on the RH side.
I left the four bumper bolt nuts loose. Great advice from everyone that if you go too tight on the bolts, the bumper will dimple. I left them finger tight with about a 1/2 turn.
To me, this doesn’t seem too terrible. I want to keep messing with it, though.
I can already tell that removing the tape is going to be a pain in the ***.
From this angle, I feel like I should loosen the four bracket bolts, grab from the bottom of the bumper, and tilt it in just a bit. This should give me the bigger gap at the bottom of the bumper on the side.
This side is too low.
Here is a picture when the car was delivered pre-restoration.
Another pre-restoration shot.
Last edited by WTHIRTY1; April 21st, 2021 at 05:14 AM.
Im looking forward to doing that kind of work someday. The kind of work where I dont have to change my clothes right after. Gentleman's kind of work. Its been a long time working on this for you so this kind of finish work is rewarding (for me anyway) and you deserve it. At this point, most problems that come up should be manageable. Car looks great.
It's pretty rewarding when it works out the way you want it to. On the flip side, it can also be incredibly frustrating when it doesn't work out the way you envisioned. I've learned it's best to just put it down and walk away for a day or two before picking it back up (probably why this thing is taking soo long to get back together!). The tear down was a blast, the chassis rebuild was also fun since it was so easy to move around the frame and get at what you need, and the interior has been a chore. Hindsight, I wish I had grouped my pictures a little better on my phone. I find myself scrolling through tons of pictures to find what I need. Appreciate the compliment as well, Paul.
Gearing up for installation of the gas tank next. I have all the parts gathered with the exception of a few small items. The NOS tank vent doesn’t have the foam—apparently, that is a part number of its own. I’m trying to find where I stashed my original so I can grab the foam. Worst case, I’ll shoot over to Tamraz and grab a repop for the foam.
I am also going through my pictures from tear down as I believe the clamp for the larger hose was a unique color. I could be wrong on that one, though.
Finally, I am a bit concerned with the NOS sending unit. The float should be moving much more freely, and unfortunately it is not. I need to do some homework on how to get that moving better.
I am hoping I can get this sending unit to operate. It’s old!
Stash of goodies.
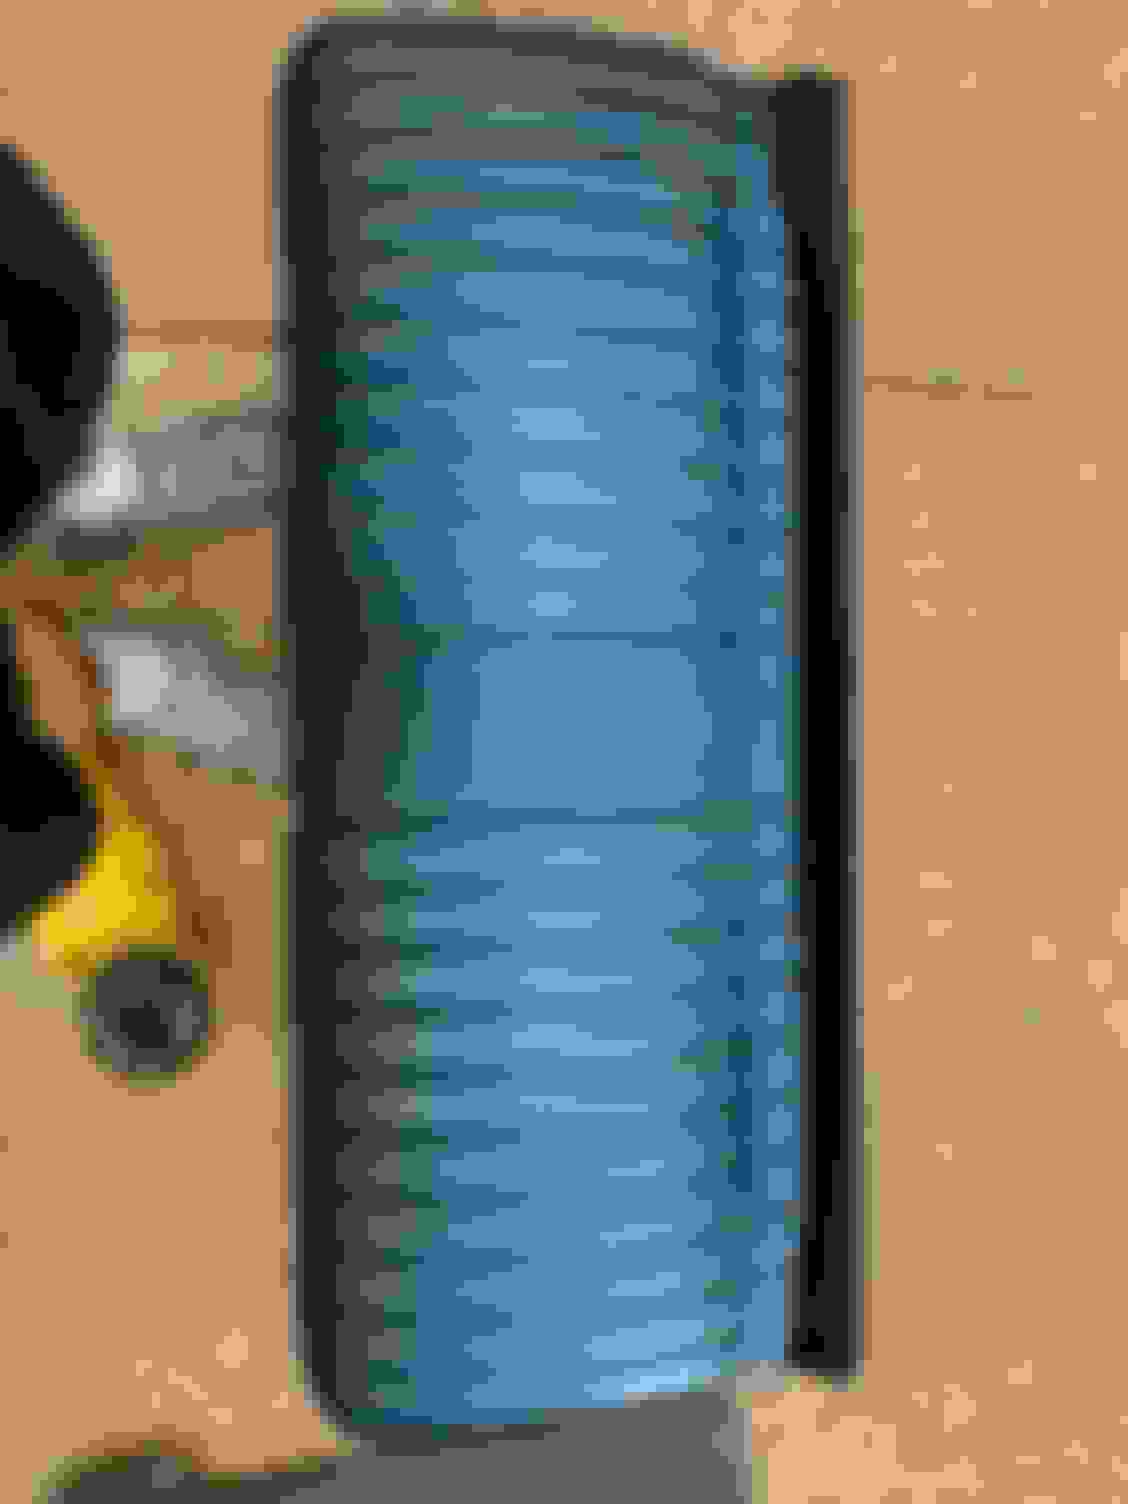
I was able to save and restore most of the original tank and neck hardware. The piece that needed to be replaced was the crimp clamp and the two hoses. That’s also the original plastic clip that looks like it’ll be reusable along with the factory wire and NOS tank ring.
NOS galvanized tank straps with nice markings and yellow part number stamps.
Last edited by WTHIRTY1; May 4th, 2021 at 01:39 PM.

 March 29th, 2021, 07:27 PM