When you click on links to various merchants on this site and make a purchase, this can result in this site earning a commission. Affiliate programs and affiliations include, but are not limited to, the eBay Partner Network.
No worries, I used Hooker and did not have the fitment issues you experienced. However others in this Club had issues on early A body's with all brands of headers including Hooker, apparently the quality is inconsistent.
I checked and the headers are Hooker Competition.
I opened up the gas tank for the first time (found my shipping invoice from 2015) and the tank looks great. More importantly it looks like it will fit without having to hack my boxed frame (again.) The tank is even 2 gallons larger than stock. It came with new hanging straps and I ordered it with an internal fuel pump. If you need a tank for anything Tanks Inc is hard to beat.
I had decided early on that a proper muscle car needed headers. I got Hooker headers at a very good price years ago and only recently installed them on the engine. I had tried to install them while the engine was in the frame (no body on it yet.) Because of my modified Lokar oil dipstick the drivers’ side header needed to be rotated 90 degrees to clear it. So, engine came out and I installed the headers. Went to put it back in and engine wouldn’t go in. I had to remove the oil filter housing and the passenger side header to get the engine in and then reinstall the stuff.
The headers interfered with the z bar for the clutch so went with a hydraulic clutch.
I see there is a tube for the battery cable that goes to the starter. Except the header is in the way and I can’t even bolt it to the frame. Not sure how that gets solved.
With the body off I can’t check to see if the steering shaft will clear the headers. The way things are going I should plan for interference.
Went to install the brake lines. Because of the headers I needed to remove the brake block on the frame. I got Inline Tube’s disk brake conversion lines for headers. Of course, they don’t work with the Wilwood prop valve I was going to use on the master (already purchased years ago.) So, I will need to get an original style prop valve for the lines to work.
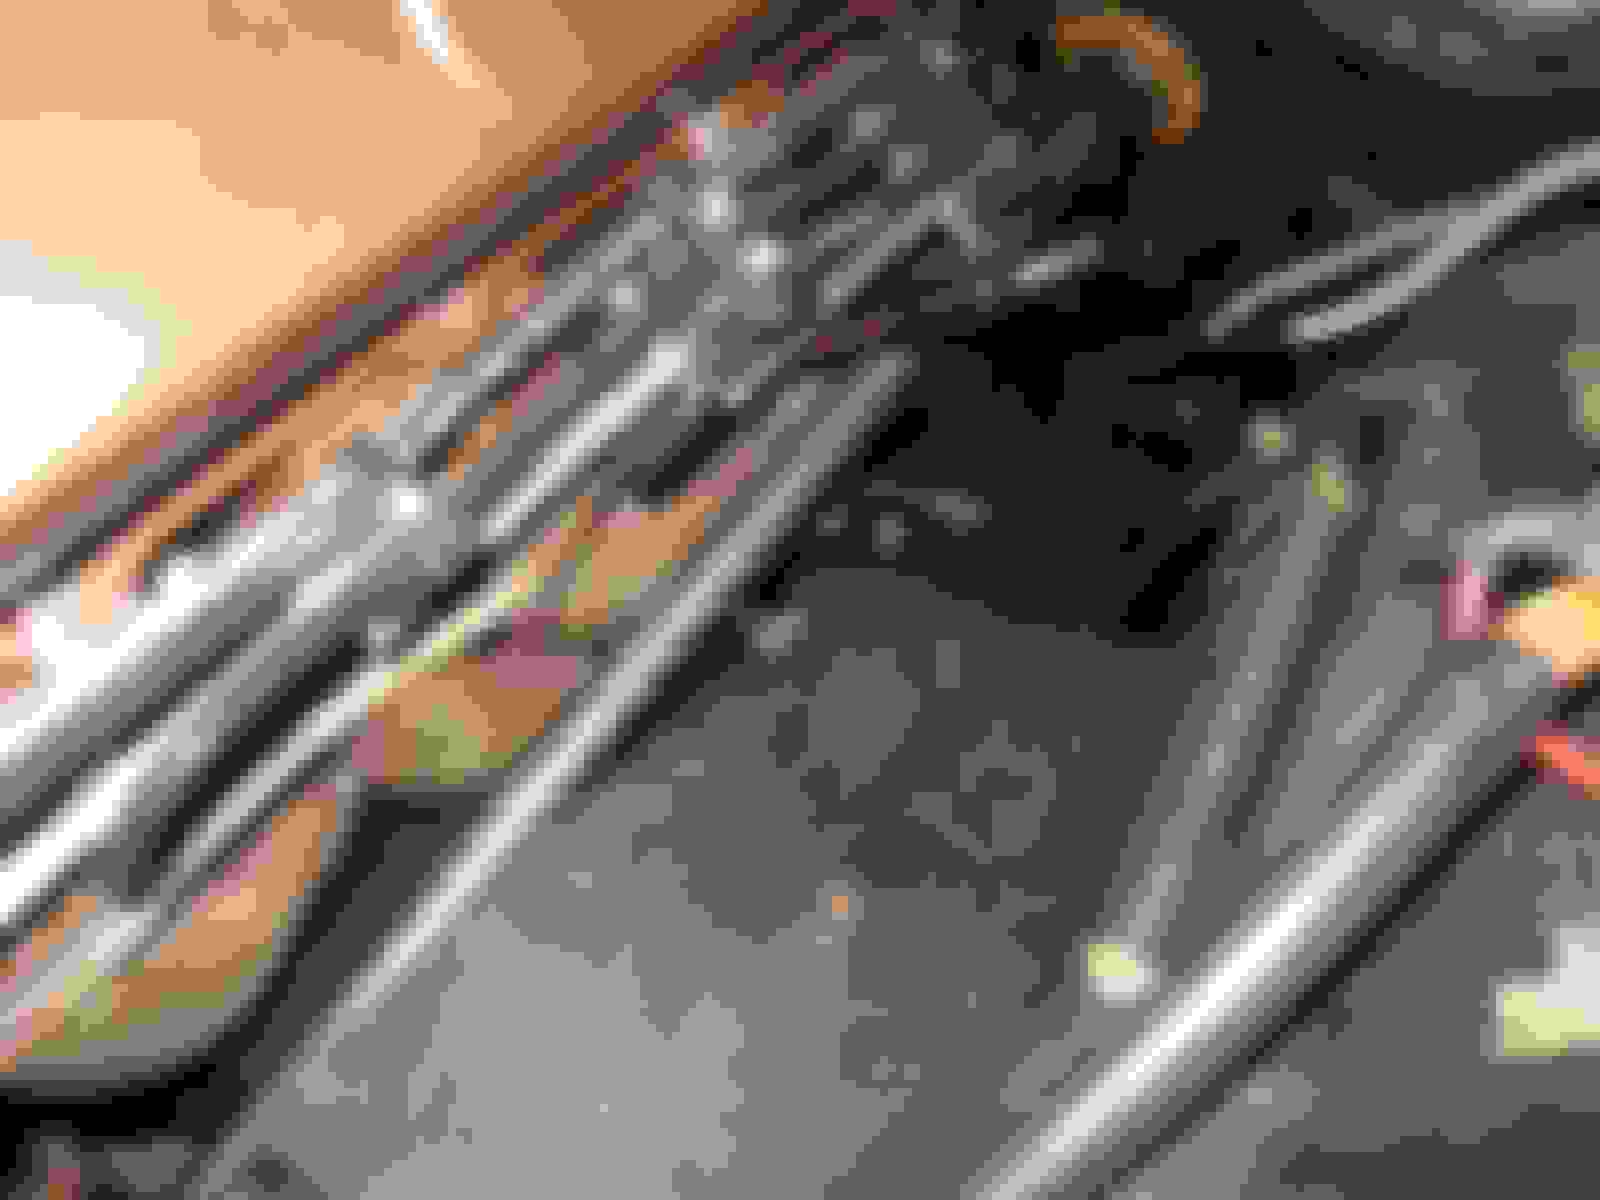
If that was the only problem I would be fine with it. But the new brake lines are riding against the drivers’ side header. At first it was completely pinched between the tube and crossmember. I pulled out the motor mount bolt and hoisted the drivers’ side up and got the line free. No mater how I move the line it wants to touch the header. Boiling brake fluid should make driving interesting.
I think that I have a few options but none of them are very good: I could “clearance” the headers to get enough room for the brake line. They are ceramic coated, so the denting will probably ruin the coating. Not sure how much is clearance is enough. But of course, it’s the drivers’ side so to get the header off, engine has to come out.
I might be able to fab up a new brake line that routes away from the header. Never made a brake line before but if I use the soft stuff I should be able to make it work. I need to fab up the rear axle lines for my 9” rear anyway. I might even send them in as patterns and have them made in stainless to match.
I could try a different header. But it seems like others have exactly the same set up that I do and some have header clearance problems and others don’t. I like the ARH headers but there is no guarantee that I wouldn’t be in the same boat with clearance issues. And they cost nearly a monthly house payment. I have seen the Thornton short style header but they are about $500 and not sure how it would affect performance.
I could go with the WZ factory style manifold. About $300 - $350 but it would solve the battery cable issue and I could then use a stock style brake line with the block on the frame and my Wilwood prop valve. And if the engine would ever have to come out again manifolds would make it much easier.
Hydraulic clutch is installed so won't go back to the z bar.
And I could open up the pandora’s box of motor mount myths. If I understand it correctly a mismatch of small/large pads and mounts would move the engine up or down. Is this true? (I think I heard Joe P do a forehead slap.)
if a 4 speed the battery cable was routed over the engine and down the back, so the battery tube is on the back of the head instead of the frame at least this is true for 70-72 cars IDK about the 64
I Used an insulation wrap and wrapped the wire without the tube, I'll get the name of the product.I have installed Hooker headers 1-3/4 inch with no issues although extremely tight. I put an insulation blanket around the starter too. The steering shaft should clear but again it's tight. In the meantime here are a few pics. This all depends if your using the correct engine mounts, this is somethings that seems to cause a lot of chat here.
Rob I like where your prop valve and block are mounted. I hadn't considered putting it that low on the frame. Do you need some sort of check valves or with the master in the original place are they not needed? I assume you made your own brake lines back up to the master? Was that hard to do?
Here are a few pictures I just took. I use a product for the brake lines called EasyBend. Very easy to use, very forgiving! Yes I bent the whole brake system. I also have the right tool, have Eastwood's Hydraulic tube bender. Are you running a later year dual-master cylinder? If so what size diameter vacuum booster?
I have a Wilwood master and a hydroboost that I will install once the body is on.
I am leaning toward making my own front lines. In doing so I can use my purchased Wilwood prop valve at the master and can use the parts from Inline tube that goes from the rear of the prop valve to the rear of the car. I then would have to make new front lines and be able to run them out of the way of the headers. I like doing things myself but I don't want it to readily look like I did it myself.
The frame is at my dad's place 15 minutes away and the body is in my home garage. Kinda makes it tough to visualize things as I work on either. I thought that I would get some photos today of the brake line obstructions but it's been raining all day and didn't feel like getting muddy. We already had first snow a couple of weeks ago but hoping there won't be any more for a while. I have too much to do before I loose my garage space to son's car for winter.
A few photos of stuff that I got done recently: Extended the trans mount finally. Got the fuel and return line installed. Need to connect fuel line to filter and return to fitting, will have hoses to the tank from there.
A couple of photos showing the brake lines near (against) the headers. Driver's side where line is touching header. Same view from the back. There just isn't any room for the line, especially with the fitting that connects to the line that goes to the master.
It's the line that supplies the right front brake from the master. Supposed to go on the crossmember under the engine. I couldn't figure out the routing when they arrived and Inline tube sent photos.
Looks like the same problem I had on my 64 Cutlass when I switched to front disc brakes. What you will find is if you plan to use the stock location for the horn relay/ starter junction on the drivers fender well, the proportioning valve will lay almost on it along with your brake lines. I bought a bracket from In-line that moves the proportioning valve to a horizontal position under the master cylinder. It still is a bag of snakes, but it fits better. You will also need their pre-bent lines from master to proportioning valve if you buy their bracket.
Steve
Ah I see what your up against now. As you see from my previous pictures I mounted my proportioning valve on the drivers side frame, actually right were the old 64 one was.
It's been too cold to do much (15 degrees all day Friday) but I did get my power steering/Hydroboost reservoir mounted. I had bought the PSC bracket that is normally bolted to the firewall or core support and used it as a pattern for one that mounted on the block.
Haven’t got much done. Since last update I got my two-piece timing cover installed. This is mostly for a future cam swap as my engine builder said it is too small. I’ll wait to drive it and make that determination then. Should have been an easy bolt on but there were issues (as there always are.) I was hoping to just drop the oil pan enough to slip the old timing cover off and put the new one on. Old one came off easy enough but the new one wouldn’t seat. After much head scratching and cursing I realized that the oil slinger wasn’t going over the crank seal mounting area enough to seat. I emailed the place where I got the timing cover and was told to just not use the slinger (still don’t know if all of them are like that or just mine.) Didn’t want to do that so I found an industrial shop that was able to turn the outer edge of the seal area of the timing cover enough to clear. The owner of the shop is a car guy and didn’t even charge me for the machining.
While messing with the front cover I saw that two of the block drain plugs had not been replaced after the dyno run. Couldn’t get to one of them with the header on, header can’t come off in the frame, etc. So, to do it right, engine came out (again.) Since the engine was out, I decided to replace the oil pan gasket that I probably ruined messing with the timing cover.
To get completely ridiculous I then started replacing other parts that were probably fine: Since the harmonic balancer was off, I figured a performance balancer should go on in place of the stock one. Ordered one from Summit racing; “will ship next week” morphed into a March 2019 delivery from the manufacturer. Took a risk on an eBay posting and got a better one yet for less money. Once balanced to the original balancer’s specs went on for good.
I also replaced the new aluminum water pump with a Flow Kooler. Externally there is no way to tell it from the pump that I originally had (had the same GMB casting and no other markings.) It went on without an issue. But the new timing cover had moved the water pump pulley out 1/8” farther than it was originally. I made a crank hub spacer from a bushing that started too thick. A lot of grinding and filing and it worked pretty well. Actually had a box of thick structural washers that were exactly 1/8” that I used to bring the alternator in line.
I mounted my hydroboost, master cylinder and prop valve to the firewall. The bracket for the prop valve is side specific and I of course had ordered the wrong one. You just don’t realize how big the inner wheel wells are when working on a bare frame. The wheel wells took up all of the space I thought I had for the brake lines to enter from the left side. The bracket for the hydraulic clutch cylinder will be tight underneath the hydroboost but should work.
I’ve been using welding rod to map out the front brake lines. To make it even more fun the body with the master cylinder is in my garage at home on the old frame and the finished chassis is out at my farm 15 minutes away. I’m hoping that I the 1960s assembly line was consistent enough that I can map them on the old frame and install on the new.
I’ve decided to make my own custom power steering hoses. I have the power steering pump, hydroboost, a Grand Cherokee steering box, and a remote power steering reservoir. Having the same issues as the brake lines with two different locations. I have the Fragola hose, just need to order the fittings. I try to order only the bare minimum as it seems like I never end up returning the extras. I have shelves of stuff that I thought would work or just flat out changed my mind.
I started my night rotation Monday night (four glorious months of darkness.) It’s kind of nice working on the car with no interruptions while others are asleep, but I can’t wake up a neighbor when I need a hand or make a parts run to a closed store.
I started to write this thinking I haven’t gotten much done but as I kept typing, I realized that I made more progress than I thought. Thanks for bringing that out.
Last edited by rpinnt; January 2nd, 2019 at 10:10 PM.
I believe the frame your building on is a reinforced convertible frame???
The frame is from my grandma's 1965 4 door cutlass that I boxed with the Hellwig FrameFX kit. The rear boxing plates (behind the rear axle) I got from Ames Performance. I'm not much of a welder but it went in easy enough. It did mess up using stock brake & fuel lines. I ordered lines for a convertible thinking that would be the way to go. I may have gotten a better fit with the coupe lines but they're in and close enough.
That's nice, looks great. Nice thing about an old OLDS if you ever bump up to BB engine all your Billet accessories can transfer over. Glad you got your correct timing pointer, I did not and for the longest time could not figure out why my timing was screwed up. I set the timing by ear and trial and error, runs good. Put the timing light on it and did not come close to the marks on the pointer-DAAA
Long overdue update: Engine is back at the machine shop again. The dyno numbers were eating away at me and I just decided that won't do. Started with the heads being sent out to get cleaned up and done right. Roller cam was next and at that point why not the pistons too? Rethought some of the other stuff and changed over the suspension from shocks and lowering springs to coil overs. With the coil overs at their lowest setting the frame is low. Ridiculously low. If I ever get the body on I'll adjust it then.
Before After!
 July 21st, 2018, 03:04 PM