When you click on links to various merchants on this site and make a purchase, this can result in this site earning a commission. Affiliate programs and affiliations include, but are not limited to, the eBay Partner Network.
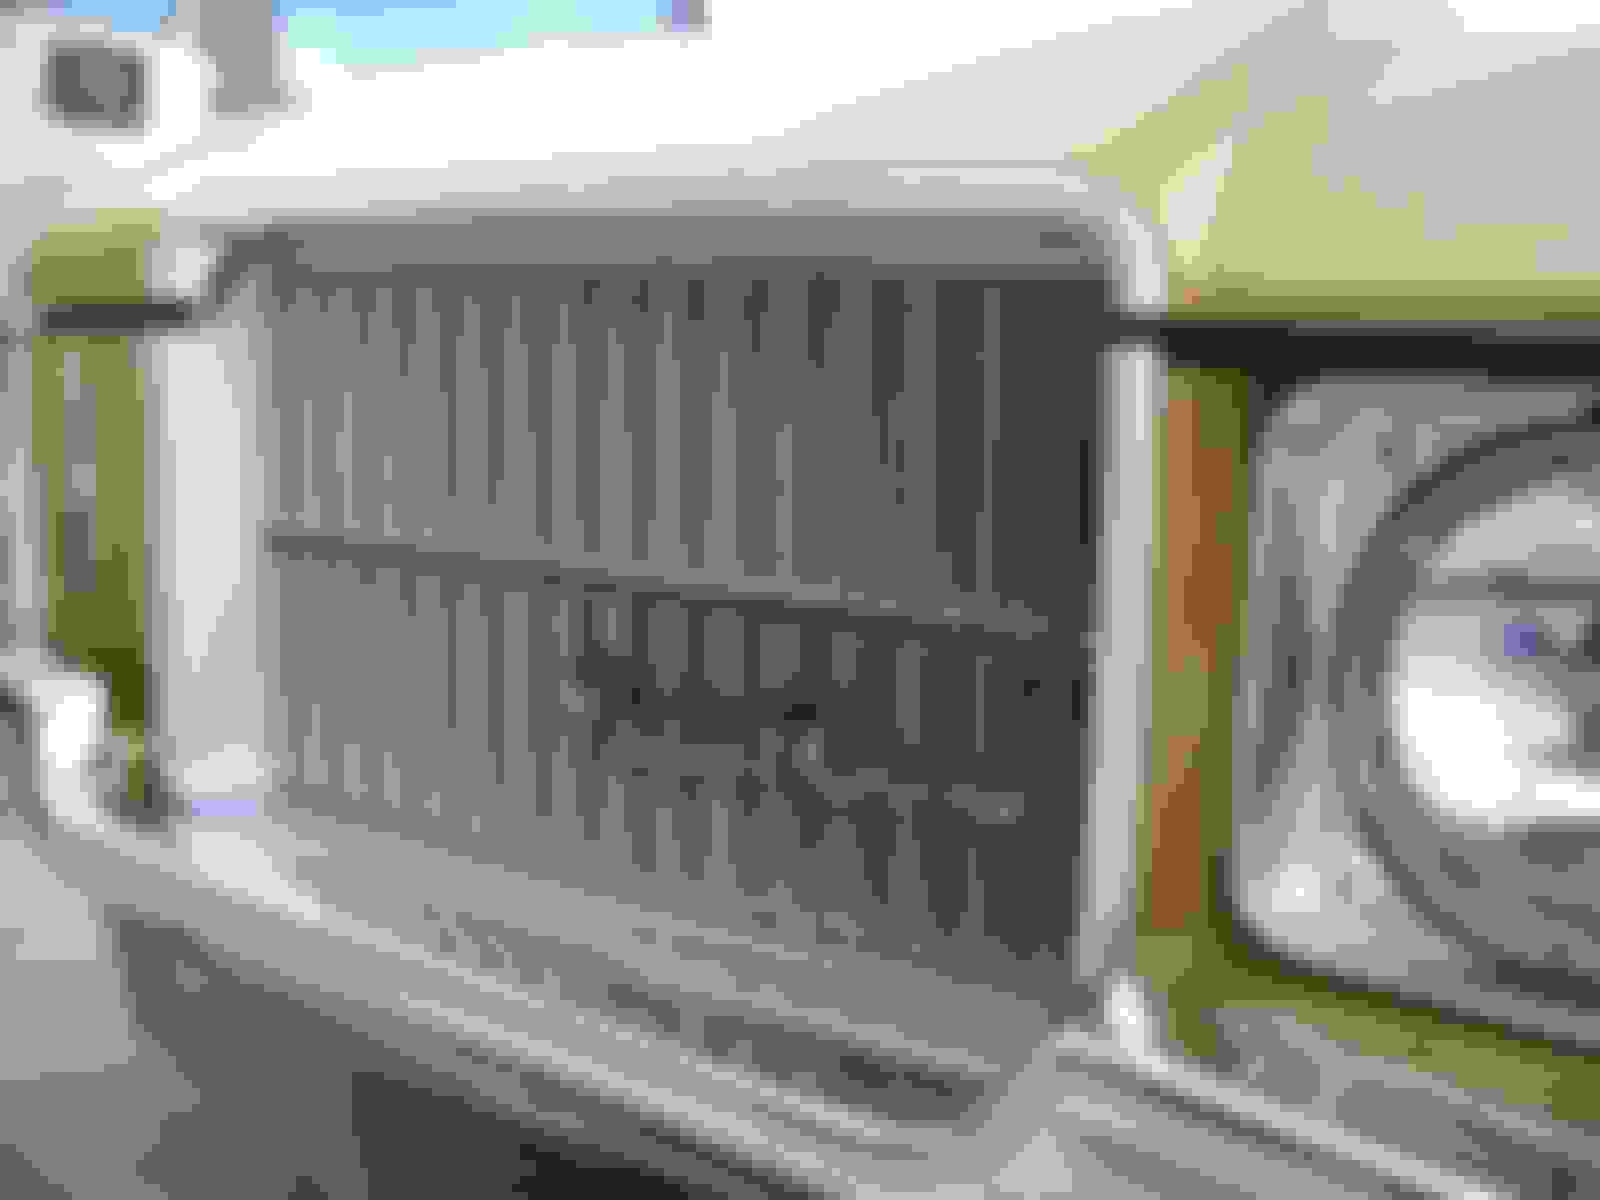
Regarding the grilles on my newly acquired SX convertible and realizing the mess made by previous owners trying to "fix up" the paint, I am thinking there must be be a better way to strip the paint than me pouring paint stripper in every grille section.
As these are heavy cast pieces, what methods are best to have the grilles stripped? Would sandblasting be too aggressive or would a commercial stripping process be OK?
What type of metal are these made of?
Thanks.
When I refinished mine, I hand sanded them to remove the old paint. Yes, hand sanded in between each of the slots. It took some time but I think they came out very well.
Location: Edmonton, AB. And "I am Can 'eh' jun - eh"
Posts: 24,525
They're made of pot metal. Yes, you could bead blast them but I'd use very fine media. Have you considered soda blasting? It won't harm them in the slightest and does a great cleaning job
When I refinished mine, I hand sanded them to remove the old paint. Yes, hand sanded in between each of the slots. It took some time but I think they came out very well.
any
Yes your grill looks beautiful. As there are so many surfaces to deal with, I may look into soda blasting as Alan has suggested.
Yes your grill looks beautiful. As there are so many surfaces to deal with, I may look into soda blasting as Alan has suggested.
Well other alternatives didn't work out so well, so I bought a gallon of paint stripper and let the soaking begin. What a tiring disgusting job for hours trying to get the grille stripped and cleaned. I shouldn't be writing this just after I finished, but one is done. I'll need a break before attacking the other one.
What is the preferred silver paint these days for grilles and taillights? I have been using Krylon Metallic series in Dull Aluminum. I think this new version is slightly brighter than the old discontinued one, however, it still is fairly close to the original paint.
Any best ways to do the black inset sections in black? Small brush and steady hand letting it flow out?
I will need much better grille surround metal trim than what I have. The Supreme and 442 take the same piece from what I can see but I don't read very good things about the Fusick pieces. I'll probably post looking for better ones in parts wanted.
Enjoying a drink now.
What is the preferred silver paint these days for grilles and taillights? I have been using Krylon Metallic series in Dull Aluminum. I think this new version is slightly brighter than the old discontinued one, however, it still is fairly close to the original paint.
I used the Krylon Dull Aluminum, but I guess it was the old one as it was 1998 when I painted them.
Originally Posted by Rocketbrian
Any best ways to do the black inset sections in black? Small brush and steady hand letting it flow out?
That's how I did it. You can see in this offset picture that my hand wasn't quite steady enough for all of the insets, but it's not obvious unless you are really looking at it.
I'll be following you along. I have accumulated 4 or 5 sets of these and planned to redo them all but as you know these look like a pita to restore. Kenneth, yours look really nice.
Look into paint pens sold at craft and hobby stores. Like a sharpie but with paint. I have used them for similar projects with better results than small brushes.
I used the Krylon Dull Aluminum, but I guess it was the old one as it was 1998 when I painted them.
That's how I did it. You can see in this offset picture that my hand wasn't quite steady enough for all of the insets, but it's not obvious unless you are really looking at it.
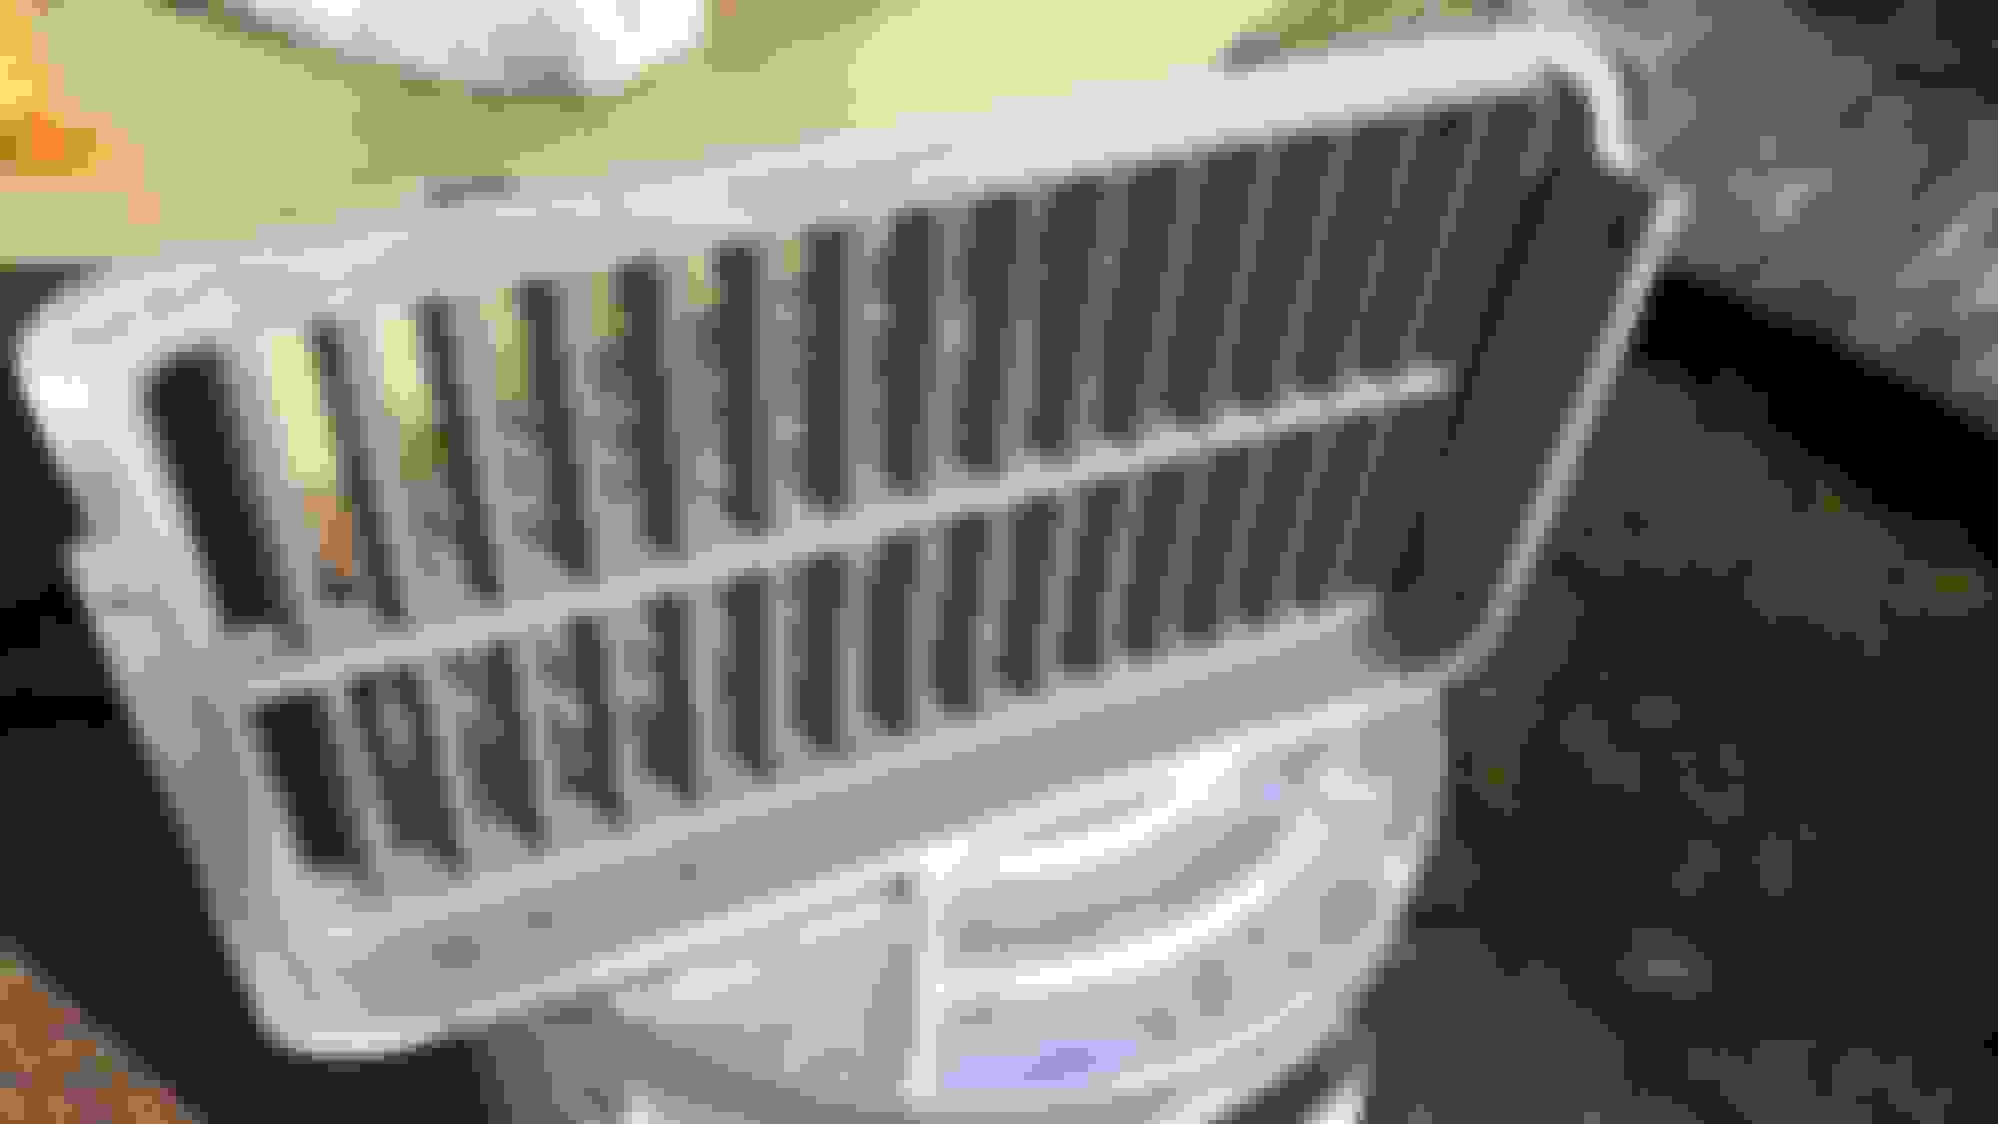
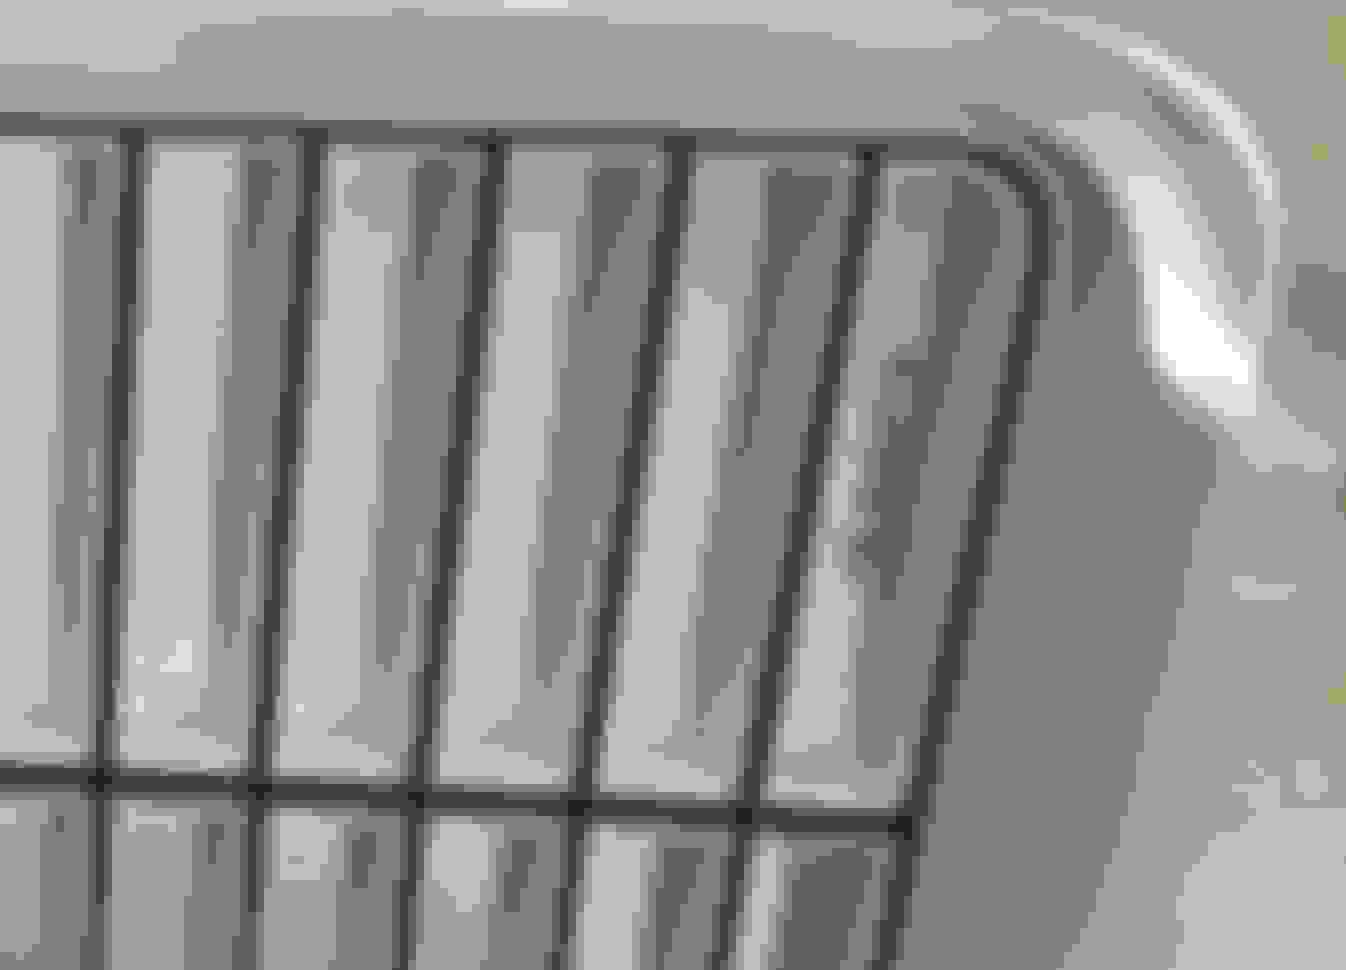
Here are pictures of one grille stripped and then sprayed today with Krylon Dull Aluminum. I'll strip the other before I get to the black inset painting. So far
so good. Bare cast metal.
That's quite a transformation. The paint pen sounds like a better idea than using a brush. Wish I had thought of that back in 1998 (assuming they were available then).
Location: Edmonton, AB. And "I am Can 'eh' jun - eh"
Posts: 24,525
IDK about paint pens. I've used them and they don't flow into corners as well as a fine brush does. I think the brush gives superior coverage too.
Although VERY labor intensive I thought about this and came up with this hair brained idea. Tape off all the grill and use an exacto knife to cut away the tape from the reveal you want to paint black. Since the grill is pot metal, you won't have any issues with the trim cut, and after all is said and done, I'd coat those grills with some satin clear coat.
Yeah, I know. It's easy for me to suggest this instead of doing it myself. Anywho, it's just a thought. IMO the sprayed finish would look much better that brush strokes?
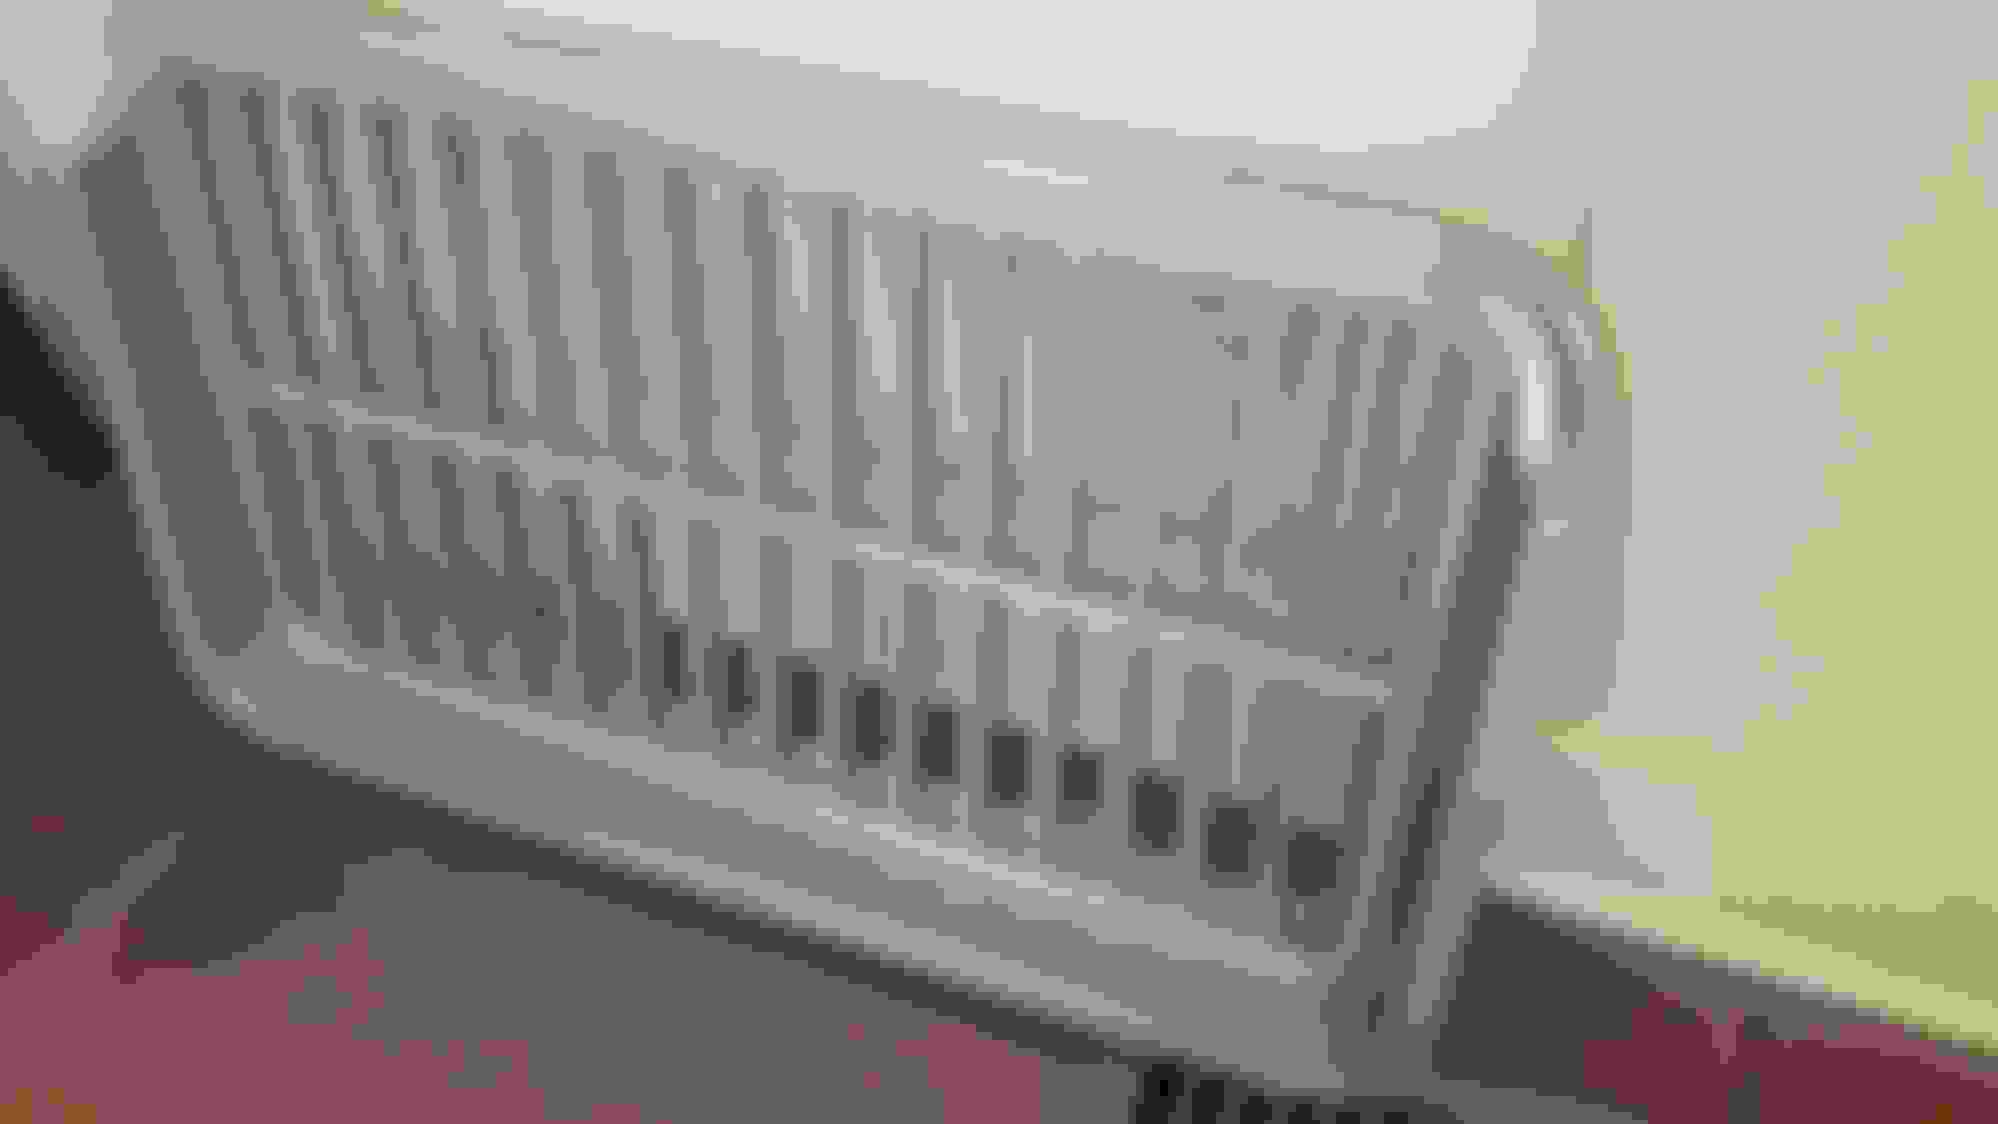
I gave the silver a few days to harden and today I brushed the Krylon semi-flat black in the recessed areas. Nerve racking but I got in the groove with the brush. I found after doing the black, I could go around with a micro fiber cloth dipped in lacquer thinner and gently and quickly could wipe the raised edges to remove any traces of unwanted black. Having the silver set for a few days seemed to save the silver from coming off. I'm happy with the results, but I have the other one to strip and do the same process.
Location: Edmonton, AB. And "I am Can 'eh' jun - eh"
Posts: 24,525
Too bad they have to be 71. I know the difference between the 71 and 72. Someone who was a good judge at a show would spot the difference fairly easily. Have you checked with some of the guys who part out cars for those? You're east, so maybe Scott Winn (oldspackrat) might have some decent ones you can polish up. One thing about the repro's - the tabs that fit into the grill holes may not line up with the top inboard hole in your grill. That was the case on the 72 442 grills I bought. That tab had to be removed entirely to fit the stone shield. But contact cement does work
Thanks guys. Unfortunately, I have to go through the whole process again. One down, one to go.
Hopefully someone will have the mouldings I need. Allan, I have checked with Scott, he's my first go to guy for used stuff. No luck on the mouldings at this time.
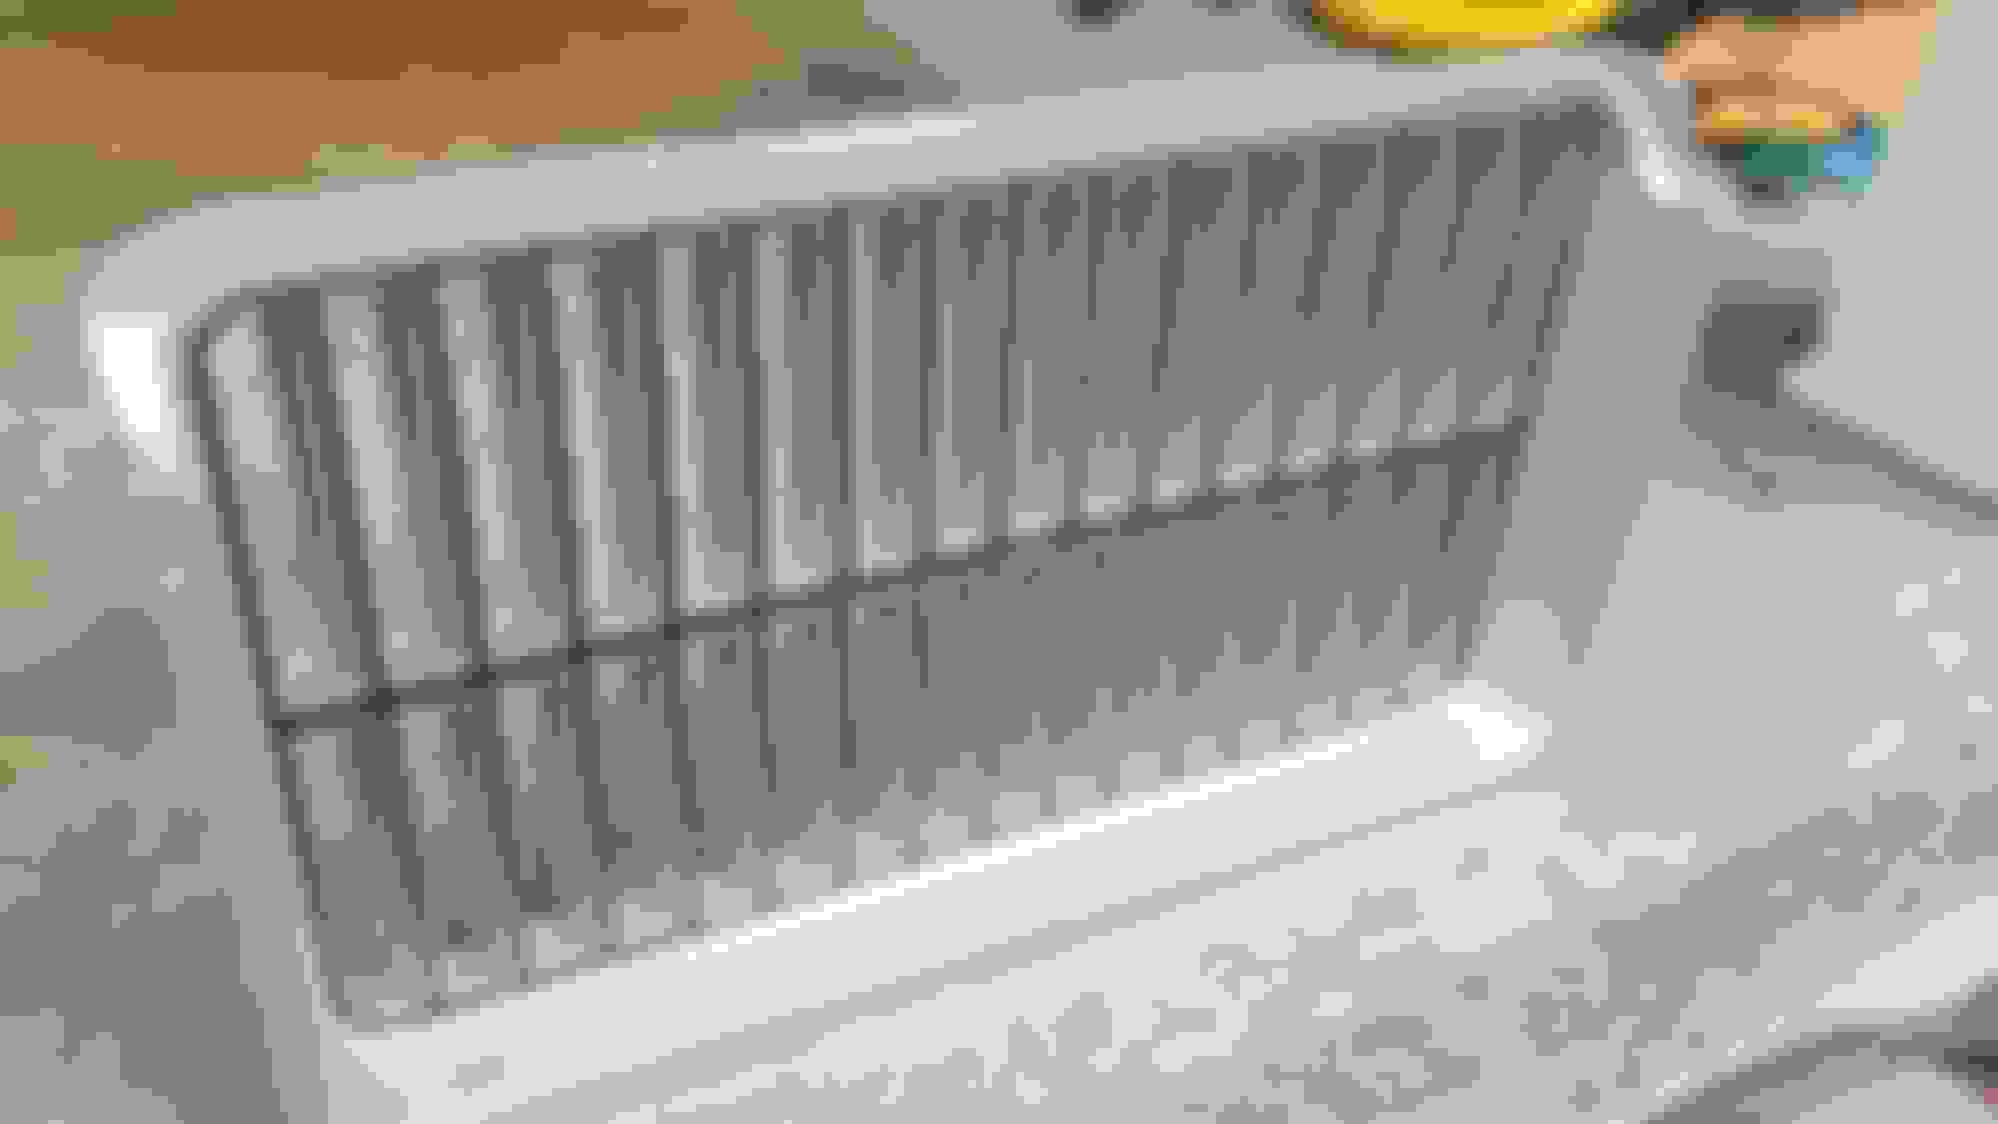
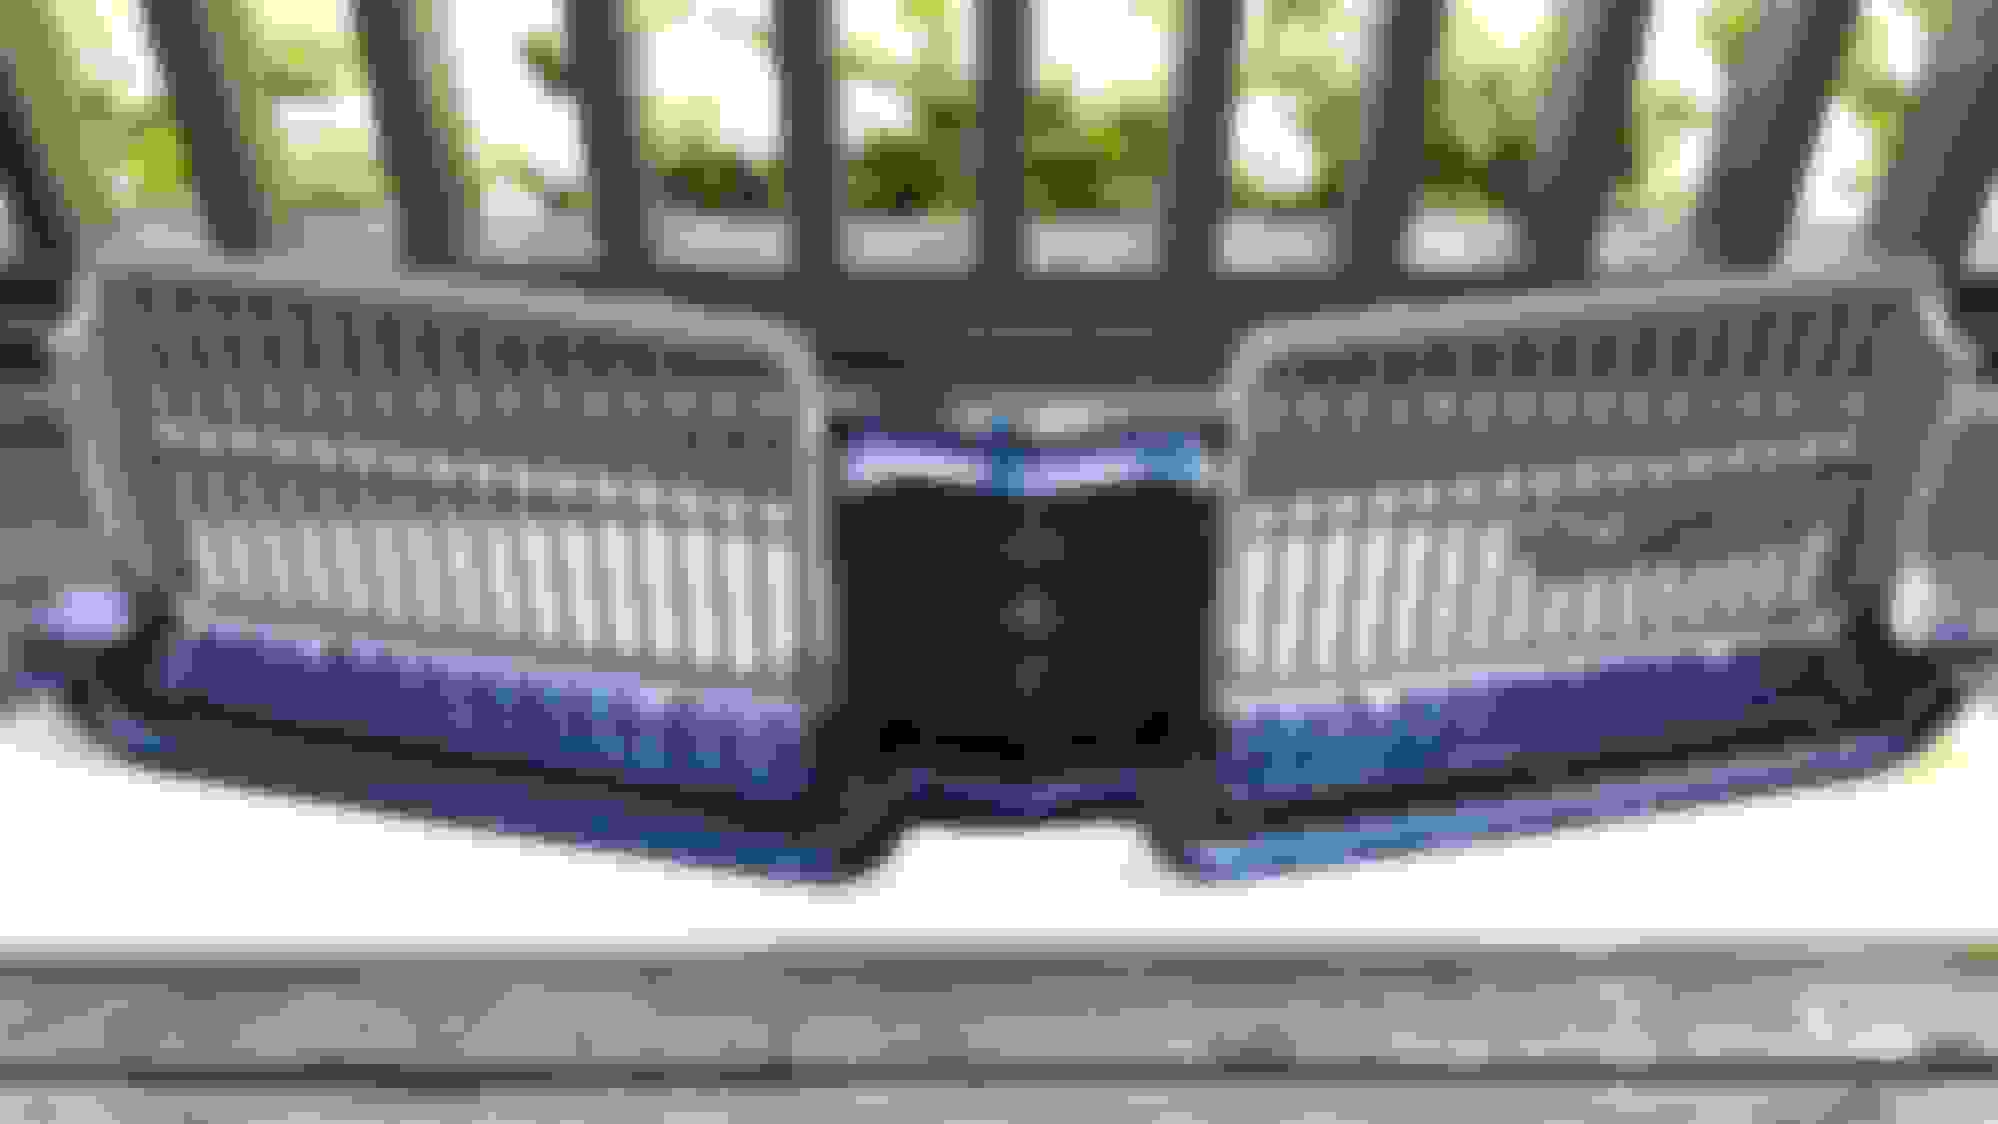
Finally finished the second grille and also repaired and painted the plastic centre piece. One of the previous owners had a lot of this car apart but only put back about
75% of the bolts and usually used the wrong ones. Those heavy cast grilles were only being held in place by the tiny 1/4 screws on the rad support. The plastic centre was flapping around and as a result had a hole in it and stress cracks. So while I was at it I used plastic epoxy and reinforced the cracks with pieces of zip ties embedded in the epoxy. All is strong now. I had a can of Monarch Blue mixed and repainted the piece.
I'm glad this section is completed. Now I'll have to paint the headlight housings, which means dropping the front bumper, but at least I can add the front guards I just acquired that were removed by a previous owner.
Thanks for the compliments, glad that stage is done. The Krylon paints came through for both colors. The aluminum lays out so nice and smooth, very easy to work with.
Looks great Brian!! What did you end up doing about the trim around the grills? Did you buy new ones? If so where did you get them? I see they are held on by bending the tabs, looks like it would be easy to screw them up. I looked thru my grills and I think I will be restoring 2 sets. The rest of them are bent some and have broken tabs, etc. Again, you did a great job. Thanks for the thread and your advice.
RocketBrian, they look amazing! I'll be doing this soon with mine and your results, as well as Fun71's are a true inspiration. Thanks for the photos!
Chris
Thanks again. I ended up ordering new mouldings from Fusicks. They are a very nice reproduction, however some of the tabs are in the wrong location. You can only bend those tabs once, after that they snap off. I had enough tabs left to hold them mostly in the correct position. To hold them exactly where I wanted them, I used my construction clamps and applied Lepages PL premium construction adhesive to the mouldings. They came out very nice. I just got them in the car yesterday.
Very nice, Did you break off the incorrect tabs from the trim? I wonder if it would work to drill holes in the grill to match the repop trim? Some of my outer trim pieces are pretty good but I would have to mask them off to work around them. I am guessing if I try to remove them the tabs will break. Besides it always seems stuff that looks nice against the original looks old and dingy against new. Thanks again...
I did drill the grilles for the few tabs that didn't line up, but I should have just broken those ones off. Unless your surround mouldings are real bad, I would just mask them off. This is the first time I relaced the mouldings as I kept the originals on my other two cars. In this case they were gouged and a rivet was put through one moulding. I find when looking at the front of the car your eye tends to look directly at the grille area and not the outer mouldings. Hope that helps with your decision.
When you Painted the black areas using a brush did you guys use aerosol sprayed in a cup and then paint it with a brush or was there a different kind of paint out of a regular can?
thanks.
Chris
I just sprayed the black into the cap and brushed it that way. Finding the right brush is half the battle, as you want the paint to come up the sides of the recessed areas.
70 and 72 Supreme owners have no idea how lucky they are, although us 71 guys have to be true artists and are in an exclusive club. 🤣
lol! And what kind of black paint did you use? Could you also post a photo of he type/style/brand of brush you used? Fun71 I'd love to hear what you used as well. Yours are also beautiful! And did either of you use primer first? I don't remember seeing that in the thread. Thanks!
Chris
Last edited by Oldssupreme; September 25th, 2017 at 08:28 PM.
By the way, I love the post about 71 guys being true artists. That gave me a good laugh. I'm actually a 72 supreme guy but since i wound up with a 71 core support and didn't realize until after i had it powdercoated that the 72 supreme grilles wouldn't fit, I wound up trading my 72s for a straight set of 71's. which i will be restoring like yours. (I think Allan R tipped me off about the grilles. thanks!). I did cut the "bumps" from my 72 core support in case I ever wanted to have them welded in and reinstall a set from 72. To some people, putting the 71 grilles on a 72 is blaspheme, but to tell you the truth, I actually like the 71 grilles better.
Chris
Yeah, I like the looks of the 71 Supreme grill better than the 72 also. But it seems like it depends on what you get used to looking at.... Well it looks like I will have 2 Olds projects this winter, The grills on the 71, and starting the semi restoration on the 70 Vista. It's all good!!
 July 17th, 2017, 05:09 PM