When you click on links to various merchants on this site and make a purchase, this can result in this site earning a commission. Affiliate programs and affiliations include, but are not limited to, the eBay Partner Network.
Hopefully they will be back in stock soon. And hopefully some of you guys with install them soon and see how they actually cool, compared to OEM stuff.
Mines, a factory two core, this would have to be in improvement, but I'm curious how you guys make out.
I think we got a little greedy with that $57 radiator deal. Really quite a score but you can still that radiator at Autozone for a pretty reasonable price really, so all is not lost.
For those of you who purchased one, can you check how many tubes there are and measure the fins-per-inch count?
I'm curious how this radiator compares to an original radiator as in the past I have seen aftermarket 4 row radiators that didn't cool as well as factory 3 row radiators due to fewer number of tubes and lower fin count.
I saw that but that store is in England. I went to Samco's website and checked all their US supplier sites, no one carries them, not even Samco's eBay store. So, back to the UK, they are sized in millimeters, do you know what size we'll need?
I think we got a little greedy with that $57 radiator deal. Really quite a score but you can still that radiator at Autozone for a pretty reasonable price really, so all is not lost.
I'm starting to think the same thing, modifying brackets, plugging Chevy bypass barbs with parts from the UK, etc. Beginning to think I should have just had mine re-cored. We'll see.
So the adapter for the lower radiator hose arrived. I've never used one of these before, I was thinking that it would be something firm that the radiator hose could tighten around, but it's not, it's spongy. How does the radiator hose get a good seal on it? It feels like it will just collapse if a radiator hose clamp were cinched up around it.
Thanks-
I appreciate your confidence, maybe you've done this before but I have not. I'm just not ready to spend the day yanking a radiator out of my car and dropping a new one in unless I'm reasonably sure I'm fully prepared.
What I'm puzzled by is how the old hose is going to grab onto this adapter when I can easily collapse the adapter between two fingers. What is going to keep that from happening when I tighten up the hose clamp?
The adapter fits over the protruding hose nipple of the radiator like a sleeve.
The radiator hose then slips over the adapter, such that the adapter forms a roughly 1/16" barrier or shim between the hose and the nipple, which allows the hose clamp to grip the hose tightly, and to hold it tightly to the nipple.
- Eric
edit: I notice that the word "radiator" in my post is being made into a link to eBay by the forum software, even though I use an ad blocker.
I didn't do that.
OK, that's helpful because it sounds like maybe I have the wrong part. What I have is stepped down, so the smaller part I think will be off the tube on the radiator
What I have is stepped down, so the smaller part I think will be off the tube on the radiator
Never seen one like that.
What I have seen is one that looks like a segment of that, just the length of the nipple.
I expect you're supposed to slide a portion of that tightly over the hose nipple, then cut the rest off and slide the hose on.
Never seen one like that.
What I have seen is one that looks like a segment of that, just the length of the nipple.
I expect you're supposed to slide a portion of that tightly over the hose nipple, then cut the rest off and slide the hose on.
- Eric
My plan exactly! Thanks Eric. Great minds think alike!
So I did a lot of standing around and staring at the car today as I tend to do when I'm doing a job for the first time. I noticed that my radiator hoses don't fit tightly and a light bulb went off in my head. Joe P said my heads were J code, so the engine must be a later year 455, that would explain the hoses being too big if the '70 radiator hoses had been used on a '71 or later motor.
While draining the fluid I looked at the casting stamps, the one behind the water pump reads 396021F, which according this blog means it is a '68-'70 455 block. The heads are clearly J code heads, which can only mean that later model heads ended up on a earlier block in my car, right? I suppose I need to remove the alternator bracket and check the block stamp.
There are a few items under the hood that seem to have been heat damaged, so I wonder if the car suffered fire damage at some point. Not sure why that would create the need for new heads but it does make me wonder if the two things are related. The heads have 411783 on them, half in front of the middle valve cover bolt, the other 3 to the rear of the middle bolt.
Other stamps I saw:
"12" is stamped below and to the left of the #1 spark plug, driver's side (front to back of course).
"118" is stamped below and after the 4th plug driver's side
"CFO" is stamped between the #1 and #2 spark plugs, driver's side and there's a symbol or something I can't make out before the letter C
391366 on the alternator bracket
1505469 on the oil filler tube, I can't find an letters on it.
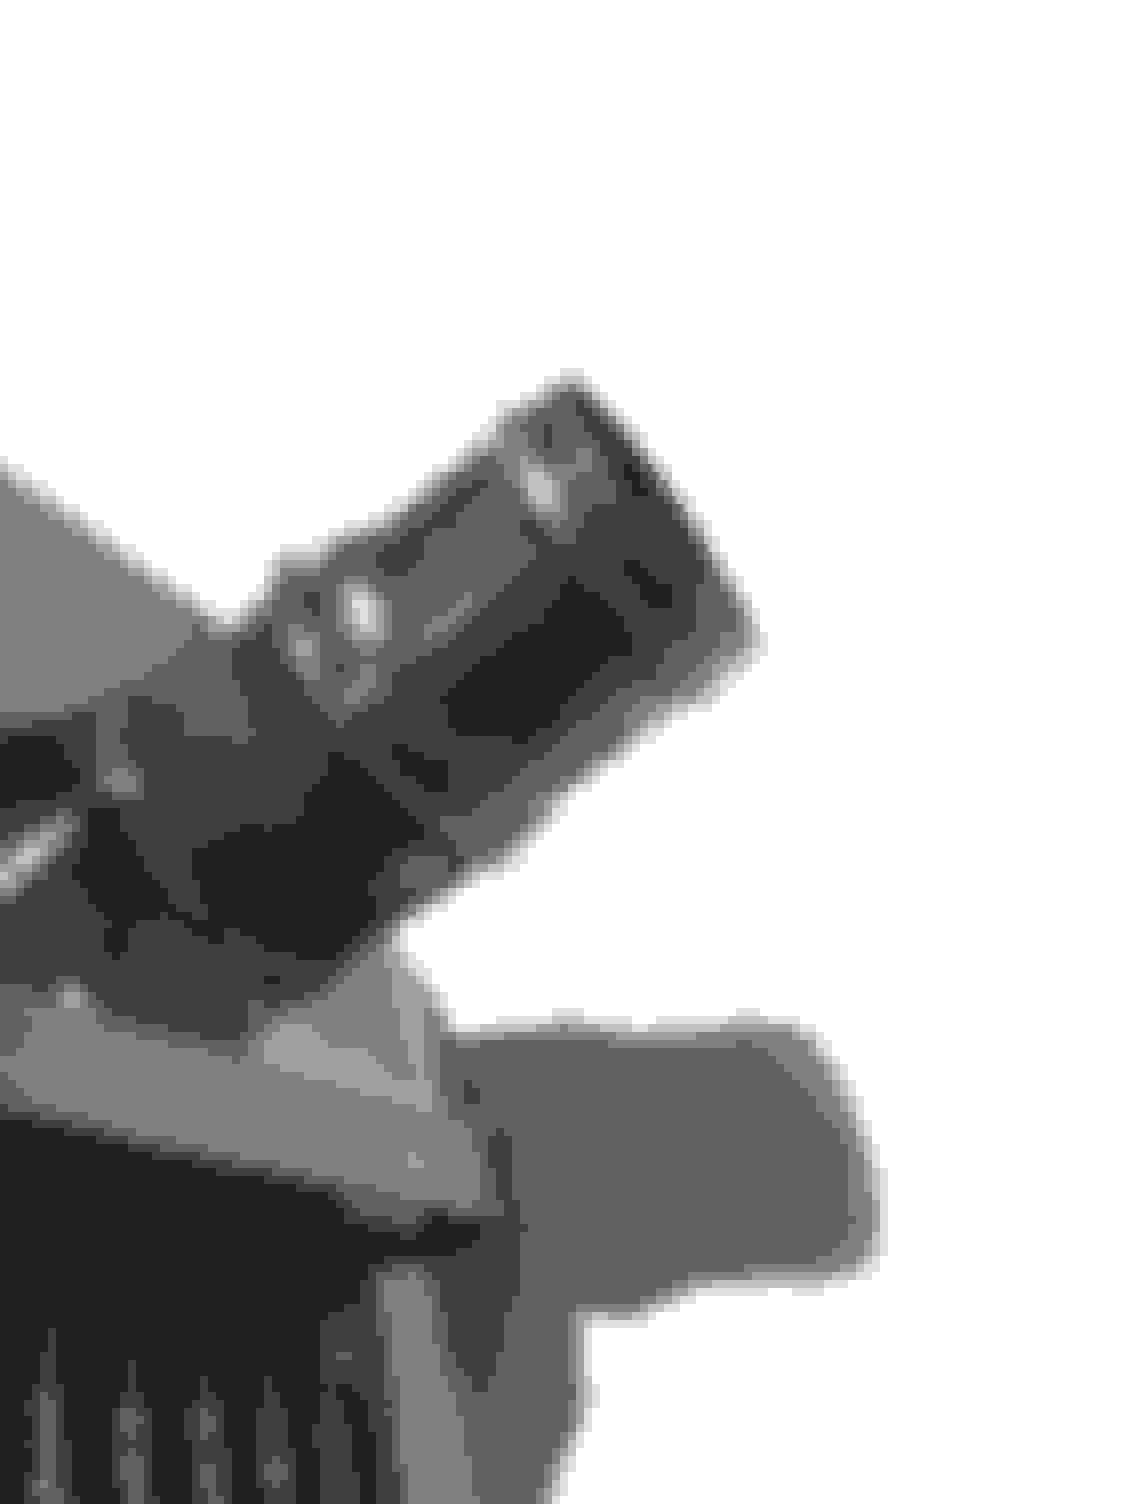
In any case, I believe our $59 radiator manufacturer has provided for the lower hose variations, look at how the tube is "stepped"
I did not notice the hose barb of my radiator having two different diameters like that, and I think I would have.
Looks like you got an unusually versatile unit.
While draining the fluid I looked at the casting stamps, the one behind the water pump reads 396021F, which according this blog means it is a '68-'70 455 block.
That information is incorrect - ALL 455 blocks from 1968-1976 have that casting number.
z11375ss has a good setup. If you check his cool video you'll see the only heat problem he has is with his rear tires . Good problem to have. If your going to rat it eventually looking stock may not be an issue.
Thanks for the props! I have been daily driving my Cutlass lately. It's a pure blast!
What the blog states is that, like you said, those NUMBERS are the same, but the letter is different. Mine is a "sens serif" F
" F '68 - '70 455 396021 Common big block. Stick type F (sans serif).
F '70 - '72 455 396021 Common big block. Serif type F. Two vertical
and a base serif.
Fa '72 - '76 455 396021 Very common big block. Marine also (L VIN derivative)."
For those unfamiliar with the term, a serif is a feature of a letter that is used in some fonts but not others.
F - without serif (or "sans" serif from French meaning "without")
Ok, that makes sense. It doesn't match my 72 Monte Carlo, and it shouldn't as the 1A-7 picture out of the 72 Chevrolet passenger car service manual doesn't match it either, which is why I was wondering.
Please don't make fun of my stupid red heater hoses (I need to change them out) but they do help to see the routing here.
Bought it for $450 around 1993, used it as a glorified bumper car for a couple of years, drove it over parking stops, pushed cars, whatever, sold it for more than I'd paid after its automatic transmission started to annoy me.
Please don't make fun of my stupid red heater hoses (I need to change them out) but they do help to see the routing here.
Actually, it's the mile long fan shroud that I was going to make fun of on those cars...
The extra wheelbase is all FORWARD of the firewall. There is zero increase in legroom, and zero increase in firewall to distributor cap, but plenty of room for a 40-row radiator.
Yeah, I think it's the Longest Hood Chevy Ever Made. (There was a Caddy longer).
It's a smaller shroud on the big blocks, but my granddad did not order one. Oddly optioned car, 4 barrel 350, th350 column shift, gauges, FM mono and rear speaker, power seat, power windows, AC. No buckets, rear defrost, or power locks. Odd color triple blue, uncommon wheel covers called "deluxe wheel covers" and a black steering column and wheel (not blue).
Most famous comment he made was, upon hearing the vinyl top would be 100 dollars more, "I'd pay 100 dollars more for NO vinyl top." The car, thus, has no vinyl top. Good condition 3 car, I need to do some minor rust work and paint it sometime in the next ten years or so. Plan is to get my 442 done first, then take this one down for minor resto.
Yesterday's radiator swap was not a success. I thought I understood that the top and bottom brackets would need to be pried open a bit to accommodate our $59 universal replacement radiators but it's the side brackets that kept the radiator from going in.
I was thinking that at some point it would pop into place so I was wrestling it all around trying to get it in place and I think I may have damaged it to the point that it might not be usable.
Somehow a ton of transmission fluid ended up on my driveway, must have started to siphon while I was not paying attention to it and it spilled out in a huge puddle in my driveway, it took 5 bags of kitty litter to clean it up.
At this point, I think I'm just going to get a proper replacement and be done with it. Were it not for the spill and wrestling with the side brackets, the swap would a snap. I'm pretty sure all I used was a 1/2" socket and a screwdriver to get the radiator out.
I did replace my fan clutch and tried to replace my hoses and belts but got an incorrect lower hose and alternator belt from AutoZone. (which is of course the one in back behind the other two belts...)
That's what I was thinking also, but there is a bracket on both ends, and they have a little turn to them at their tips that create a rail-like guide. If the radiator were a correct radiator they would just guide it in place as you slid it down into place.
That's what I was thinking also, but there is a bracket on both ends, and they have a little turn to them at their tips that create a rail-like guide. If the radiator were a correct radiator they would just guide it in place as you slid it down into place.
Photos would help. Here's the same $59 radiator installed in another member's car.
The rad you purchased may have a longer core. So here is what I did to my omega back in the day when I put my 76 olds rad in my 75 omega.
I beat the side rail ( rad cradle) out with a hammer on the battery side (take the battery out you don't want vibration) so the longer rad would slide in,it won't take much likely 2" if your original rad was 26" and the other is 28" if you don't want to beat the rad cradle to make it fit then you will need to have your re cored.
Eric
I looked into recoring, $400. A new direct fit replacement at AutoZone is $294.
I'll get some pics Joe, but in the first pic you posted at the end of the sentence "1/2inch spacer added" the period is right on the rail that I'm referring to (blue line). Looks like he's been beating on it or working it with a vice grip or something, and you can see where he's scratched the radiator despite that effort, (yellow line). Plus, he's way farther back from where the original rad was seated; the leading edge of his rad is now located where the rear plane of my original radiator is.
No judgement on anyone else's preferences, but I just don't want to do that much jury rigging when I can just get a proper fitting radiator instead. Maybe one day down the road if I trick out the motor I'll have an added need for cooling and then find the additional cores useful, but I'm starting to think the best thing for me to do right now is get this thing running right, enjoy it as its until it's paid off and then maybe get into the motor down the road. Sounds like the J heads are going to limit my options for performance, so the motor rebuild I was thinking of getting into this winter may have to wait until I can afford new heads also.

 June 16th, 2016, 06:25 AM