When you click on links to various merchants on this site and make a purchase, this can result in this site earning a commission. Affiliate programs and affiliations include, but are not limited to, the eBay Partner Network.
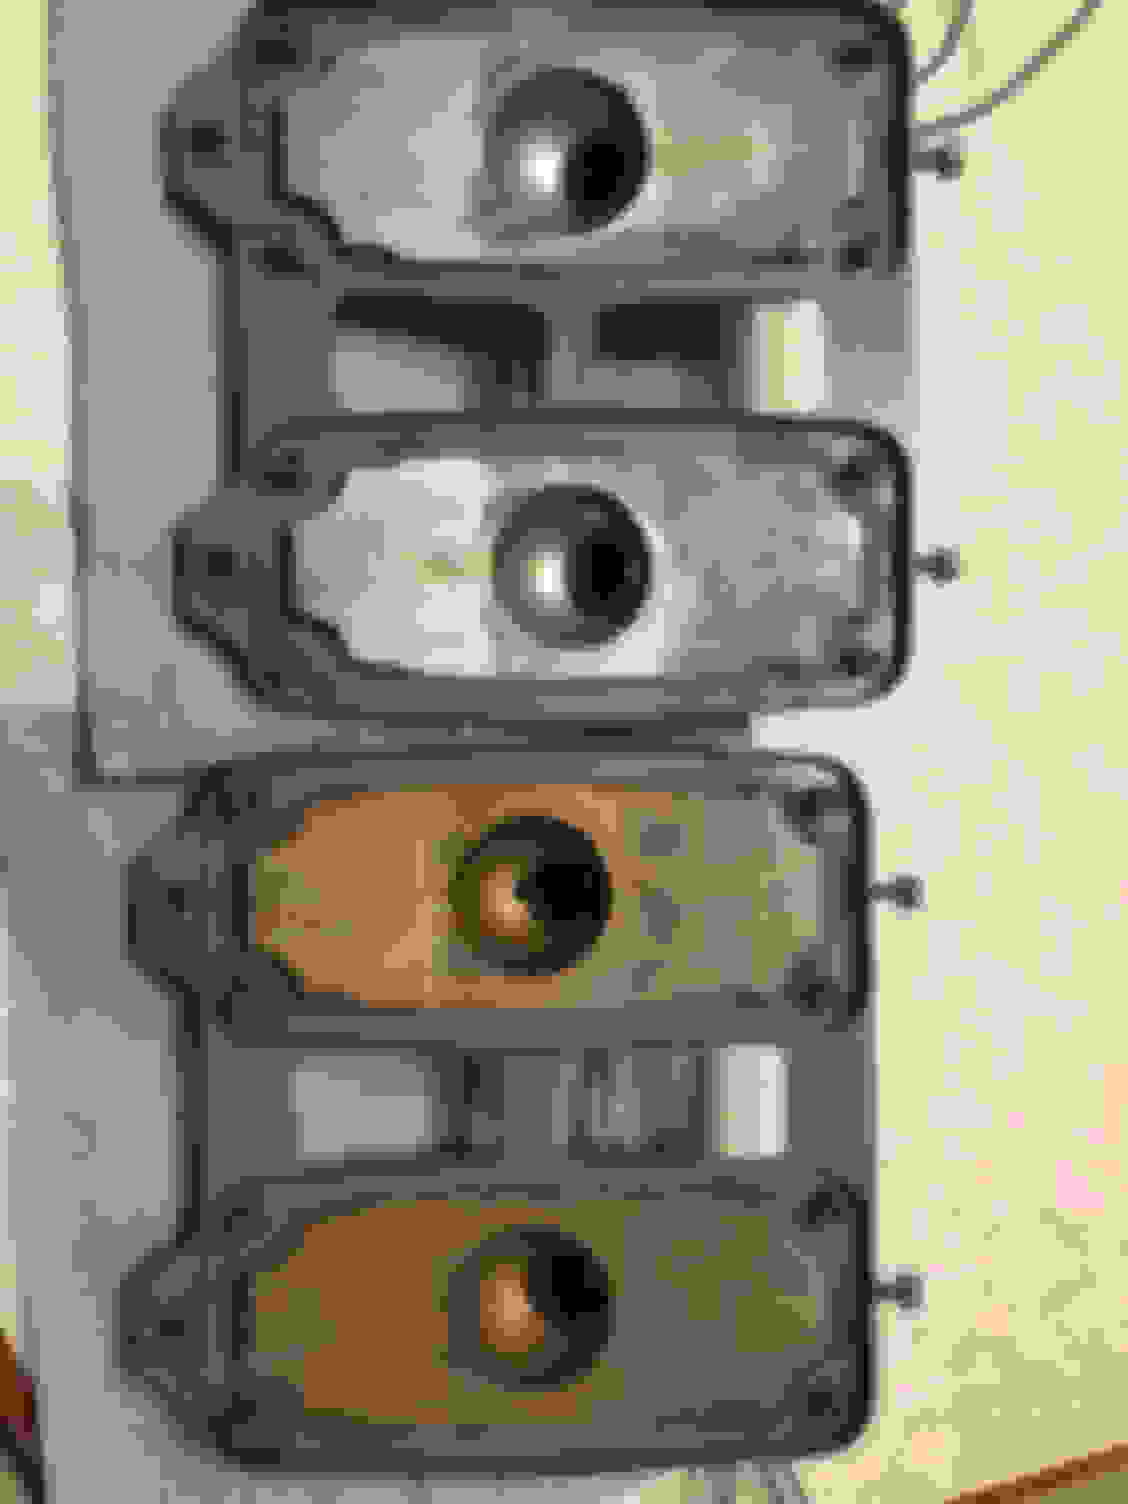
Here are my taillights out of my 70 442. As far as I can tell, the rear bumper was never out, and it did not appear that the housings were ever out. If they were it was a long time ago. So my question is what is the best way to fix this so they are both the same and the taillights won�t look like two different colors. I do not want to send these away to have them coated. Looking for other options.
Dont think it matters , but u could clean and paint white, and or primer. The red tail lenses dont matter, atleast in my case....all I did was refresh the sockets
Clean and repaint with a silver rattle can. Get new gaskets because water probably got in there. Get some bulb socket brushes and clean the sockets up so you have a good connection.
Unlike the 71-72 tail lights housings, I have not seen any white paint anywhere on these. I have seen some 1970 NOS parking light housings that looked to be a silver/gold finish but not sure if that is the look of the factory coating or just color has changed over time? Should these be silver on the inside where bulb is and a silver/gold on exterior or all one color?
Pics below are of the paint I used. Taping off just the raised portion around the light housing was a bit of a fussy job. To help, I put the old gaskets back in and used them to help make the job a little easier.
Note that my goal in using this paint may be different than yours. While I was building a show car and doing everything I could to keep it as close to original as possible, I was more concerned about maximizing the light reflection from those notoriously dim taillight bulbs and this really helped. This is an area of the car that no one will ever see and would never know about on my car - at least until now. that is!
I just used Simple Green to clean as best I could and a Dremel with small wheels to get into tight spots. The tail light pigtails are not removeable. On the light side, I just plugged the socket holes as best I could. On the back side, I used the dermal to clean the exposed wire going into the lights on the back side of the socket to get that nice shiny copper color. I then taped off everything but the black plastic covering over the wire ends and sprayed it with the plastic renew paint. It was a lot of work but I wanted to reuse the original light fixtures on my car rather than the repops I had purchased. While the repops looked nice and new I found that the grommets going into the trunk were completely different on the repos. While much of the taillight assembly is impossible to see once the bumper is on the car, the grommets and the wires entering into the trunk are visible to all and I wanted to make certain they were correct
Thanks for all the input. I was running low on time and needed to take my bumpers to the body shop. )It is about 4 hrs away so it is always a scheduled trip.) So, I didn�t have time to order from Eastwood.
Here is what I did, and I hope it holds up.
1) I had previously light pressure sandblasted the housing other than the reflective part, and painted them a dull cast. This was already done when I posted the first pics.
2) Due to the time pinch I was in, I went to several auto part and paint stores in a day and finally settled on a Duplicolor chrome paint. I sanded the reflective surface with some 800 grit sandpaper, and sprayed it with about 3 coats.
 March 10th, 2019, 06:46 PM