When you click on links to various merchants on this site and make a purchase, this can result in this site earning a commission. Affiliate programs and affiliations include, but are not limited to, the eBay Partner Network.
I just bought a 1977 Cutlass Supreme Brougham with a tan interior. I am looking to get a new carpet for the car, but don't know what exact color they came with from the factory. I thought it was buckskin, but camel and tan look close too. Does anyone know?
If you haven't purchased carpet yet contact OC carpets in Cali. I was in the same boat last month, called a couple places that were not much help. Spoke to Amy and she narrowed it down to 2 possibilities and texted me pics so I could match it up. Very good Co. to deal with and the price was about 150 shipped.
Thanks for the suggestion. My mechanic reached out to an interior guy and was able to determine that buckskin is the color that came with the car. He ordered it and installed it already. Looks terrific! Thanks again!
Sal, glad to hear you got it done. That was the same color I decided on, it looked so good I called back and had them send me enough to do the door bottoms for an extra $40.
Looks great and I like what you did with the door bottoms. I just ordered the GM rubber mats that originally came with the car from Fusick. They look a little light in color but hopefully it will grow on me. I will take pictures and post when I get them in. I notice on your sport wheel, the piece that attaches to the steering column matches and your horn color matches too. Mine are black and I like the way yours looks better. Did you change the color of the sport wheel base ?
Sal
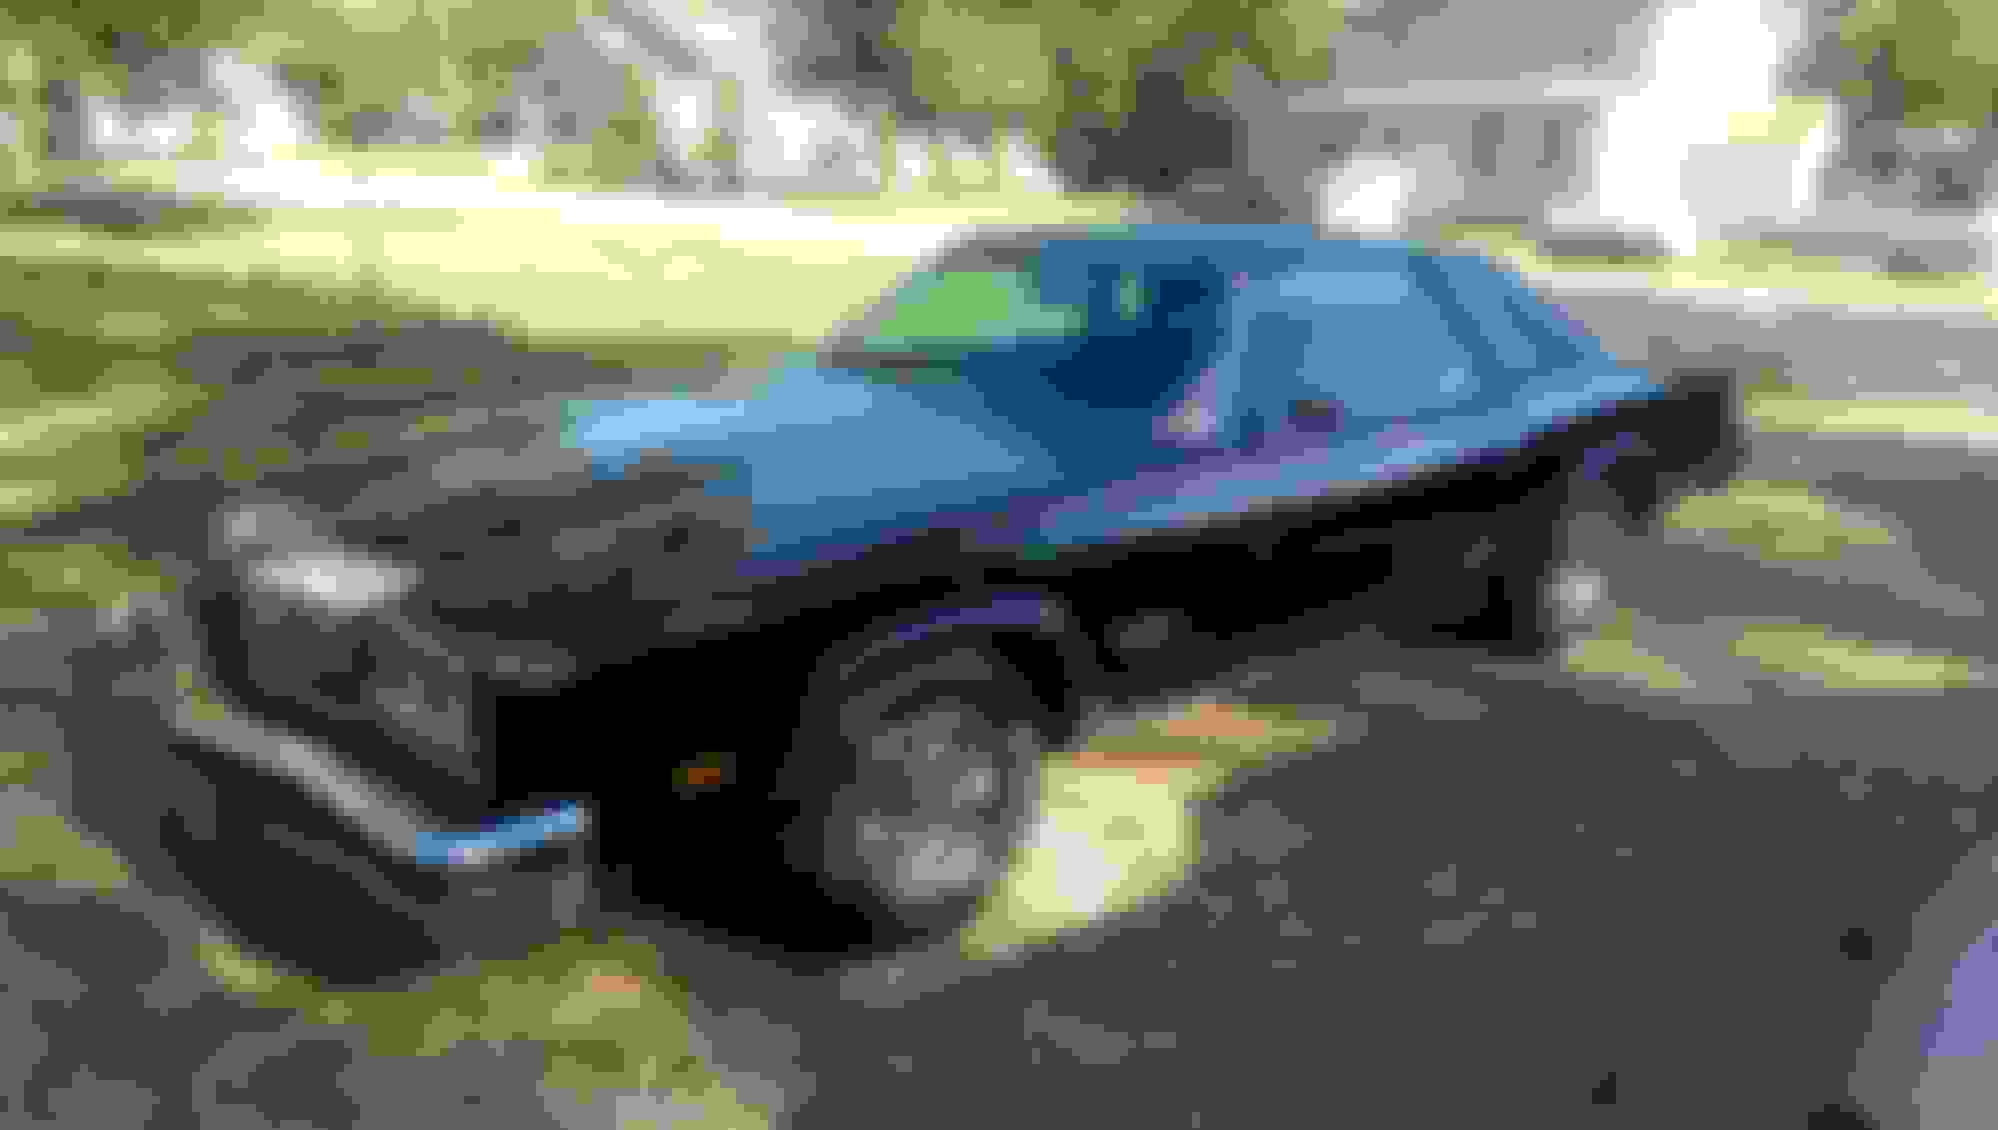
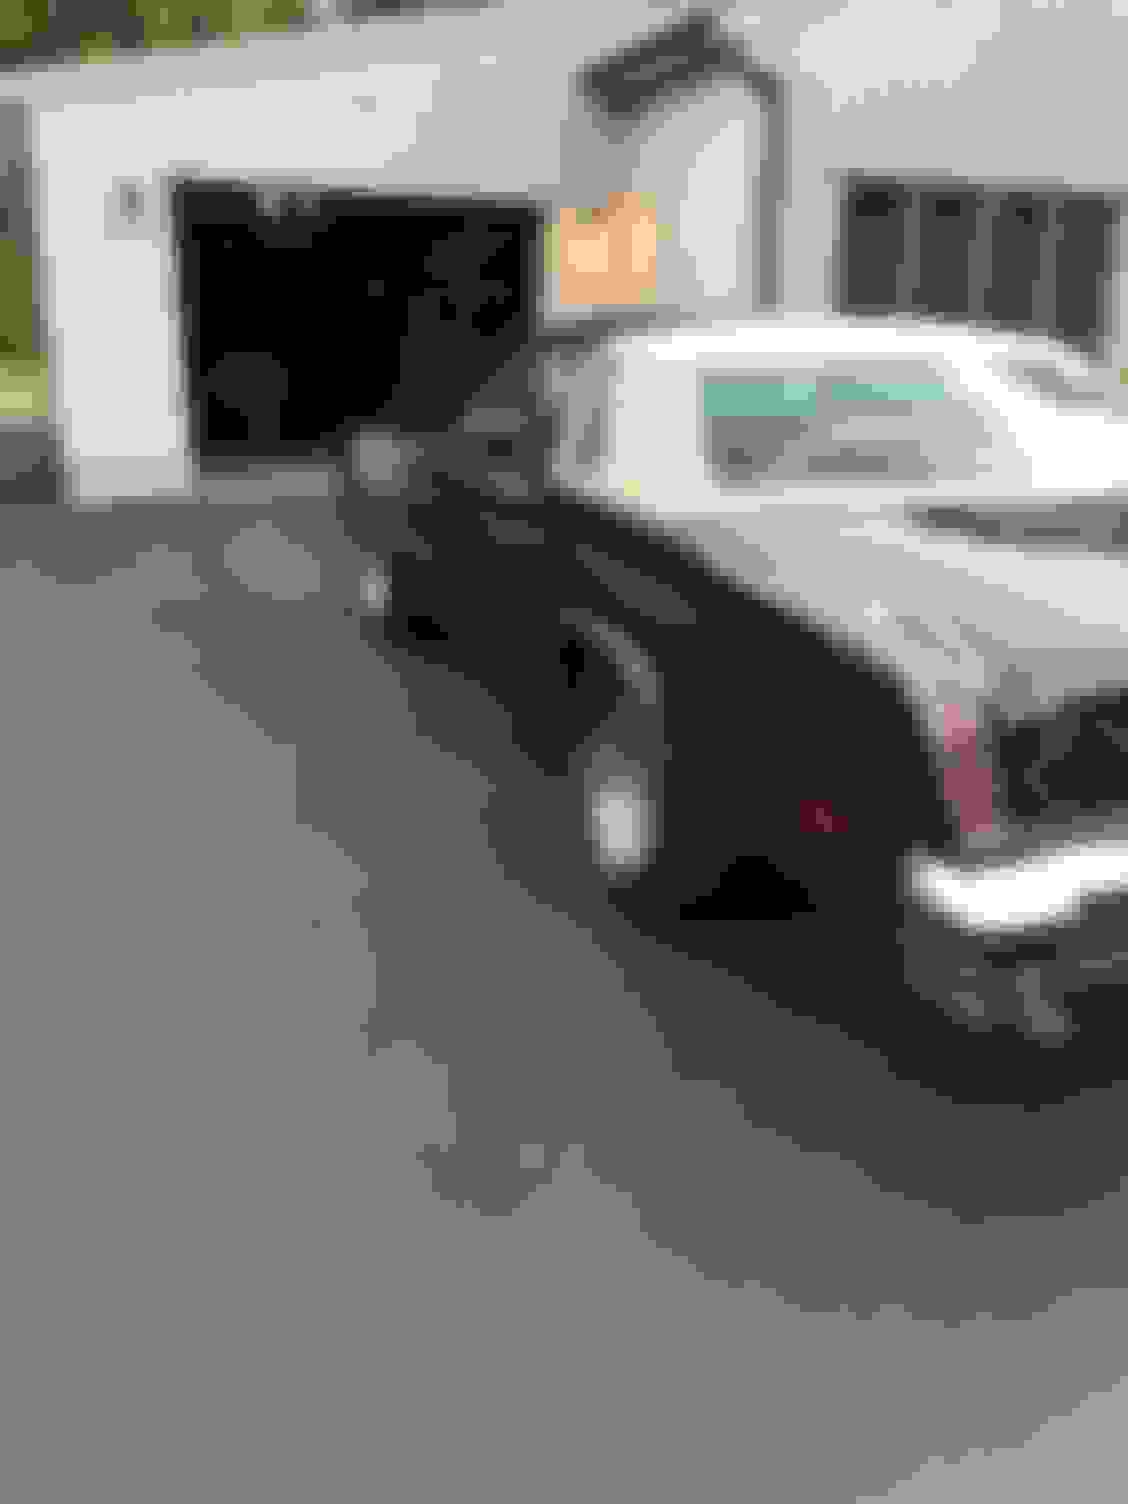
Thanks Sal. The car had the thicker Salon style padded wheel in saddle when I bought it, which I still have in perfect shape. I had a mint factory 70-77 sport wheel I let go with my 77 442 I sold a couple years ago, regret not switching that out. The hub and horn button color "should" match the column color. The wheel on it now is the smaller Starfire version, I just got it off ebay in NOS condition for 125 shipped. First one I've had, I actually like it though. Being 6'4 200 lbs it works well. Really wanted the correct larger wheel, but the prices are crazy. The one I sold still had all the grain on it, I probably could have got 400 for the wheel alone. I have the factory rubber mats in mine (not repo's) and they are a lighter color as well. Just figured they faded over the years. Here is the only pic I could find of the original wheel, drove it last summer in that condition before putting the interior back together last month. Looking forward to seeing pics of your car.
Last edited by ragz442; August 11th, 2018 at 06:49 AM.
Reason: added before pic
Sharp car Sal! I'd definitely paint the hub saddle, the horn button you see black a lot because it matches the wheel. I've corresponded with the owner of the white prototype on the 73-77 Olds forums, really like to see it in person someday. I've seen it in a few magazine articles. When I bought my car in 06 I knew nothing of its history. My original plan was to replicate the white car because I thought it was long gone and mine was very similar except the color Cream. I actually had the jambs cut in white when the prototype resurfaced and was restored. I didn't want to clone a known car so decided to go with the original color and vinyl roof treatment. A few years back a member on the Olds forums told me he knew the original owner of my car and he worked at Hurst where the conversion was done. It was in the AutoRama in the early 80s and he sent me some vintage pics from that time. They never produced a 76 H/O, just the 2 known prototypes that exist that I know of, the white 76 that was campaigned in a couple different stripe layouts and the black 77. There was a guy posting on the Forums years ago with a black one with panoramic rear glass, but it was some kind of top secret for some reason. i consider mine a concept, with the work originlly being done at Hurst it's kind of a one off custom build.
Last edited by ragz442; August 13th, 2018 at 07:57 PM.
Todd,
I really like what you did with the car. The roof looks beautiful with the two tone theme and Hurst/Olds Logos. I know Rick who owns the 76 Prototype and also know the owner of the 77 Prototype. Both cars are really a part of history and glad both are around. Rick and his club hosted the OCA Nationals recently in Gettysburg which I attended. I speak to Rick once a month and he loves Oldsmobiles. I never heard of the panoramic rear glass prototype. Funny story, I originally put a deposit down for a 77 HO in late 1976 which I was shown a letter from the dealer stating they would make them as they didn't make an H/O in 76. A few months later the dealer called me stating the project was off, so I ordered a Cutlass in the same color scheme and T-tops.
Looking at your sport wheel I will get the hub part painted and see what I can do about the horn button. I think yours looks much better and matches better. My next project is to get the car pin striped, put the emblems back on and have a tan vinyl roof installed, although the hardtop look is growing on me. I am looking for an assembly manual or a document outlining the exact location of striping and emblems. I cant find one anywhere. Have you ever run across one? I just ordered the service manual for the car. Anyway slowly but surely I am trying to re-create the first car I bought in 1977.
Thanks for your help and sharing pictures
Sal
Beautiful car Sal!! I think I saw the pin stripping details in the factory assembly manual the last time I was flipping through it. Love the Brougham package, however I might be a little biased. What size tires do you have on there? Are you thinking just a half vinyl roof if you do it?
Thanks a lot and you have a beautiful car too, and I think we are both biased. Yes my first car had a tan or light brown half landau vinyl roof and tan pin striping to match. I am looking to put those on this car. I also had tan body side molding, but debating about putting molding on the car. Once I get it pin striped and the roof installed, I will decide then about the molding. I believe the wheels on the car are from a later model Cutlass (80's) all chrome wheels with P255 60R15 tires on them. They are pretty big, but I like the wheel/tire package on the car. I have looked for a 77 Assembly Manual and can't find one anywhere. I did spot a 76 Assembly Manual which I may wind up buying since they are so similar. Thank God most of the things I want to do are cosmetic, but so far it's been a blast. I took it to the OCA Nationals in Gettysburg, PA and love the way it drove. Very comfortable and really nice riding car.
Thanks again
Sal
The tires in my picture are 225 70R15's. I blew one out a few weeks ago and replaced with the 255-60R15's like you have. However I just bought 2 and put them on the back. I was on the fence with what size i wanted up front. Now that I've seen your set-up, I'll be getting two more for the front. It's a nice balance of width to sidewall IMO. Ya, the manual I have is a copy. Bit hard to read most of it.
Happy Motoring!
Jake
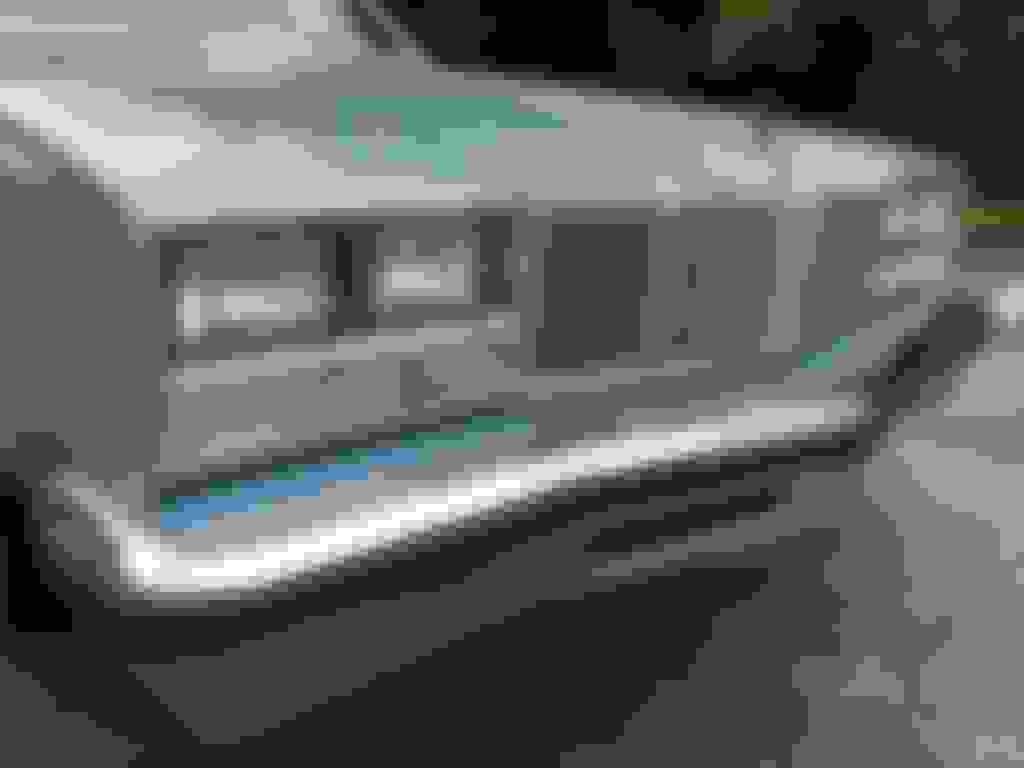
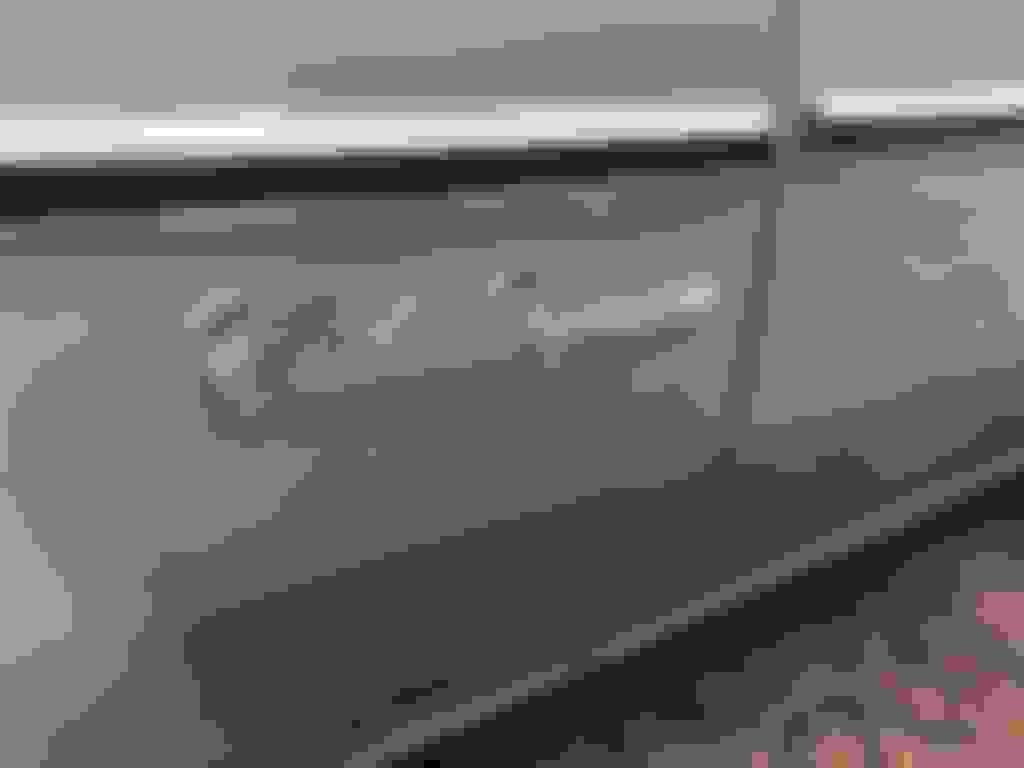
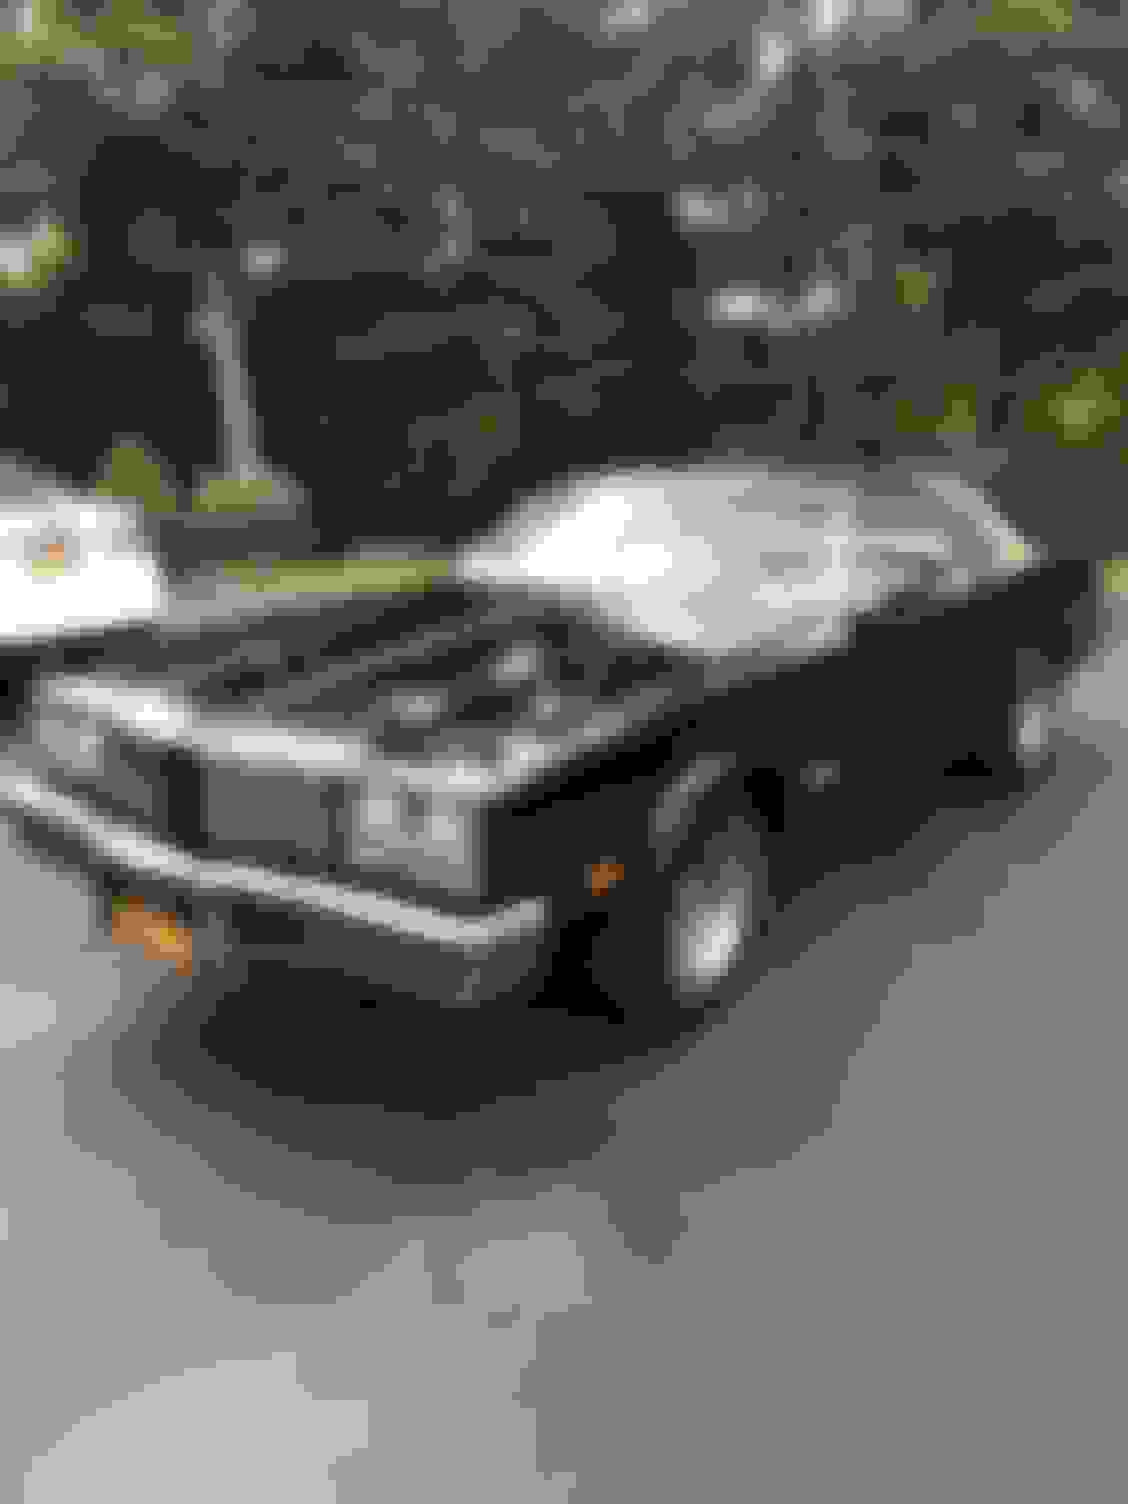
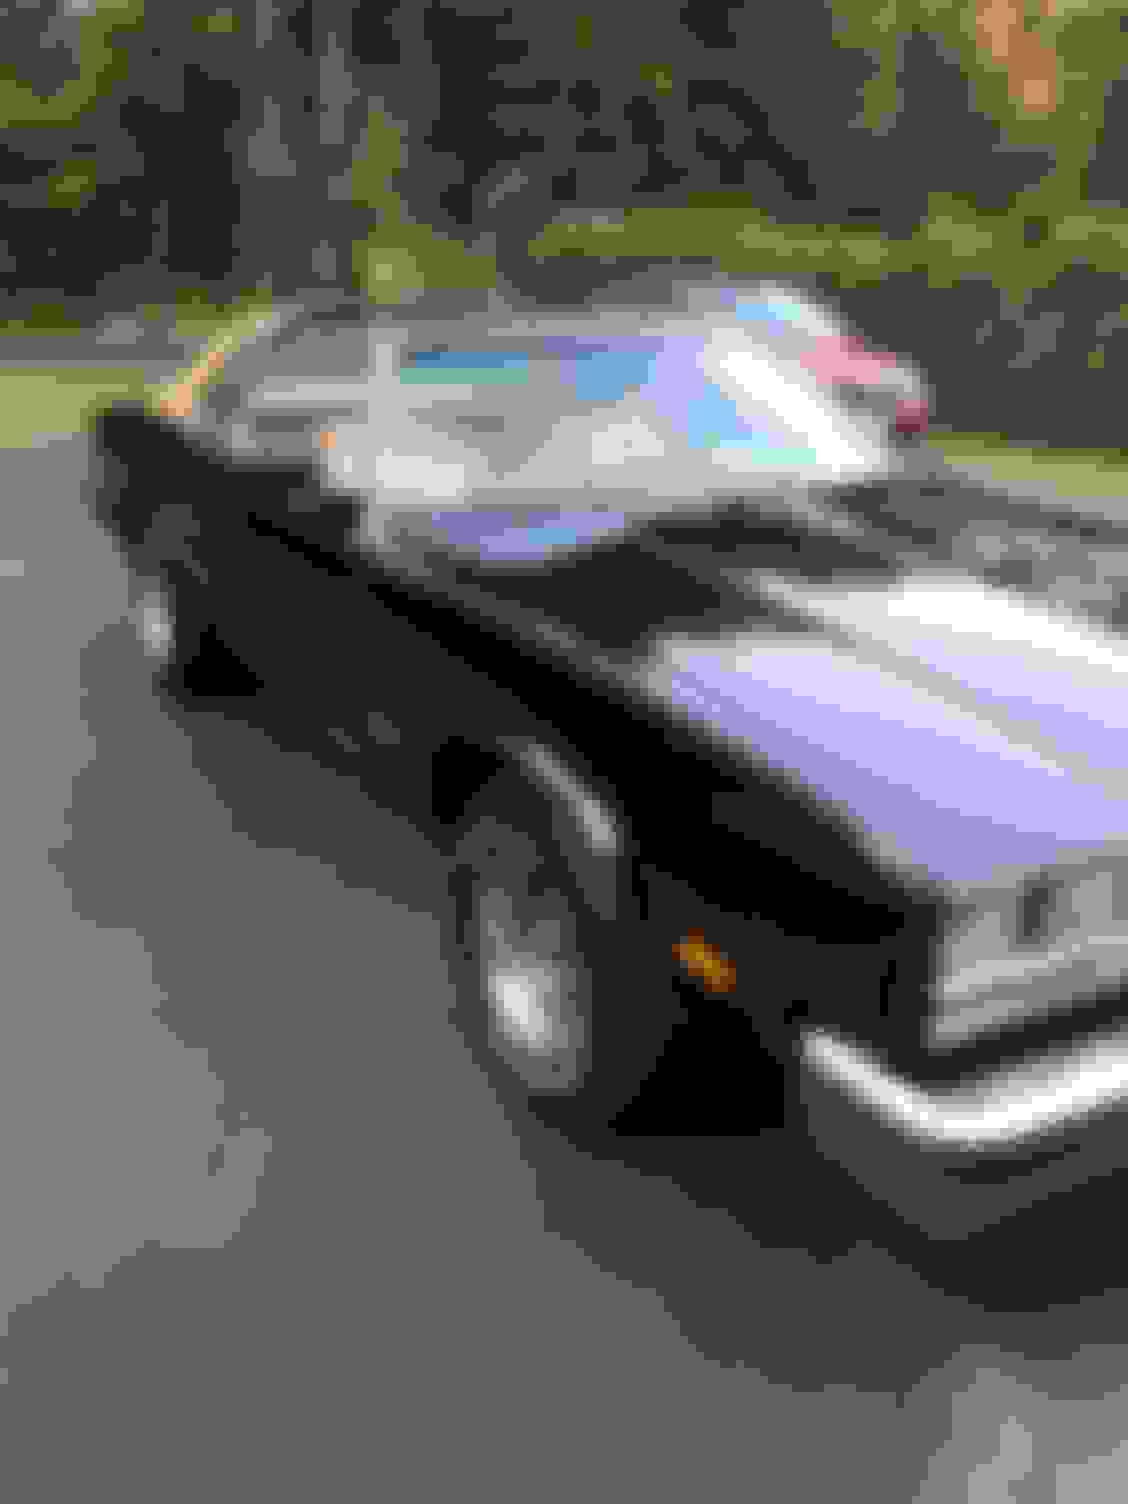
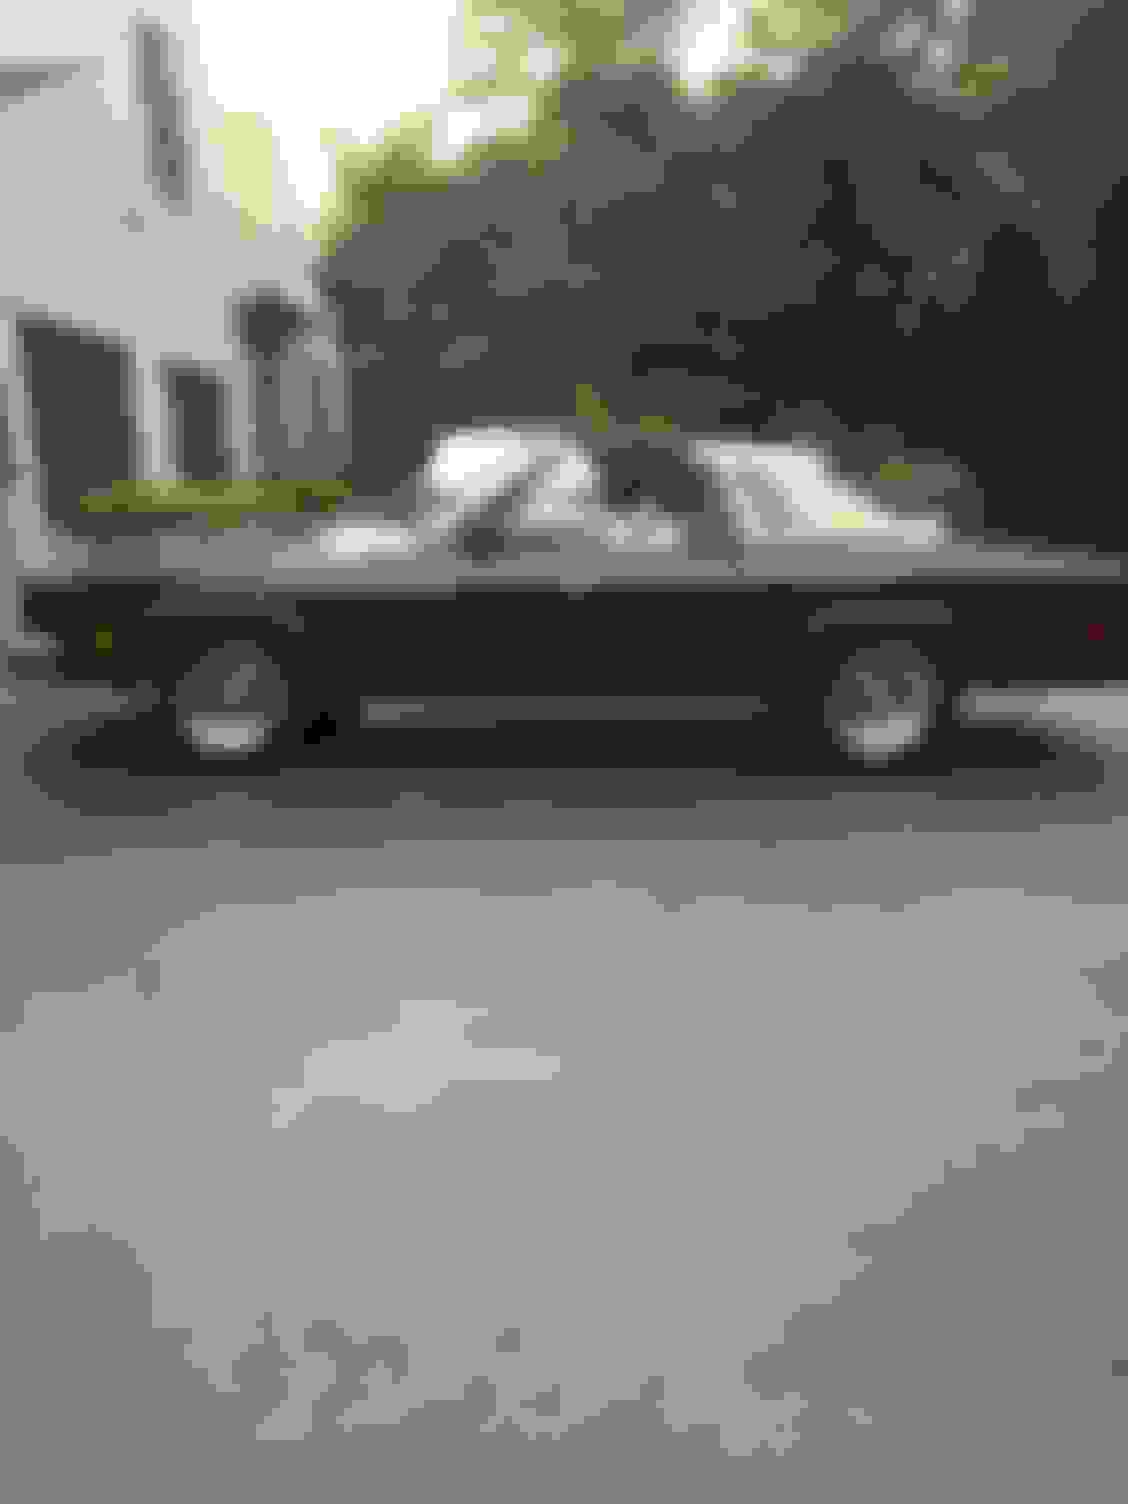
Sal, these are pics off a 76 Supreme for sale on ebay, original paint per description. Looks like the left front fender has been resprayed though. Either way, that's how the factory did the pin stripes on most I've seen over the years. Looks like about an inch under the top body line, I stripe all my own with Scotchcal, I like them a little closer, about 1/2 inch under the line.
Last edited by ragz442; August 15th, 2018 at 01:15 PM.
Todd,
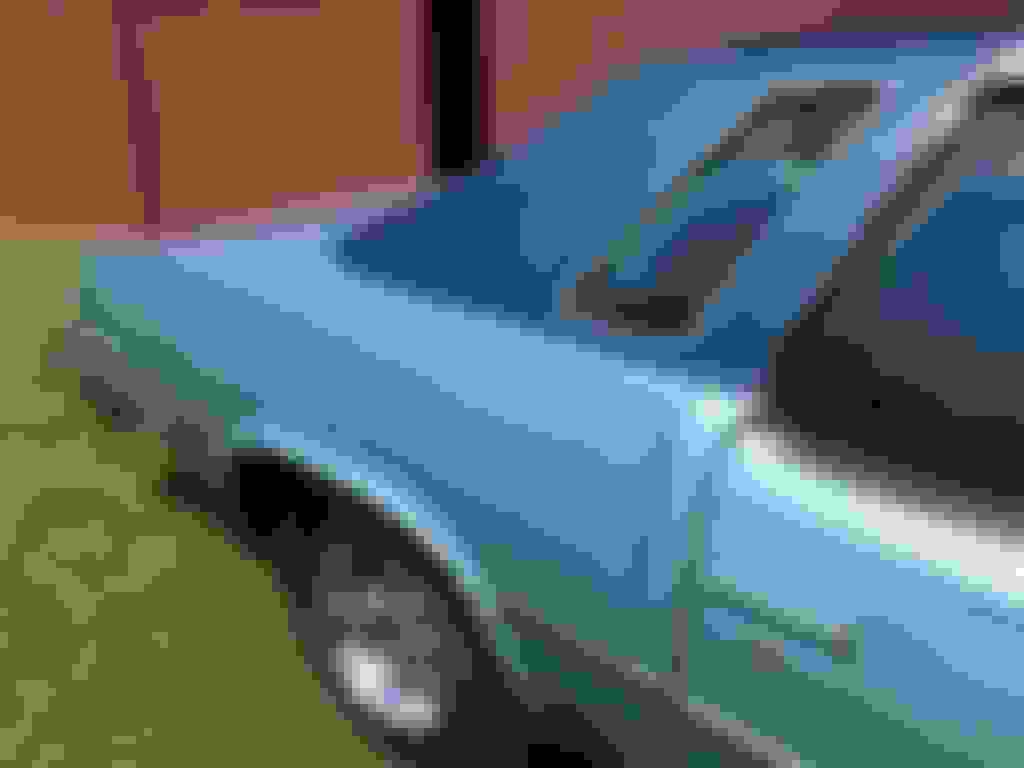
The pics you posted are very close to the way mine were originally done. I have attached a picture of my 77 Cutlass from back in the day. You can zoom in a bit on the striping I had. I have seen a few dozen who claim they are original, and many are so differently pin striped. I am thinking maybe dealers tried doing the pin striping and they each had their own little twist on things. I have to look for more pics of my car. Thanks for your help. Supposedly the car is getting the emblems and pin stripes put on today.
That's exactly right, these were done by human beings and nothing's perfect. I'm sure they had guidelines to follow and had their more artistic employees doing the work.
Dig the old school pic btw...
Last edited by ragz442; August 15th, 2018 at 02:06 PM.
Hey Sal, regarding your vinyl top, did it have a Landua top from the factory? If the studs that hold the clips on are gone or were never there the trim shop will probably just use sheet metal screws to install the clips. The reason for posting is I sold a nice set of factory v/top trim to a member on the 73-77 Olds forums that did not work for his 74. His name is Bill G. and lives in the Philly area I believe. If you are looking for the factory correct trim he may want to sell them. Personally if it never had one I'd keep it as is, but i know you are trying to recreate your first one, reliving my youth as well......lol
Todd,
Supposedly the car I just bought did have a half landau roof that the owner decided not to install again. He also didn't install the emblems or anything else as he wanted a purely "black" car. I just had the car pin striped and tried to have new emblems installed but I am being told the original holes of the emblems were welded and repaired to the point that my mechanic didn't want to attempt installing them. He is deferring to an expert body shop to do it.
Back to the roof, my original car did have a tan vinyl roof and I purchased all the trim, clips and screws to hold down a vinyl roof. The black top is growing on me, but I think I am going to have a vinyl roof installed as I like it better. Many people agree to keep it black and some say go with the vinyl. I guess it's a matter of personal taste. Since I am not a mechanic, I didn't know how much is involved in installing one of these, but learning as I go. I will show the guy installing my vinyl roof everything I have and if he says he has everything he needs to install it, I will go ahead with it. If he says there is an issue or something missing, I may just leave it black. I love the way the car drives except the car makes a squeaking noise when hitting bad bumps. Almost sounds like the roof of the car is twisting or something. I believe my original car made the same noises and just thought of it as normal. Anyway thanks for the feedback and I will let you know how it goes.
Thanks
Sal
Sal, lf it was me, I would just cut the pins off the emblems and use 3M emblem adhesive or 2 sided tape to install. Just small dabs of adhesive is needed if you go that route. I believe I used 2 sided tape on my 76 Supreme and drove the car a lot for over 15 years and they never came off. I think when they cut the roofs for the t tops it causes cowl shake, I used the thick U shaped supports when I installed mine, don't notice any abnormal noises yet, but haven't driven it with the panels in place since finishing it last month. It is an issue it seems reading posts on the Forums over the years.
Thanks for the feedback and suggestions. I will definitely look into the 3M adhesive for the script "Cutlass Supreme" emblems. The Brougham emblems came with double sided tape so I am ok with those. I will look at some past forum discussions and see if I can somehow reduce that shaking noise when hitting bad bumps.
Sal, I know you say you are not a mechanic but you can install the emblems yourself. Getting the holes in the exact spot for the barrel clips wouldn't be impossible but chances of getting it right even for an experienced bodyman is tricky. Cut the pins off the emblems and run the backside on a fileboard mounted upside down in a vice with 80grit sandpaper so the mating surface is straight and clean. Use little dabs of butyl on the emblems to temporarily position them exactly where they are going to be installed. Use 3/4" masking tape along the bottom of the script so they will be straight when installed. Pull the temp. installed emblems off and clean everything well with wax/grease remover. Use the adhesive sparingly on the backside of emblem and let it set up for a couple minutes. Put the emblems on following the tape line and let them set good with slight pressure applied. Good luck.
Funny how people have much different opinions on a particular topic. My mechanic thinks putting on the emblems the traditional way is the only way the script "Cutlass Supreme" emblems can be put on and look good. A cousin of mine who owns a body shop says he can do this the way you describe. So he is going to help me and we will try it your way. Thanks for taking the time to respond with step by step instructions. I will definitely let you know how it comes out.
Thanks again,
Sal
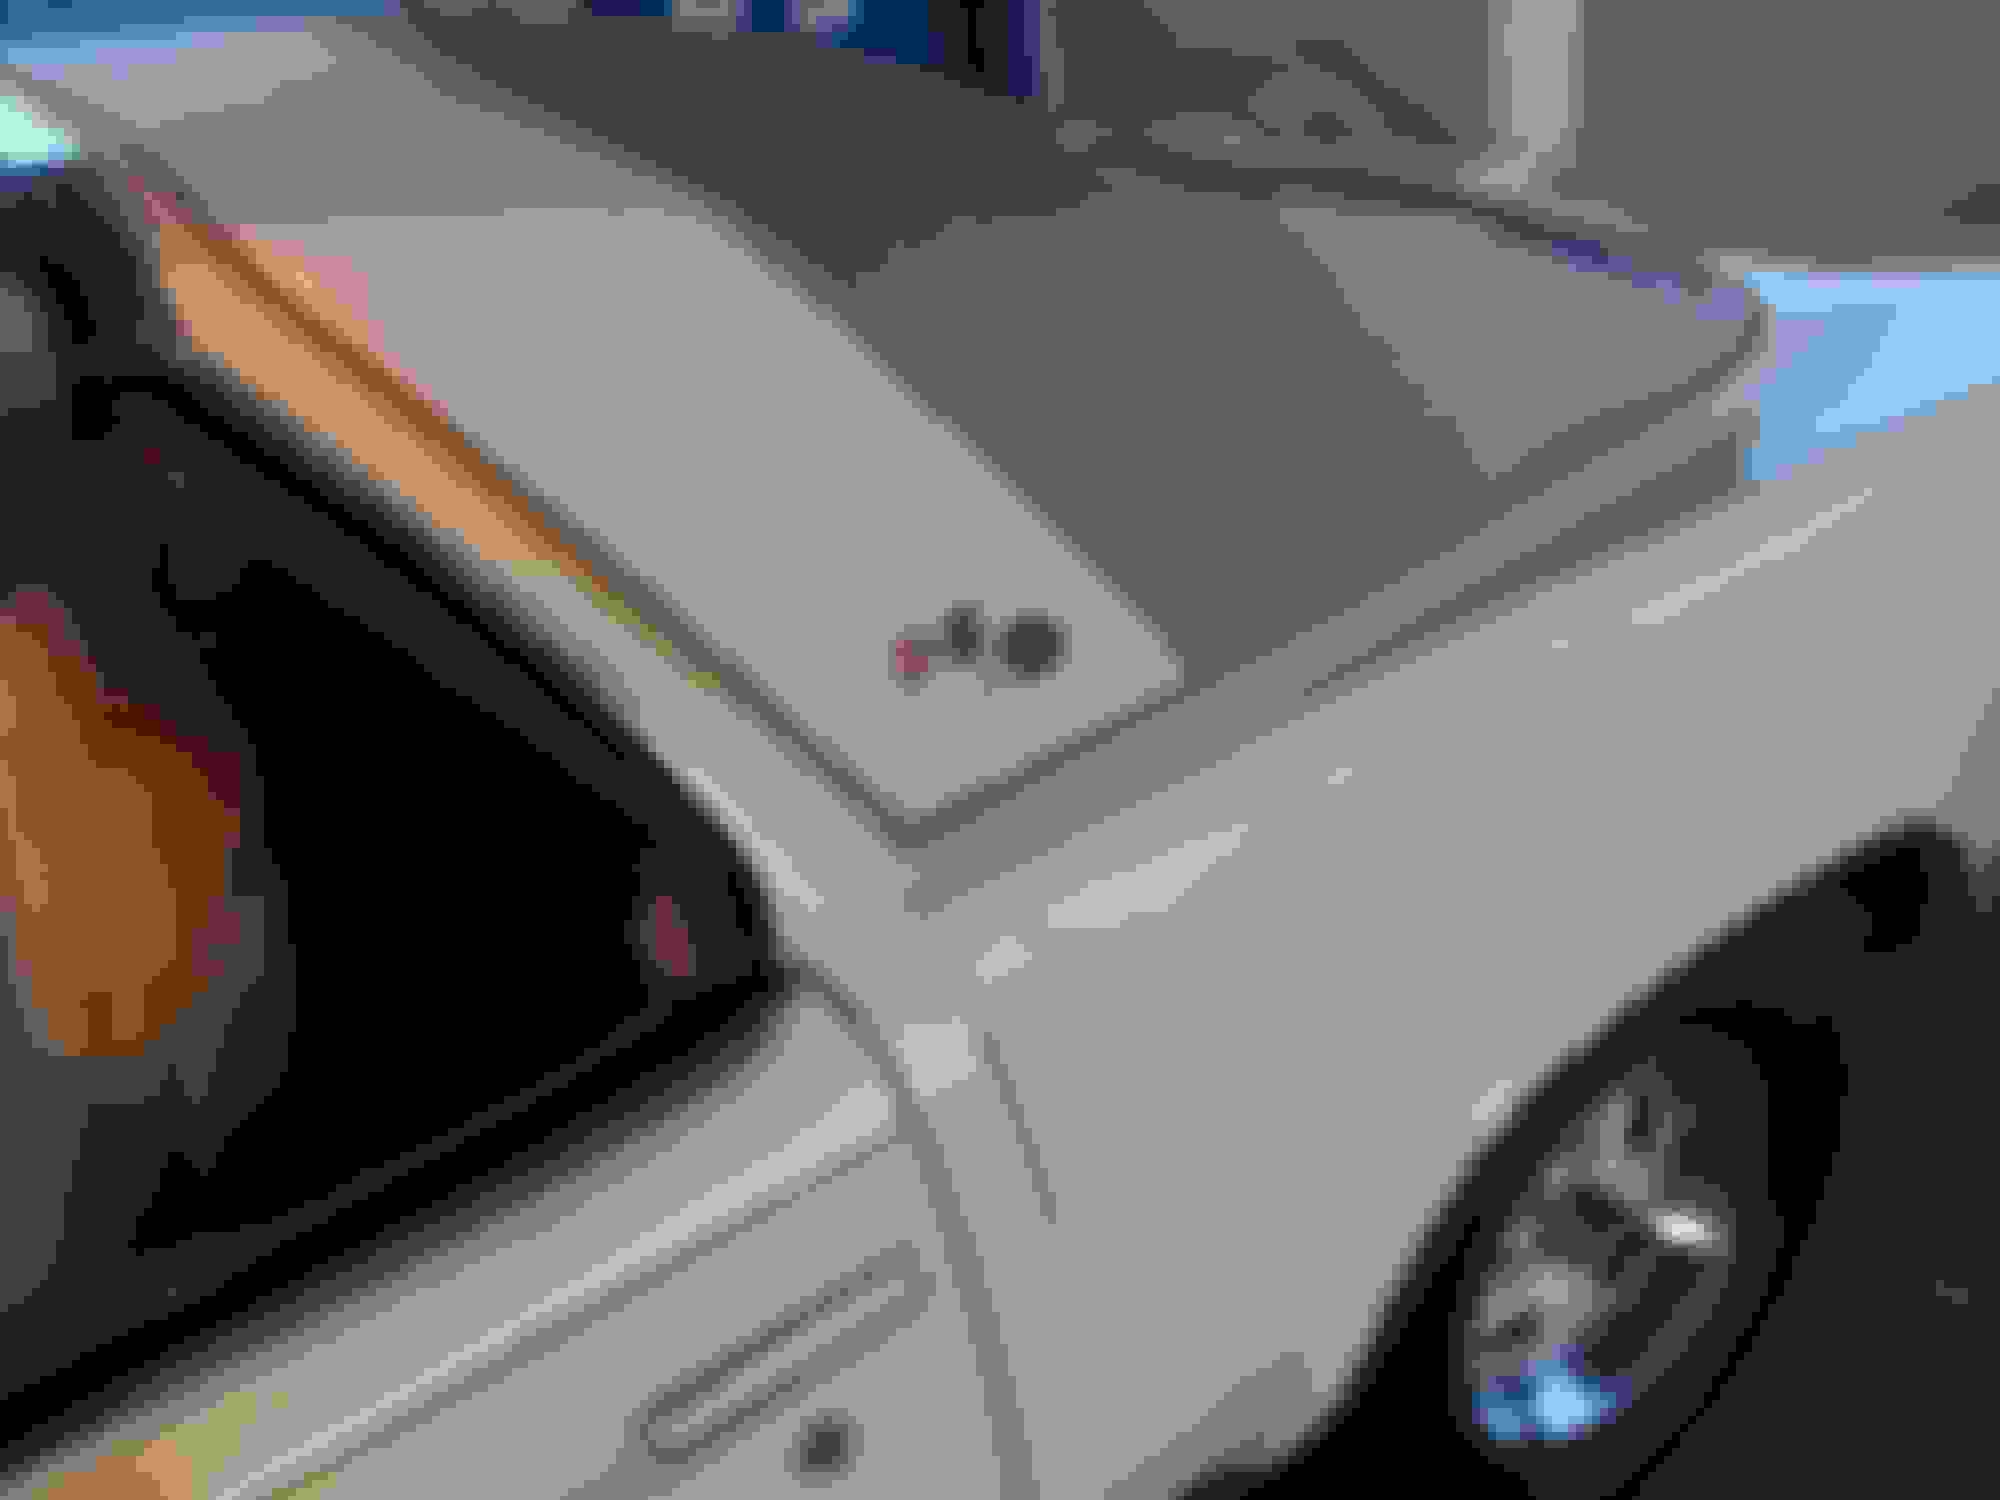
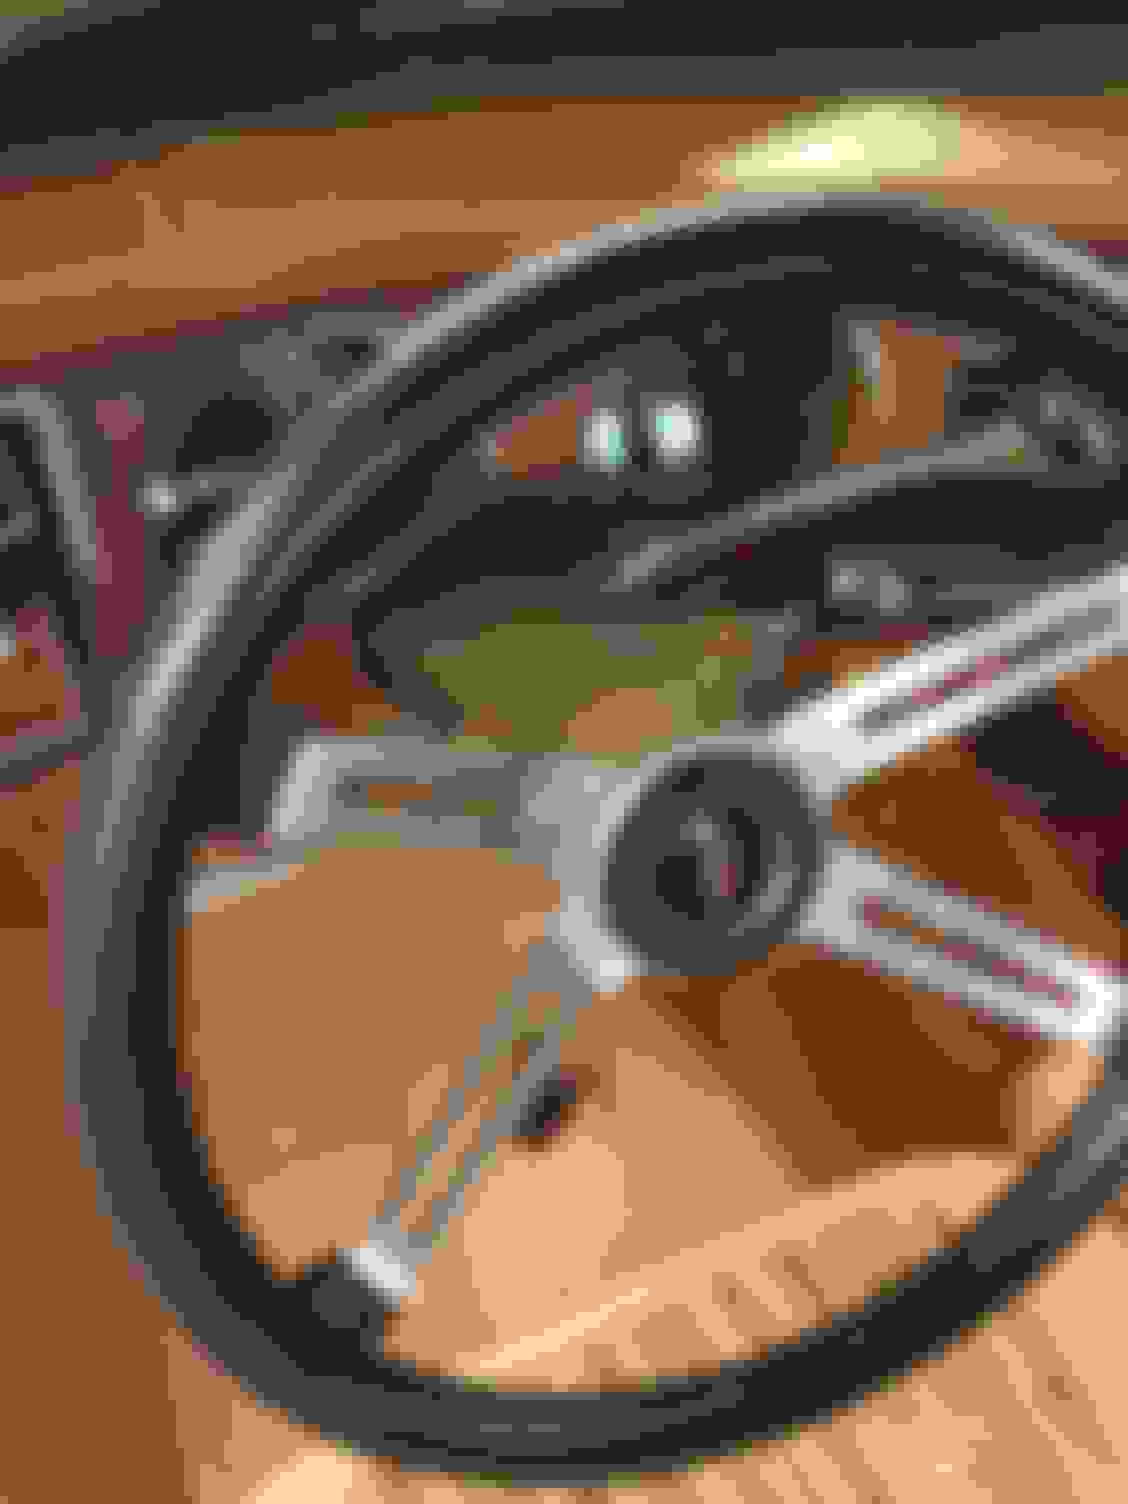
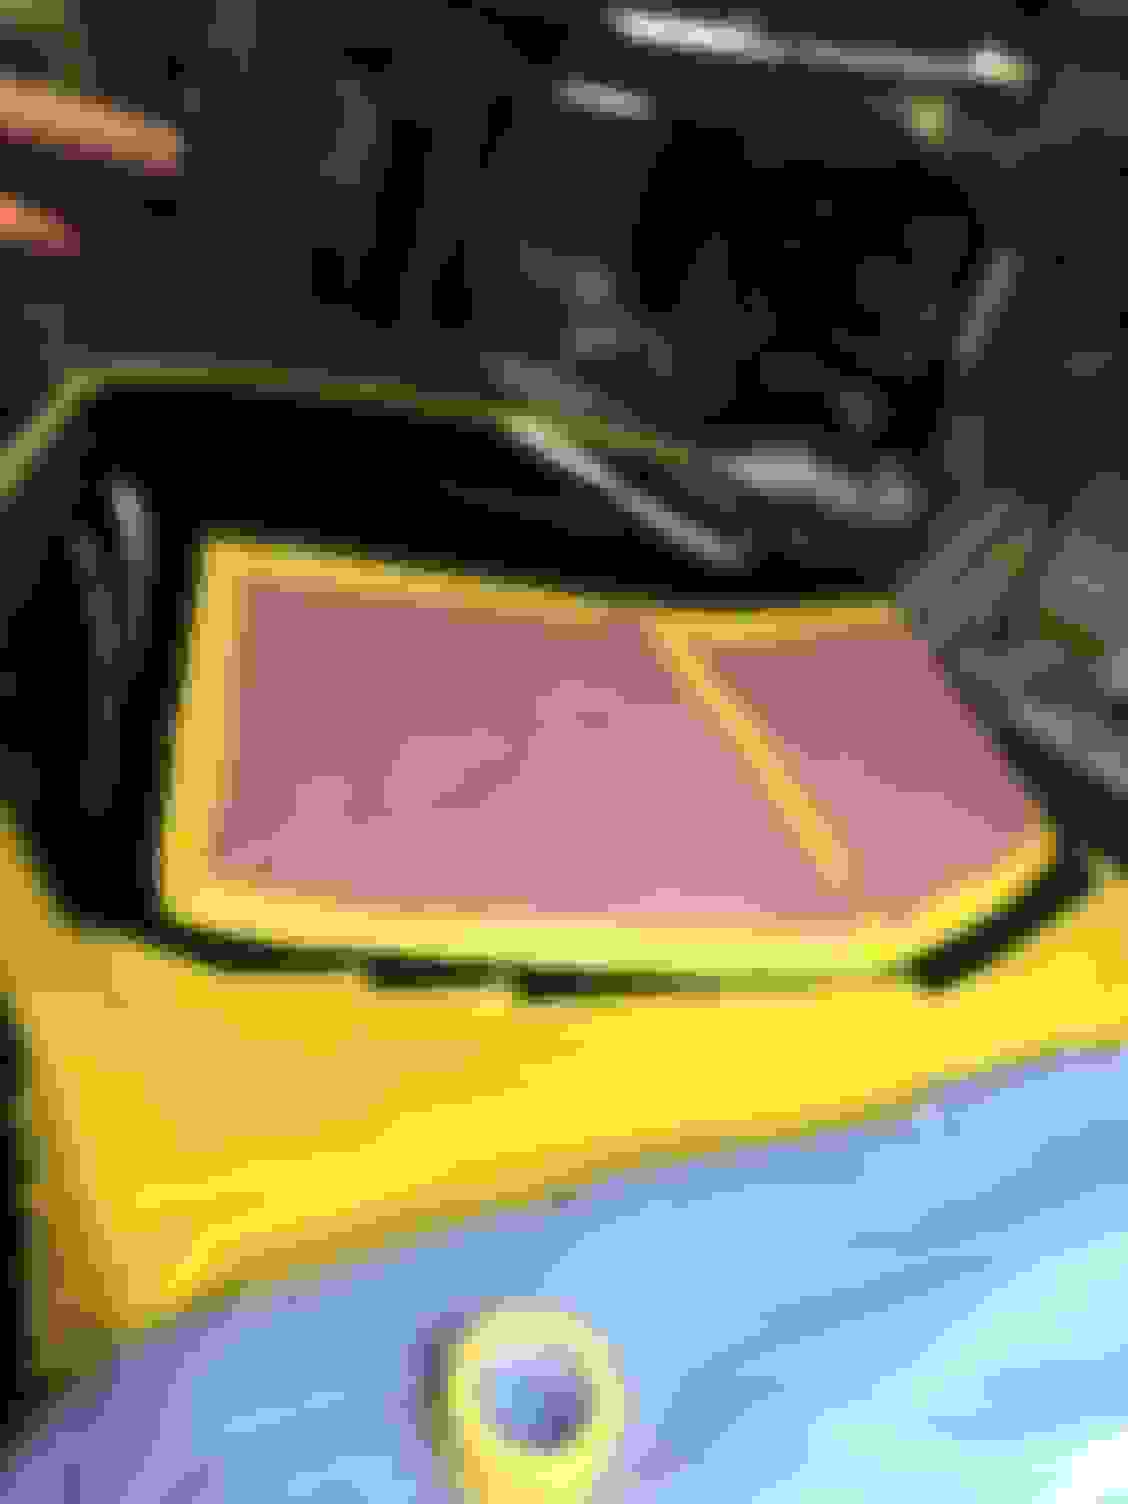
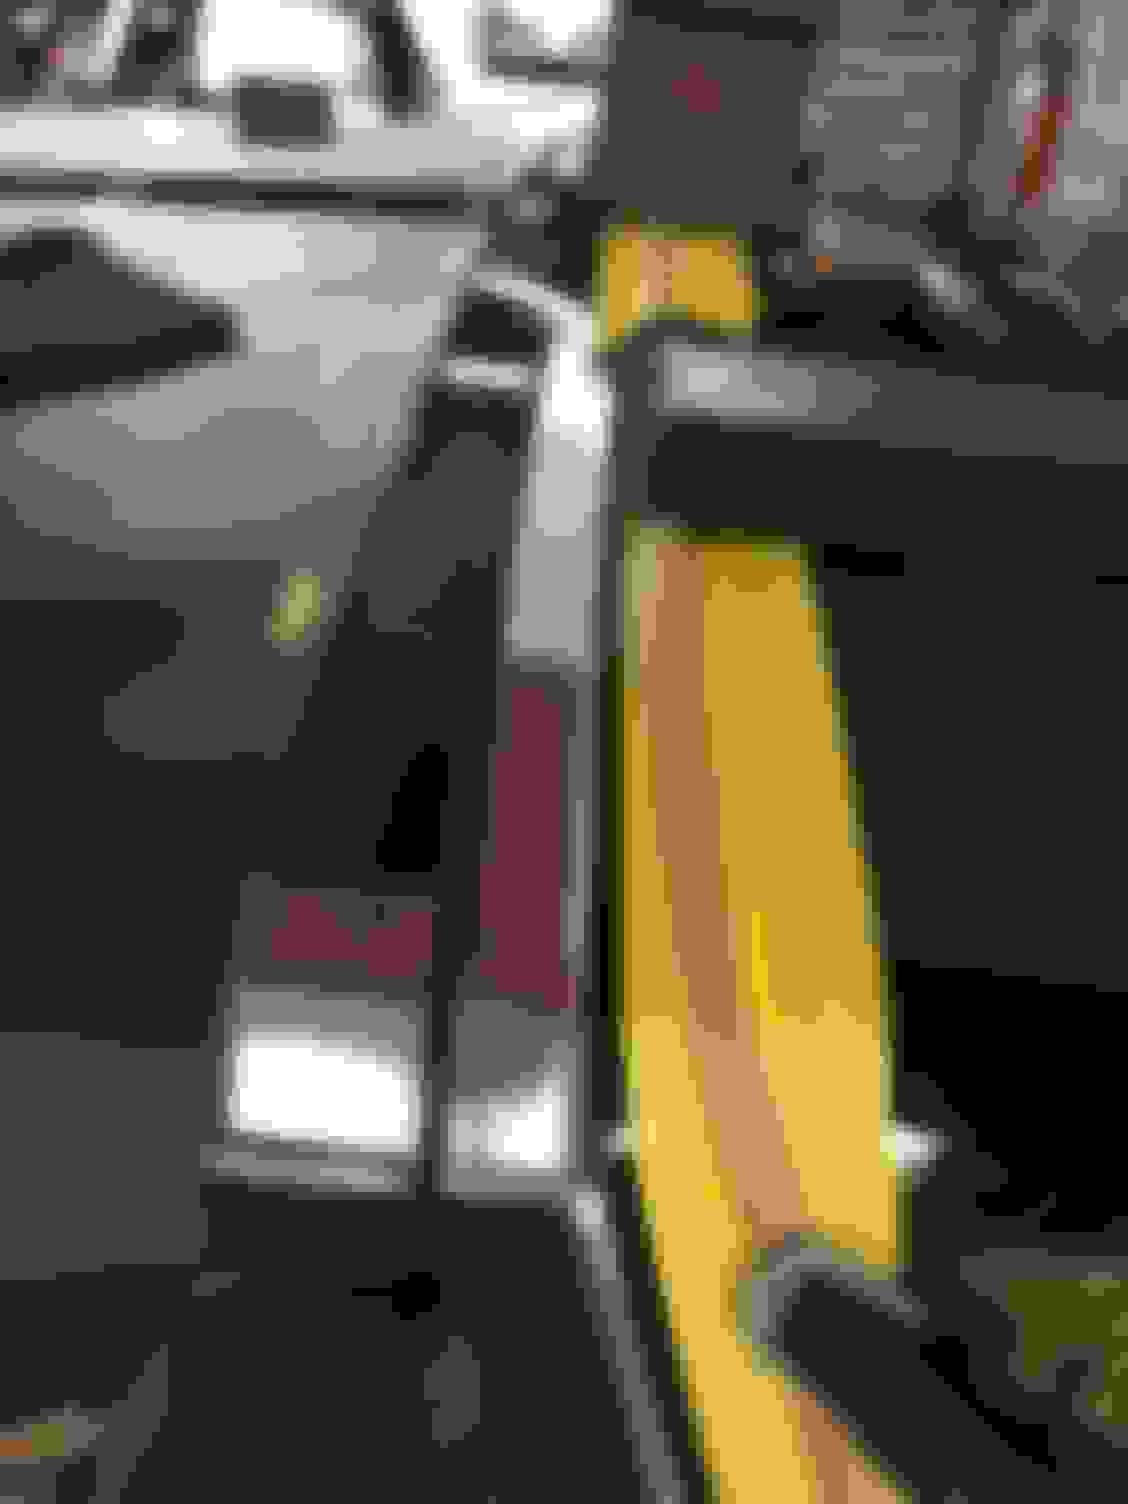
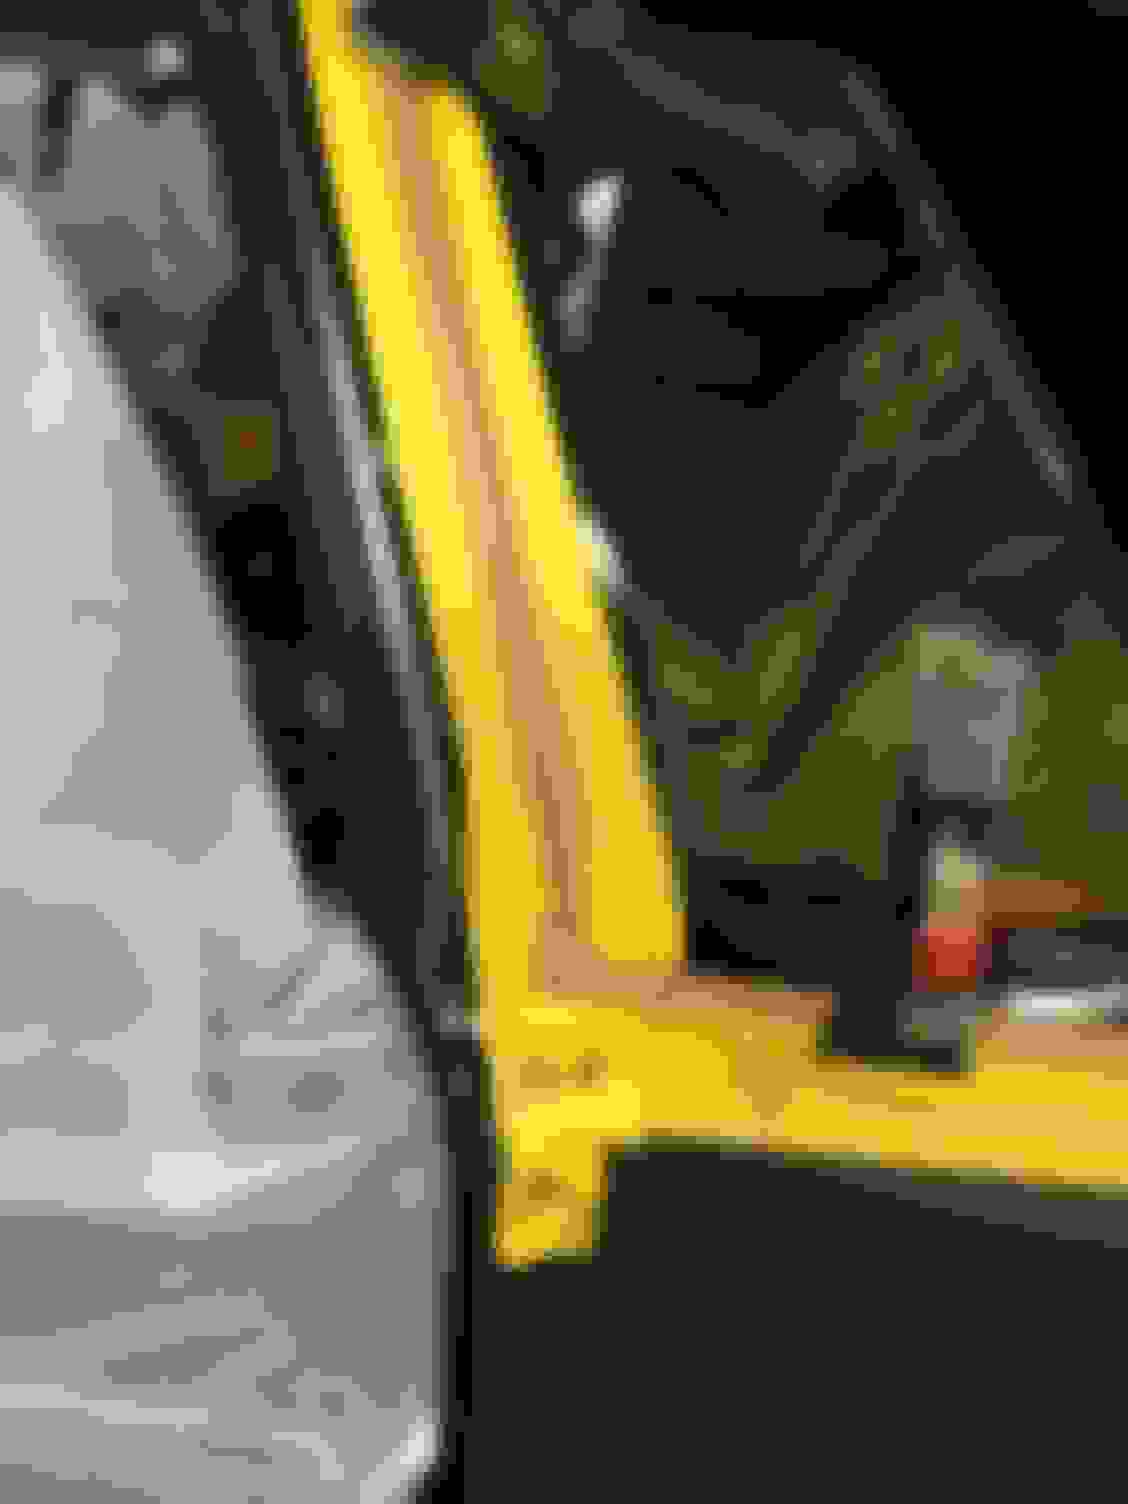
Quick update on my car. I have had it pin striped, had the emblems put on and just had the vinyl roof installed. I also had the steering wheel hub painted to match the steering column. The only issue I ran into is the roof trim doesn't quite connect tight, so I am looking for a 1-1/2" to 2" cap to cover the vinyl roof trim. Here are some pics
Sal, the car looks fantastic! I can't really tell by the pics what the issue is with the trim, can you post a close up of the area of concern? The hub looks great, they really matched the paint up nice. I see you added rally gauges and a different speedo, I don't think I've ever seen one read that high, is it in kph? I always liked the looks of the '77 one year only dash, too bad they usually cracked badly. Yours appears to be in excellent condition, someone must have taken great care to keep it that nice.
I bought all the trim pieces at the Olds Nationals in Gettysburg. They appeared to be all there and laying them out, it looked good. They were a little rough and the guy who installed the vinyl top really did a nice job straightening them out, blasting them clean, priming and painting them. He went ahead and installed the roof. My understanding is all the pieces connect to each other and kinda plug into each other. The issue I have is with the top of the roof pieces. One part is narrower and that slides into the larger piece. It appears there is a one inch gap and I think the narrower piece should be an inch longer. Someone today told me a 2 inch cap should cover it like the curved one at the bottom of the window but I don't ever remember seeing that. I have posted pictures. The first one and the last one are the top of the roof trim and the middle picture is the curved cap at the bottom of the roof.
Any help or advice is appreciated
Just guessing here, but maybe those pieces have shrunk over the years if they are plastic? Don’t have a vinyl roof on mine so I don’t know what those pieces are made of.
Looks good to me Sal. Probably no one would have caught that, but it being your car, it probably bugs you as it would me. Another question, was the roof underneath prepared any special way before the vinyl was applied? Also did they install those pegs to hold the moldings. Man I would be nervous if they had to drill holes in my roof.
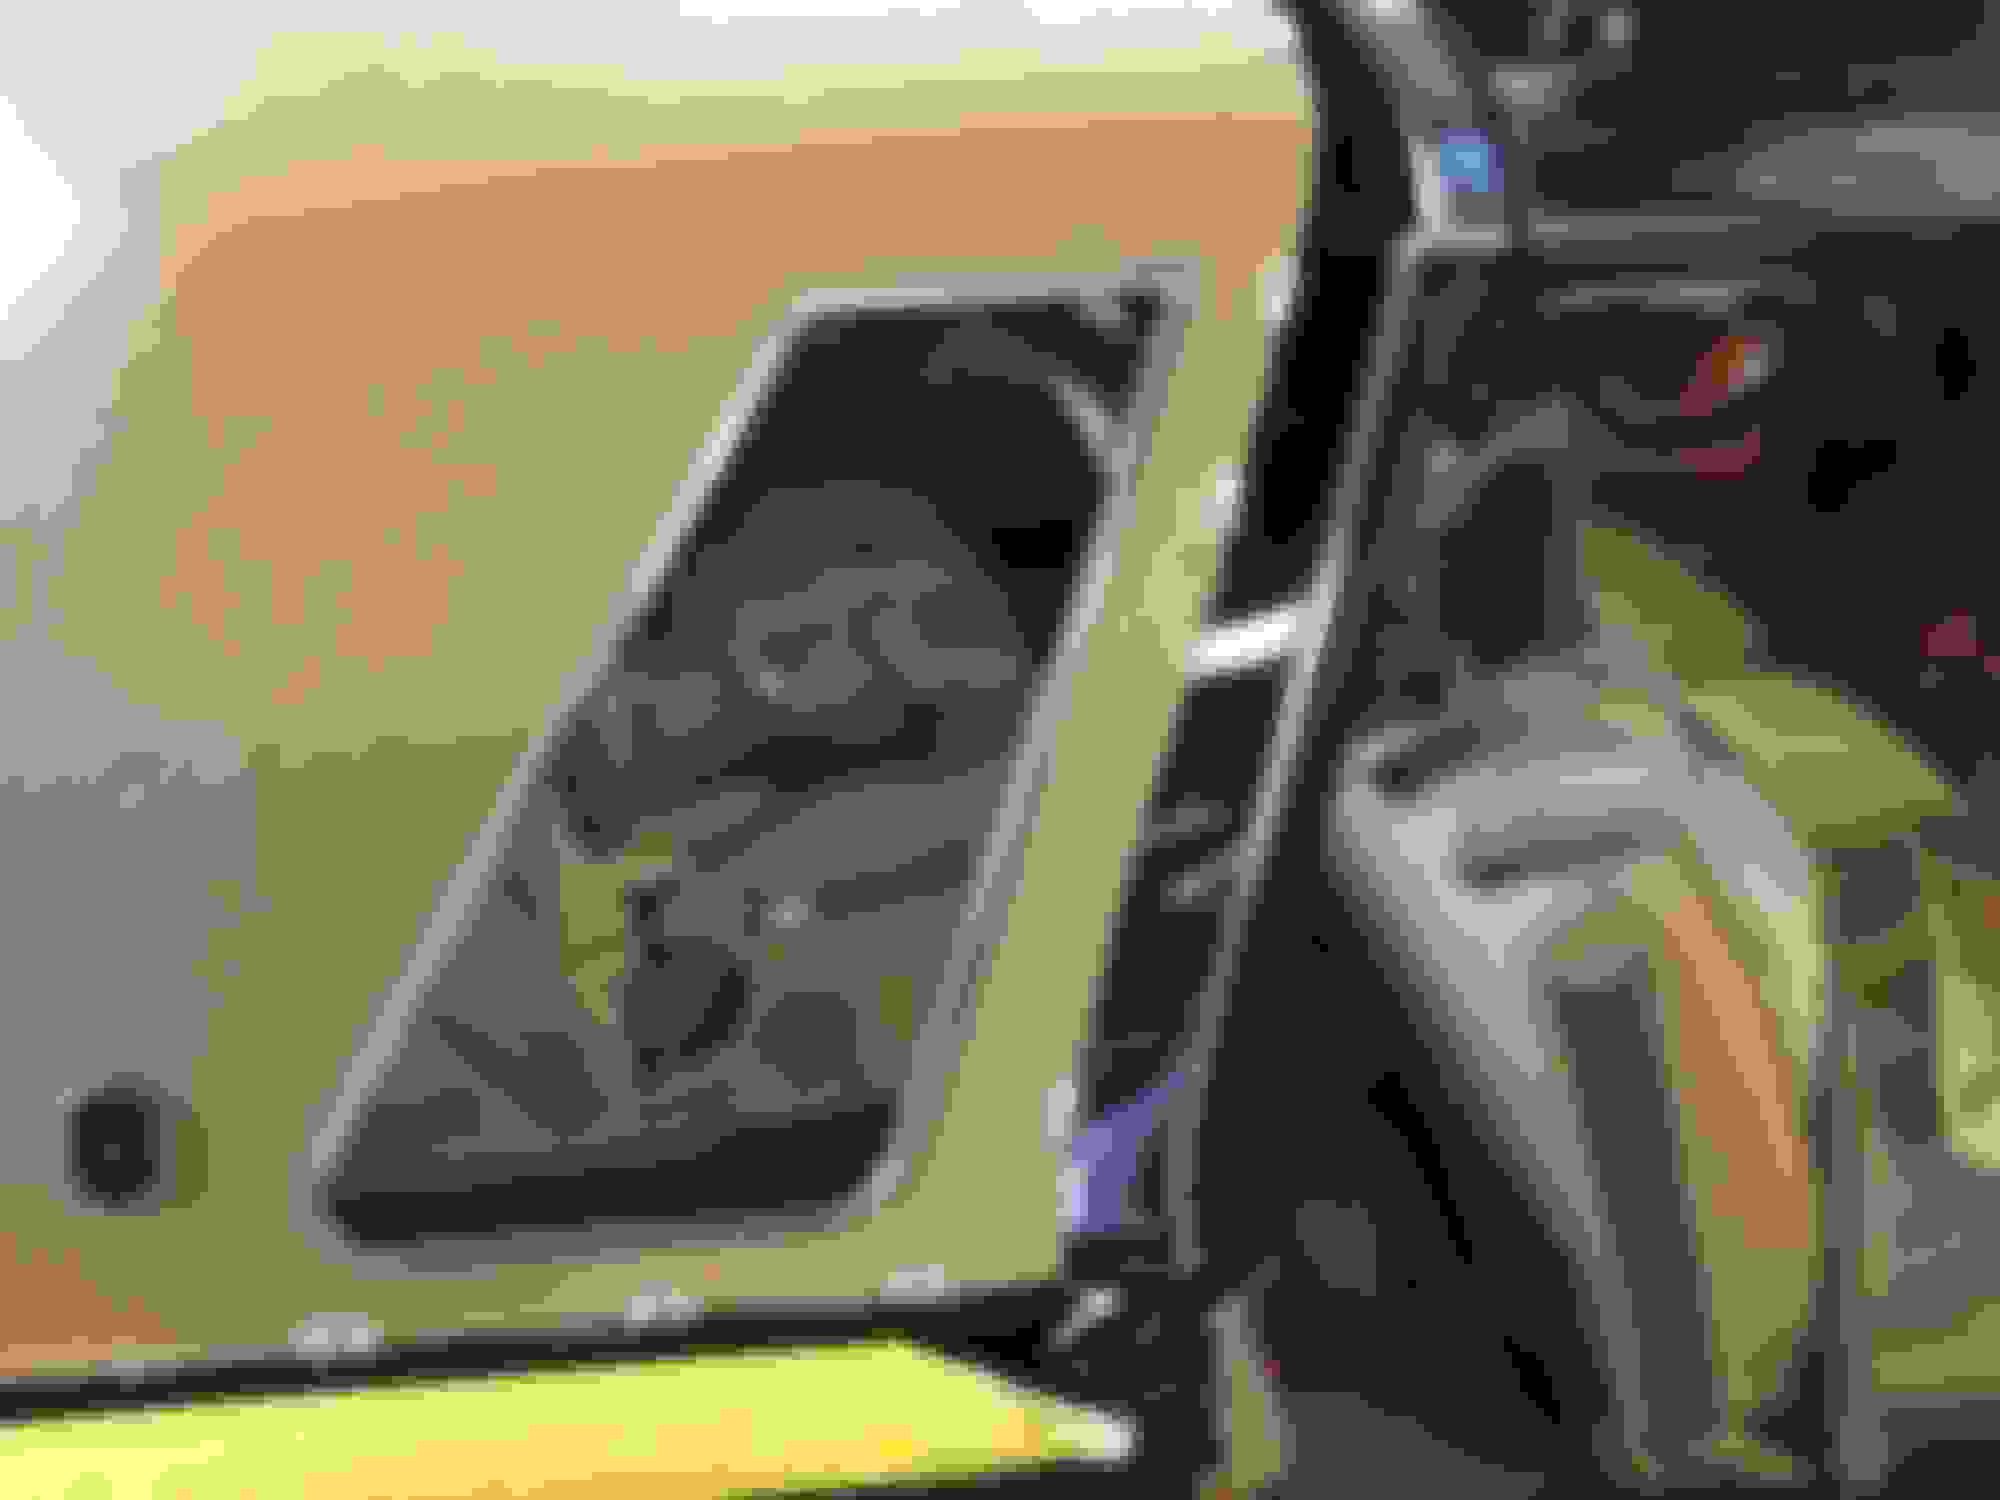
The car was really painted nicely before I put the top on. I could be wrong but I think the only preparation in putting the vinyl on was to apply glue to the car and the vinyl top separately, let cure for a while until tacky and position it properly. I have some pictures of him putting the clips in that hold the molding. Yes he had to make holes and they are the only holes made in the car. I was able to put the emblems on with 3M double sided tape and its holding well.
With the amount of rust bubbling up and moisture traps I've see under the Vinyl roofs over the years, I couldn't make the decision to put vinyl on or back on these 76-77's
76olds,
I know what you mean. Everyone I know pleaded with me not to put the vinyl roof on because of all the hidden and trapped rust issues. Thank God the car was restored nicely and we only found a little rust under the passenger's side opera window. The guy who did the roof was able to remove the rust and treat the area. He also said that water usually collects at the bottom of the opera window and has no where to go. He sealed the bottoms of both windows, and also used silicone to weather proof all the holes he made on the car to hold the clips. I cringed too. The car will be garage kept and hopefully not subjected to much rain and water so I will try and keep it as dry as possible. I struggled with the decision too but my first new car had a buckskin colored vinyl roof and I am trying to re-create that car.
Thanks for the feedback
Sal
 July 24th, 2018, 07:30 AM


 What size tires do you have on there? Are you thinking just a half vinyl roof if you do it?