When you click on links to various merchants on this site and make a purchase, this can result in this site earning a commission. Affiliate programs and affiliations include, but are not limited to, the eBay Partner Network.
I have a 71 cutlass S and wanted to see if anyone can help me with some information on upgrading my rear suspension? I'd like to replace my upper and lower trailing arms and add a swaybar. Is this something that's fairly easy to do and will I need any special tools?
The hardest problem you will have is getting the old bolts out if they are rusted. Otherwise, it's an unbolt/swap/install new bolts operation. Support the rear of the car with stands under the axle tubes. The other trick is that you might need to rotate the axle housing one way or the other to get the bolts lined up. I put a floor jack under the nose of the center section and jack there to rotate it.
Location: Edmonton, AB. And "I am Can 'eh' jun - eh"
Posts: 24,525
Probably easier if you do the uppers, then the lowers. The absolute easiest way to do this is to remove only one side upper at a time and then replace it with the new one. Repeat for the other side. Then attack the lowers. The lower OEM control arm bolts and nuts may be seized, and you may need to cut them off. I found the uppers were better protected from the elements and only took a bit of PB Blaster to soak in and they spun free without much issue.
The new control arm bolts don't have to be snugged down to torque specs (80 ft/lbs if memory serves) till after the car has it's weight on the rear suspension. That's actually easy to do if you support the rear with jack stands under both sides of the rear axle. Install the stabilizer bar after you've got the rear end torqued.
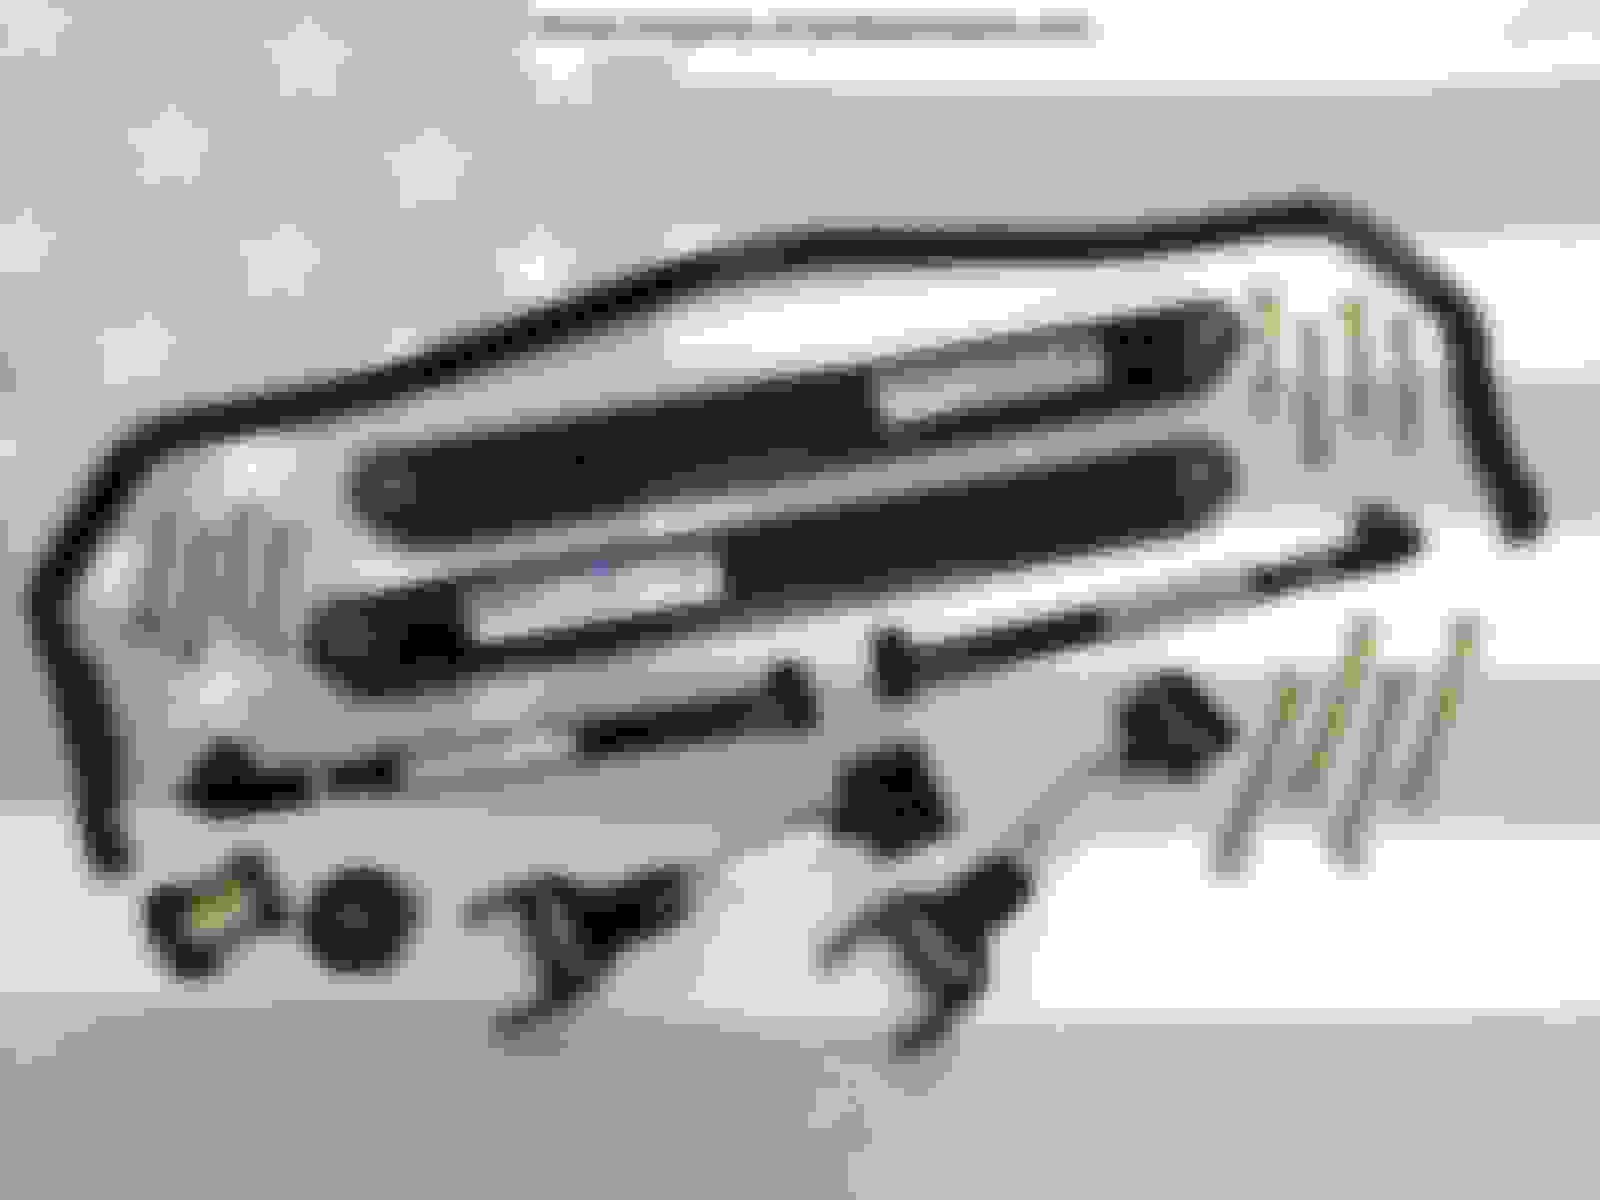
BTW, I don't see any sway bar shims in the picture you posted. You may need some.
That ooks loke a nice kit -- i disagree with joe on what will be the hardest part --- replacing the bushings in the top of housing for upper arms will be the hardest task to perform. it takes lots of patience and a BIG HAMMER , with little room to swing it!! as for swaybar shims? you can simply use flat washers between arm and sway bar for shims if needed. Make sure you dont tighten any of the arms so tight that they wont move freely up and down. You need the suspension to work free without any binding. Also do NOT use air shocks. Use a quality 50/50 shock for street driving. If its occasional strip, you may want to consider Comp Engineering 3 way adjustable rear shocks. they dont cost that much more than good stock ones.
i disagree with joe on what will be the hardest part --- replacing the bushings in the top of housing for upper arms will be the hardest task to perform.
Good point, Tweed. I completely overlooked that part.
Look at Detroit Speed
I have there speed kit 3 with adjustable coil overs front and back
Car handles and tracks unbelievable and runs low 11's
If only drag racing the fronts could be softer
Location: Edmonton, AB. And "I am Can 'eh' jun - eh"
Posts: 24,525
Originally Posted by Chesrown 67 OAI
... -- i disagree with joe on what will be the hardest part --- replacing the bushings in the top of housing for upper arms will be the hardest task to perform. it takes lots of patience and a BIG HAMMER , with little room to swing it!!
There is one option I can think of that could make the upper control arms more accessible IF the bushings are frozen or you need more room. Drain and remove the fuel tank. That will give plenty of room to work on the upper control arms, and the whole rear suspension as well. Just a thought if push comes to shove.
Location: Edmonton, AB. And "I am Can 'eh' jun - eh"
Posts: 24,525
Nope, if you don't have the tools you can rent bushing presses from Autozone. They have a free loaner program. You put a deposit on the tool with your credit card which they refund when you return the tool. Easy peasy. It's what I did. There are other ways to get bushings out if you google the topic. Plenty of DIY videos like this one
. I realize the control arms on your car look different, but the principle is the same.
Note: I usually put a small socket between the sides of the control arm so it doesn't bend if the bushing is in there super tight. Hope this saves you some grief and $$.
Location: Edmonton, AB. And "I am Can 'eh' jun - eh"
Posts: 24,525
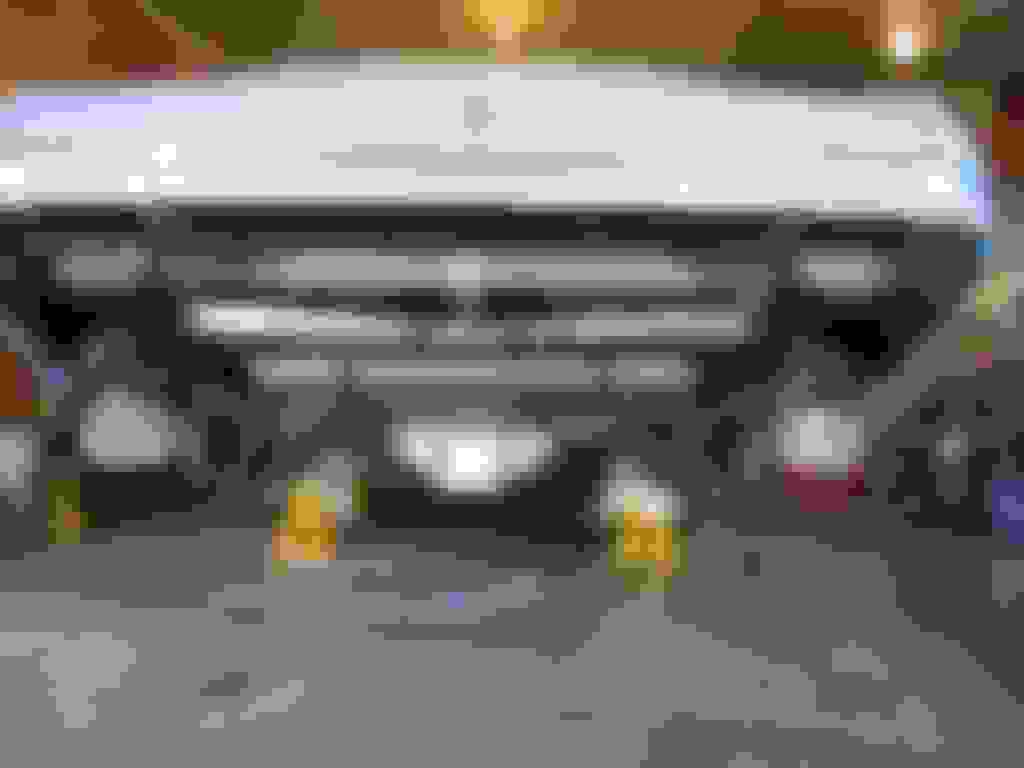
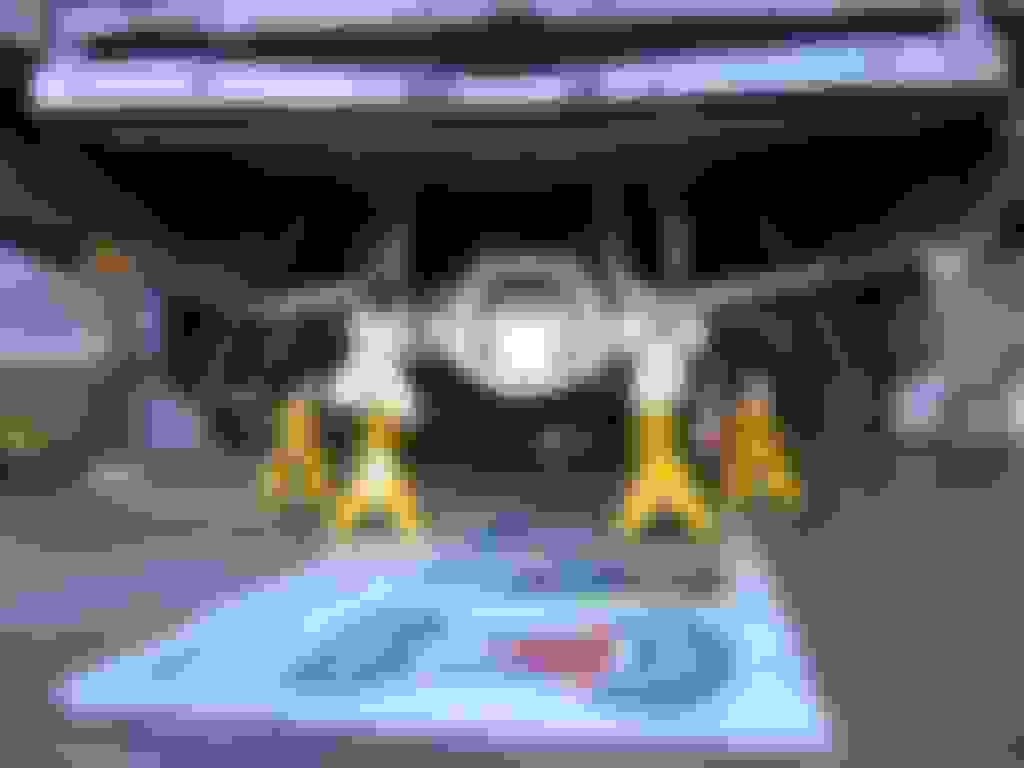
The more I think about this thread, I wonder how much of a summer project you're looking at. I did this with my 72 Cutlass S, and it's likely identical to your 71 S, so I've attached some pics showing what I did. I know full well the consequences of MAWs. IF you plan to do all this suspension upgrade, may I suggest you just bite the bullet? Drain/drop the tank, and then remove the axle. It will give you MUCH better access to remove and press in new bushings, especially the ones in the ears of the differential. It's your call, but I found this was way less stress in the long run and I didn't learn nearly as many cuss words doing it. DON'T let the MAW bug bite, set a limit and stay within it.
IMO, The tank and rear bumper can create lots of access problems
Removing them gave me more room to play with. Honestly, it's not that hard a job to remove a tank. Plus it will give you easy access to the rubber lines that likely need replacing (to the vent tank, from fuel line, sender unit and tank vent lines).
I can't imagine trying to remove and press in these bushings with the axle still in the car. NOTE: When reinstalling the axle, make sure the angle of the yoke to expected contact with the propeller shaft is very close; that will make the holes on the UCA's line up very easily with the bushings in the differential ears.
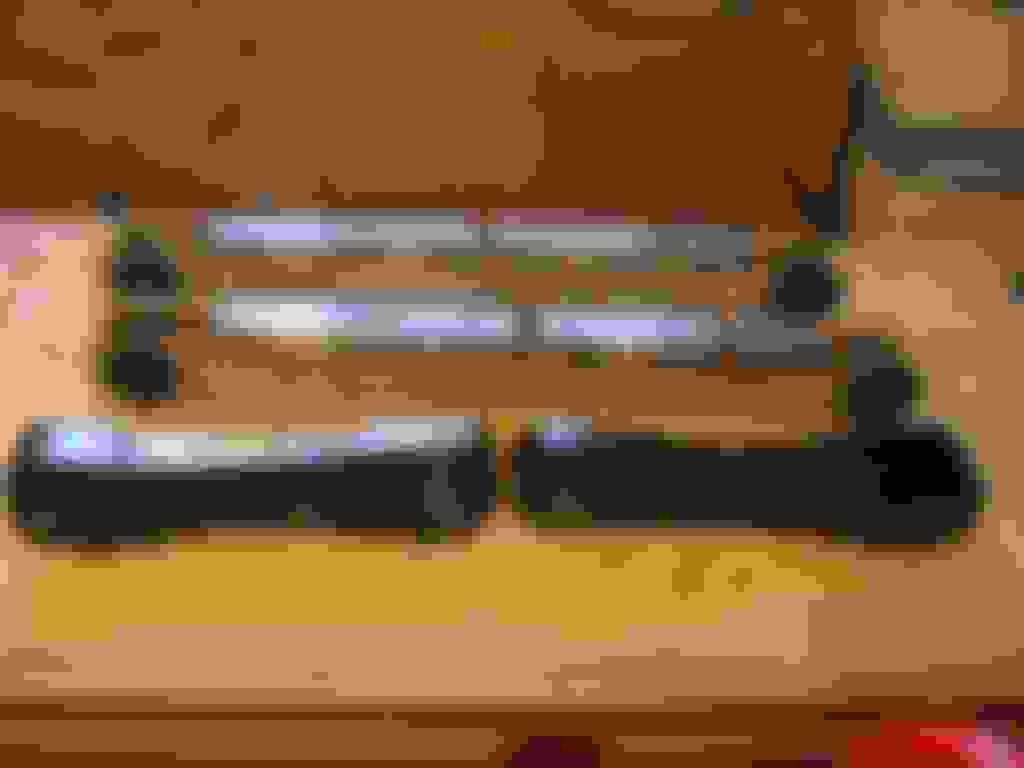
Stock UCA's with new bushings pressed. LCA's with freshly boxed inserts and new bushings. Painted soon afterwards. I prefer to paint after to protect the entire exposed area of the bushing metal.
Thank you for the advice, I will definelty plan on borrowing some bushing removal tools from my local auto store. I've also found some helpful videos online, one showed an easy way to install the new bushing by heating the mounting section to expand and make it bigger while also putting the bushing sleeve in the freezer to shrink it.
Wow, removing the gas tank and axle is a big leap for me to do on my own, I'm worried I may bite off more than I can handle. From your photos I can see how it will create much better access. I was hoping I could do all of this over a weekend. Does that seem unrealistic? Maybe I'll try it out with the tank in and if it turns out to be too hard remove the tank. Do they sell a kit for all the hoses that might be bad? Do I have to remove the bumper too?
Location: Edmonton, AB. And "I am Can 'eh' jun - eh"
Posts: 24,525
Originally Posted by Cutlass71s
I've also found some helpful videos online, one showed an easy way to install the new bushing by heating the mounting section to expand and make it bigger while also putting the bushing sleeve in the freezer to shrink it.
There ya go Pete, you already know one of the good tricks for installing bushings!
Originally Posted by Cutlass71s
Wow, removing the gas tank and axle is a big leap for me to do on my own, I'm worried I may bite off more than I can handle. From your photos I can see how it will create much better access. I was hoping I could do all of this over a weekend. Does that seem unrealistic?
Given that you say you have no experience, yes it's unrealistic for a weekend job. But then again chances are really good just getting the suspension replaced is going to take way more than one weekend unless you can get a buddy with mechanical skills to help you.
Originally Posted by Cutlass71s
Do they sell a kit for all the hoses that might be bad? Do I have to remove the bumper too?
Just use standard fuel line and cut to size. There are 2 sizes IIRC - 5/16 and 3/8". Use the old fuel hoses as sizing templates. No you don't have to remove the bumper. I did that because I was replacing mine with a cutout bumper. It does allow better access and light though...
Plan all your moves before hand. I don't know if you want to do this, but take your car to a shop and ask if they can put it up in the air so you can have a look at the bottom. Take pictures of what you see - it will give you a great reference point instead of trying to remember.
Chances are good that your bushings need replacing after 45 years, but maybe that's all you need to do? BTW, if the rear bushings are shot, there's a really good chance you need to look at the front ones too. Save that for another project.
I get that new parts are usually easier to work with and look pretty, for a while anyway. Without trying to discourage you, seriously think about what kind of $$ you want to invest in your project and what the end return will be. You could easily box in your old CA's, replace bushings and install a new sway bar for around 200.00 vs. 530.00 + tax for that kit? It could buy you a lot of gas to cruise with?? Sorry, I just had to throw that into the mix.
Thank you again for all the good advice. I guess I'm like most car guys and feel that if I'm going to fix something I may as well upgrade.
Have a good look at the upper bushings in your rear end casing, they may still be in good shape. I replaced mine but the old ones were still as good as new. It will save a lot of grief if the rear end is still in the car.
Probably listed in the instructions but I'll throw it in just encase.
Since you have adjustable uppers you'll need to make them the same length as your old ones. Try using those longer bolts and lay the new one next to an old one while having the bolt go between both at the same time.
Later on if you need to adjust them for pinion angle you can fiddle with that but at least you'll be in the ball park from the get go.
 March 20th, 2016, 04:26 PM


 DON'T let the MAW bug bite, set a limit and stay within it.