When you click on links to various merchants on this site and make a purchase, this can result in this site earning a commission. Affiliate programs and affiliations include, but are not limited to, the eBay Partner Network.
Dont stop yet, plugging the VC is just the test, a functioning PCV system is the answer.
Originally Posted by Vintage Chief
Absolutely. I do hope the OP realizes this was only a test.
Problem solved. $2 Fram FV184 PCV valve and a $3 Mr. Gasket grommet. Smoking issue is gone and assuming the oil burning will be gone as well.
Thanks for all your help. Glad it was as simple as a crappy aftermarket part. On the plus side, I got to check the compression and everything else on an engine I didn't have knowledge about so no time lost.
Last edited by yeahbuddy; October 31st, 2021 at 12:46 PM.
Problem solved...as simple as a crappy aftermarket part. On the plus side, I got to check the compression and everything else on an engine I didn't have knowledge about so no time lost.
Thanks for posting, very informative. I stumbled on this by accident and I'm happy I did. I still have some questions, but I don't want to hijack this thread so I'll post a new one.
Thanks for posting, very informative. I stumbled on this by accident and I'm happy I did. I still have some questions, but I don't want to hijack this thread so I'll post a new one.
If it relates to a similar problem then I say keep it going for anyone who comes across it in the future. I don't mind.
Bad news I spoke to early. Smoking stopped at start up but once the car warms up it smokes while accelerating. Started the car up and could of swore I heard a ticking/clicking. Could one of the rocker arms be loose?
Found 3 boxes of Melling Rocker Arm Pivots and 2 boxes with push rods.
Last edited by yeahbuddy; November 7th, 2021 at 02:22 PM.
It could be a worn rocker/pivot/pushrod. Do your best to rule out an exhaust leak at a manifold before pulling a valve cover...been there.
What color is the smoke and it can take longer than expected to burn all the oil out of an exhaust system. Also try seating the piston rings, even if it doesn't work it is fun!
Good luck!!!
I'm starting to think it is more internal. The harder I accelerate the more it smoked. Its not from oil build up in the exhaust as I mentioned earlier I burn through a lot of oil. The ticking was coming from the driver side valve cover. Smoke is white.
Going to pull the valve cover when I get a chance and look inside there as it needs a new gasket anyway. Pushrods and rocker arm pivots in the trunk make me want to look in there.
Last edited by yeahbuddy; November 7th, 2021 at 03:53 PM.
Next question (They never end). Should I pressurize the cooling system and see where it's coming from? Is it from the heads not being sealed properly (its on both sides) or is it leaking from somewhere else like the rocker studs? Thanks for continously helping.
Yes pressurize and find the leak. Don't let the car sit with coolant in the oil, either pull it apart or completely drain the coolant then change the oil and filter if it is going to sit. Hopefully it is intake related.
My next move would be to pressurize as suggested in Post #24 by Loaded.
Originally Posted by Sugar Bear
Yes pressurize and find the leak. Don't let the car sit with coolant in the oil, either pull it apart or completely drain the coolant then change the oil and filter if it is going to sit. Hopefully it is intake related.
Good luck!!!
Held 16# for 20 minutes. I will drain the coolant and oil for now until I figure out whats going on.
Bad intake seal, bad head gasket, cracked head, or cracked block if I am not losing coolant? I may end up just pulling the intake with the heads and put new gaskets and sealant.
Coolant hasn't been low at all. Raduator has held coolant the whole time. The coolant is more green than latte colored but it does glow from the UV dye that was in the system.
If you have dual exhaust, and you can see white from only one side you can figure out which side has the problem. If you are seeing white smoke it means it probably not the block. White smoke could be a coolant leak into an intake port , likely a cracked head. If the intake was leaking, it would be from the rear or front coolant passages, those would leak into the oil, but most likely wouldn't cause white smoke. The only way that could cause white smoke was if the PCV valve was sucking the coolant into the engine. You can plug the PCV hose and see if you still get white smoke. If it stops perhaps it's the intake. Anything other than the intake would be significant effort and $$ (heads or block).
If you have dual exhaust, and you can see white from only one side you can figure out which side has the problem. If you are seeing white smoke it means it probably not the block. White smoke could be a coolant leak into an intake port , likely a cracked head. If the intake was leaking, it would be from the rear or front coolant passages, those would leak into the oil, but most likely wouldn't cause white smoke. The only way that could cause white smoke was if the PCV valve was sucking the coolant into the engine. You can plug the PCV hose and see if you still get white smoke. If it stops perhaps it's the intake. Anything other than the intake would be significant effort and $$ (heads or block).
Coming out both sides. Problem goes beyond coolant getting sucked into the PCV. The oil I drained last night was green.
Going to remove the intake and replace the gasket and seals this coming weekend. I want to know if there is a way to check a cracked head before I waste time and effort with the intake. I understand a cracked head or block is significant effort and time but that is where I am at this point I cant drive the car so it has to be addressed one way or another.
When removing the intake disturb the gaskets as little as possible and examine the surfaces for clues. Before re-gasketing clean all the surfaces and set the intake in place to check for rocking and to check gaps for excess room with feeler gauges.
As far as checking the heads for cracks I don't know how to do it installed since it was already under pressure and held.
If you see clean spark plug(s) in the middle cylinders it shouldn't be intake related as the coolant passages are on the ends.
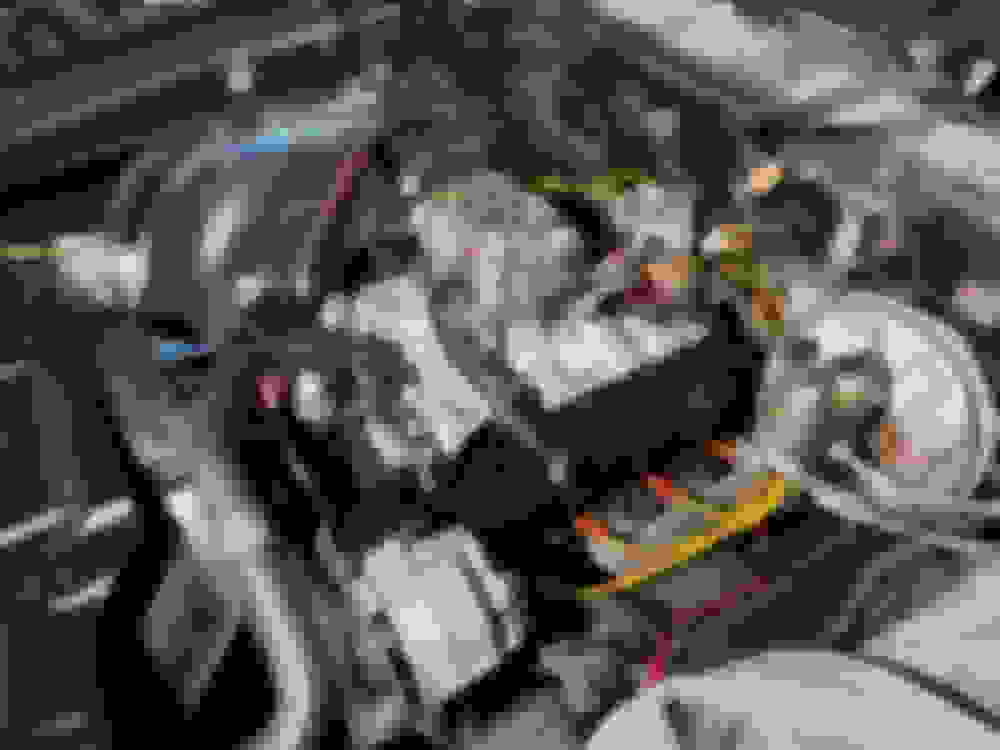
Diving deeper. Got the intake off fairly quickly. Previous installer used the turkey tray with RTV and rubber front and rear seals. I remember reading many times in previous threads you are not supposed to use the rubber front and rear seals with the Edelbrock setup.
Am I supposed to be using the turkey tray? I thought the proper way was without the tray and the proper gaskets are the Edelbrock 7284 with 1/4" black RTV on the front and rear from what I read in the install instructions. I ordered the Edelbrock gaskets today. I am going to clean everything out and reinstall everything this weekend and see if that was my main problem. Kind of glad I got to open it up to be honest. Does anything look abnormal from these photos?
Last edited by yeahbuddy; November 8th, 2021 at 08:20 PM.
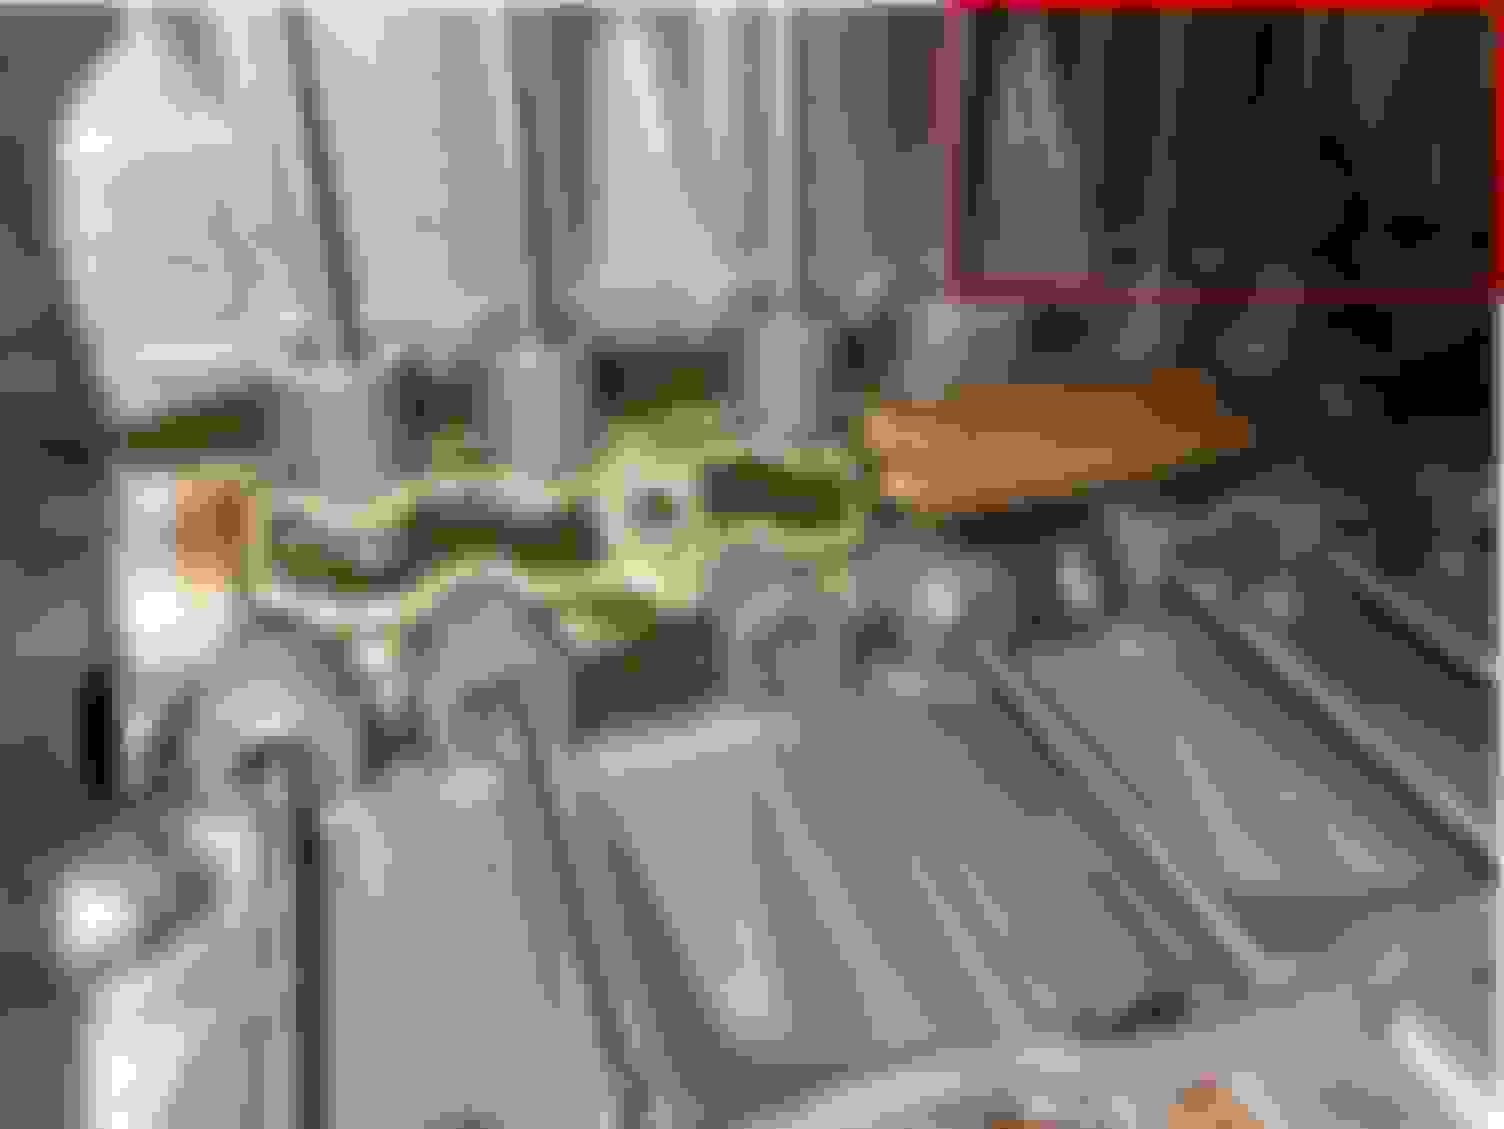
Is there coolant in any of the intake runners or intake ports on the heads? Something looks different on the right side of the valley between the 4th and 5th pushrod. Is that coolant staining or shimmering from the deck surface down to the lifter bore?
I'm not quite sure what sugarbear is referring to & I thought maybe he's referring to what appears to be shadows? In any case I thought I'd outline the shadows cast by overhead items when the pictures were taken. At least it will provide a talking point for discussion if we're referring to the same thing. If that's what sugarbear is referring to I believe they're shadows.
Diving deeper. Got the intake off fairly quickly. Previous installer used the turkey tray with RTV and rubber front and rear seals. I remember reading many times in previous threads you are not supposed to use the rubber front and rear seals with the Edelbrock setup.
Am I supposed to be using the turkey tray? I thought the proper way was without the tray and the proper gaskets are the Edelbrock 7284 with 1/4" black RTV on the front and rear from what I read in the install instructions. I ordered the Edelbrock gaskets today. I am going to clean everything out and reinstall everything this weekend and see if that was my main problem. Kind of glad I got to open it up to be honest. Does anything look abnormal from these photos?
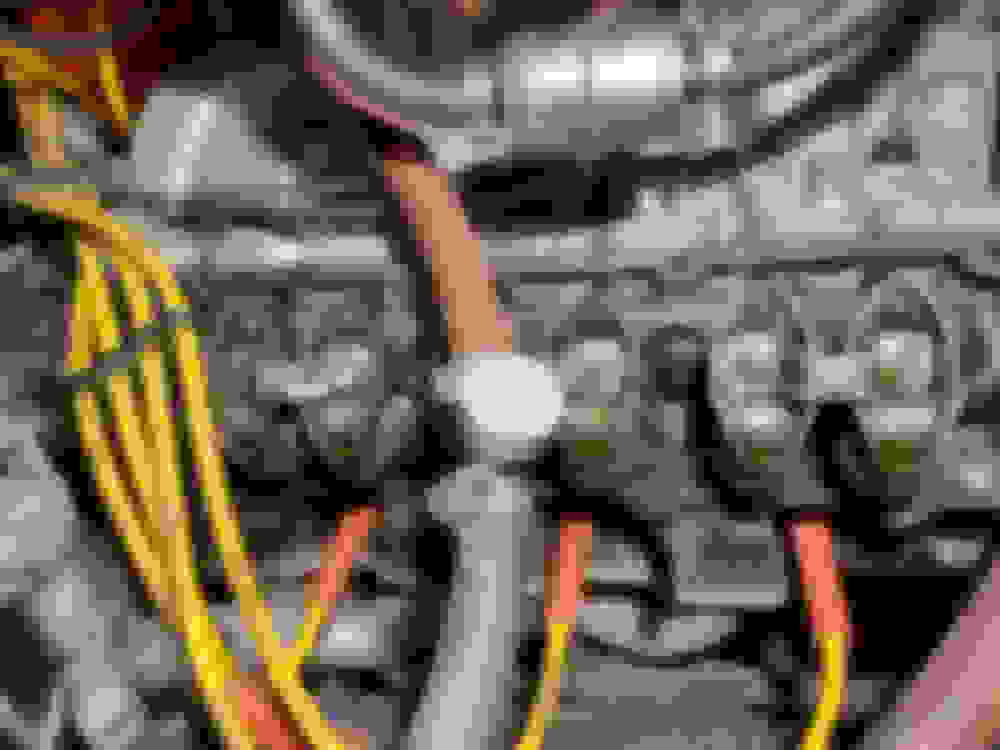
IMO, I believe you'll get varying opinions on use of a turkey tray valley pan (which I believe was the factory installed type intake manifold gasket on your 455 - others will surely know for certain). At any rate, it stops oil from splashing onto the intake manifold. I've read/heard discussions regarding usage related to exposed cams versus non-exposed cams, minor increase in hp, etc. I think the main point for this discussion is w/ regard to sealing the intake manifold gasket. I replaced mine several years ago with the OEM turkey tray intake manifold gasket (1971 350). I replaced mine with a turkey tray gasket and I used the rubber rails plus some RTV on the top-side of the rails. I didn't go crazy with the amount of RTV on the tops of the rubber rails - small amounts skimming the tops of the rubber rails. I did provide a nice sized dollop of RTV at the corners (see image). I have no oil leaks. My opinion is the amount of RTV you employ and its location. The outside edge corners of the rail are the most important. If you're not using the rubber rails, the corners still remain the most important areas (often the areas which leak).
Thanks Norm, yes those are the areas and I agree after looking again that they are shadows.
NP
To the OP:
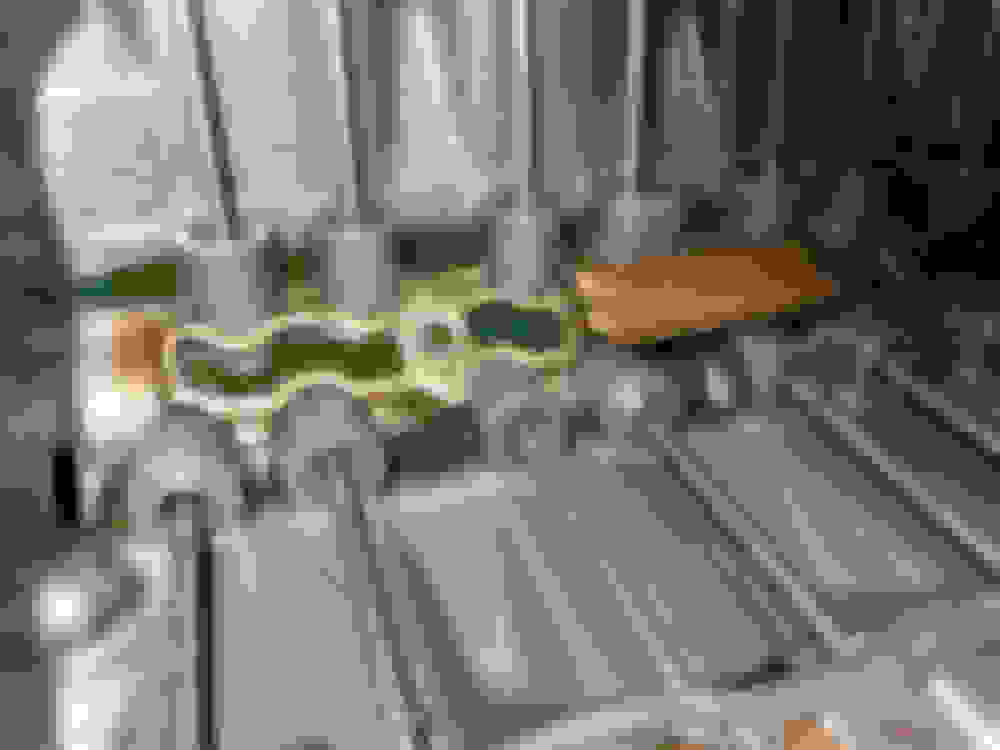
That's a squeaky clean valley on that 455. I suspect those Edelbrock gaskets will work fine. Ensure you clean the decks well, you might take a flat edge to both decks to ensure they mate properly. Clean the surfaces well with brake cleaner &/or carb cleaner. Personally, I would not fire up the engine until the RTV has had a minimum of 24 hrs to set. I applied a very slow torque sequence when installing the intake manifold. Small snug turns to each bolt then a final torque. Maybe a little overkill, but why risk doing this entire R&R to find out the RTV didn't seal. Patience.
Yes you are correct those are just shadows from my arm as I held the light over the engine.
Now that I think of it, I did use a turkey tray style gasket for my 68 with the 350 in it and it has been sealed for 8 years now. I am going to just follow Edelbrocks suggestions and use their gaskets with no tray. Going to clean it out later, get everything back together and say a prayer. Thank you for the replies...learned quite a bit.
Were your heads milled? Perhaps the intake manifold is not seating all the way. The rubber end gaskets could be holding it too high above the heads to seal. Could also be the intake is warped. You can dry assemble it with the end gaskets (leave out the turkey tray), and try to put feeler gauges around the sealing surface between the intake and the heads. See if there is a big gap. Btw turkey tray works fine if done right. But a turkey tray wont make up for problems in the setup.
Last edited by sysmg; November 9th, 2021 at 12:00 PM.
Were your heads milled? Perhaps the intake manifold is not seating all the way. The rubber end gaskets could be holding it too high above the heads to seal. Could also be the intake is warped. You can dry assemble it with the end gaskets (leave out the turkey tray), and try to put feeler gauges around the sealing surface between the intake and the heads. See if there is a big gap. Btw turkey tray works fine if done right. But a turkey tray wont make up for problems in the setup.
I am not sure if it has been milled but you make a good point. I plan on checking the surfaces once I clean it up to be safe. Thanks.
Last edited by yeahbuddy; November 9th, 2021 at 12:32 PM.
Thankfully it's a lightweight Edelbrock unlike the OEM stock iron manifold which weighs in at about 50lbs. I changed mine myself - minor nicks & bruises.
...snip... I didn't go crazy with the amount of RTV on the tops of the rubber rails - small amounts skimming the tops of the rubber rails. I did provide a nice sized dollop of RTV at the corners (see image). I have no oil leaks. My opinion is the amount of RTV you employ and its location. The outside edge corners of the rail are the most important. If you're not using the rubber rails, the corners still remain the most important areas (often the areas which leak).
Do not put RTV on the top or bottom of the rubber end rails. RTV is slippery the end rails may push out over a short period of time from the engine vibration. You are correct, you need to put RTV at the outside corners of the rubber end rails to seal, at the four spots, where the head meets the block and intake manifold.
Got everything cleaned up and put back together. New valve covers and Edelbrock valve cover gaskets as well. Put a thin smear of RTV around all the ports on both sides for extra assurance. Thick bead of black RTV for front and rear seals. Noticed there was no RTV on the corners of the rubber front and rear seals when I was cleaning it up. Anyway, been drying for over 48 hours now and will try starting it up tomorrow and hope everything works out. Thanks for the replies.
Last edited by yeahbuddy; November 12th, 2021 at 01:00 PM.


 October 31st, 2021, 10:02 AM


 I will drain the coolant and oil for now until I figure out whats going on.


 If that's what sugarbear is referring to I believe they're shadows.