When you click on links to various merchants on this site and make a purchase, this can result in this site earning a commission. Affiliate programs and affiliations include, but are not limited to, the eBay Partner Network.
Adam, I didn't get a chance yesterday evening with the body guy coming over. I just got home tonight, hopefully tomorrow night, I will tackle it. I will let you know.
One thing I can say is that I know how to take a front clip off of a 70 Cutlass or 442. ( I did learn where the big block braces go tonight. Pretty neat to tuck them away like that.)
I didn't think I would be surprised by the back side of the fenders and braces, and I wasn't. As long as the blaster doesn't uncover anything. I will be really pleased. Two fairly solid 70 fenders.
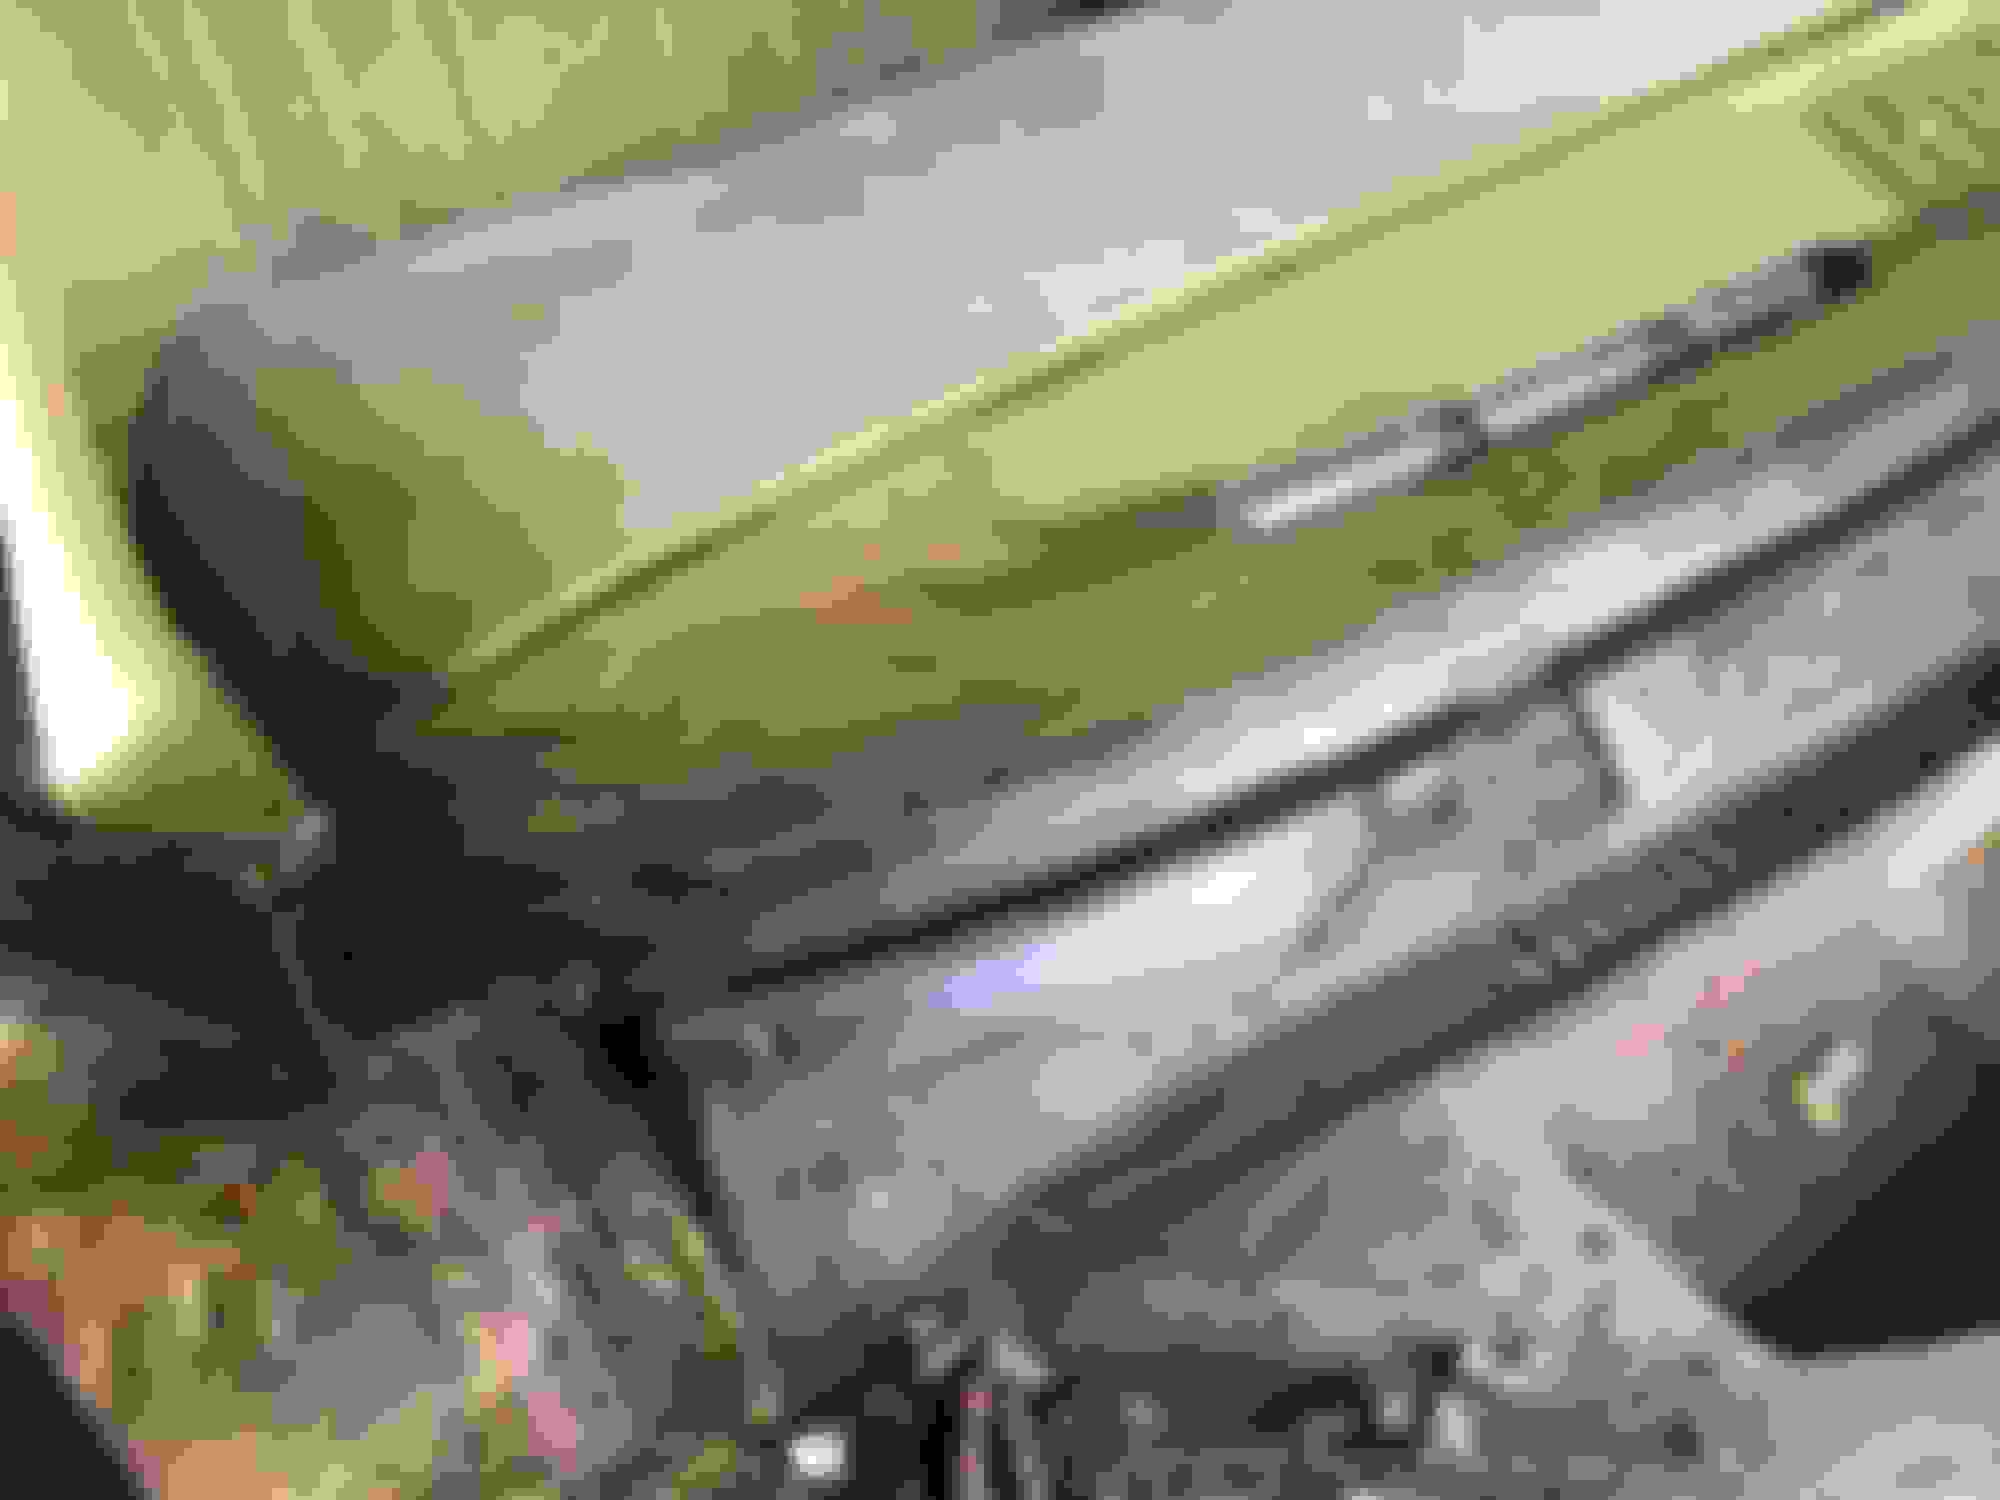
Pictures of progress, driver side lower cowl, driver side dirt pile (passenger side was twice as much ) and passenger backside of fender. ( Both sides look the same, just forgot to take a pic of the driver side.)
It is important to have the various parts inspected as they come out. As you can see our resident expert gave the engine and transmission a five "wag" certification as my son and I were putting the transmission on a cart.
I am getting real close to complete disassembly, and I am down to a few punch list items before it goes to body guy. So, I have a couple of questions for anyone that has had the body blasted.
Does the insulation on the roof inside the car need to be removed or will the blasting take care of it? If not is it the ol putty knife, goggles, and mask, or is there an easier way?
Do you remove the brake mounting bracket that the booster mounts to and the steering column bolts to on the inside?
To begin with 5 of the 6 body bolts came out fairly easy. All came out by hand; however, the sixth one came part way and spun the castle nut. I had to cut a small tab, to get to it.
The rest of the process was slow, started about 4 pm, finished about 8:30pm. Here are some pics.
I am and have been enjoying your thread. I have owned over 65 Oldsmobiles and have built many. But, for some time I have wanted another 70-72. I have built the 67 Convertible mostly for my Dad as we bought it together back in 79. Now I finally got a 70 4 speed 442. it is about the same shape as your car. I will start on it after I finish the 67 for my better half. Keep posting it is great seeing another 70 coming back to life.
I am and have been enjoying your thread. I have owned over 65 Oldsmobiles and have built many. But, for some time I have wanted another 70-72. I have built the 67 Convertible mostly for my Dad as we bought it together back in 79. Now I finally got a 70 4 speed 442. it is about the same shape as your car. I will start on it after I finish the 67 for my better half. Keep posting it is great seeing another 70 coming back to life.
Larry
Thanks Larry,
It is difficult to post anything that hasn't been seen on this sight before. This has been a life long dream of mine that I want to share the progress on; however slow it may be.
While always a car guy, I have come to realize there is a lot I do not know. I really envy the knowledge you all have that have been down this road multiple times.
Progress has been almost at a standstill for the past few months.
I have a couple of other threads started.
On finding a painter. The first one dropped out on me, and everyone else from what I hear from the grapevine. Found a local guy I had been searching for, deposit made goes to his shop in July. He is taking on the rotisserie, and now I can start on the frame. Very Excited!
https://classicoldsmobile.com/forums/general-discussion/101224-se-ohio-painter-recommendations.html
Engine taken to local Machine Shop, after a dissapointing find in the teardown. He is backlogged, and have not heard anything from him yet.
I will keep you guys posted.
I am new to the thread. Looks good & I Like the color combo
Somehow, I thought you might. I will not have the vinyl top. Here is what I want her to look like, except with pearl interior. I copied this off the internet, so I appologize in advance if this is your car.
Looks like you have a good path forward Troy, looking forward to seeing the progress.
Thanks Luke,
Holidays, surgery, and the painter dilemma had me held up. However, things are on the move again. Now to start on the frame. I also need to make my final decision on the OAI air cleaner without major mods, or a performer intake.
Somehow, I thought you might. I will not have the vinyl top. Here is what I want her to look like, except with pearl interior. I copied this off the internet, so I appologize in advance if this is your car.
If I ever did my car over, that is what it would look like.
The white vinyl top has grown on me but I like the cleaner lines w/out it.
I think the way my car sits right now its a pretty nice sleeper.
If I ever did my car over, that is what it would look like.
The white vinyl top has grown on me but I like the cleaner lines w/out it.
I think the way my car sits right now its a pretty nice sleeper.
Ron,
I think your car looks great right now! Out of curiosity, is your headliner white (pearl) or black? While mine had a pearl interior according to the cowl, there was evidence of a black headliner and sail pannels. Most of the interior was gone, but what was there didn't look like it had ever been changed, but who knows?
Well progress is still slow, but moving. I have been finalizing what I wanted on the engine build, and trying to get all the pieces bought. Transmission is getting rebuilt. Working on some house projects. Today, I was able to get a replacement door on the 442, in between helping my son with his project and dodging the rain. The body man said given the magnitude of the dent, he thought it would be better to replace it. I have a 70 Cutlass S drivers door, but came across this one. It doesn't fit too bad, for a quick bolt on. It needs some minor adjusting, but the body guy will pull it back off in a few weeks. So I didn't worry about it too much.
Last edited by Troys Toy 70; June 4th, 2016 at 08:36 PM.
Reason: Spelling
Well, still waiting on the body guy, but should be coming up here shortly.
House projects are at a standstill and being down at the Nationals was somewhat inspiring. Although, I must admit that I really wanted the body at the body shop to work on the chassis, as I keep tripping over things in the garage. Two projects, mine and my sons in a two car garage with one off of the frame and the body directly next to it doesn't allow much room. However space be darned, we are moving forward.
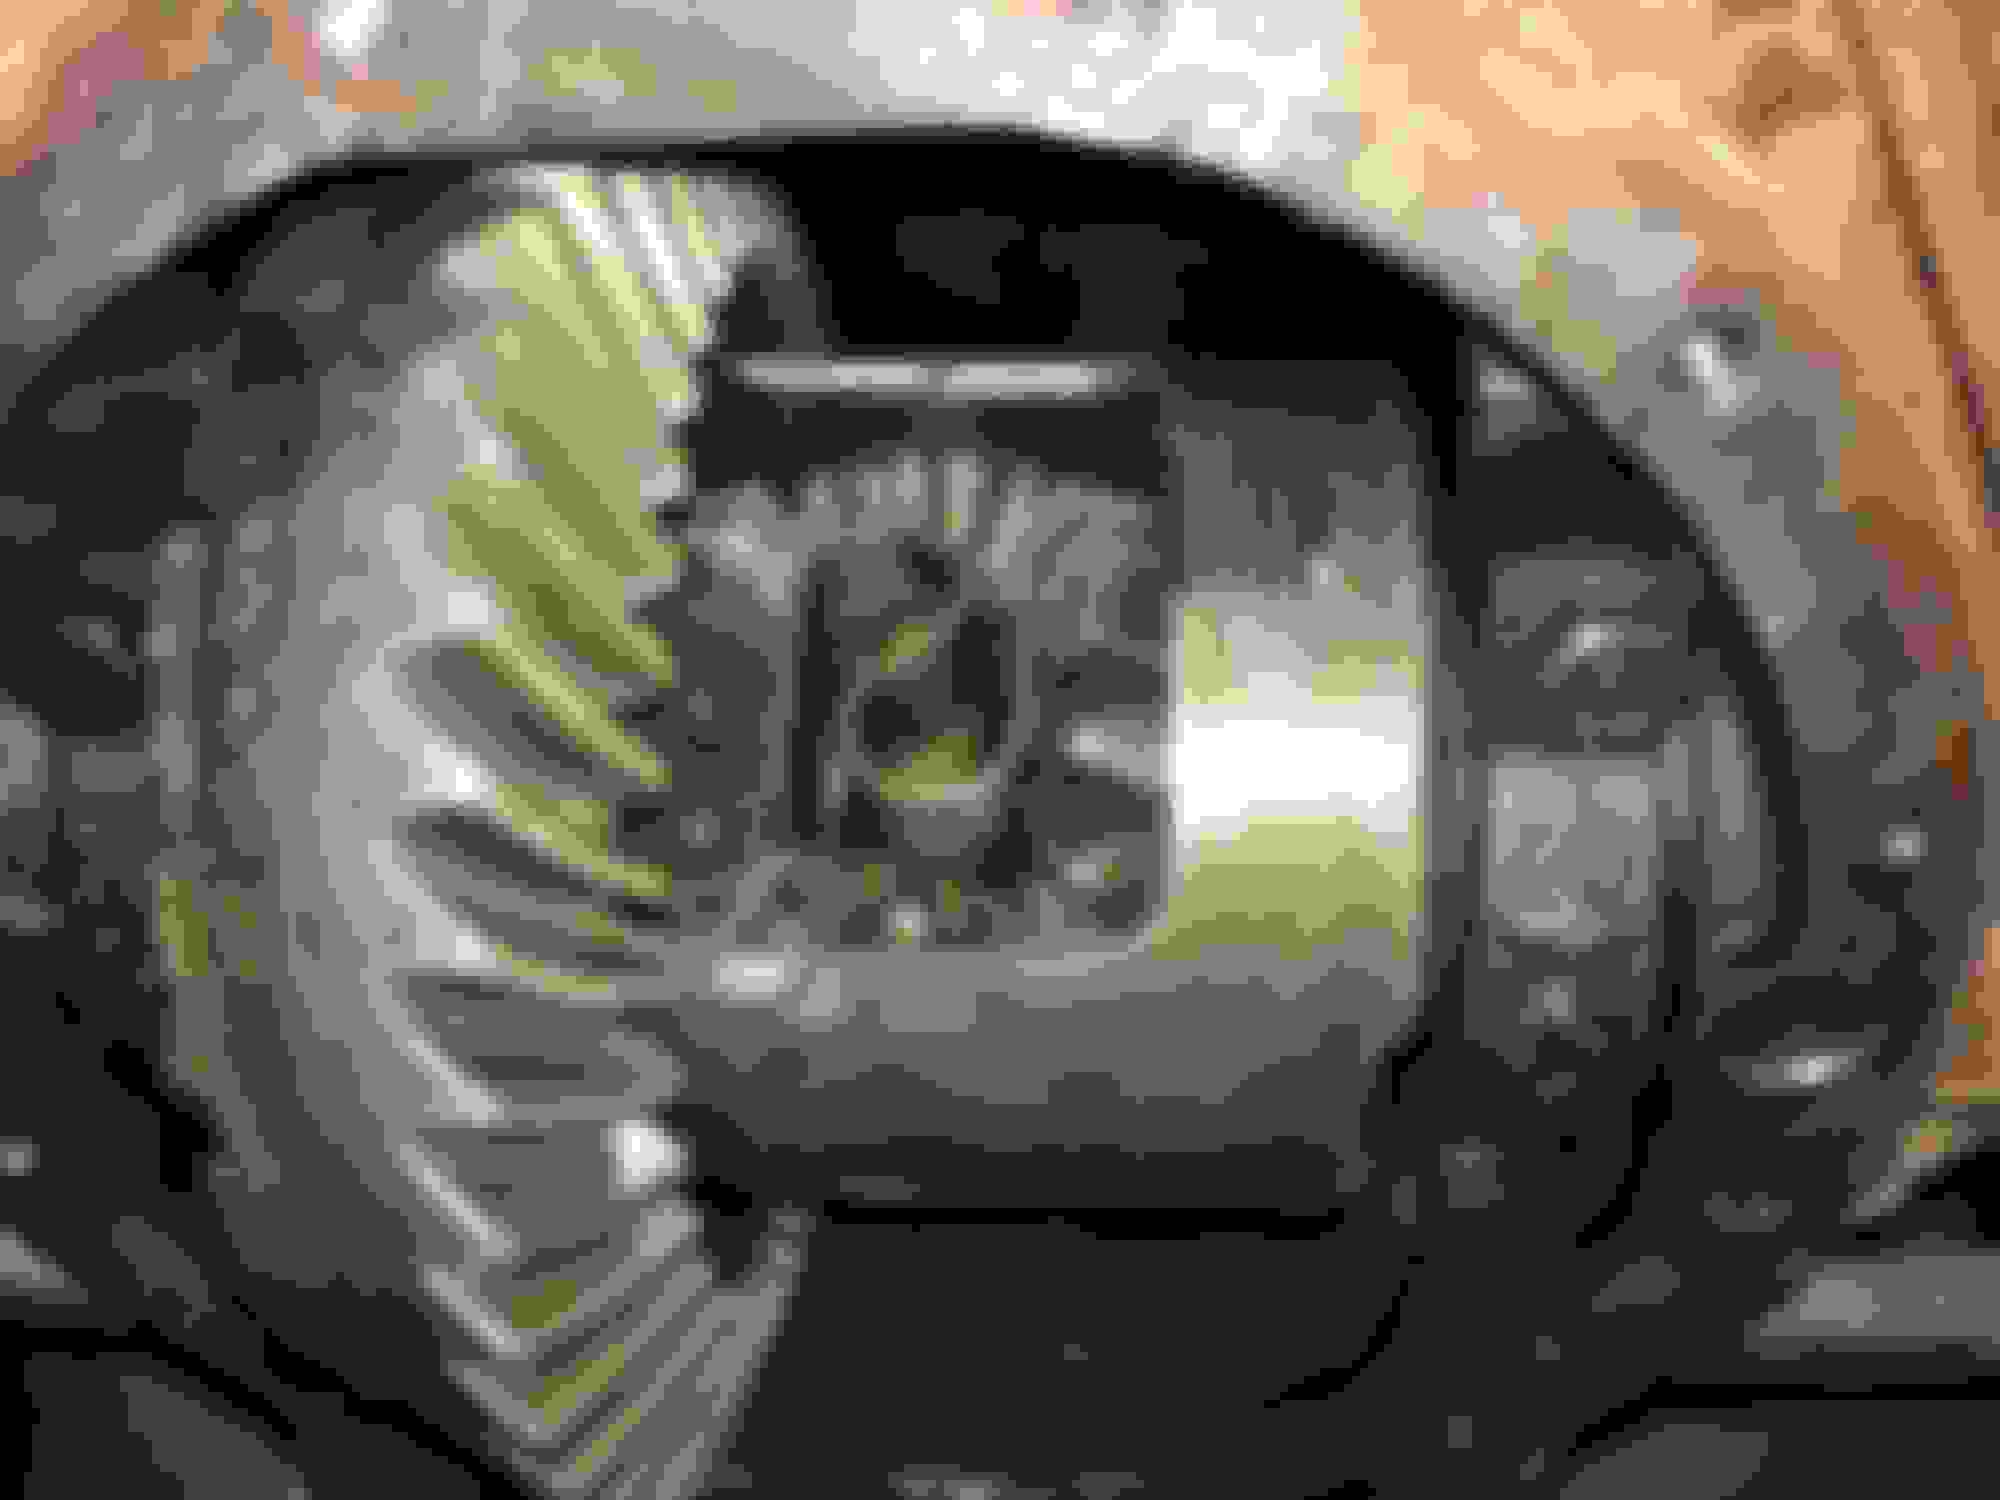
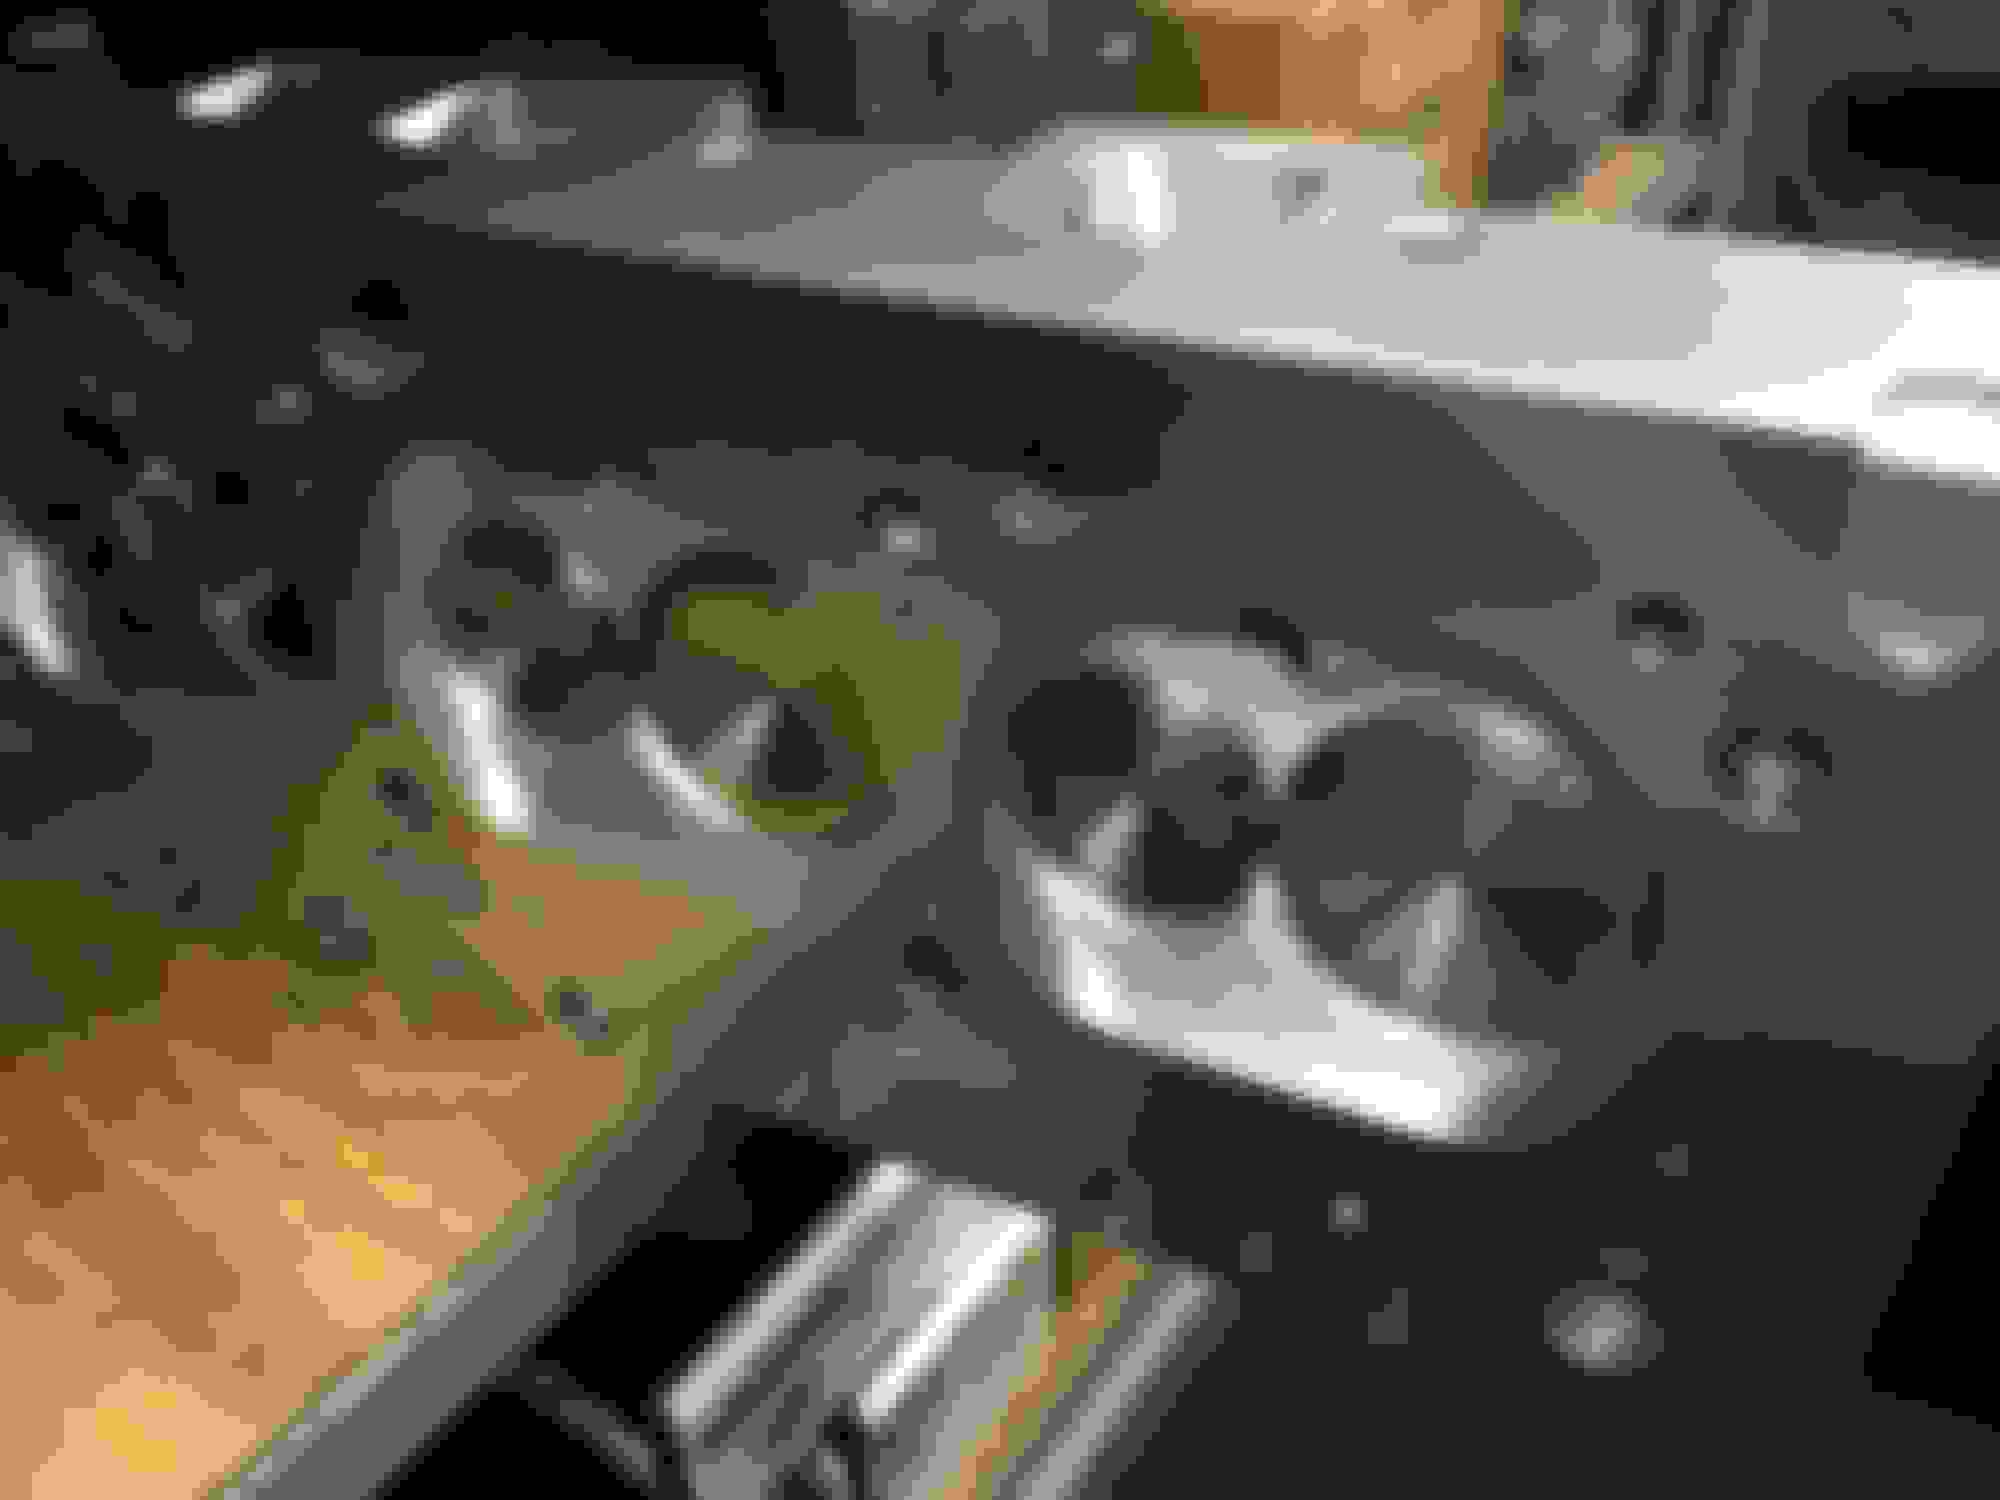
Progress tonight. 1) Removed crank from a 455 block that has never been apart to take to machine shop 2) Removed rear-end from chassis, and opened it up.
I already knew it was a posi. Here are some pics. The question of the day is, why are there random pieces/square chunks of rubber in the case. Was this to help keep the additive stirred in? In seems I heard that old mechanics tale before.
Good luck with your '70 442. Seems the Twilight blue with white stripes and vinyl top was fairly popular that year. Most also seem to be very well equipped with multiple options.
Very Nice project will be following along regarding the window channel, looking at the amount of rot, I would order the replacement channel from fusicks , dynacorn etc it will replace all of that area
this is what came from fusicks, and this is marked 68-72 chevelle but it does fit like a glove you do have to trim some but it was an excellent match, I butt welded it in and am just doing the finishing now, I would remove all the defroster stuff though it is all very close up in there.
Might need to go that route, glad yours fit so well. I have line on a donor car, that is in nice shape that may supply the dash sections. If the troublesome window channel looks as good as the rest of the car, it will be good. Fingers crossed.
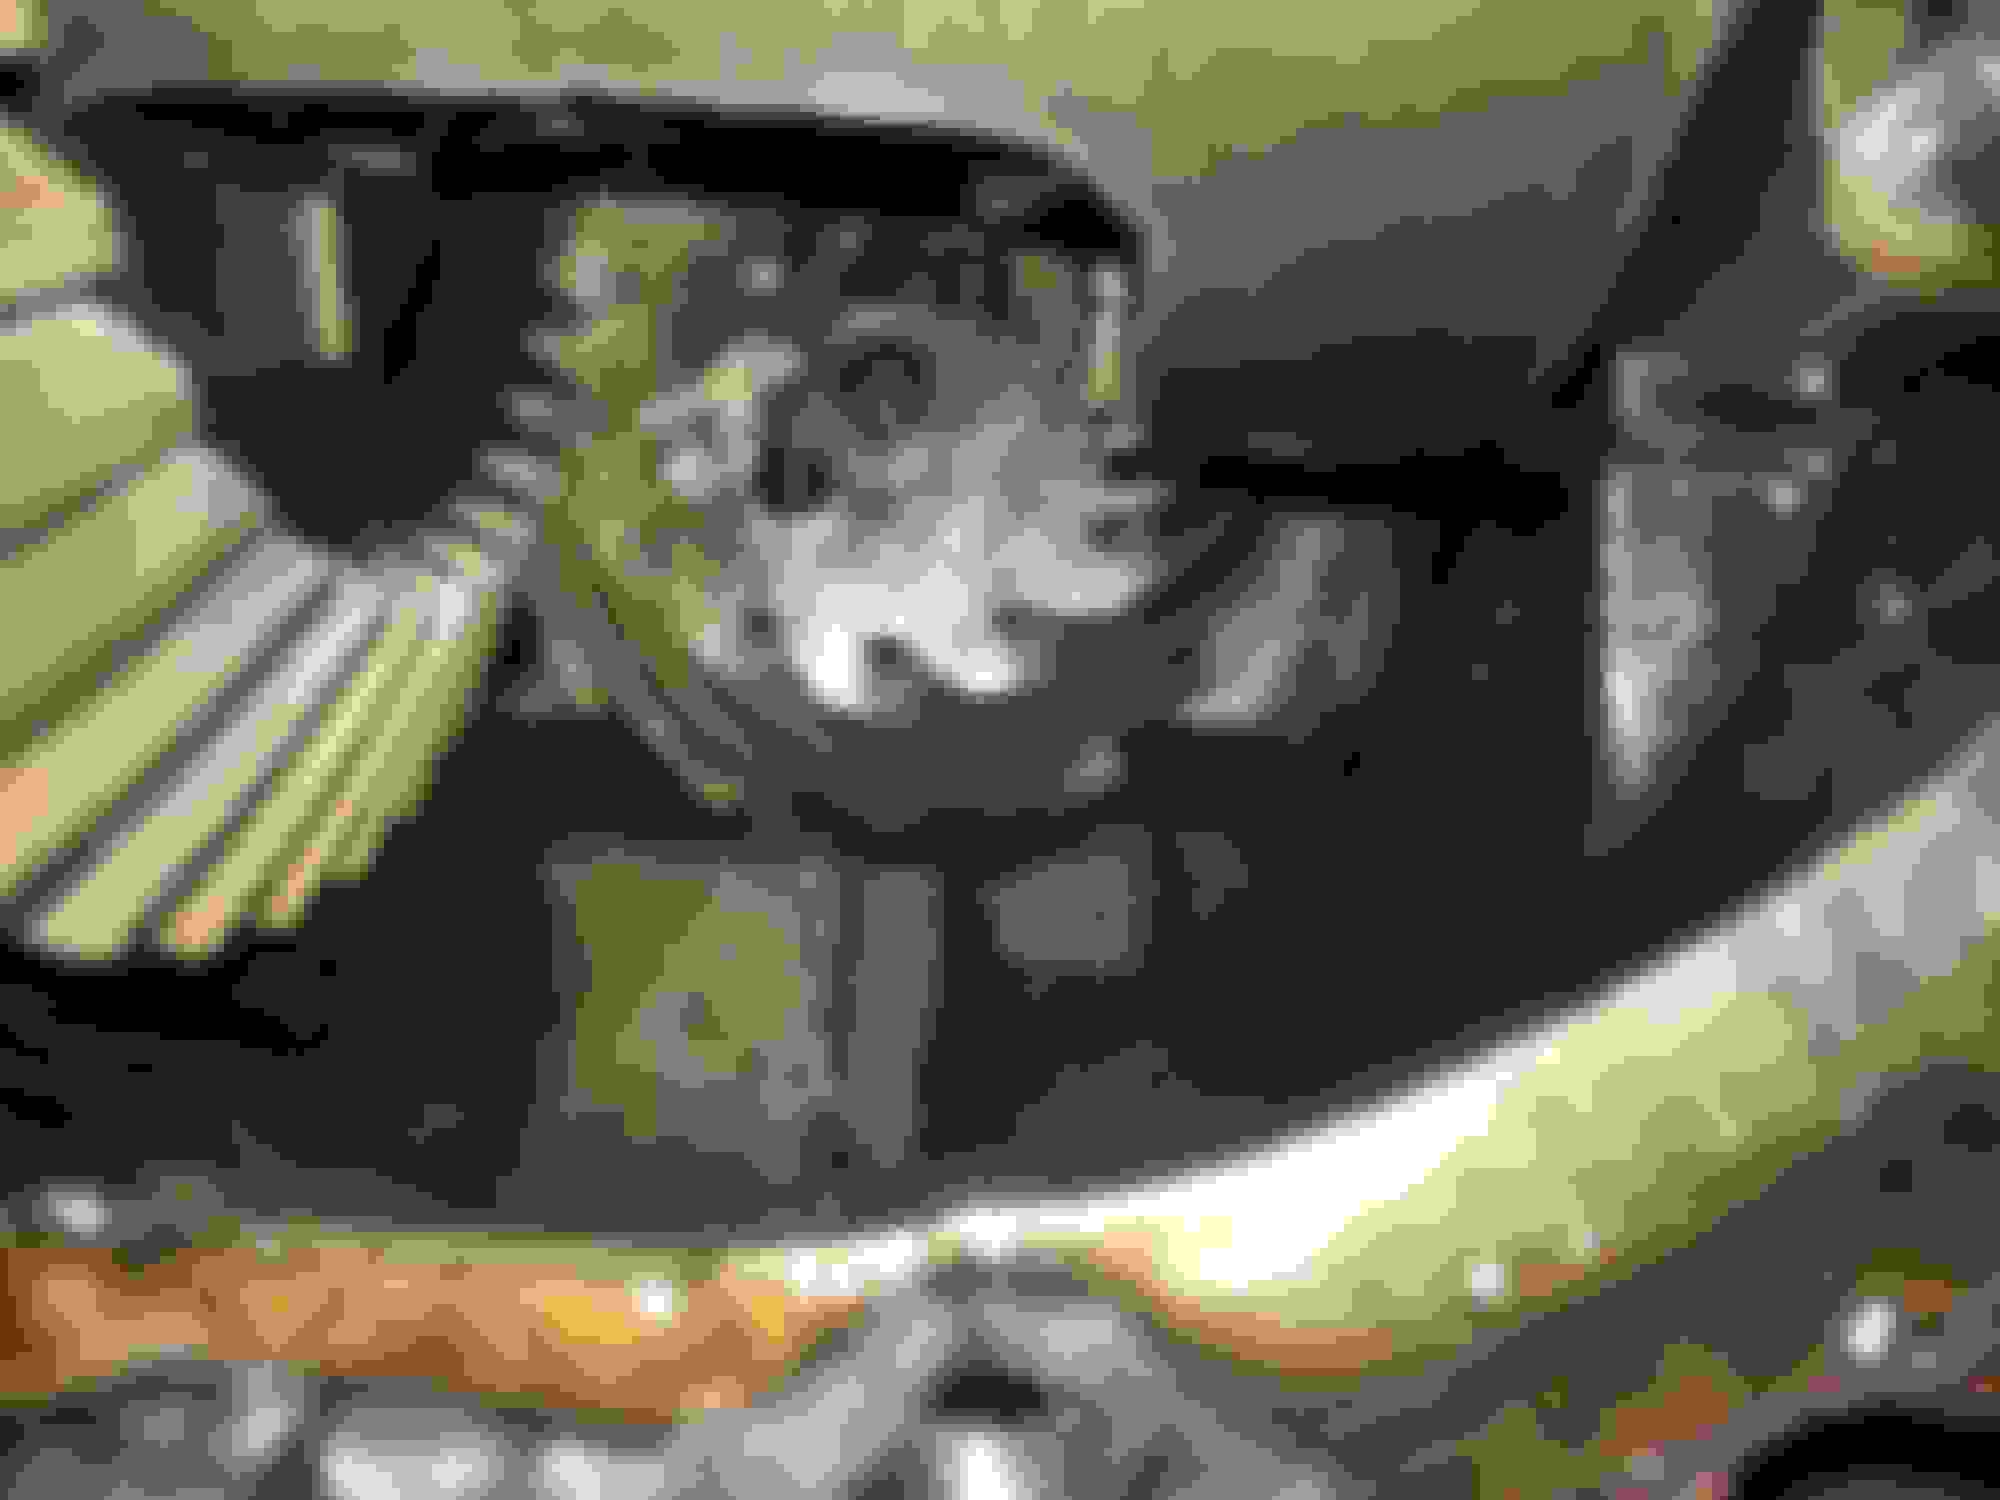
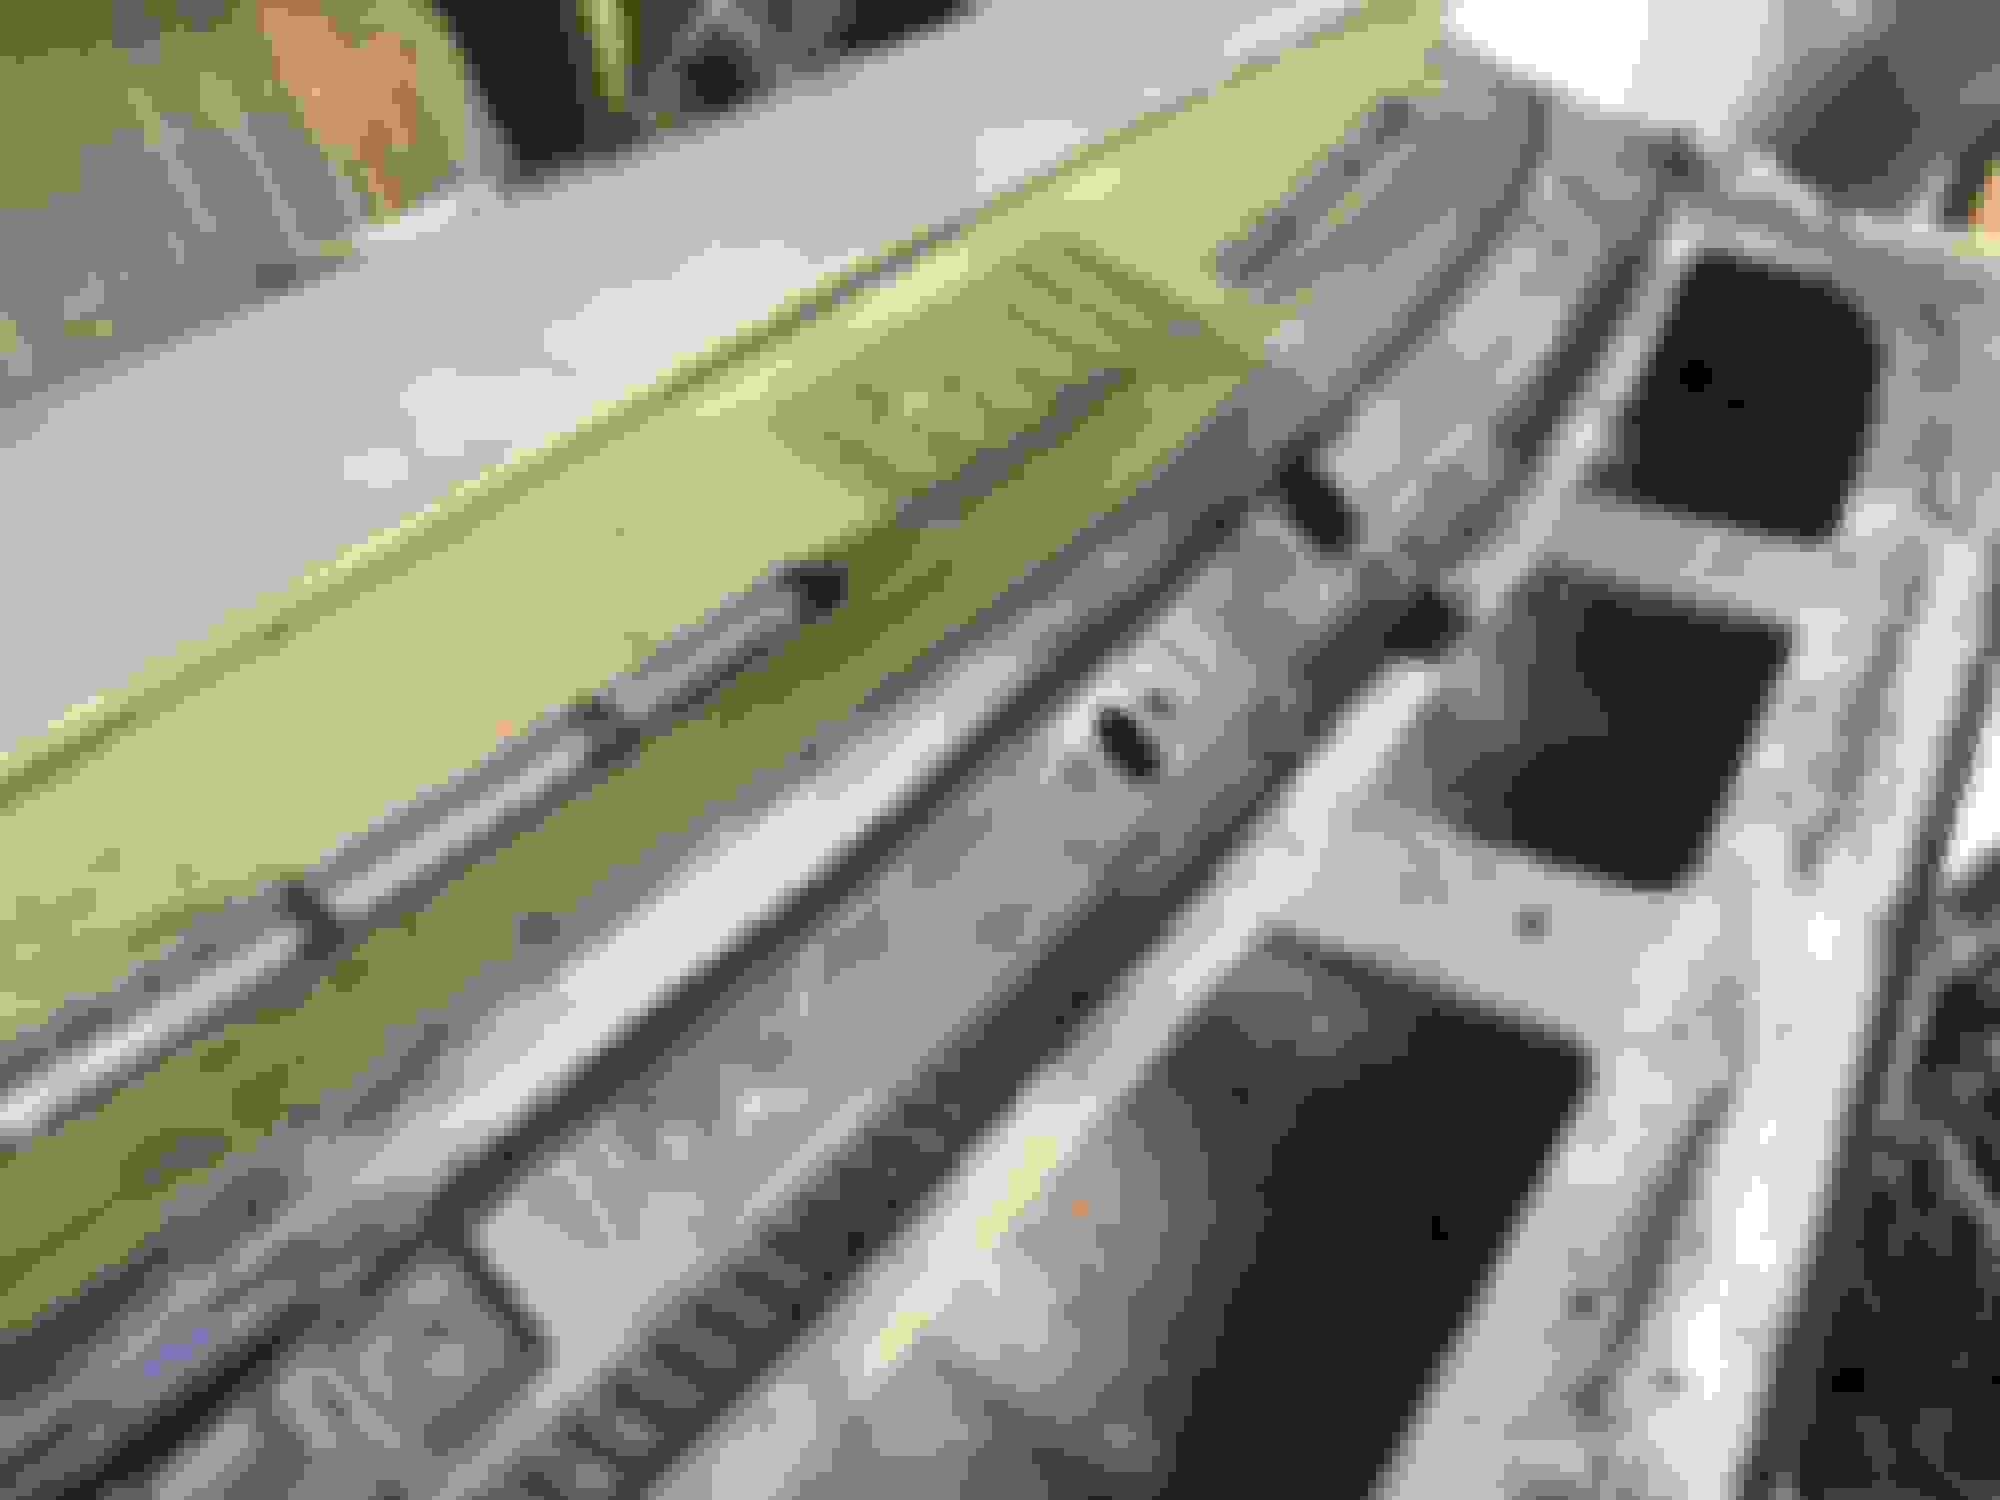
Not much to speak of that was I nteresting last night. Removed the steering box, tie rods, idler, center link, and dealt with a couple of pesky front shock nuts.
Had a "what were they thinking" moment, when I removed the passenger side shock nut. I quests they lost the top rubber bushing and thought a nut about the same size would provide an equal amount of cushion???😧 You can also see the shocks were not the same, the shorter one was on the passenger side as well
Last edited by Troys Toy 70; July 29th, 2016 at 05:13 AM.
I've been subscribed to this basically from the beginning and enjoy reading what you find. Any thoughts on those rubber pieces in there? (Post #60) Anyone?
Yea, I don't know what the little shock and nut was for. I think it would through more weight to passenger side quicker, rather useless for a posi. Maybe it bottomed out quicker and cause it pushes back to the drivers side sooner. OR. Hey Bob, I only have one shock of this model. Here Bill, use this other one, the customer won't care. Hey Bob, did you see that rubber bushing I dropped? No Bill, use this nut it will be alright.😀
At any rate, spent the morning stripping a 4 door a friend of mine had for the window channel for a donor. Started another thread about the differences in A body windo channels, but here are the pictures.
I would cut by the cowl under channel , I think than way you will be able to grind from the bottom up? Once you cut them spot welds there won't be a lot to rest on top of the cowl? You might even need the top of the cowl piece? Anyway following along
I have always heard Body Shop Jail is the most aggitating and exhausting part of a restoration. However, I think it's chasing parts. As in:
I had those parts? Where did I put those parts?
I ordered those parts, but I didn't get all the parts yet.
I have some parts with this person/business or that person/business for whatever part they are playing in the restoration. Did I give them all the parts they need, did I forget something? What parts are they going to order again?
Today, I delivered engine parts to the machine shop 1 hr away. Took rear end another 1 1/2 hrs up the road. Got stuck in rush hour traffic 1 hr 15 min to go three miles. Finished, what should have been a 2 1/2 hour drive (now 4hrs) Got home, sheet metal parts came today checked the box, are the two front 1/4 floor pans in the box? Nope... Go chase parts some more.
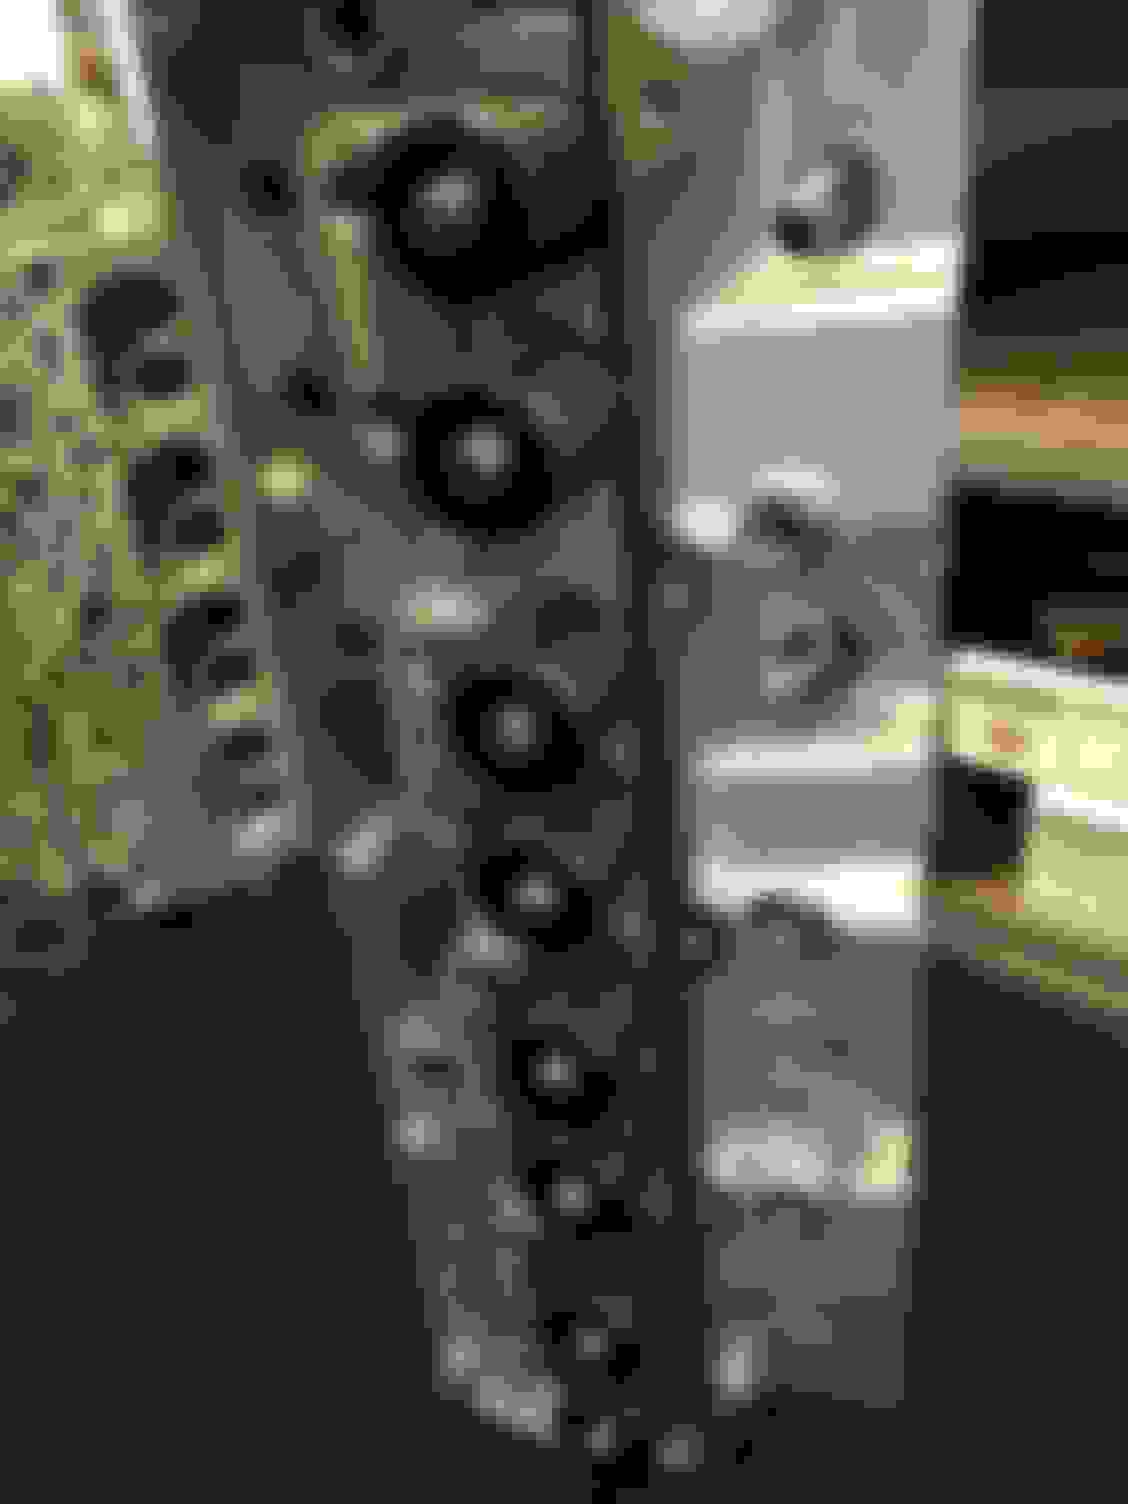
I got to look at my new procomp heads here are a couple of pictures.
I took my rear end to Jim- Monzaz. Great guy, you can tell he is passionate about what he does. I'd like to say I'll remember everything he told me about different rear ends all makes and models, but I probably won't. However, I did remember a few things that I didn't know. As frustrating as the previous post is, I really enjoy learning about cars.
Project management of a car restoration is hell, especially when the car isn't complete to start with. I'm learning that lesson than hard way too... working on it seems to be the easy part these days.
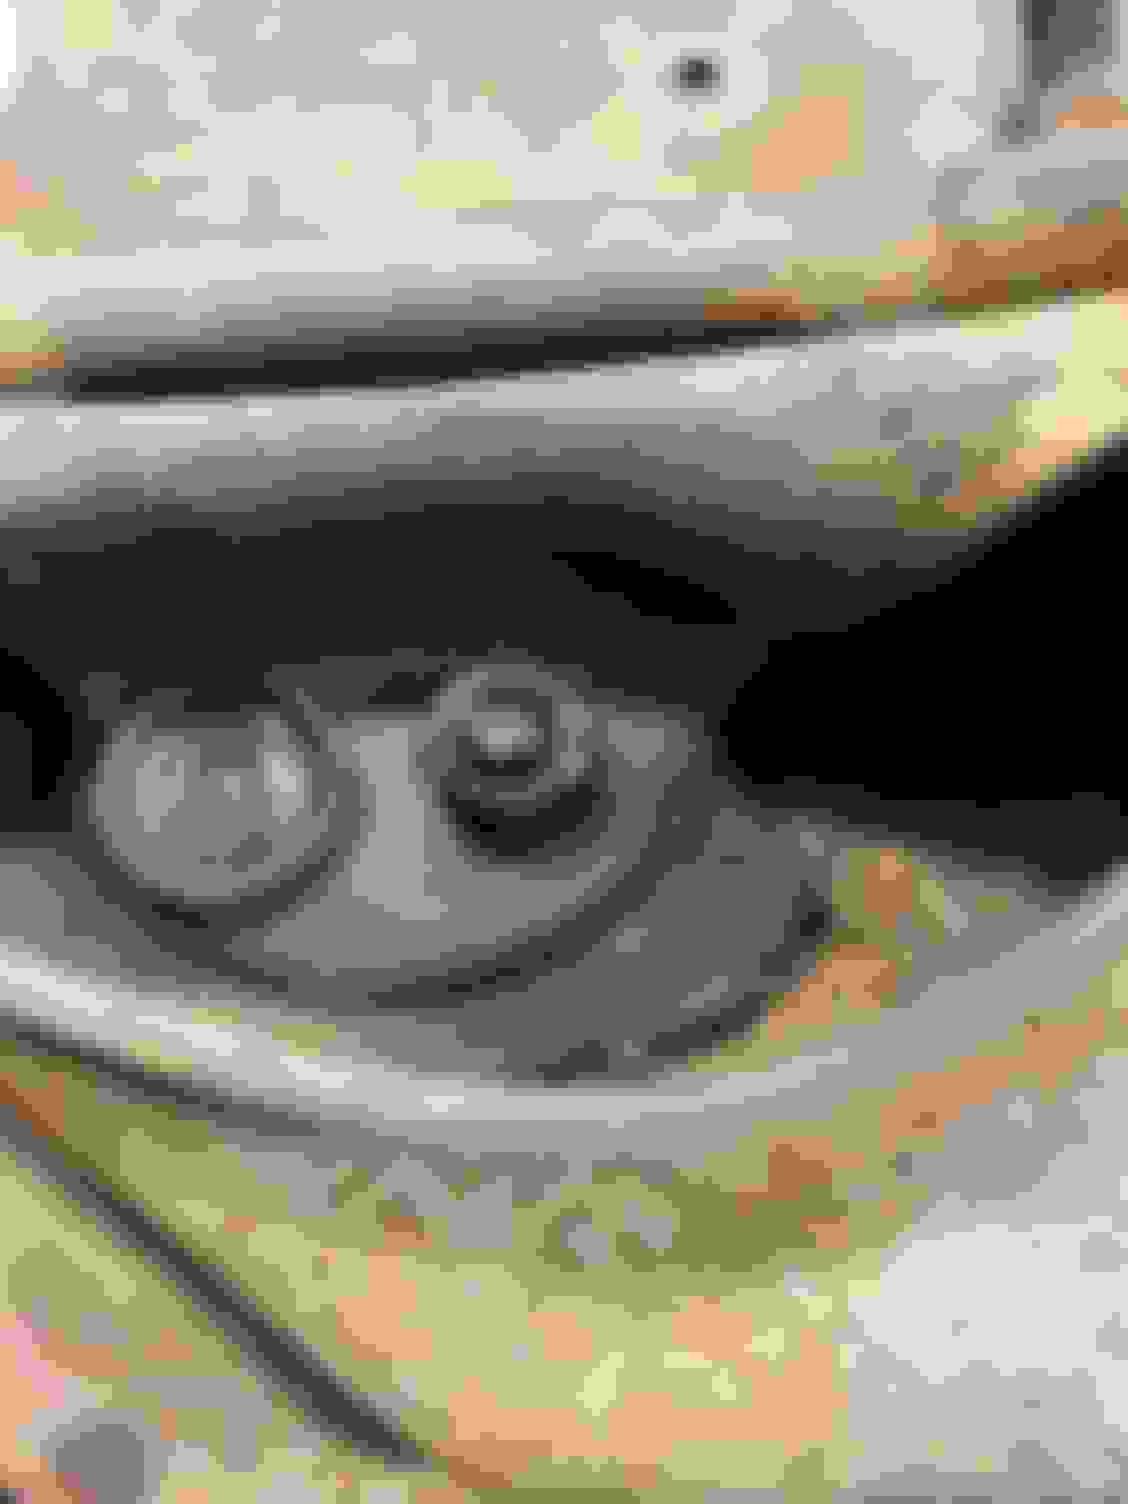
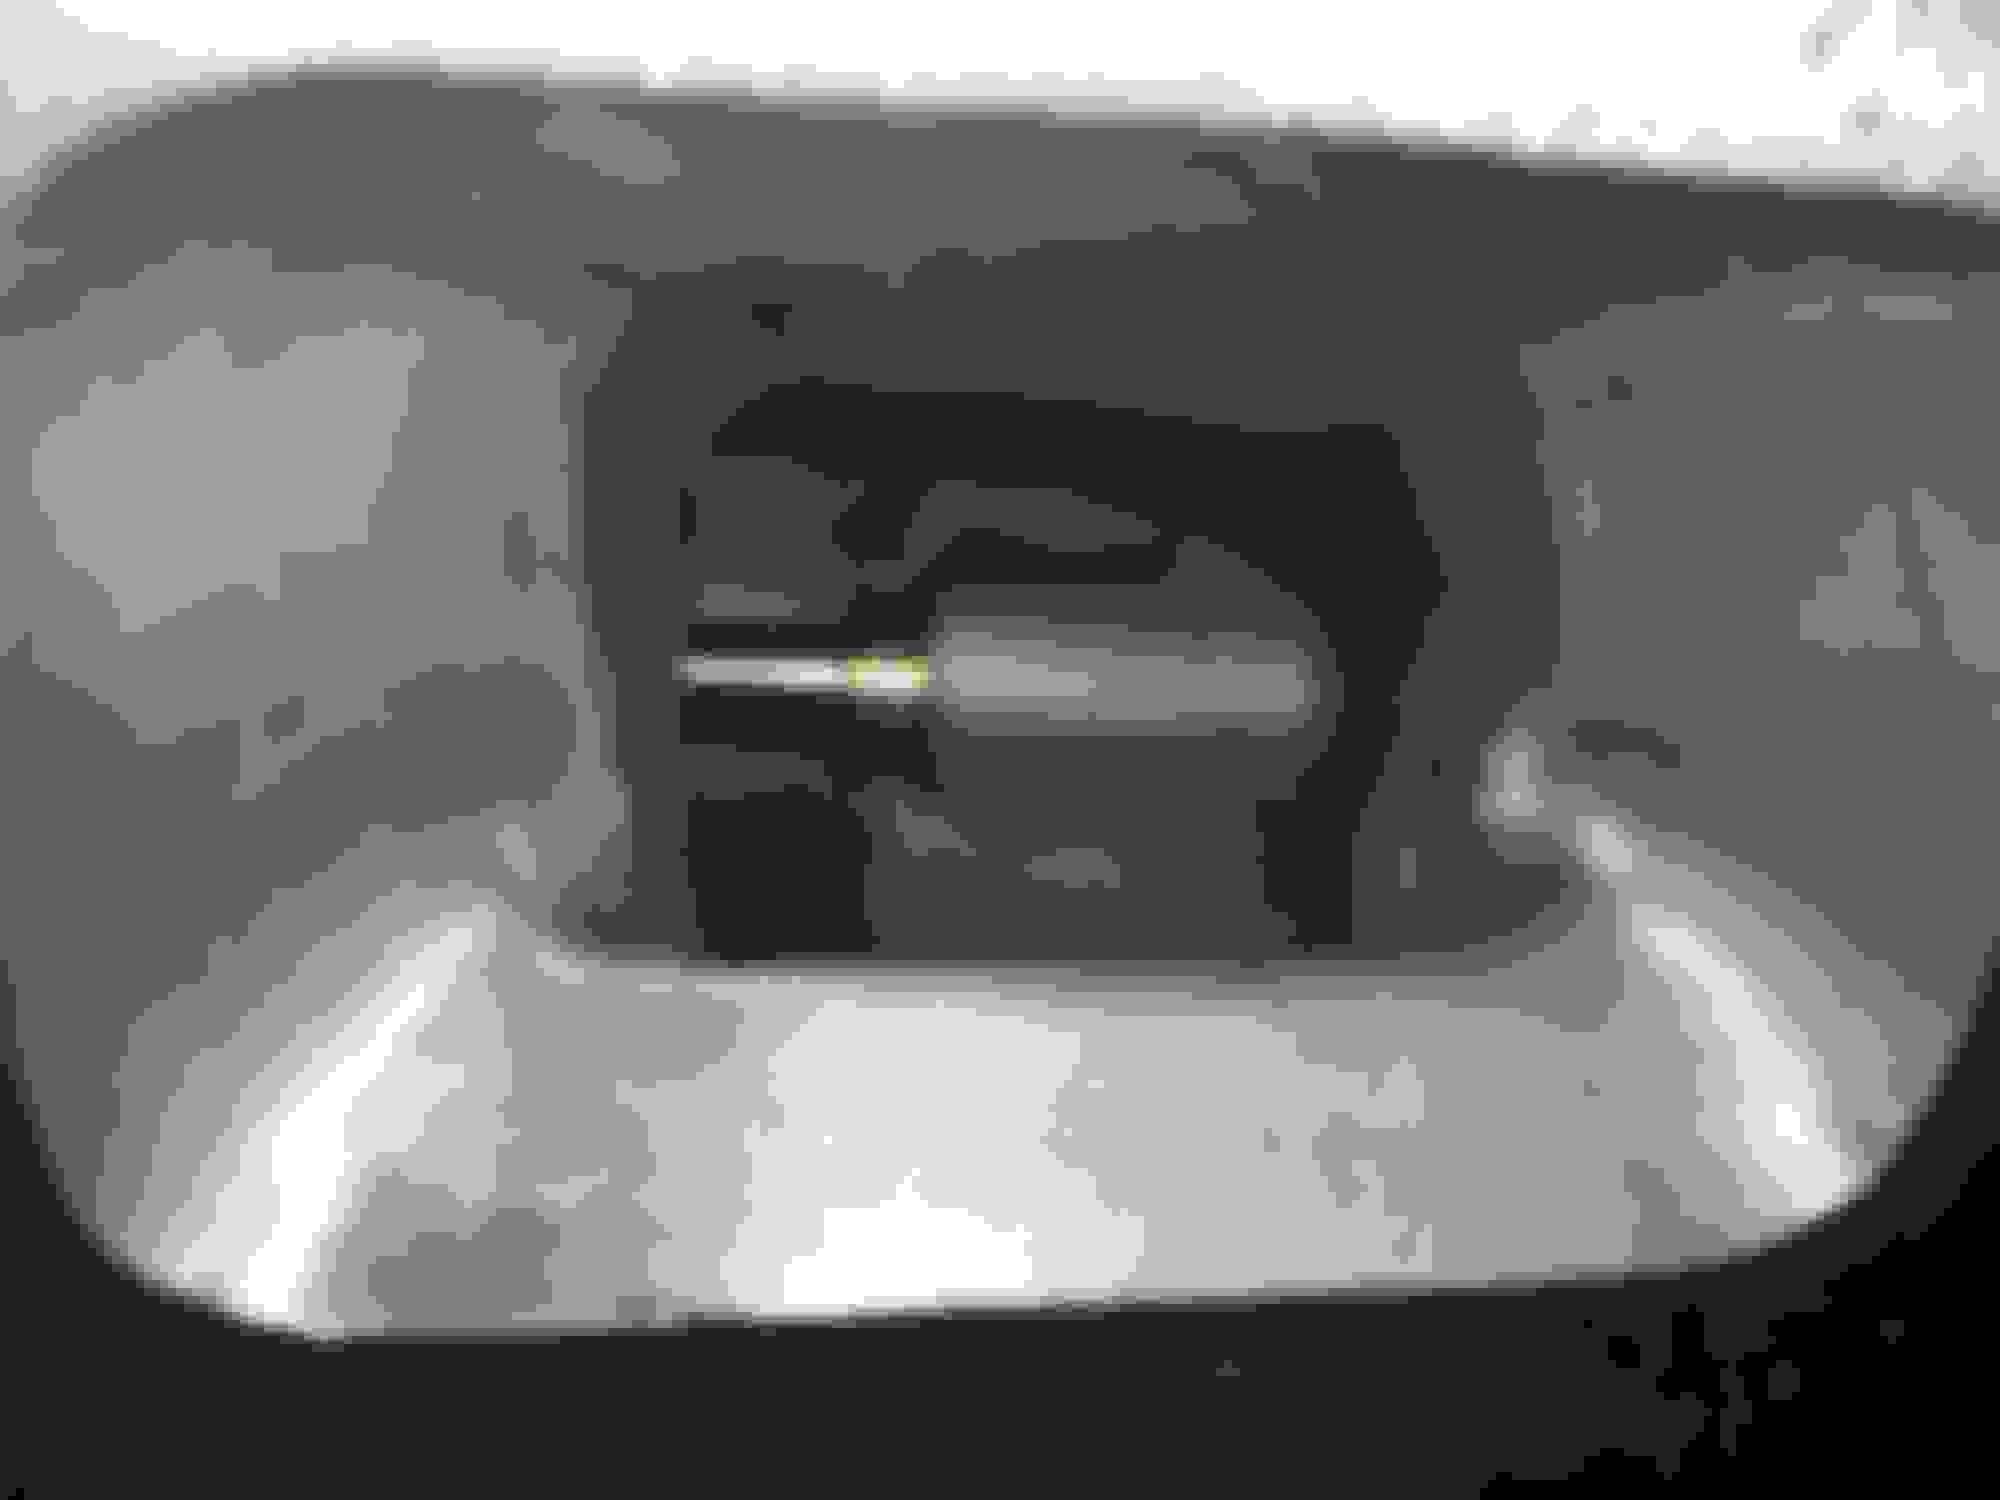
One last thing, I was so involved in trying to figure out the front shocks. I forgot to mention that I believe the back ones were still original. See pic.
Jim also had no idea why the rubber chunks were isn the differential.
Project management of a car restoration is hell, especially when the car isn't complete to start with. I'm learning that lesson than hard way too... working on it seems to be the easy part these days.
Still make for a nice piece of history. Good for hanging in the garage or shed.
We think alike, not sure if that's a good thing LOL, I kept the door I took off my car, I will gut it and cut most of the inner shell off and make a wall hanging for a man cave, paint it as a door off some famous oldsmobile racer smothers brothers or something...

 July 21st, 2015, 06:45 PM
 ) and passenger backside of fender. ( Both sides look the same, just forgot to take a pic of the driver side.)


