When you click on links to various merchants on this site and make a purchase, this can result in this site earning a commission. Affiliate programs and affiliations include, but are not limited to, the eBay Partner Network.
Start the restoration. As the person said above a lot of work and hours to restore these. Installing new material from a donor fender plate. Plastic welding in a new piece from the donor plate. One down, and one to go! Both Red Fender plates done. Cloe to eighty hours of work. Wheel side too.
I made a few of these up out of stainless steel to use on torn fender mounting holes with 5/16-18 insert nuts. The nuts are available on ebay, but I forget their real name? They just snapped in the square holes I made in the stainless befor bending them up.
I spent countless hours on my original black liners. Ordered a set of aftermarket and sent them back, they were not even close. Here are a couple photos.
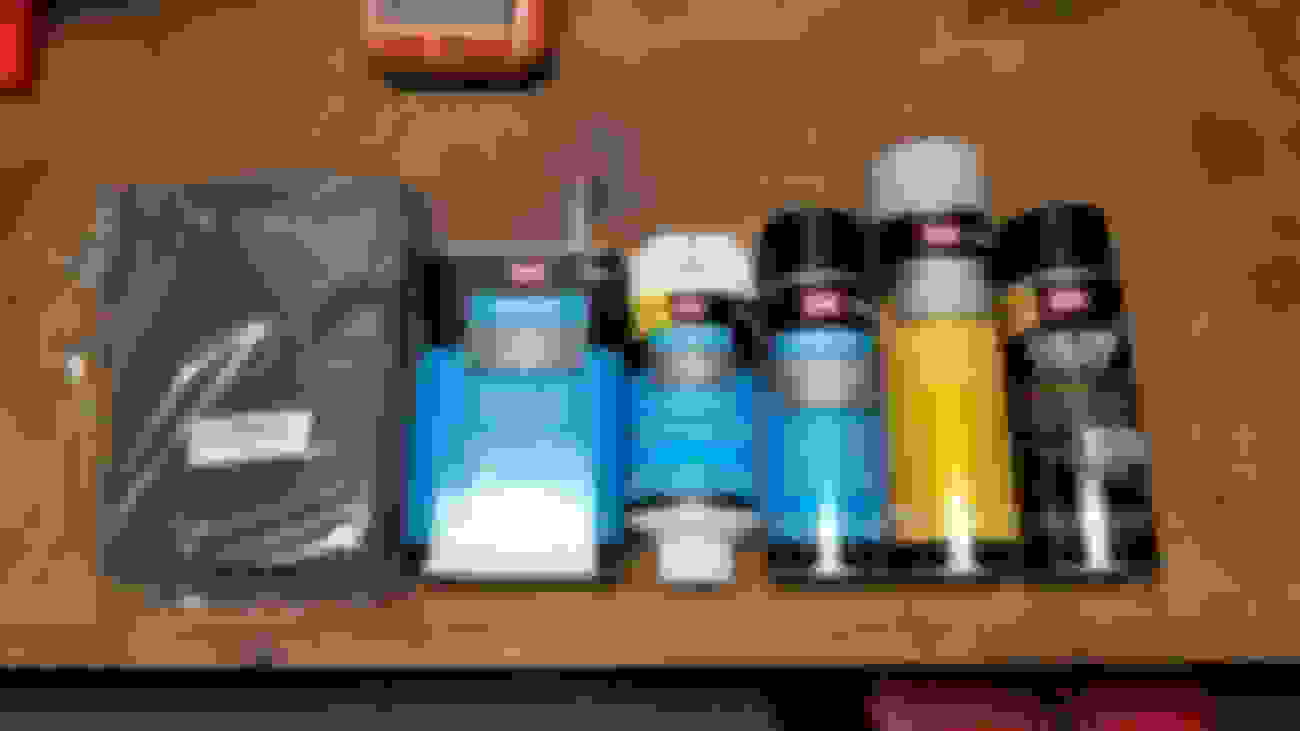
Finally ready to coat after hours of prep, several light coats work best. Used SEM products after thorough cleaning
I spent countless hours on my original black liners. Ordered a set of aftermarket and sent them back, they were not even close. Here are a couple photos.
Finally ready to coat after hours of prep, several light coats work best. Used SEM products after thorough cleaning
Those look AWESOME! Nicely done. Curious, what has the group used for plastic that has broken off? When I removed mine, I had a few plastic areas around the bolts by the lip of the wheel well that cracked off.
I realize this is an old posting, but still wanted to say thanks for the details and inspiration. I just picked up a set of ‘68-9 red inner fenders today, that are not broken or cracked, but need as much help as the ones in the original post. I’m inspired to try the same thing, and glad now that I just didn’t walk away. Will make a great holiday break project.
Yikes... no pressure, but sure, it will be a couple months. Hope they turn out half as good as the original posting, will also want no paint or coatings. They’re already tucked away in storage waiting for what will be a lot of work. Bright red under the washer bottle and electrical harness straps, weird pink salmon color all over the rest.
OK - Had the opportunity to drag these out of storage. As found, note the color under where the OAI hose clamps and washer bottle were. Also found a 1968 date code on both. Given the fender well discoloration all over the tops, these were sitting out for awhile. Fortunately, the mounting tabs are in great shape. Don’t know their history, but sure would have like to have seen what they came off of. I did try the razor blade technique described on a related post on a small patch where it wouldn’t be visible when mounted, and it works well. But with all surface contours up top, definitely not the approach I would use on all of the fender well. Back in storage they go for now, pending having a lot of the time these things will need.
Finally got some time over the holidays to do some “car stuff”. This is stage one of many I suspect, roughly two hours worth of cleaning and wet sanding. Cut through a lot of the yellow crud caused by UV exposure, and starting to see some of the base color coming back. I’m surprised how well this 51 year old plastic is responding, and didn’t find any brittle sections so far. More updates early next year when I get back to it.
Has anyone tried filling in bad spots in fender wells using a plastic welder and filler rods? I'm assuming red fender wells are polyethylene, so wouldn't it be similar to the steps 5 to finish on this web page https://www.polyvance.com/kcwelder.php , for kayak repair ? The reason I ask is I have a set of really red nice fender wells, but there is a melted trough from the battery cable to the starter. Looks like there must have been a loose connection at some point and the wire got hot and melted a line in the driver's well. The melted area is not deep, but am looking to fill this in somehow.
Thanks for all the great info and detail!
I'm new in here and wish I'd seen this thread earlier. My wells are not nearly as nice as what most of you guys seem to START with. I have several hours in mine and they are finally appraoching a shade of "pink". One is more white than the other and I dont know if I will even get to "pink" but I will keep going. I have seen some others talk about "rubbing", hours & hours of rubbing ... is this with finer paper or on to a finishing type product? I understand Eric is sworn to secrecy on particular steps but there has to be a basic 'does & donts' maybe? With nice sets costing as much as $2500 (going by a recent post) I hate to "experiment" and ruin what I have. I'm not looking for a shortcut, just dont want to inflict anymore damage than necessary :-)
I'm guessing they will never recover to an acceptable RED so I may be forced to do the SEM treatment. The BLACK ones look like they turned out very nice. Has anyone dyed a set of RED ones with the SEM product? Is this acceptable or should I consider another set that will recover an original luster?
Thanks.


 December 31st, 2016, 01:54 PM