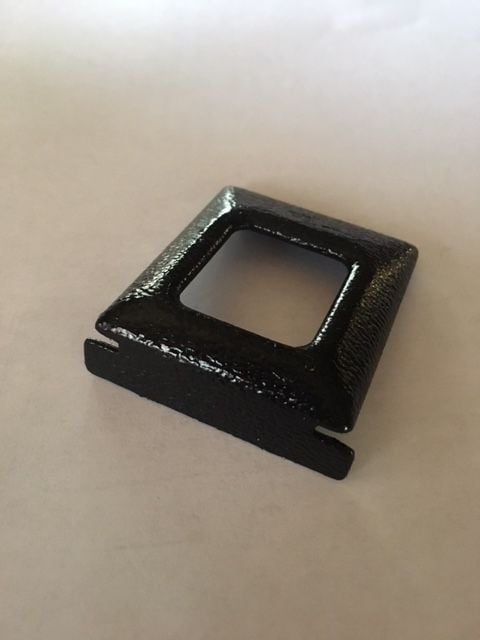
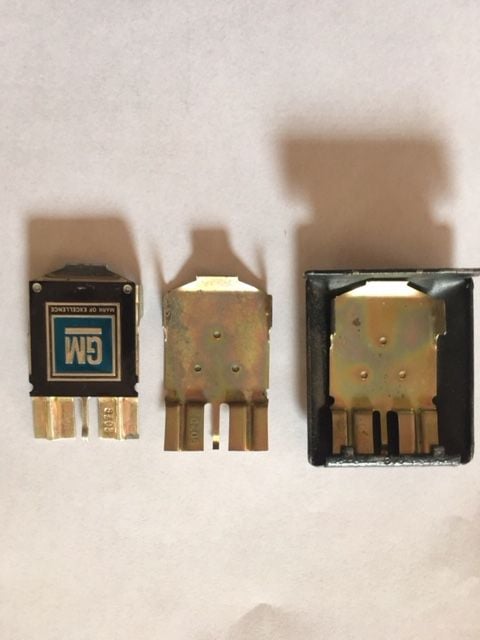
opening seat belt buckles '71 cutlass
#1
opening seat belt buckles '71 cutlass
I need to clean up some rust inside the buckle (specifically the bar that the belt slides over because it will barely slide over it), but am having trouble opening it up. The instructions I've seen are "pry the cover off," but that's easier said than done and I don't want to just force it. They are the black metal covers. Can anyone give some very specific direction about how to pry it off without causing issues? Any other tips for cleaning up the internals of the buckle are also appreciated.
#2
use a small slotted screw driver to bop the back end of the top fo the seat belt off. You can see two tabs in the back one on each side. Once one it poped off the other side will come of a bit easier. Typically one side has a bt more room so fit a small blade in than the other side. Yo can use too small of a screw driver otherwise it will bend. I try to go from the out side corner pulling out and up at the same time on one side. I can post pictures later
#3
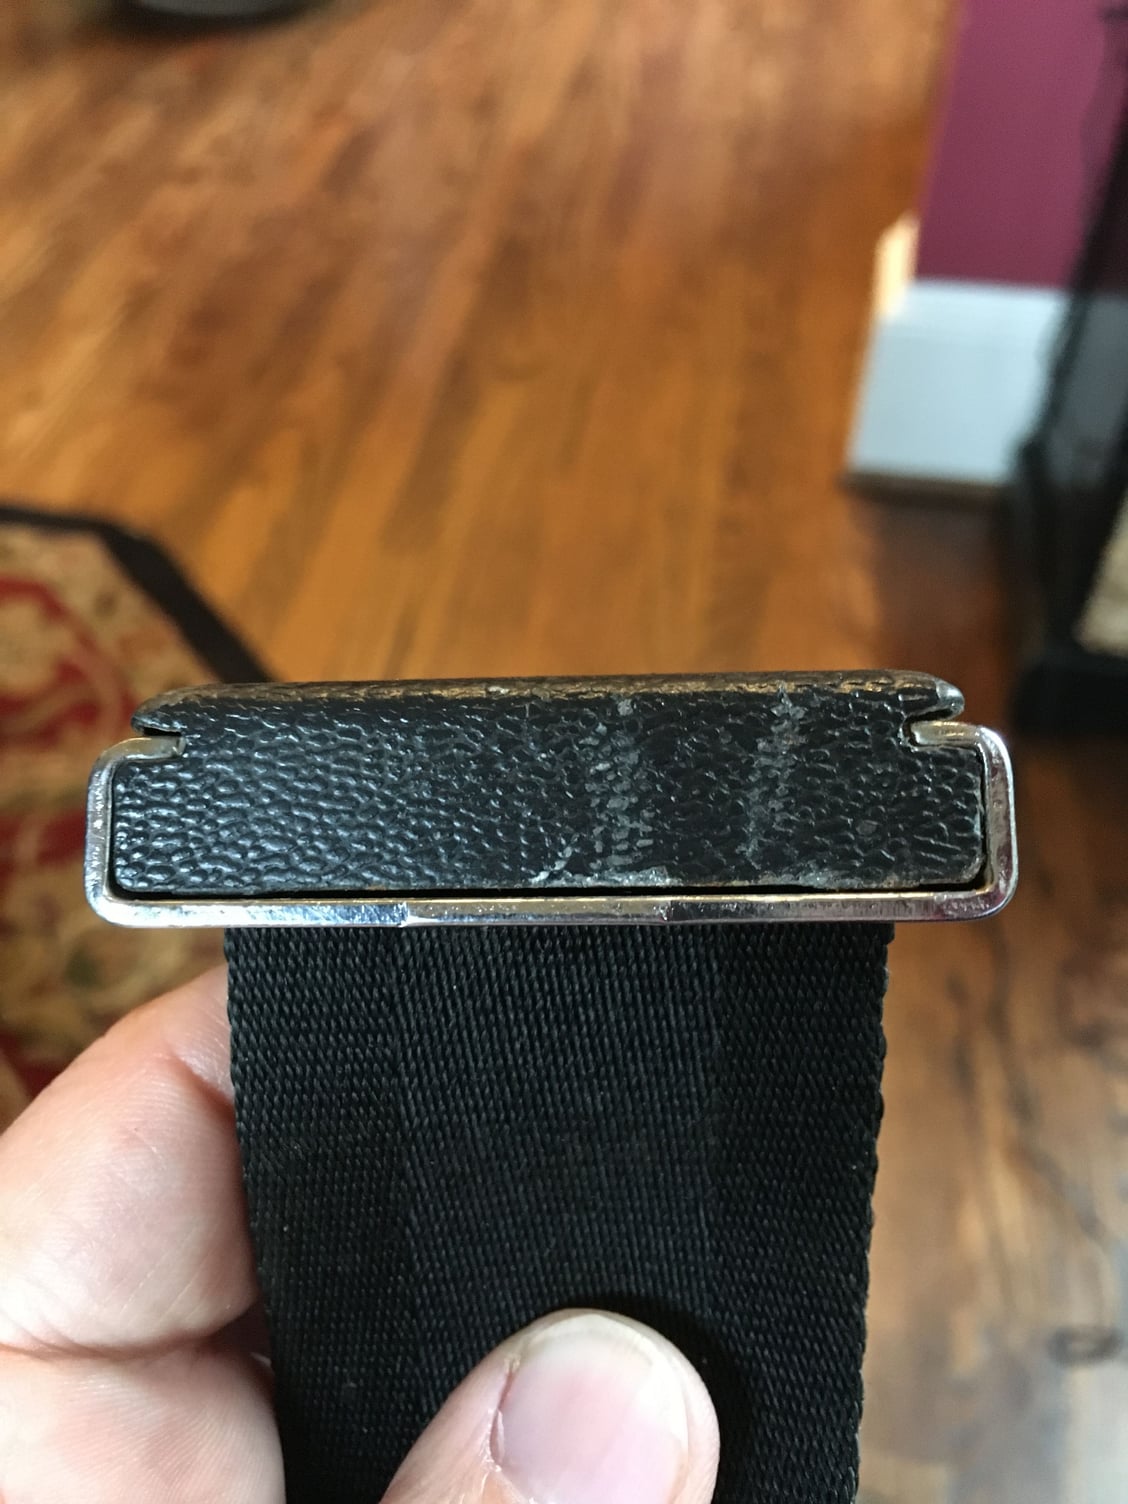
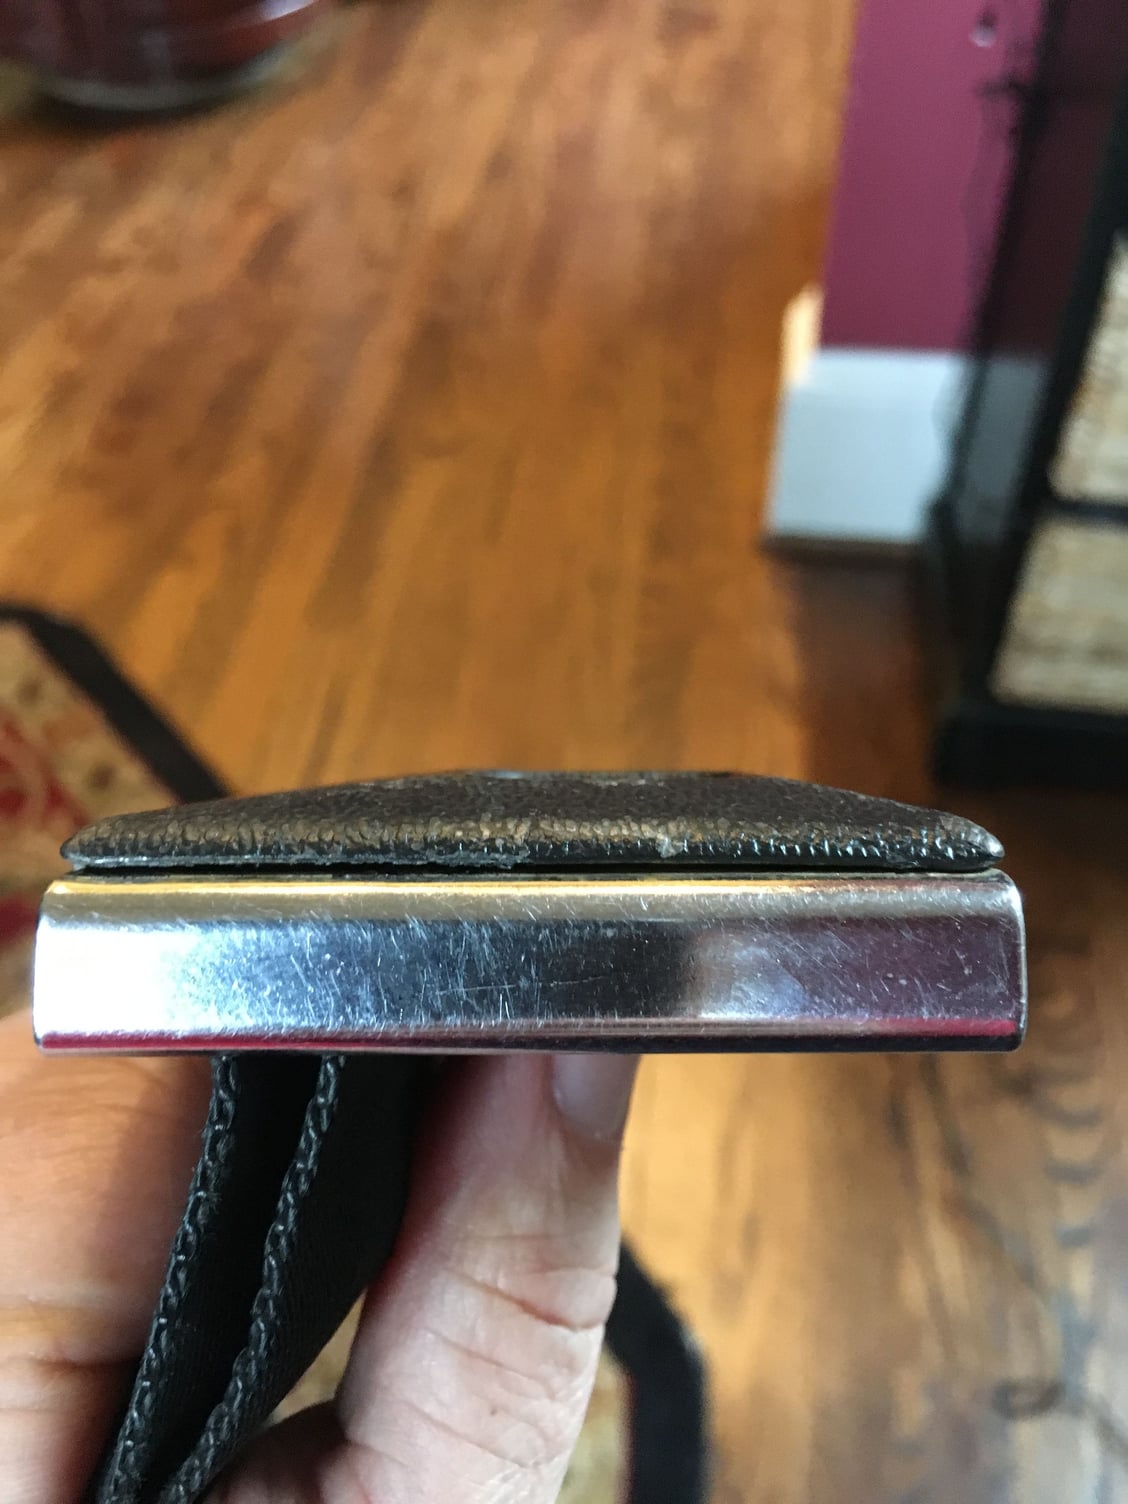
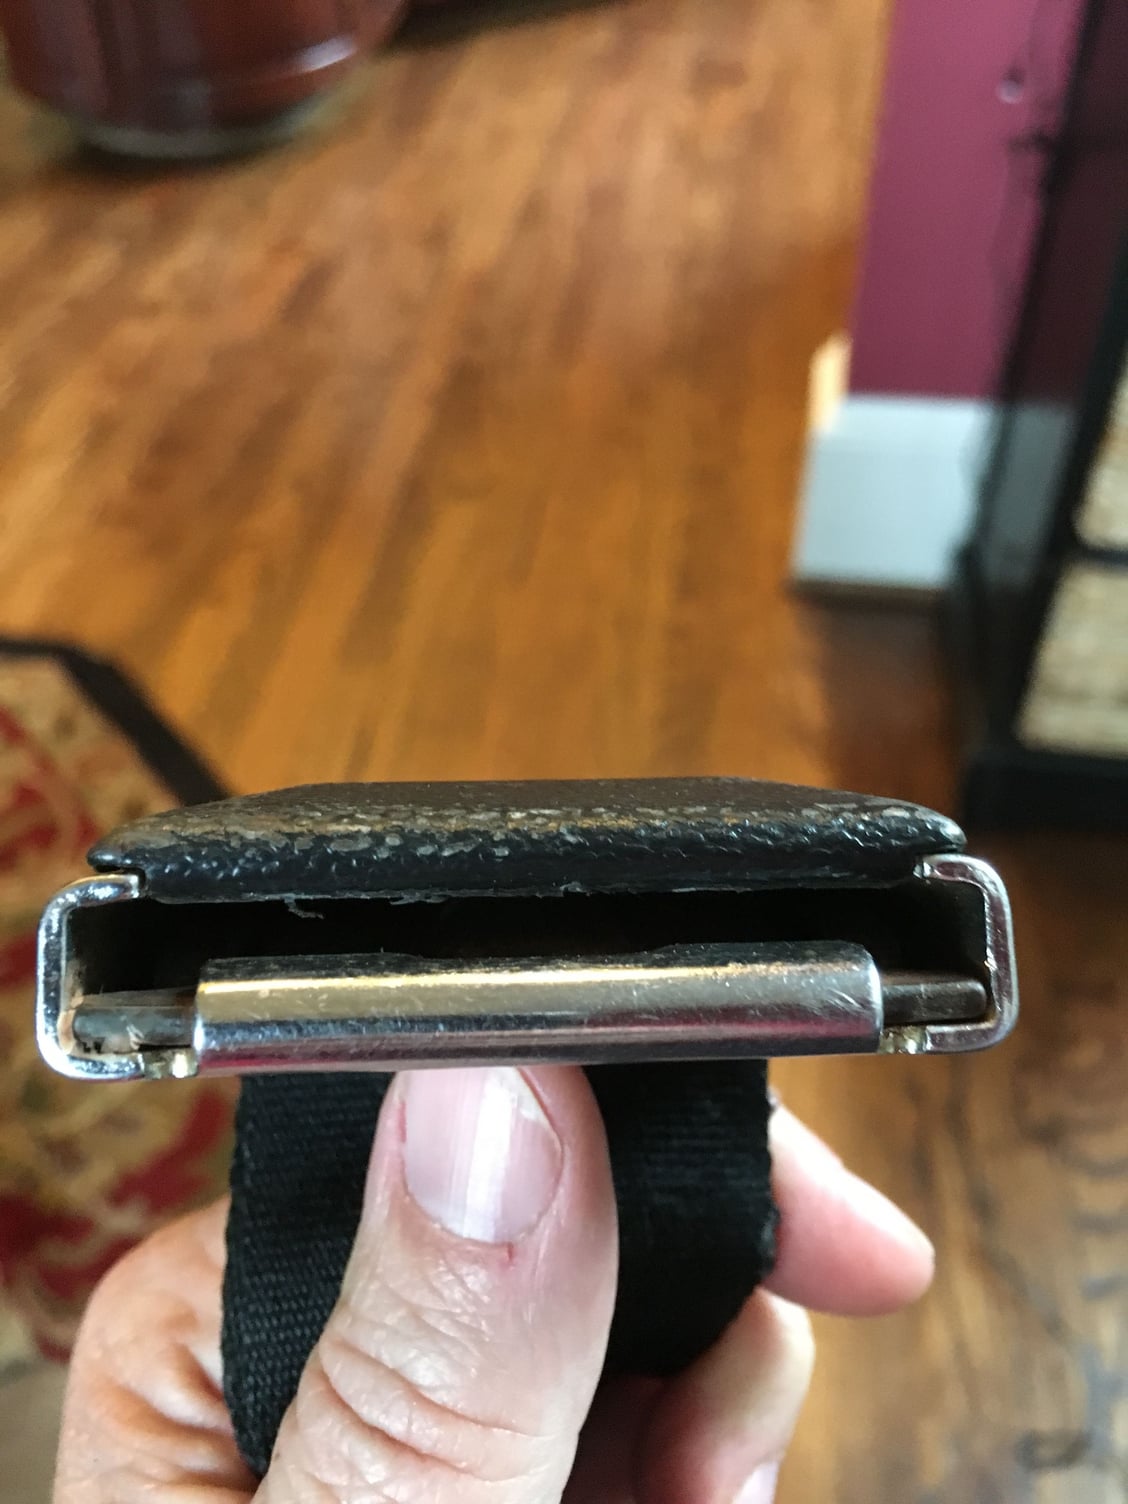
Back view, Sideview, female end view. Your pics might help because I am still having trouble . I assume back end means the opposite of the female end. I don't see any tabs that I can pop off of anything, and there is no give in the metal wherever I try to pry with a screwdriver.
#4
yes, perfect, see back view, as you can see there isn't much room but the left side and the right side need to be pried out towards the belt itself and upward at the same time. From your photo it looks like you have more room on the bottom to pry up, you have very little room on the side. One side pops out then the other. Then push it forward towards the front once the back end is all the way up, it needs to slide forward past the female end. Pay attention to how it goes back together. The GM label is glued to the a third piece that needs to be tucked into the front lip of the top black part. Then it snaps back on. Also as you can see in your last pick the grey phosphate part needs to slide back into the front of the bottom (Chrome) piece
#6
yes, perfect, see back view, as you can see there isn't much room but the left side and the right side need to be pried out towards the belt itself and upward at the same time. From your photo it looks like you have more room on the bottom to pry up, you have very little room on the side. One side pops out then the other. Then push it forward towards the front once the back end is all the way up, it needs to slide forward past the female end. Pay attention to how it goes back together. The GM label is glued to the a third piece that needs to be tucked into the front lip of the top black part. Then it snaps back on. Also as you can see in your last pick the grey phosphate part needs to slide back into the front of the bottom (Chrome) piece
#7
awesome. Thank you so much. As you can tell from the scratches, I actually did try to pry the back off but there was so much resistance it made me nervous. Plus, the only slotted screwdriver I could find that would actually fit in that crack bent as I tried to pry it off. I think I will use that screwdriver again to widen the gap a little bit, and then use a stronger screwdriver the rest of the way. Thanks again.
Thread
Thread Starter
Forum
Replies
Last Post
craftsmen22
Cutlass
7
July 17th, 2011 08:52 PM


