When you click on links to various merchants on this site and make a purchase, this can result in this site earning a commission. Affiliate programs and affiliations include, but are not limited to, the eBay Partner Network.
Here's a few pics I took of the car earlier on after the rain had stopped. It's a big old beast that just fits into my garage with literally inches to spare. I plan to sort out the mechanical and structural bits first before moving onto the cosmetics, after all beauty is only skin deep.
Now I've done a bit of research on the model and after reading the VIN and ID tag I've established it's a 394ci with a 2 barrel Rochester carburettor. No idea which differential is fitted but I'll get underneath and find out.
VIN reads; 632K13563
ID tag reads; Style- 63 3247, Body- BK-1831, Trim- 313, Paint- FC, ACC- 2-3.
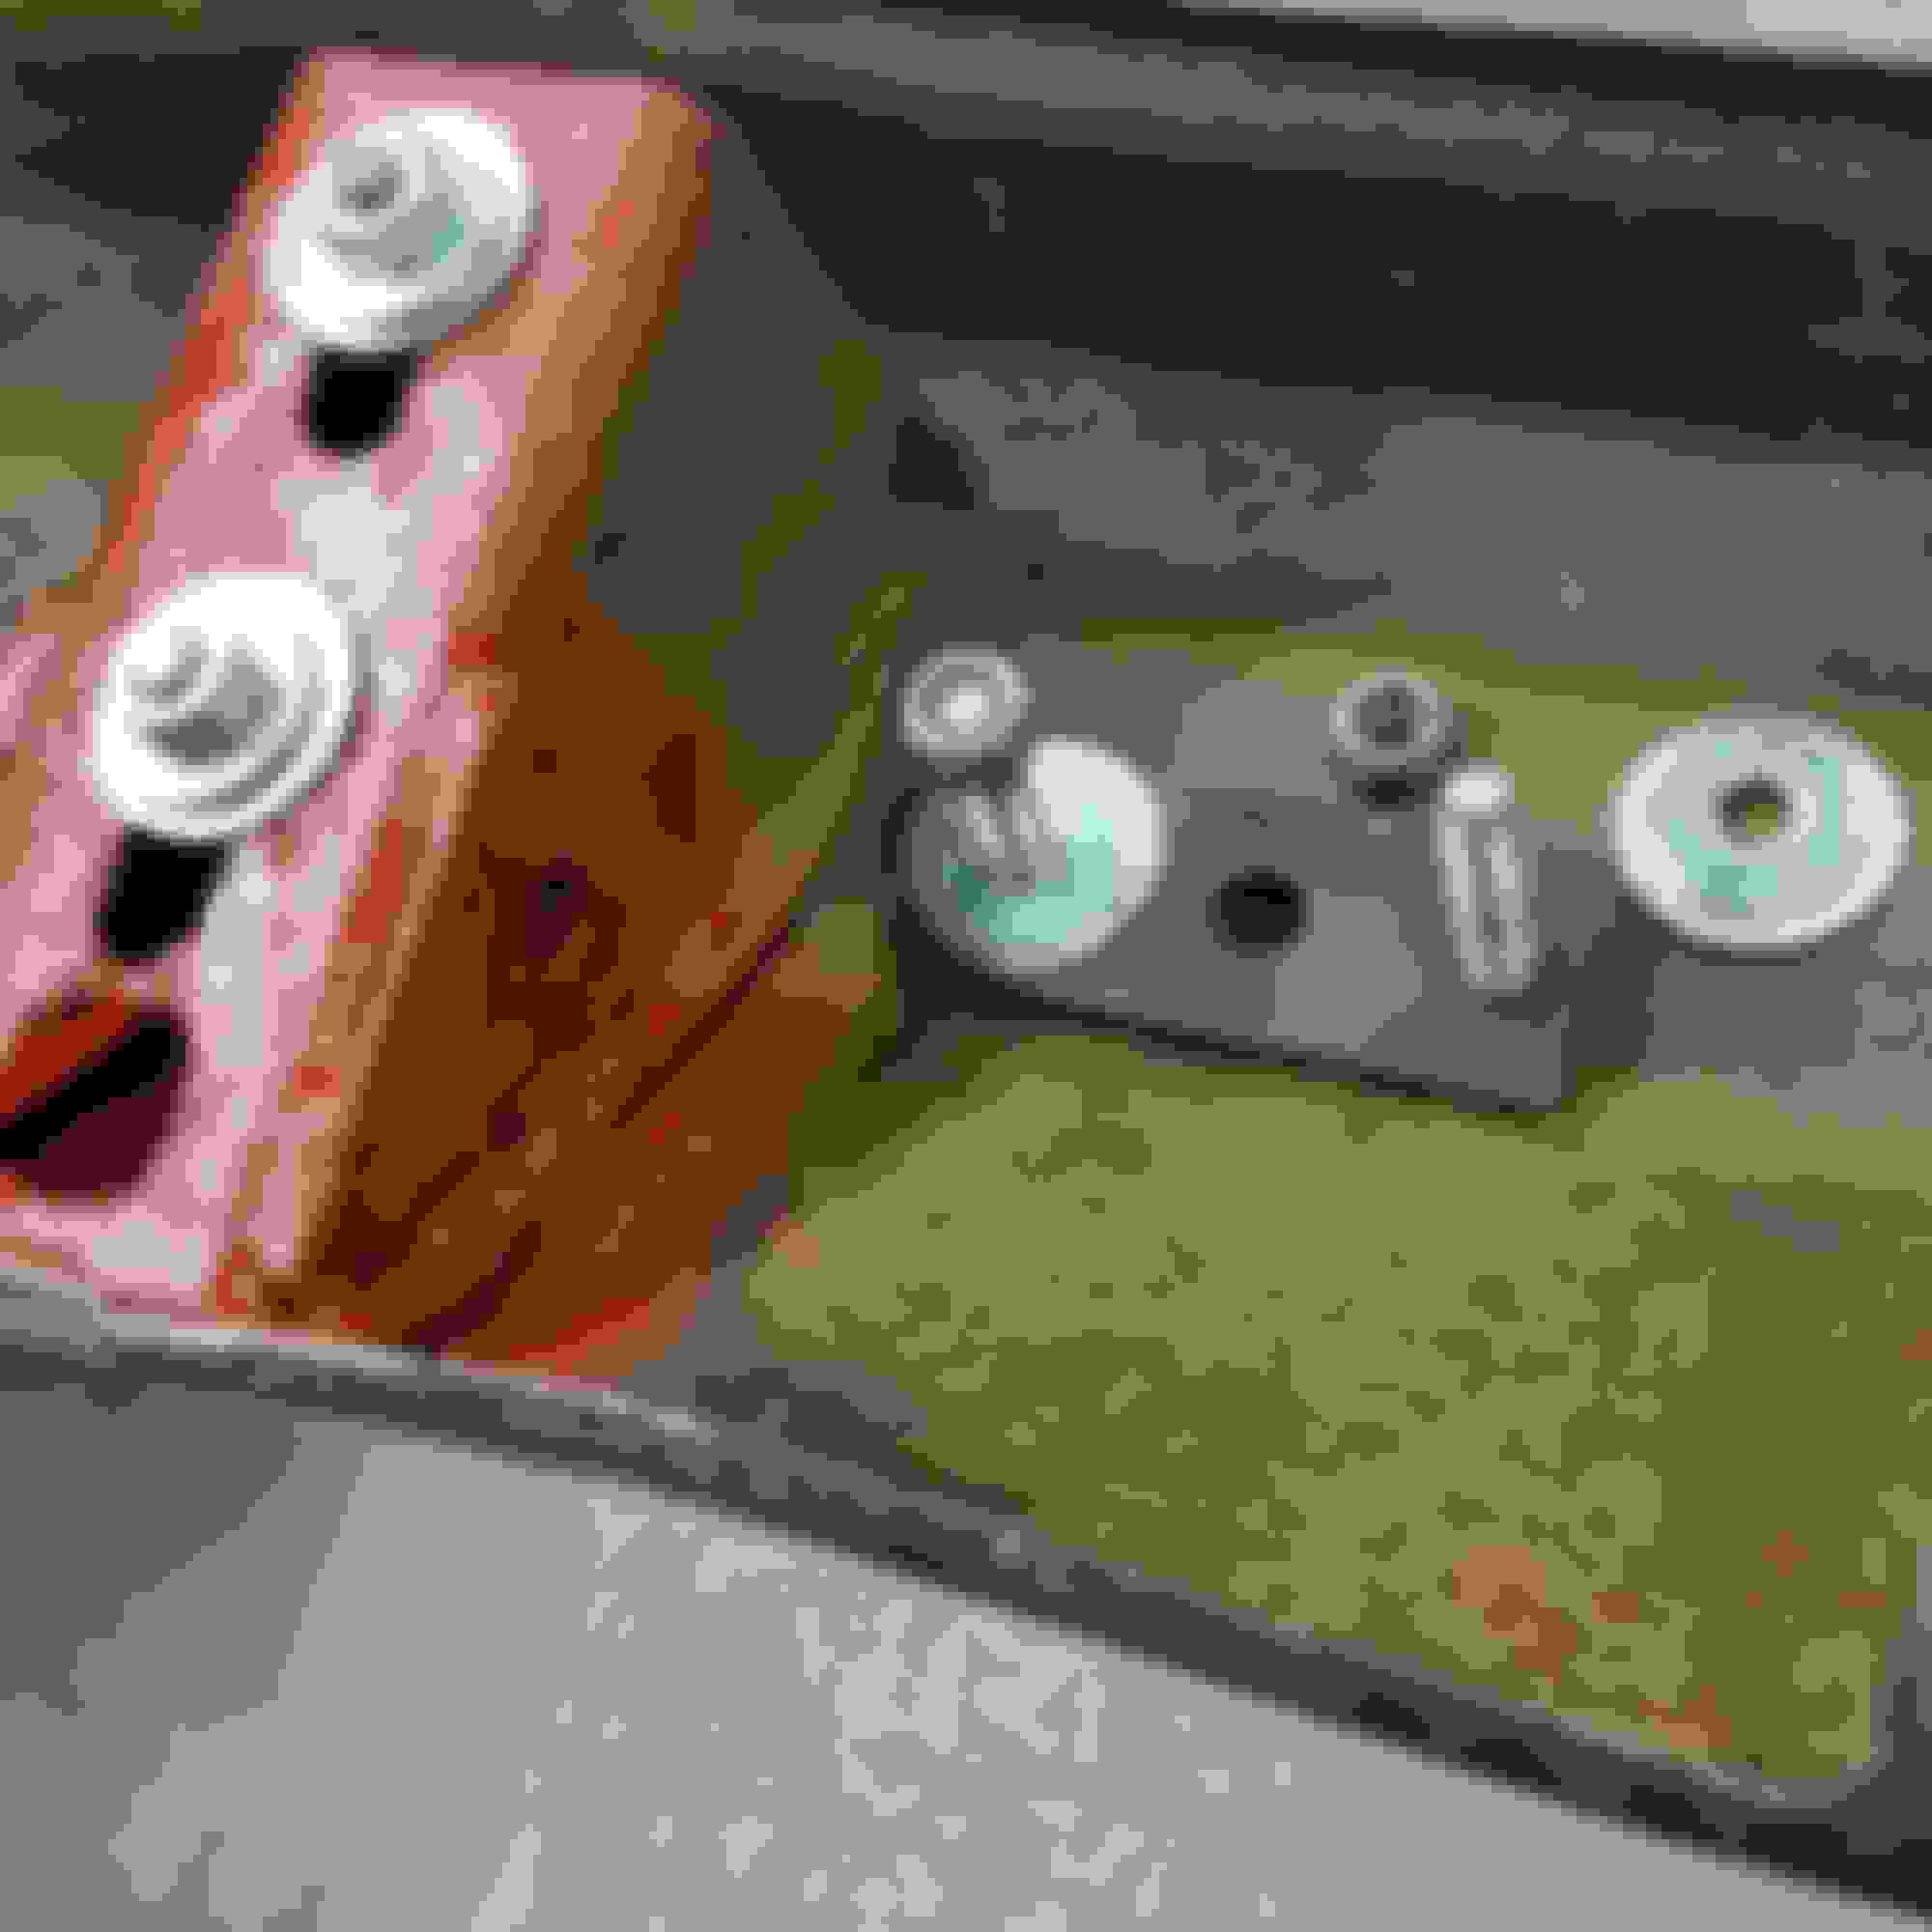
Also I've looked for engine number on the left cylinder head above the centre bolt but nothing is stamped there, nothing on the right one either so I've no idea of the compression ratio in this particular motor. Apart from that I don't know a great deal about it.
Obviously the paintwork has seen better days as has the interior. Both rear arches are a bit frilly but repairable as are the inner wing tops. The bonnet is sound and the boot floor is solid, so is the lid.
The engine starts and idles well, revs freely and settles to idle swiftly and appears to be in very good order overall.
Not sure about the box as the brakes aren't too good but it goes into gear easily and moves back and forth without any unusual noises.
Anyway I'm looking forward to getting stuck into it, see what works and what doesn't and will try and update things when I get the chance.
after reading the VIN and ID tag I've established it's a 394ci with a 2 barrel Rochester carburettor.
Neither the VIN nor the cowl tag will tell you anything about the engine on a '63 Olds.
Your VIN decodes as
63 = model year
2 = series (Dynamic 88)
K = assembly plant (Kansas City, Kansas)
13563 = serial number
I don't have info on everything on your cowl tag, but 32 = Dynamic 88 and 47 = 2-door hardtop. BK is the assembly plant again, and the F and C paint codes are the lower and upper body colors. The trim 313 would tell you the color of the interior. The two numbers by the ACC would indicate options added to the body during assembly, like drip moldings, tinted glass, power antenna, and things like that.
Here's some info about your car from the 1963 Olds brochure. The base engine in the Dynamic 88 was the 394 with a 10.25 to 1 compression ratio using premium fuel and putting out 280 hp.
Here's some info about your car from the 1963 Olds brochure. The base engine in the Dynamic 88 was the 394 with a 10.25 to 1 compression ratio using premium fuel and putting out 280 hp.
The base Dynamic 88 engine was the high compression 394 with 2bbl carb, but the low compression 260 HP 394 was a no cost option on that car, so this engine could be either 10.25:1 or 9.0:1. Export cars typically got the low compression motors.
oldcutlass; Yep it's fairly solid from what I can tell, just a few bits where the tinworm has had a nibble. I live near Liverpool, England so I doubt I'll be seeing many of these on the roads close by.
jaunty75 + Joe Padavano; Many thanks for all the info lads, I've no idea which engine is fitted as it doesn't have a number stamped on the heads so I'm non too sure how to tell, not that it makes much difference to me as I can't do anything about it, but it would be nice to find out.
I've looked up the colour code and according to the info I've found it was originally painted with a Wedgewood Mist body with a Provincial White roof.
The title that came with the car says the last owner was from Colorado Springs and there's a badge on the boot lid from Emich Oldsmobile that adds a bit of originality.
Also I'm going to invest in a workshop manual, probably on a CD rather than a hard copy, as they seem to be readily available and that'll give me a head start on what promises to be quite a journey getting the old girl back on the road.
Cheers, Frank.
Last edited by FrankieB; January 18th, 2016 at 08:49 AM.
Looks like good raw material. You will know which engine you have if you try to run on regular fuel and it pings something awful. One suggestion - get a paper shop manual. Unless you carry a laptop around in the garage the actual book will be much easier to use. You should be able to find one on Ebay.
Thanks Don, I've seen a couple of paper copies on eBay but they can be quite expensive when taking into account the postage costs but you're right when you say that'd be better for me, just me trying to pinch a penny or two I suppose.
Just had a quick look and can't see any CD's for sale today, I'm sure there where plenty when I searched the other day.
It seems to run fine on our uk petrol, revs sweetly etc but I won't really know until I put it under load on the road and that'll be a while away I think.
Just had a quick look and can't see any CD's for sale today, I'm sure there where plenty when I searched the other day.
Don't waste your money on a CD version of the CSM. There are no electronic originals, so all the CD versions are scans of original paper copies. Something is ALWAYS lost in the translation, as we frequently get questions about missing pages or illegible illustrations (especially wiring diagrams). Spend the money and buy an original paper copy. There are currently six paper originals on ebay.
Should not the engine nr. be stamped in the middle of the block, on the driver (left) side, just above the exhaust manifold? Also,if there, would not a "F" in the number be indicative of a low compression engine? That is how it was for the 1962 model year.
Hi Dave, I've looked on both heads but couldn't find anything stamped anywhere.
Here's a snap I took yesterday of what I think is the pad where any numbers would be stamped or maybe I'm looking in the wrong spot.
You might do something as simple as look at the gas tank cap. On my '67 Delta 88, which has its original cap, it says "Premium Fuel Only." I would think that if your gas cap says this, it would indicate that you have the high-compression engine. Of course, after all these years, the car might not have its original gas cap, but you never know.
Hello and welcome to CO. The heads on the 63 394 are the same for all engines, the compression is changed by the piston head.
What colour is the engine block ? The low compression engine was painted an aqua colour and the higher compression engines were red. The heads are interchangeable so this car could of had the heads replaced at some time.
I think this will be a great car for touring around England, all the best.
Steve
Well chaps, I've had a look at the petrol tank cap and it's a stainless locking type.
The engine doesn't seem to have any paint left on it, at least none I can see but the crankshaft pulley still has red paint on it, but I suppose after all these years that might not be the original one anyway. It doesn't really matter that much to me but the compression ratio would be something nice to know.
I took the rear seat out this evening and the floor is solid underneath so I'm happy about that, the seat base and seat back spongy stuff has crumbled away but that's to be expected I imagine after 50+ years.
There was a piece of paper attached inside it though and I was just able to make out the figures written on it, I suppose the guy who put the seat in left it in there.
The writing appears as follows;
9482
3247 - 313
B50-B52
C87-D33
U80
I think some of relates to the model and interior trim, no idea about the rest but I'll keep hold of it incase it proves useful in the future.
Also I bought an original workshop manual on eBay from a US seller, so hopefully that'll be with me in a couple of weeks and I can have a read through and digest the info before I get too deep into anything I don't understand.
Cheers,
Frank.
That piece of paper in the seat may be an early build sheet, could you post a scan of it? Is it printed or handwritten? Can anyone here decipher those numbers? Do the numbers match what is on the ID tag? I'm interested because all the seats had been redone in my car and anything like that is long gone.
I'm afraid the writing is very faded and quite difficult to make out so I haven't been able to get a decent shot to post on here. It is handwritten though. I'll see if I can backlight the paper somehow to take a photo that's legible.
Jaunty75 deciphered the VIN and ID tag for me and posted the info further up the thread.
The '3247'= Dynamic 88 - 2 door hardtop and the '313' relates to the trim code.
As for the rest I haven't got a clue but will try and research it some more and see what I come up with.
Cheers.
We are assuming this is a car originally sold in the U.S., correct? It is a left-hand drive vehicle, is it not? The low compression engine was produced in very low numbers in most model years. If you found red paint anywhere, that fact coupled with the rarity of the low comp engines, I would suspect yours is not low compression.
It is strange there is no engine nr. on the pad you pictured?
Yep it was imported to the UK fairly recently and under the seat I've found a few small denomination US coins so fairly sure it's not an export model.
I did a bit of research on the 1963 Oldsmobile 394ci engine and found the low compression pistons (8.75-1) had a .285" recessed head, while the high compression (10.25-1) ones had a much shallower .042" recess so I'll take the plugs out and take a peep down the hole to see what's what.
Had a quick look at the rear end before and found it has a 'Use Anti-Spin Lube' tag bolted to it and sure enough, both wheels turn in the same direction which is a nice little surprise for me.
Couldn't find any figures on the case anywhere apart from the casting numbers so I calculated the differential ratio to be about 2.68ish-1, 10 turns of the wheel equal very nearly but not quite 27 turns of the propshaft.
My workshop manual hasn't arrived yet so I can't look to see which rear end ratios were available at the time, I only found in one online article that the '63 Dynamic 88 column change automatic came with a 2.56-1 diff. Again I'm not sure if this axle is the original but it looks like 53 years worth of muck and grime attached to it. I've posted a couple of photos of the centre section below.
Pulled the rear drums off too and they're both in good nick, as are the shoes, just the cylinder rubbers look a bit perished but not wet at all. If I get chance over the weekend I'll have a look at the front brakes to find out what condition they're in.
Cheers, Frank.
Thanks for posting that mate, it looks like I've got a 2.69-1 diff in there then.
I'll clean up the casting face below the tag and see if I can find any markings over the weekend.
awesome to see another 63. I have a 63 super 88 holiday coupe with a 455 rocket. ill start a thread later on. looking forward to following your build up. There is a guy in Newcastle with a grean 63 super 88 coupe also. works at Neptune garage. might help you out. I follow him on IG "piney88" is the name.
Thanks for the message mate, I'll be interested in looking at your thread too, sounds like a great car, does it still run a 'SlimJim' transmission?
Yes I saw a pic of a lowered green coupe, I could tell it was in the UK but didn't know where or who's it was, thanks for the info on that too.
I'll take some pics and do an update in mine soon, I've got all the interior out at the minute.
Cheers
Ok time for a little update on what I've been up to with the 88.
After having a poke around I decided that I'd remove the interior and tackle any welding to the floor area before doing anything else. Not sure if that's the right way to do it but that's what I did.
Under the front seat the floor panel had some corrosion on the drivers side which I managed to dig into a hole. I cut it out and noticed it was a bit crispy near the seat belt mounting point too so cut that out too. The floor strengthener cross member was fine but looked like it was a mud trap and had rusted out from the inside so I cleaned it up and treated it to a coat of rustproofing fluid and welded a plate over the top. I also fashioned a piece to run up the inner sill as that felt a bit thin so that was cut out and replaced with fresh metal and all is good now.
While the right hand side floor looked good from above and below, I decided that it most likely wouldn't be far behind so cut that out too and plated it up to the seat belt mounting as well.
Under the back seat needed no repairs apart from some surface rust where someone had fitted some rear belts but not sealed the holes up and a couple of bits of surface rust were the rear screen seems to leak and allows a little puddle to from under the rear seat.
The seam sealer just peeled away when I touched it so scraped it all away and gave the whole floor a wire brushing where necessary and a lick of primer over the bare metal.
Last edited by FrankieB; September 7th, 2016 at 12:58 PM.
So that was about it for the inside, no more rot to repair so just a case of replacing the seats and panels etc. The headliner is shot although I did manage to take it out in one piece and will be able to replace it when I get around to it.
I do have a garage but realistically it's far too small to do anything in with the car in it, so I've moved it outside and placed it on ramps and axle stands as high as I can safely get it up in the air.
The rear bumper was pretty bent from a rear impact so I straightened it as best as I could. I thought it had just moved in it's mounting slots but it was quite badly damaged and took me a while to get it as straight as it is now.
It had also rusted out from the inside where the brackets attach to the body, I've had a look at other posts and notice this seems to be a common fault.
I cannot justify getting it repaired and rechromed so decided to cut out the rot and shape some fresh steel and weld it in as best as I can. I also had to repair the mounting bracket as this is also a jacking point so needed to be pretty strong incase I or someone else ever need to lift the car from the bumper mount. The captive nuts had long rusted away too so I made a couple of brackets to mount the bumper back, just a plate with a couple of tapped holes to take the bolts that allow me to tighten the nuts when I mount it to the bumper bracket from underneath.
I then got hold of some 'chrome' vinyl wrap and stuck that over my repair. If anything the wrap is shinier than the chrome on the bumper or maybe a different shade of reflective silver. It's not perfect and I can see it, it looks like where a sticker may have been stuck on and taken off years later but it's far better than the jagged rusty holes that where there beforehand.
The rear panel is very good with only a few spots of surface rust and flaking paint so it was just a case of cleaning it up and putting it all back together.
Last edited by FrankieB; September 7th, 2016 at 02:11 PM.
Next on my list was the rear wheel arches and surrounding area. As usual the more I poked about the bigger the hole became, so ended up making repair patches for both sides at the front and back of the rear arches and along the bottom of the right side rear wing.
I'm not sure I've got the curvature quite right but they're solid enough and a skim of filler will probably make it look a lot better. The other side is much the same and although I originally thought the car was virtually rot free, I'm pretty pleased that all I have found is these small bits and pieces.
I'm not sure what to do about painting the car yet so will prime the areas I've repaired and leave it until I make up my mind. The paint will be the last job on my list anyway.
The next jobs on my list are to replace the fuel and brake lines so I'll take some snaps as I progress and post them on this thread.
Oni Boi - I'm sorry I don't know what the codes 2 and 3 are for, perhaps someone else may have the answer. I think my car was pretty basic when it was produced so I don't know what was standard fitment or an optional extra.
Markmag - Fuel, as in petrol, in the UK hovers around �1.10 to �1.20 depending where you buy it at the moment, so it's around about �5.00 per gallon. Diesel is slightly more expensive by a penny or two per litre.
A UK gallon is slightly larger than a US gallon, 4.5 litres compared to 3.8 litres in America, so our mpg figures appear slightly better, but in reality the same amount of fuel gets you the same distance on either side of the pond.
Last edited by FrankieB; September 7th, 2016 at 03:08 PM.
Frank thanks for the up date your car brought back many memories. I at one time had a 63 holiday same color and interior, same rust on the rear bumper also. To me your engine looks to be a low compression engine. Mine which was a 2bbl high compression engine had the whole engine surface painted red, valve covers and all. You might get after that block with a high pressure washer and I bet you will find some turquoise paint somewhere under the grease. Keep up the good work..... Lost in the fifties ... Tedd
Frank, Good job on getting the old girl back in shape . I especially like the solution you found to repair the rear bumper. Good re-chromed bumpers go for up to $1000 here in the states . I can't imagine they are any cheaper there.
I haven't got a high pressure washer to clean it but I'm thinking it's a LC engine too. I've had a look down the spark plug holes with a little torch and think I can make out the identifying marks on the piston tops but I'm not 100% sure as I can't get a good enough view.
Yes, I'm quite pleased with how the rear bumper turned out, it's fairly straight and you can clearly see the script above it now, which was all but hidden when I first got the car.
It wasn't an option to try and source a decent one and get it imported and rechromed, finding one over here would be nigh on impossible so repairing what I have is the only option I have really.
You can clearly see the chrome vinyl in this photo and if I'm being picky I can see and feel the skim of filler in it too. I did consider doing the whole thing but there are far too many bumps, scrapes, twists and dings in it and would take forever to knock it completely straight again.
I've just got too fit it as flush as I can get it and that'll be that for the rear of the car.
Last edited by FrankieB; October 5th, 2016 at 01:02 PM.
Well the next job I did was to replace the fuel pipes from the front of the car to the tank at the rear. The rubber had dried out and has visible splits and the metal pipes had some serious corrosion so decided to replace everything.
I'd noticed the car has a return line plumbed back to the tank from the petrol pump filter housing too, not something I'd seen in a lot of the pictures but after a bit of digging around this seems to be for excess fuel to be pumped back to the tank on 2BBl cars.
The engine bay didn't look too difficult to replace but I decided that instead of threading the two pipes through the frame, I'd feed them through the gap above it and clip them to the inner wing. Originally one went through it and one went below for some reason.
At the rear of the car, the daunting prospect of trying to thread two new pipes inside the frame and out of the holes, while teasing them behind the tank straps and onto the inlet and outlet pipes on the tank was giving me headaches.
Plan B involved threading the pipes behind the tank straps but turning on top of the frame, and clipped to the frame with a couple of stainless steel brackets. I used the original punched holes in the frame with some fancy expanding nuts to mount them.
Under the car the pipes connect where they originally did but from on top of the frame instead of from within as the originals did.
The metal pipes are mounted on the original brackets and follow the same path.
I've only ever had the car running on a from a pipe connected directly to the pump under the bonnet completely bypassing the tank. It looked ok from the outside and I could hear something sloshing around inside and it smelt of petrol but I couldn't syphon anything out, so decided whatever it was would be below the pick up and diluted by a couple of gallons of fresh fuel.
I primed the carb and after a few turns it fired up but died straight away. Another splash had it fired and running again and the glass bowl on the fuel filter soon filled up. It was now running on fresh fuel directly from the tank with no problems.
A quick look underneath confirmed no leaks or chaffing anywhere, all in all a pretty good job I think. I was concerned with the fuel pipes between the body and the frame but the gap is never smaller than 3/4", so the 3/8" pipe never comes close to getting crushed.
Again I couldn't see the point of struggling to thread two pipes through the frame and between the top wishbone, then out the front to the petrol pump when I could see a far easier route and equally as safe as far as I can see. Both pipes clip neatly to the inner wing, there's a natural indentation they sit in and I'd say it doesn't look out of place. I'll post a picture next time I'm on here.
Anyway the next job on the list is the brakes so I'll update when I have some more news.
 January 17th, 2016, 01:54 PM